Page 5 of 29
Re: Hasegawa 1/32 Fw 190D-9 Brown 4
Posted: Tue May 24, 2022 2:11 am
by Floki
That works out great
Re: Hasegawa 1/32 Fw 190D-9 Brown 4
Posted: Tue May 24, 2022 4:26 am
by mustang1989
The details man....the details. I just can't get over all of the forethought and execution of those thoughts that you bring to the table with your builds John. You sure put on a good show bro.
Re: Hasegawa 1/32 Fw 190D-9 Brown 4
Posted: Tue May 24, 2022 8:00 pm
by jkim
Thanks guys! Just throwing in a lot of fixes that I've done in the past.
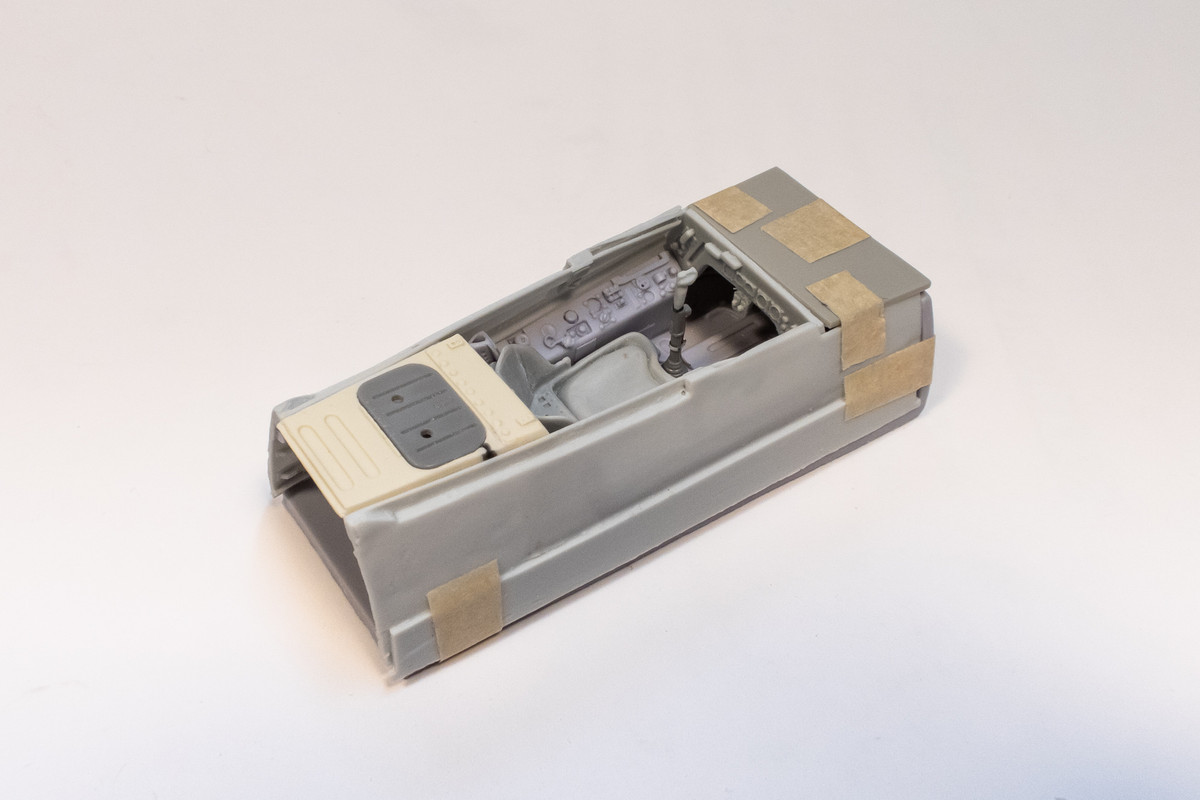
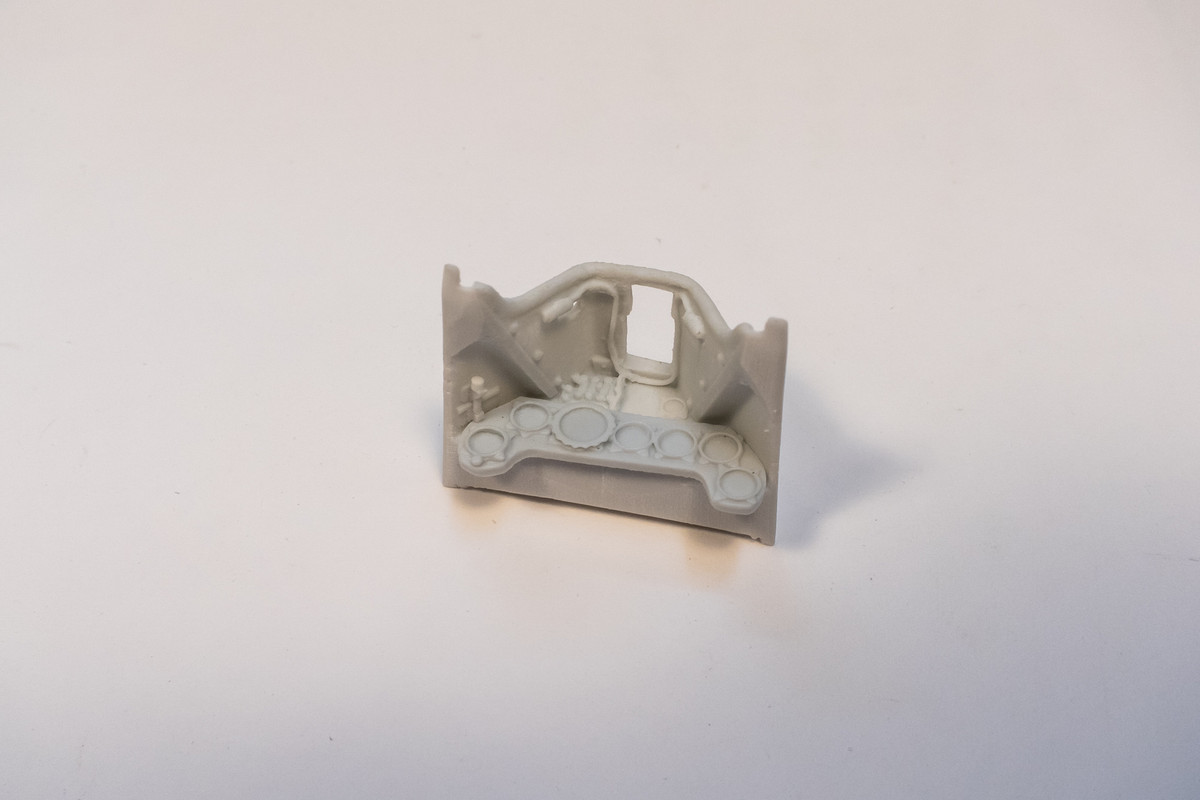
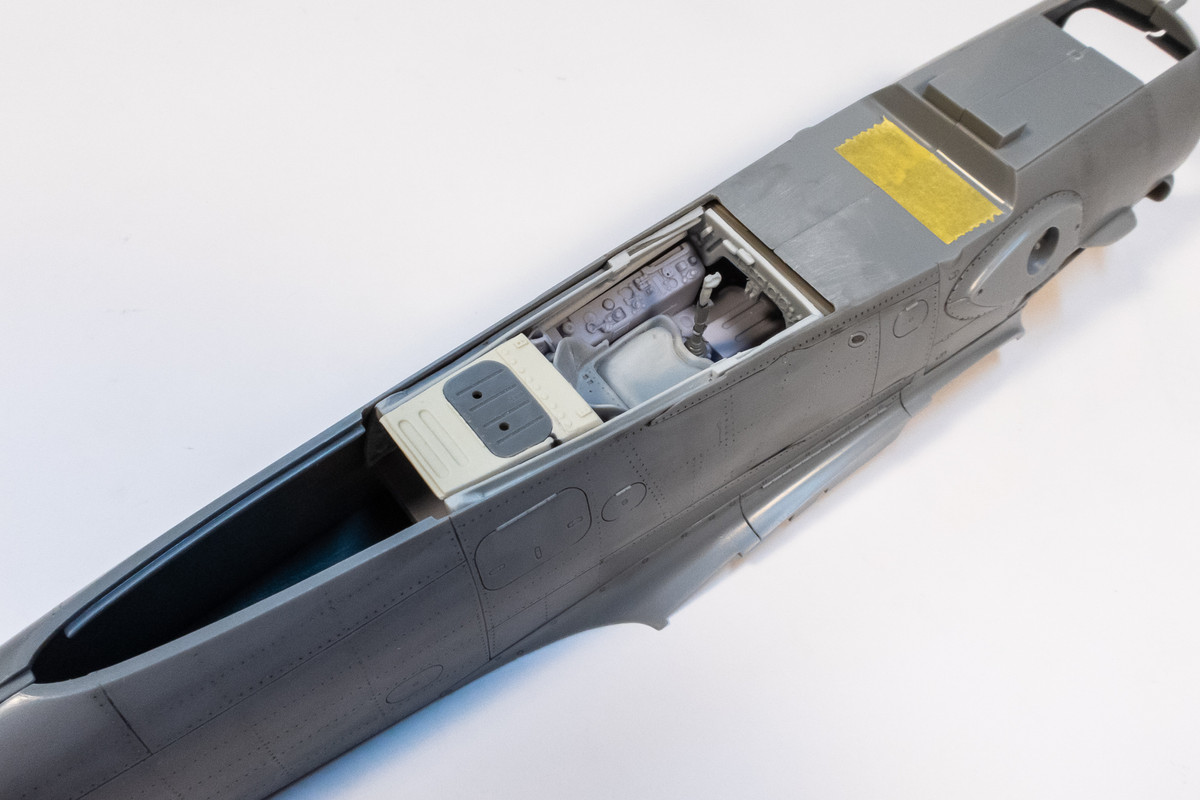
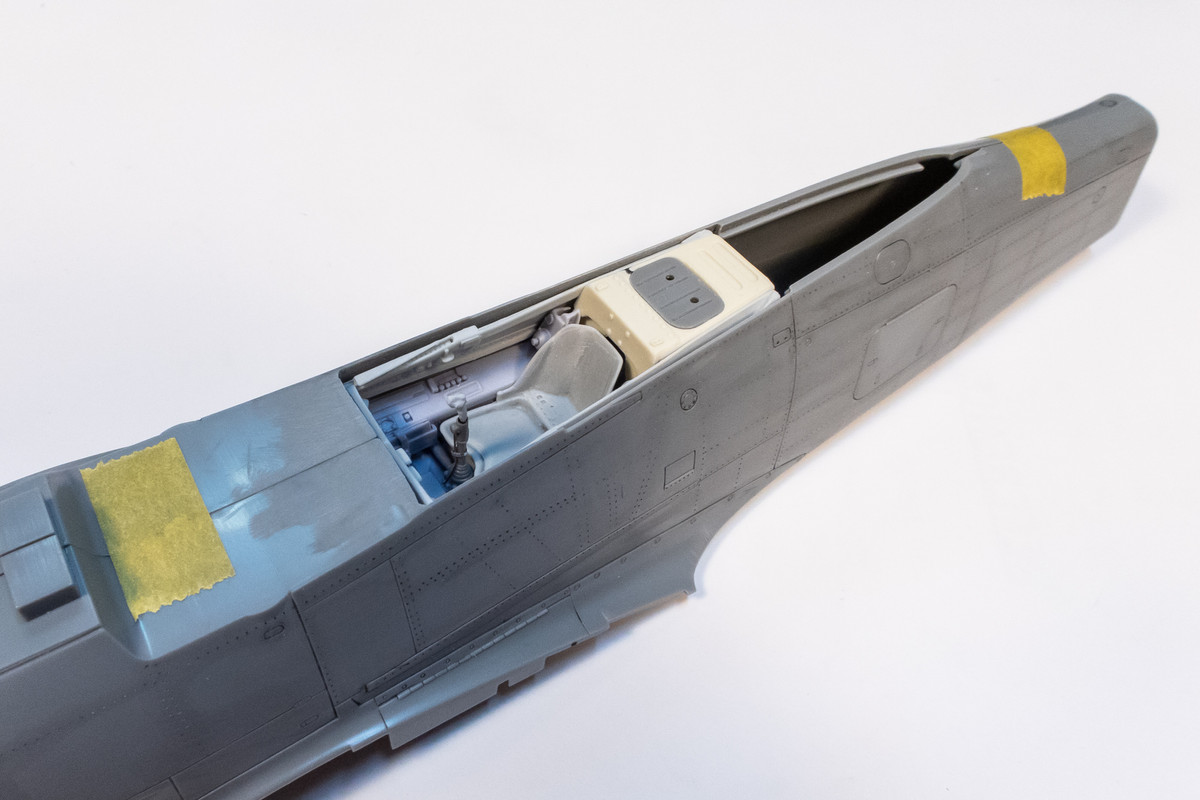
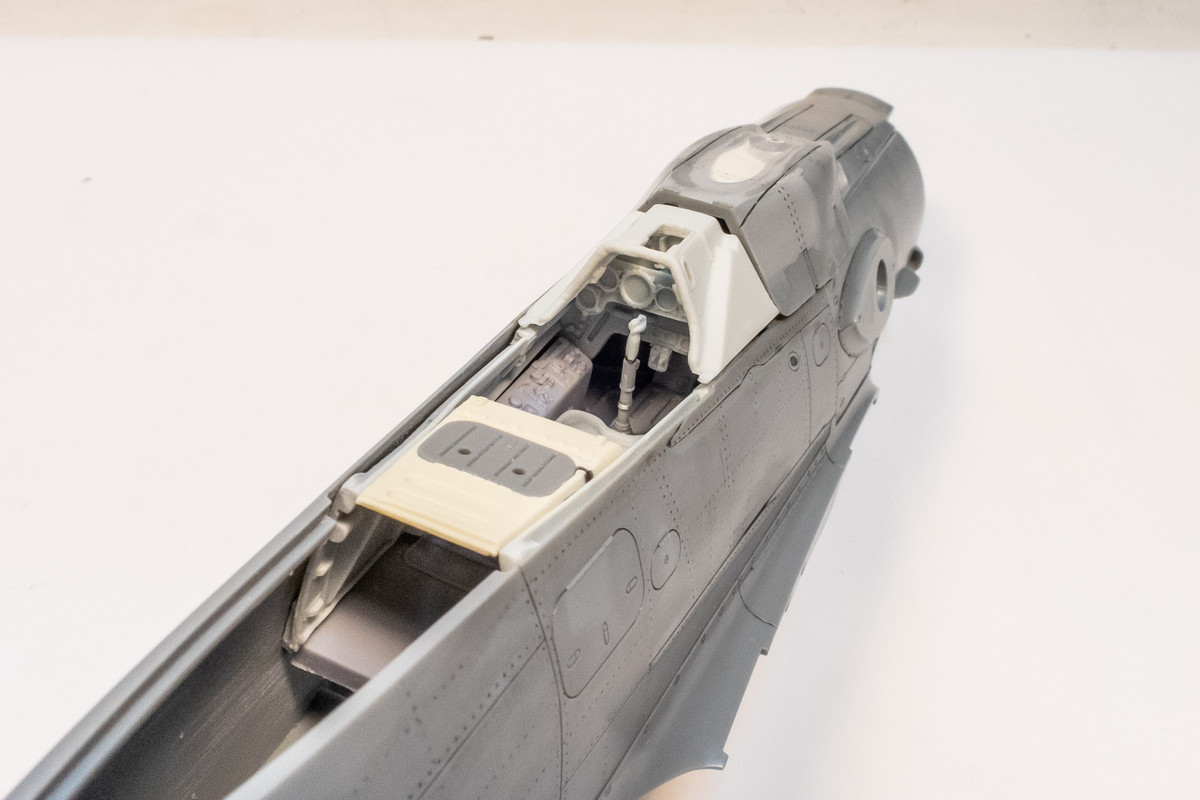
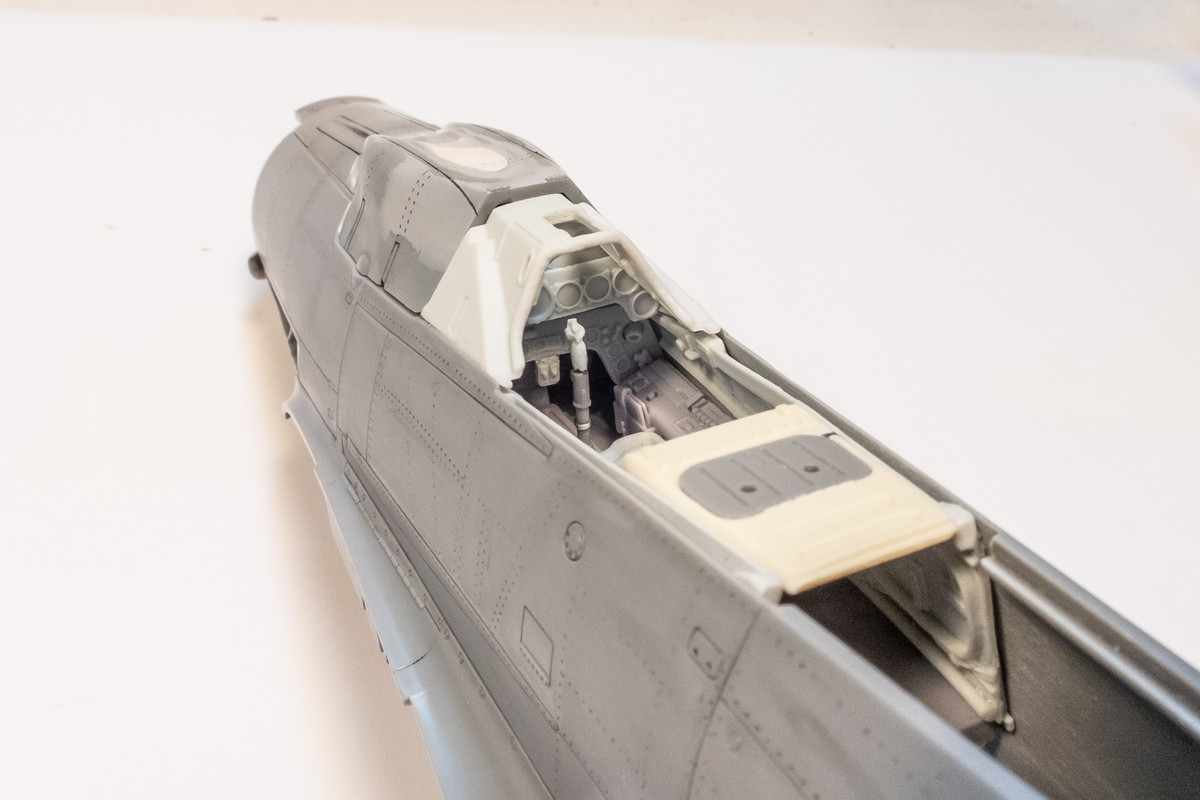
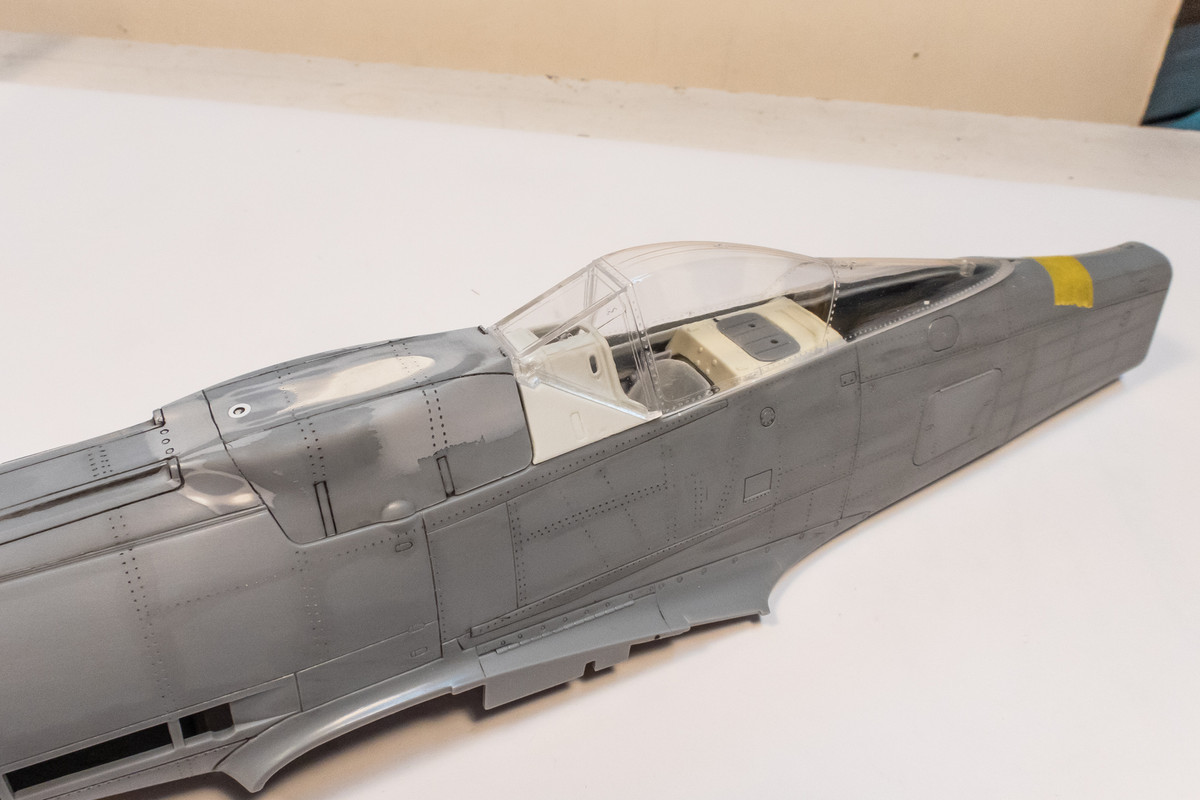
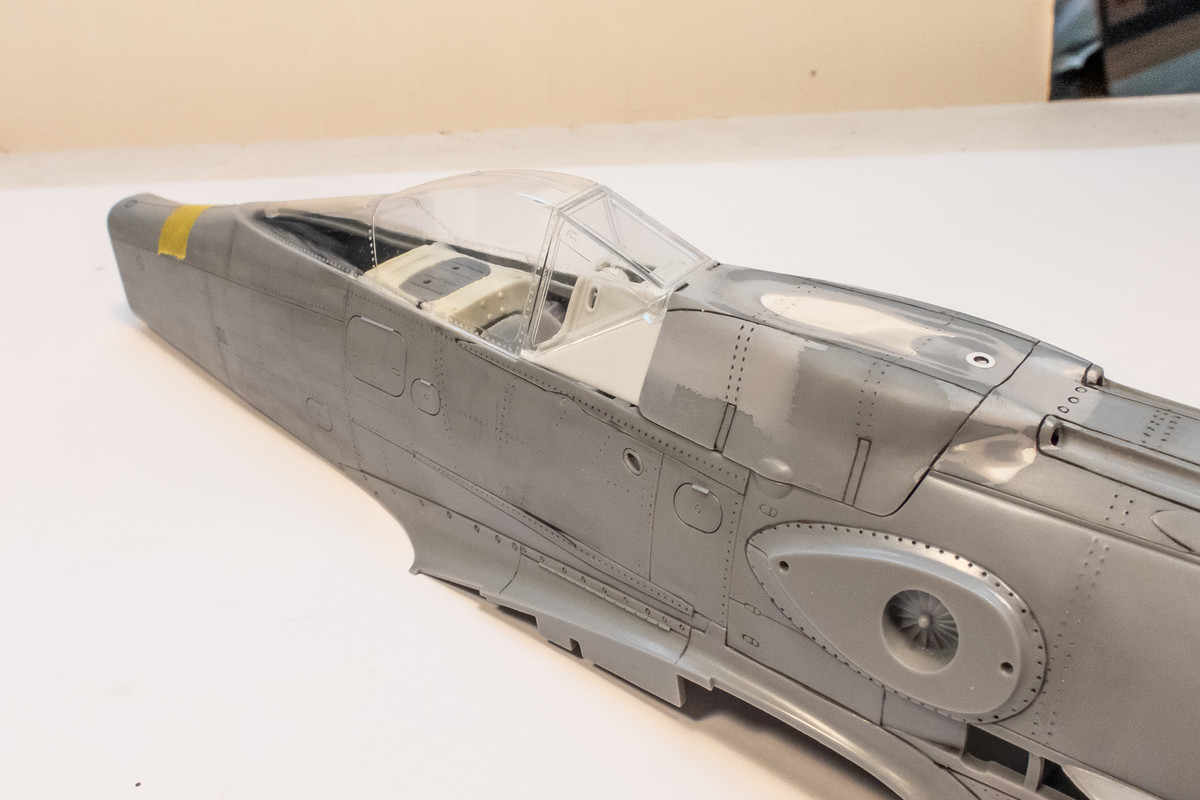
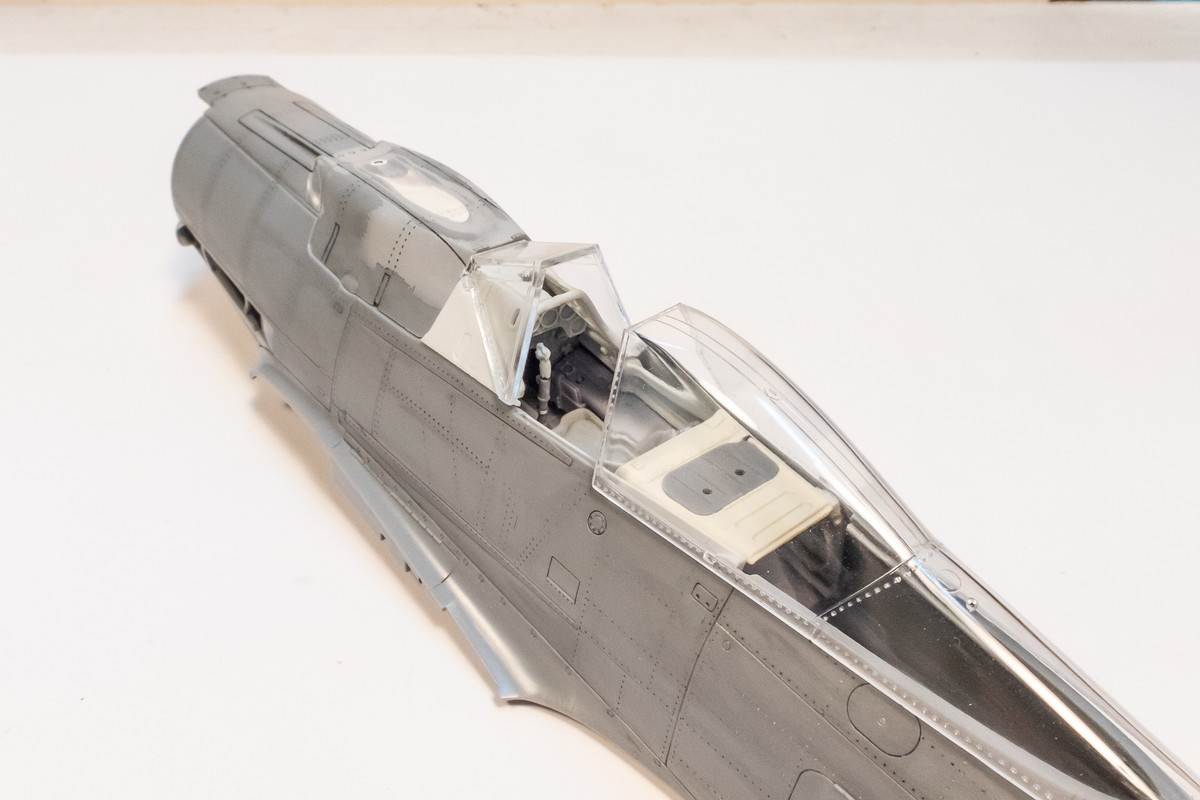
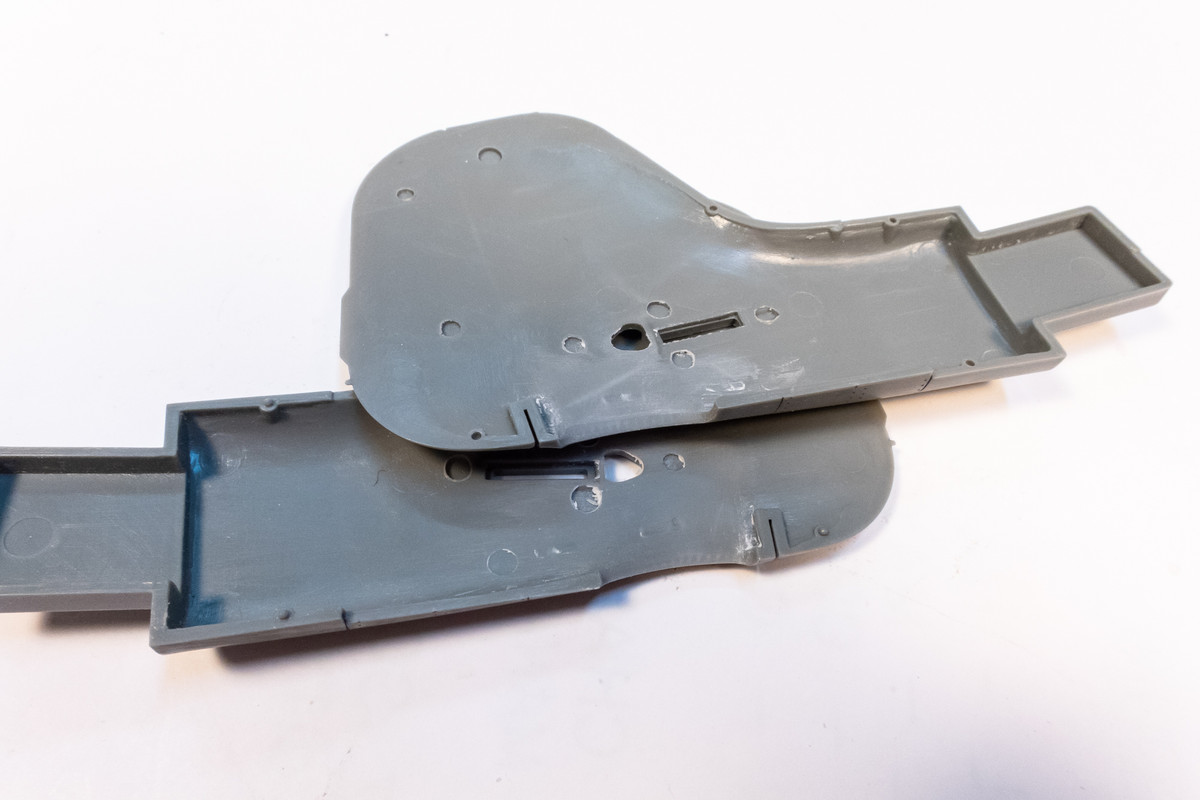
The trimming on the inside surfaces of the fuselage to accommodate the resin cockpit has begun by removing the raised stuff first.
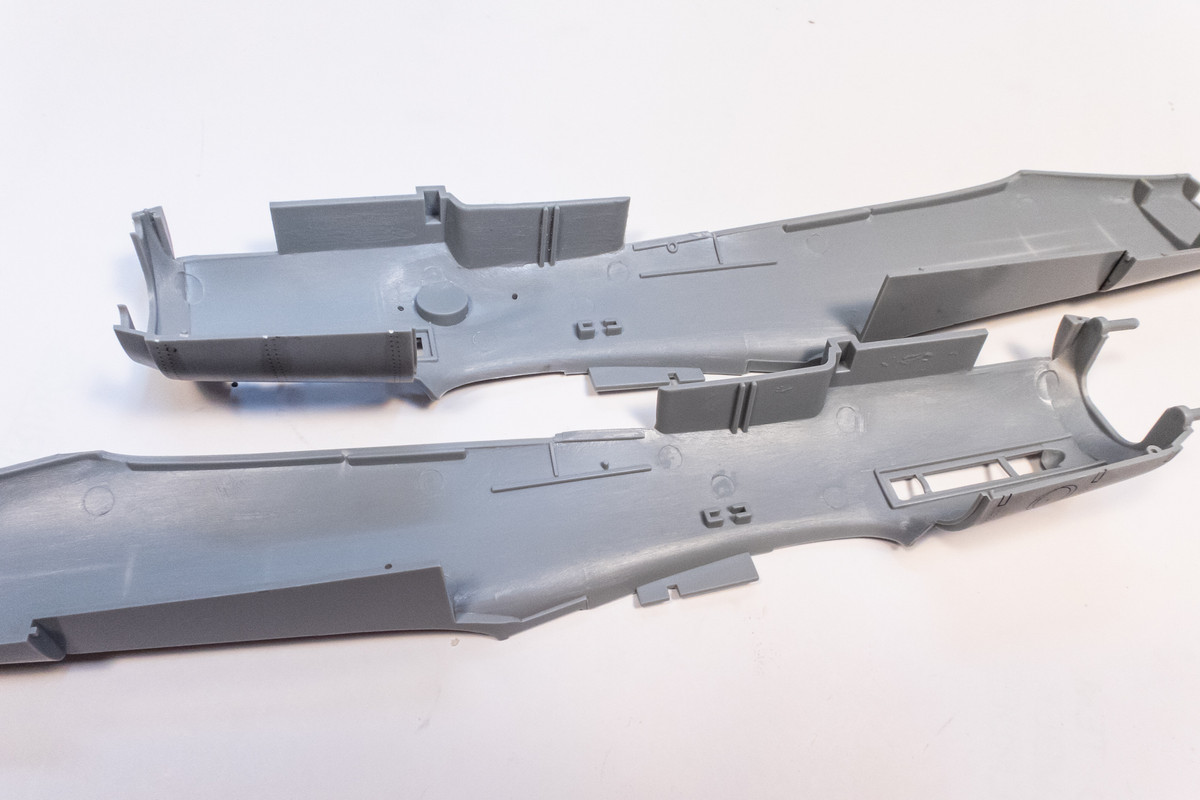
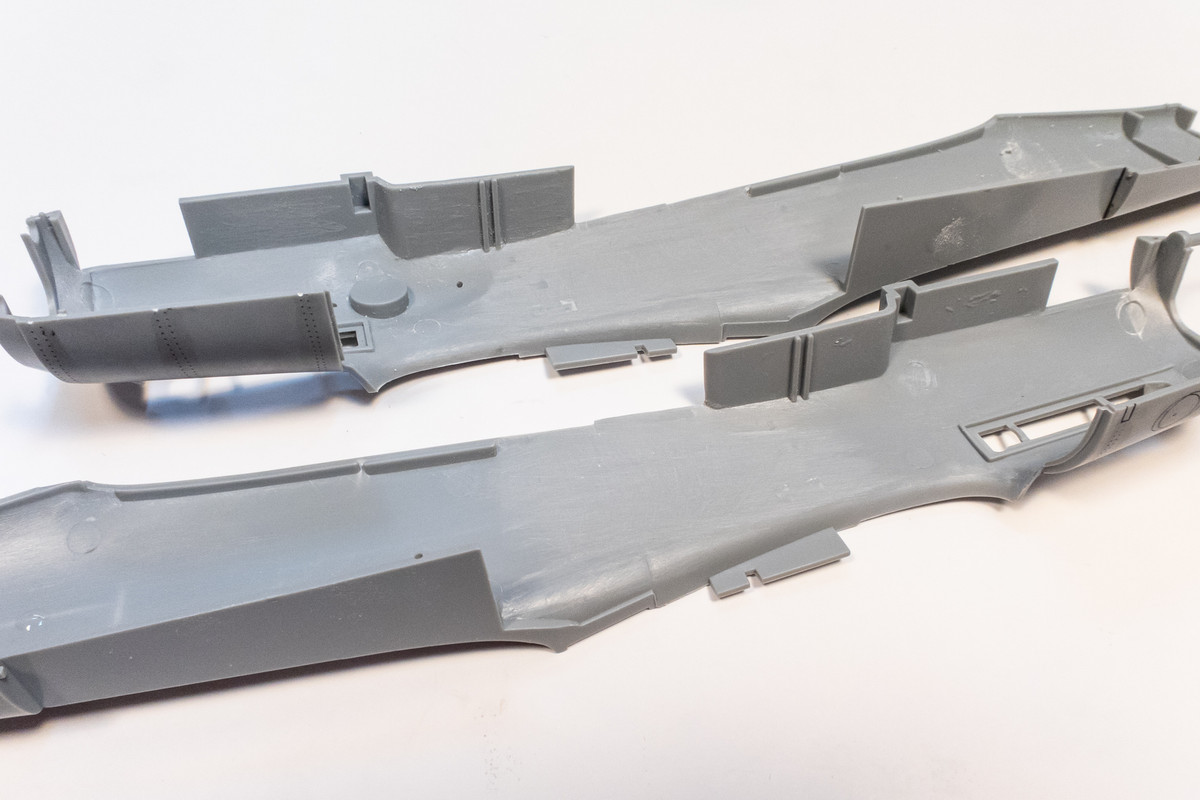
There will be a short pause here because the thinning process is a bit tedious and I sometimes procrastinate when I get to these points in the build. Also, I am starting on the paint process on the Tempest so this is a good transition to jump over to that build for now.
Re: Hasegawa 1/32 Fw 190D-9 Brown 4
Posted: Tue May 24, 2022 9:11 pm
by mustang1989
I'm with you on procrastinating. Any time I have that much work ahead of me on any given project, I tend to stall a bit myself. Looking forward to more bro.
Re: Hasegawa 1/32 Fw 190D-9 Brown 4
Posted: Fri May 27, 2022 12:04 am
by jkim
Re: Hasegawa 1/32 Fw 190D-9 Brown 4
Posted: Sat May 28, 2022 12:03 am
by jkim
Re: Hasegawa 1/32 Fw 190D-9 Brown 4
Posted: Sat May 28, 2022 6:06 am
by LyleW
Your attention to detail makes all the difference!
Re: Hasegawa 1/32 Fw 190D-9 Brown 4
Posted: Sat May 28, 2022 8:59 am
by BlackSheep214

I’m in awe in all your builds, John.
Re: Hasegawa 1/32 Fw 190D-9 Brown 4
Posted: Sat May 28, 2022 12:18 pm
by jkim
Thanks for the comments!
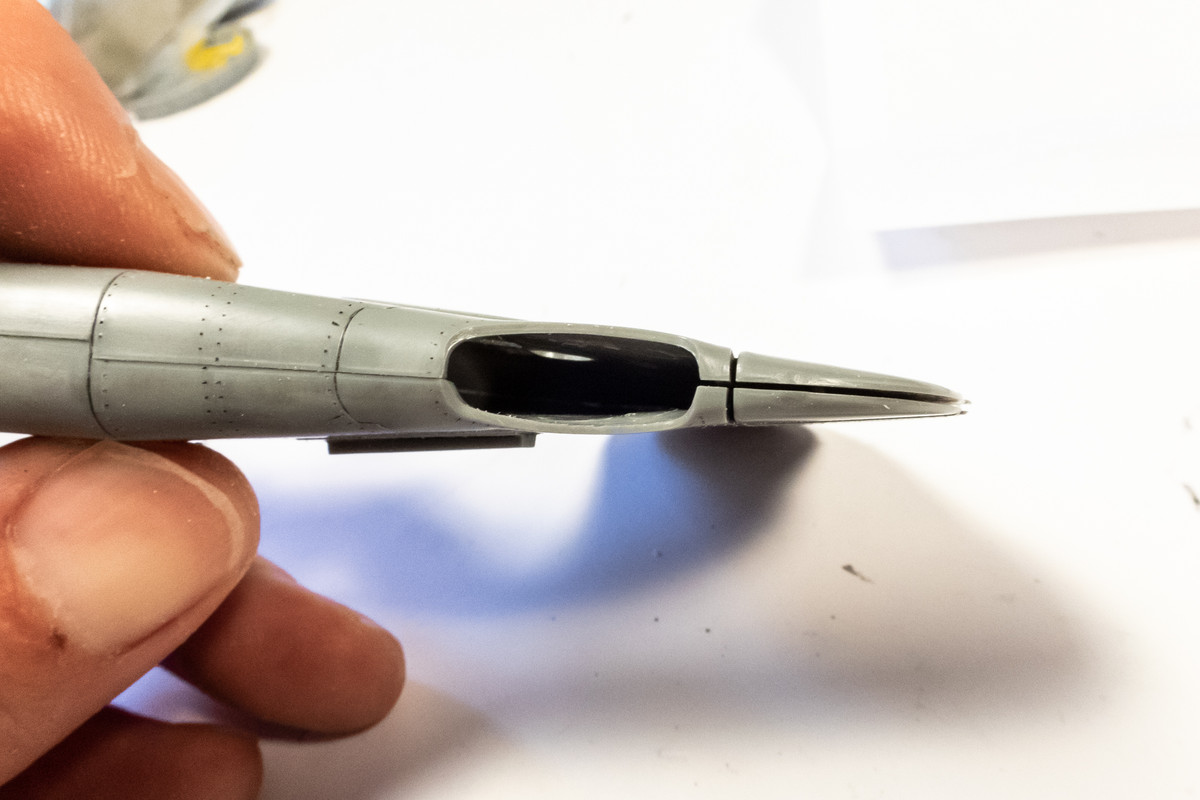
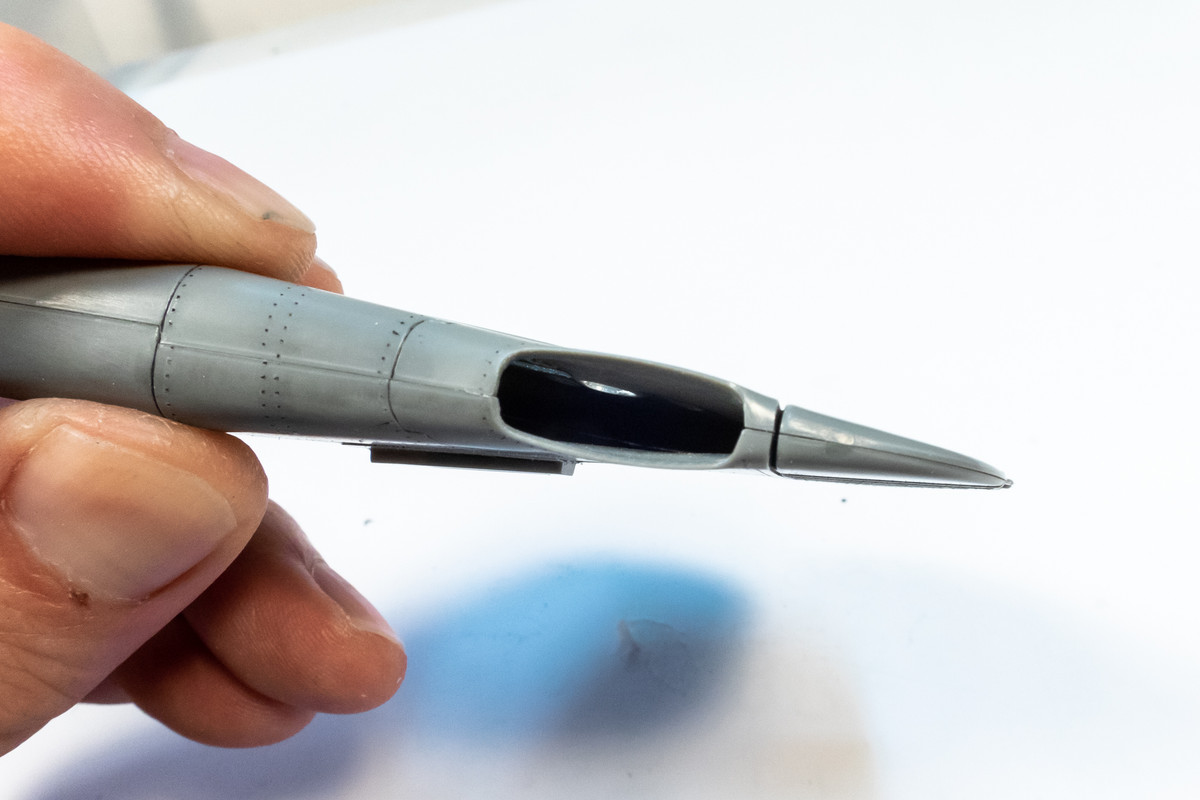
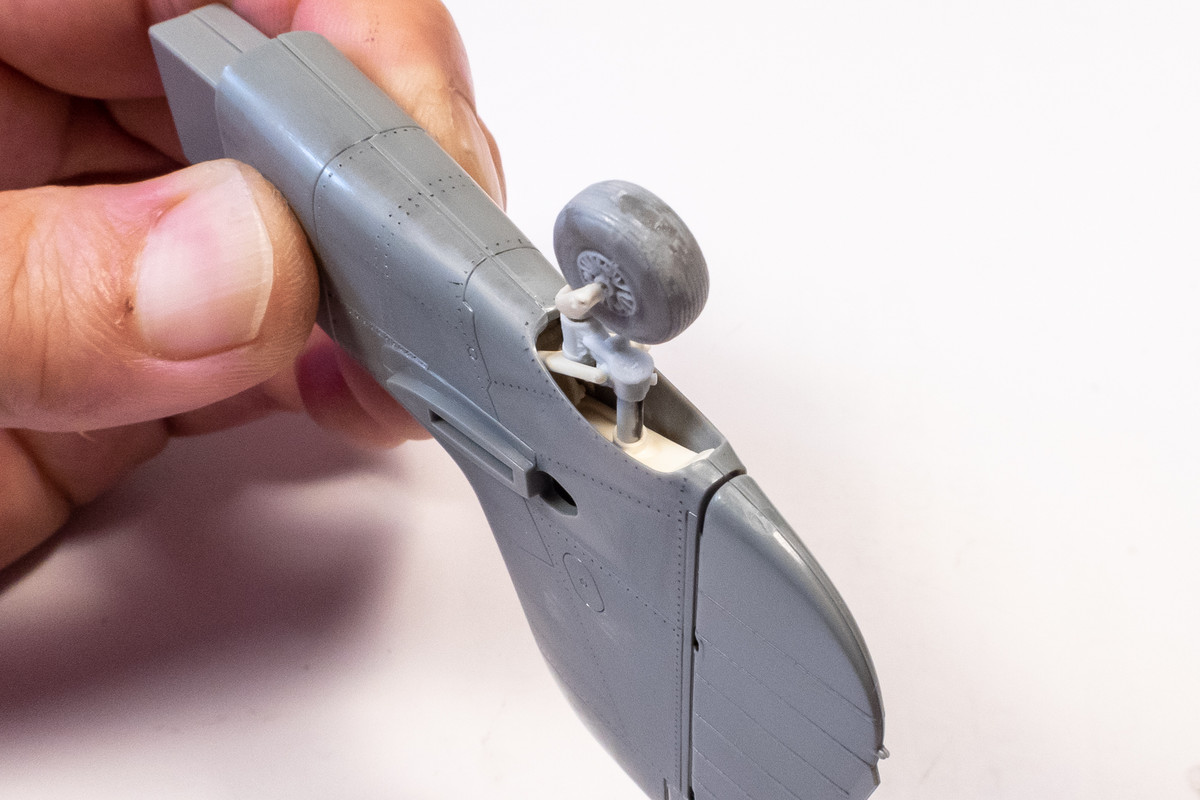
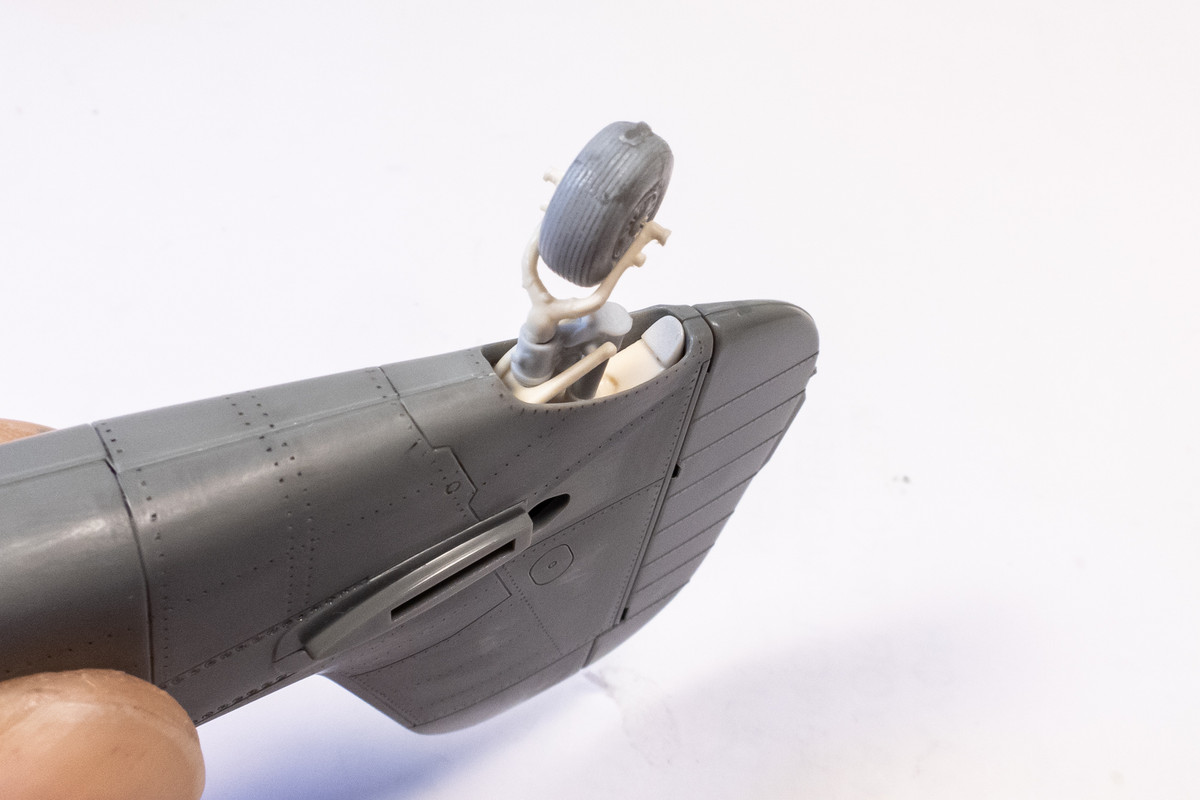
Continuing on with the tail wheel assembly... the Ta152H tail is slightly different from the D-9. The tail wheel assembly will definitely work but some minor adjustments need to be made to the L-shaped base part like chamfering the corner to accommodate the horizontal tail plane tab and thinning the aft end.
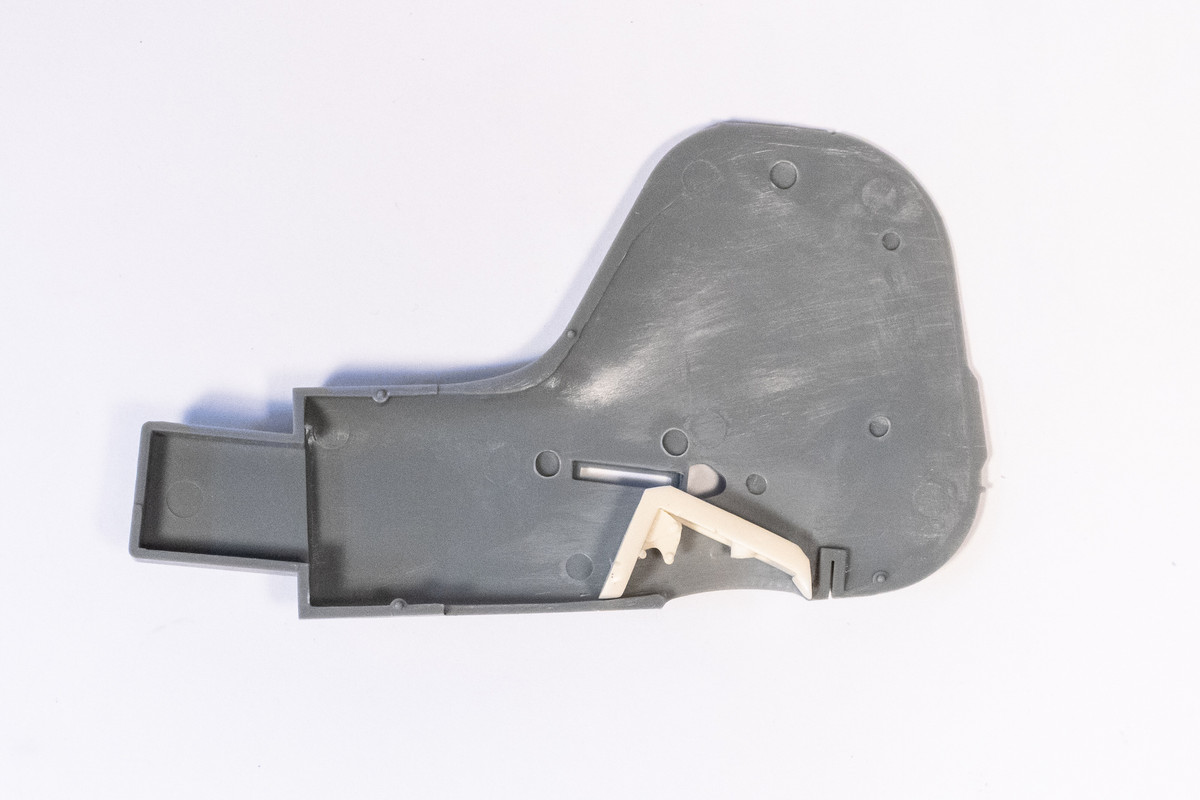
To make the connections more solid and to ease the construction process, I usually modify the kit parts with brass tubing. A very fine brass tube is used to make an axle for the tail wheel. This will allow attachment of the wheel at the end of the build and the flat spot can be dialed in exactly as well. A larger diameter brass tube is used to help positively connect the tail wheel yoke to the strut.
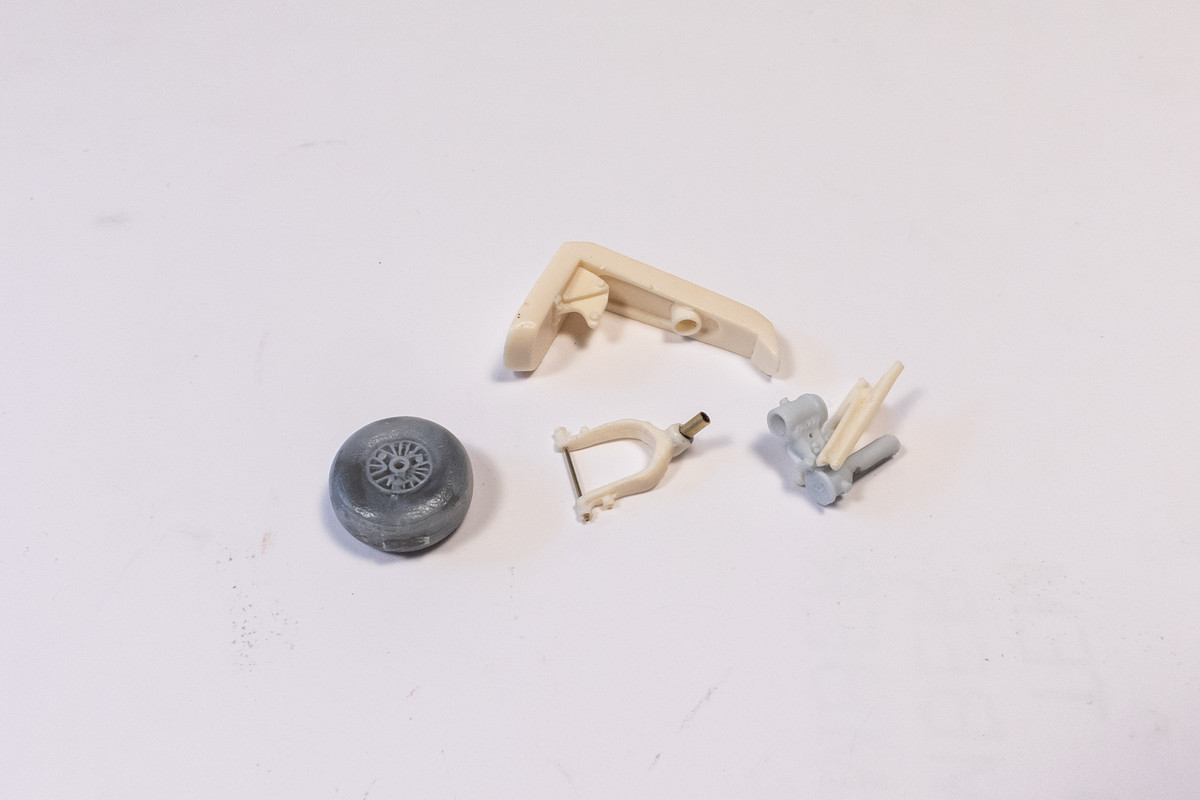
Like the kit part, the EE tail wheel's unmodified position is very extended. Too much so for my tastes, based on photos of aircraft in service.
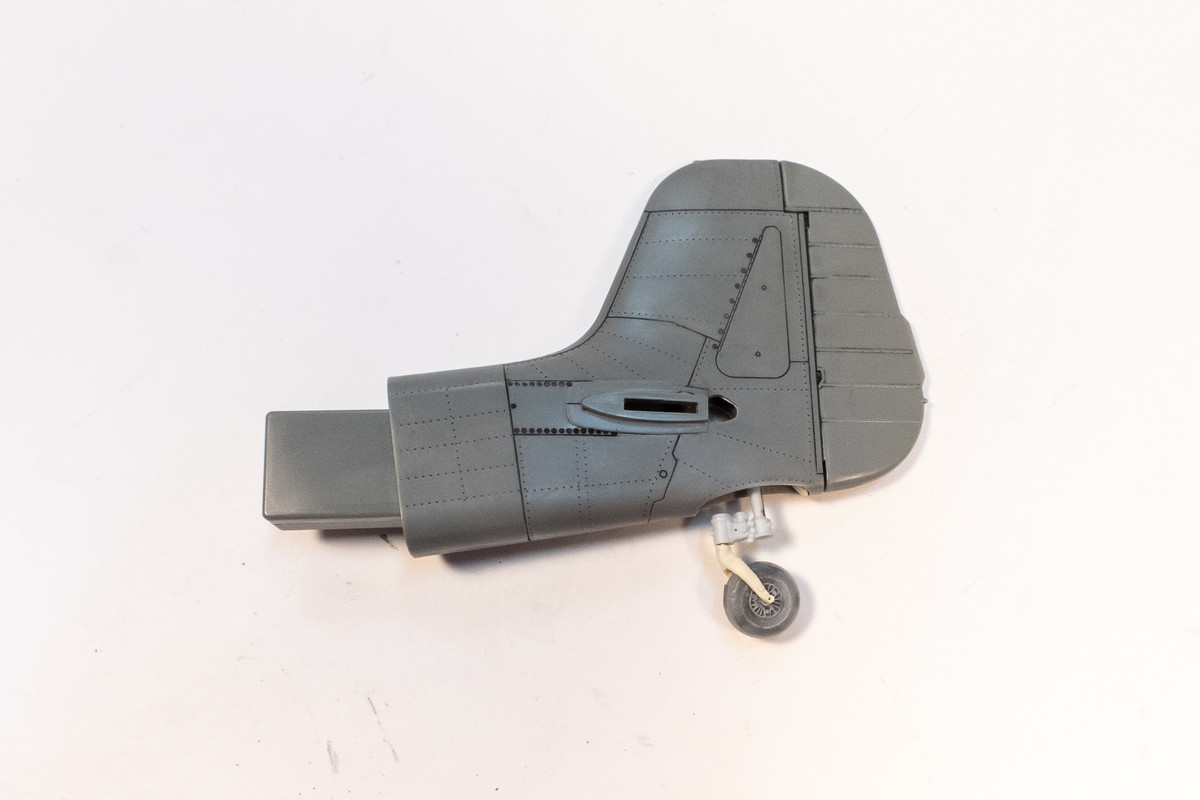
This height is easily adjusted by simply shortening the oleo.
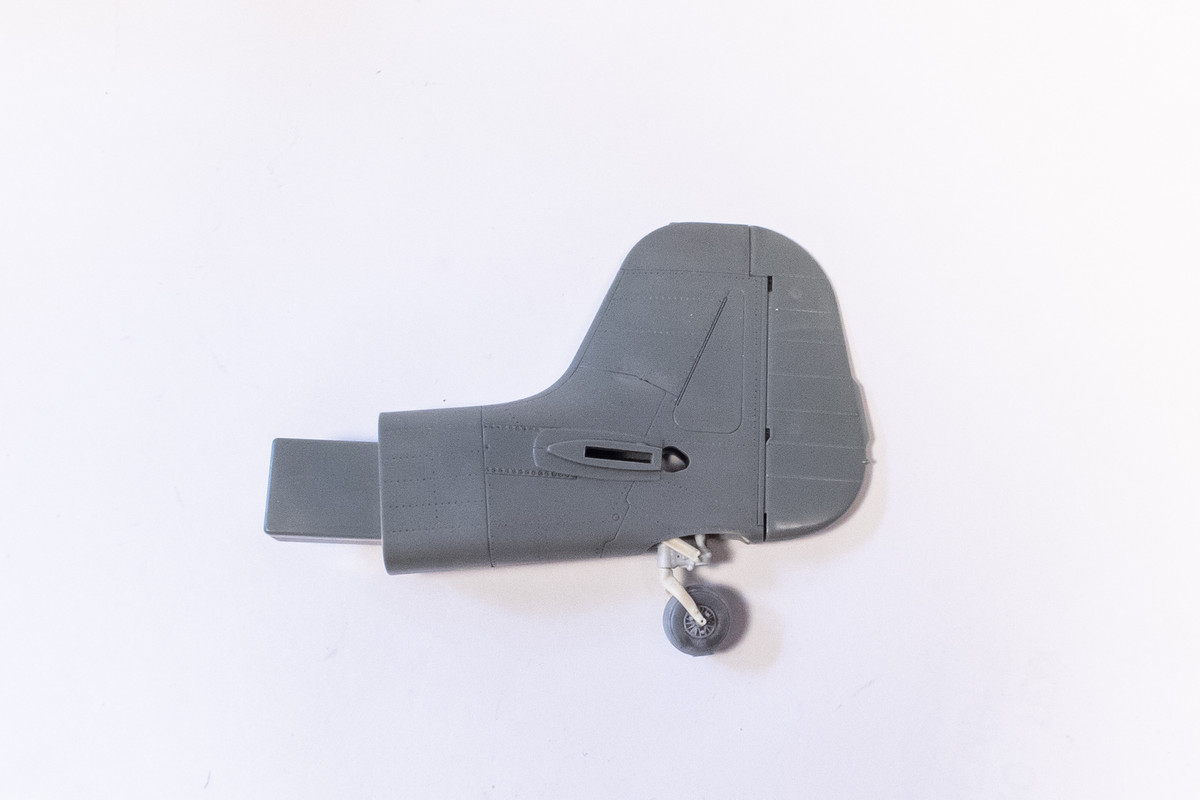
No thinning of the walls was necessary to accommodate the tail wheel unit into the Ta152H tail.
Re: Hasegawa 1/32 Fw 190D-9 Brown 4
Posted: Sat May 28, 2022 3:51 pm
by Floki
That really looks good John, what size tubing are you using and how are you cutting it?