Page 5 of 9
Re: Eduard 1/48 Hawker Tempest II
Posted: Sat May 11, 2024 6:30 pm
by BlackSheep214
Re: Eduard 1/48 Hawker Tempest II
Posted: Sat May 11, 2024 7:02 pm
by jeaton01
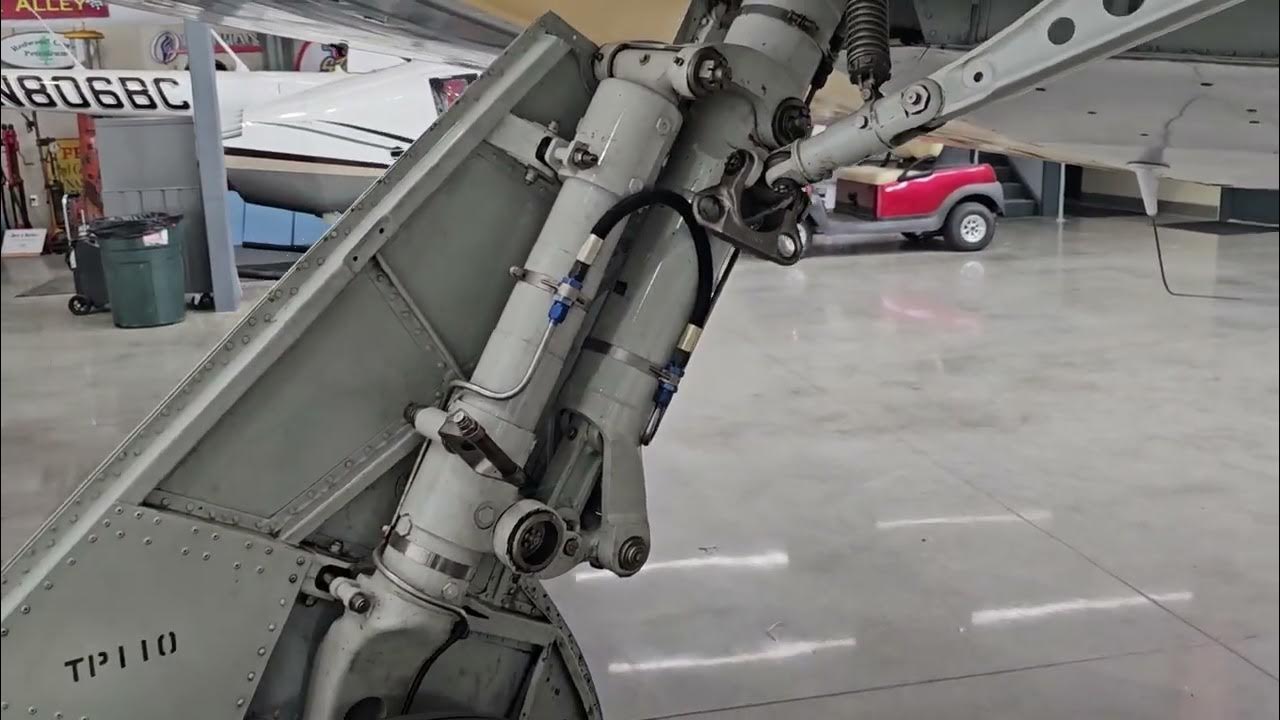
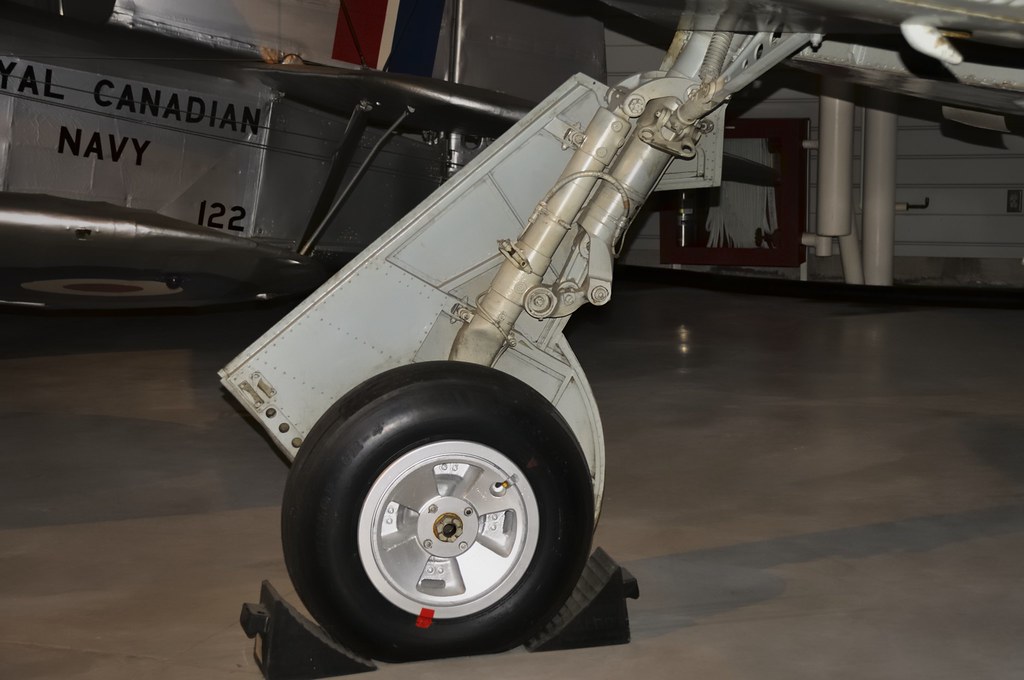
Beautiful work, John. I've always thought the Sea Fury landing gear was interesting. It had a lot of travel and the hose arrangement was rather elaborate. Without two pictures its hard to see how it achieves all that motion.
Re: Eduard 1/48 Hawker Tempest II
Posted: Sun May 12, 2024 10:23 am
by jkim
Thanks guys!
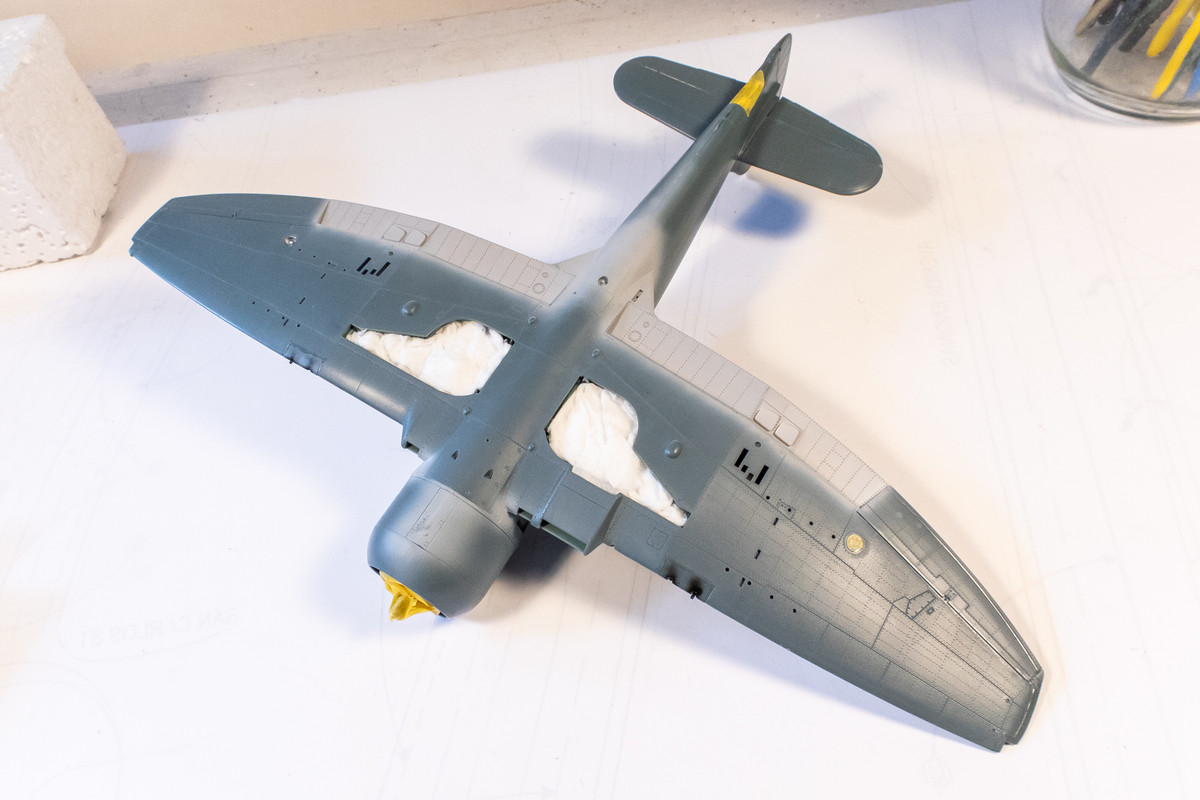
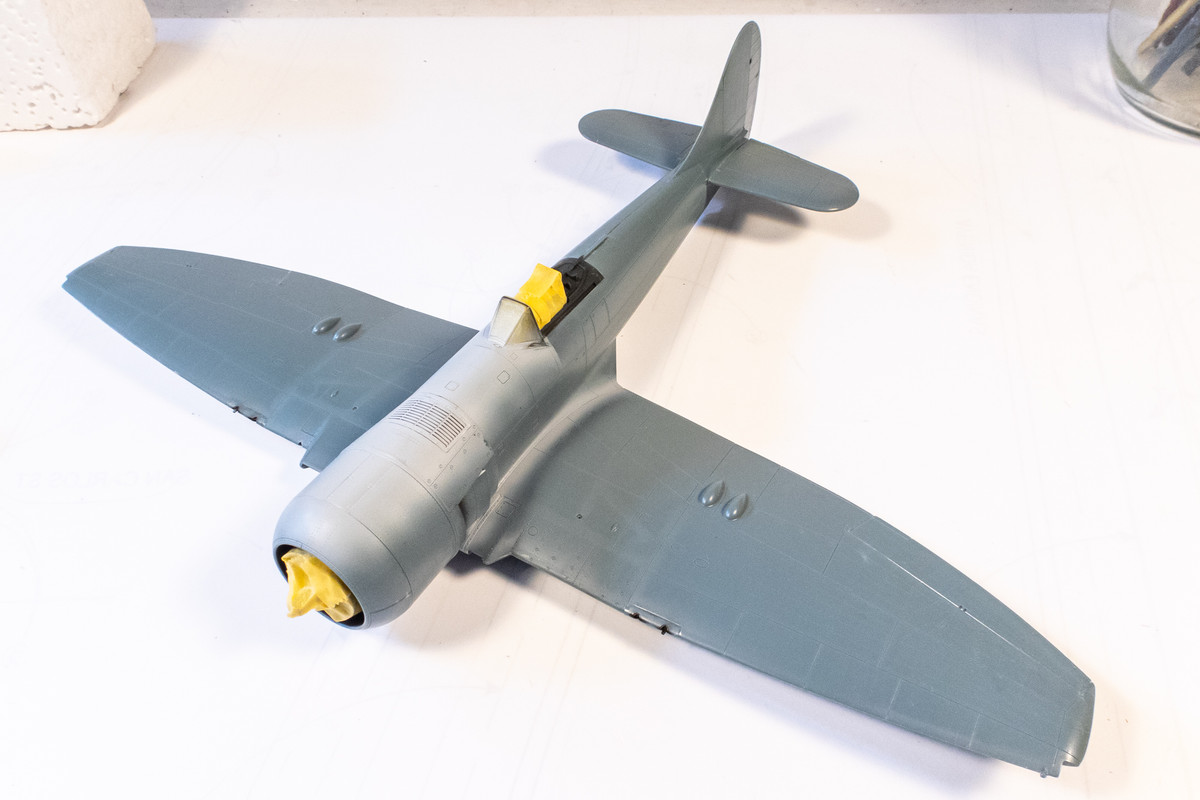
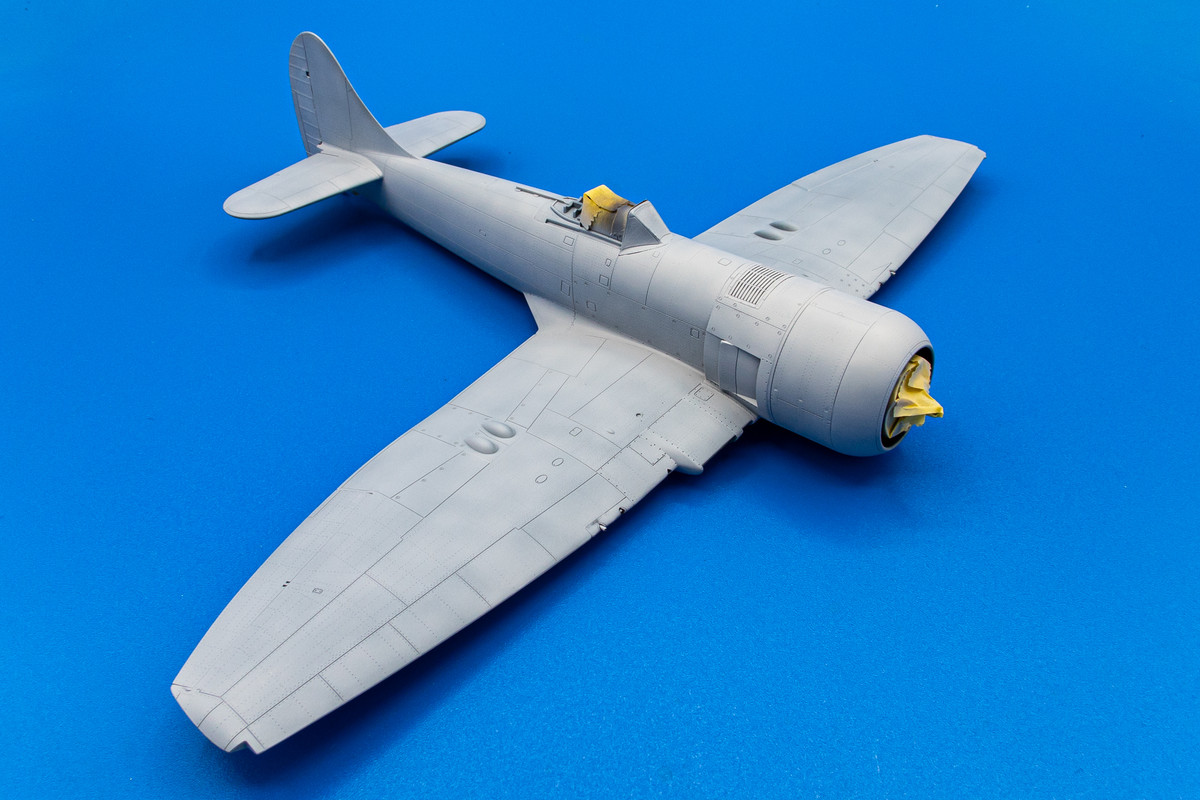
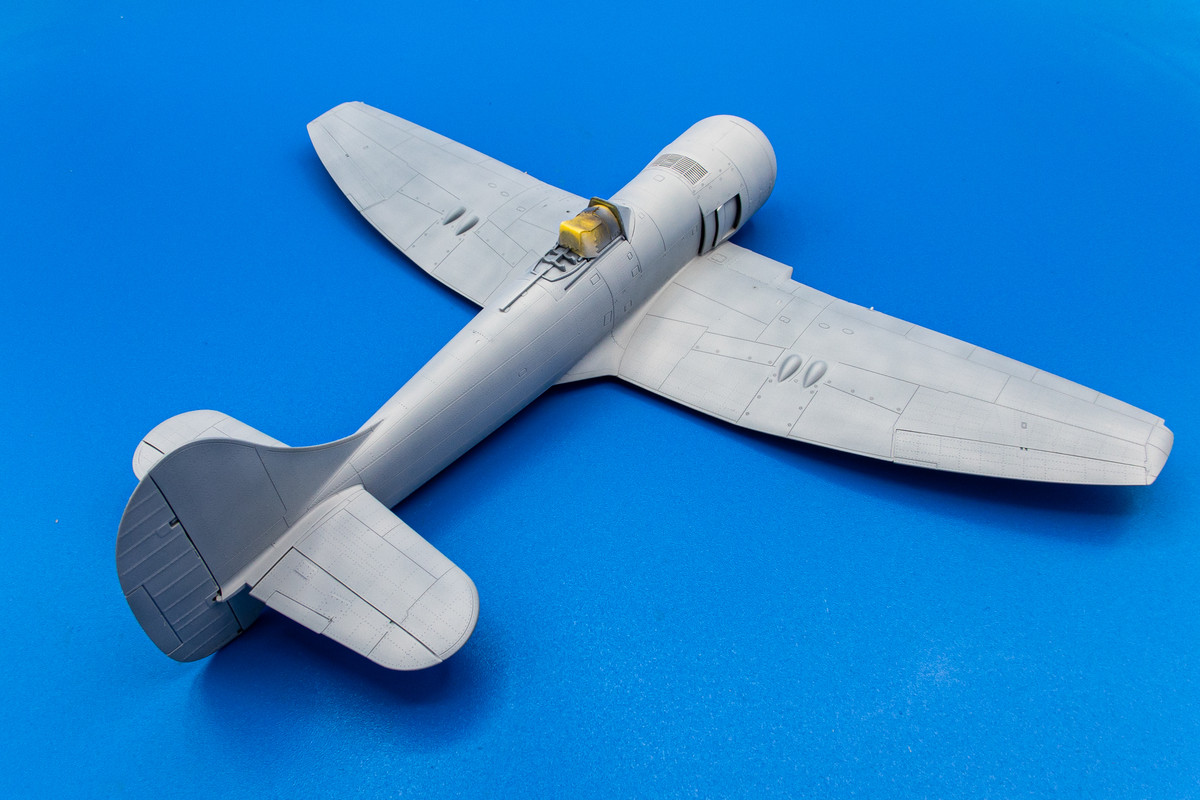
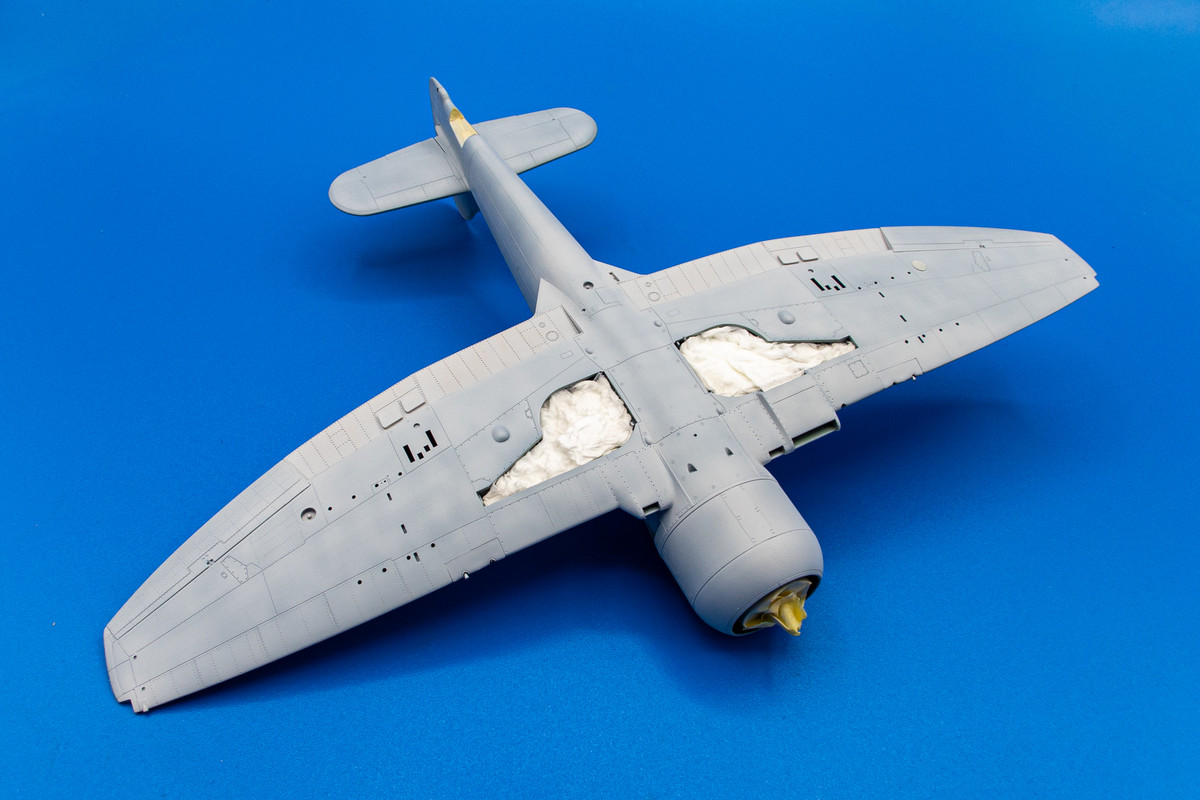
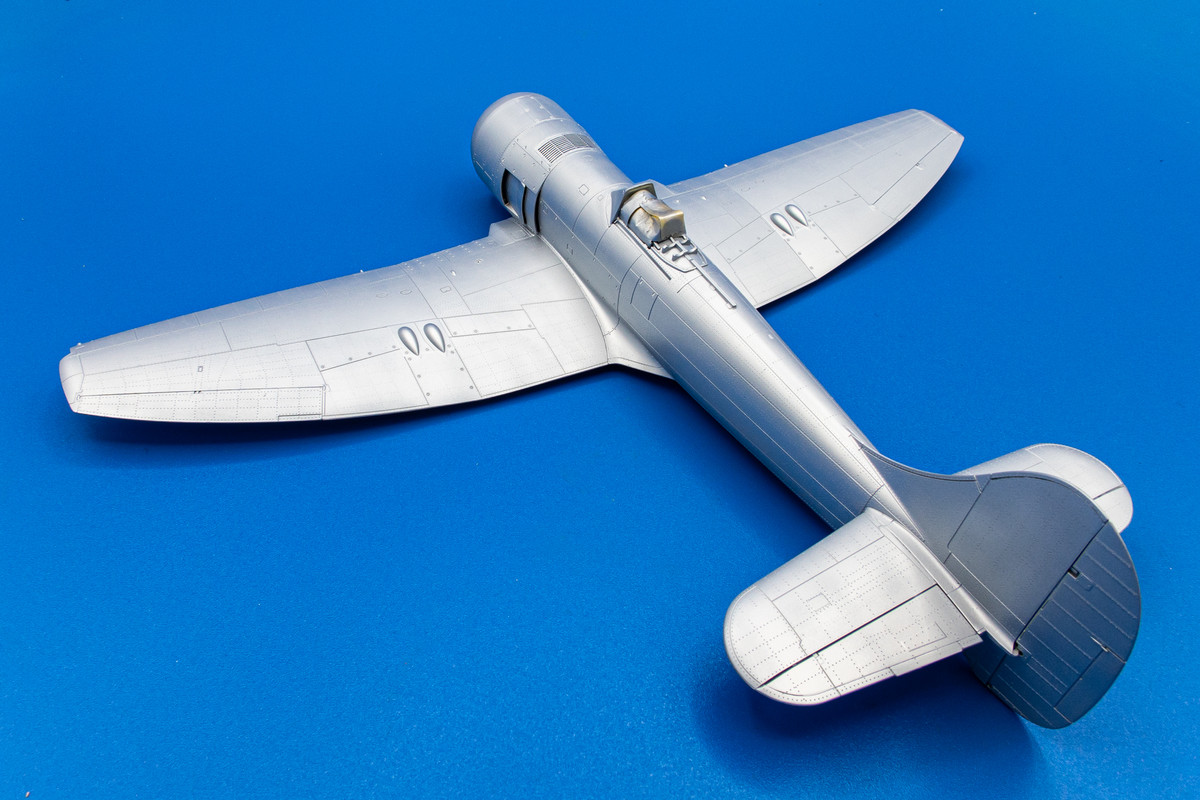
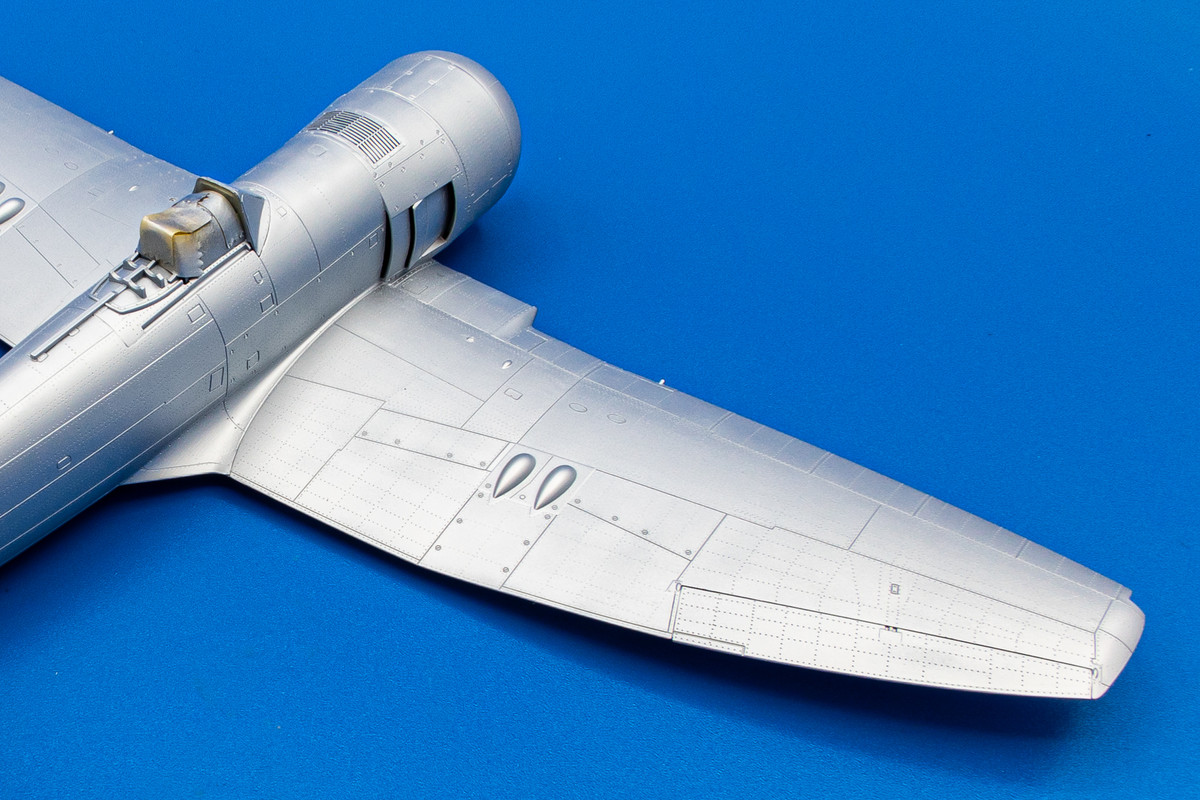
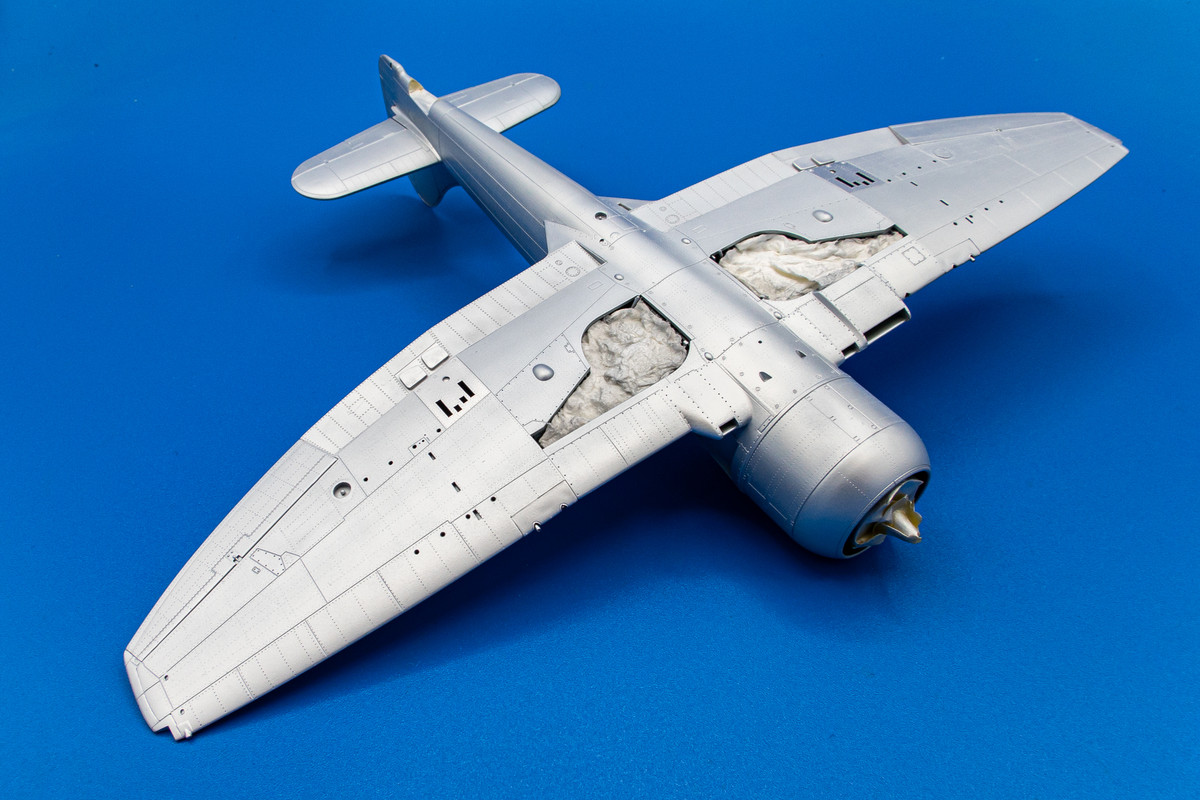
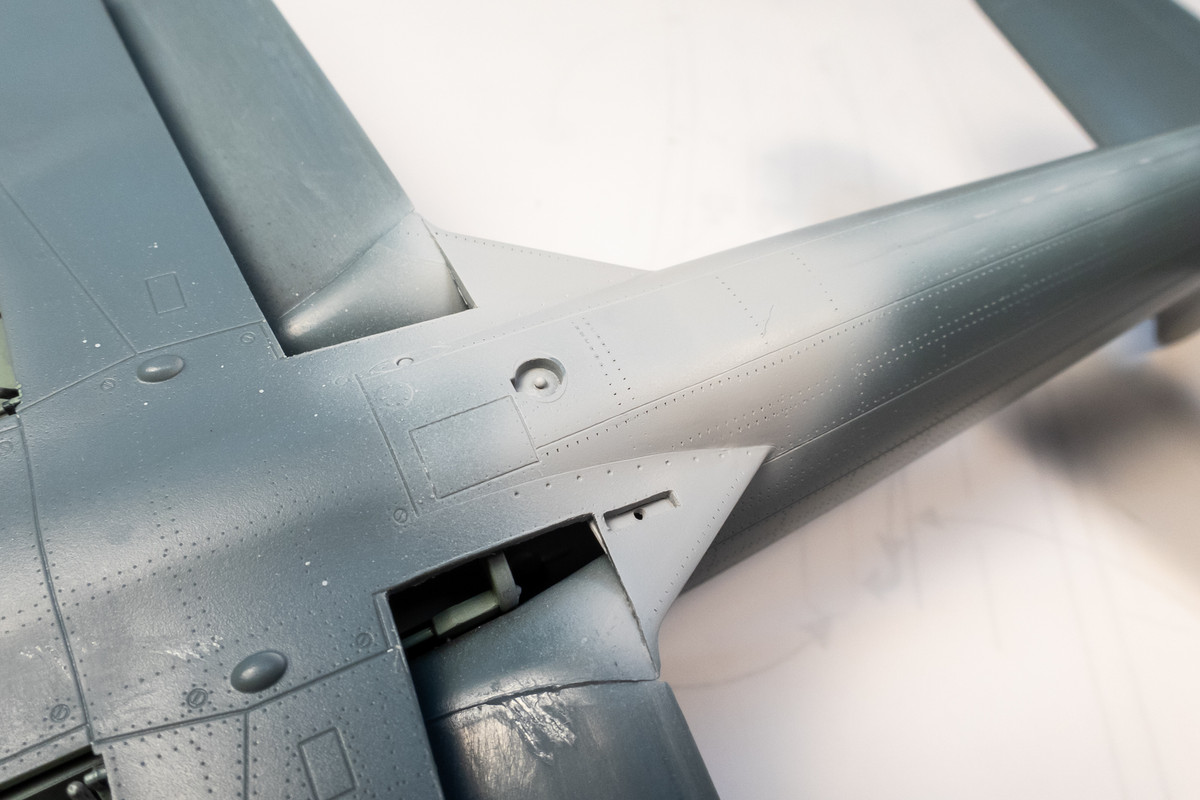
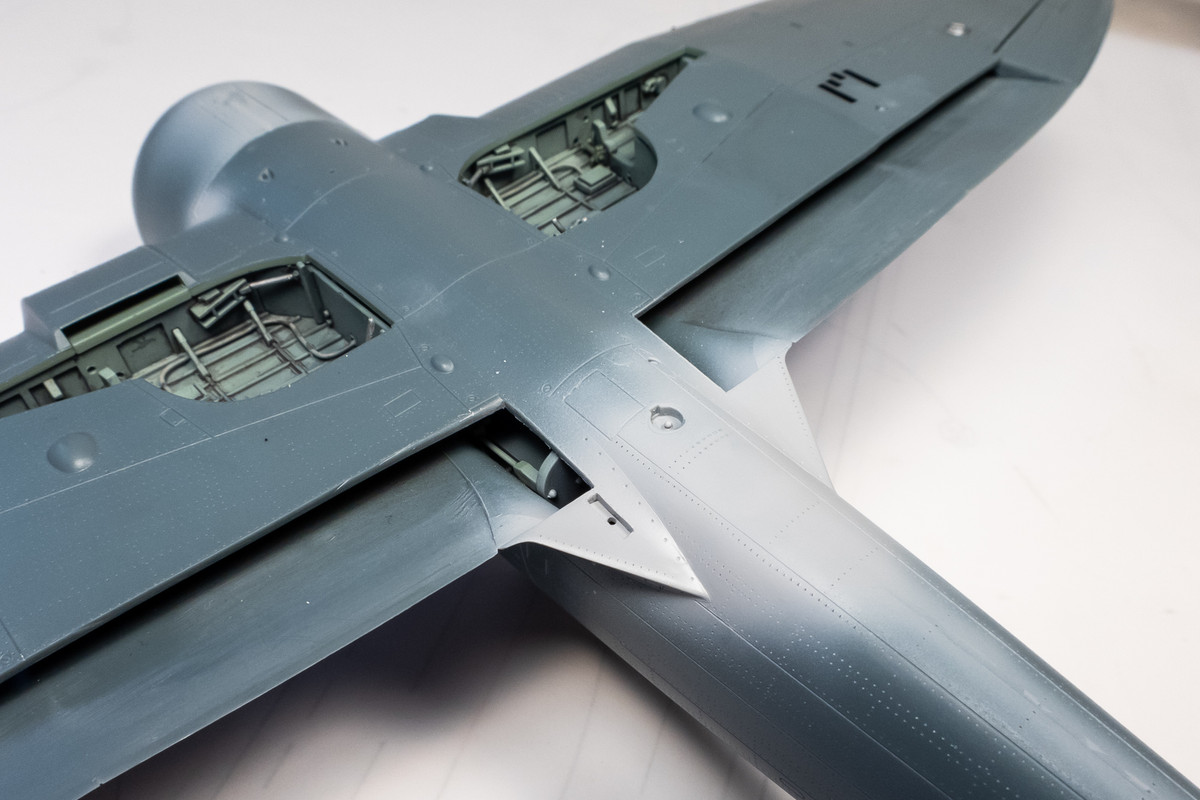
The rear bottom joint has been filled and puttied. Rivets and panel lines have been restored.
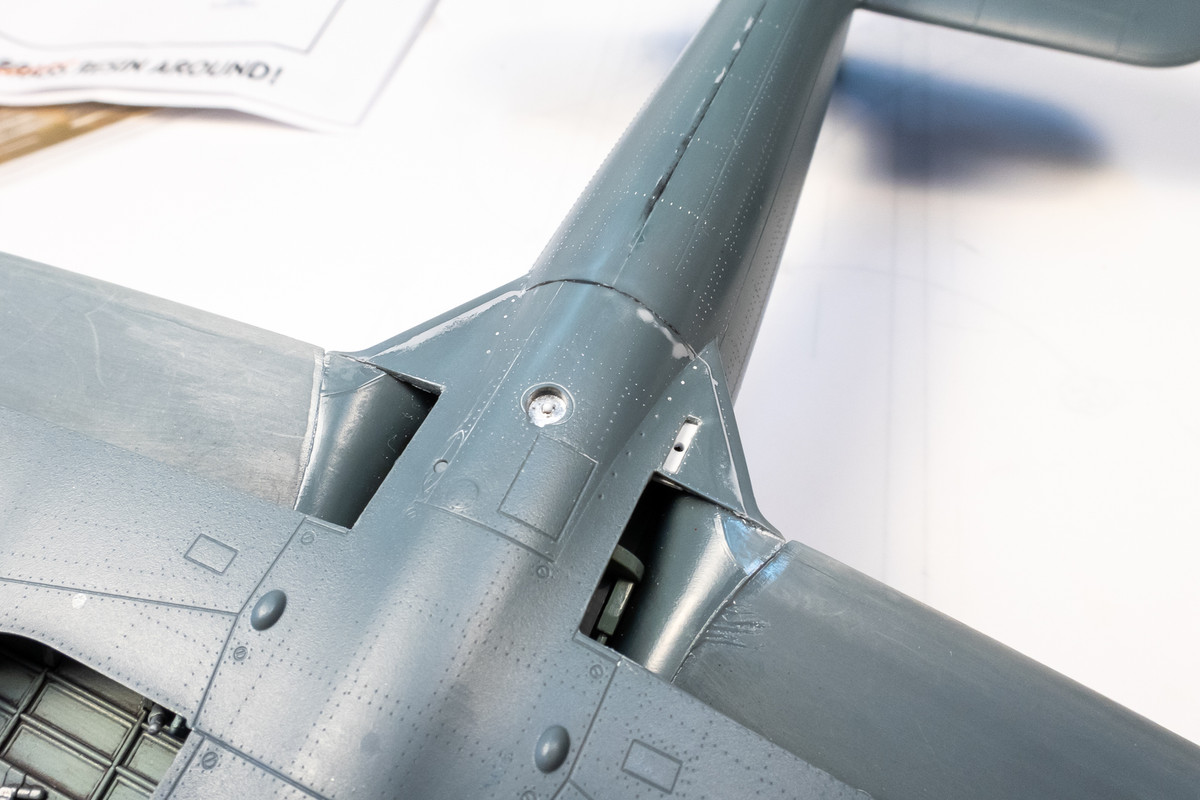
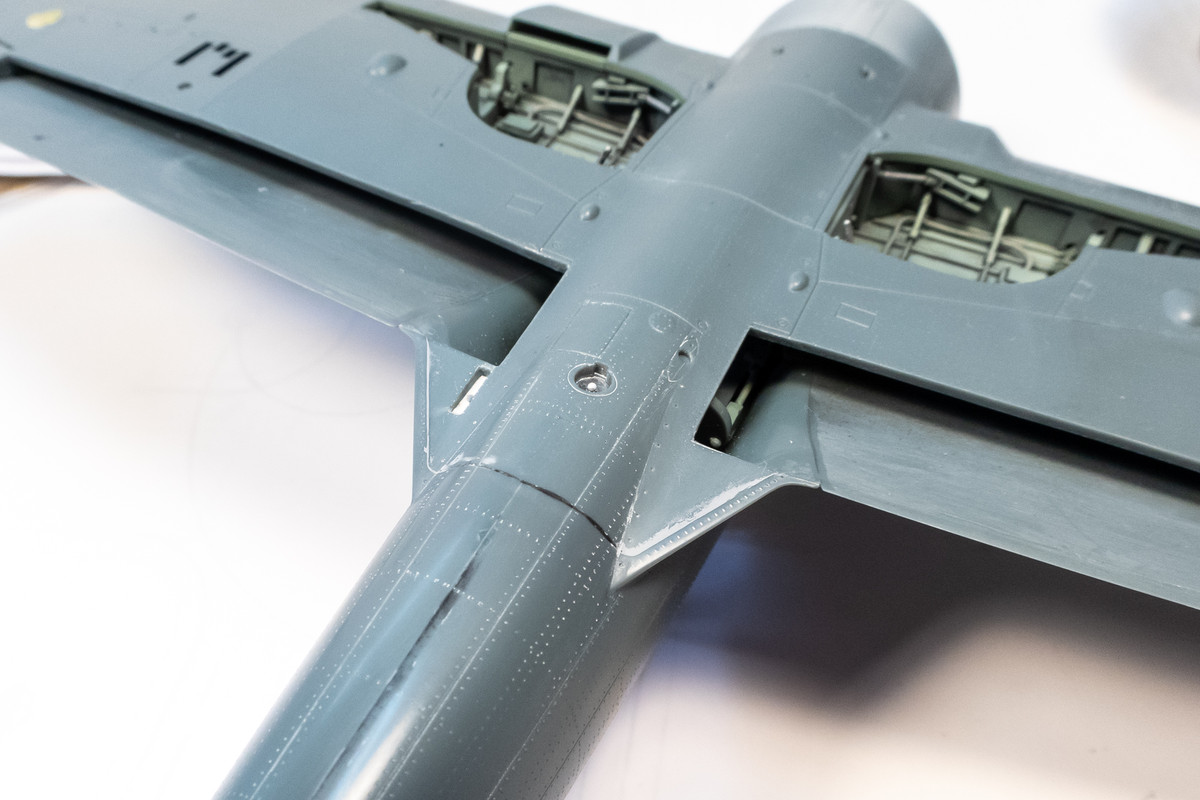
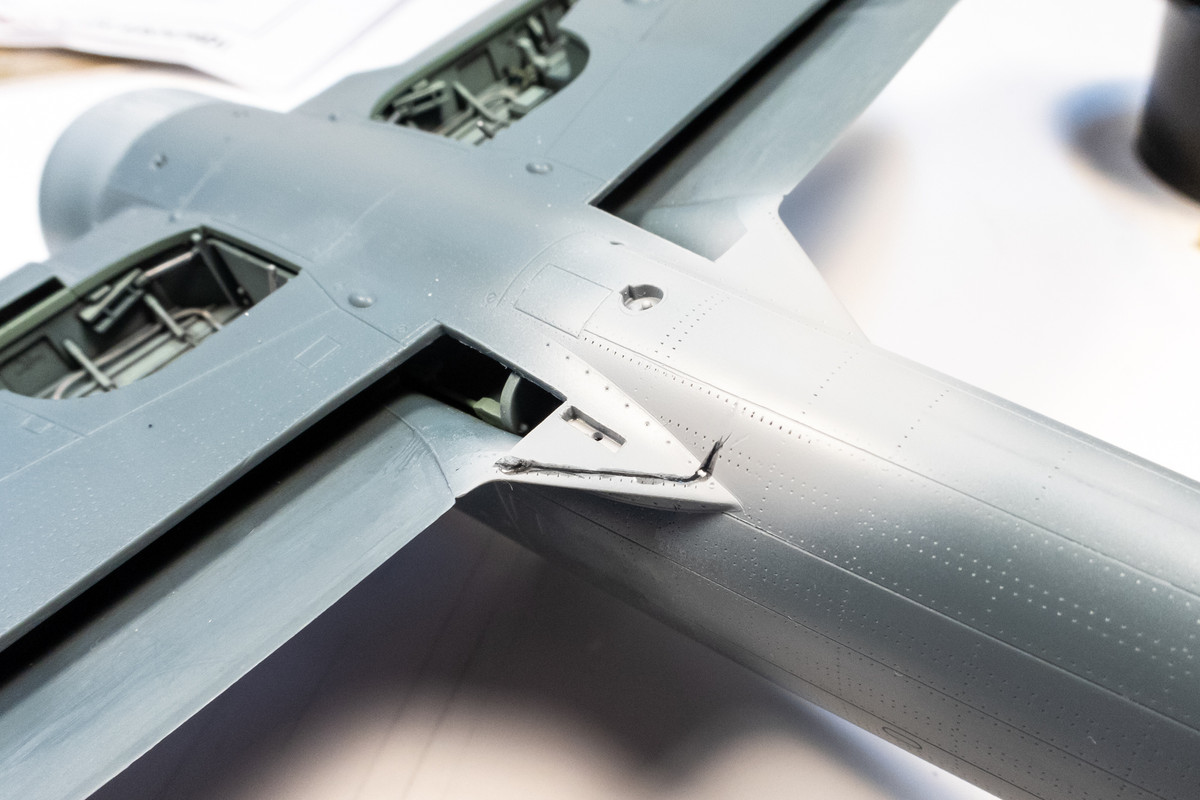
A coat of primer (Mr Primer Surfacer 1000) has been applied to check the joint. There is a joint along the starboard fillet that has cracked due to insufficient glue.
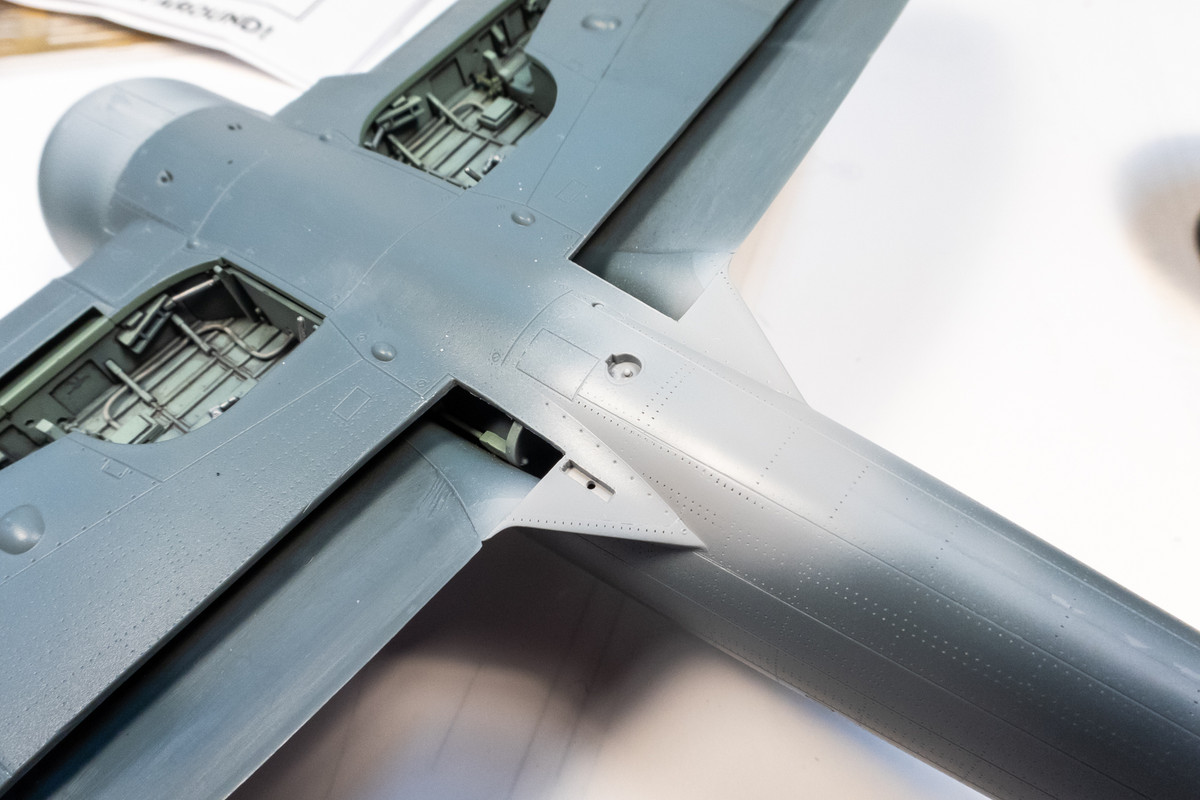
In order to fix this joint without re-cracking, I have to do a little bit more than just apply putty. So I've gouged a small trench along the joint using my scribing tool.
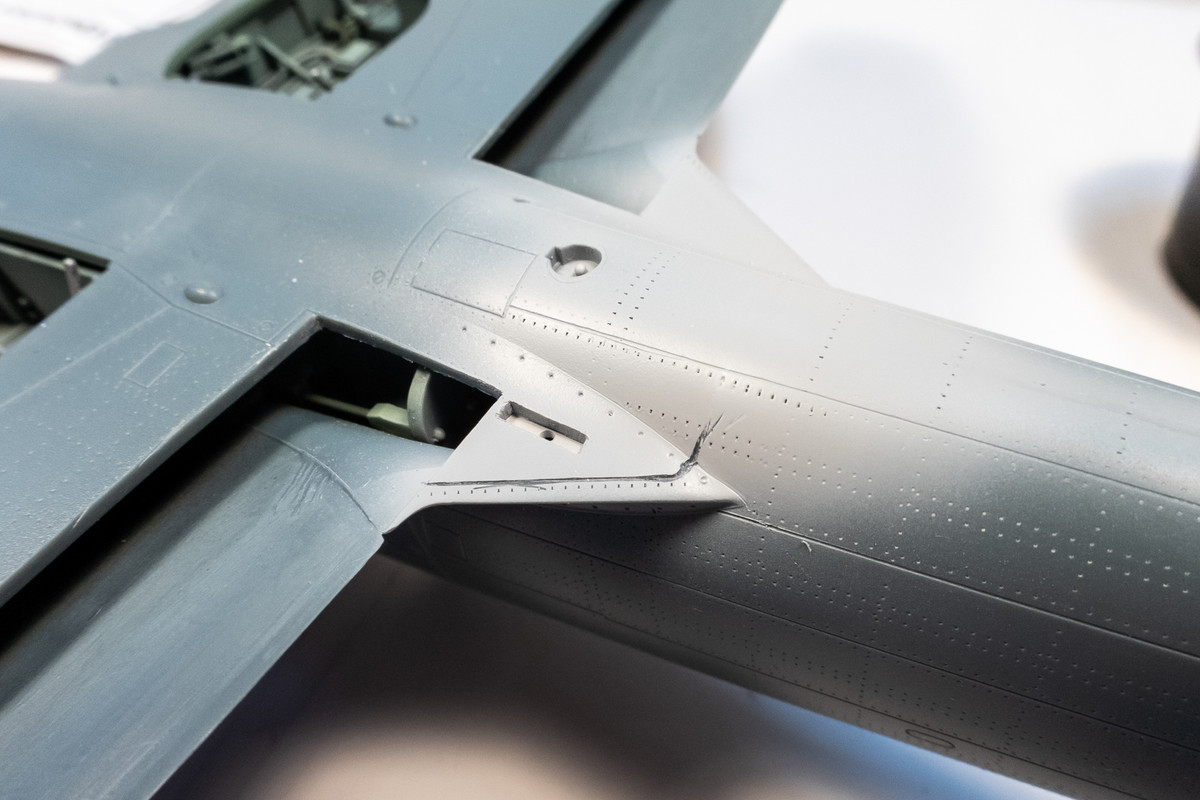
The trench is filled with black CA glue.
After some more fine sanding, another coat of primer to check the area.
Re: Eduard 1/48 Hawker Tempest II
Posted: Sun May 12, 2024 6:34 pm
by jkim
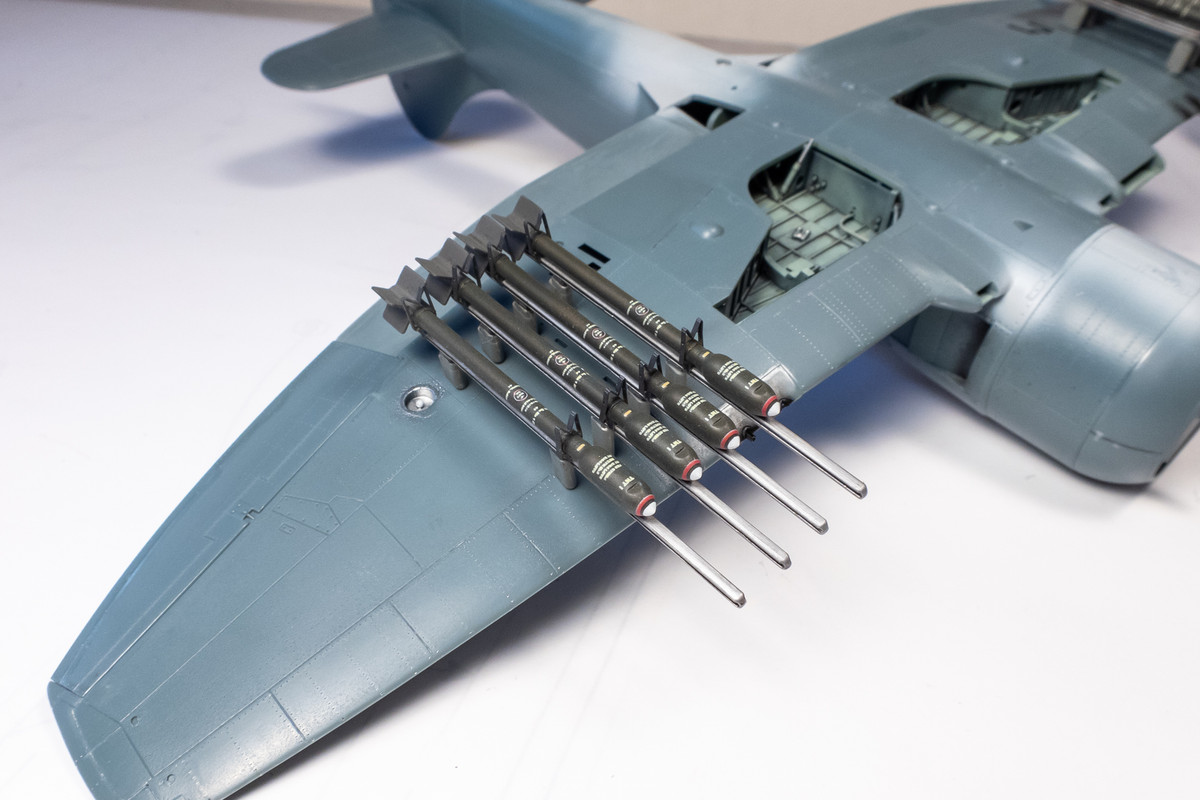
The rockets have been painted and decaled.
Re: Eduard 1/48 Hawker Tempest II
Posted: Mon May 13, 2024 8:33 am
by tempestjohnny
John those rockets look fantastic
Re: Eduard 1/48 Hawker Tempest II
Posted: Mon May 13, 2024 9:39 am
by LyleW
Nice work on those seams.
Re: Eduard 1/48 Hawker Tempest II
Posted: Mon May 13, 2024 10:20 am
by Medicman71
You really do great work on the seams.
Re: Eduard 1/48 Hawker Tempest II
Posted: Tue May 14, 2024 3:59 pm
by jkim
Re: Eduard 1/48 Hawker Tempest II
Posted: Tue May 14, 2024 6:01 pm
by Stikpusher
Beautiful work John!

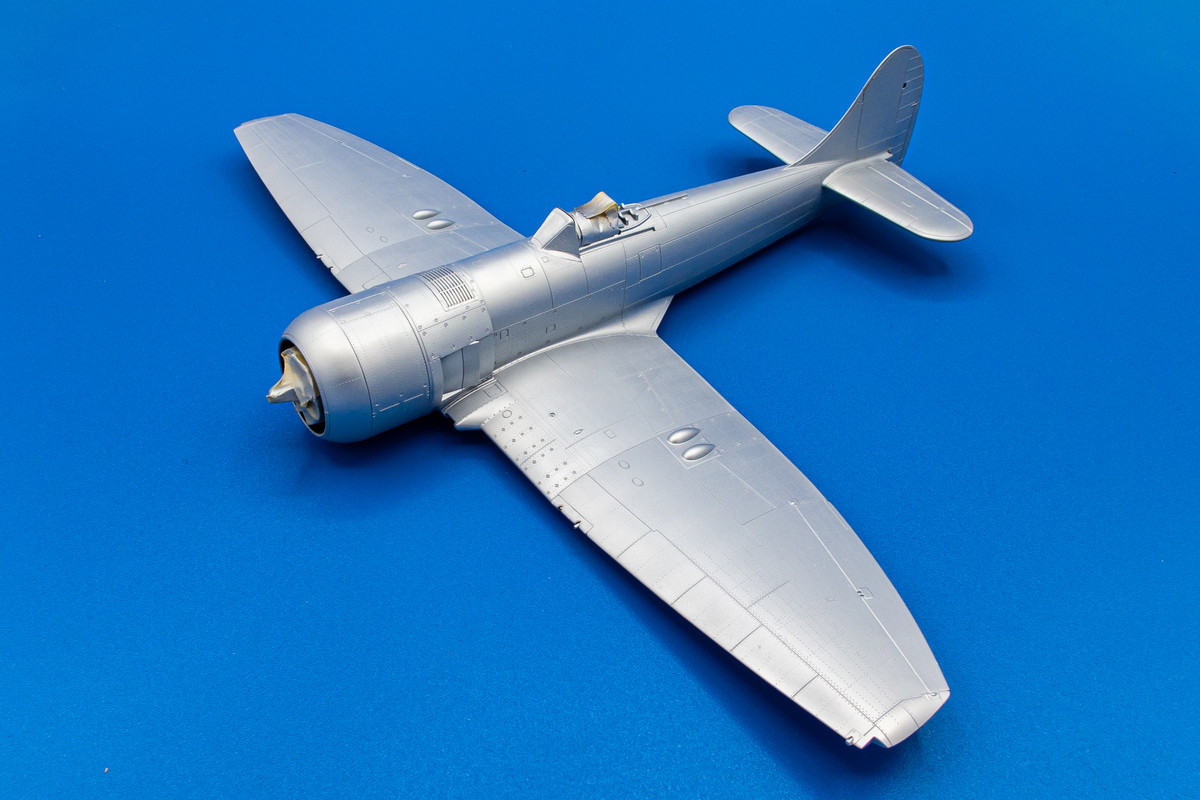
The NMF looks outstanding!
Re: Eduard 1/48 Hawker Tempest II
Posted: Tue May 14, 2024 6:17 pm
by BlackSheep214