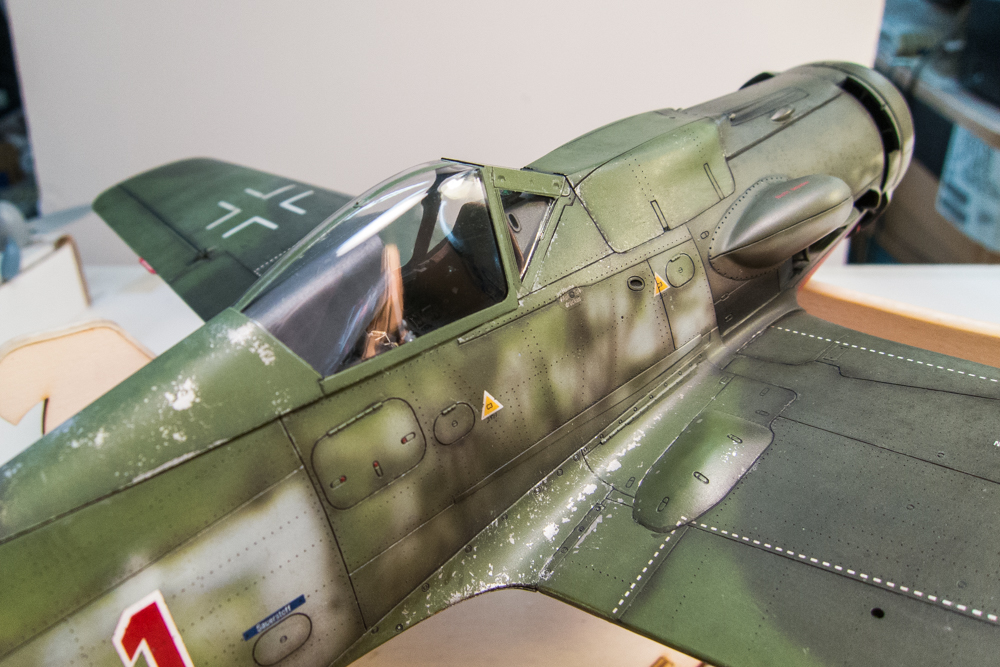
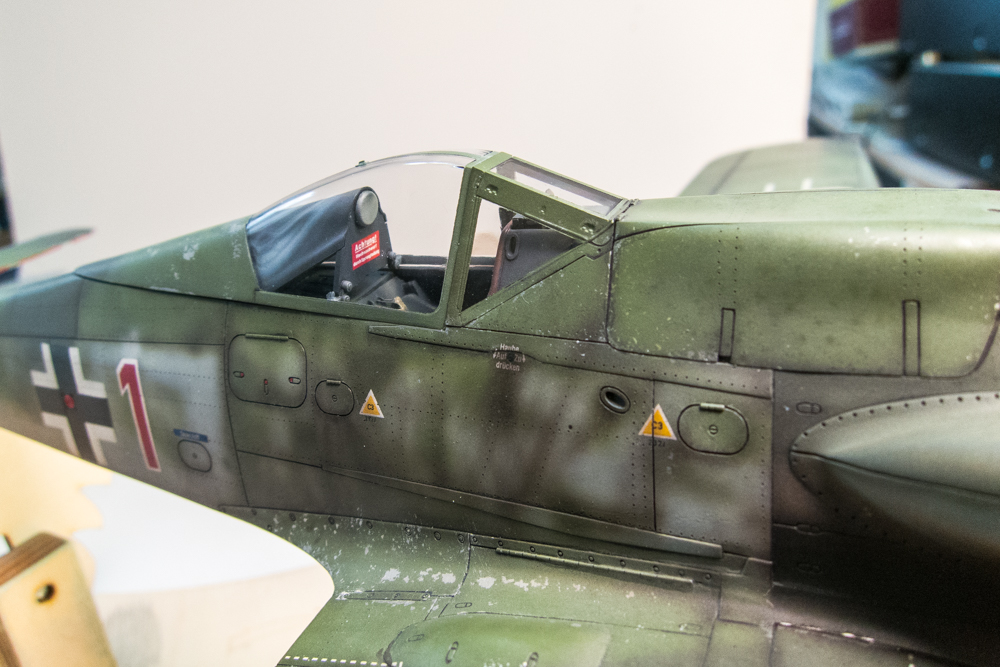
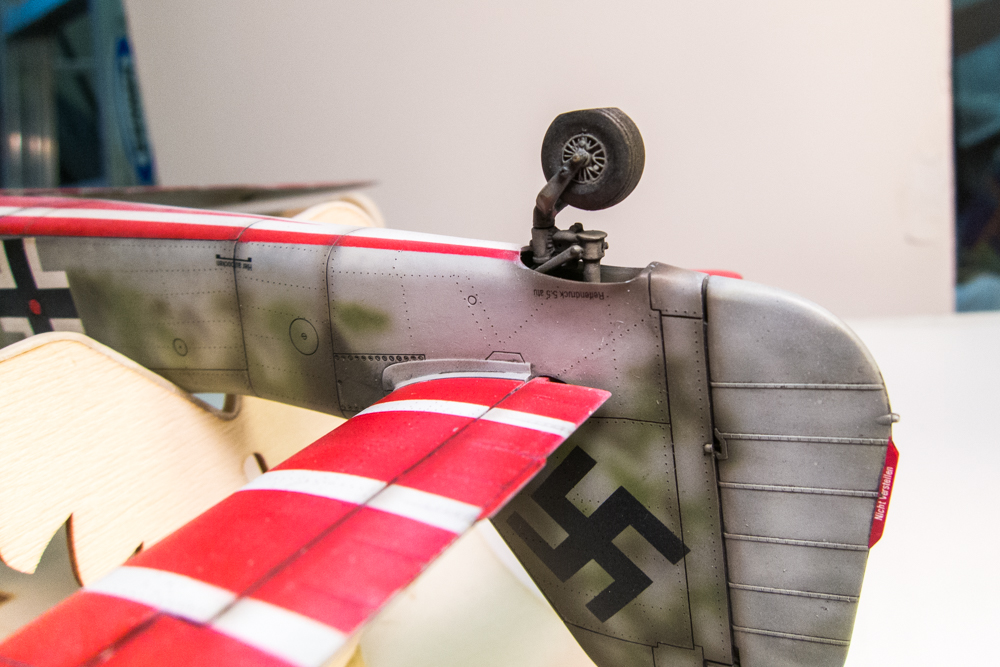
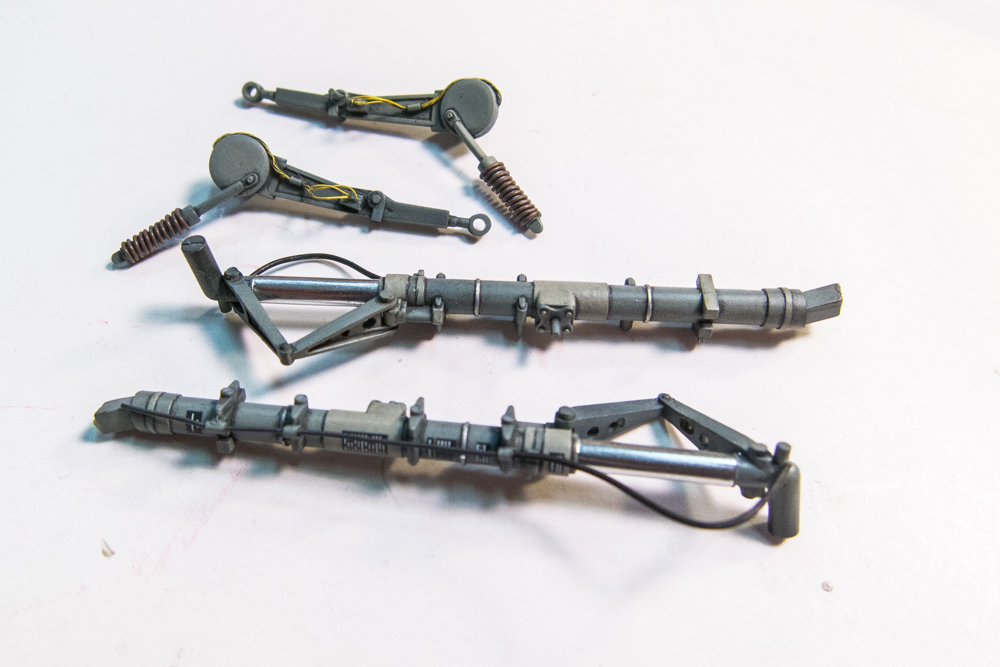
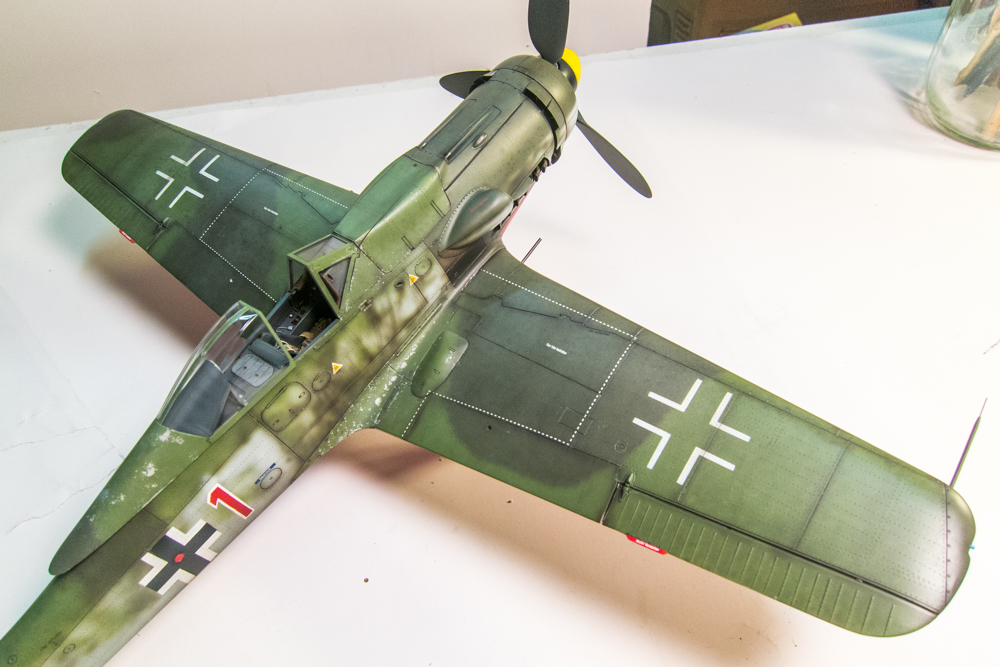
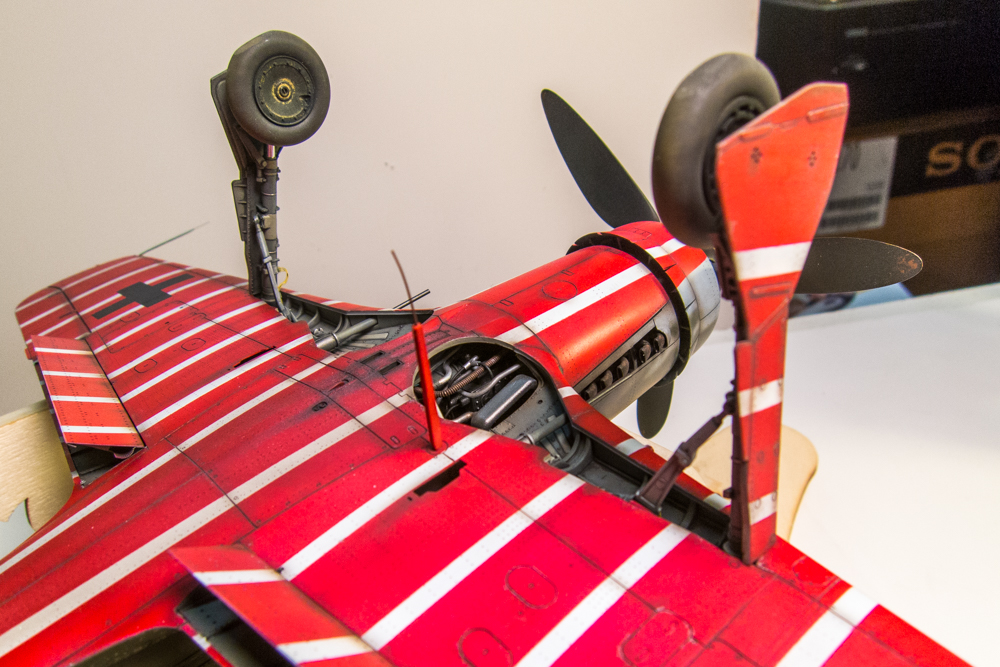
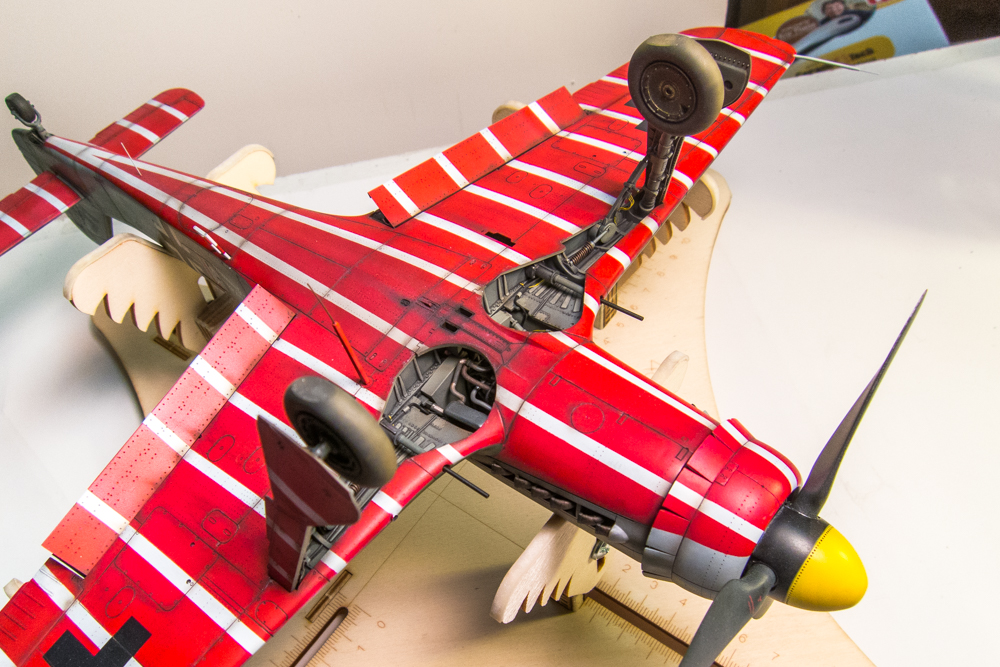
1/32 Hasegawa Fw190D-9 Red One

Post your work in progress of your aircraft builds in here.
User avatar
KennyX
Elite Member
Posts: 2631
Joined: Sun Dec 24, 2017 11:19 am

Re: 1/32 Hasegawa Fw190D-9 Red One

Post by KennyX »

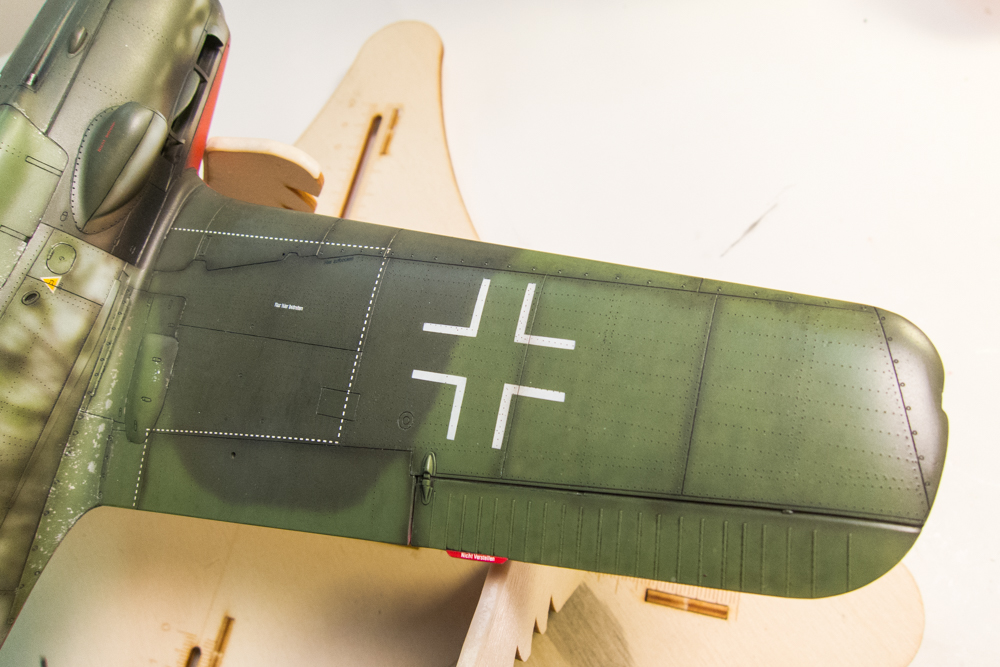
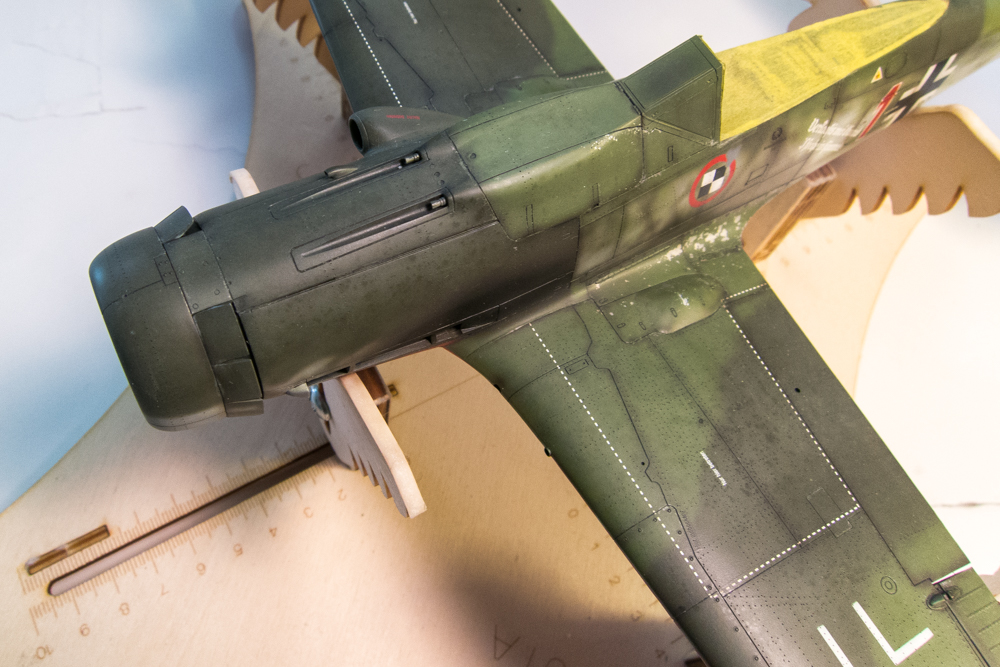
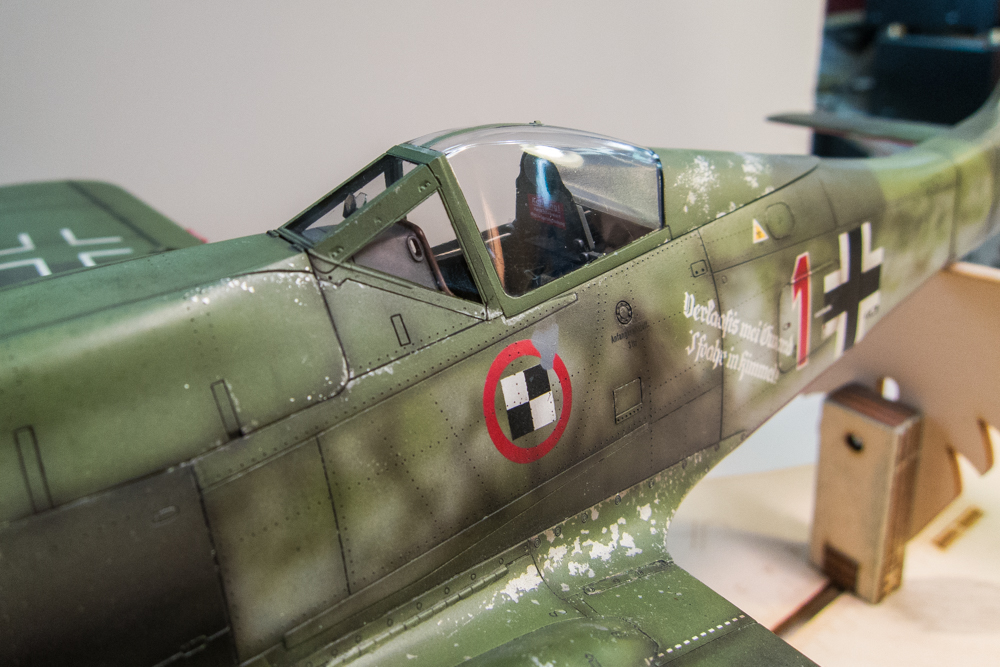
jkim wrote:One step forward... two steps back. I had an issue with the flat coat over the salt fade. The finish started developing a "dusty" or slightly cloudy look with every pass of the airbrush. Not sure what was happening but probably something to do with the salt residue and the flat mixture. So I gave the model an emergency gloss coat (Alclad Aqua Gloss thinned with Tamiya Acrylic thinner instead of the usual iso alcohol to "bite" through the latest flat coat into the salt fade layer) in hopes of getting rid of the cloudy look.

This morning I inspected the model and thankfully that dusty look was gone with the exception of some areas around the engine cowling. I re-established the RLM 83 Dark Green in that area and also the engine exhaust staining and gave the model a careful coat of 1/2 gloss and 1/2 flat. Again, no cloudy finish developed but I noticed that the salt fade effects had been completely obliterated by the multiple clear coats.

So if feels like I've moved back three steps in this build. I'm going to establish one more (very gradual) salt fade layer and evaluate whether I can increase the flat factor a notch without incurring that cloudy look.
Image
Image
Image

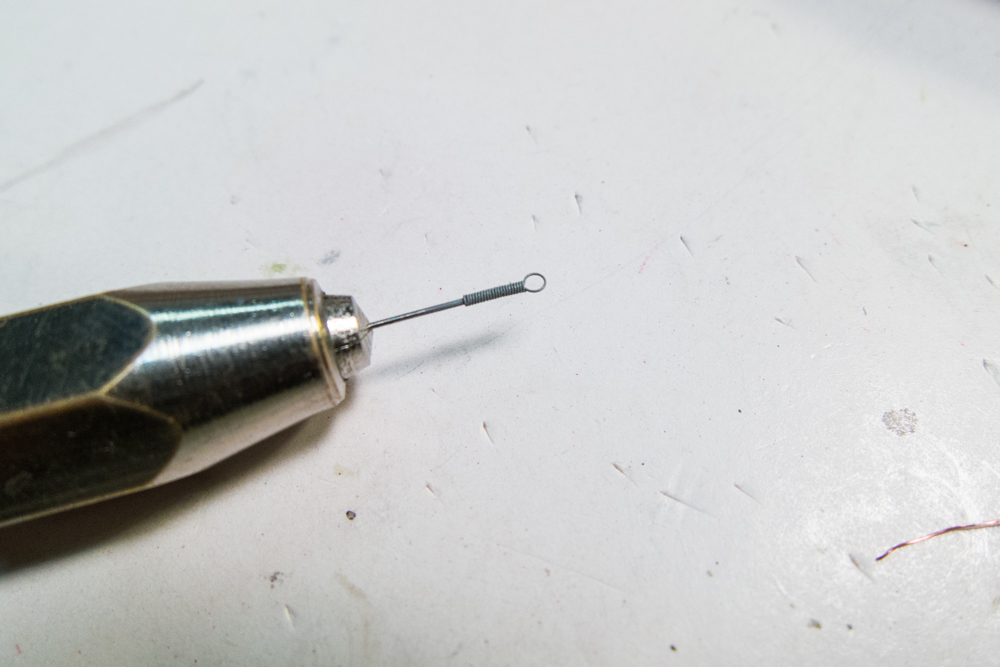
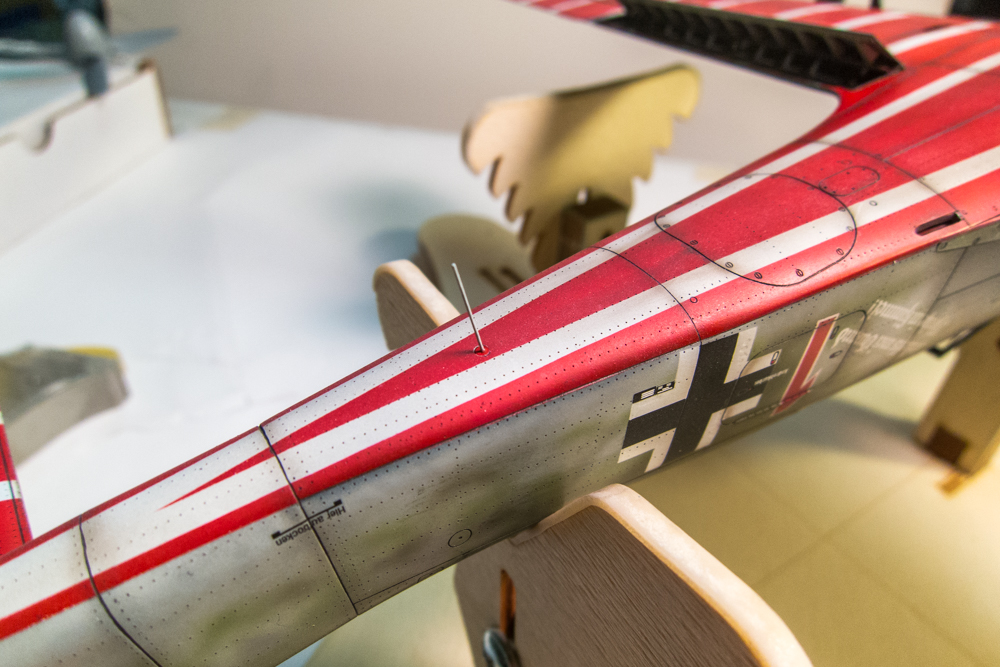
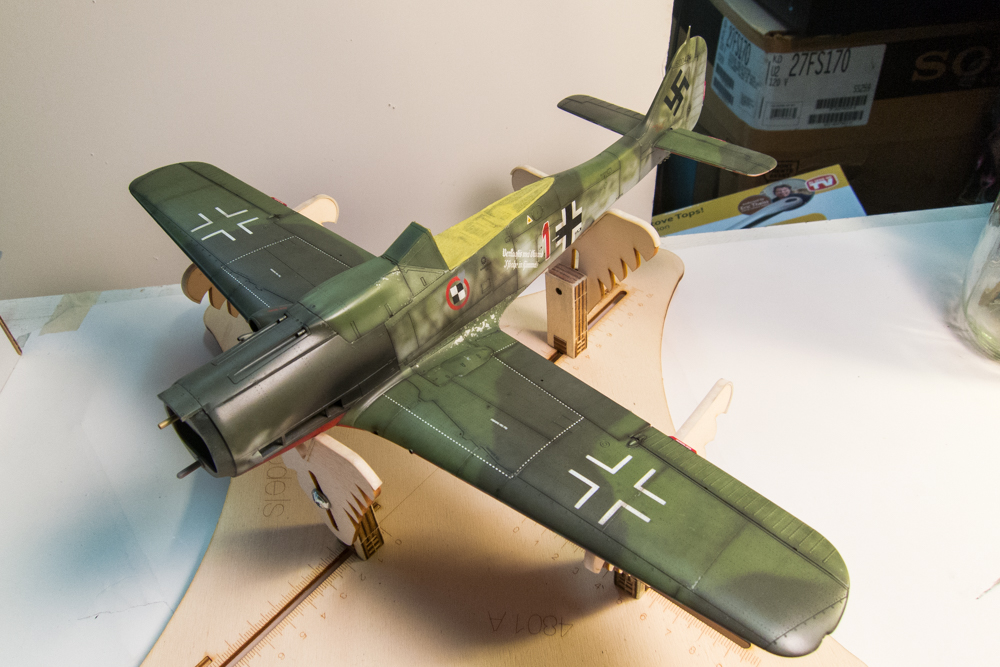
In the meantime, I'm getting all of the fiddly bits ready for final assembly. The spring tensioner on the aerial has been fabricated using fine electrical wire wrapped around the smallest micro drill bit I have.
Image
Image

Good save, John!

I’m over here racking my brain about what could’ve caused that cloudy dustiness to occur. From everything I read, it’s usually the other way around. It looks cloudy but that goes away with the clear coat. And I know you’re aggressive when getting that salt off of there after the fading process... weird. But you overcame it. And that’s very good.
Kenny X
Head Mother Trucker In-Charge @ Kenny X’s Reichs Winzigkleines Flugzeugewerks *and now* Airboat Records, too!
User avatar
KennyX
Elite Member
Posts: 2631
Joined: Sun Dec 24, 2017 11:19 am

Re: 1/32 Hasegawa Fw190D-9 Red One

Post by KennyX »

jkim wrote:Round 2 of salt fading is complete. Which puts me back to where I was, essentially. I don't want a repeat of flat coat fiasco so I'm going to got with this finish.
Image
Image
Image

That pretty much ends the airbrush work on this model so off comes the masking on the clear parts.
Image
Image
Image

The exhaust pipes get cemented into position.
Image

Next comes the landing gear... starting with the tail wheel. There is a brass tubing axle that allows the tail wheel to spin freely. I'll leave it that way so that flat spot can find the right position once the main gear and wheels are in place.
Image

The main landing gear components are ready to be installed.
Image

The peg/hole arrangement is a very tight affair. I press the legs in partially, seep Tamiya Extra Thin cement into the join and then push them in all of the way.
Image

The actuating arms are cemented in a similar way.
Image

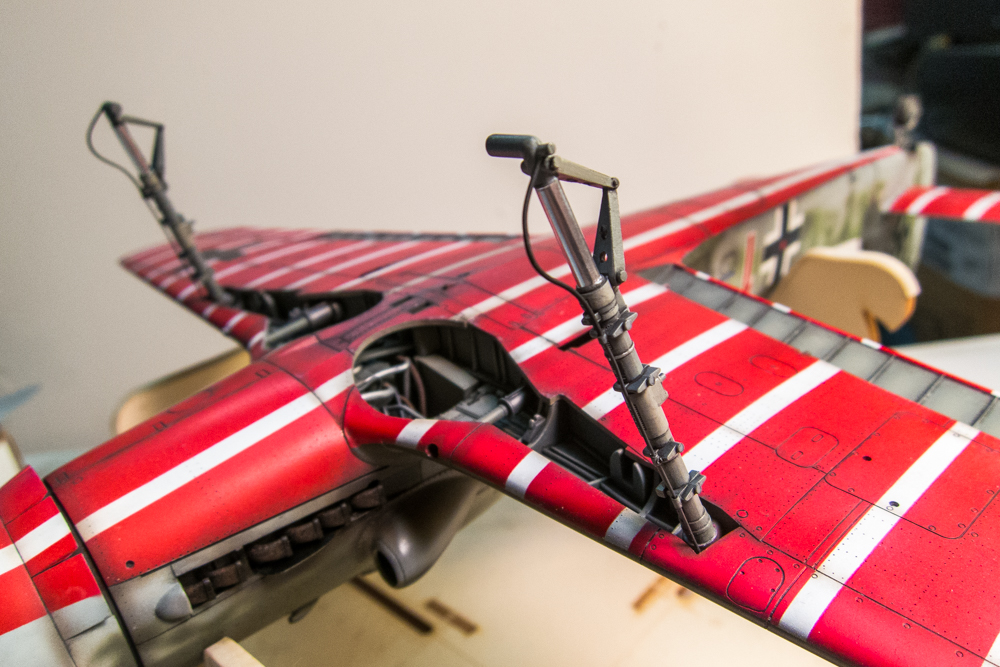
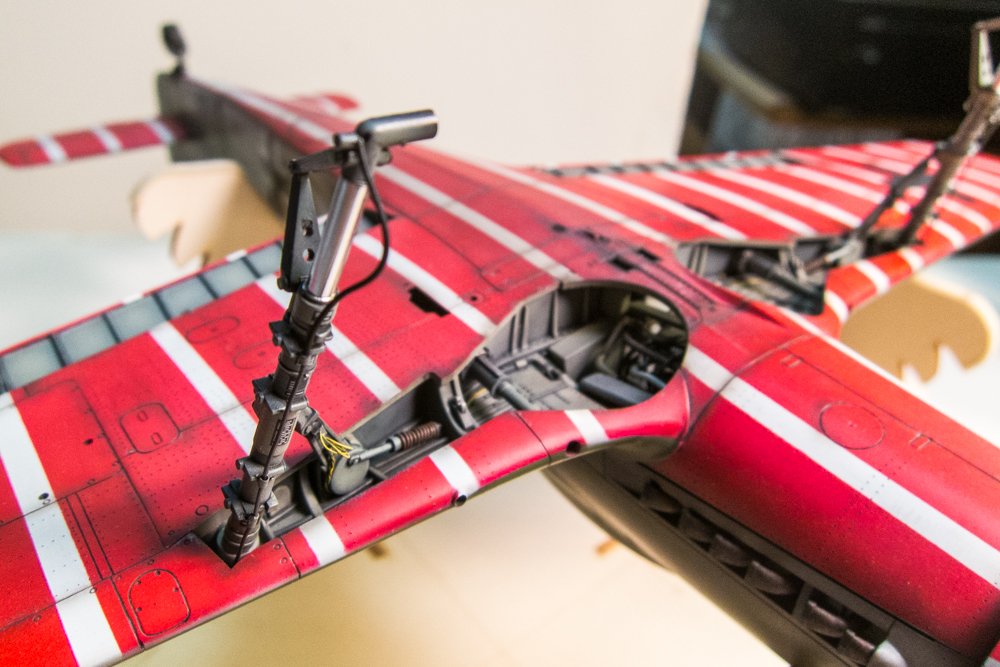
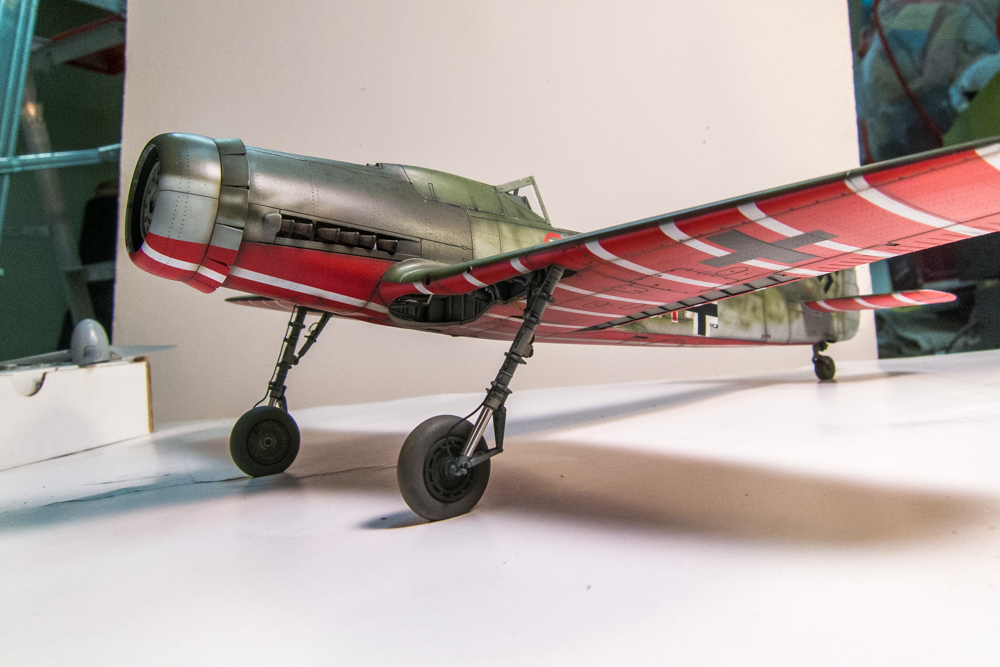
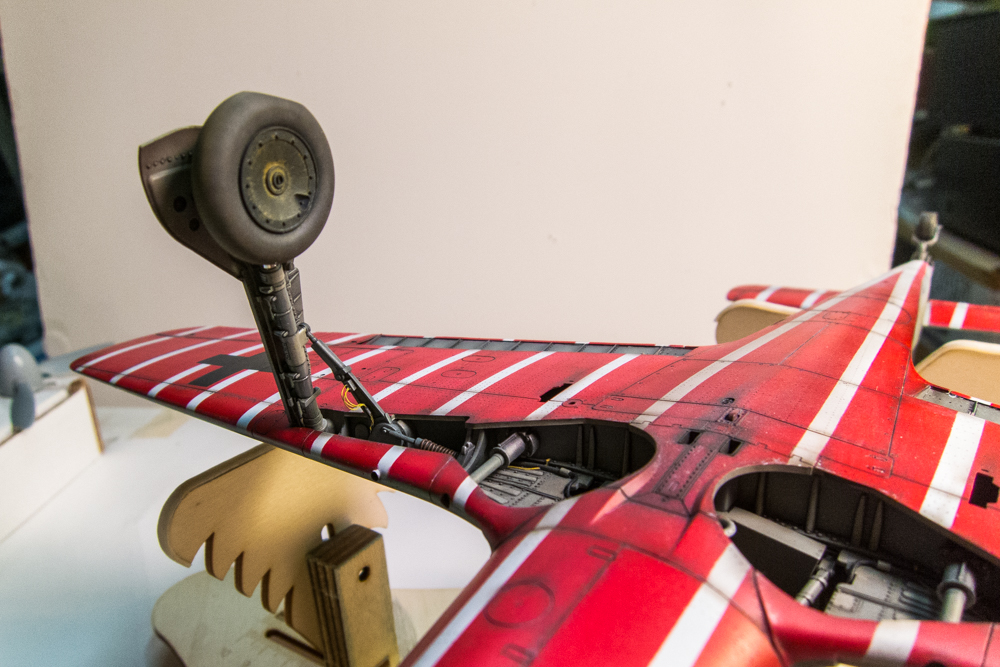
The wheels are glued on with Tamiya Extra Thin cement. As the glue stiffens, I set the model on its legs for the first time and make sure the flat spots on the three tires are in contact with the table surface. The perspective makes the legs look funky but I've verified that they are at the correct angle.
Image

The landing gear covers are glued into place. It was a while ago but the gap between the cover and the bottom of the wing has been eliminated with a shim... can't even tell right?
Image
Image
Image

The Eduard brass flaps are secured using JB Kwik Weld epoxy. This is a tenuous connection and I wanted to make it as strong as possible.
Image

The finish line for Red 1 is clearly within sight now!
Image

She’s. Beautiful. You recovered nicely, and I’m enjoying the depth that you have in the camouflage. That was always my biggest complaint with my first Galland Emil- the camouflage looked flat to me. The importance of layers wasn’t really apparent to me until I did my Corsair. Anyway, I’m enjoying the depth and subsequent realism you’ve achieved here.
Kenny X
Head Mother Trucker In-Charge @ Kenny X’s Reichs Winzigkleines Flugzeugewerks *and now* Airboat Records, too!
User avatar
mostrich
Admin
Posts: 3105
Joined: Sun Apr 06, 2014 2:13 pm
Location: Hamburg, Germany
Contact:

Re: 1/32 Hasegawa Fw190D-9 Red One

Post by mostrich »

jkim wrote:... would you guys be interested in seeing this build?
With all respect, John - that is a stupid question. :lol:
Cheers,
Torben
User avatar
speedgraflex
Moderator
Posts: 11358
Joined: Fri Feb 10, 2017 11:08 pm
Contact:

Re: 1/32 Hasegawa Fw190D-9 Red One

Post by speedgraflex »

KSaarni wrote:
jkim wrote:Planning on doing one of Boyington's Corsairs, Bu 17740... would you guys be interested in seeing this build?
Image
Oh yes we would!!

- Kari
:P1:

I would add something! Yes, PLEASE!
Make more models!
User avatar
speedgraflex
Moderator
Posts: 11358
Joined: Fri Feb 10, 2017 11:08 pm
Contact:

Re: 1/32 Hasegawa Fw190D-9 Red One

Post by speedgraflex »

mostrich wrote:
jkim wrote:... would you guys be interested in seeing this build?
With all respect, John - that is a stupid question. :lol:
:giggles:
Make more models!
User avatar
Duke Maddog
Elite Member
Posts: 7668
Joined: Tue Jun 03, 2014 11:22 am
Location: Rowland Heights, CA

Re: 1/32 Hasegawa Fw190D-9 Red One

Post by Duke Maddog »

What a long yet wild and exciting ride this has been to watch this model come to life! You've gone far beyond what I thought was possible in making this aircraft look real.

And that question asking us of we would be interested in seeing that Corsair build; after all the responses you got on this Thread; do you really think you have to ask? Seriously man, if you even do half of what you did on this; it will still be phenomenally far beyond anything I could possibly do...... ever!

In short: YES!!! We all want to see the Corsair!
The Duke
Virtuoso of Miniatures

"Do you know what the chain of command is? It's the chain I get and beat you with 'till you understand who's in ruttin' command!"
-Jayne Cobb, Firefly Episode 2 "The Train Job"

We are modelers - the same in spirit, in hunger to insanely buy newly released kits, hustlers in hiding our stash from our better halves and experts in using garbage as replacements for after-market parts.
User avatar
jkim
Elite Member
Posts: 4073
Joined: Mon Apr 10, 2017 4:03 pm

Re: 1/32 Hasegawa Fw190D-9 Red One

Post by jkim »

Thanks as always for the positive comments! Ok... I'll plan on sharing the Corsair build which will start soon but after my trip to Central Asia. I'll be leaving on Sunday and will be gone for two weeks so of course, no modeling during that time period. And hopefully, I don't encounter another travel-turning-into-extended-hiatus phenomenon. :quotes:

Red 1 is nearing completion and I am adding the final bits and pieces to her. For example, the brass tubing wing guns...
Image
Image

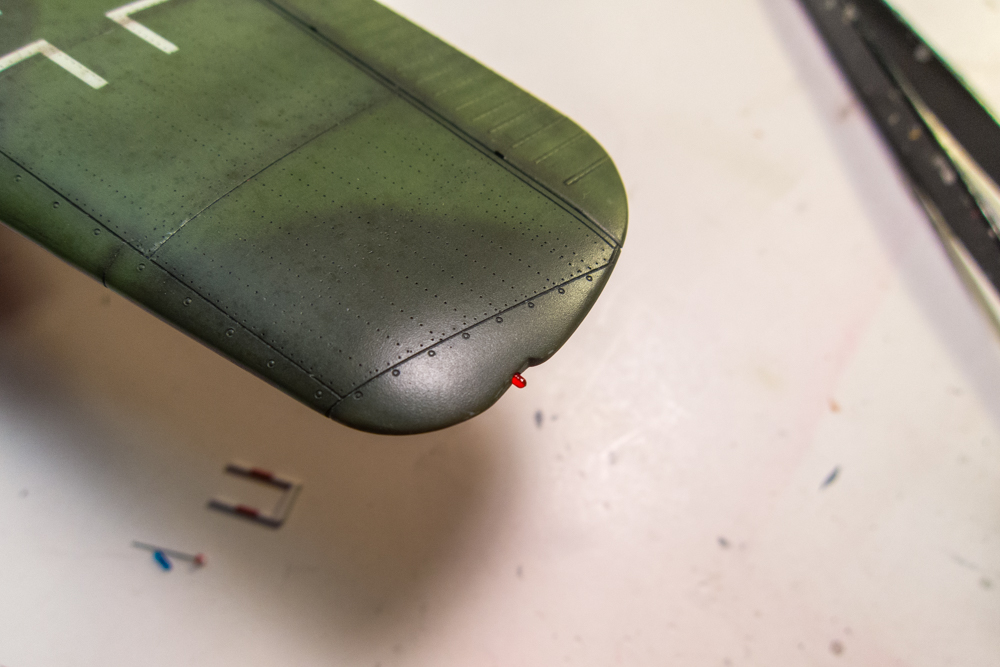
The wing tip lights...
Image

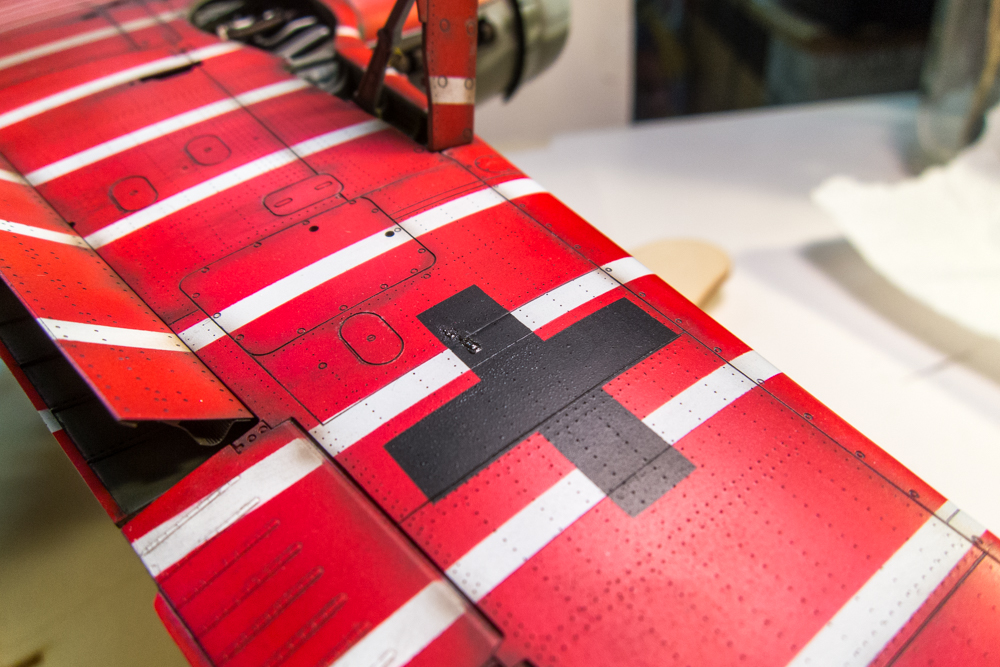
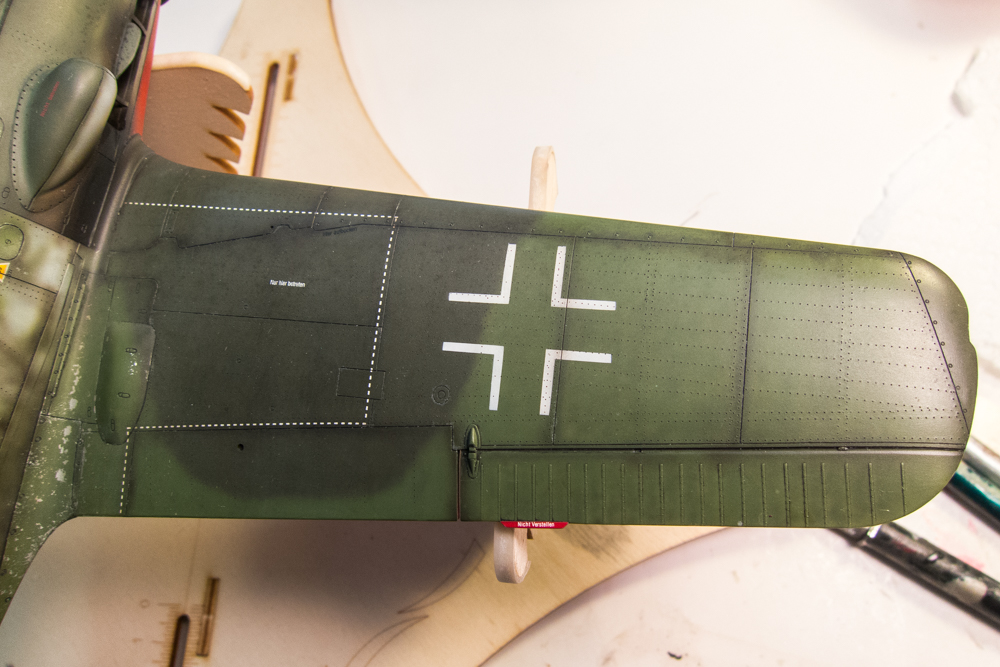
During this process, I noticed a black blob on one of the underwing crosses. It's hard to tell exactly what happened here but it appears to have bubbled up from underneath the black paint.
Image

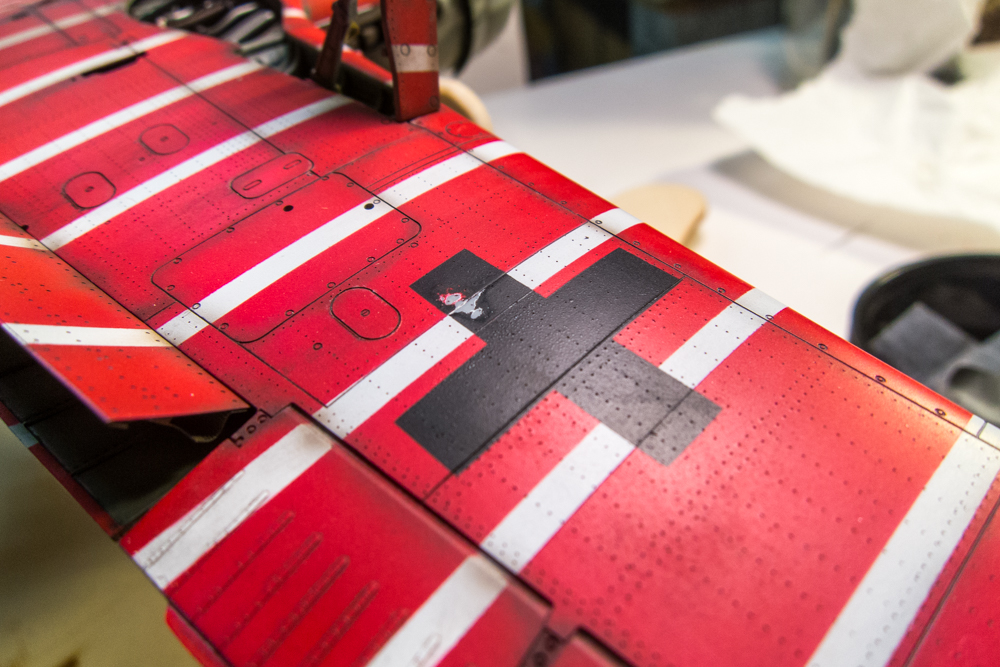
Luckily, whatever it was did not bond through to the plastic. I was able to flick most of it away using the tip of the x-acto. It was sticky enough to pull the paint of though. The scarred area was smoothed down using Micromesh.
Image

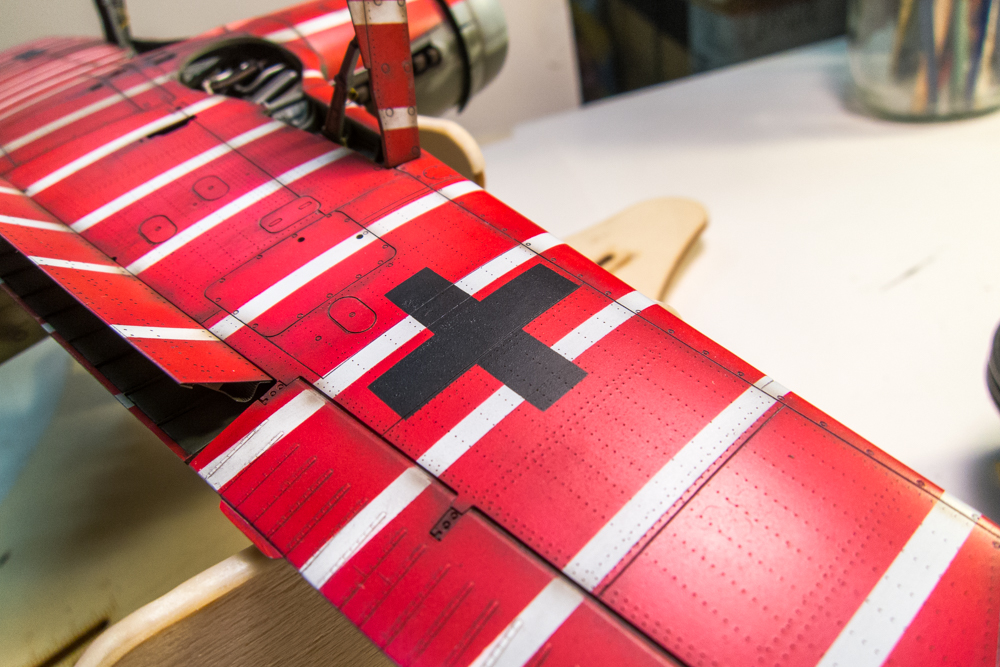
The area is masked off and repaired with the airbrush. For these small repairs, I am using a very thin mix of paint and I'll be making essentially a spot repair requiring very little masking due to the controlled spray pattern.
Image

All done! I'm not sure what caused that blob... either a blob of glue or filler?
Image

With that fixed, the attachment of the little things continued... the IFF antenna, which was fabricated with a piece of thin brass tubing.
Image

The boarding ladder is inserted into place. I punched a couple of "bolts" on the bottom of the ladder. The FuG whip antenna, which is almost out of the frame, has also been glued into place.
Image

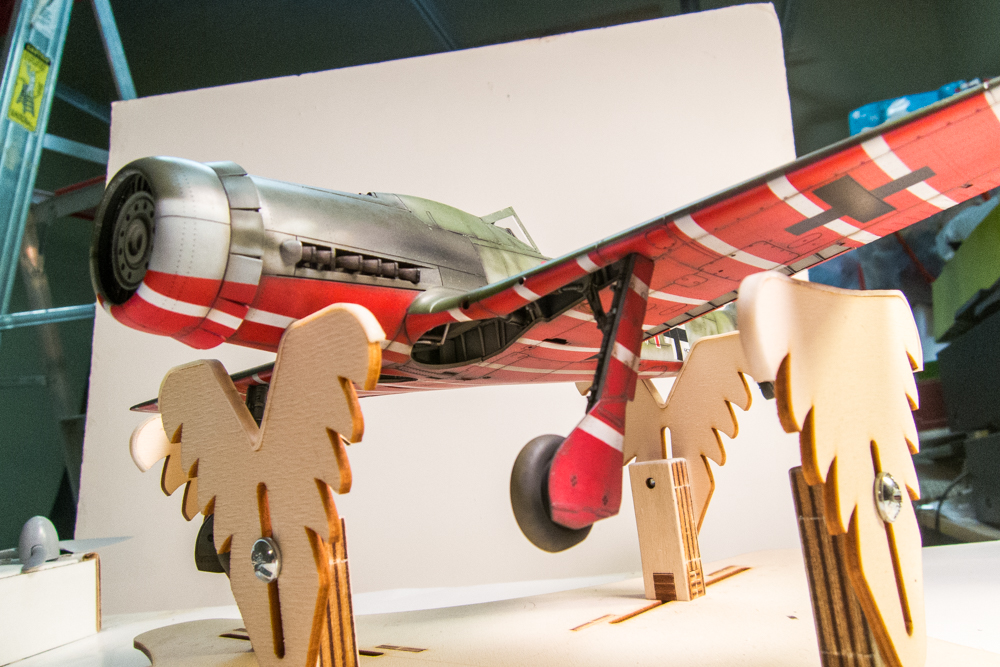
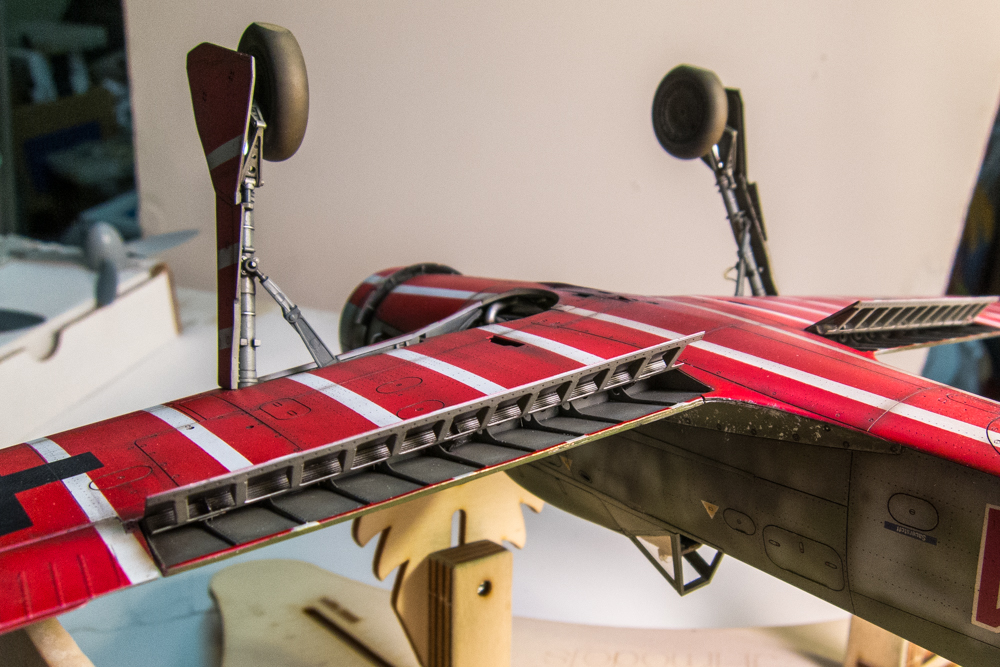
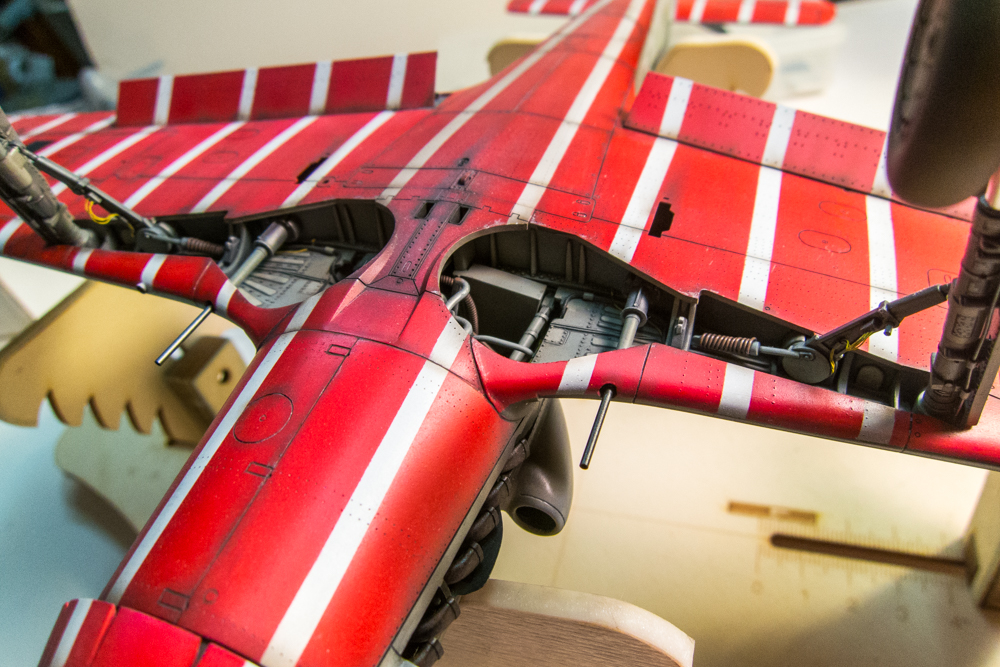
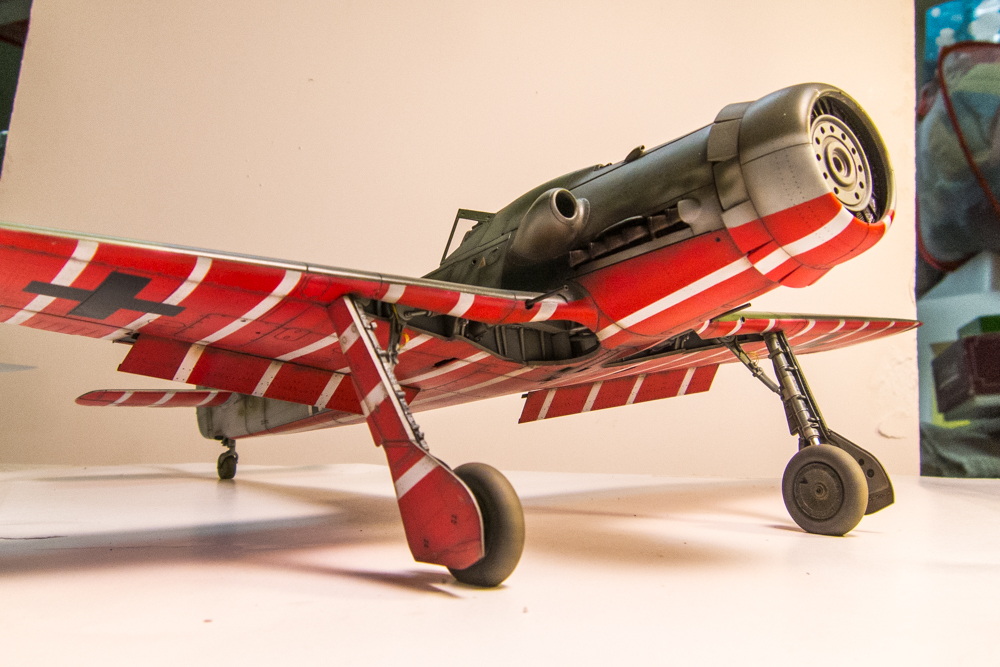
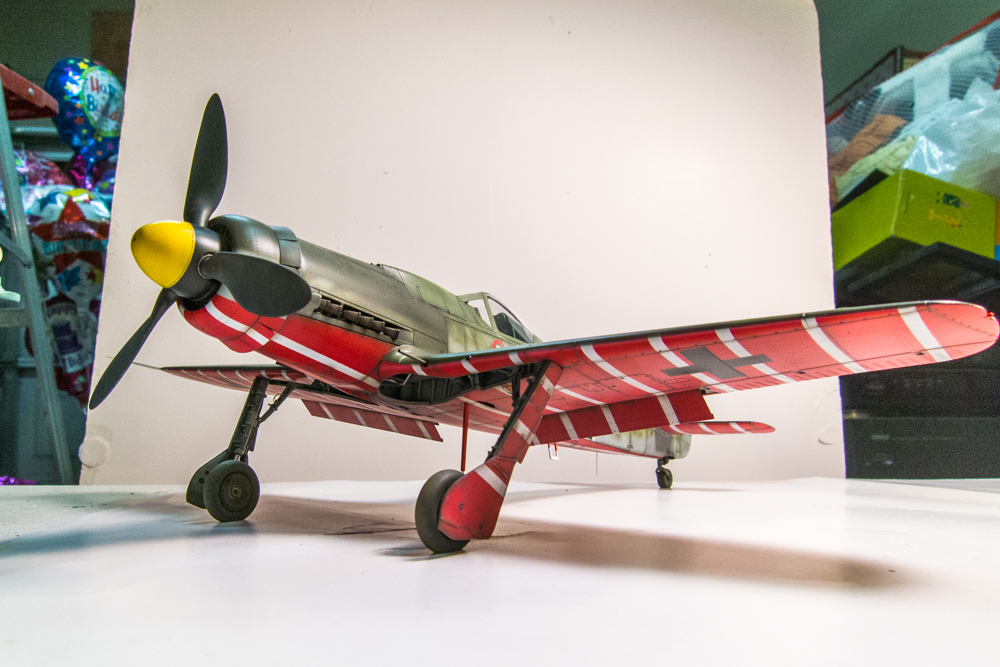
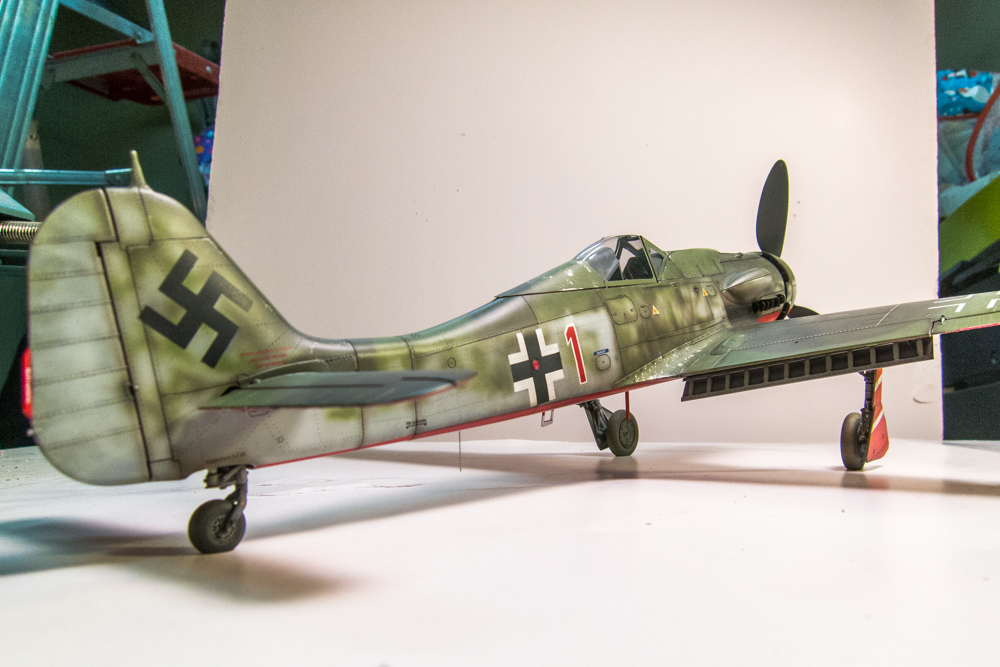
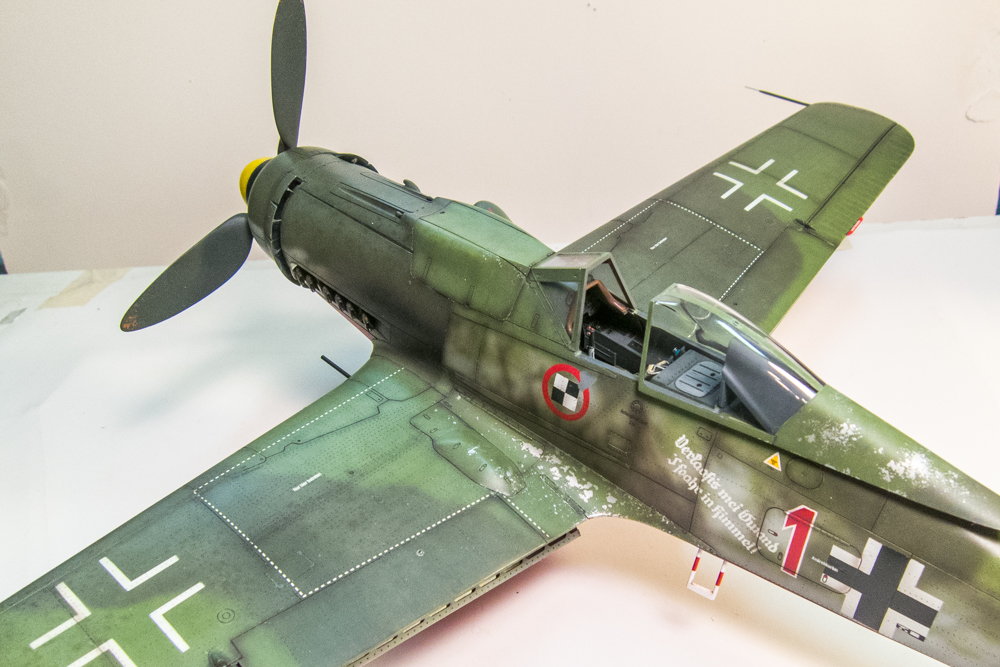
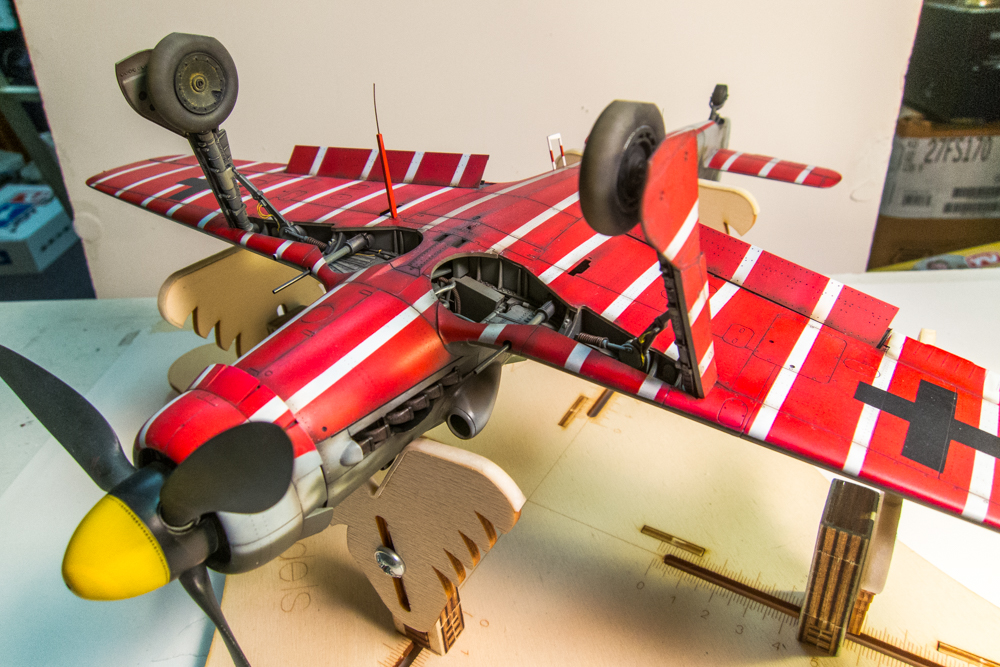
So here are some shots of Red 1 in the just-about-finished state. The Henri Daehne prop will be removable AND the spinner is detachable via magnets. The canopy is yet to be permanently attached and the aerial has not been done. But Red 1 is ESSENTIALLY finished.
Image
Image
Image
Image

Image
Image
Image

It's winter and rain is coming so I don't know when I'll be able to get some glamour shots of Red 1 with my 5D MkIV. I like to use ambient outdoor lighting on my final build pics.
John aka JKim
-----------<><
Image
User avatar
mostrich
Admin
Posts: 3105
Joined: Sun Apr 06, 2014 2:13 pm
Location: Hamburg, Germany
Contact:

Re: 1/32 Hasegawa Fw190D-9 Red One

Post by mostrich »

It'd be hard for me to find the proper words in German, but in English it's nearly impossible. Anyway, I'll try:

Wunderbar. Ganz große Handwerkskunst. Eine Hommage an Kurt Tanks Werk.
Cheers,
Torben
User avatar
speedgraflex
Moderator
Posts: 11358
Joined: Fri Feb 10, 2017 11:08 pm
Contact:

Re: 1/32 Hasegawa Fw190D-9 Red One

Post by speedgraflex »

:P1: to whatever Torben wrote. It sounds right. To evoke Kurt Tank is correct. The care is here in every frame. I was going to respond later to your comments in Lyle’s thread—I personally believe your model photography and documentation is incredible.

The Model is O U T S T A N D I N G. Only superlatives will do! What an intriguing little series of blobs, and how brilliantly you handle the repair—gives a new dimension to the way air brush pattern sprays work to add back the painted surface! Of the small details, I still personally find the red/white striping set off by a delicate, scale appropriate series of washes (more like “blending” to me), oil stains and exhaust smoke do really appear all of a piece. I don’t mean to give short shrift to the upper camouflage techniques, the cockpit canopy is so beautiful, the interior cockpit is likewise quite stunning. I certainly feel that the extended “pause” mid-process worked for the benefit of both you and the build itself. Also it is wonderful to learn of your upcoming trip—all the best to you, John.
Make more models!
User avatar
jkim
Elite Member
Posts: 4073
Joined: Mon Apr 10, 2017 4:03 pm

Re: 1/32 Hasegawa Fw190D-9 Red One

Post by jkim »

KennyX wrote:I’m over here racking my brain about what could’ve caused that cloudy dustiness to occur. From everything I read, it’s usually the other way around. It looks cloudy but that goes away with the clear coat. And I know you’re aggressive when getting that salt off of there after the fading process... weird. But you overcame it. And that’s very good.
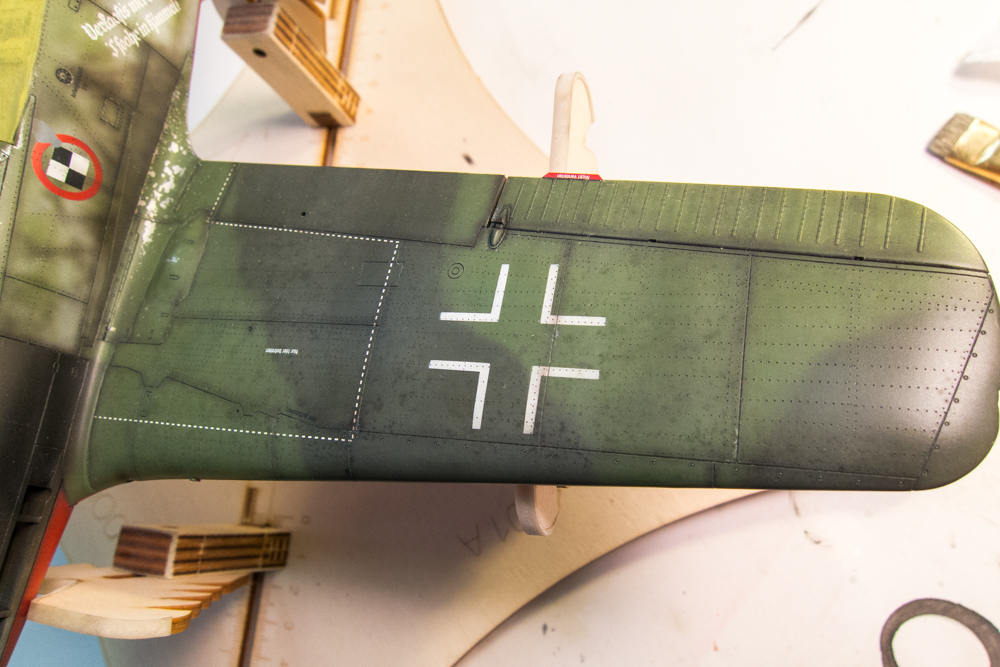
It's something that happens with clear flats. If you build up a flat coat in successive layers, it will eventually start to develop a white cloudiness that makes the model appear dusty. Which makes sense when you think that, on a microscopic level, a flat finish is rougher (more valleys and hills) than a gloss coat. And I think it can be compounded by salt. In fact, I wouldn't be surprised if salt were a primary ingredient in flat paints.
All I know is that funky stuff can happen when you spray a flat coat after you've done a salt fade effect.
John aka JKim
-----------<><
Image
Post Reply

Return to “Aircraft Work in Progress”