Page 48 of 85

Re: 1:48 Tamiya Corsair

Posted: Thu Dec 20, 2018 1:57 pm
by Stikpusher
Excellent detail progress here Kenny. This is coming along beautifully!

Re: 1:48 Tamiya Corsair

Posted: Thu Dec 20, 2018 2:36 pm
by KennyX
All my meetings got cancelled this afternoon because folks want to burn what’s left of their personal days I suppose HAHA! And I’ve gotten all my stuff done already today. So I’m just hanging out on Skype, keeping the old pilot light on until it’s Miller Time, ready to handle any issues that may crop up so the On-Call Guy can take a break. Old boy had a rough night last night apparently.

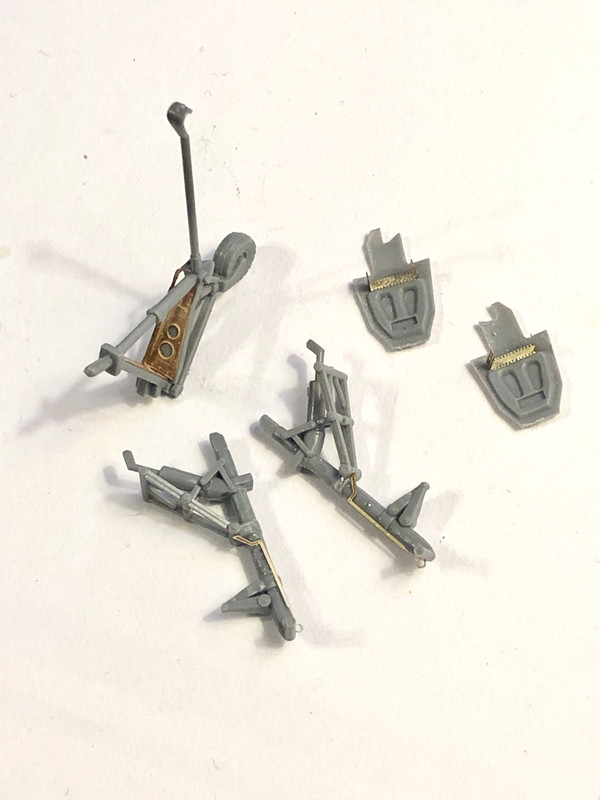
So while I’m hanging out, available via Skype, I took some time to work on adding the brass fiddly bits to the landing gear components. I opted not to use the hinges after I was unhappy with how one looked once it was all folded up and ready for installation. The rest of the stuff though, it looks pretty good.

If it’s regular old brass like this, I soak it in white wine vinegar before I install it. Seems like it takes primer better that way. That could just be me imagining things though.

Image

Also, I’m listening to Iggy Pop:

Image

Re: 1:48 Tamiya Corsair

Posted: Thu Dec 20, 2018 2:40 pm
by Stikpusher
I’ve read that before about brass and vinegar. I guess the acids in the vinegar score the surface of the brass enough to give any paint or primer a better surface for adhesion.

Re: 1:48 Tamiya Corsair

Posted: Thu Dec 20, 2018 2:45 pm
by KennyX
Stikpusher wrote:Excellent detail progress here Kenny. This is coming along beautifully!

And thank you, Carlos!

It’s dried now, and I’m happy with the results:

Image

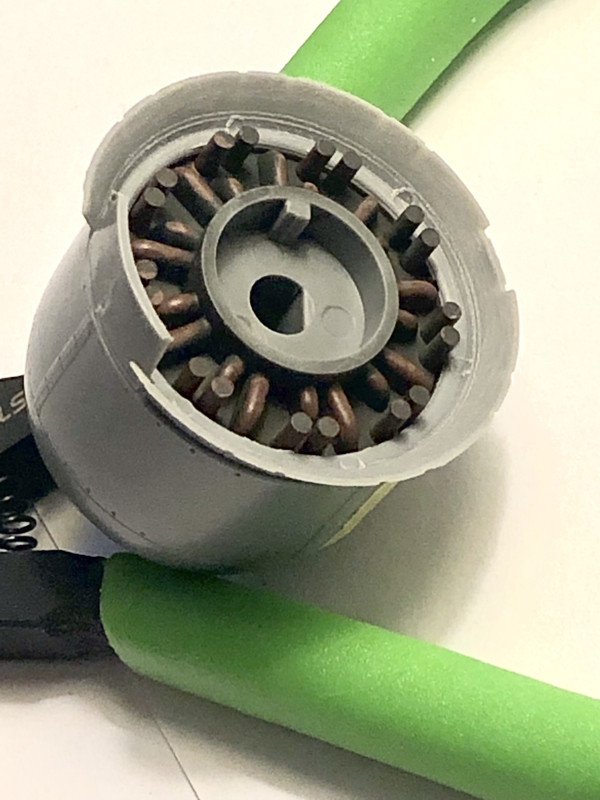
Get some Flat Clear on there and it’ll look the part. Probably won’t be visible, but this is good practice for me especially with my Hellcat build on the distant horizon. I sprung for Eduard’s Brassin engine kit. Full exhaust. Removable panels. Yeah buddy!

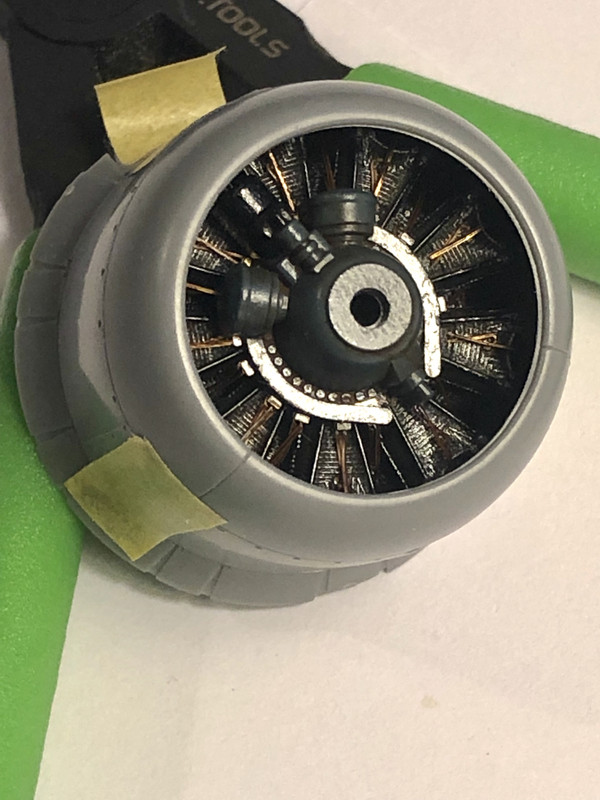
Engine looks nice inside the cowling:

Image

I’m pleased with this. The wiring isn’t so bright that it’s gaudy, but it’s visible enough to be visible and make you say “Holy cow look at that! The old baw Kenny X added a wiring harness!”

Realy glad I took y’alls advice on that.

I also trimmed down the cowl flaps to make them thinner. And now I’m wondering if I should add actuators... :hmm: No idea how to do that....

Re: 1:48 Tamiya Corsair

Posted: Thu Dec 20, 2018 2:46 pm
by speedgraflex
Vinnegar works well as a quick degreaser on plastic, too.

Re: 1:48 Tamiya Corsair

Posted: Thu Dec 20, 2018 2:47 pm
by KennyX
speedgraflex wrote:Vinnegar works well as a quick degreaser on plastic, too.

EEEEEEHYUUUP! Sure does!

Re: 1:48 Tamiya Corsair

Posted: Thu Dec 20, 2018 5:27 pm
by jkim
I like the little PE bits on the landing gear. And I'm making a note about the vinegar. I have had trouble in the past with paint flaking off of metal parts.

Re: 1:48 Tamiya Corsair

Posted: Fri Dec 21, 2018 3:48 pm
by KennyX
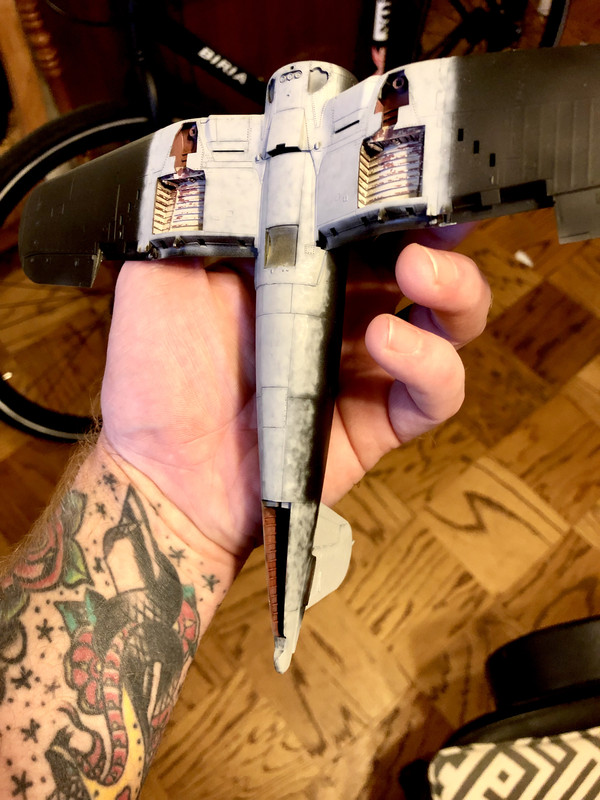
Today is an important day. For one thing, I finally got this Boss Hoss primed, and I got some paint on too! Also, this was my first aircraft build where, after priming, there was no middle seam line to speak of, and no fills to do. The CA fill I did the other day worked like a charm and needed no redoing. All the due diligence with paying extra attention when I sealed-up the fuse, along with the extra effort of sanding and polishing that join paid off. With my Emils I don’t have to worry about that, except of course at the nose, but that’s easy. A whole fuselage, that’s a challenge. My last failed Corsair’s was terrible. My Warhawk was terrible. But I got this one right, just by going slow and paying attention.

As to the paint, I began with the grey. Here was my methodology:

1. I deviated from the paint call-out in the instructions for an aircraft with a similar paint scheme as TOJO. Here’s the formula I mixed:

Tamiya XF-19 (Sky Gray): 2 parts
Tamiya XF-55 (Deck Tan): 1 part
Tamiya X-2 (White): 1 part, already heavily thinned

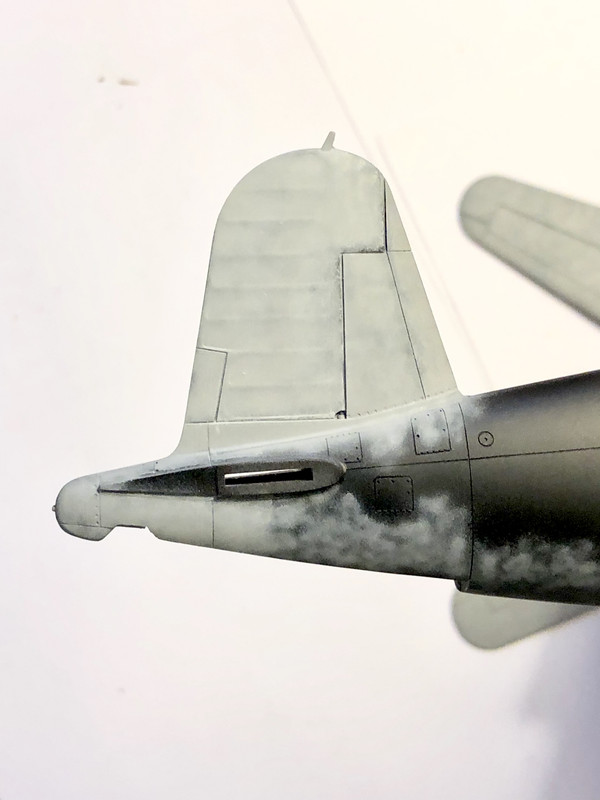
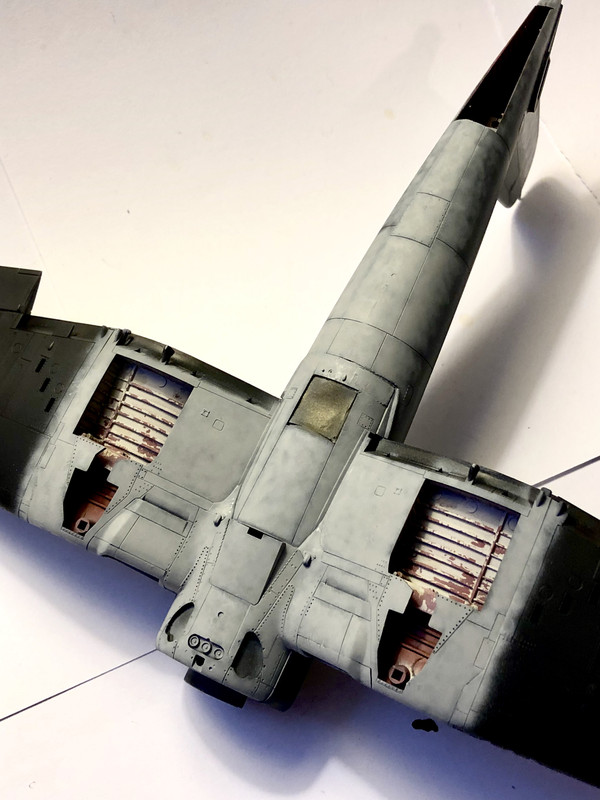
2. I fully divorced myself from the idea of covering the entire surface area which needed grey all in one go. Instead, I focused on small areas. Individual panels, basically. I’d attempted this with my latest Galland Emil, but my approach this time around was more mindful and precise. I began with as tights a mottled spray pattern as I could. And went from one panel to the next to the next to the next, not caring if the panel lines stayed black like the “pre-shading” technique. Once I hit the last one I intended to do, I went back to the beginning, and went after it with a slightly more broad spray pattern. Same deal there, move from one panel to the next... you can see some of this in the photos below.

3. Once I completed the panels I’d set out to do today, I applied the blend coat. Blended panel by panel, and toned down the starkness of the panel lines too.

Below is what I ended up with. I feel that the modulation is much tighter, and conforms more to the dimensions of the individual protuberances and panels of the aircraft instead of basically the whole airframe it’s self.
Image

Image

Image

I am pleased with how this came out.

Also, that trick John told me about where you mask stuff with tissue paper, that’s straight-up money. Masked the gear bays that’s way and had ZERO problems.

Re: 1:48 Tamiya Corsair

Posted: Fri Dec 21, 2018 4:01 pm
by BlackSheep214
Wow... simply wow! Well done, Kenny!

Re: 1:48 Tamiya Corsair

Posted: Fri Dec 21, 2018 4:06 pm
by jkim
Very cool Kenny! I love the modulation in the finish. Working panel to panel is something that I practice too. It gives me more focus and also helps my patience as I attack the paint job in sections as opposed to a whole airplane. The fact that you have no seams to fix = modern Tamiya kit. Although I prefer Hasegawa over Tamiya, I gotta give it to Tamy for their precise engineering. You can't top it.