Page 6 of 41
Re: Revell '56 Ford F-100 Wheels and Stance 4-17
Posted: Sat Apr 18, 2015 10:42 am
by mustang1989
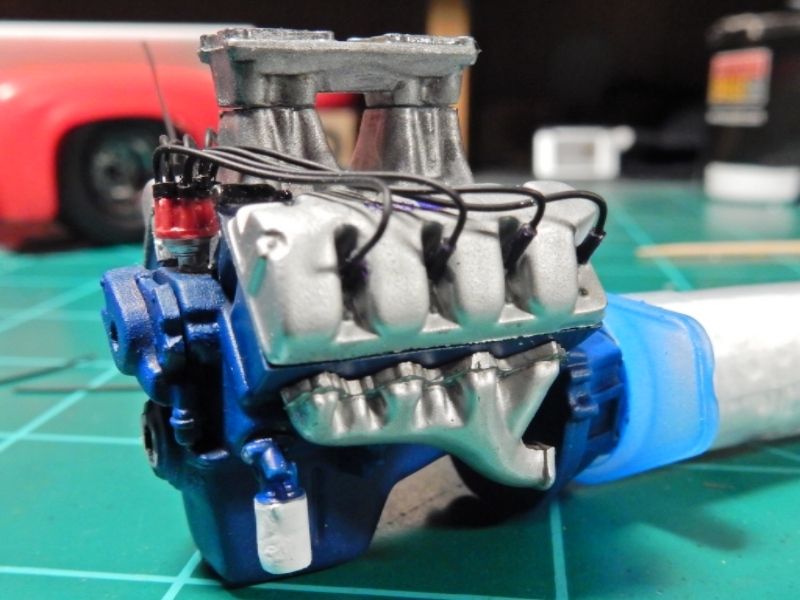
Turned the attention back to the motor today. Got the distributor in and the L/H bank of plug wires on...
(these were a pain in the butt to do!!! Normal V-8's I can just drill a hole in the head and have somewhere to put 'em. These? Not a chance!)
Re: Revell '56 Ford F-100 distributor and plug wires 4-18
Posted: Sun Apr 19, 2015 6:04 am
by LyleW
Re: Revell '56 Ford F-100 distributor and plug wires 4-18
Posted: Tue Apr 21, 2015 10:50 am
by Stuart
That's looking great - all your hard work with the chassis really paid off - the position of the wheels looks much better.
Cheers
Stuart
Re: Revell '56 Ford F-100 distributor and plug wires 4-18
Posted: Wed Apr 22, 2015 3:01 am
by mustang1989
Thanks Lyle, portman and Jimmy!! I've slowed progress to see if any vendor tables are gonna have a front disc brake set and and throttle linkage for the dual quads this weekend at the show. I'm still prepping other areas here but will resume full force next week.
Re: Revell '56 Ford F-100 distributor and plug wires 4-18
Posted: Wed Apr 29, 2015 6:49 am
by mustang1989
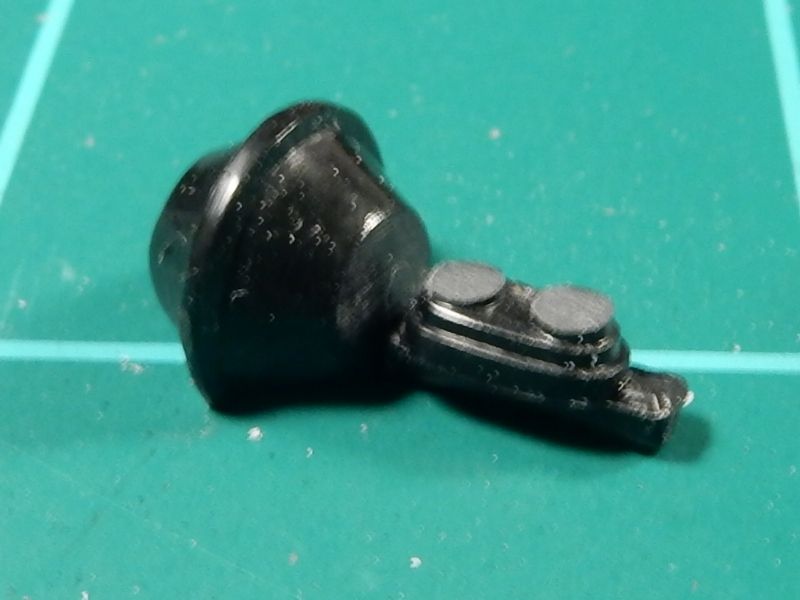
Well I've been slackin' on progress pics of this thing. I had "modelers block" last week but have been working my way through it now for the last few days. I was trying to figure out the whole brake system dilemma and I think I've finally got something started here. I found a master cylinder / power brake booster combo that is going to work. The problem is that the bottom of the power brake booster was hollow as seen from the bottom but the benefit here is that instead of being rounded on the bottom , it's flat. This is perfect in the fact that I cut the master cylinder from the booster and will rotate the master cylinder 180 degrees in order to mount the flat portion of the brake booster to the bottom of the cab floor. I also cut an L bracket out from some spare parts of another frame and drilled a hole in it for the booster to "mount" to.
Perhaps I could explain it better in photos. Here's the brake booster/ master cylinder assy: (sorry for the blurred image on the first pic)
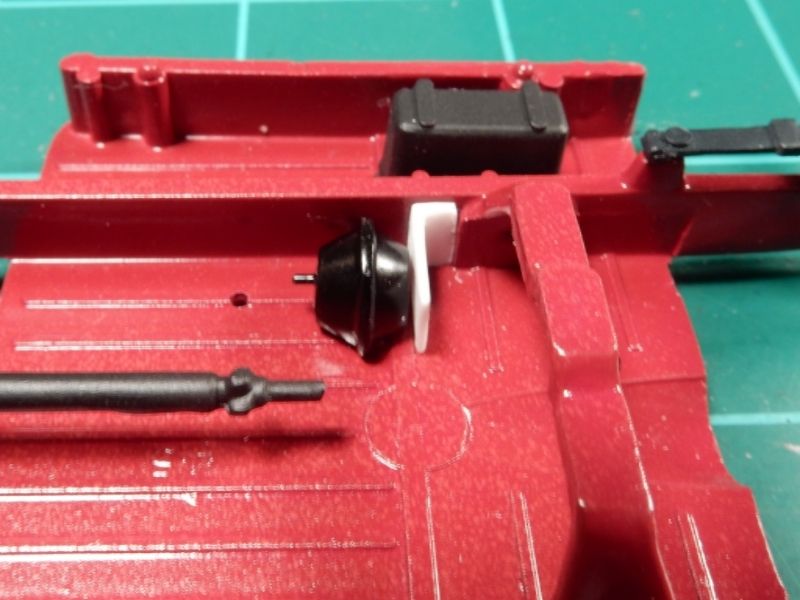
Here is the brake booster and L bracket test fitted. I pinned the brake booster so that the master cylinder mount up to the booster would be a bit more solid. Looks like I'll be thinning that L bracket a bit to scale thickness as well.
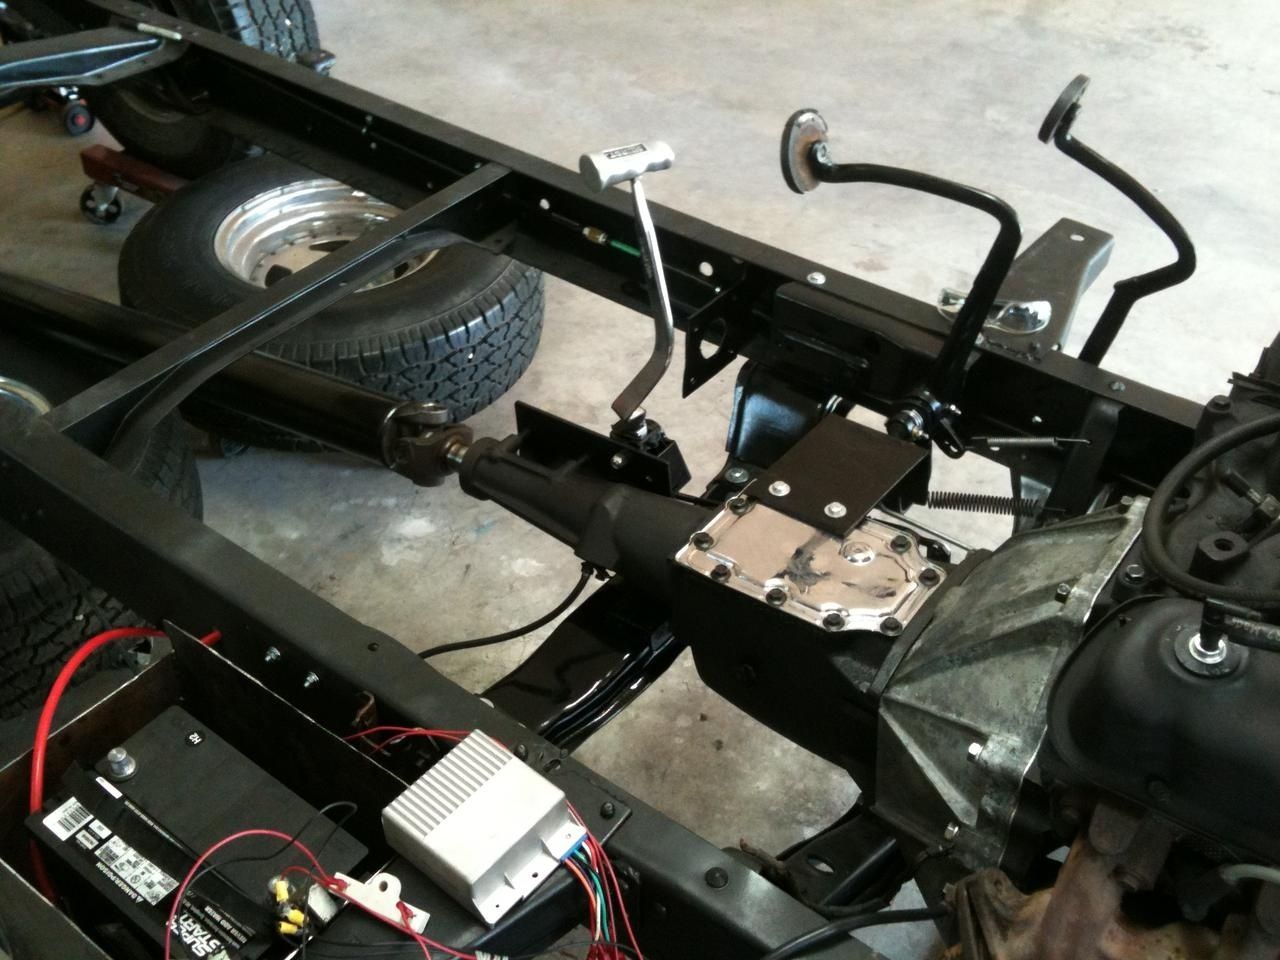
While keeping in mind that my results aren't going to look exactly like it, this is what I'm going for but with a slightly longer rod and another stand off L bracket for a brake booster actuating rod guide that's coming soon:
Re: Revell '56 Ford F-100 brake booster/master cylinder 4-29
Posted: Wed Apr 29, 2015 8:20 am
by nathant
Wow, sweet work here Joe. Looks like a brake booster to me. Very realistic. ...Hey you gonna add any rust to this thing??

Re: Revell '56 Ford F-100 brake booster/master cylinder 4-29
Posted: Wed Apr 29, 2015 8:39 am
by mustang1989
Thanks Nathan! No rust......she's a custom show rod you know.

Re: Revell '56 Ford F-100 brake booster/master cylinder 4-29
Posted: Thu Apr 30, 2015 5:09 am
by Stuart
Sorry to hear you're been a bit of a block - I'm in one too at present.
The brake system is going to look sweet!
Re: Revell '56 Ford F-100 brake booster/master cylinder 4-29
Posted: Thu Apr 30, 2015 8:48 am
by mustang1989
Thanks portman!
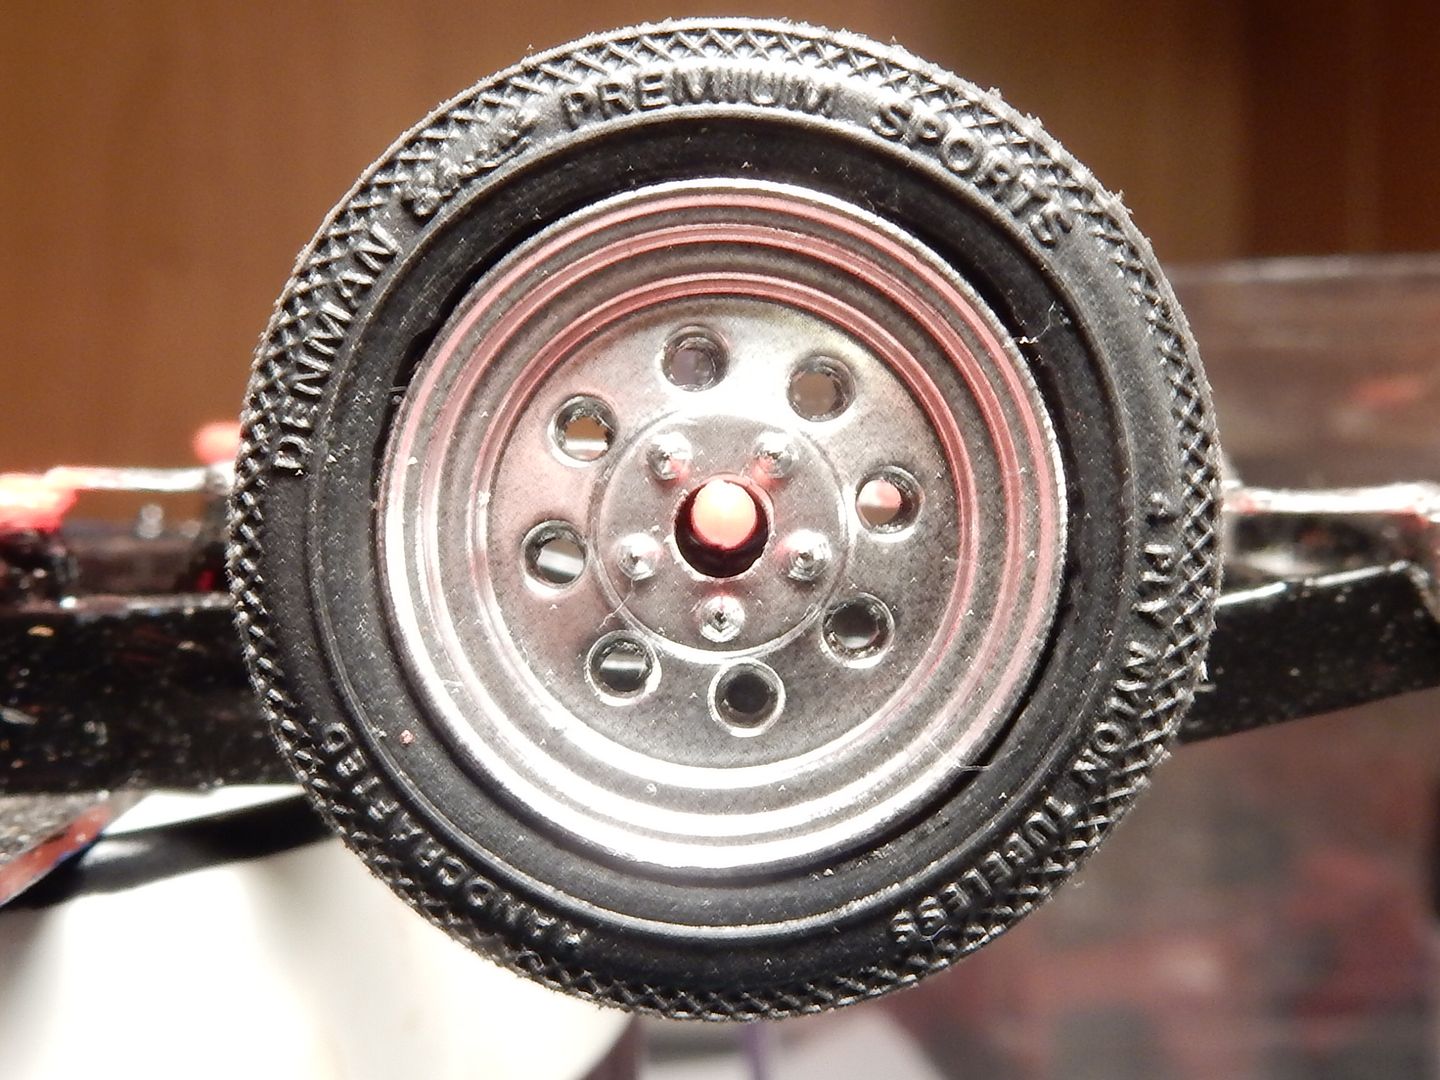
I almost forgot to go through the front wheel to spindle fit problem I had. Here is the wheel as it sits on the kit supplied spindle-not exactly fitting here:
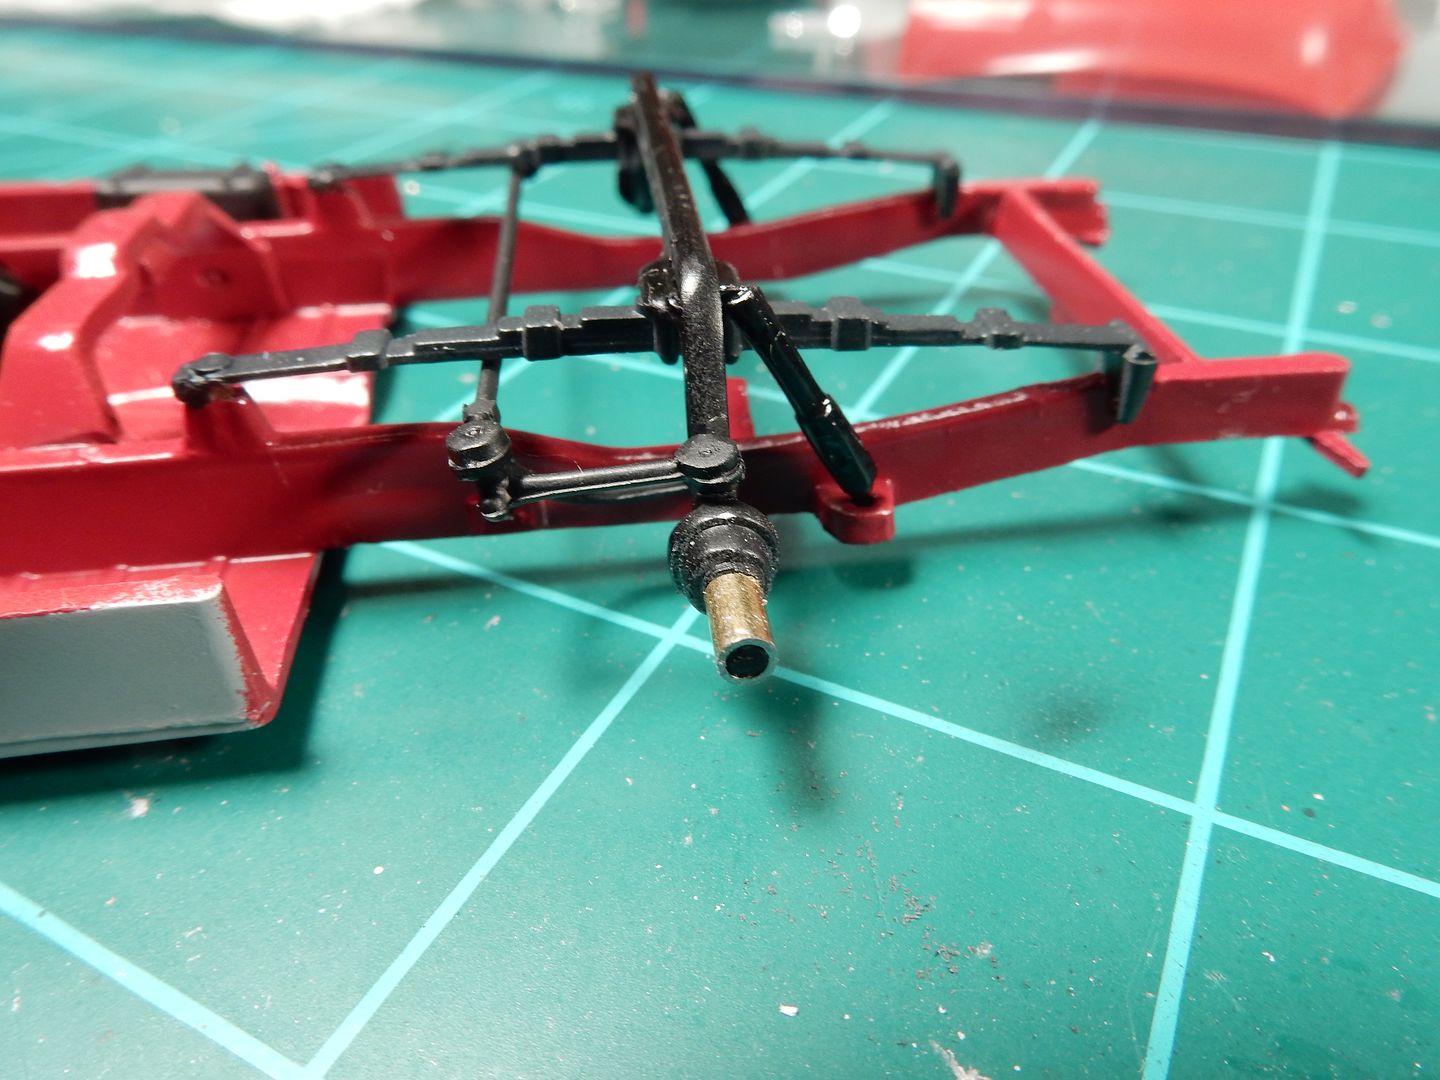
So..........I got some 1/8" brass rod and cut about a 1/4" long section and slid it onto the spindles and cut and rounded the ends of the spindle:
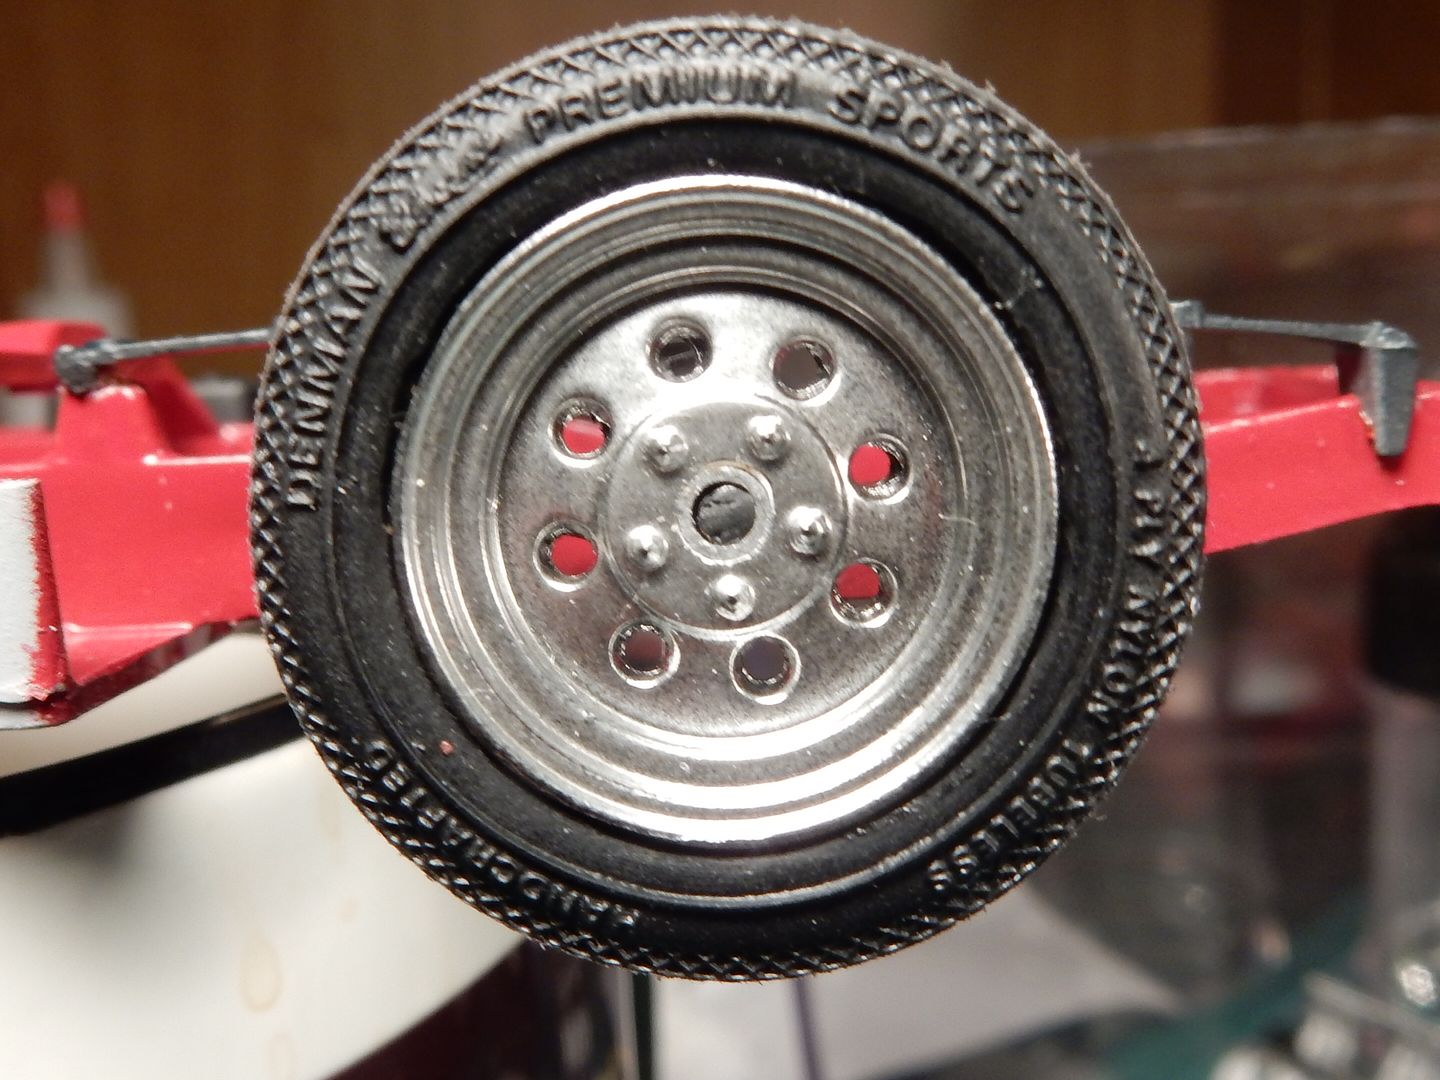
and although it looks rough here in the macro photo, you can't see anything but perfect fit with the naked eye:
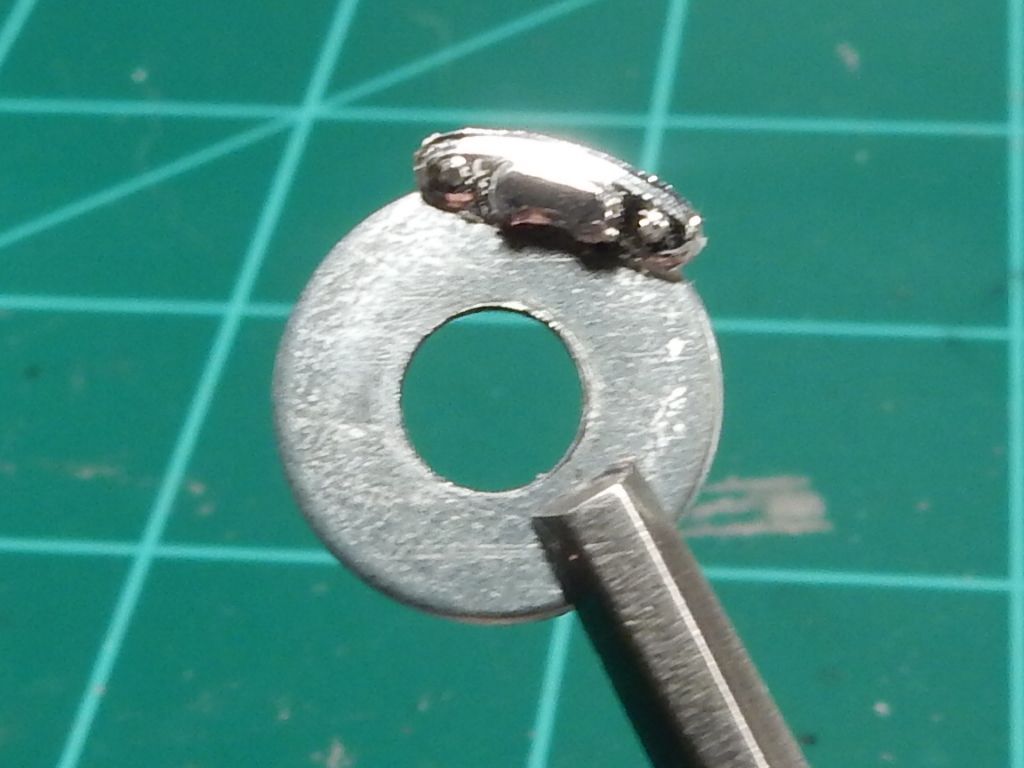
I sanded my L bracket for the power brake booster/master cylinder assy this morning and set that aside. While all that was drying I flattened some concave washers I found with rubber backing on them. After flattening the washers I sanded all of the rubber backing off of them and will polish them up over the weekend to give them that "brake rotor look". I robbed some brake rotors from a 1/24 scale Monogram F-100 kit , trimmed them to scale length a little and cut a groove in the middle of them with my dremel to get them to fit over the rotor. I still have to cut into the centers to get them to cover the brake rotor (washer) surface a little better but I ran out of time this morning. Gotta get to work you know. Here's where I'm at right now with that..............