Page 6 of 14
Re: 1/48 Eduard Bf109G-6 Double Chevron
Posted: Sat Apr 07, 2018 8:52 pm
by Stikpusher
Nice touch opening up those slots in the wheel wells. Are you going to thin them down on the backside/inside for a more scale appearance?
Re: 1/48 Eduard Bf109G-6 Double Chevron
Posted: Sun Apr 08, 2018 1:58 am
by jkim
Thanks guys!
Stikpusher wrote:Nice touch opening up those slots in the wheel wells. Are you going to thin them down on the backside/inside for a more scale appearance?
Nah... I'm done with those holes! It just doesn't pan out in my head in terms of cost/benefit. They're better than molded depressions and that's good enough for me.
The upper wing halves have been glued onto the wing bottoms.

The fit is not great at the leading edge of the wings. Not a big deal as there is no easier gap to fill than the leading edge of the wings. I want to let the glue cure though just to make sure that I have a solid bond. I don't want the putty to crack due to a poor glue joint (been there done that).

There is also molding weirdness in the depression for the leading edge slats. They'll probably be covered by the slats so I'm too worried about it. You can make out the hole I drilled for the pitot tube, which I cut off earlier. I'll have to make a new pitot tube out of brass tubing.

Re: 1/48 Eduard Bf109G-6 Double Chevron
Posted: Sun Apr 08, 2018 2:10 pm
by KennyX
I had the same issue with the leading edge of the wings on my G2, John. Filled them last night. Hopefully they’ll look better after insand those fills...
Re: 1/48 Eduard Bf109G-6 Double Chevron
Posted: Sun Apr 08, 2018 7:49 pm
by jkim
The gun cowling was glued into place using Tamiya Extra Thin cement. Fit is good.

Not so good was the fit of the underwing radiator boxes. Curiously, Eduard has molded a length-wise tab on the base of the boxes that causes the problem. These need to be removed.

The intake opening are mere slits so the supplied aftermarket PE grills will not be used.

My drybrush skills need some work.

Re: 1/48 Eduard Bf109G-6 Double Chevron
Posted: Mon Apr 09, 2018 9:49 am
by jkim
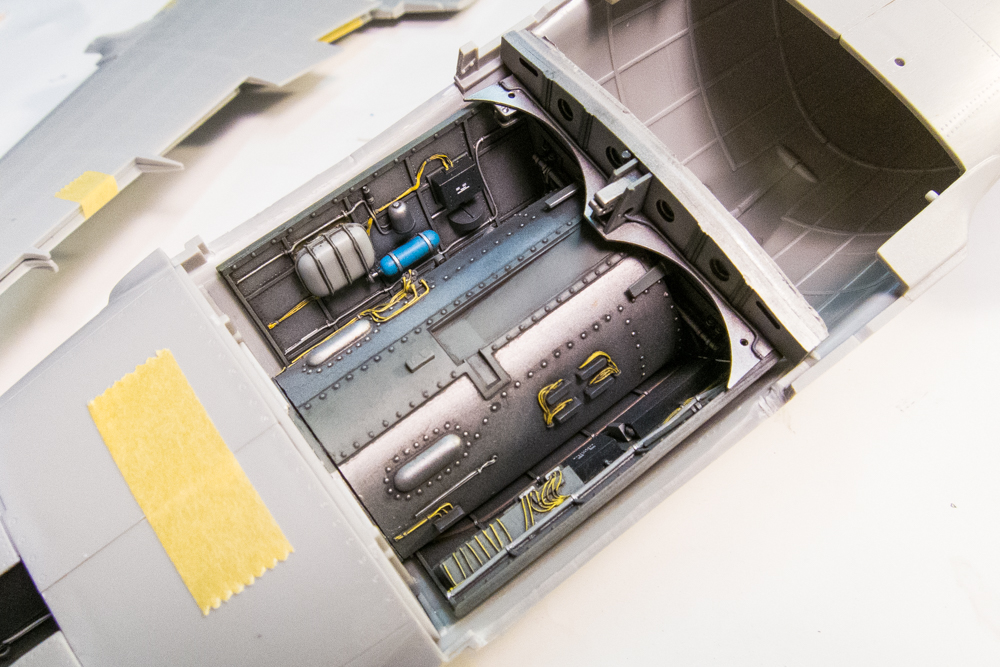
Thank you Bruce! I didn't get to work on the G-6 as much as I wanted to because I finally made some progress on my 262 build...
Re: 1/48 Eduard Bf109G-6 Double Chevron
Posted: Mon Apr 09, 2018 10:23 am
by speedgraflex
Your Me 262 is utterly incredible, John! I keep forgetting to ask you—what are these sticks and how are the parts attached for painting? Also, how do you paint white metal landing gear parts?

Re: 1/48 Eduard Bf109G-6 Double Chevron
Posted: Mon Apr 09, 2018 10:42 am
by jkim
Thanks Bruce! Those sticks are just toothpicks (aka cocktail sticks). I cut the tips off, squared the ends and then superglued them to the mounting ends of the landing gear struts. When painting is finished, I just snap them off of the sticks.
The nose landing gear strut is actually metal. Trumpeter supplies both metal and plastic versions of the landing gear legs. I opted to use the plastic main gear legs and metal nose leg. After cleaning and polishing the nose gear, I simply masked the oleo strut and painted the rest of the leg. The plastic main gear legs (shortened by a couple of mm's to get a better stance) were painted gloss black and the oleos were painted Alclad Chrome.
Re: 1/48 Eduard Bf109G-6 Double Chevron
Posted: Mon Apr 09, 2018 11:48 am
by speedgraflex
Thanks, John! That is incredibly helpful! I just located the Mustang’s plastic landing gear... I will be trying your method, because this will keep the parts safe as well as allow for a stabile painting platform.
Re: 1/48 Eduard Bf109G-6 Double Chevron
Posted: Tue Apr 10, 2018 3:49 pm
by KennyX
jkim wrote:The gun cowling was glued into place using Tamiya Extra Thin cement. Fit is good.

Not so good was the fit of the underwing radiator boxes. Curiously, Eduard has molded a length-wise tab on the base of the boxes that causes the problem. These need to be removed.

The intake opening are mere slits so the supplied aftermarket PE grills will not be used.

My drybrush skills need some work.

Yeah. I really should’ve thought about that before I went through the trouble of painting and gluing up the grills on my G2. That could’ve been time better spent elsewhere, for me.
But whatever, this project is coming along great! Looking very good so far!
