Page 6 of 8
Re: '59 El Camino-Engine Completed-10/03
Posted: Mon Oct 08, 2018 2:41 pm
by Duke Maddog
Remarkable work man! Have you fired it up yet? (or did I ask that already?)
Re: '59 El Camino-Engine Completed-10/03
Posted: Tue Oct 16, 2018 9:26 am
by mustang1989
Thanks a lot guys. I haven't really had much of a chance to work on this as much as I would've liked. I have other projects that are taking my time and energy as of late. I've gotta put my 1:1 scale truck into the body shop to get some rust and paint work done. I should be getting my cowl hood pretty much any day now for it so I'll be able to get that painted the same time I get the roof painted after the repair. I've got a set of 3:90 gears and a drop in locker for the differential on it as well so I should be able to install those pretty soon I hope so I can drop the 1/4 mile times into the 12 second range. The look on the "other guys" face when a
truck whips their ass is priceless.

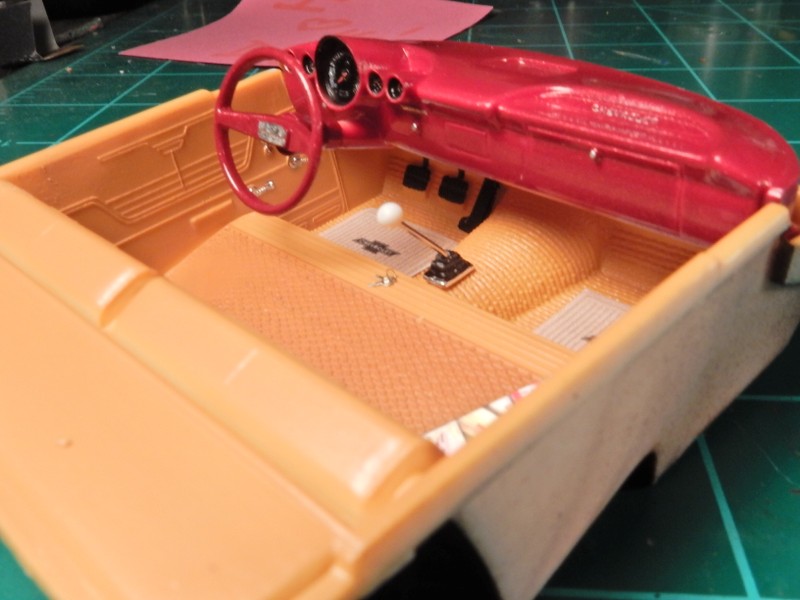
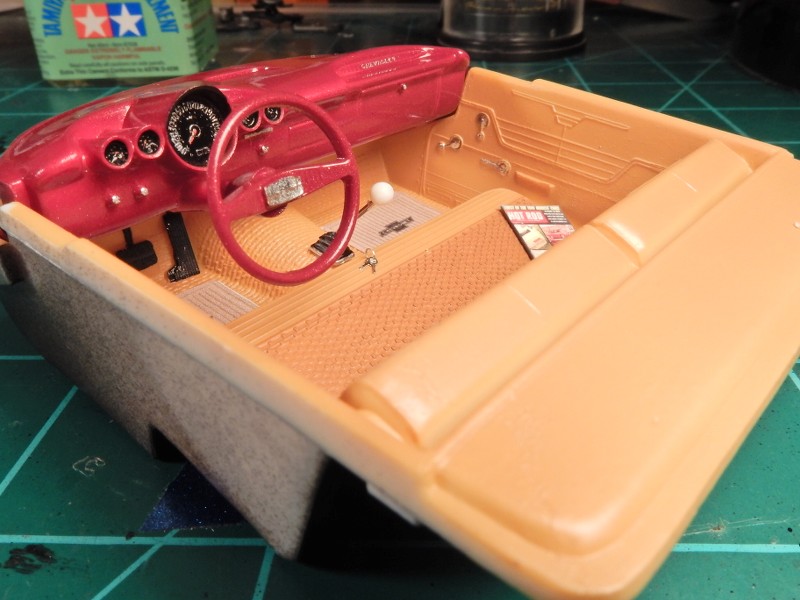
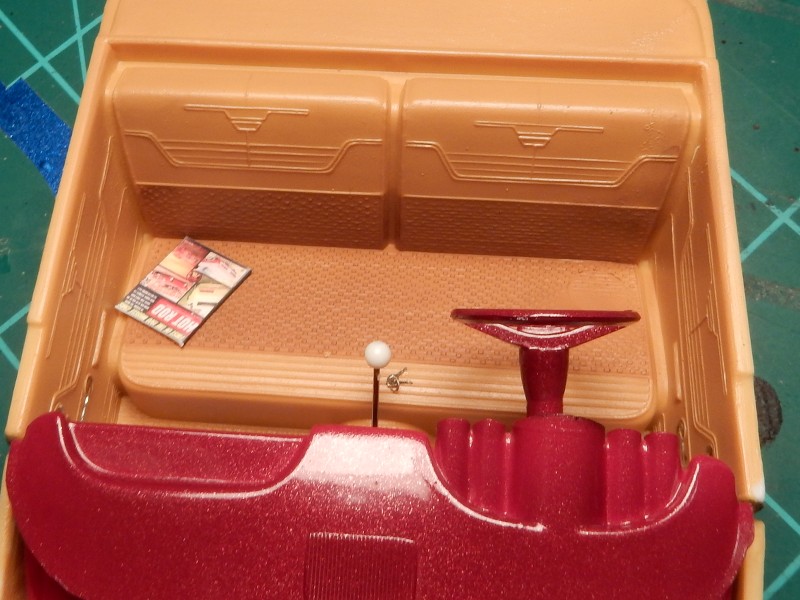
Any how I've managed to work on the interior of this car some. I'm currently waiting on a set of floor mats with "bowties" on them so that'll cover up those nasty ejector pin marks in the front corners of the floor on both sides.
Here goes:


The out of box shifter in white and the modified pieces that I used. I found a shifter boot in my stash and will be using a bobby pin with a white head for the shifter knob. The update was a much needed change as AMT didn't do that great of a job on the shifter to begin with.

The wheels after an Alclad II "Chrome" treatment. It was kind of an accident but I like the black insets on the wheel as it breaks up the pattern somewhat. When I first started painting the wheels I wanted them to come out like this and it looks like I didn't have to try very hard to get the results I was after. I ended up just shooting the overall wheel and left the base black as it was deep into the wheel.

Re: '59 El Camino-Interior Progress-10/16
Posted: Tue Oct 16, 2018 3:58 pm
by speedgraflex
Hi Joe! When your truck’s body work is done, would you post a few photos here? Thanks. I would love to see the other guy’s reaction, too! That would make all your hard work feel just right.
Seriously, I am in danger of running out of superlatives as far as your modifications are concerned........ you are definitely the All-Clad Master!
Re: '59 El Camino-Interior Progress-10/16
Posted: Tue Oct 16, 2018 6:14 pm
by Stikpusher
I swear to god that looking at your work bench is like looking in my father in laws or brother in laws garages...

Re: '59 El Camino-Interior Progress-10/16
Posted: Tue Oct 16, 2018 7:49 pm
by mustang1989
Thanks fellas.
I've actually tried to pattern most of my chrome Alclad II techniques after John Teresi. I really appreciate the vote of confidence on my technique but THAT is who the
true master of Alclad is. John is IMO not only one of the best modelers I've ever seen but also one of the most humble. He's taken some time with me to help out with helping my techniques with this stuff. Go sniffin' around and you'll see some of the stuff that he kicks out. Dude's a true master at modeling.
Carlos: LOL! This depends on what your father and brother in laws garage looks like.
Re: '59 El Camino-Interior Progress-10/16
Posted: Tue Oct 16, 2018 8:07 pm
by speedgraflex
John Teresi—badassery!
Re: '59 El Camino-Interior Progress-10/16
Posted: Wed Oct 17, 2018 6:13 am
by mustang1989
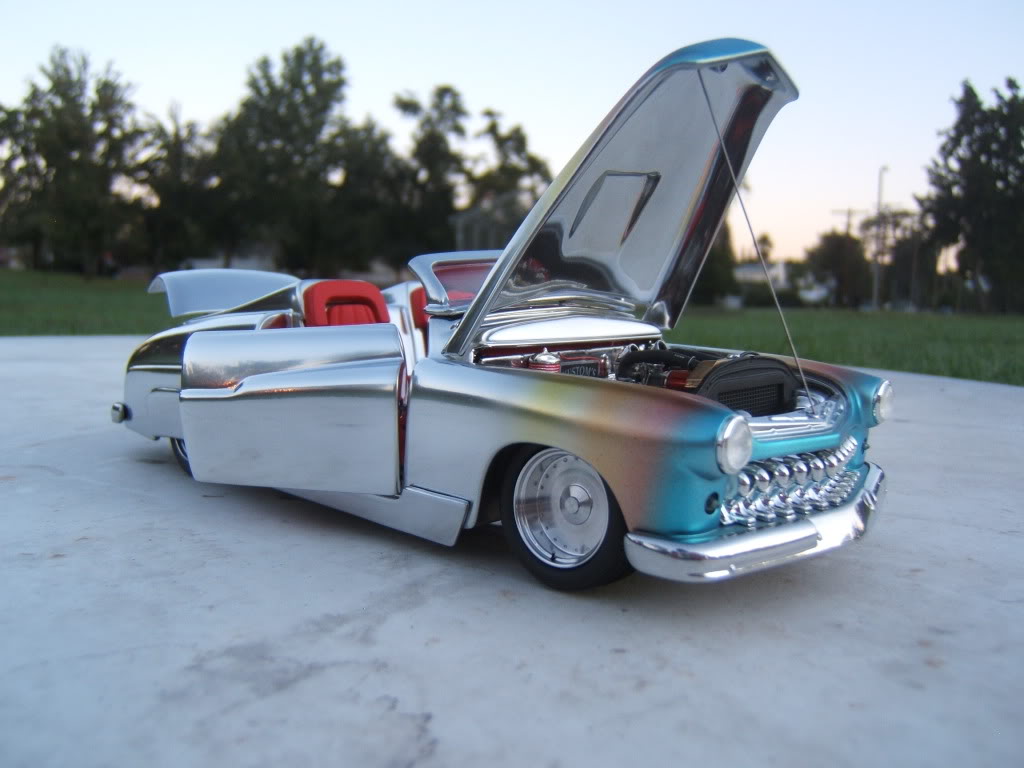
Told ya. That's aaaaaaaaallllllll Alclad right there boss.
Re: '59 El Camino-Interior Progress-10/16
Posted: Wed Oct 17, 2018 1:58 pm
by Duke Maddog
speedgraflex wrote:John Teresi—badassery!
And
that's why I stay away from cars....
Brilliant work there. Far beyond my capabilities.
Re: '59 El Camino-Interior Progress-10/16
Posted: Wed Oct 17, 2018 4:19 pm
by Stikpusher
Re: '59 El Camino-Interior Progress-10/16
Posted: Fri Oct 19, 2018 5:00 am
by mustang1989
LOL! Looking at that guys builds will leave a guy going back to the drawing board alright, but...……….stuff like that is what I strive for in modeling. Till then, I march on and continue to learn as I'm sure John's still doing.
OK guys. Interior is finished. There were several things that I didn't like about this kit in regards to the interior. First off, the ejector pin marks were at the worst possible places. One on each side of the seat bottom???? What tha heck? I managed to cover one of them with the magazine and the other I sanded as far as I dared and still not sacrifice the texture on the seat. Then there were two ugly marks on the flooring which got covered up by the floor mats. Secondly, AMT produced the interior in the boring base model interior. Had to get a little creative with the seat to jog things up a bit color wise. Lastly, the shifter looked like something from a school bus so that QUICKLY got changed out for something a little more sporty by way of scratchbuildinig. The goodies used were more of a distractive measure to make up for and enhance the mediocre interior. All in all I'm fairly pleased with the outcome. Although not my best interior, I think I made more out of what I had to work with.