Page 6 of 7
Re: 1/32 Revell He111 with HPH cutaway
Posted: Thu Jul 11, 2019 7:53 pm
by Stikpusher
Man this is looking fantastic. Your attention to detail on this is phenomenal

Re: 1/32 Revell He111 with HPH cutaway
Posted: Thu Jul 11, 2019 8:16 pm
by BlackSheep214
kahunaminor wrote:
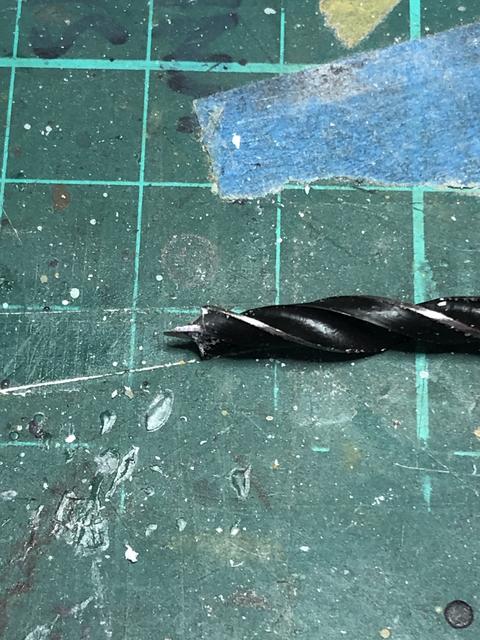
Just noticed the drill bit you used. What type are they and can I find them? I could use something similar to fix flushed flash.
Re: 1/32 Revell He111 with HPH cutaway
Posted: Thu Jul 11, 2019 8:19 pm
by Floki
I got some like that at harbor freight to drill out the flood lights on the falcon. They aren't any good for wood (like most HF tools) but work great on plastic.
Re: 1/32 Revell He111 with HPH cutaway
Posted: Thu Jul 11, 2019 8:24 pm
by BlackSheep214
Hmmm... I’ll have to make a side trip to Harbor Freight soon.
Re: 1/32 Revell He111 with HPH cutaway
Posted: Fri Jul 12, 2019 3:00 am
by kahunaminor
BlackSheep214 wrote:Just noticed the drill bit you used. What type are they and can I find them? I could use something similar to fix flushed flash.
Apparently they are called “brad point” or “w point” bits. I got mine in a cheap pack at Aldi here in Australia. Here is a guide to bits:
http://www.toolcobber.com.au/power-tool ... rill-bits/
Regards
Re: 1/32 Revell He111 with HPH cutaway
Posted: Mon Jul 15, 2019 4:54 pm
by kahunaminor
Re: 1/32 Revell He111 with HPH cutaway
Posted: Fri Aug 09, 2019 5:30 am
by kahunaminor
Welcome back,
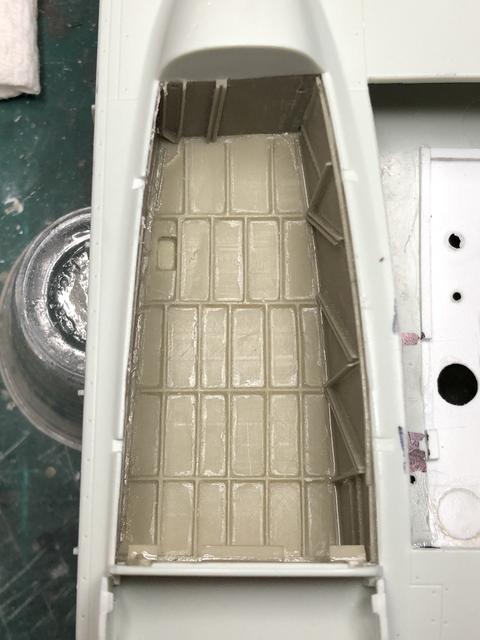
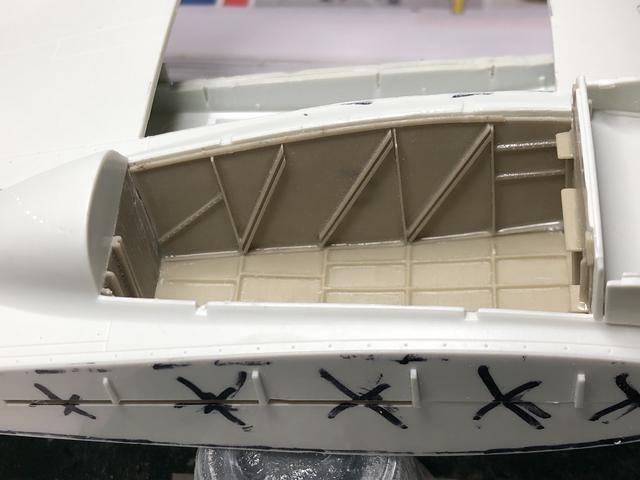
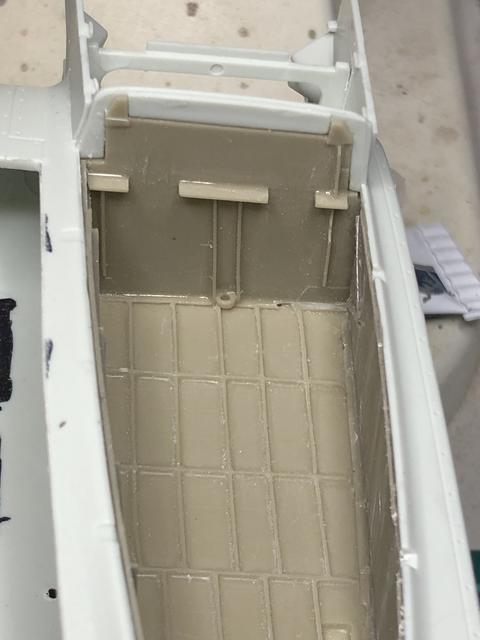
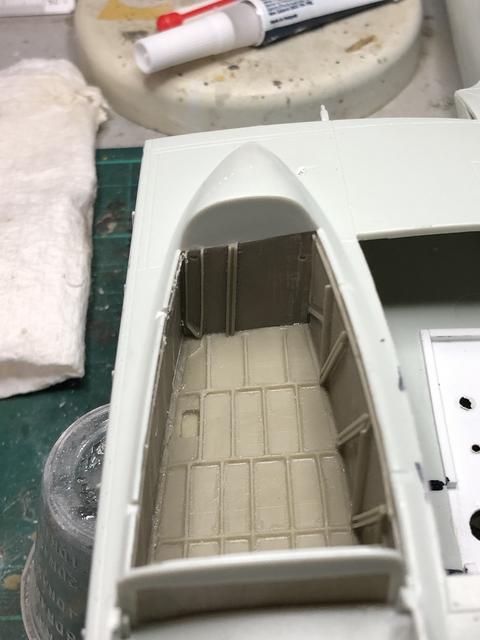
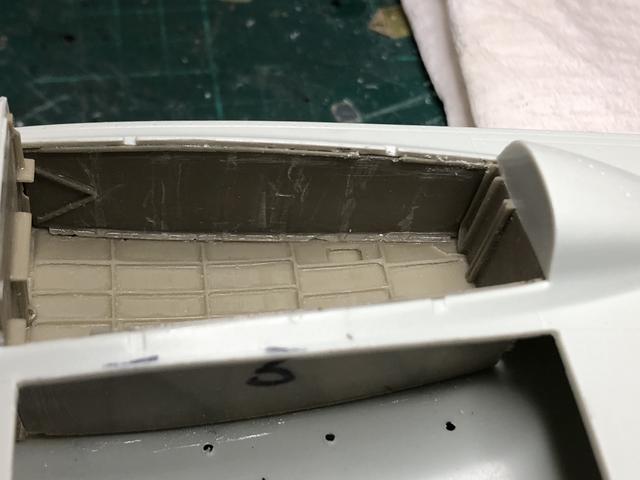
Incremental progress but progress nonetheless. I started cleaning up the interior surfaces:

The MLG, fuel cell compartment and fuel cell fillers have all had a first coat of RLM02 and finally been installed:
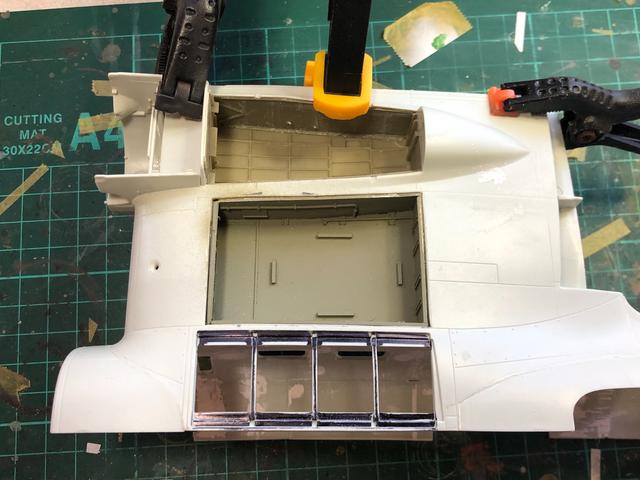
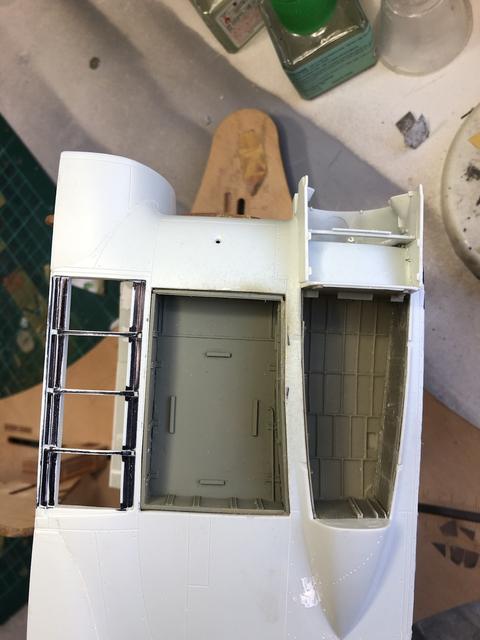
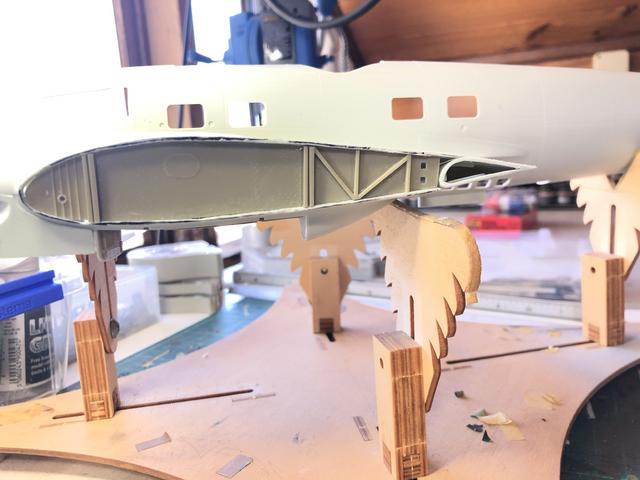
The wing cross section was removed with a Dremel cutting disc and tidied up before the resin piece was inserted into the opening. There is still a little clean up but I am happy thus far:
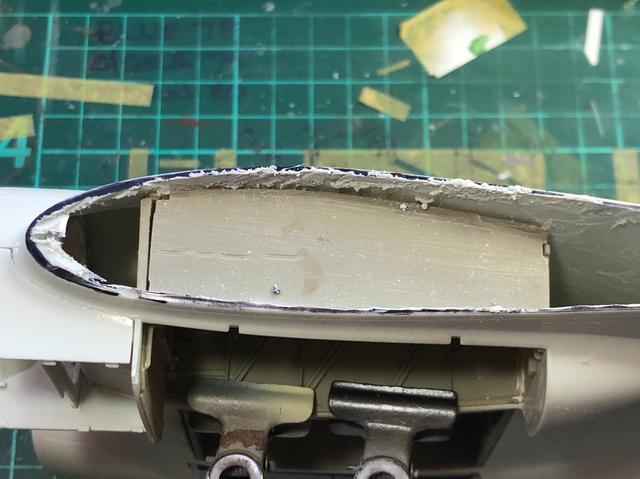
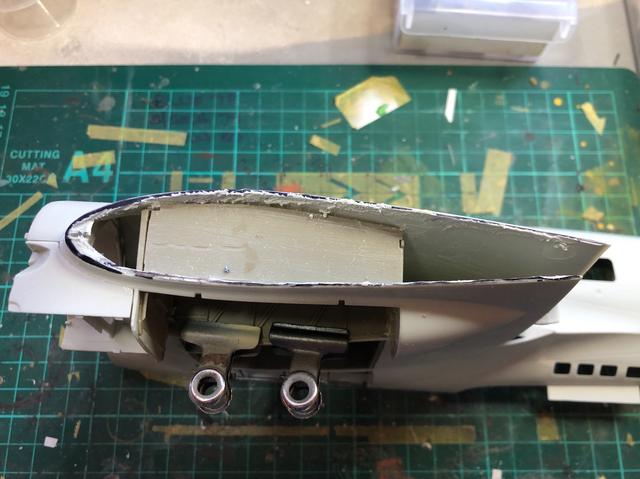
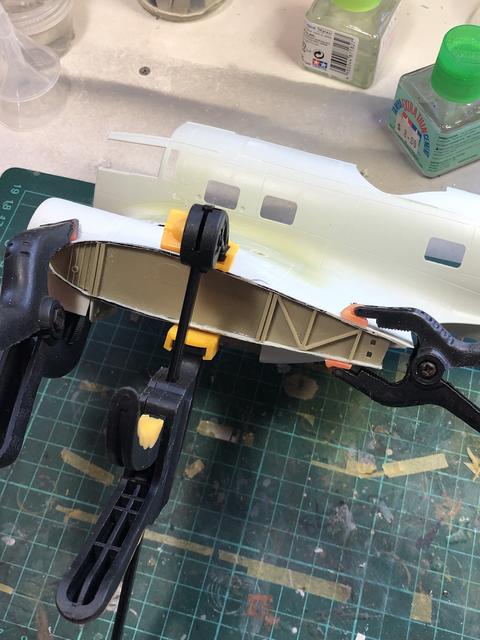
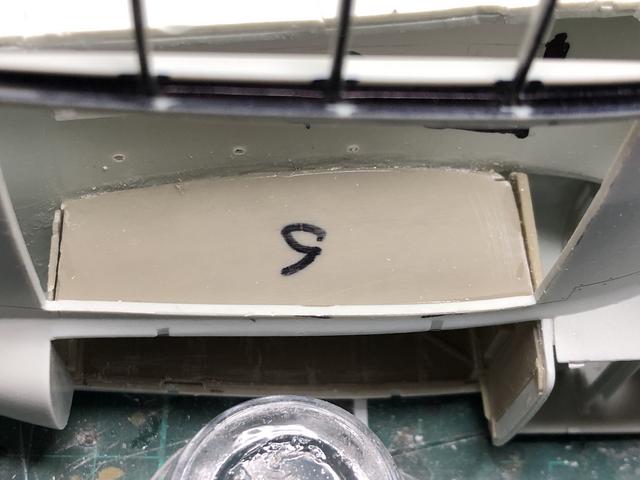
The inner flap was cemented in place and will have a small resin piece covering over the hole:
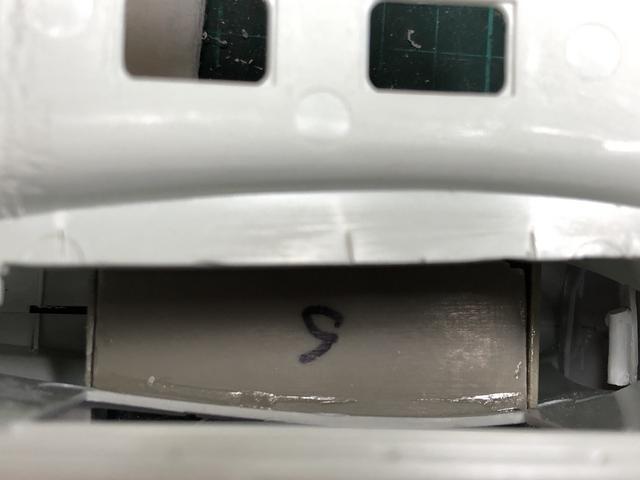
The fix to the upper wing was installed some time ago. I wanted to address the forward opening but it didn’t go quite to plan and will require revisiting. I have a plan to line it with thin styrene strip around the opening and fill the outer edges. It may be extreme AMS but I would like to get it right as it is such an obvious aspect:
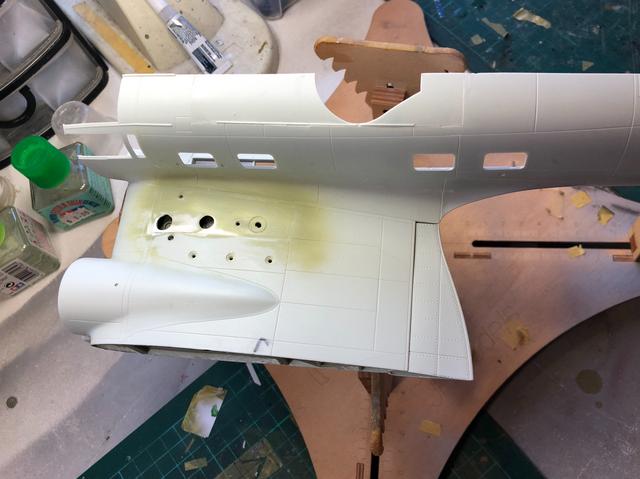
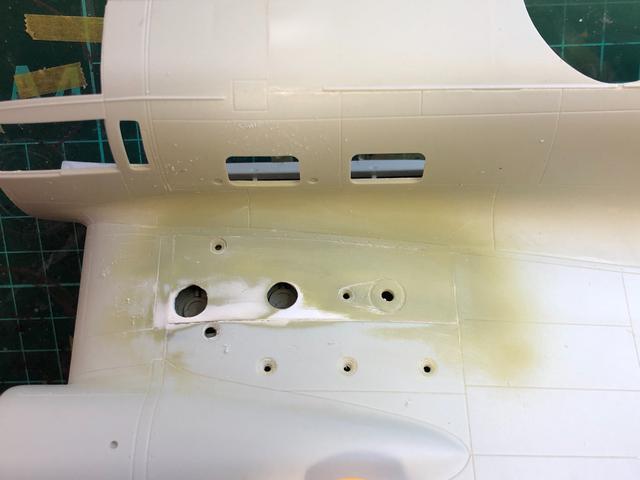
Regards,
Re: 1/32 Revell He111 with HPH cutaway
Posted: Fri Aug 09, 2019 5:33 am
by Floki
So mich going on in this build, it all looks great. The fix for the upper wing looks like it blended in perfectly.
Re: 1/32 Revell He111 with HPH cutaway
Posted: Fri Aug 09, 2019 6:49 am
by LyleW
speechless. that is all.
Re: 1/32 Revell He111 with HPH cutaway
Posted: Mon Aug 12, 2019 12:49 am
by kahunaminor
Many thanks,
I got a bit vigorous in cleaning up the join between the fuselage and the upper gun opening. It is a very thin join and prone to breaking. I reinforced it with some 0.5mm rod and sheet:
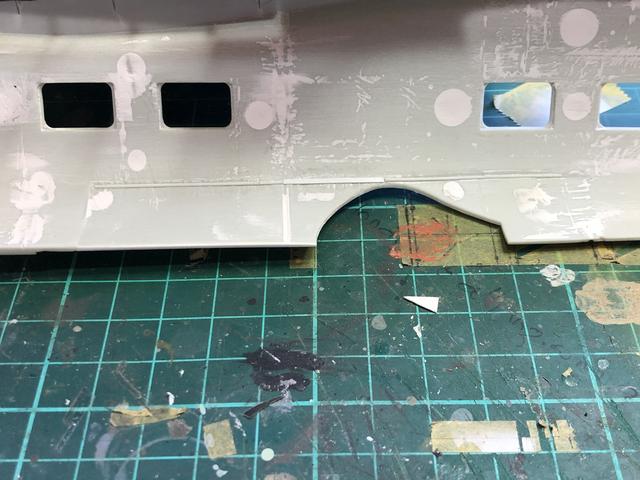
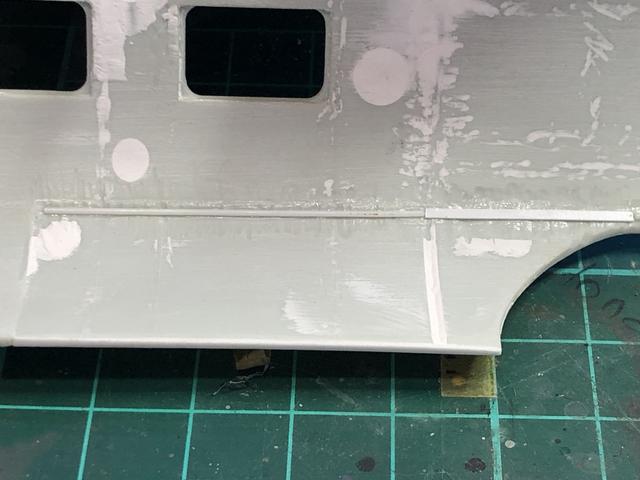
These will be sanded flush when the rest of the interior is done.
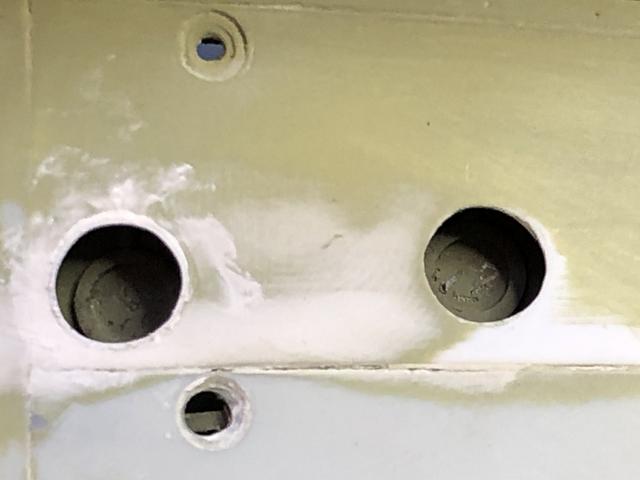
I formed some 0.5mm X 1mm styrene sheet around the 6mm ish rod and then inserted into the irregular hole of the forward fuel filler opening. I think I may have cracked this at last!
Regards,