Thanks guys! Yes, Stuart... I usually apply a gloss coat prior to any washes to avoid unwanted staining and tide marks.
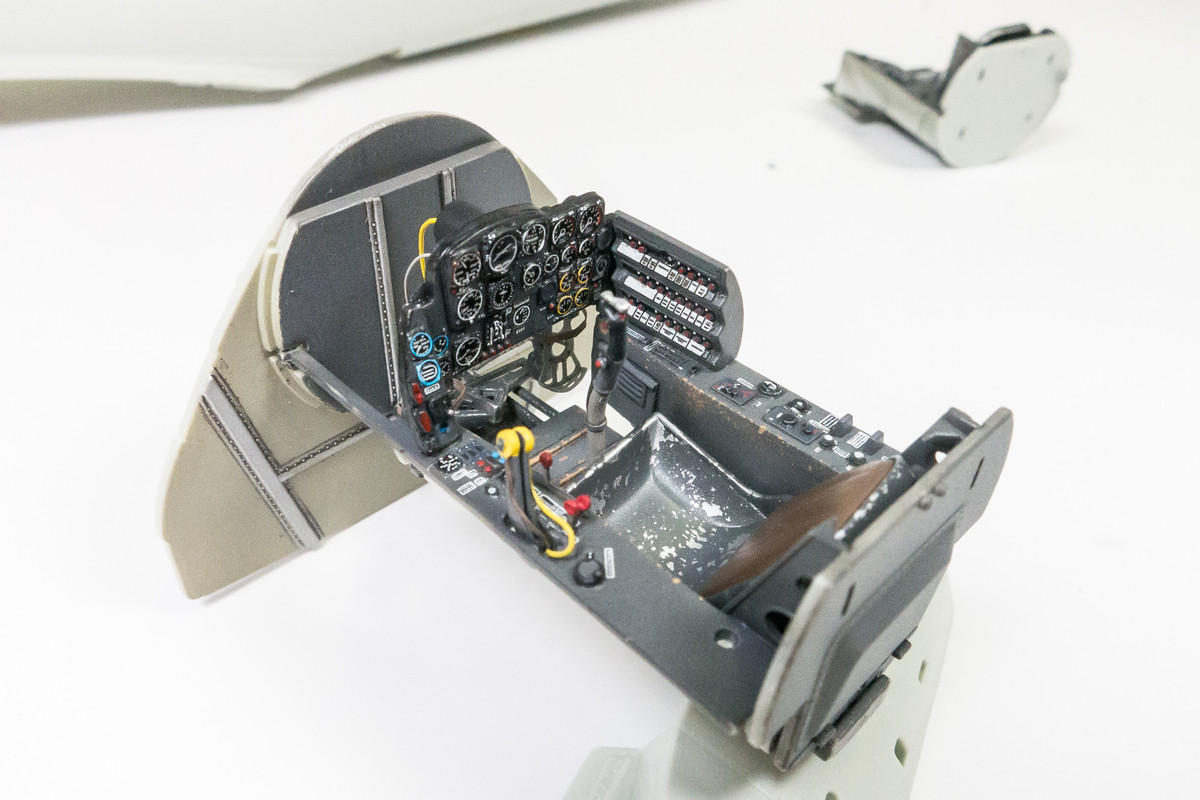
Finally making some noticeable progress on the cockpit. The front bulkhead has been glued onto the frontal cockpit assembly. The sidewalls of the cockpit are a separate piece and they are double-sided and form not only the cockpit enclosure on the inner side of the tube but the wheel well surfaces on the outside of the tube. Because the attachment of the front bulkhead was quite flimsy due to the three small attachment points, I used the "tube" as a temporary brace to hold the front bulkhead in place as the glue dries.
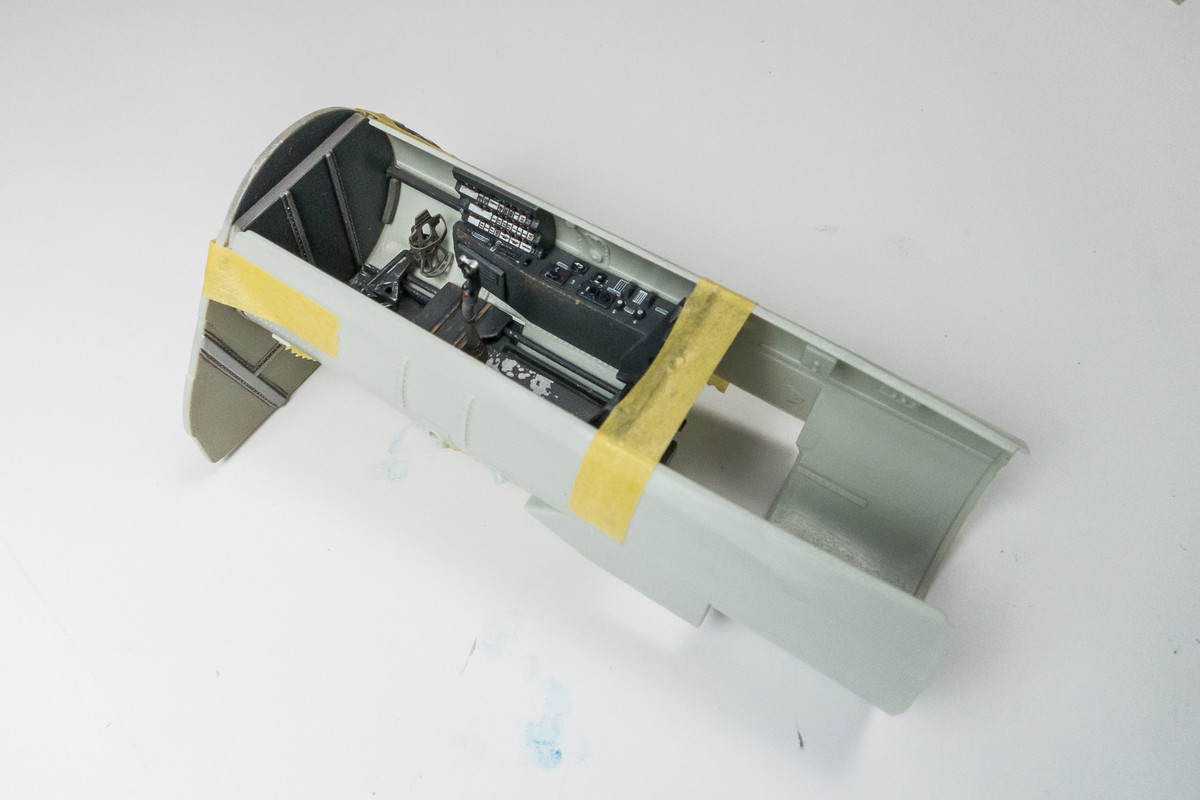
Once the glue dries, I can remove the front cockpit assembly from the tube. Both surfaces of the tube need to be painted prior to assembly so I'll have to get to that soon. But first I'm going to continue on with this front cockpit.
Revell has kindly molded the instrument casings on the back of the instrument panel. So I glued a single wire into the back of every casing.
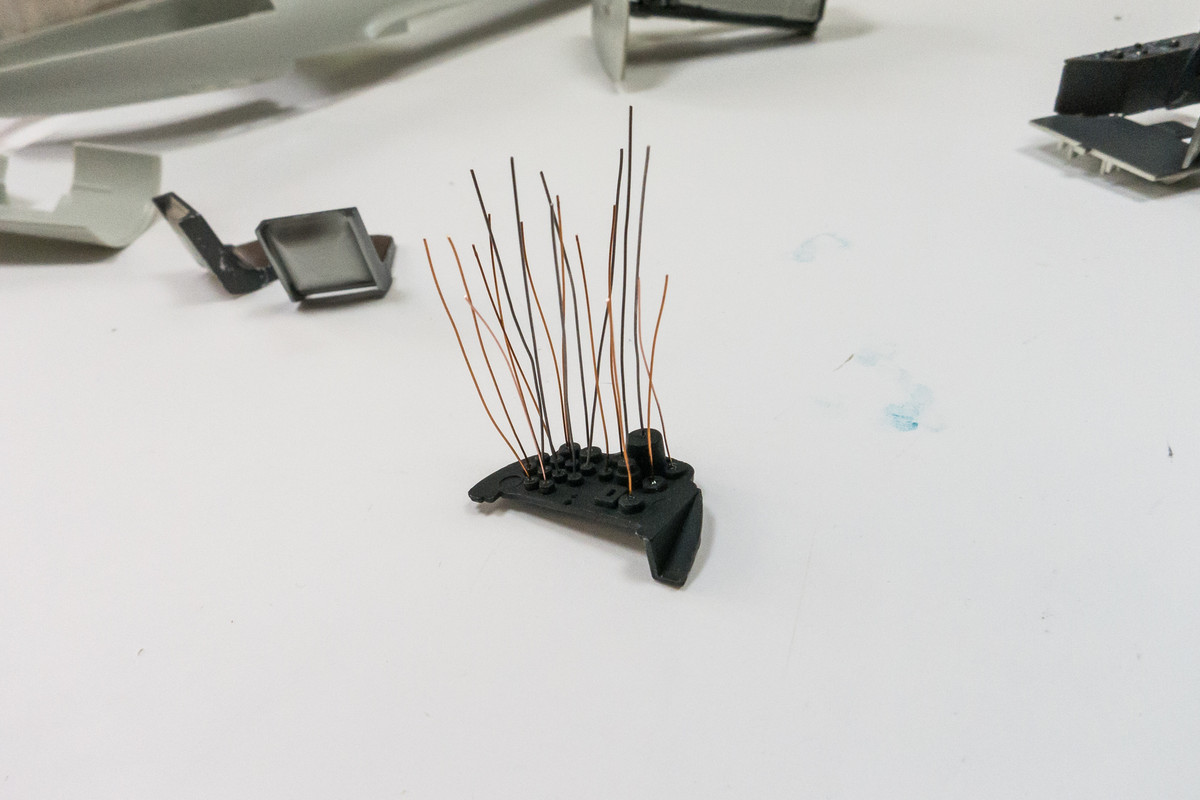
These were then bent into painting position and trimmed to appropriate length, trying to keep the wires separate to facilitate snaking the paint in between the strands. These will not be attached to anything, just bent down into the dark space between the IP and the bulkhead.
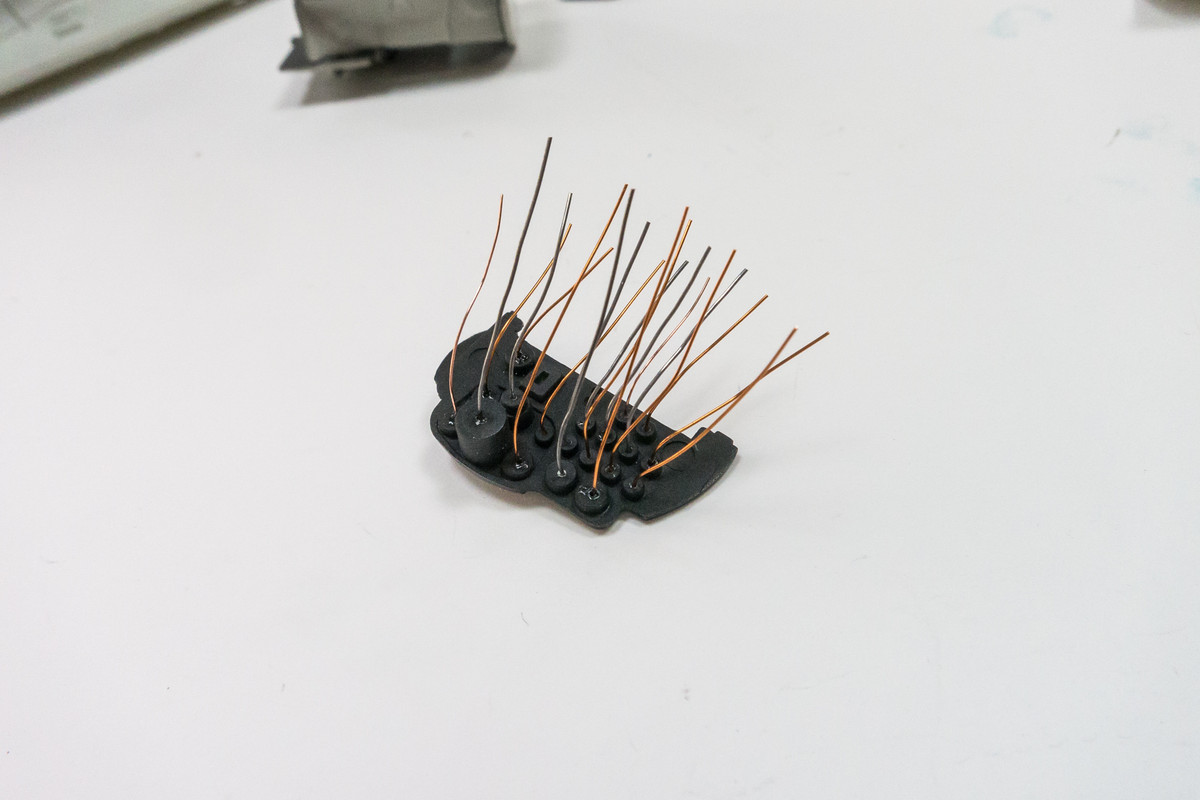
The wires were painted randomly light grey and yellow.
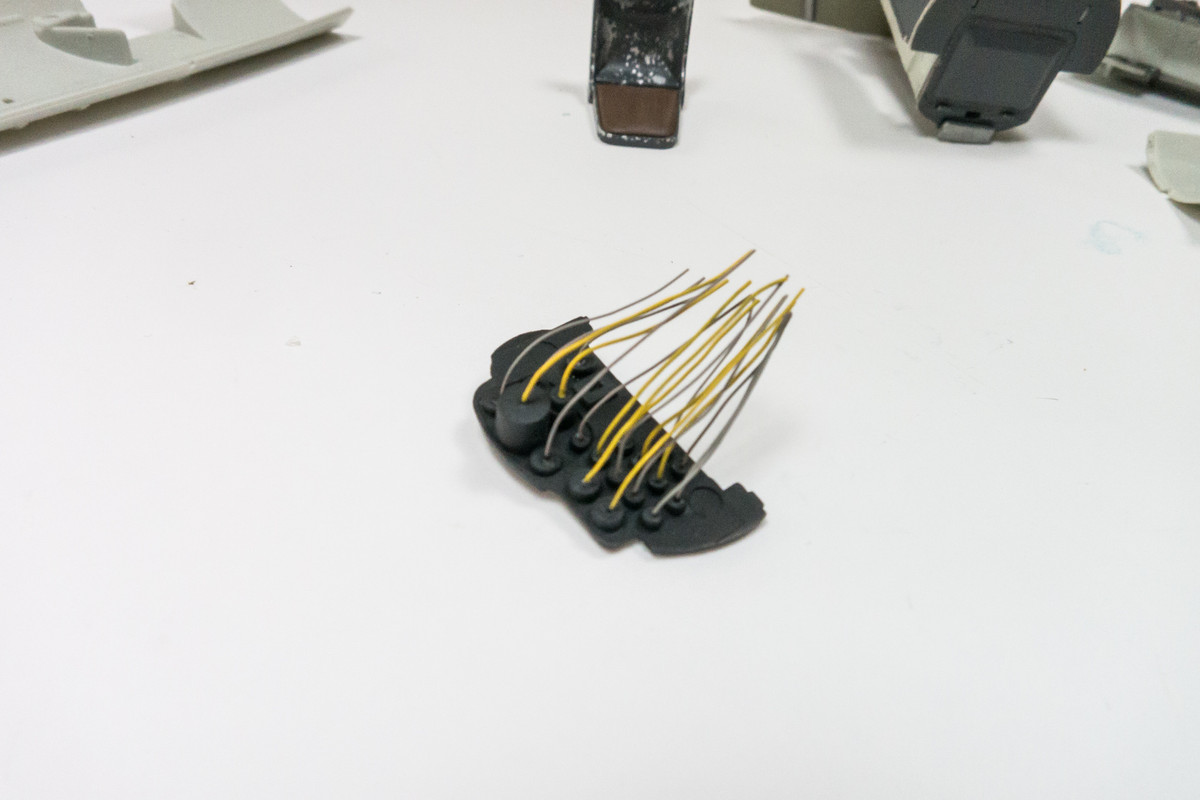
The wires are then pushed into final position and the instrument panel is glued into place.
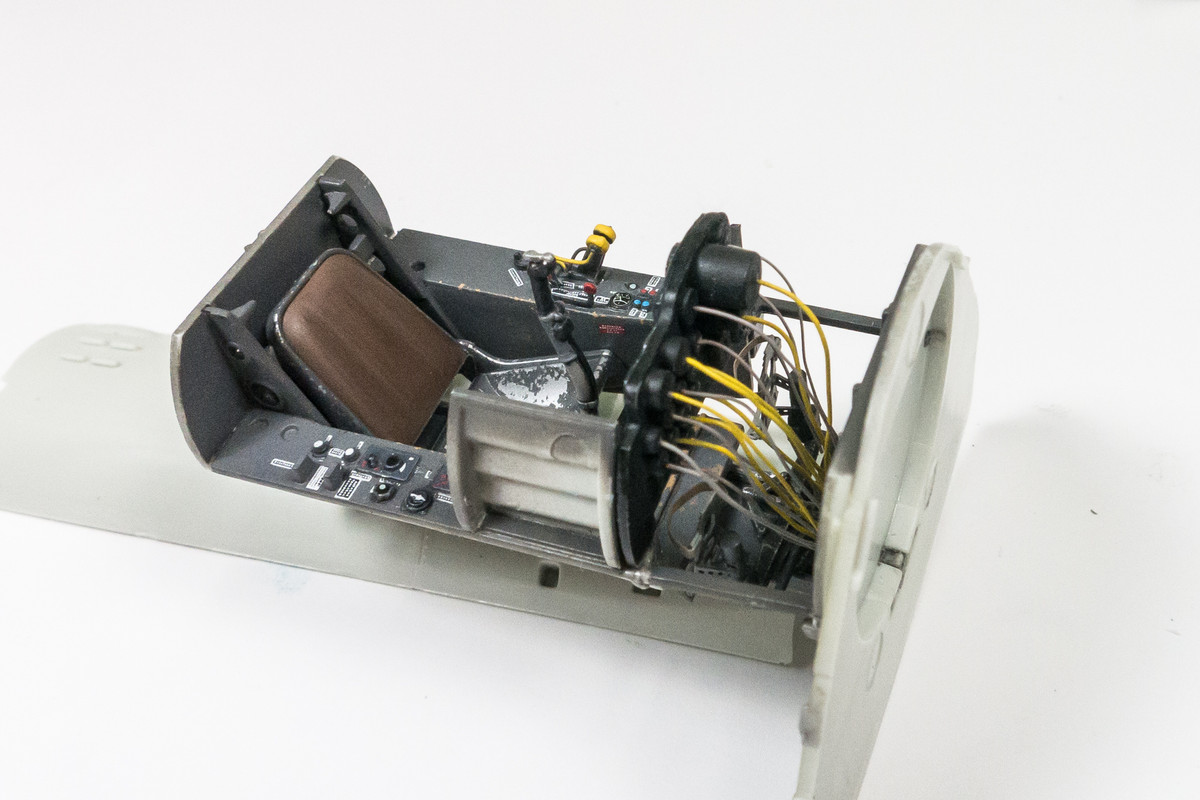
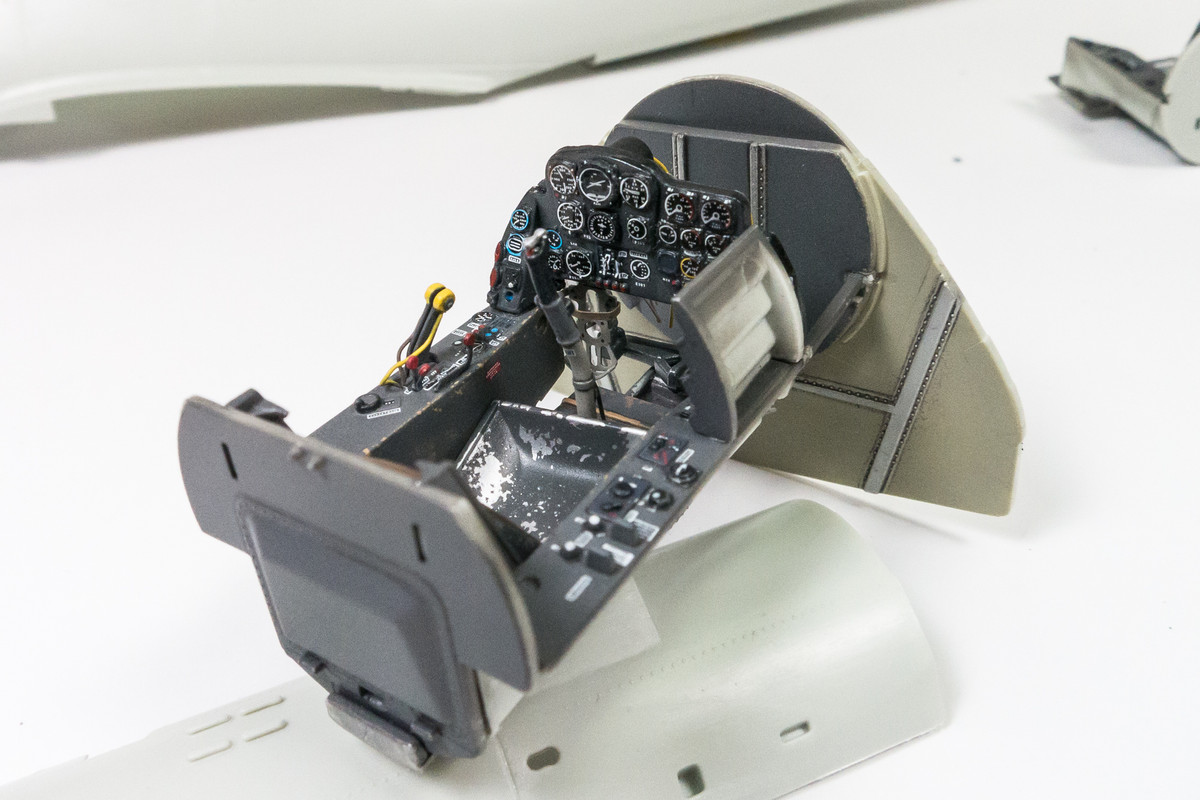
The rear cockpit assembly is glued together next. I forgot to chip the floor so I may have to do some retro-fit hair spray to match the front cockpit.
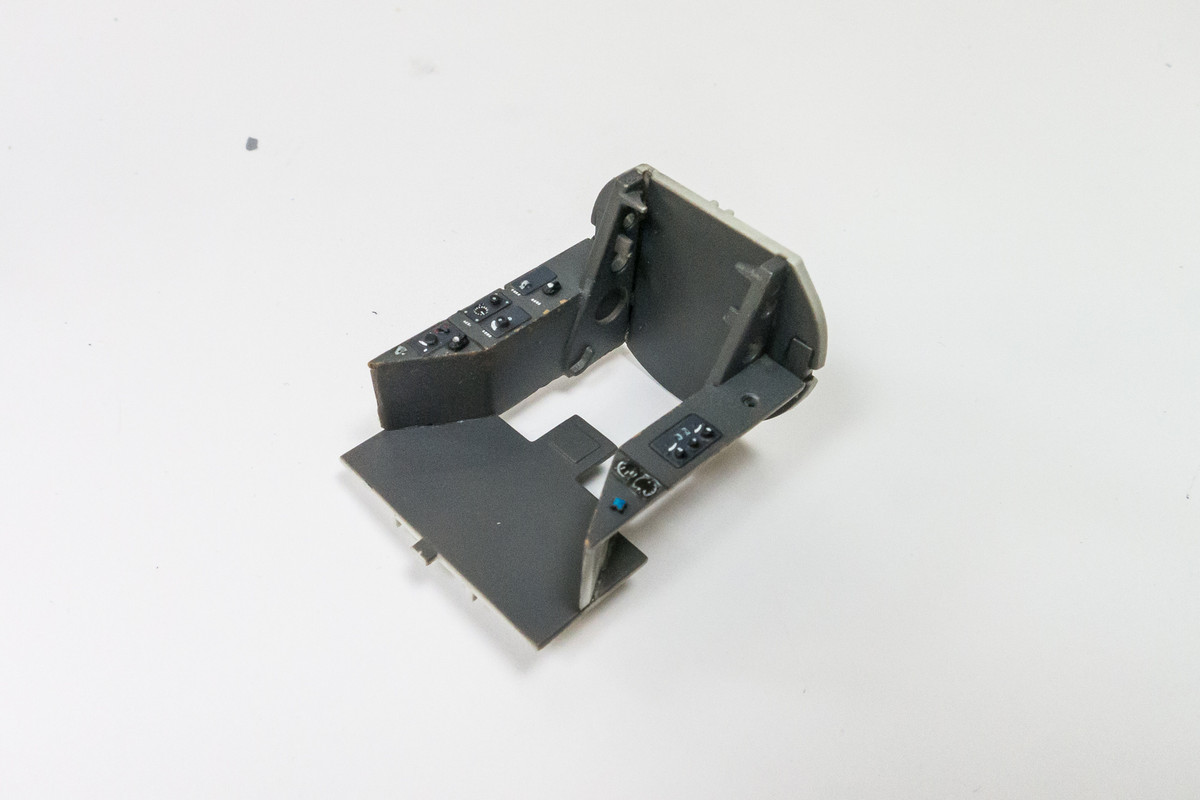
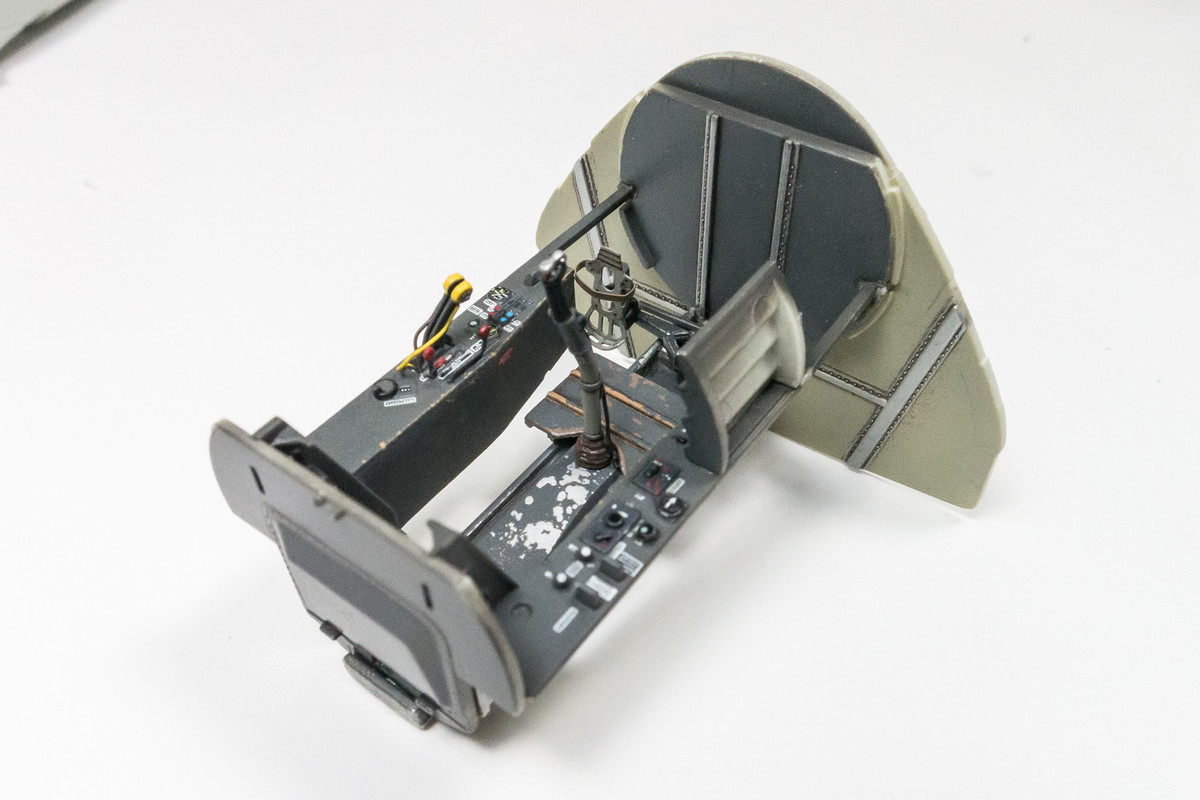
The attachment tabs offer a nice tight fit so I can temporarily place the two cockpit assemblies together to check the fit.
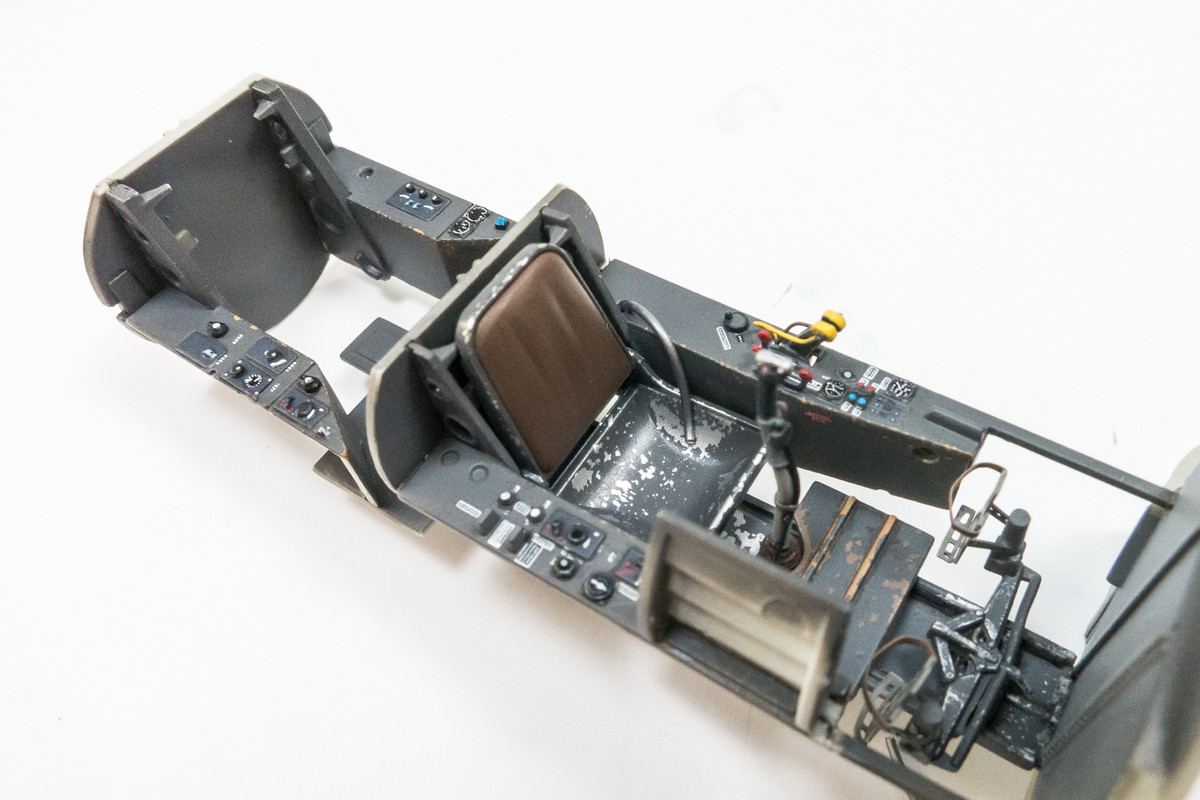
Again, the tube is used to make sure that the components are in the right position.
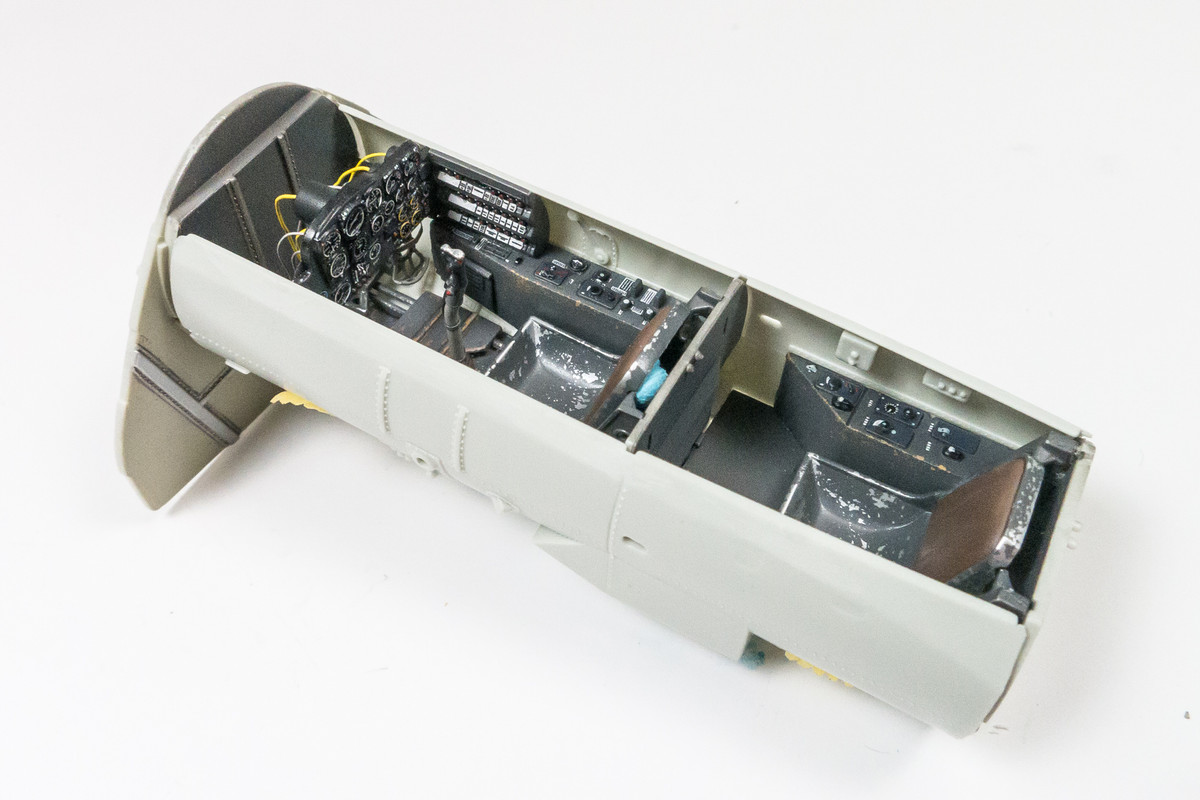
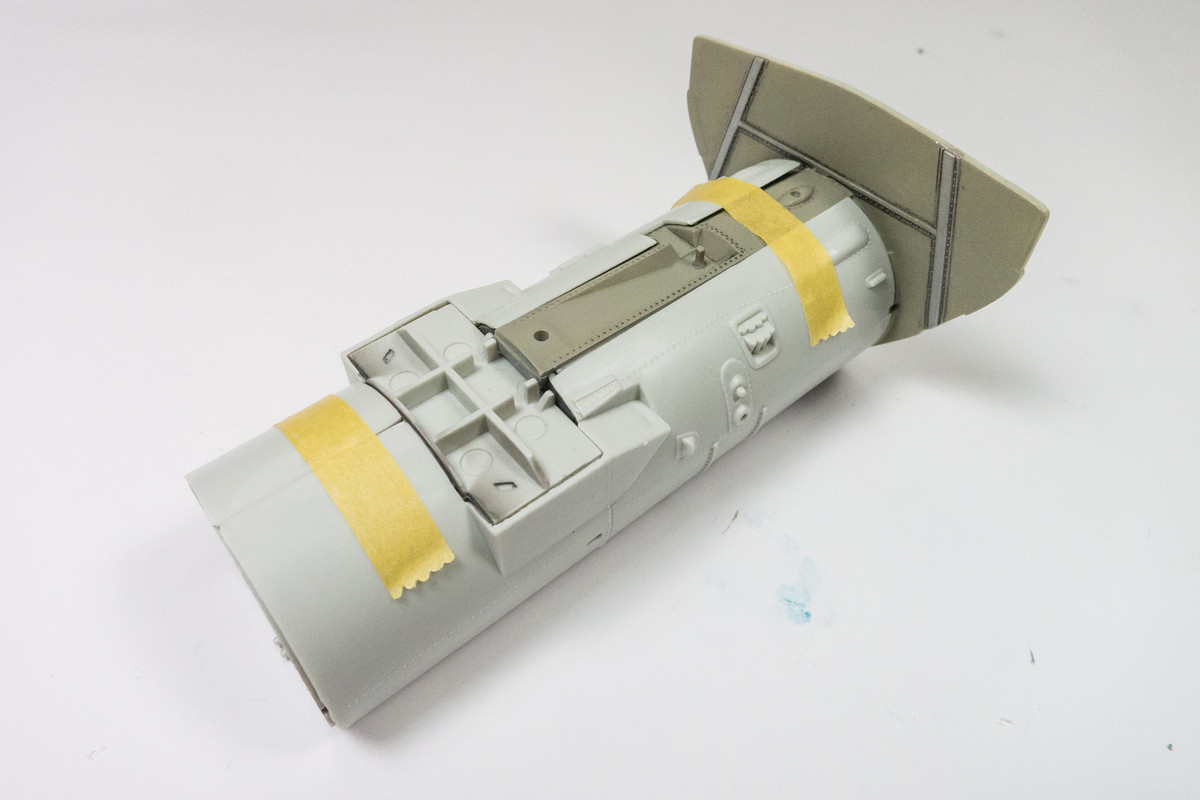
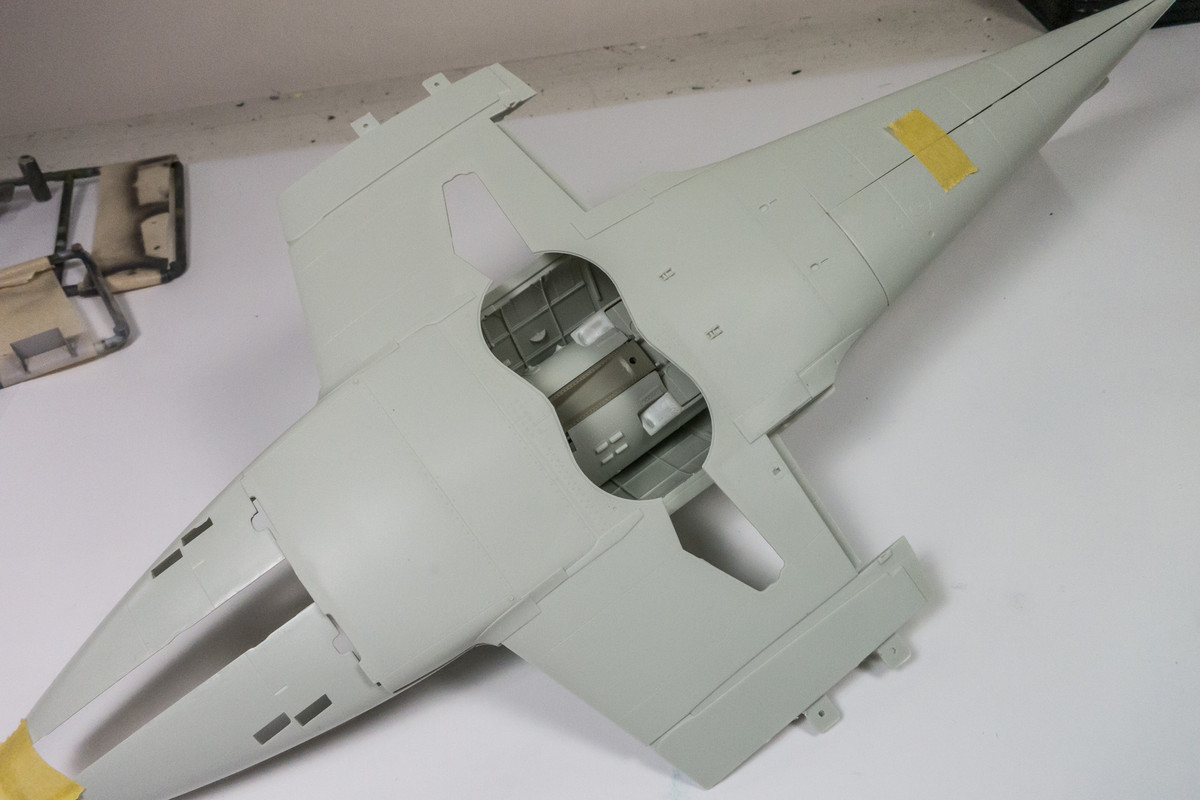
The whole assembly is taped into the fuselage.
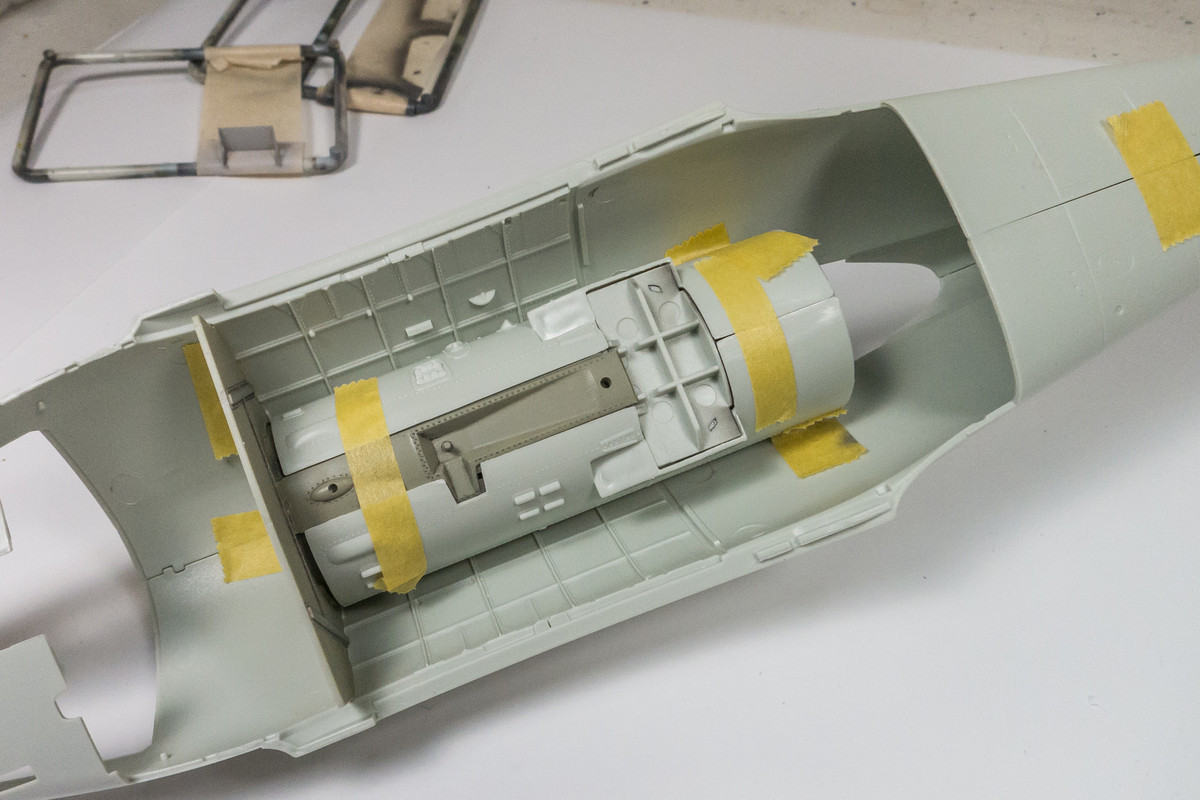
The view from the top. Everything seems to fit together well without the need for any significant adjustments.
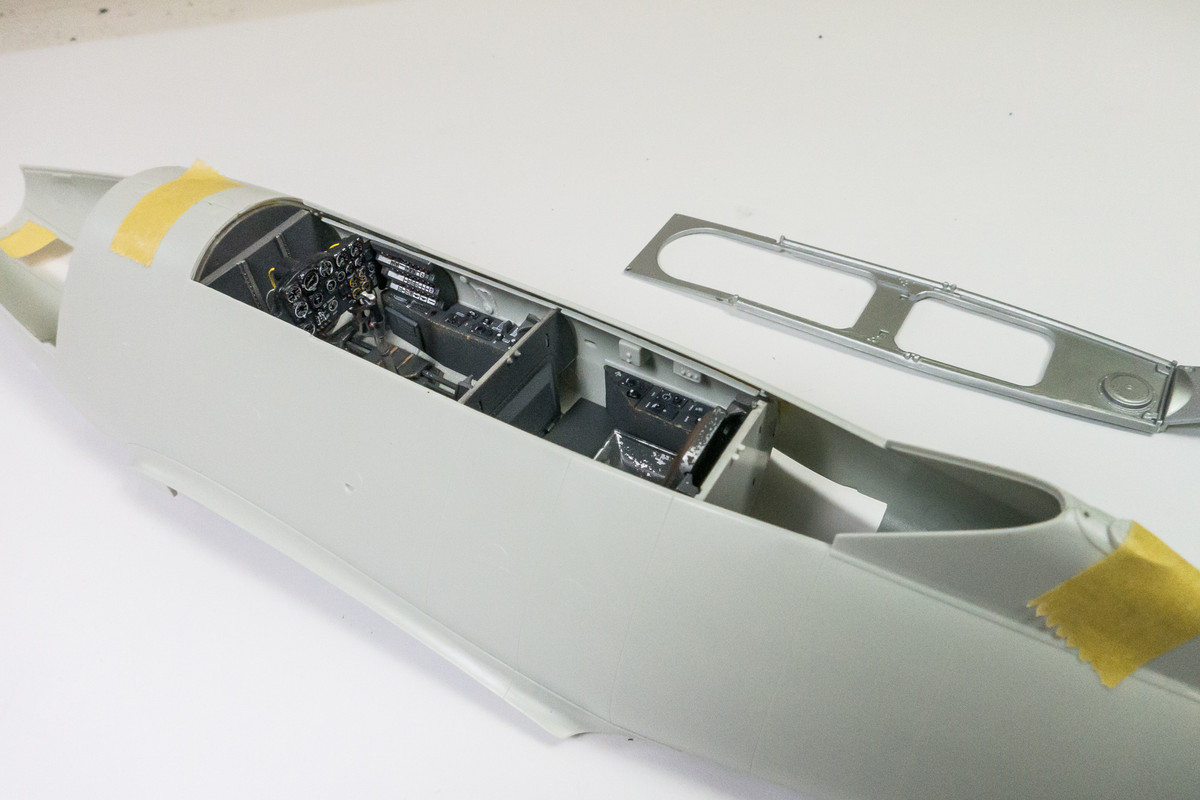
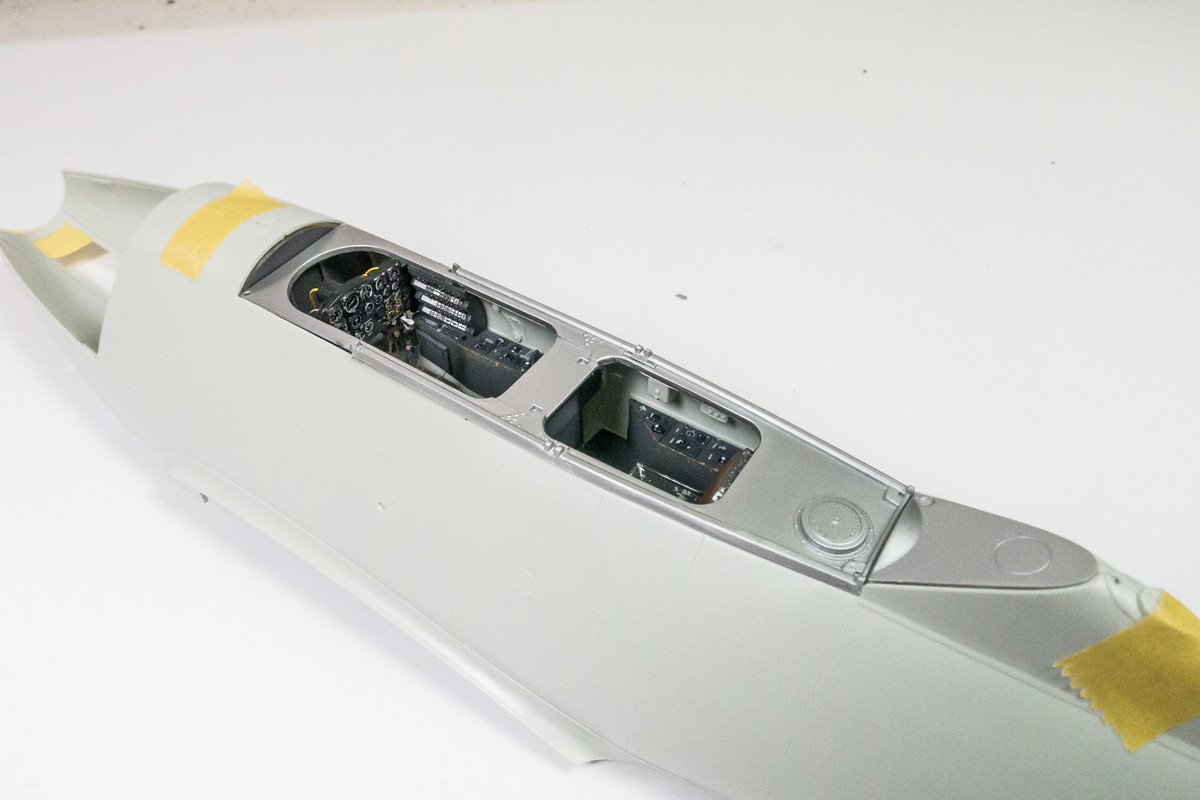
Once the wing bottom is attached the view into the wheels wells is greatly reduced.
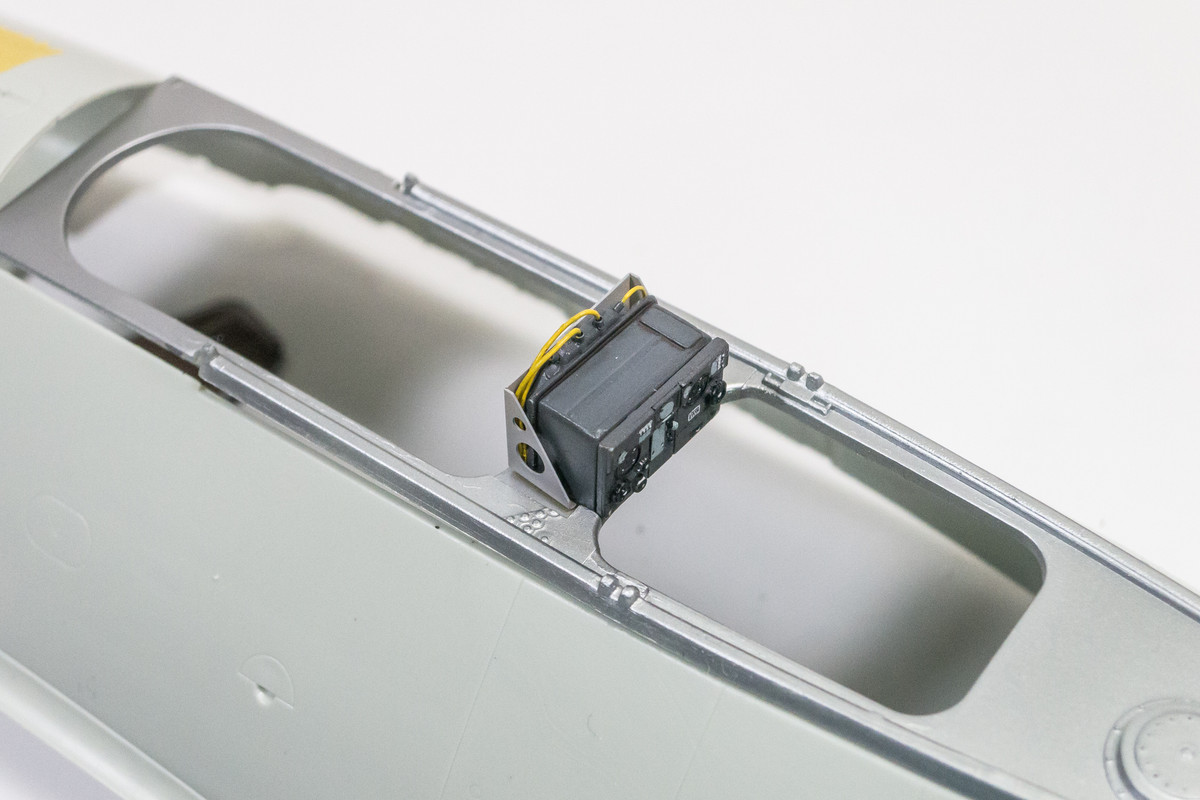
A small check on how the radar unit sits on the cockpit sill.
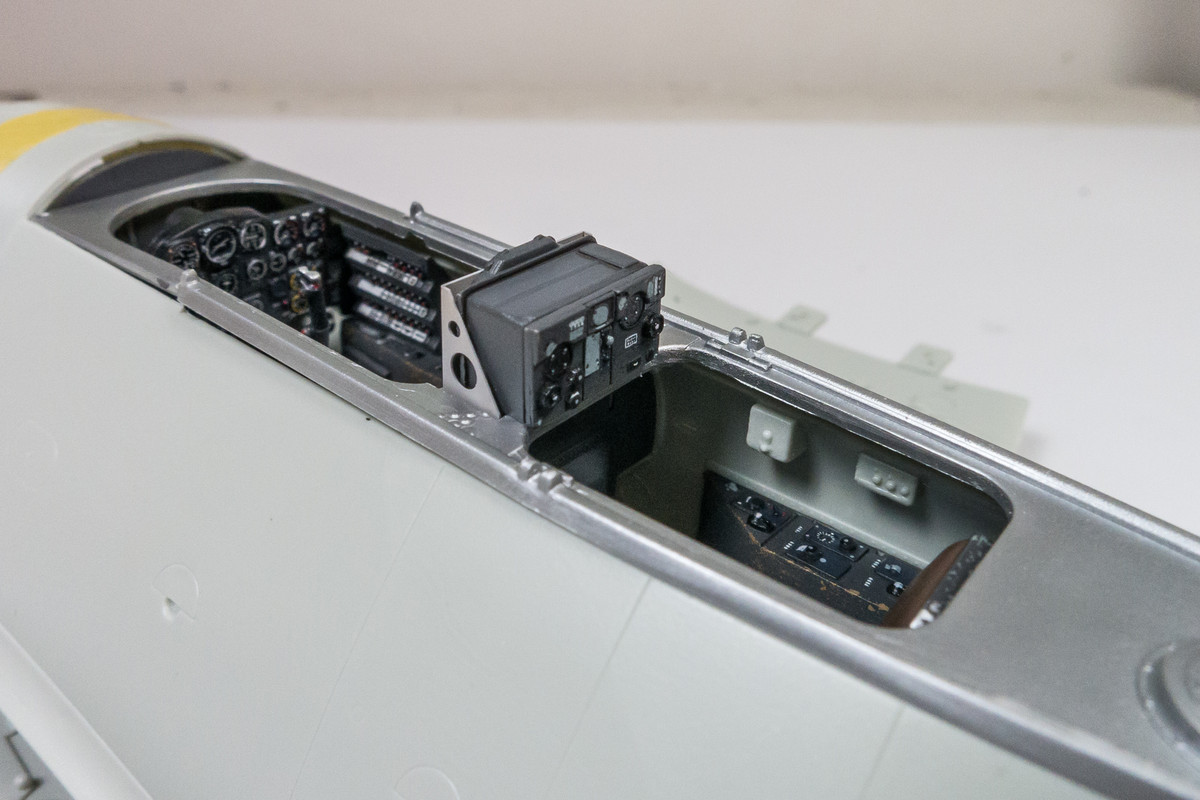
There is still a lot of work left on the cockpit but now I feel quite relieved that I've been able to dry-fit the cockpit assembly into the cockpit and found no significant fit issues.
Happy Thanksgiving to all!