Page 6 of 35
Re: 1/32 Special Hobby Hawker Tempest Mk V
Posted: Fri Feb 12, 2021 6:57 pm
by Paul
I really think that you will enjoy that resin upgrade set, John.
Re: 1/32 Special Hobby Hawker Tempest Mk V
Posted: Sat Feb 13, 2021 12:11 am
by jkim
If I used it the way it was intended to be used... yeah, probably. Right now, I'm not quite enjoying it!
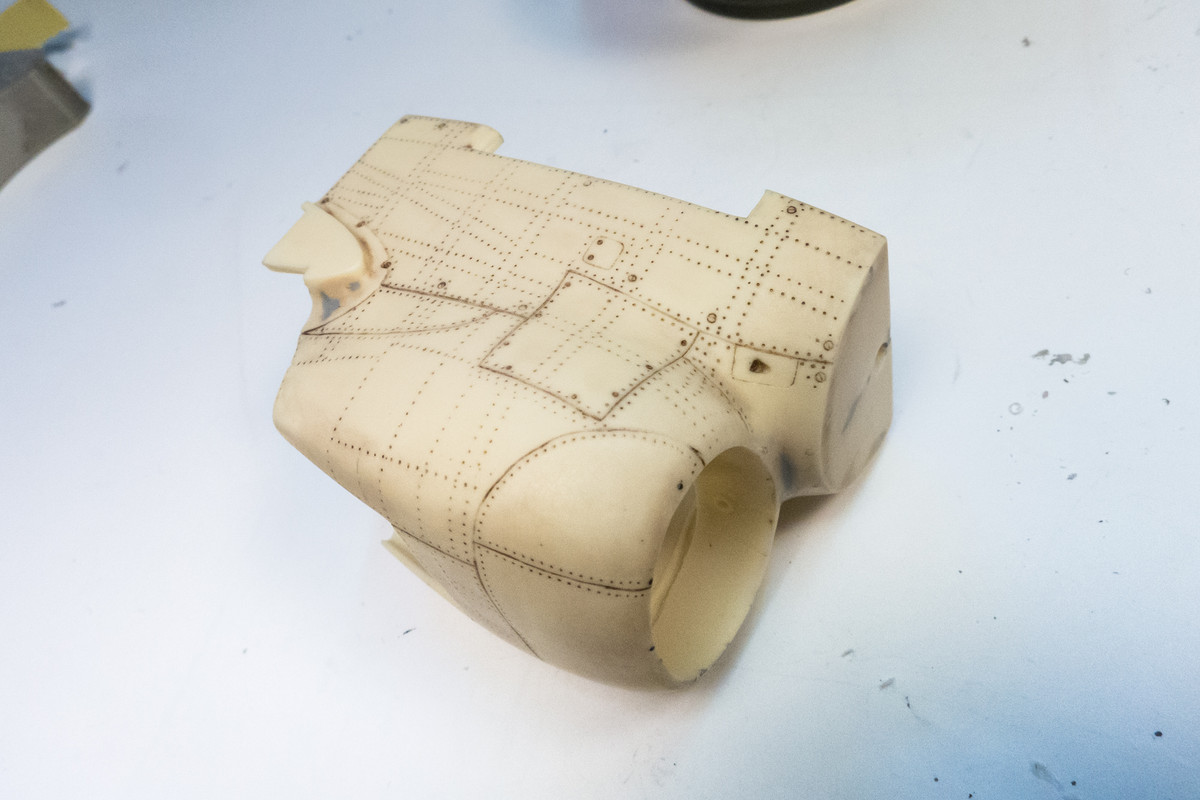
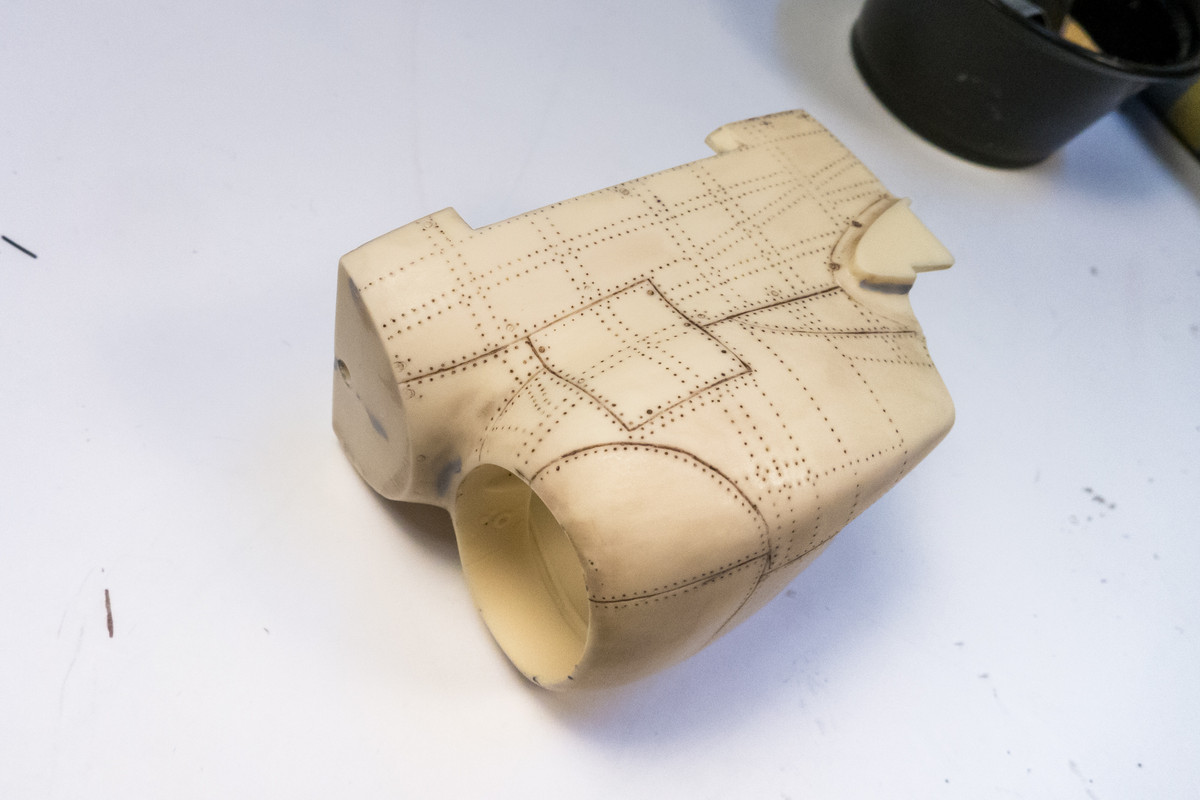
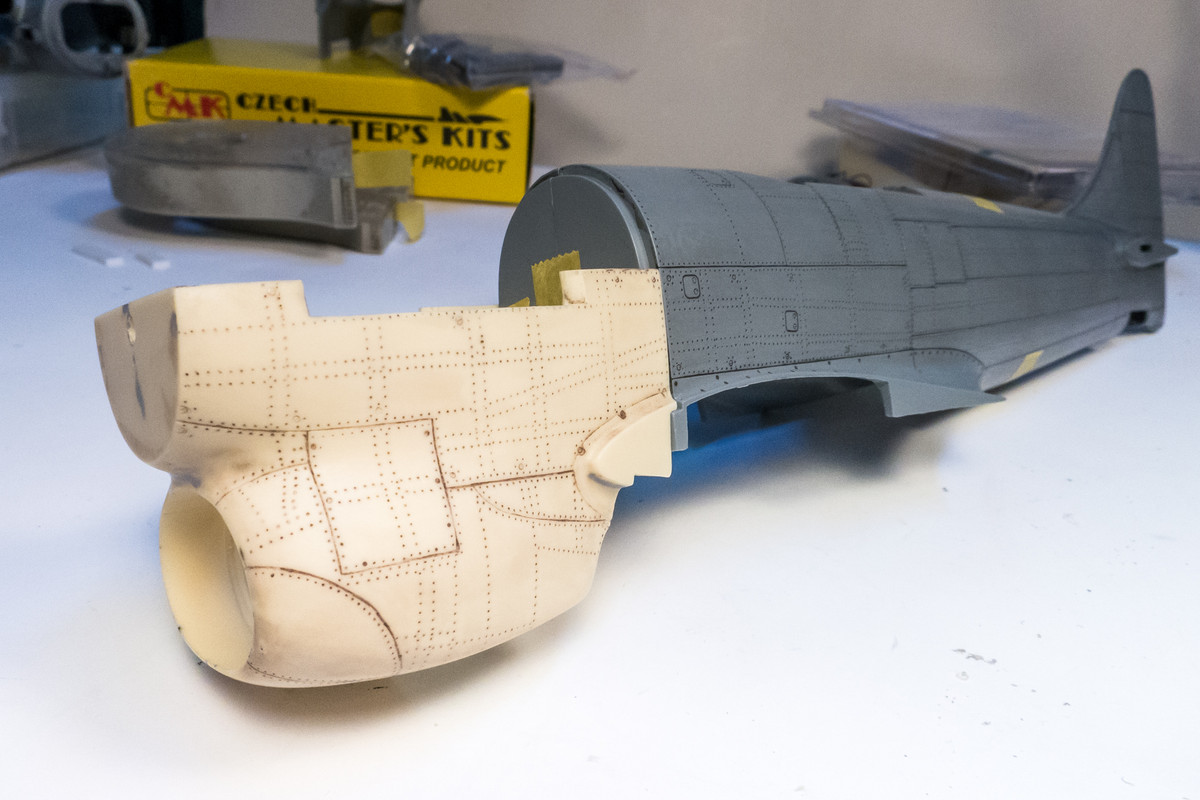
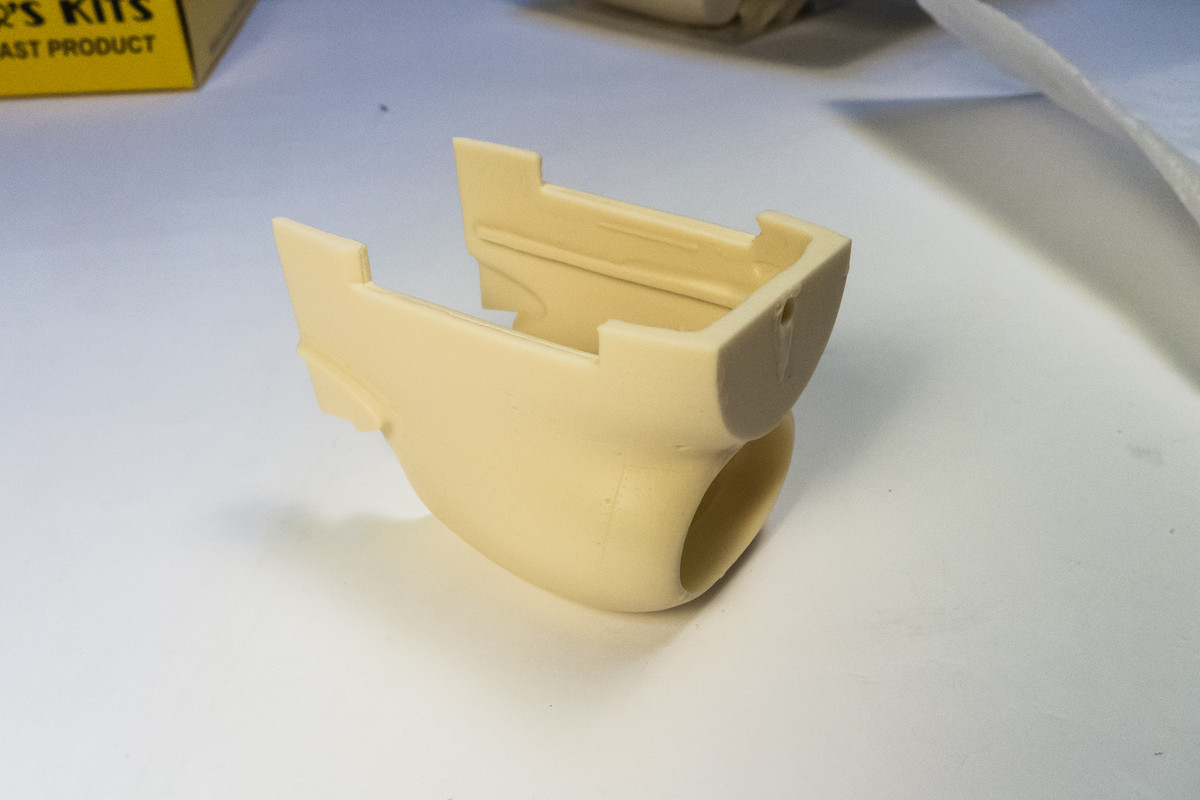
Here is the Barracuda nose piece. Because of the lack of contrast caused by the cream-colored resin, you can't see the detail but there are panel lines and rivets. The details are pretty shallow though and it will need to be re-scribed and re-riveted to match the rest of the components.
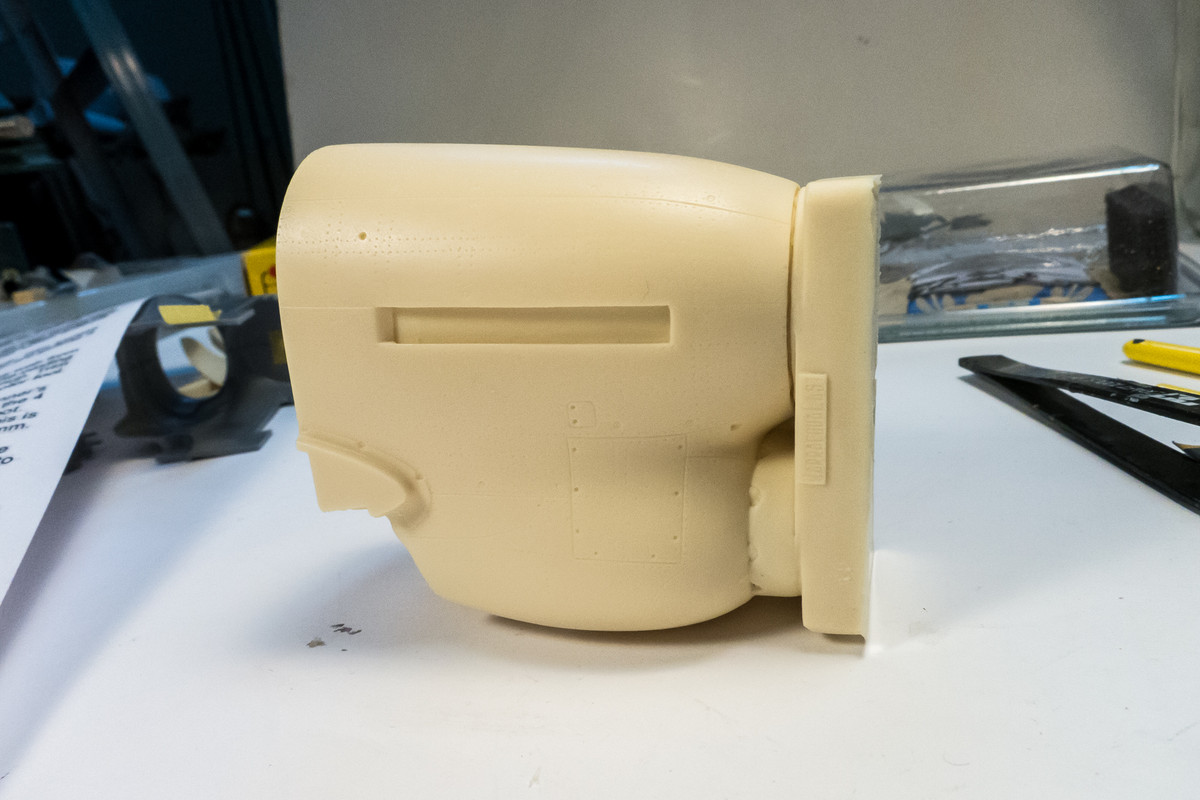
You aren't given a set of instructions and the packaging directs you to download them from the Barracuda website. That little omission irritated me for some reason and I attacked the casting blocks a little more quickly than I should have. Not to worry... the cutting went fine but I think I should've waited until my head was in a better space. Anyways... per the instructions, I sawed the casting block in half and removed the chin block first.
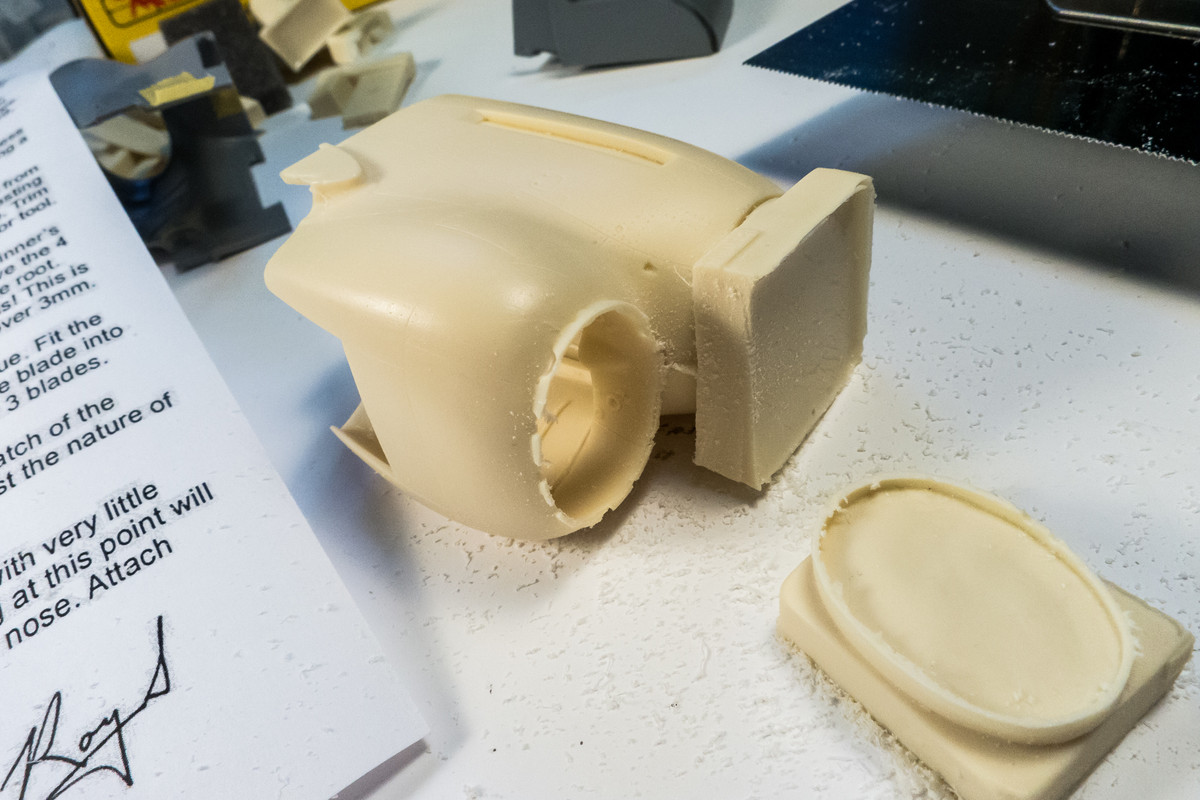
And then I removed the nose block. Notice the indentations near the spinner hole where the saw just started to cut into the part itself. Speaking of the hole, there was an indentation for what looked to be the spinner hole on the inside of the resin part. It looked centered but without taking any measurements, I just drilled it open to the other side. Haven't cut the spinner backplate out yet to check but it looks reasonably centered... hope I didn't goof!
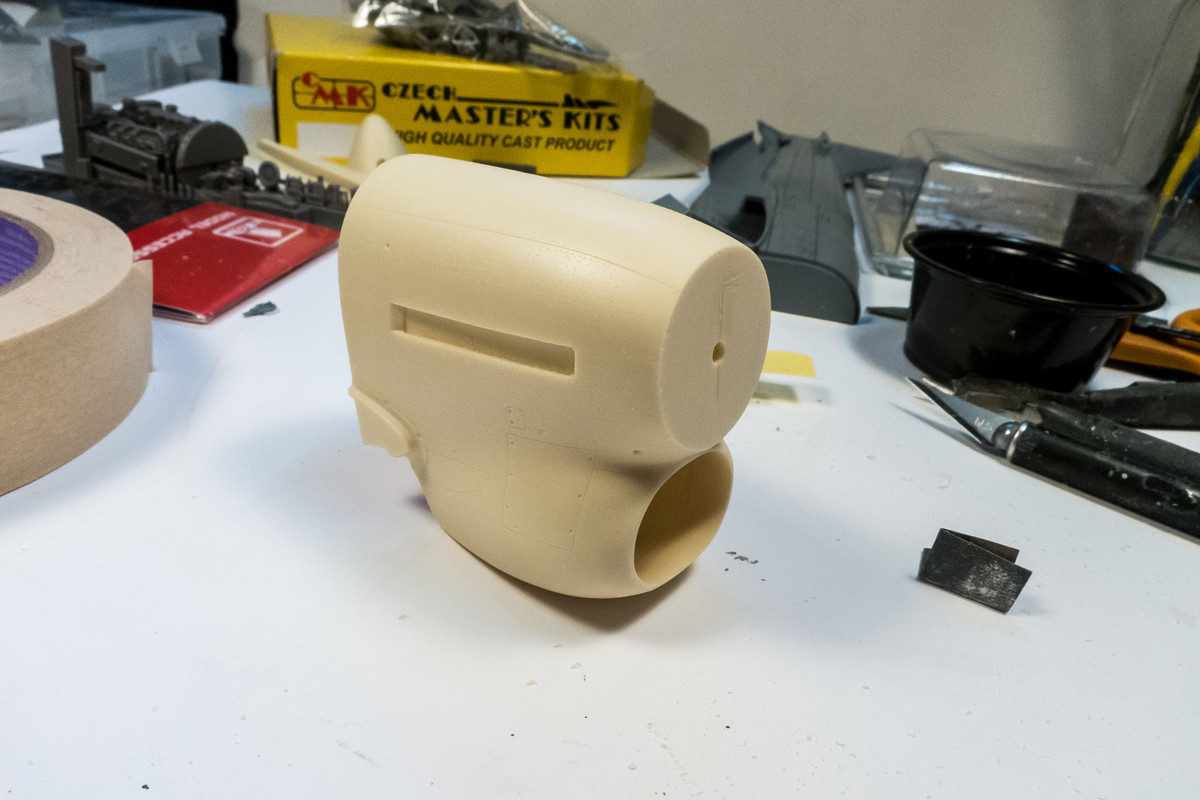
Like the kit plastic parts, I marked the cut at the rivet line just above the target panel line.
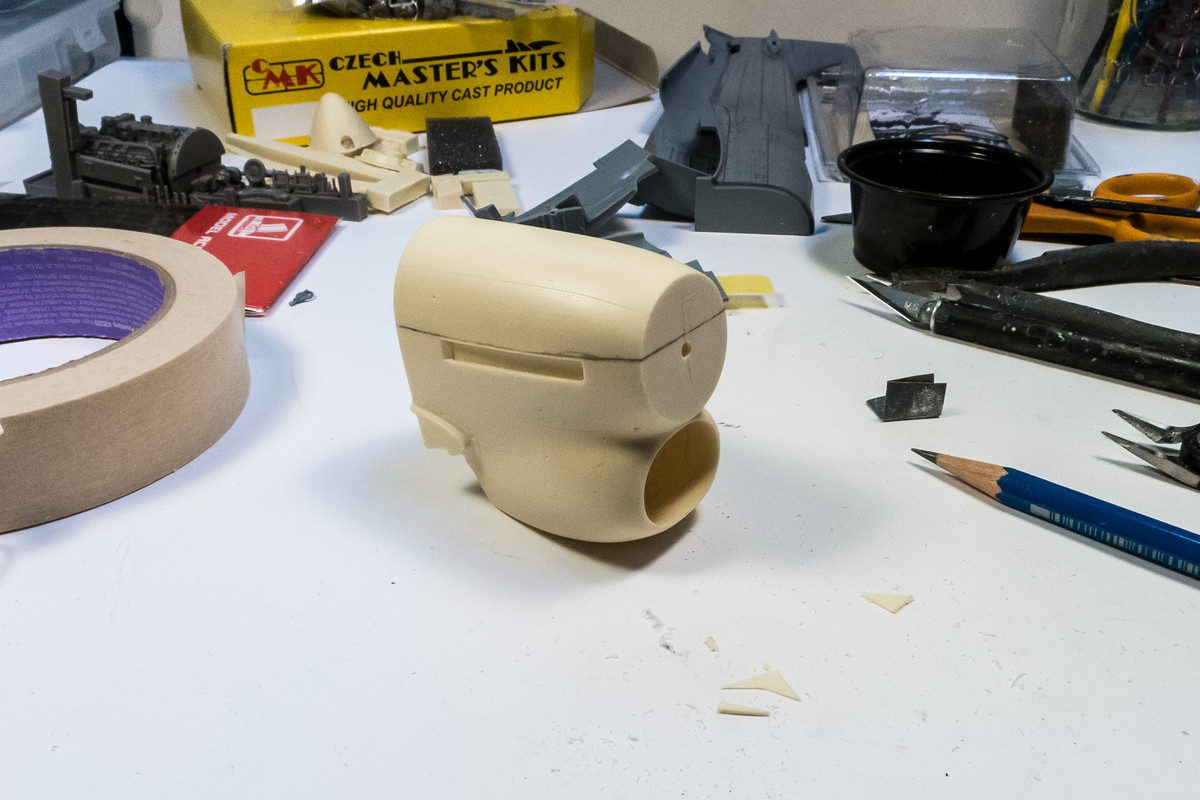
A few minutes of concentrated sawing separated the top half from the bottom.
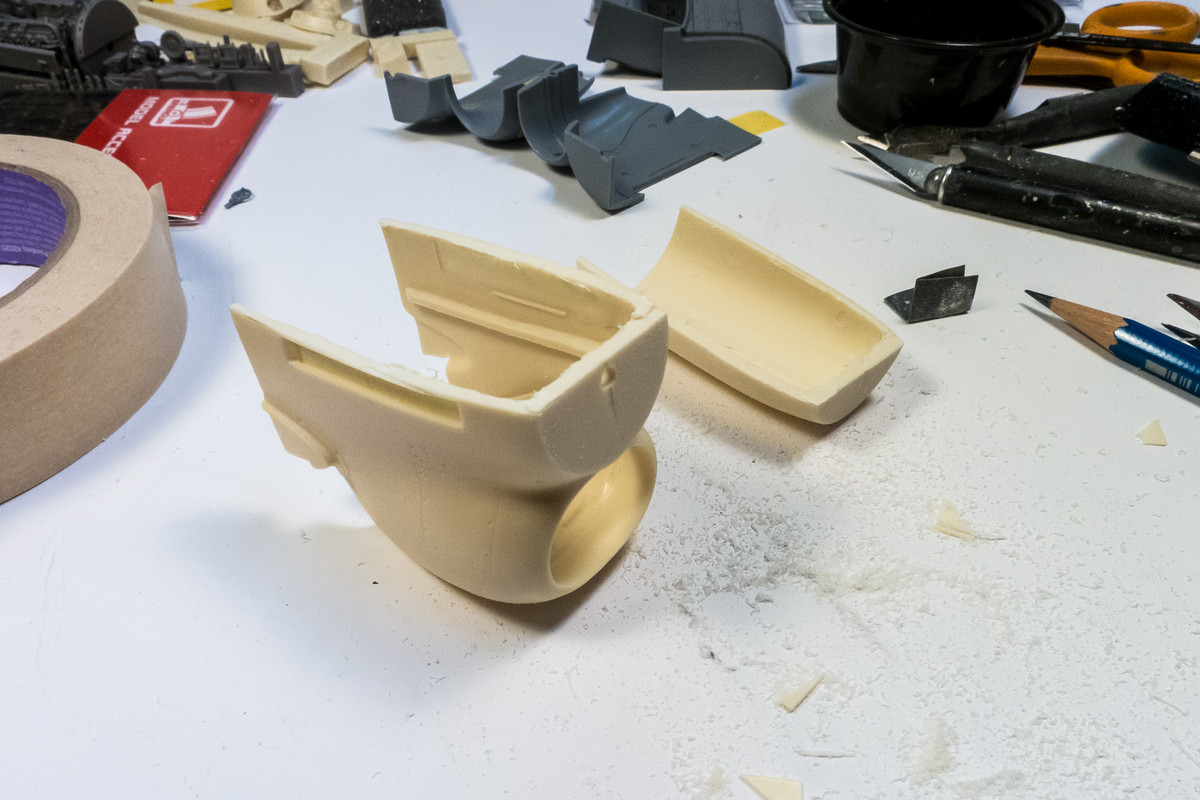
I cut the excess flash within the exhaust openings and block-sanded the edges to the almost-but-not-quite final level. I think I flirted with danger with the rapidity of my cutting but luckily, I escaped with just a few stray saw marks.
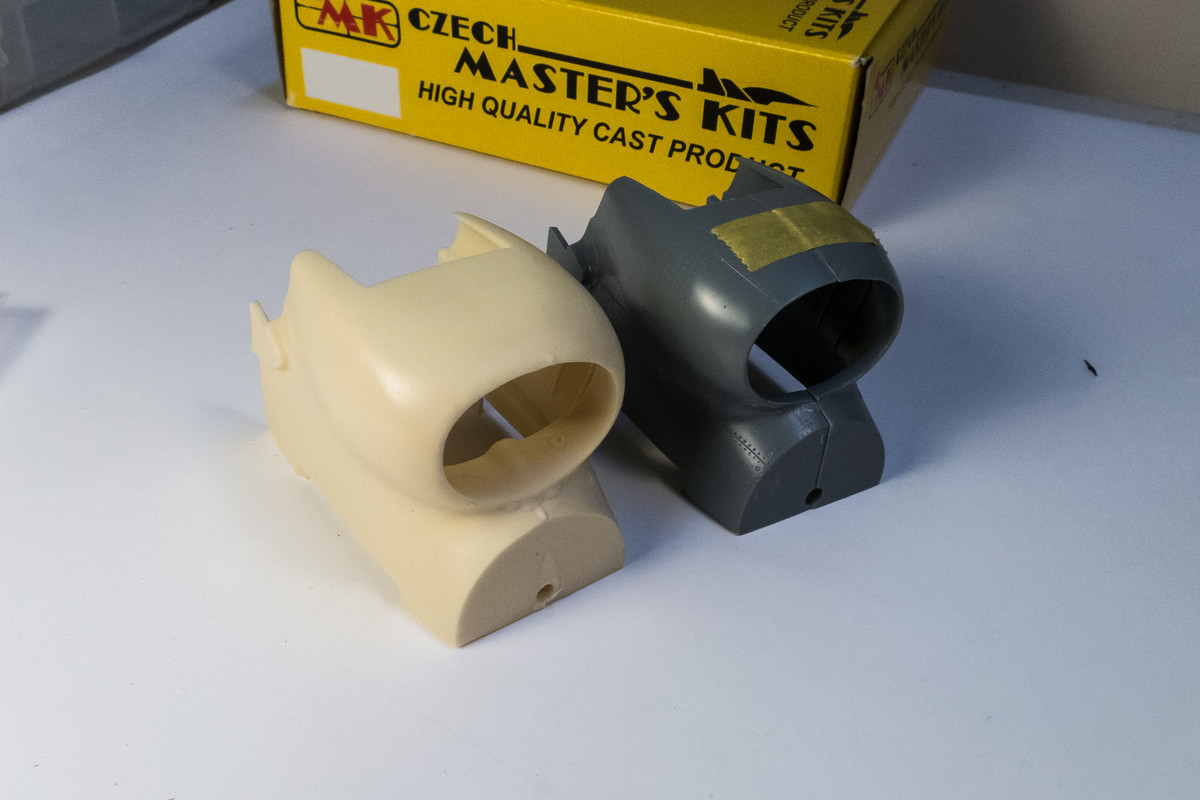
The mouth of the intake is noticeably smaller on the Barracuda part.
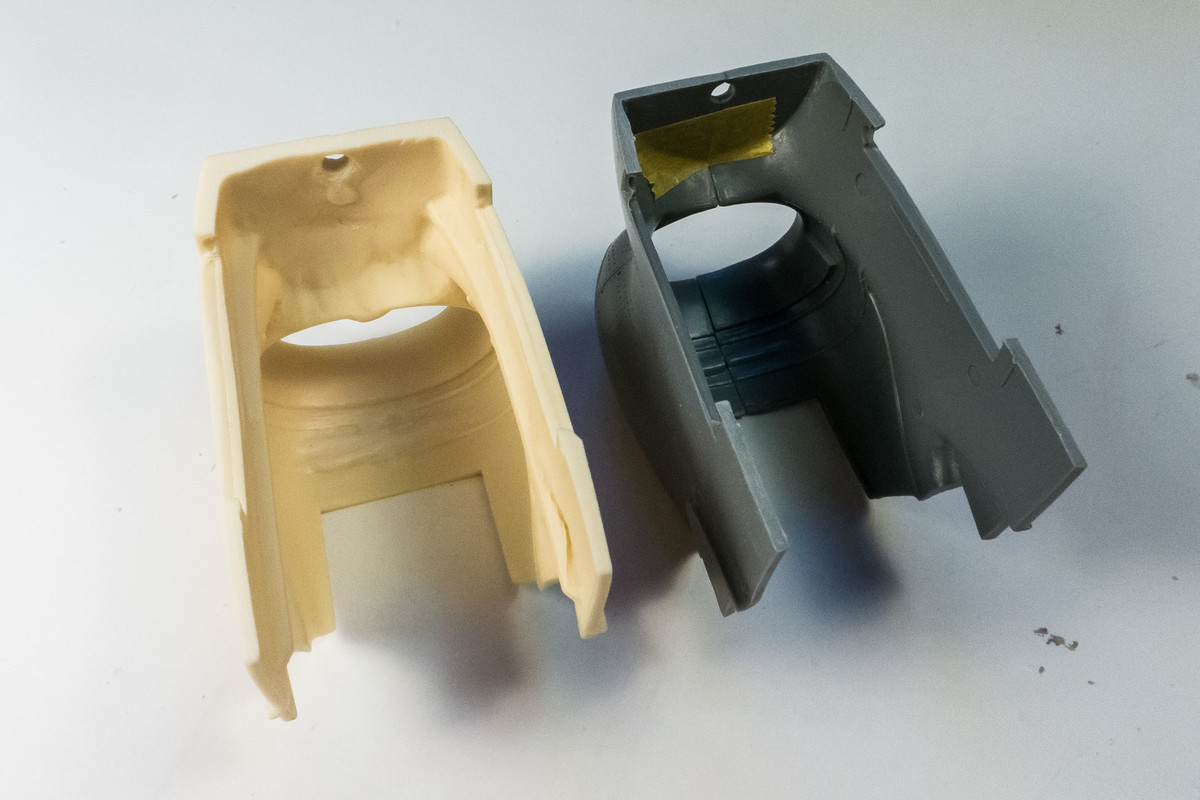
There will be some removal/thinning of the resin interior that will need to be performed if I want to get the resin engine to fit. I think it is do-able but I'm not really excited about starting that excavation.
Re: 1/32 Special Hobby Hawker Tempest Mk V
Posted: Sat Feb 13, 2021 10:16 am
by Stikpusher
Looks like a successful surgery on the patient Dr John.

Re: 1/32 Special Hobby Hawker Tempest Mk V
Posted: Sun Feb 14, 2021 7:18 am
by Thomas_M
Modelling porn!
I got the Tempest Mk.II with the Centaurus engine, iirc. Must try the chalk wash to check the rivets then.
Re: 1/32 Special Hobby Hawker Tempest Mk V
Posted: Sun Feb 14, 2021 7:56 am
by KSaarni
Always so entertaining to follow Maestro Kim's builds!
- Kari
Re: 1/32 Special Hobby Hawker Tempest Mk V
Posted: Mon Feb 15, 2021 5:25 pm
by jkim
Re: 1/32 Special Hobby Hawker Tempest Mk V
Posted: Mon Feb 15, 2021 11:59 pm
by Thomas_M
The Leonardo da Vinci of modelling!
Re: 1/32 Special Hobby Hawker Tempest Mk V
Posted: Tue Feb 16, 2021 12:56 am
by jkim
Thanks Thomas! But right now I feel more like a repair man than artist. The big question of how to get the resin engine to fit has not even been approached yet. Upon recommendation of another modeler, I decided to make sure that the intake stuff fits into the big chin opening before messing with the resin engine above.
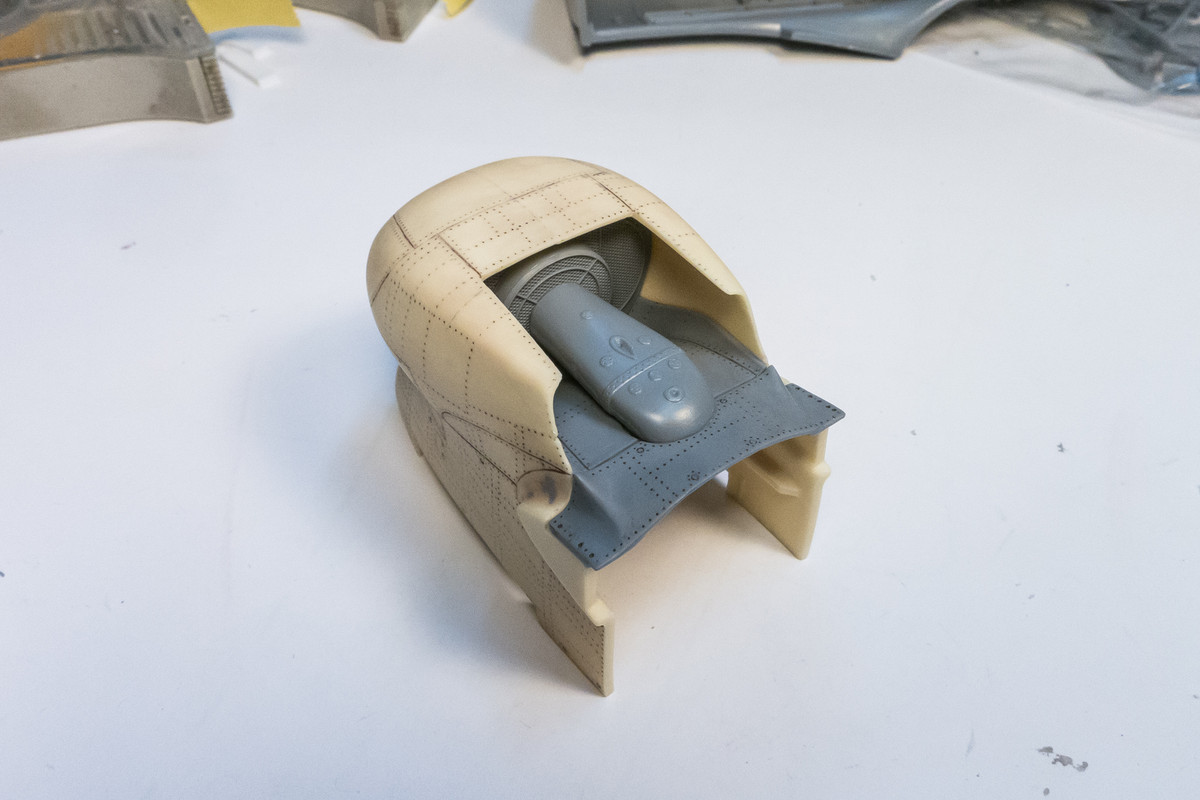
The intake assembly is comprised of a front radiator face and rear radiator face. I could get the rear radiator in place without any adjustments whatsover, which was a big relief.
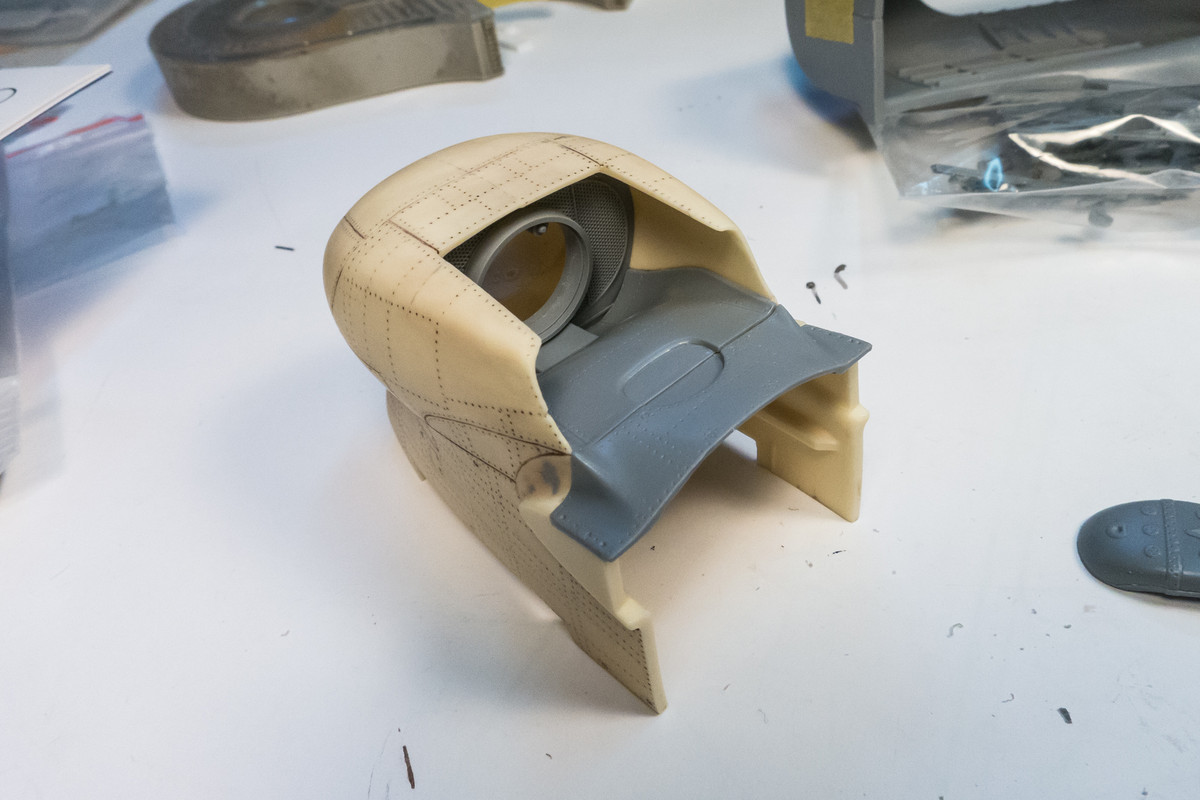
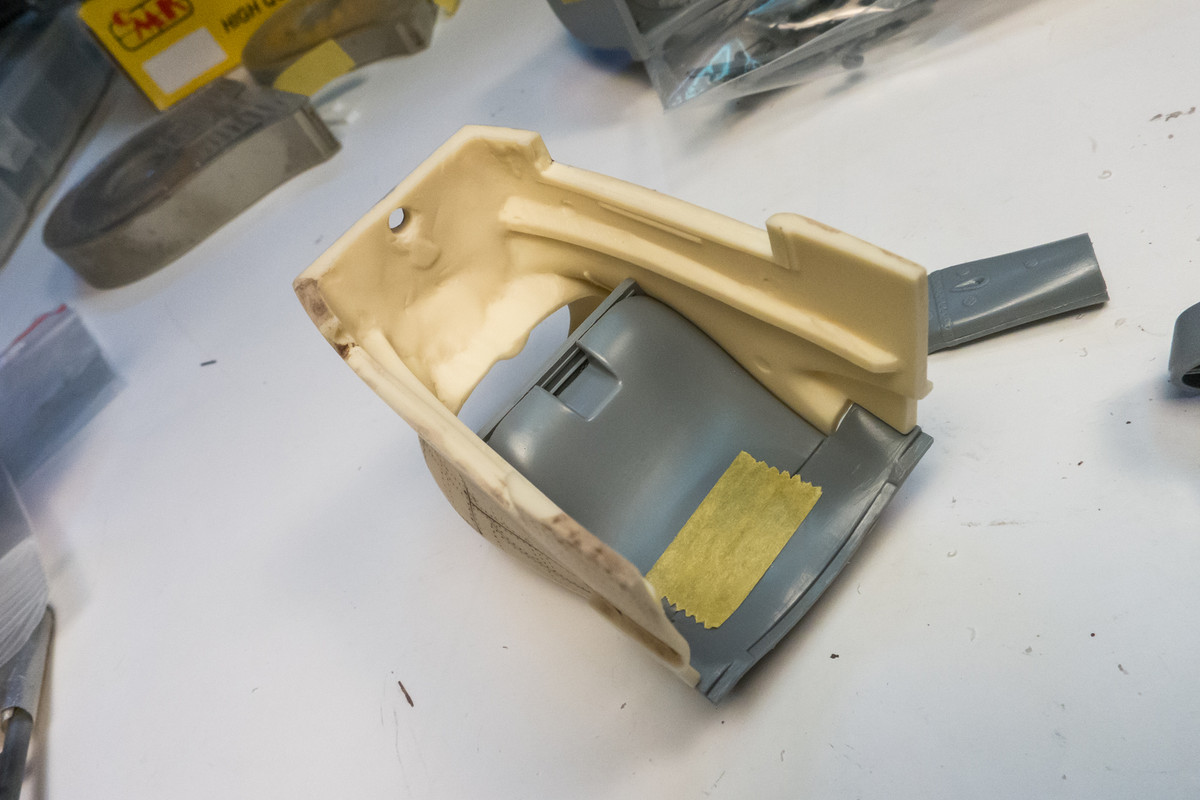
But the front radiator was too large to fit into place without trimming. This makes sense since the Barracuda intake opening is smaller than the kit intake. I trimmed both the inside of the Barracuda cowling and the outside of the front radiator piece to make it fit.
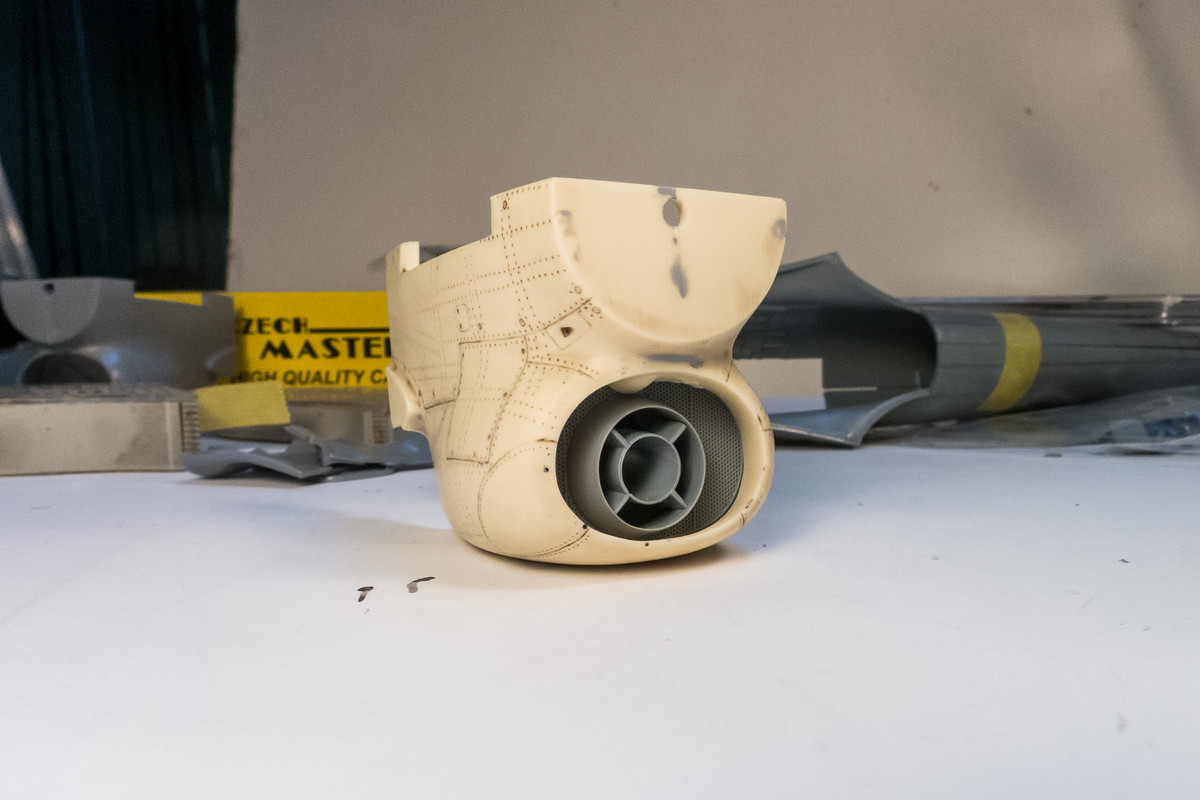
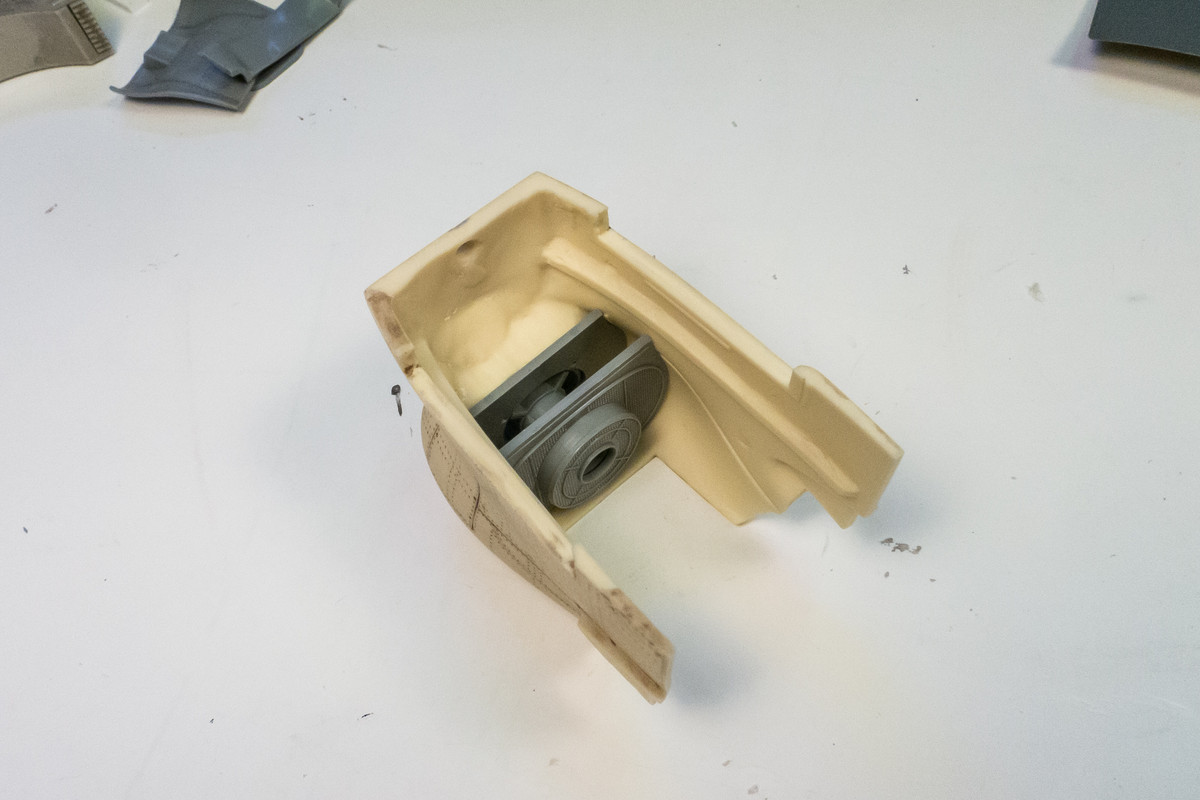
The roof of the radiator exit had some molding defects so a cleanup was necessary. I also treated the rivets and panel lines at this time.
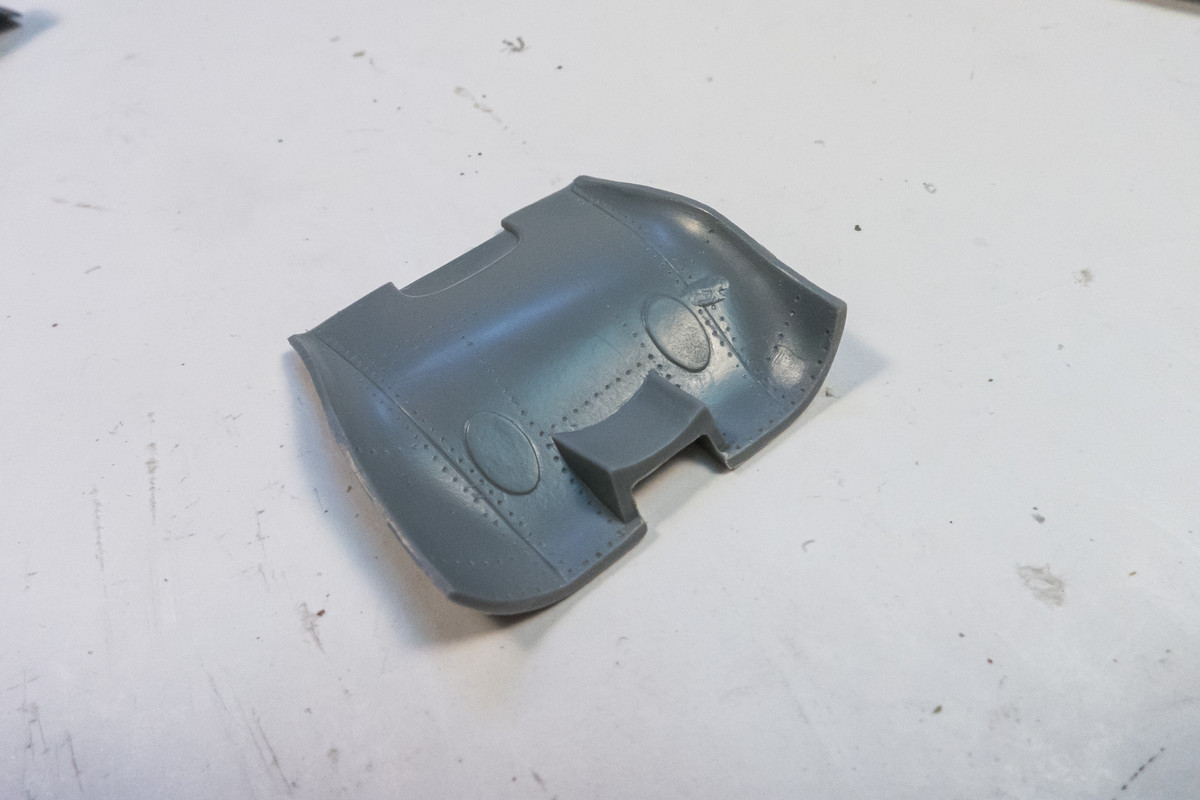
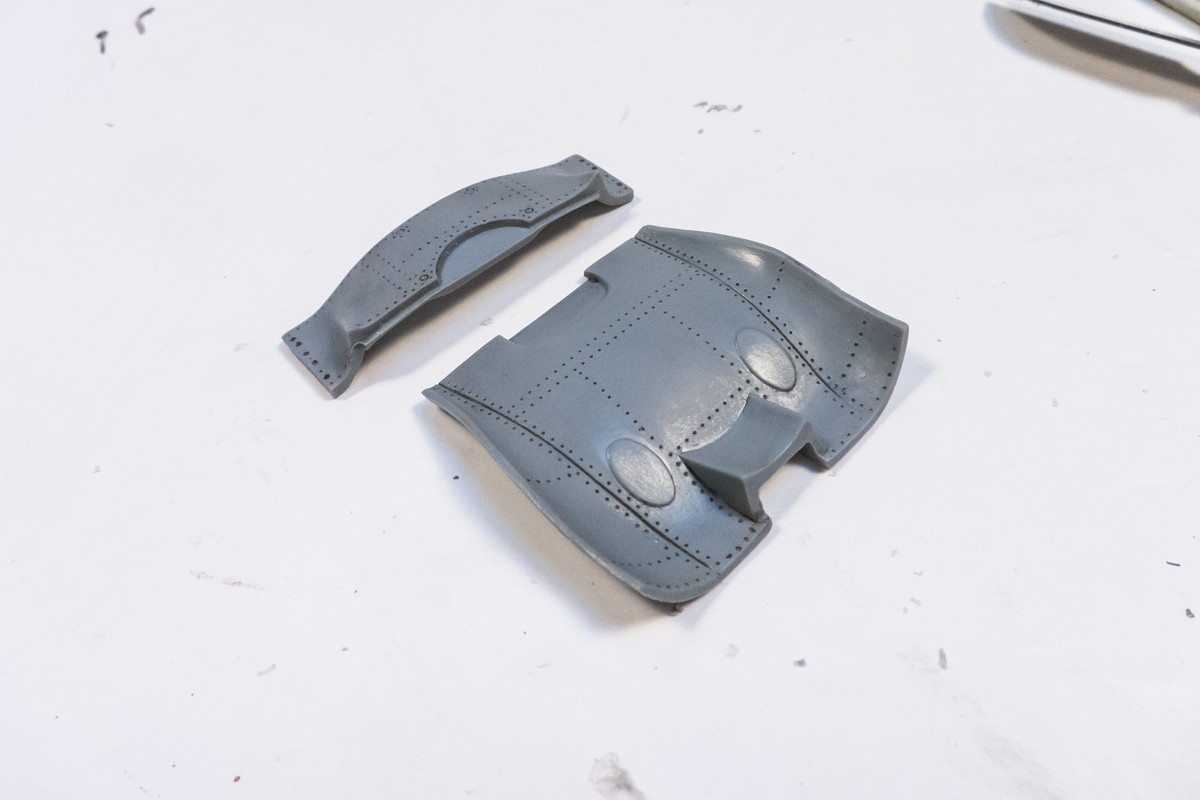
Radiator assembly looks good for now.
Re: 1/32 Special Hobby Hawker Tempest Mk V
Posted: Tue Feb 16, 2021 7:07 am
by LyleW
Most times a good repairman is an artist! Lovely work, too...
Re: 1/32 Special Hobby Hawker Tempest Mk V
Posted: Tue Feb 16, 2021 5:33 pm
by Floki
Glad the fit isn't going to be a headache for you.