Happy fourth of July! It's time I finally started a new tour showing all the work we got done during the last half of June. So, all aboard the trams for the next tour of the facilities here and remember to keep hands and feet inside at all times.
Our first stop as always is the Hangar. Here we have a few things happening, mostly some paint being sprayed before my window screen was removed. In this first bay, the Beechcraft Super 18 and the Cessna 310 both got base coats of white:
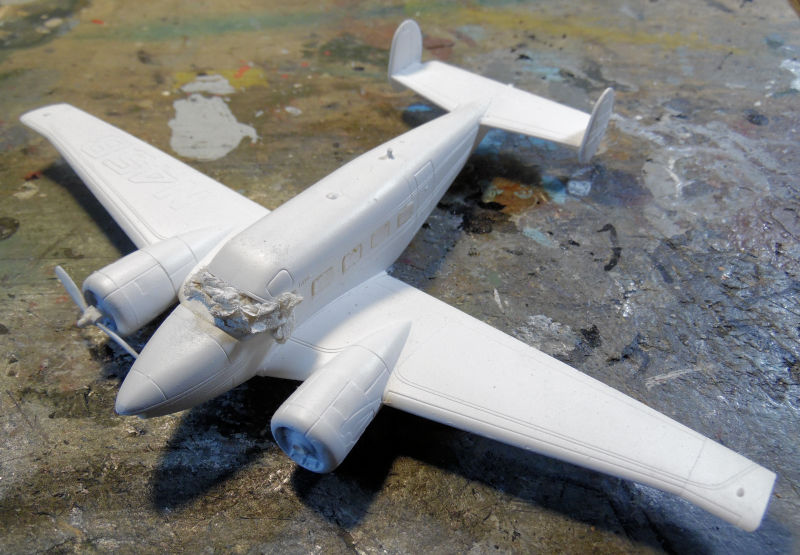
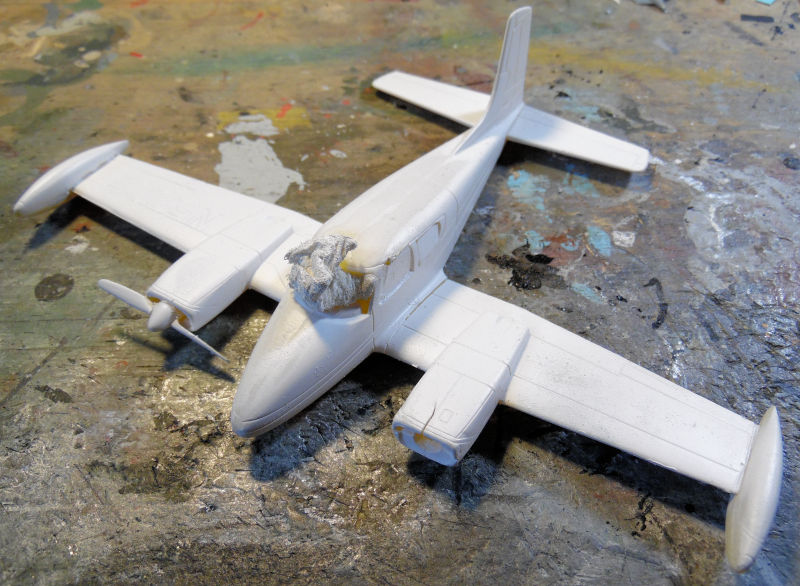
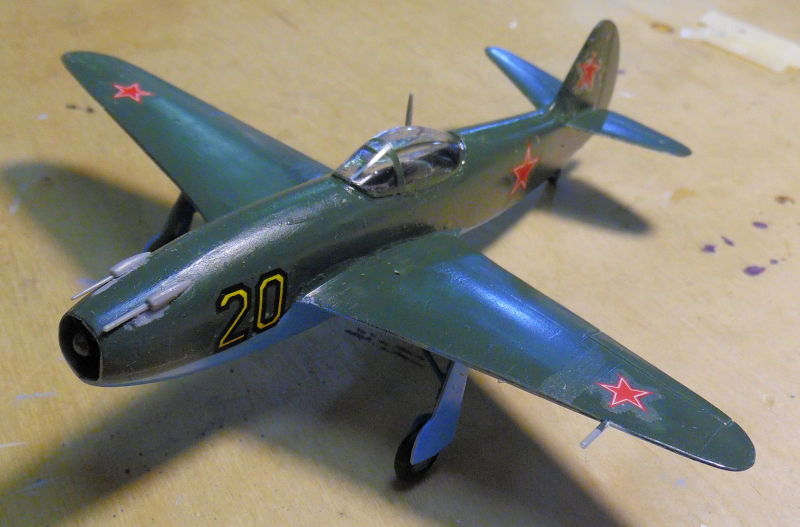
Gonna be some touch up there before decals are attempted. In this next bay, my Russian Yak 15 got the top coat of green on it:
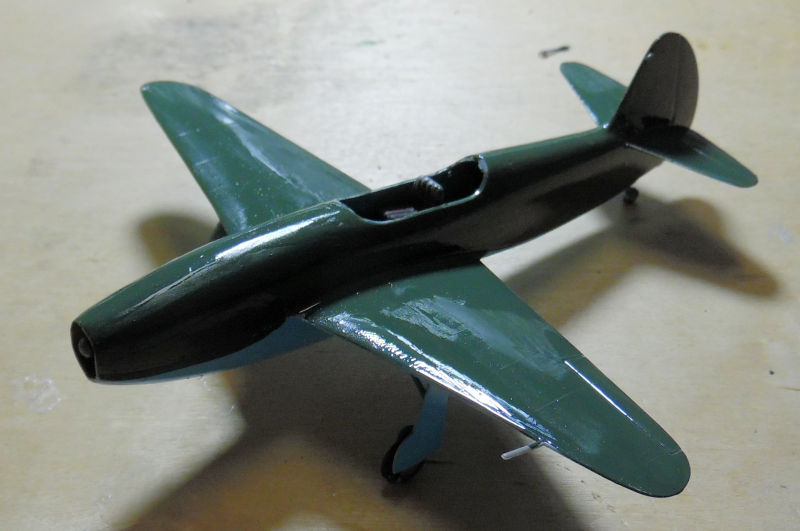
Later when that was dry, decals went on along with the canopy:
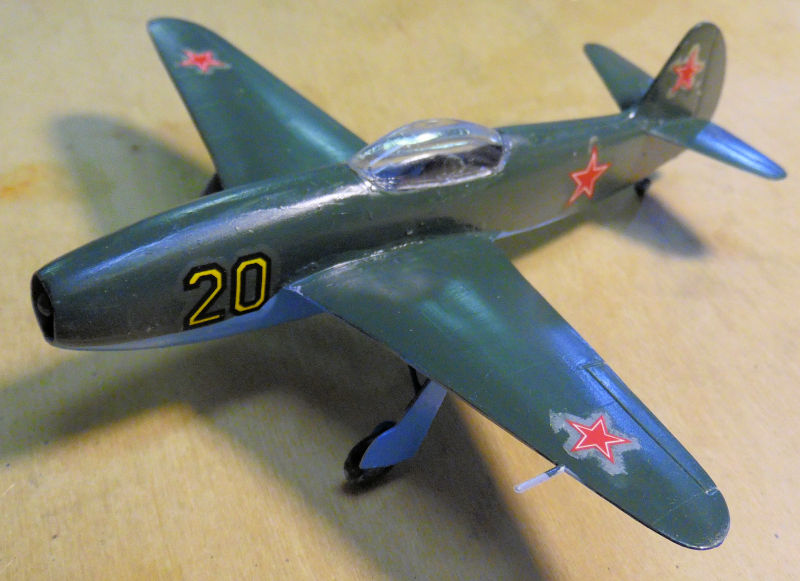
Yes the decals silvered pretty badly, we punctured them with a fine Exacto blade tip and slathered them with Solvaset, eliminating all that. However, the film covering these is matte so they still appear to be silvered. If I shoot this with a dull coat, it all should blend in. Meanwhile, the canopy frame was painted and the final detail parts were added::
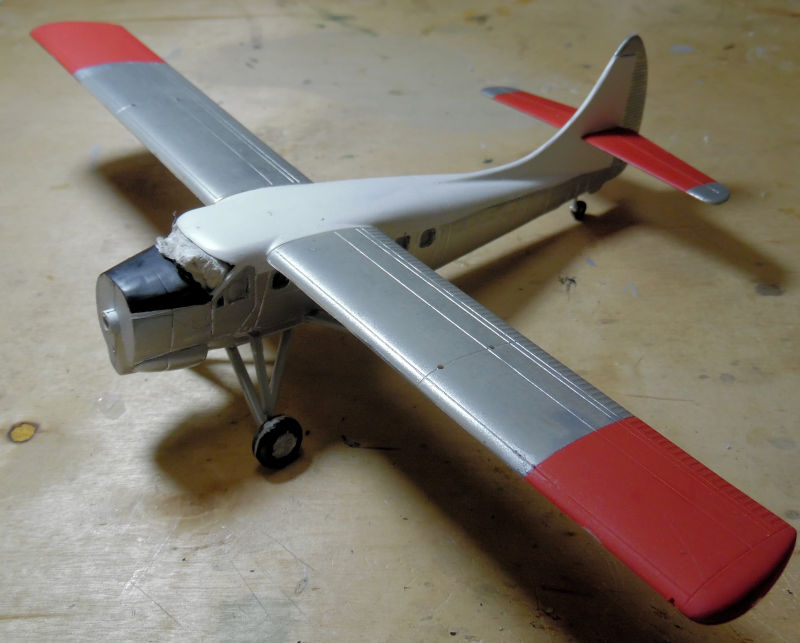
In the next bay over, we have the Otter finally being assembled. The wings and tail went on and the landing gear was installed. Yes the one tail piece is drooping, that was fixed later:
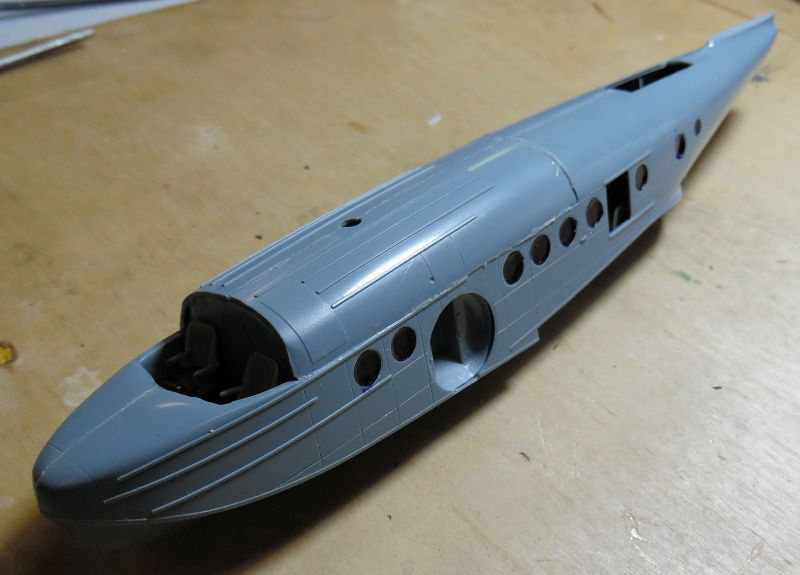
Moving on to the next bay, we got the fuselage of the JRS-1 all assembled as best we could. Later putty and sanding was done to smooth this out:
In this final bay, we started another Matchbox kit of the Swedish Tunnen jet fighter. This was also given to me later after the Distressed Kit Auction. This was fast and easy to build as well, we got this far before I finally took pics:
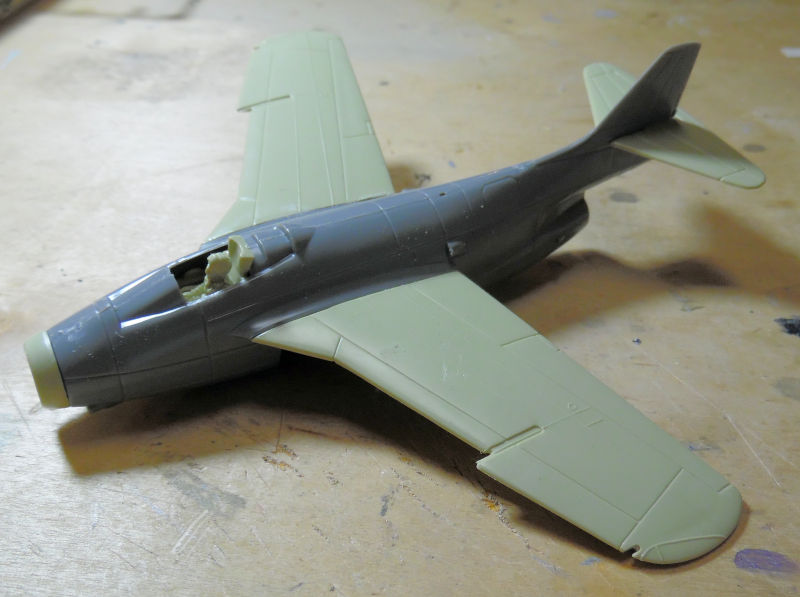
Gotta love this canyons for panel lines! That concludes the Hangar portion of our tour, now on to the Shipyards.....
Here in the shipyards we upped our production a bit to see if we could get some of these launched. We had also started a couple that looked fast and easy, more or less.
In this first slipway we have one of our 1/72 scale motor boats under construction. After fighting the paint on the hull for too long, it is finally at least acceptable so the main decks were finally glued in place:
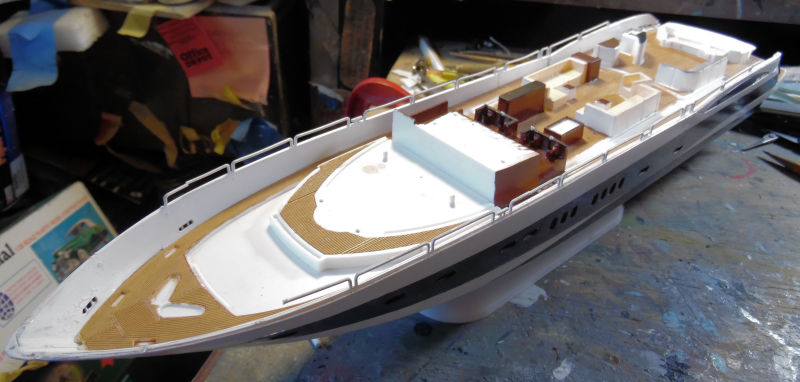
Later most of the interior was installed before the sprue holding the remaining interior parts disappeared:
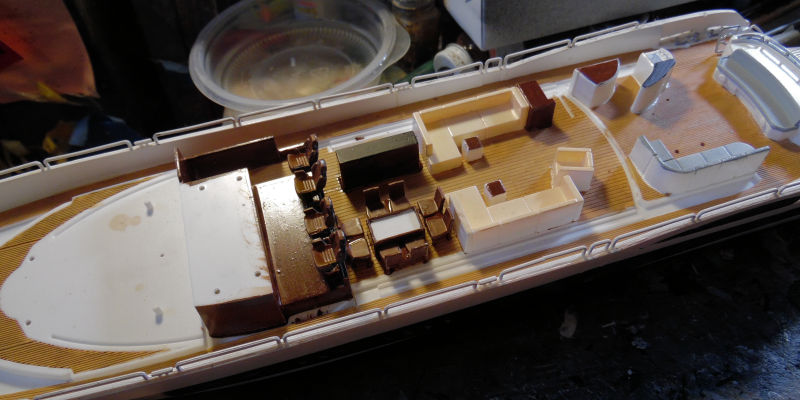
That is where that is for now. Moving to the next slipway, we have the little Hunt class destroyer escort finally getting the railings and other photo-etch parts before paint:
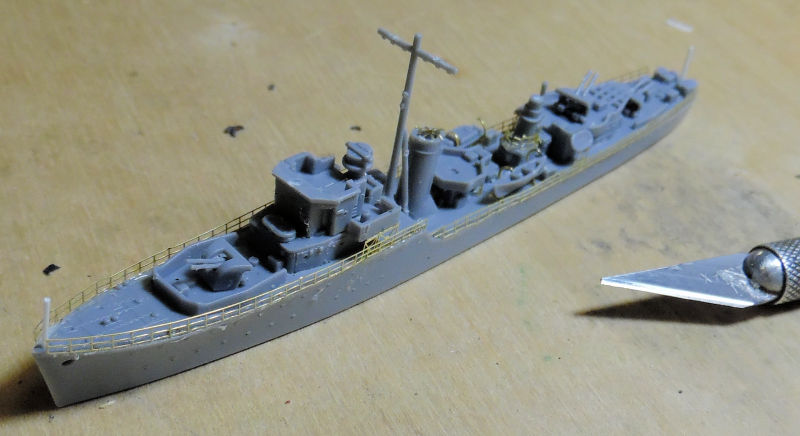
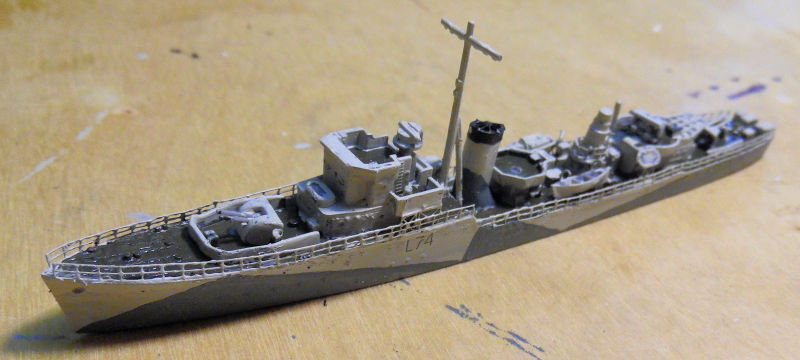
This thing is 1/700 scale so the Exacto blade is there to show the size of this little thing. Later it got paint and decals, making it HMS Middleton:
In this next slipway, the hull of the Nitta Maru got paint on it:
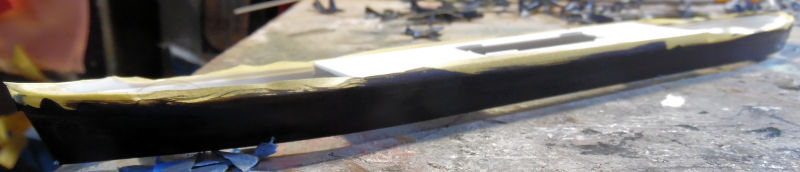
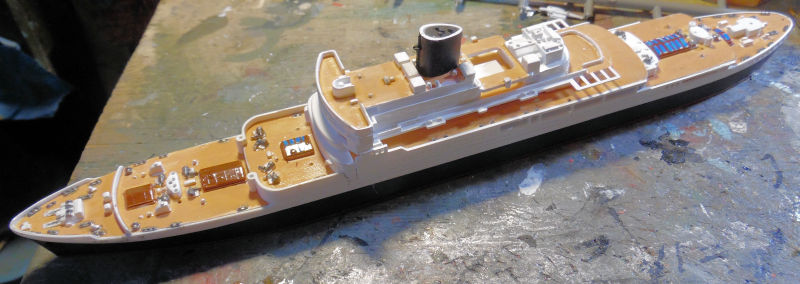
Once that was dry, the decks and superstructure went on, followed by the stack. Additional painting was done as well:
Later on, decals went on:
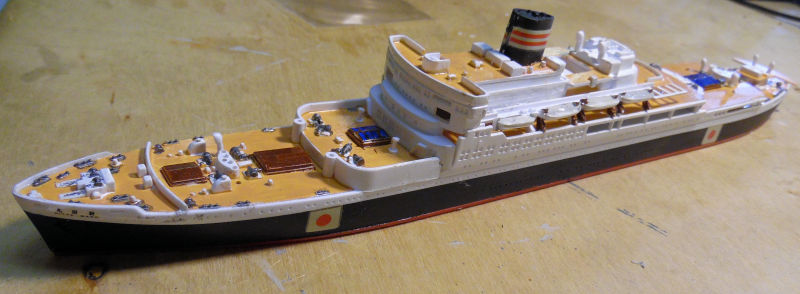
The decals had been hit with Solvaset and naturally I messed up while touching up details:
I left that to be fixed later and started with all the masts and cranes, getting this far before moving on to other things:
Moving on to the next slipway, the USS Shangri-La got all the final details added. except the deck edge antennae. The Island was also cemented in place:
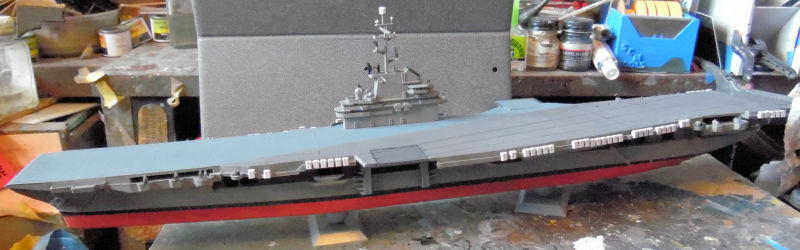
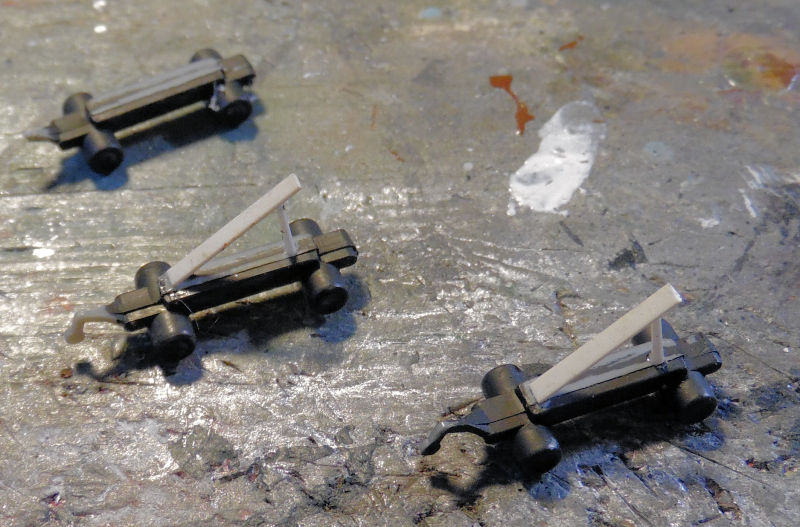
In doing the air wing and looking over the Regulus launch vehicles, I noticed that none were in firing position, so we took two and added a raised launch rail:
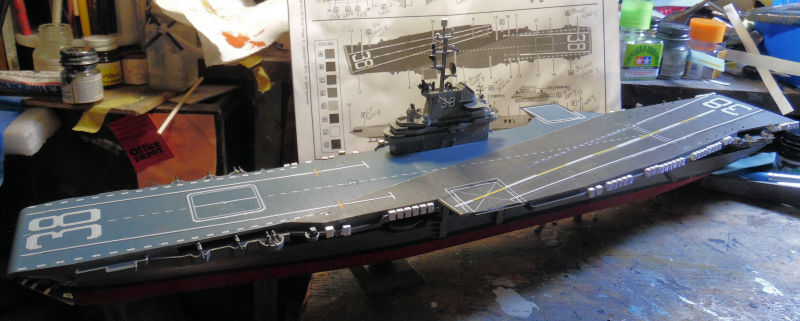
Afterward, we added all the decal markings to the deck. They didn't give enough of certain lengths so we improvised:
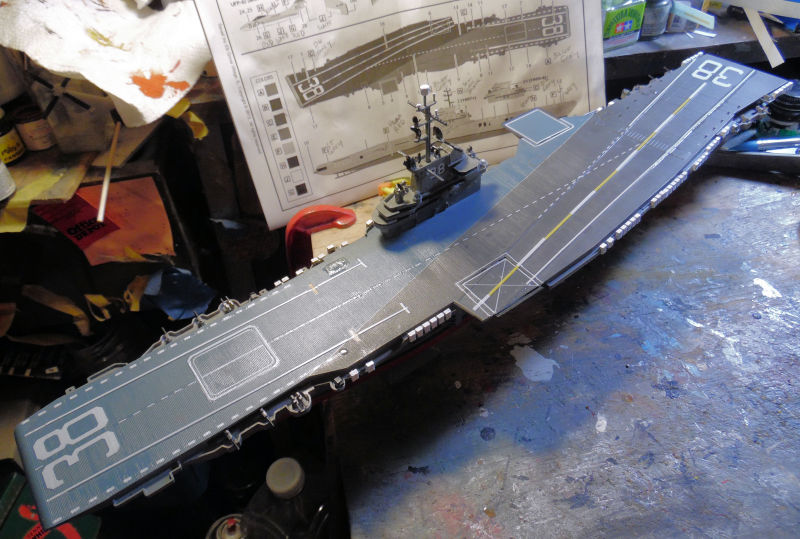
It may not be accurate but it works well enough for me:
And that concludes our tour of the Shipyards, now on to the Motor Pool....
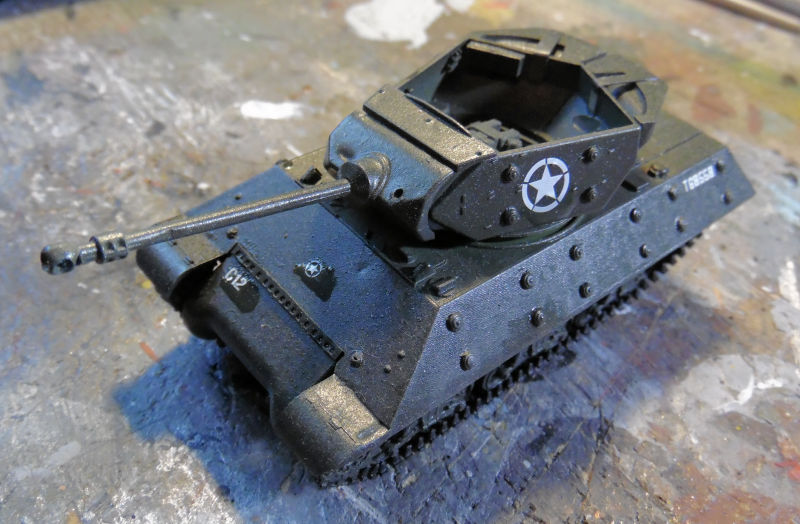
Here in the Motor Pool, a lot has been happening. In the first bay, the M10 Achilles got decals. They may not be accurate, but I couldn't find anything that matched what I had in my decal spares box, so I chose what looked best and ran with it:
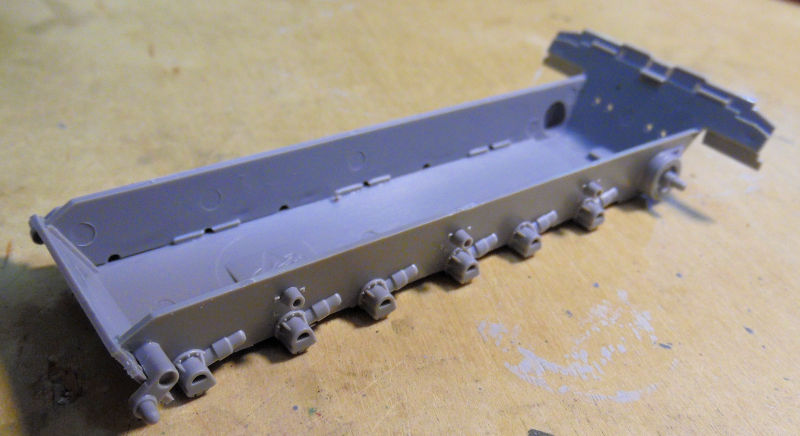
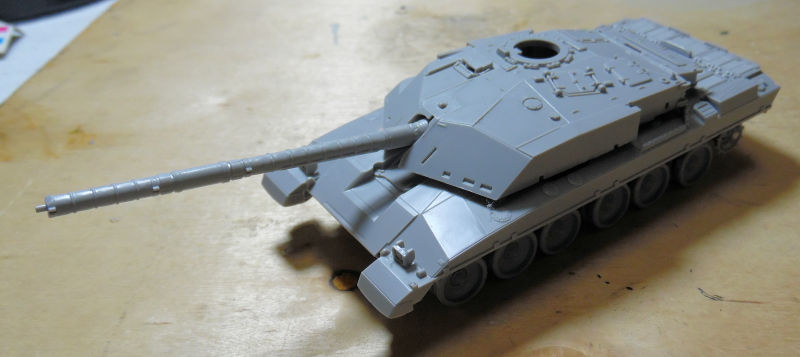
While on the subject of British vehicles; in this next bay we started on another British tank, the Challenger III. First was the lower hull:
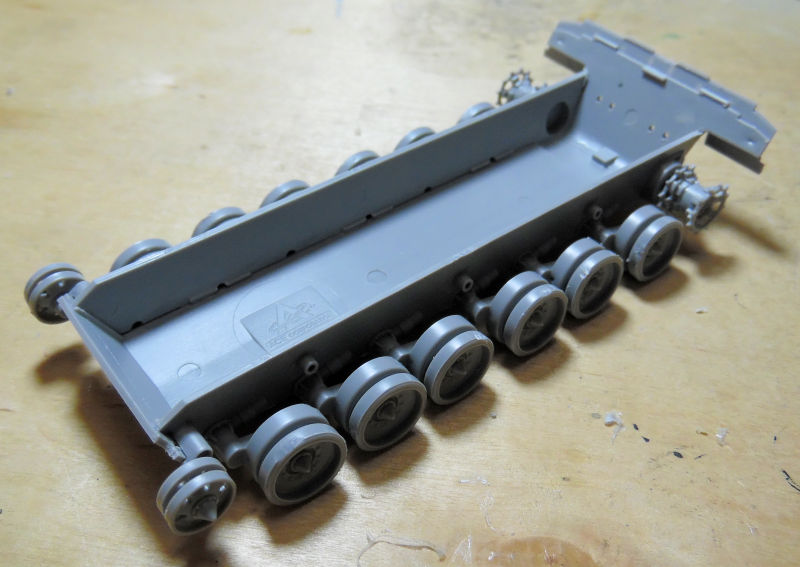
The roadwheels and sprockets went on later:
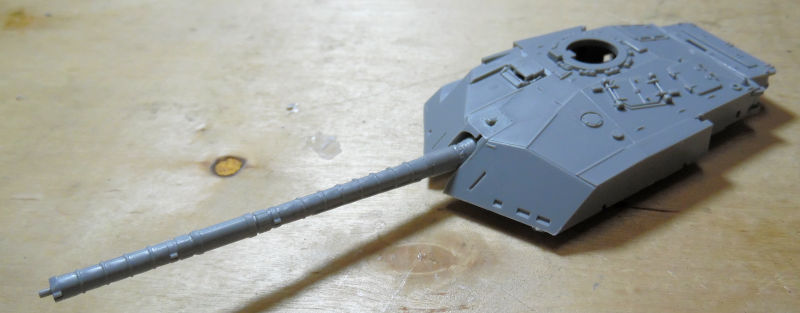
While waiting for them to dry, we built the turret. Only the basic assembly was started:
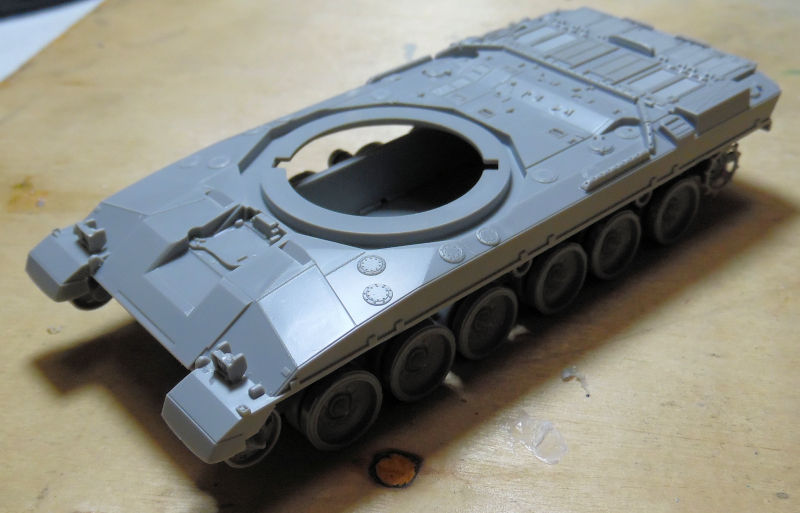
The upper hull was worked on next, not much to do there, but here it is dry-fit on the lower hull:
Then the turret was added to the dry-fit upper hull:
Moving on to the next bay, we are finally are able to move forward on a shelf queen that was stalled because the main gun trunnion assembly was lost. Well, it turned up:
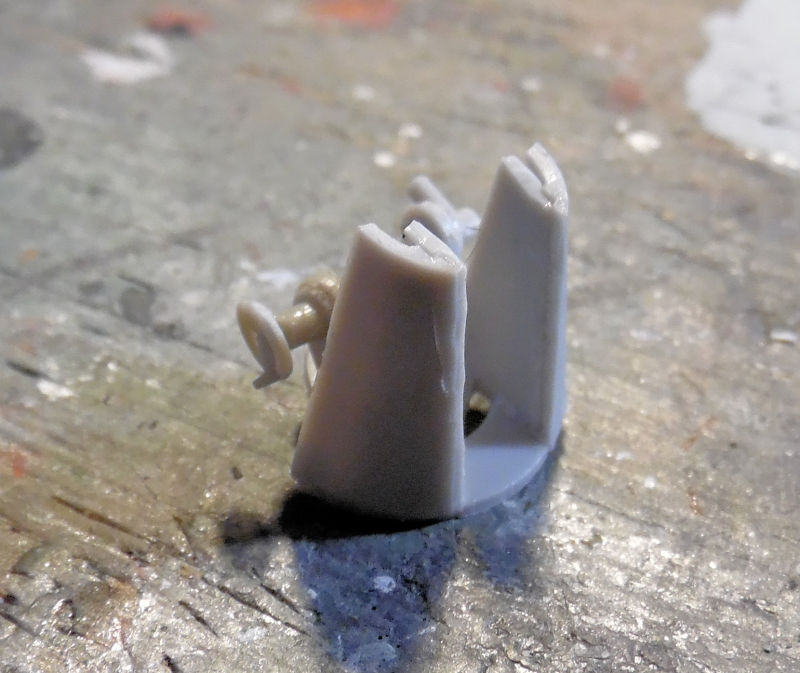
You can see from this dry fit in place, why this stalled:
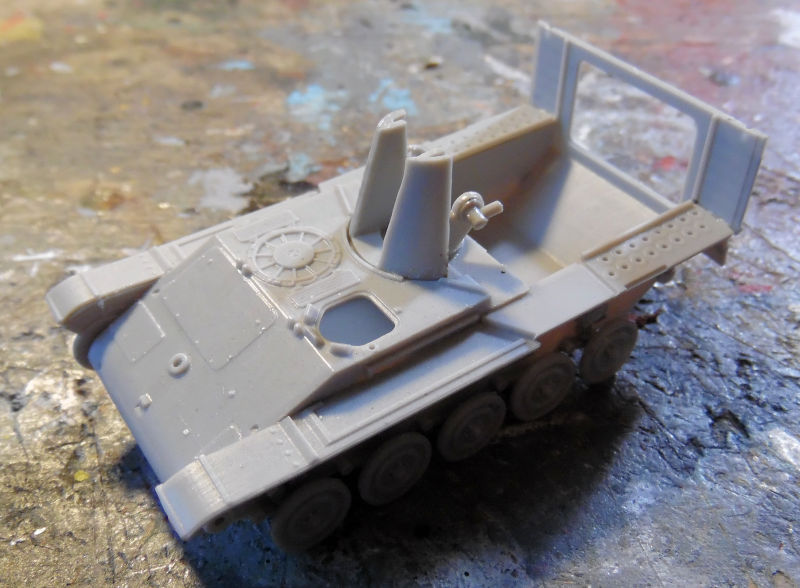
The gun was finally installed into place:
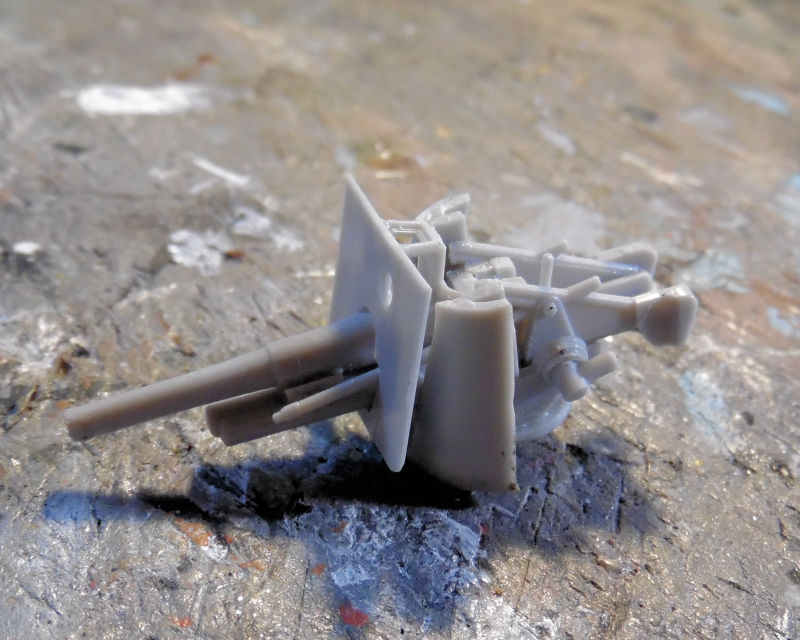
We then dry fit this in place so the front superstructure panels could be added:
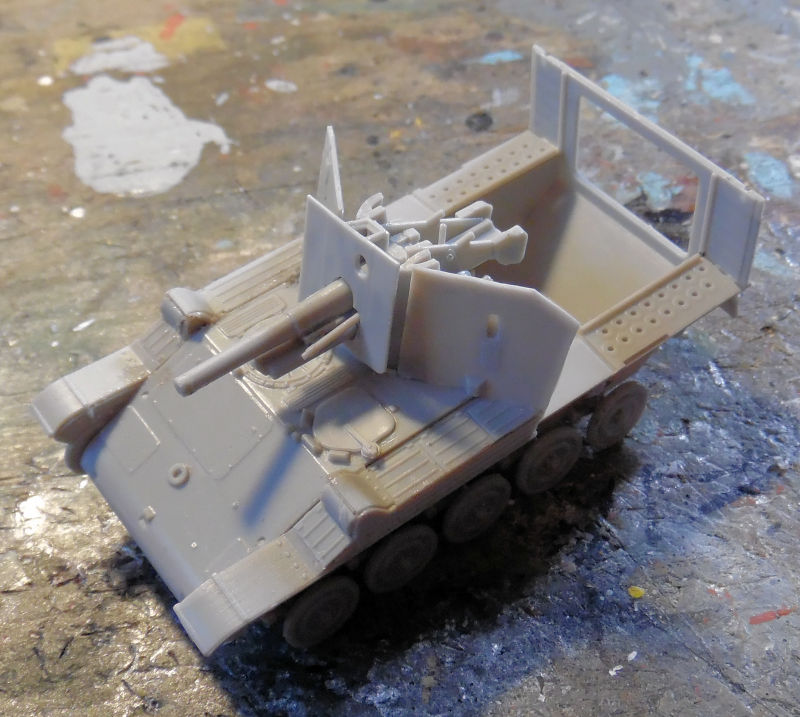
The shells were then added to the interior:
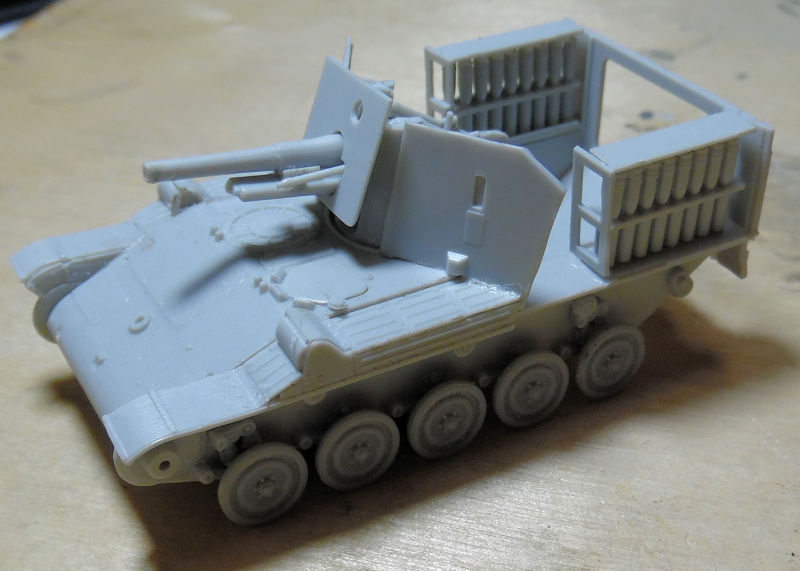
Things were moving along well until it was time to add the side walls. That's when we saw that the front panels were way off alignment, so off they came again:
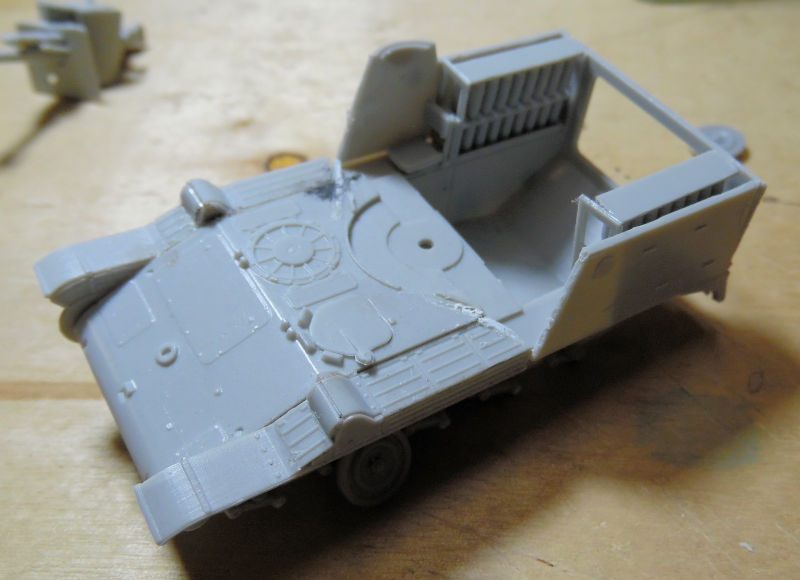
Naturally during this whole attempt to fix the upper superstructure, all these decided to break off and try to fly:
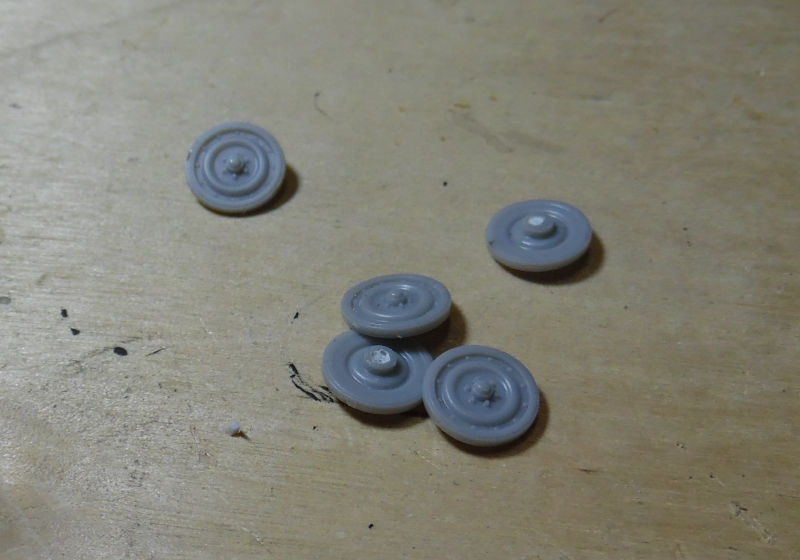
I'll leave them off until the upper structure is finally assembled properly and then these will go back on.
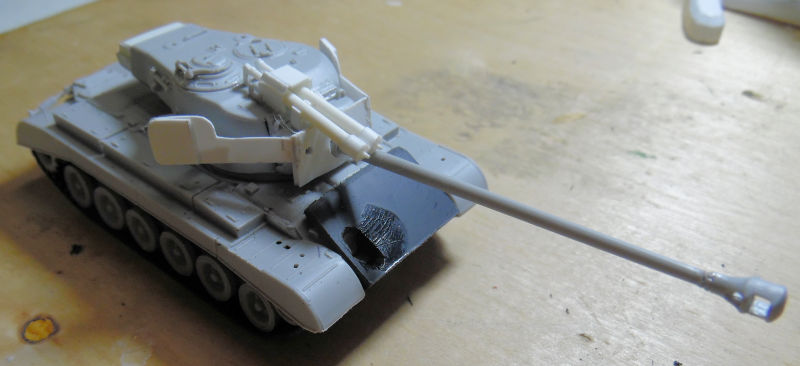
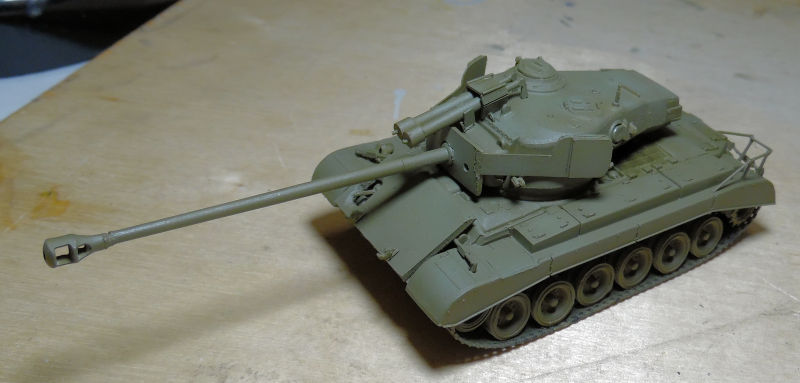
Moving on to this last bay, we have the T26-E4 which got the front spaced armor installed on the front. Don't worry, that fingerprint disappeared:
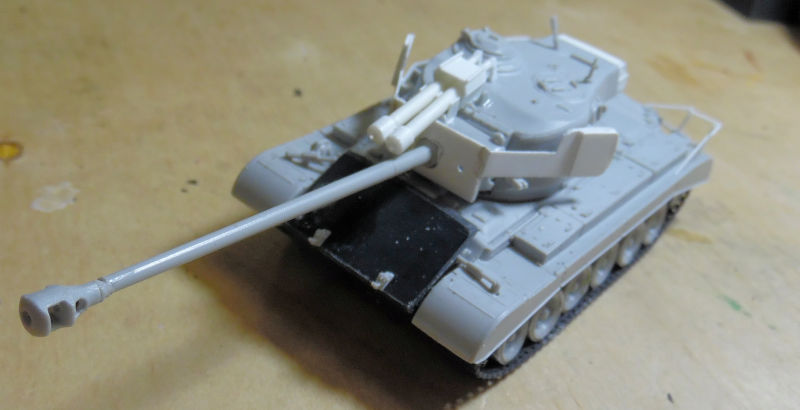
Later we added the stowage rails on the rear deck that were added to this tank:
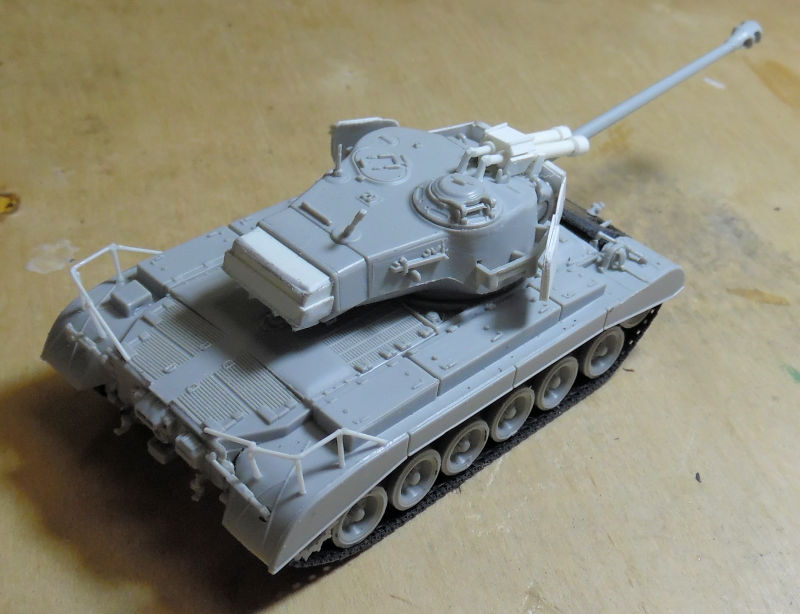
This was now ready for paint so a base of Olive Drab was sprayed:
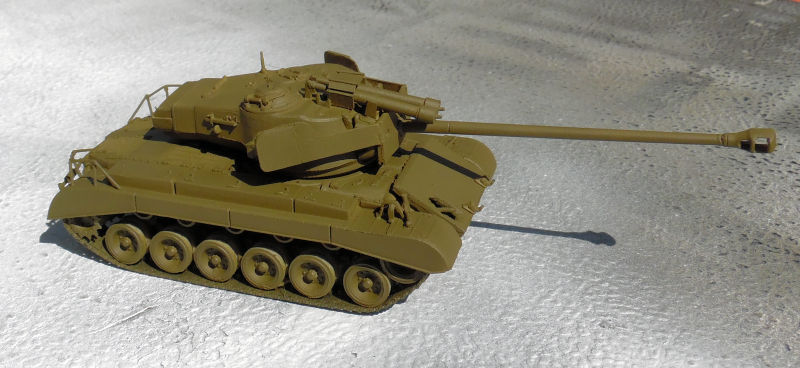
This was shot outside and I didn't adjust the color when editing this but this next shot shows this tank after we modulated the base coat with a lighter OD green:
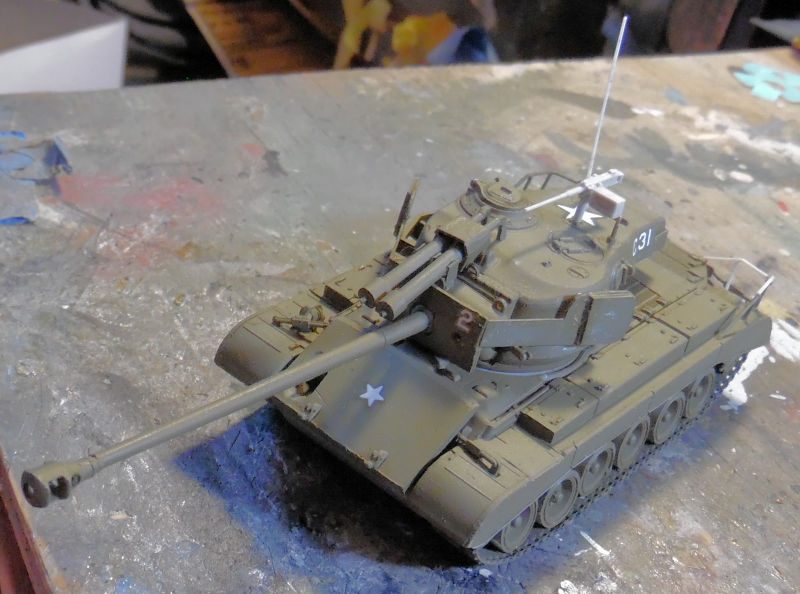
Finally we raided the decal spares box again and came up with some markings that most closely matched what I saw in ref pics. I also took some artistic license and added a star in the front so friendly forces wouldn't mistake that plate armor for the front of a Panther and I added the star in top of the turret for aircraft recognition. We also added the machine gun on top, the antenna, and repaired one of the stowage racks on the back:
And that completes our tour for this week (month?) I hope you enjoyed it. Thank you all for stopping in; comments are always welcome!
