
Eduard 1/48 Hawker Tempest II
-
Gary Brantley

- Elite Member
- Posts: 2770
- Joined: Tue Apr 08, 2014 9:40 pm
- Location: Cameron, Texas
Re: Eduard 1/48 Hawker Tempest II
Magnificent scale modeling, John!

Re: Eduard 1/48 Hawker Tempest II
Thanks guys!
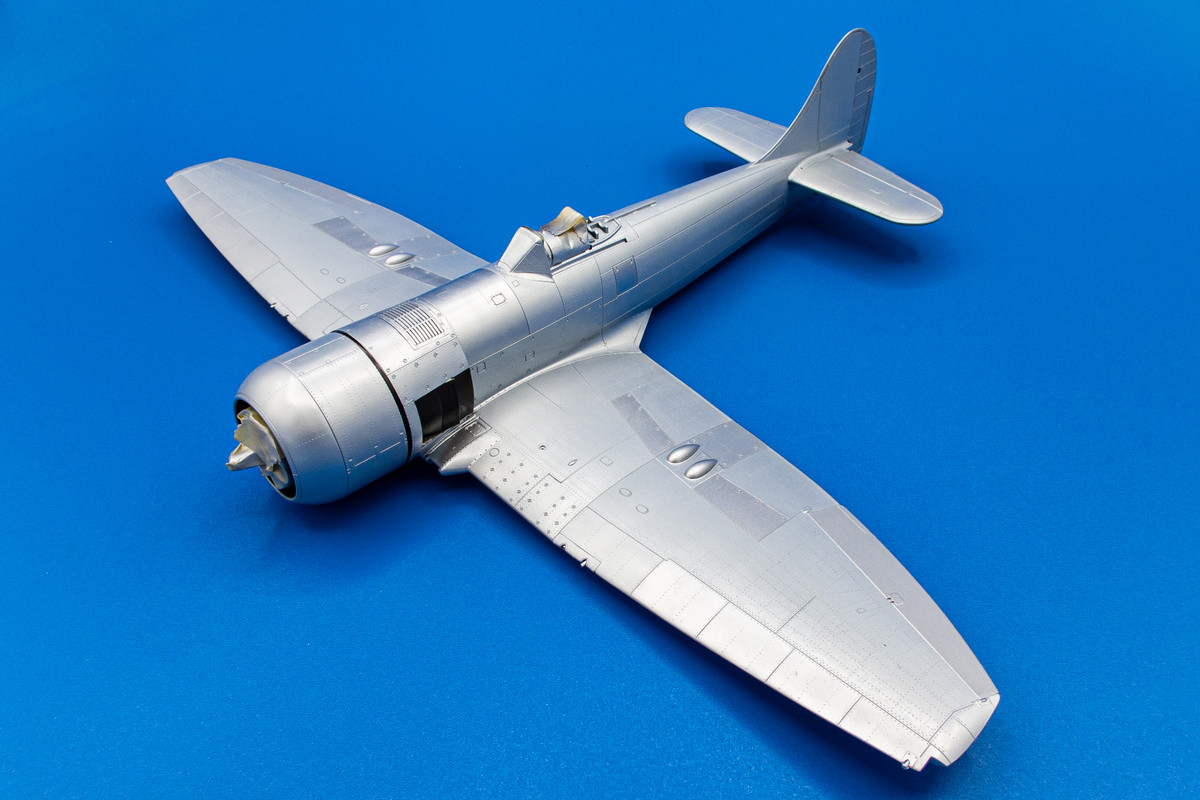
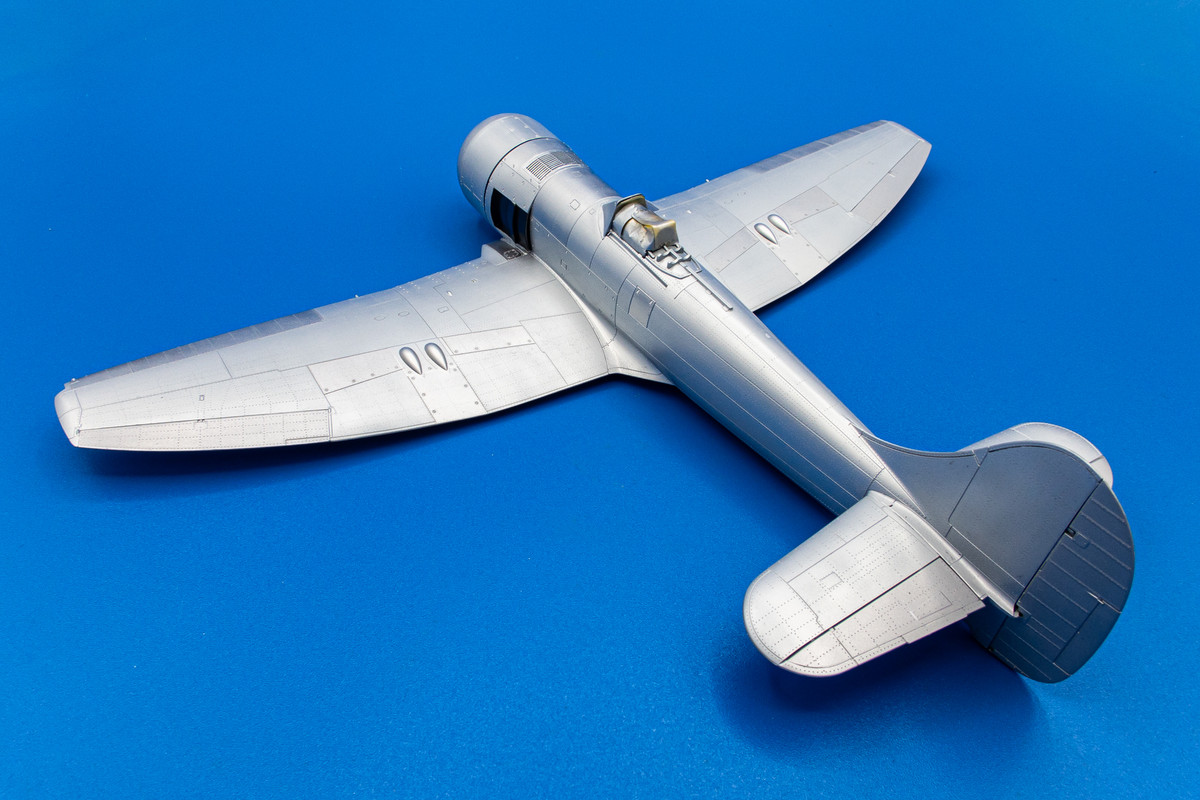
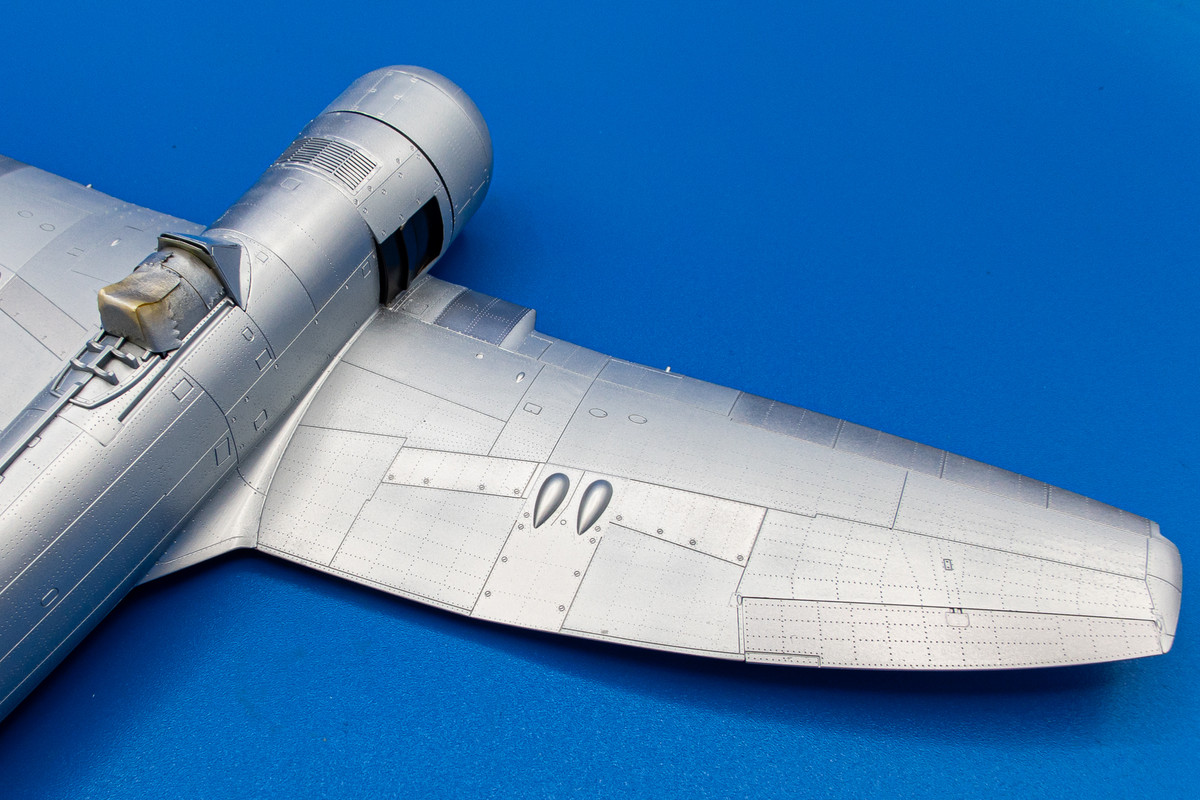
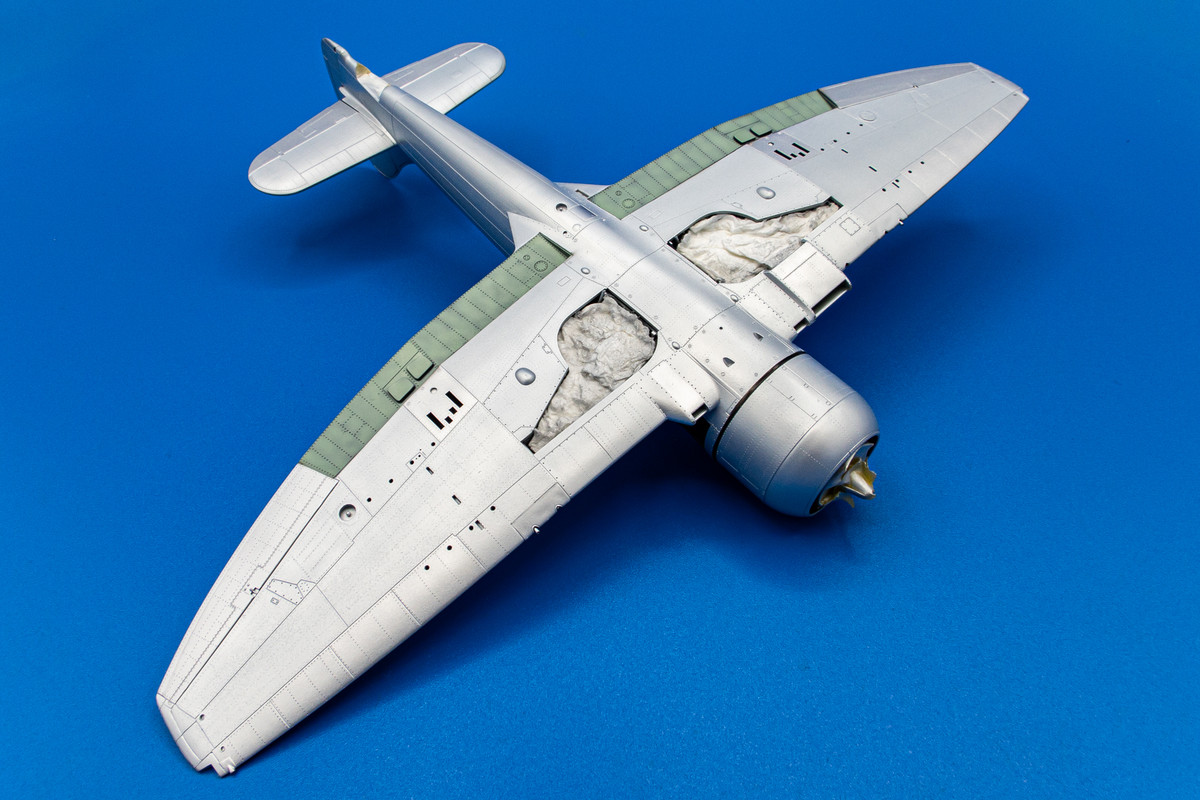
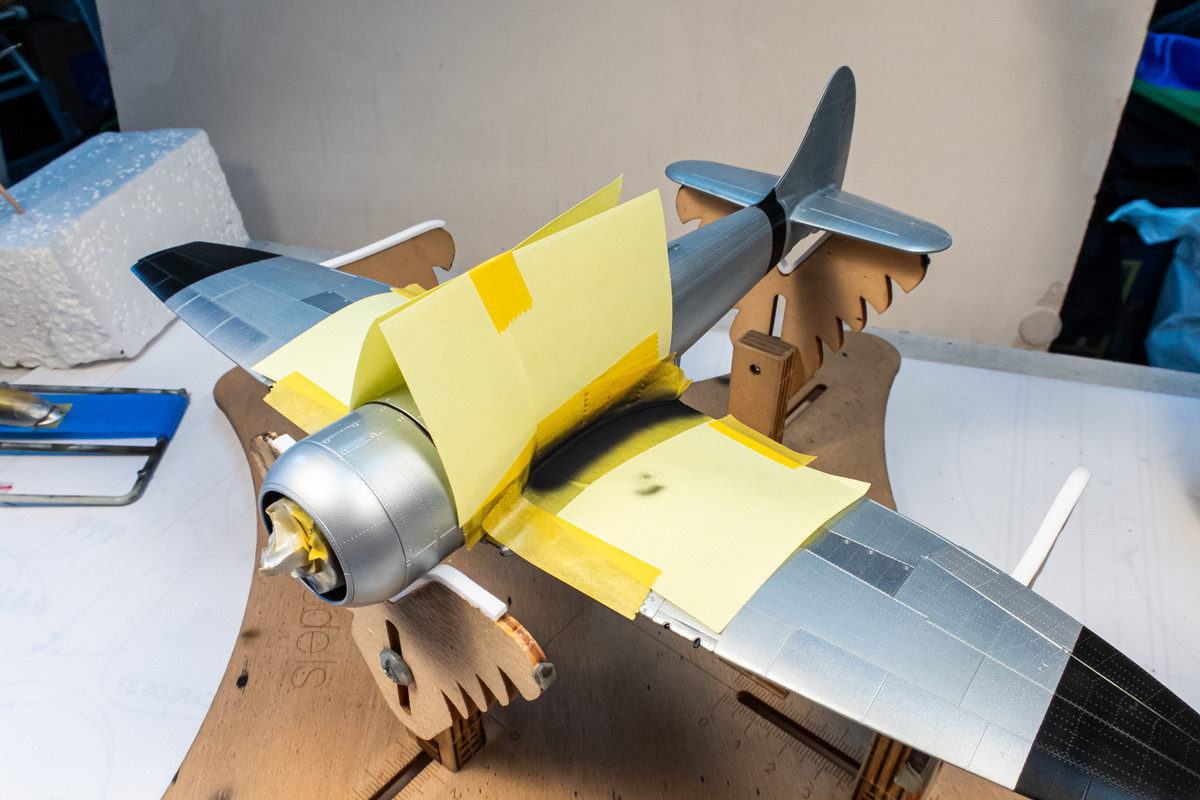
The painting continues. In the process of masking off panels to paint in a different metallic shade, I found that the adhesive from the Post-Its I was using reacted with the AK Extreme Metal White Aluminum in certain areas. So I sprayed on a layer of clear gloss (Tamiya LP-9) and them buffed the affected areas with Micromesh. Luckily the effects weren't that bad and restricted to the outer wings.
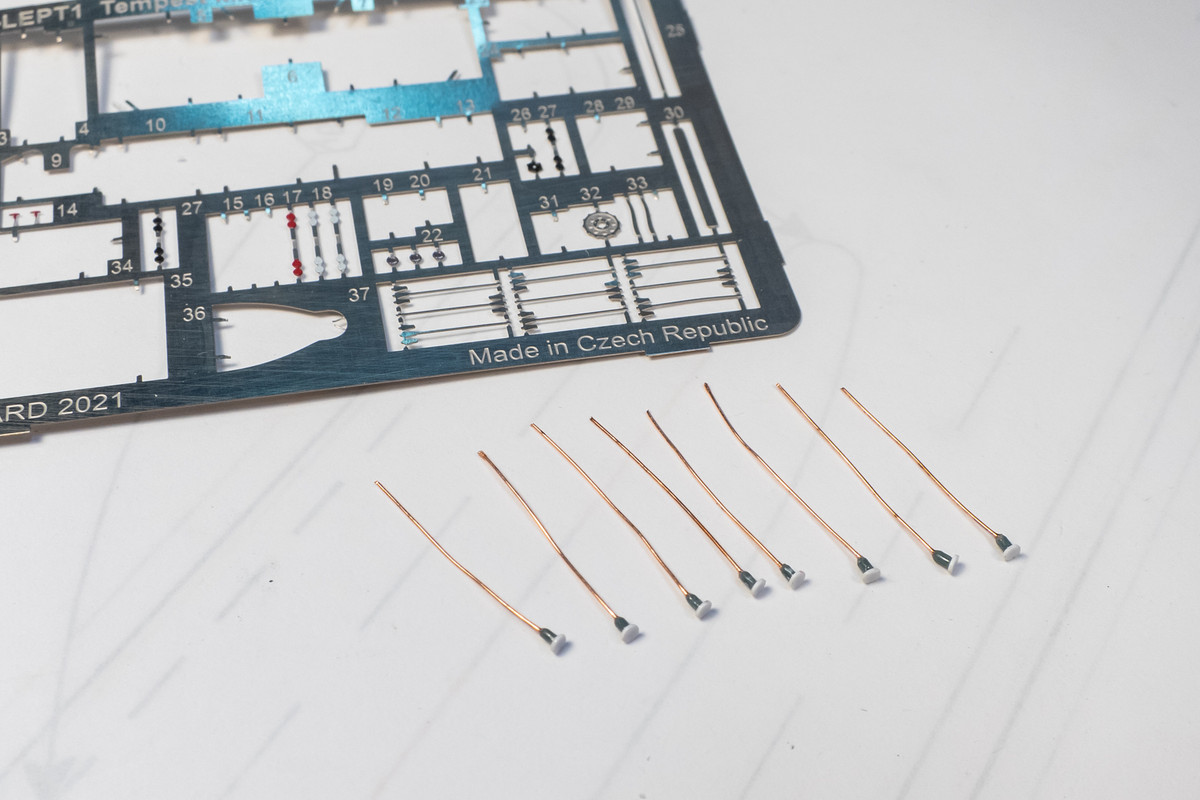
Instead of using the flat PE representations, I scratched up the rocket "pigtails" using copper wire and bits of plastic. These will be attached to the rear opening of the rockets.
The painting continues. In the process of masking off panels to paint in a different metallic shade, I found that the adhesive from the Post-Its I was using reacted with the AK Extreme Metal White Aluminum in certain areas. So I sprayed on a layer of clear gloss (Tamiya LP-9) and them buffed the affected areas with Micromesh. Luckily the effects weren't that bad and restricted to the outer wings.
Instead of using the flat PE representations, I scratched up the rocket "pigtails" using copper wire and bits of plastic. These will be attached to the rear opening of the rockets.
John aka JKim
-----------<><

-----------<><
-
Medicman71

- Elite Member
- Posts: 11393
- Joined: Mon Apr 07, 2014 9:32 am
- Location: Houston, Tx
Re: Eduard 1/48 Hawker Tempest II
Nice!!! 
Mike
Sponsored by Boeing, Lockheed Martin, Northrop Grumman, Saab, BAE, and Dassault
Sponsored by Boeing, Lockheed Martin, Northrop Grumman, Saab, BAE, and Dassault
Re: Eduard 1/48 Hawker Tempest II
Thank you!
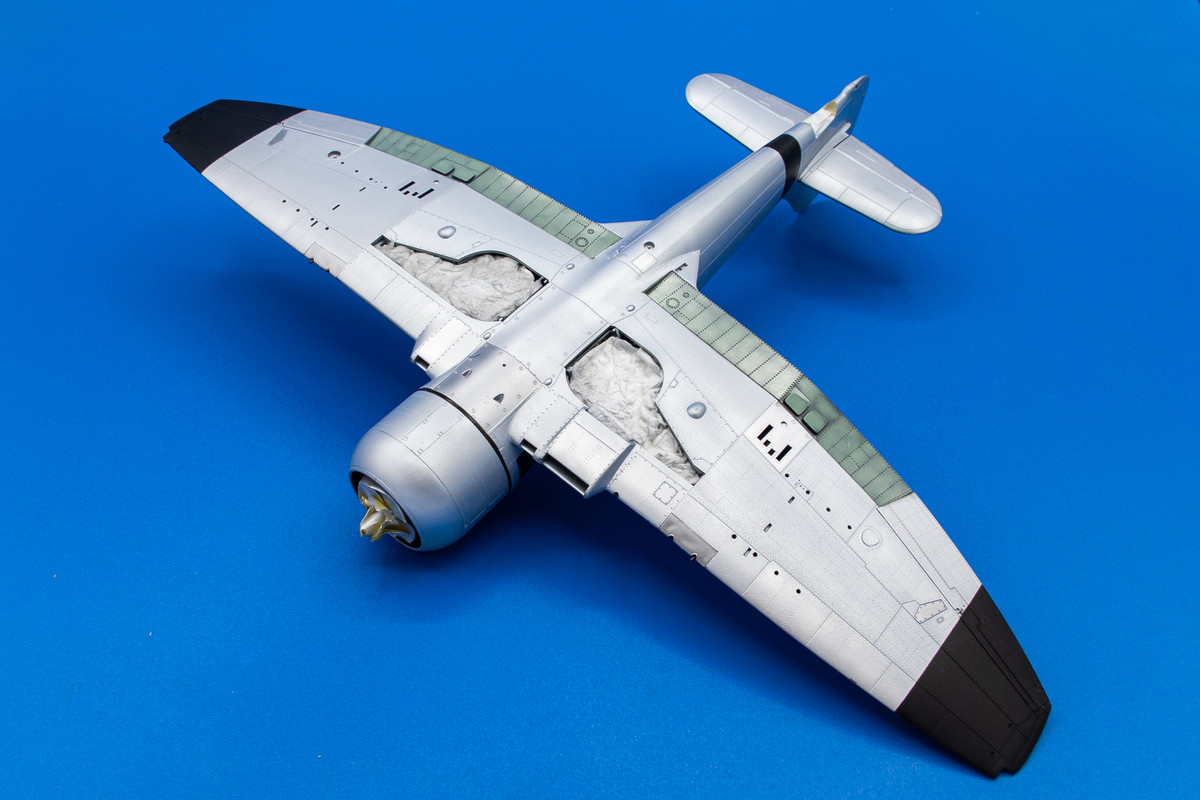
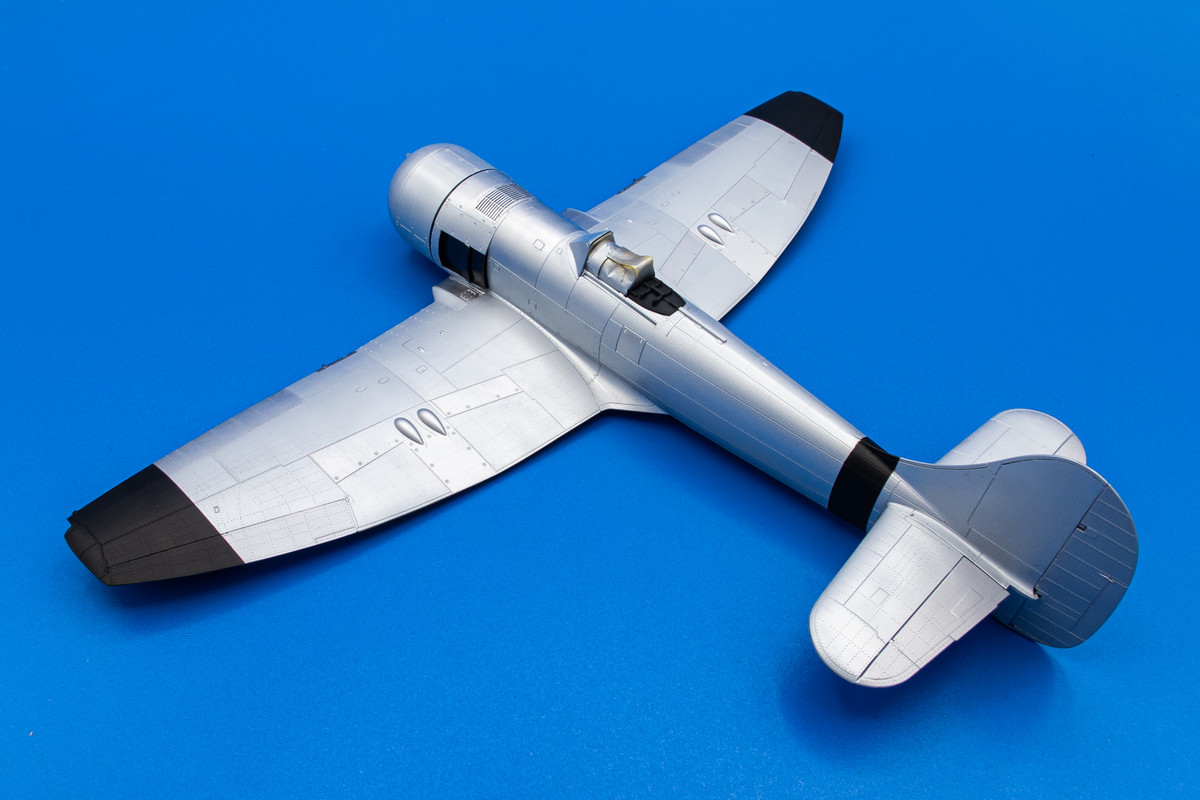
Painting continues with black ID markings on fuselage and wing tips. I've used a 50/50 mix of Tamiya Nato Black and Tamiya Black.
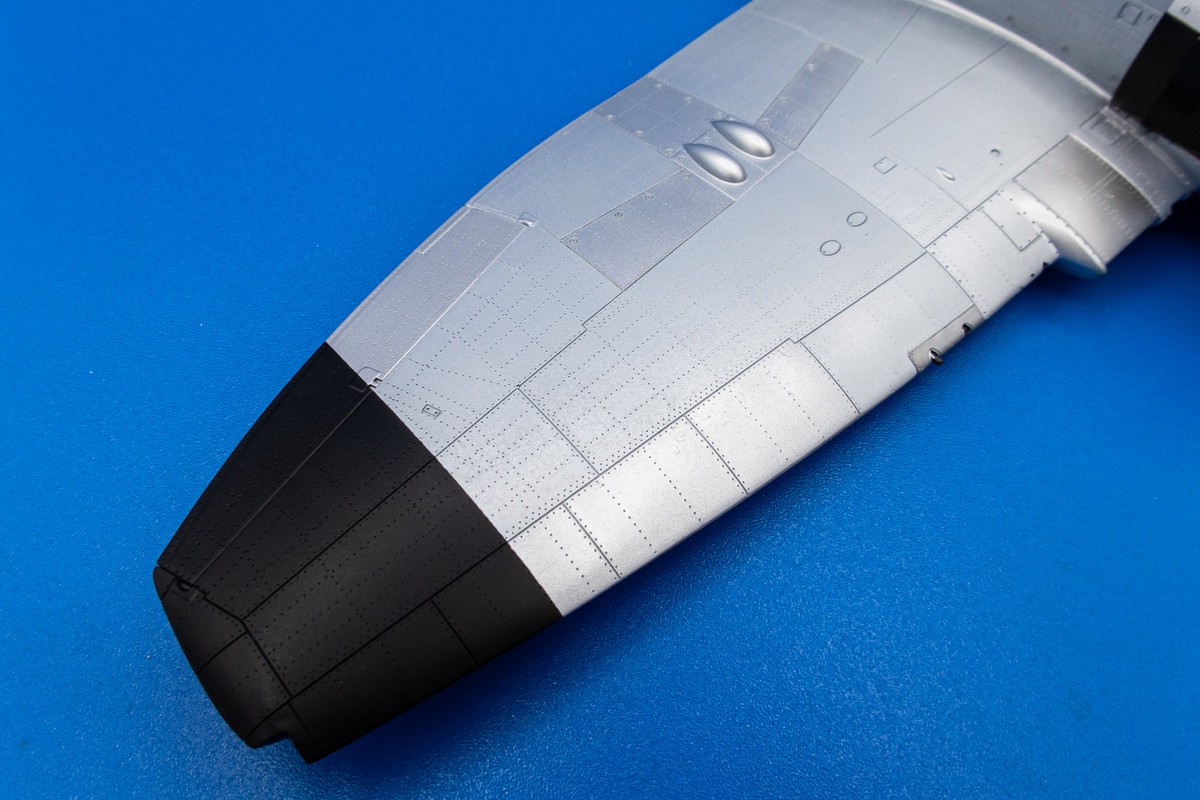
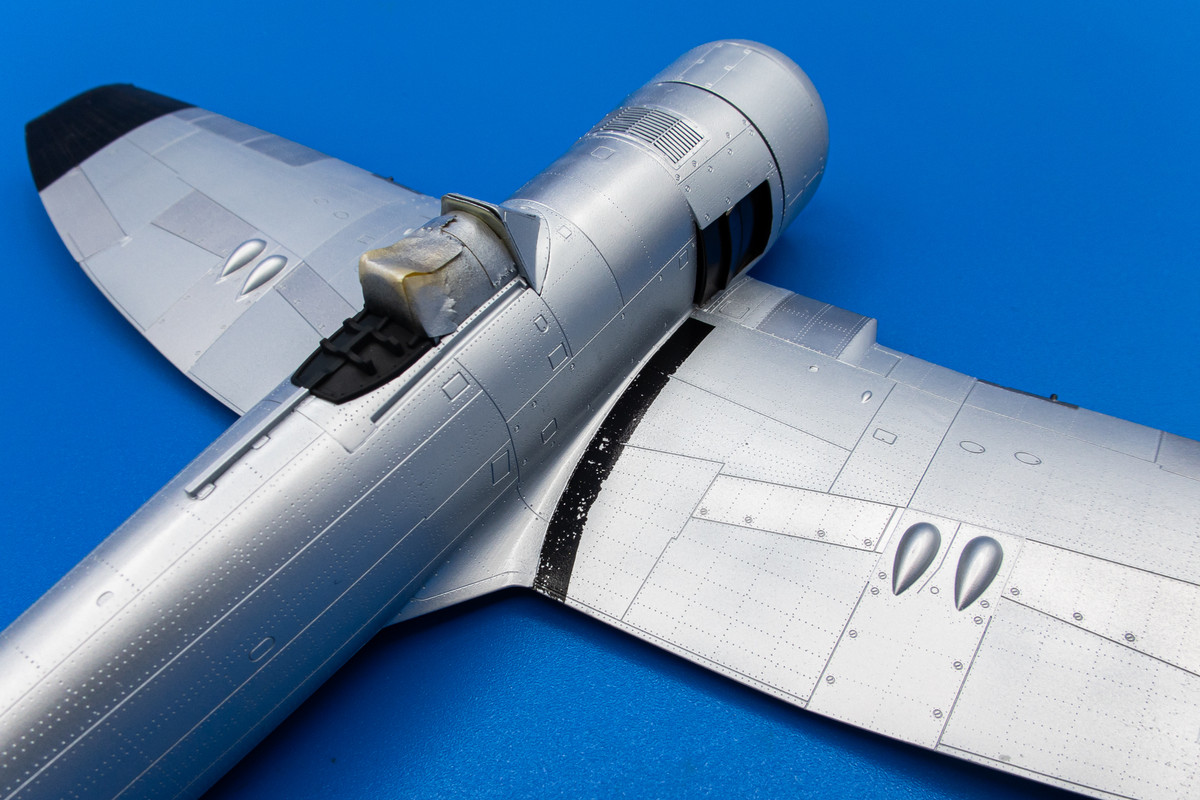
I'm not sure you can see it but here is a glimpse of some of the texture that was created when the Post-It adhesive reacted with the metallic paint in the middle of the wing near the black wing tip.
In hindsight, it would've been easier to paint the black walkways and mask them off prior to the metal paint but my brain didn't catch it. So I had to do it the hard way. A layer of hairspray was applied in the masked area before the black paint went on. Black, in this case, was again a 50/50 mix but instead of Tamiya Black, I used Tamiya Flat Black because I've found that flat paints chip easier than gloss or satin finishes.
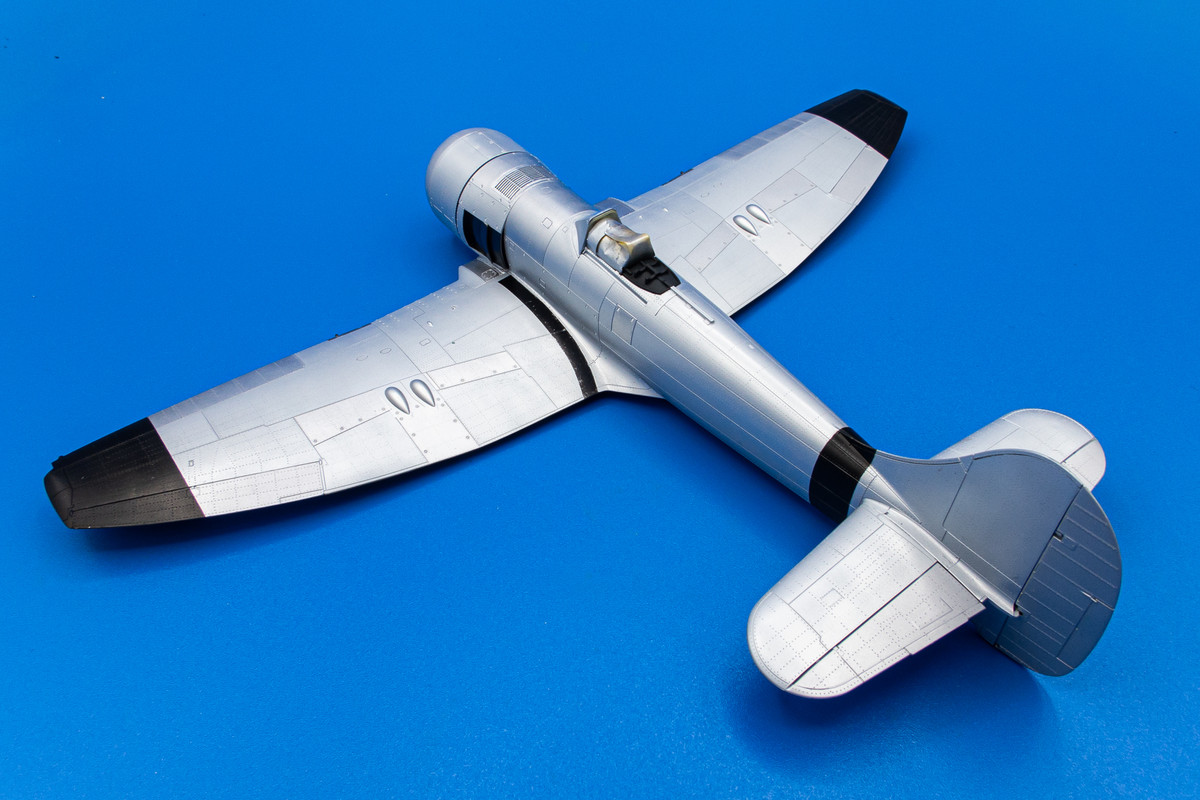
Here is a pause to look at the model after the painting stage. The black walkways still need to be chipped and then sealed. And then it is on to the decal stage.
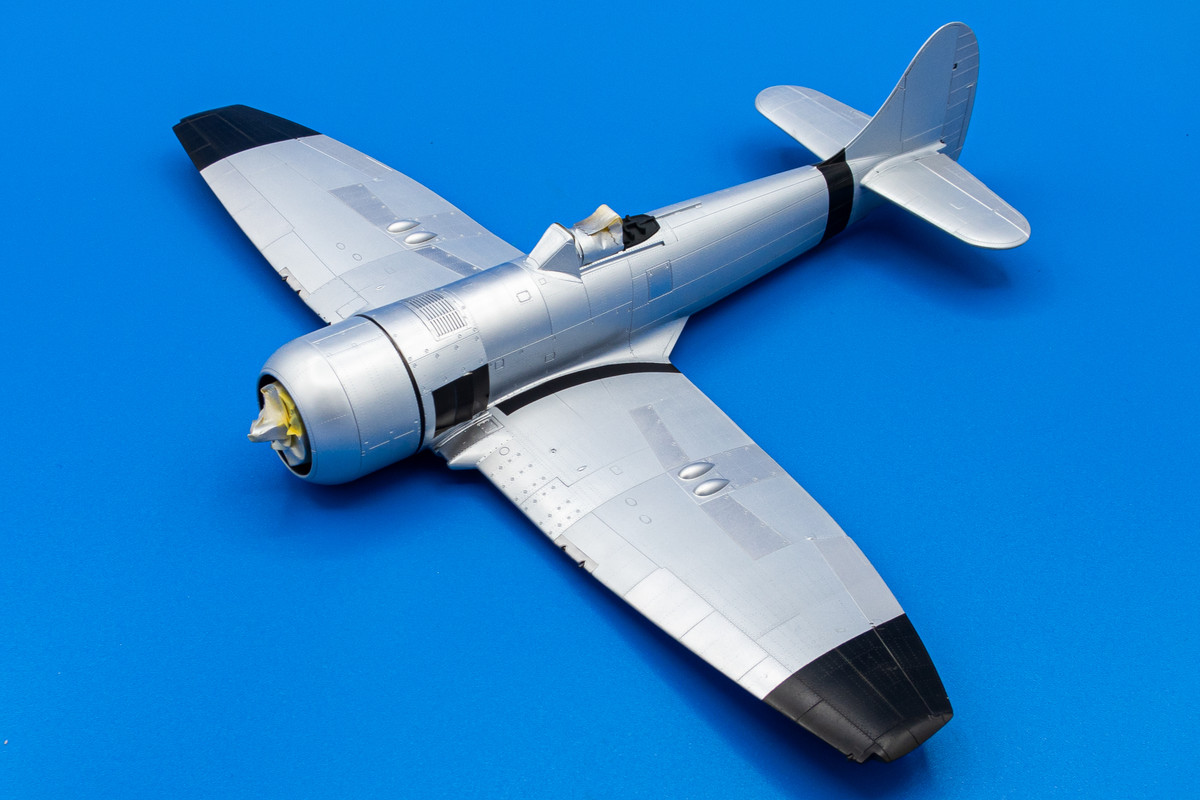
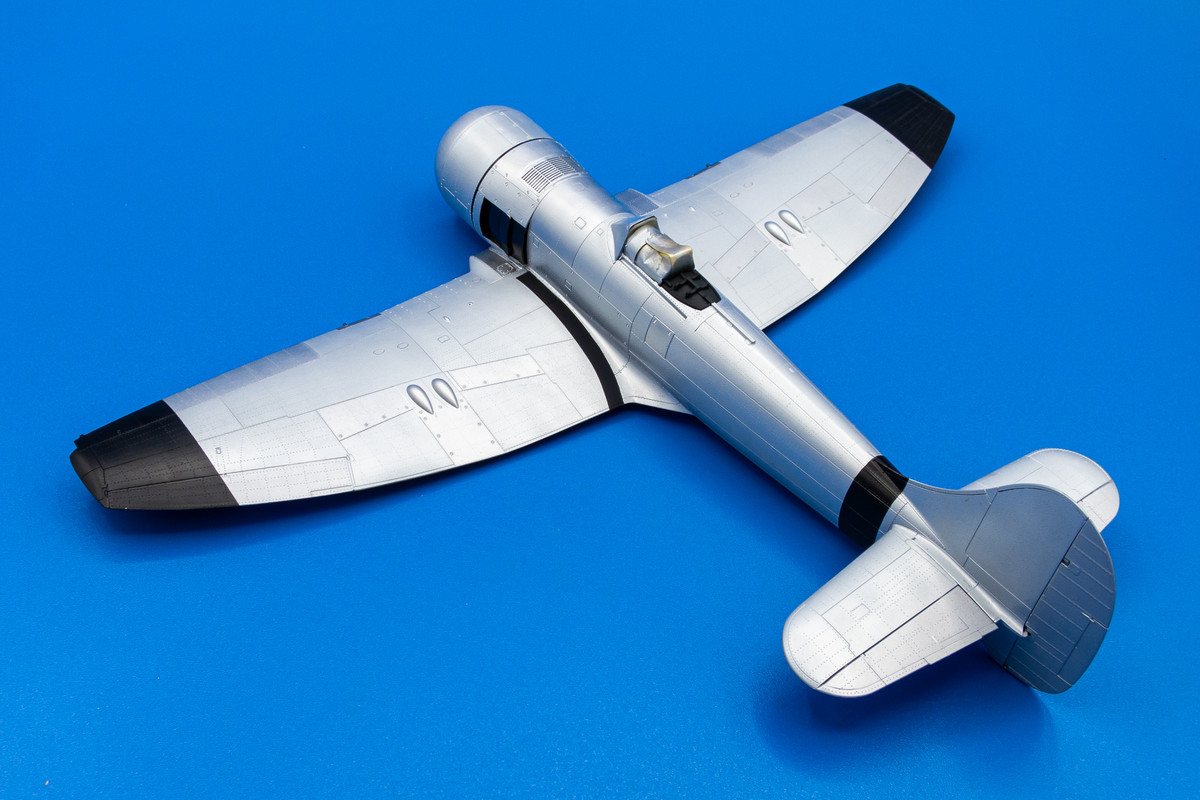
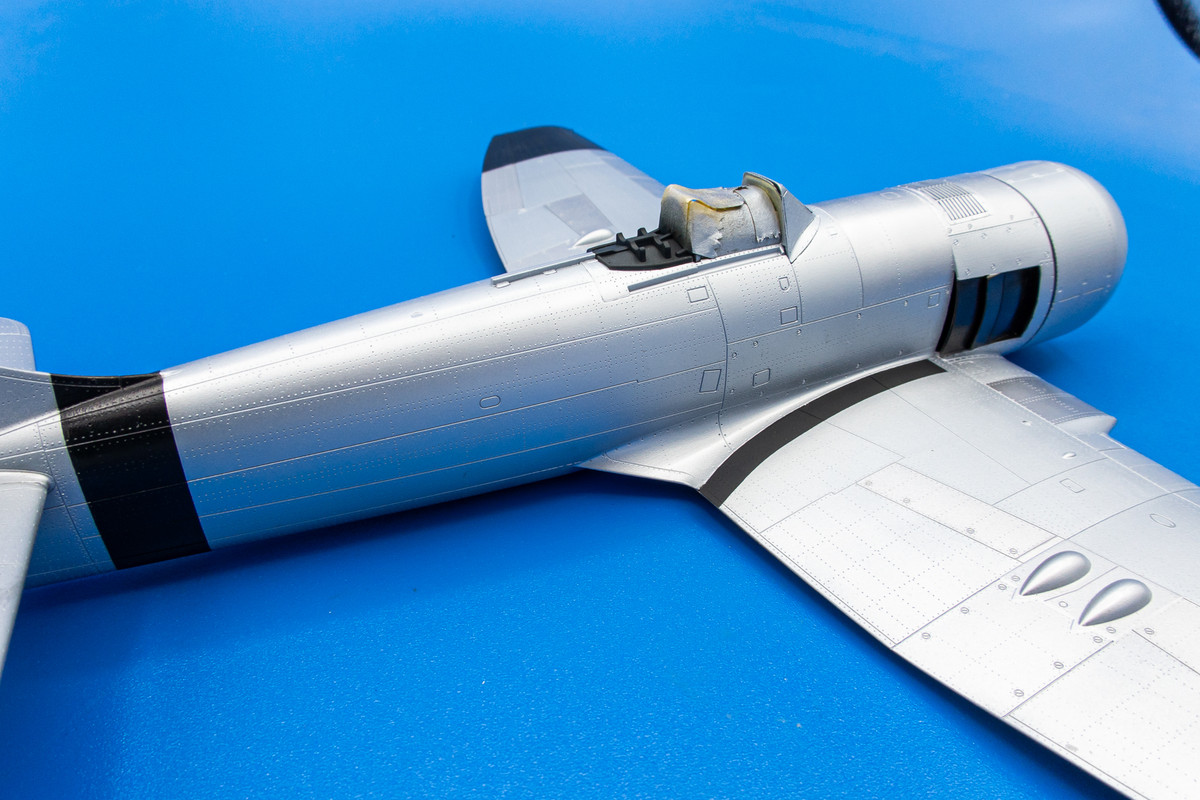
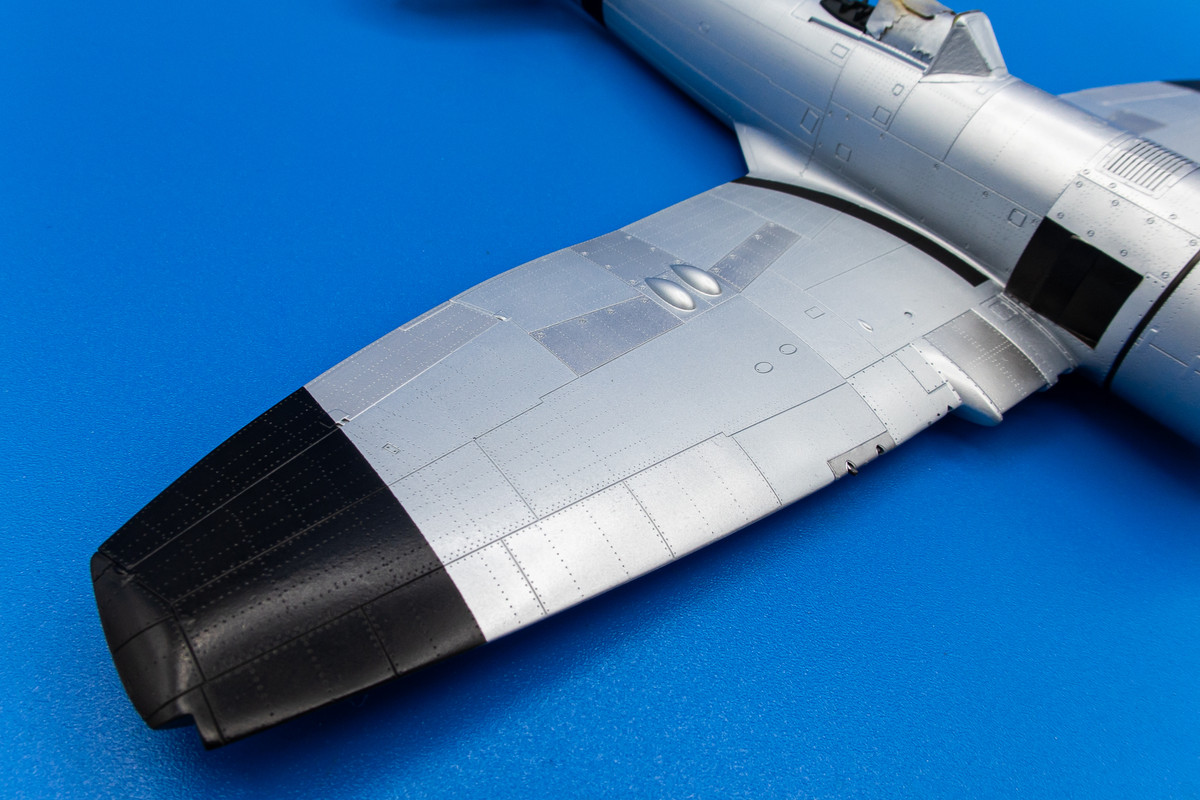
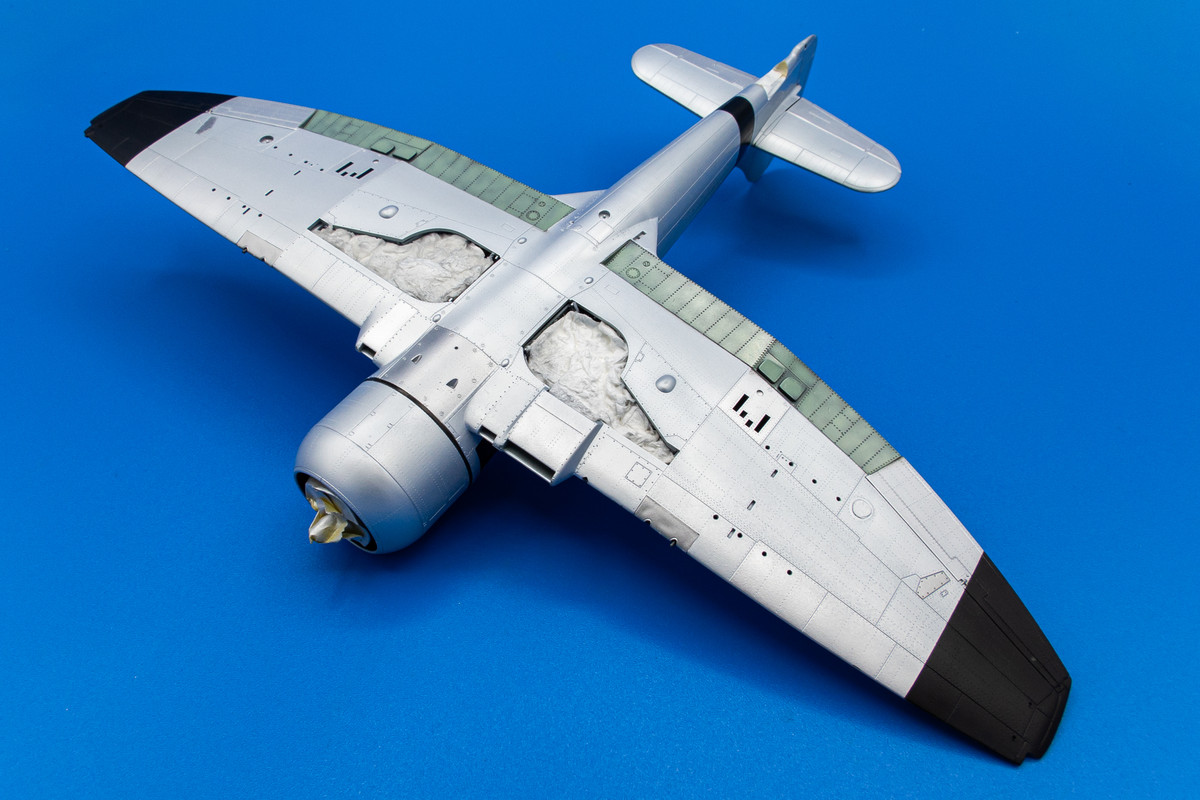
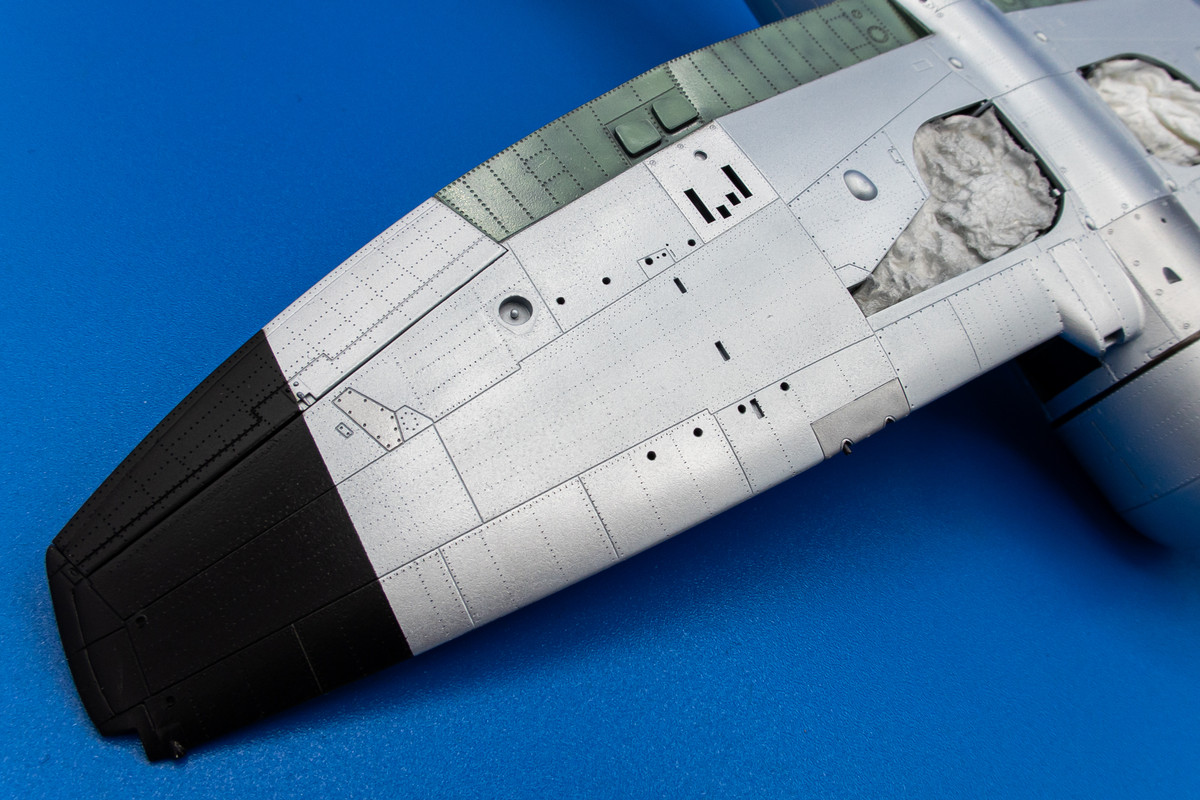
Painting continues with black ID markings on fuselage and wing tips. I've used a 50/50 mix of Tamiya Nato Black and Tamiya Black.
I'm not sure you can see it but here is a glimpse of some of the texture that was created when the Post-It adhesive reacted with the metallic paint in the middle of the wing near the black wing tip.
In hindsight, it would've been easier to paint the black walkways and mask them off prior to the metal paint but my brain didn't catch it. So I had to do it the hard way. A layer of hairspray was applied in the masked area before the black paint went on. Black, in this case, was again a 50/50 mix but instead of Tamiya Black, I used Tamiya Flat Black because I've found that flat paints chip easier than gloss or satin finishes.
Here is a pause to look at the model after the painting stage. The black walkways still need to be chipped and then sealed. And then it is on to the decal stage.
John aka JKim
-----------<><
-----------<><
-
BlackSheep214

- Elite Member
- Posts: 13593
- Joined: Sun Apr 06, 2014 8:47 pm
Re: Eduard 1/48 Hawker Tempest II
“Who controls the skies, controls the fate of this Earth”
Author unknown- 352nd Fighter Group, Blue-Nosed Bastards of Bodney
“Send one plane it’s a sortie; send two planes it’s a flight; send four planes it’s a test of airpower. - Richard Kohn
Author unknown- 352nd Fighter Group, Blue-Nosed Bastards of Bodney
“Send one plane it’s a sortie; send two planes it’s a flight; send four planes it’s a test of airpower. - Richard Kohn
Re: Eduard 1/48 Hawker Tempest II
Time to put some chipping on the black walkways. I just use a stiff-bristled paint brush dipped in water and start gently rubbing the brush back and forth on the black area. As the water soaks through the paint, it dissolves the hairspray layer and causes small fragments of paint to lift off the model. I like to go really slowly because you can't go backwards if you remove too much paint. As soon as I see flecks of silver show through, I dab the area dry and inspect the area.
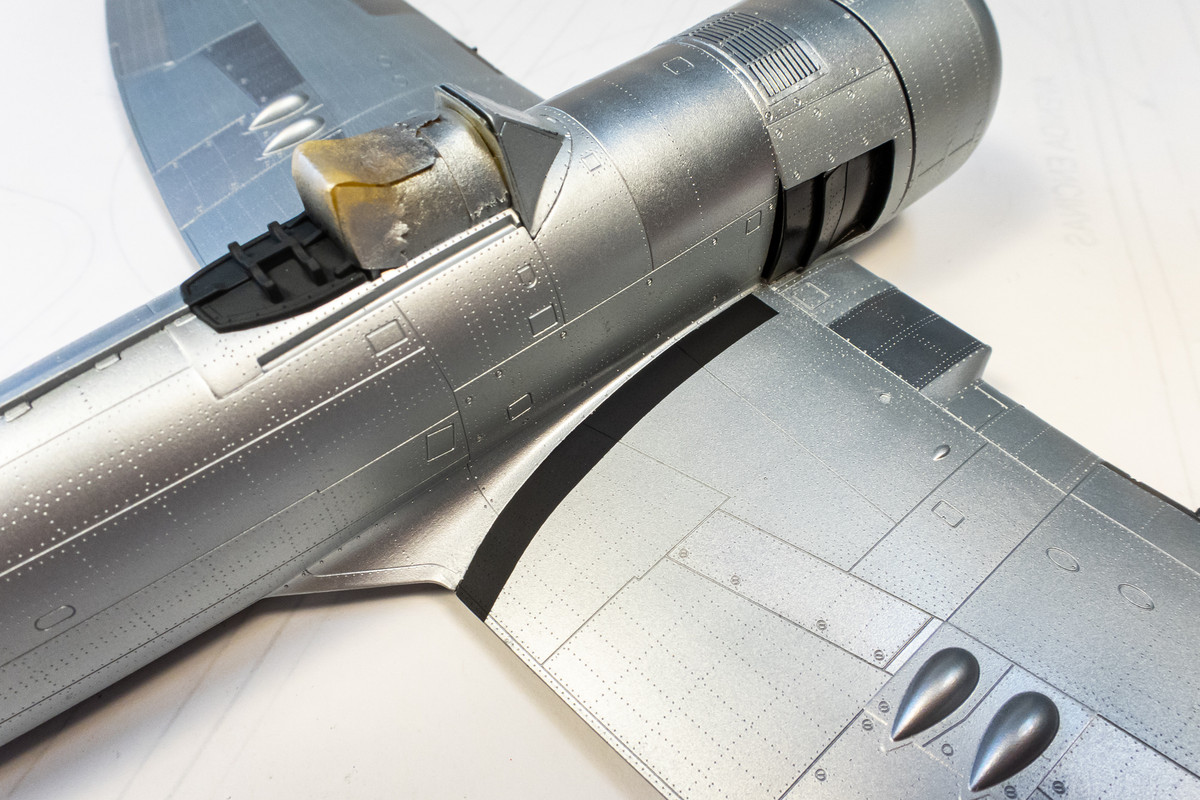
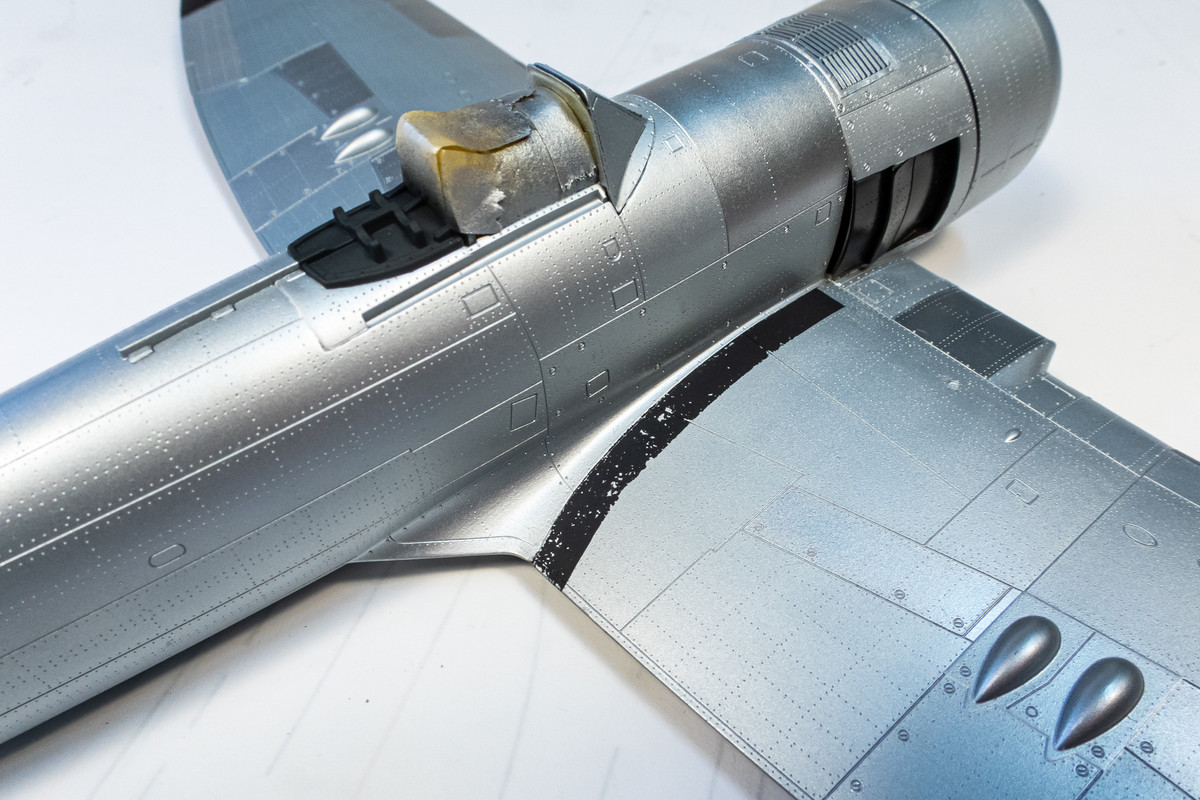
I work the walkway one small area at a time until I get the desired chipping effects. There is one spot that I took off a little too much black for my liking.
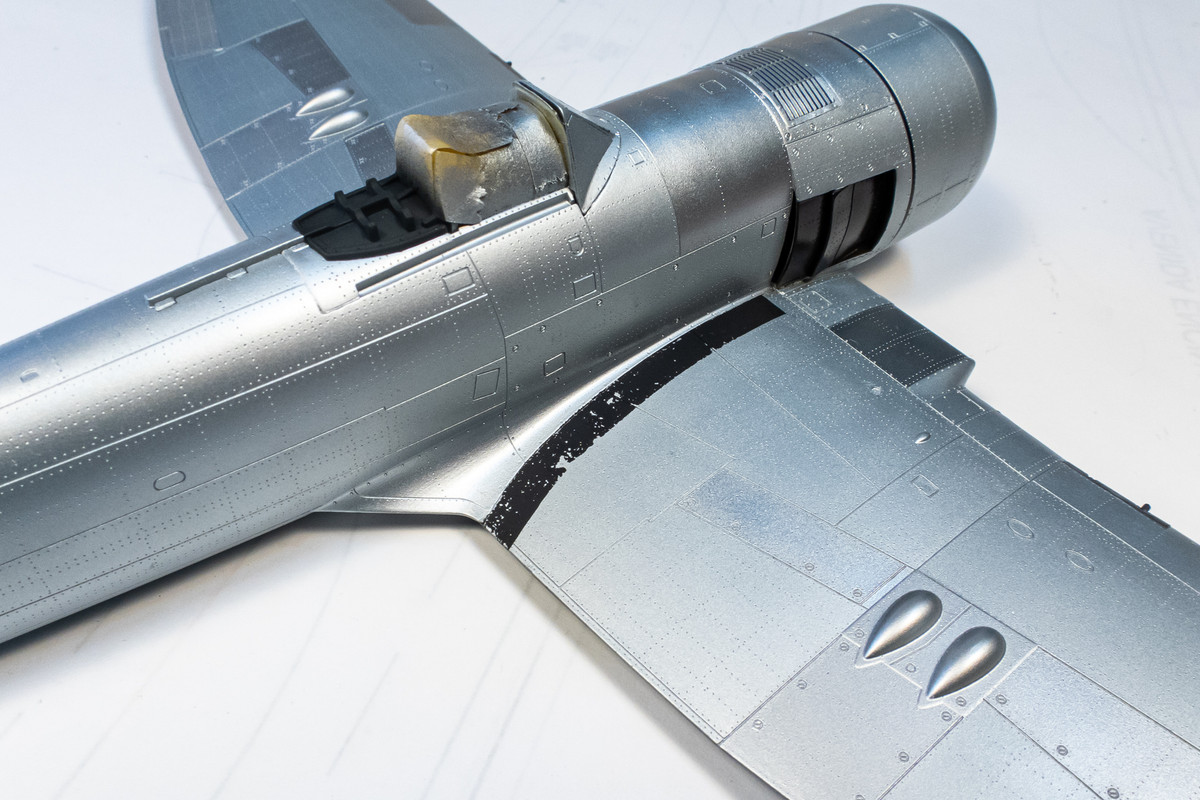
I know it's a trivial detail but I decided to correct that small spot using an old splatter template from RB Productions.
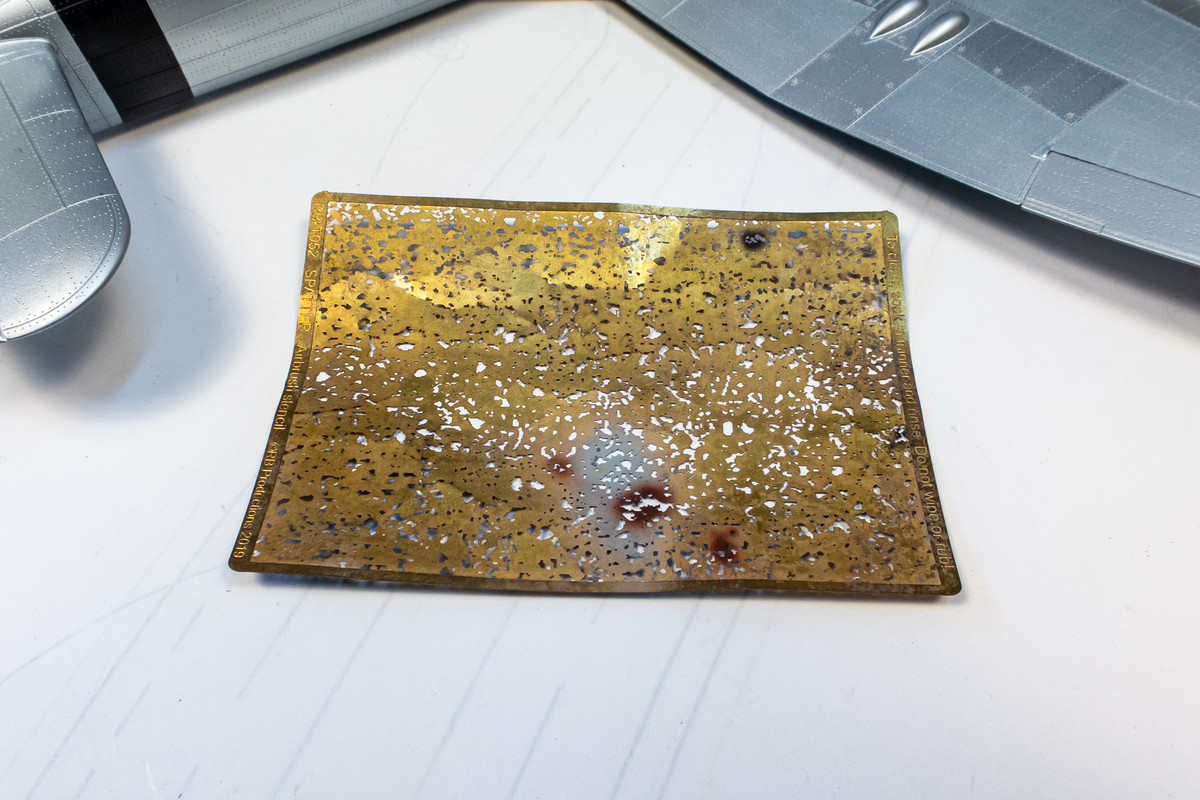
Not a big difference but I like it much better and I guess that is what counts.
Since the boarding ladder is on the starboard side, I assumed that more wear would occur on that side and kept the chipping on the port side minimal.
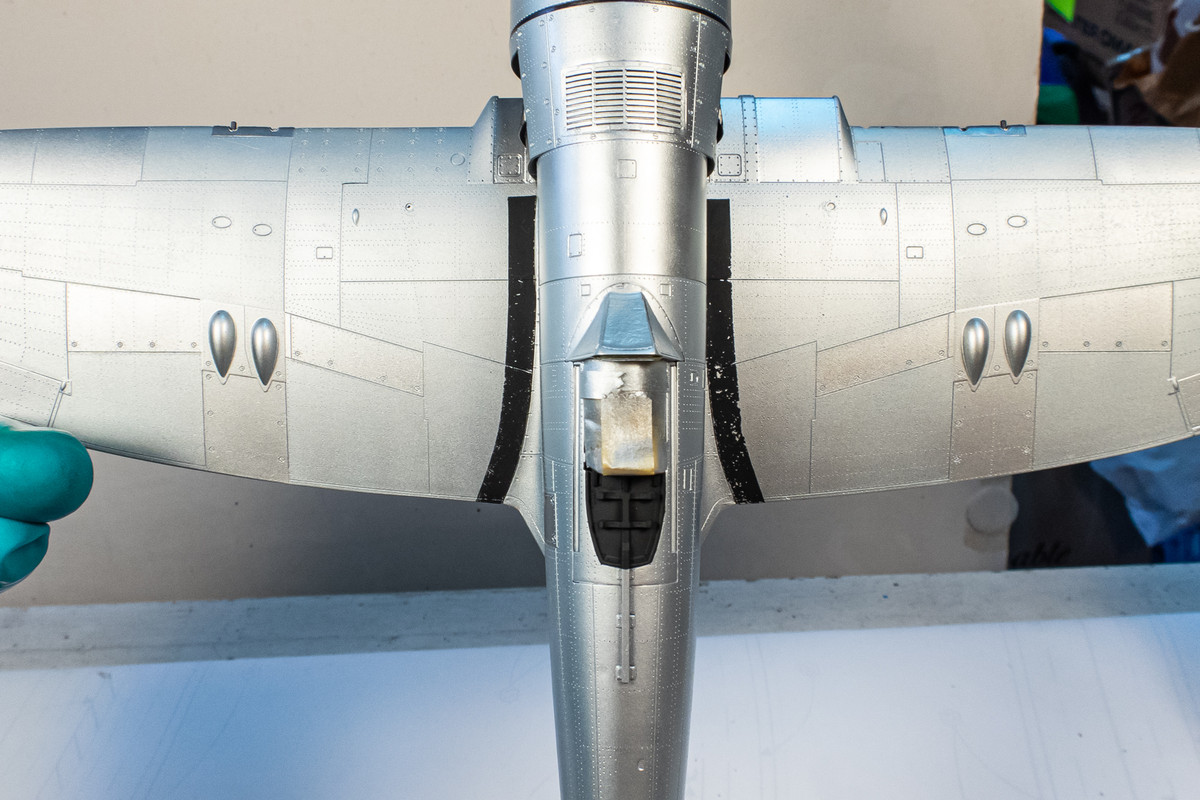
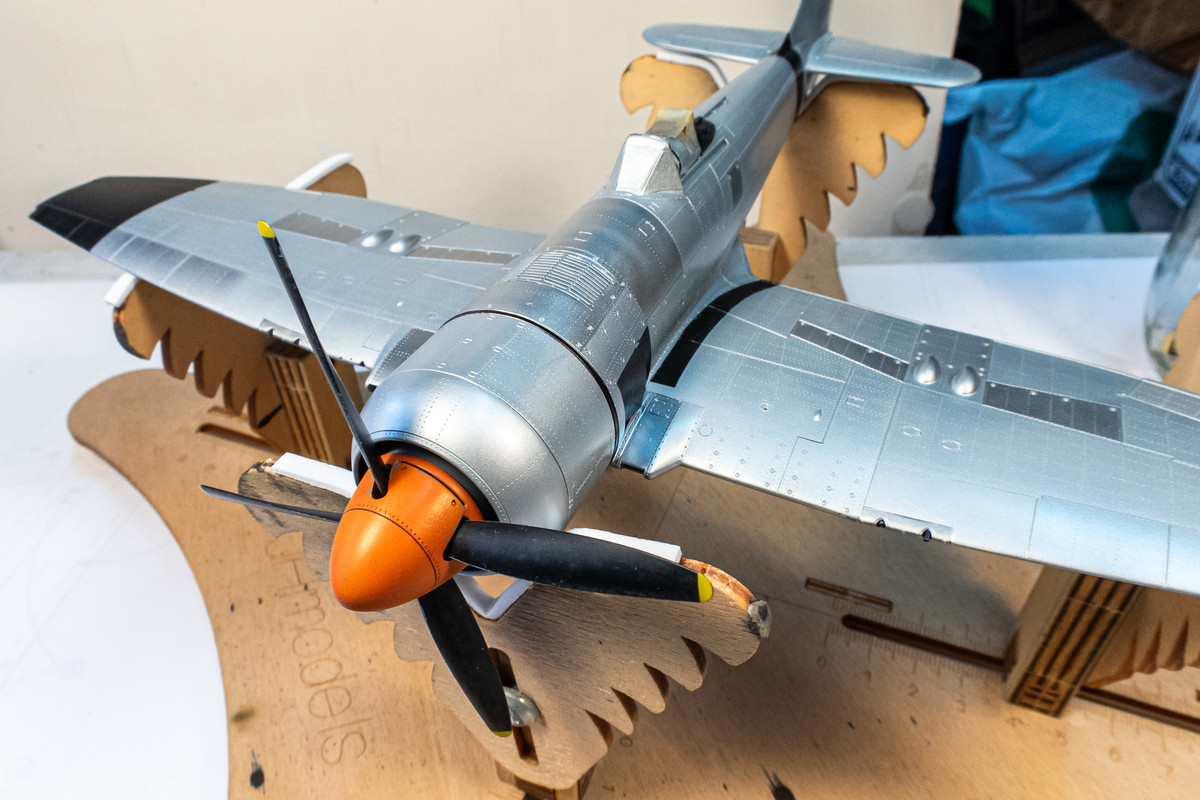
Once the chipping on the walkways is completed, I sealed the area with a light gloss coat. The painting stage is now officially complete.
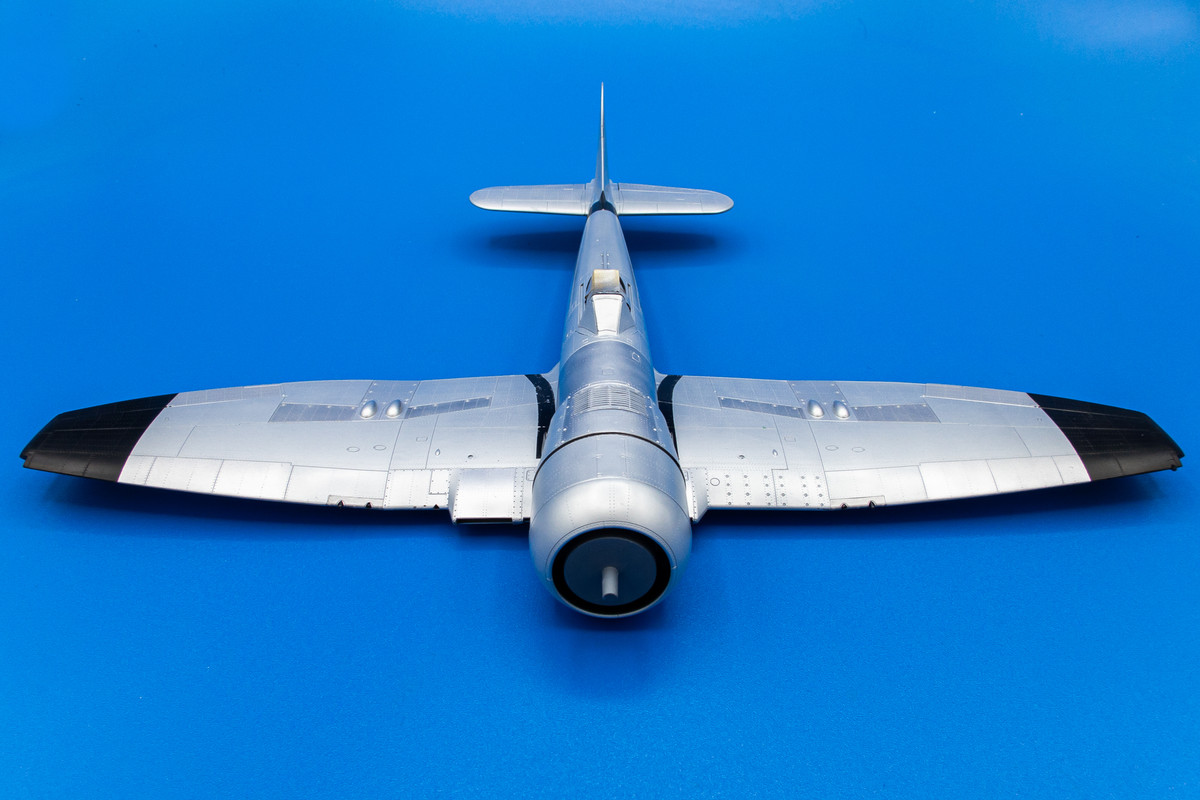
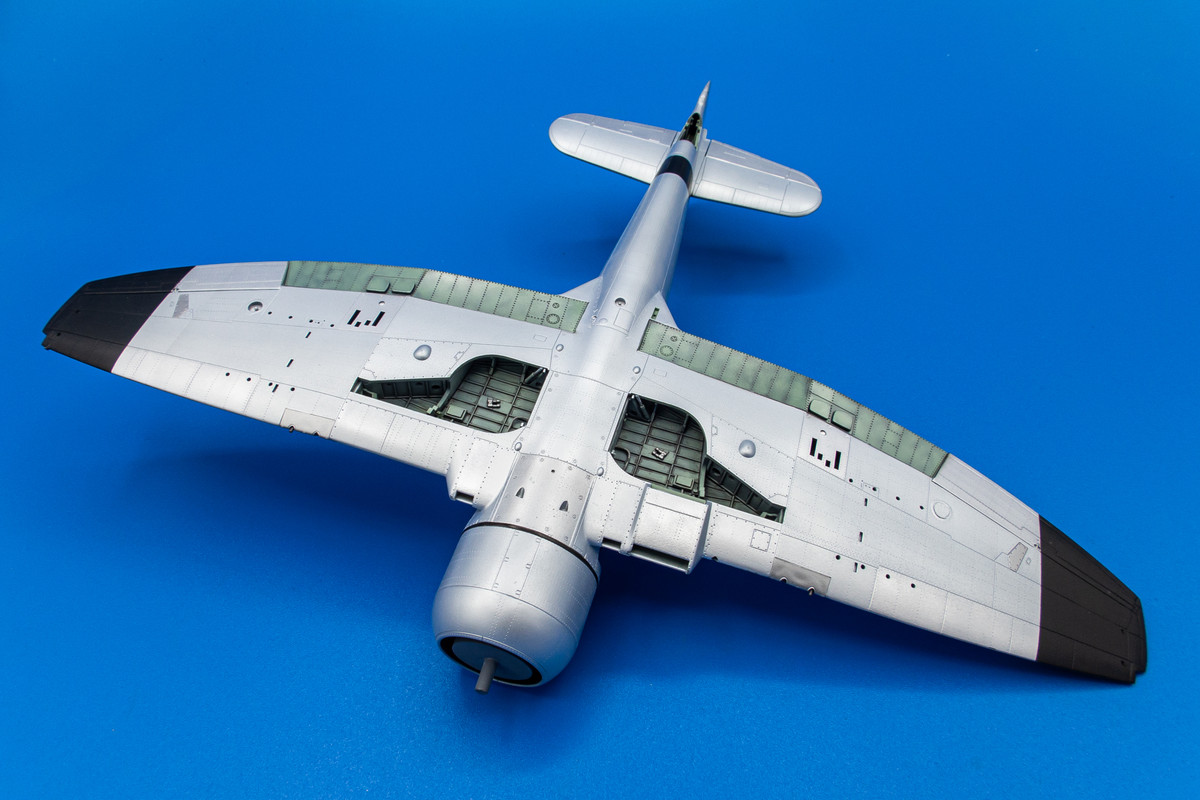
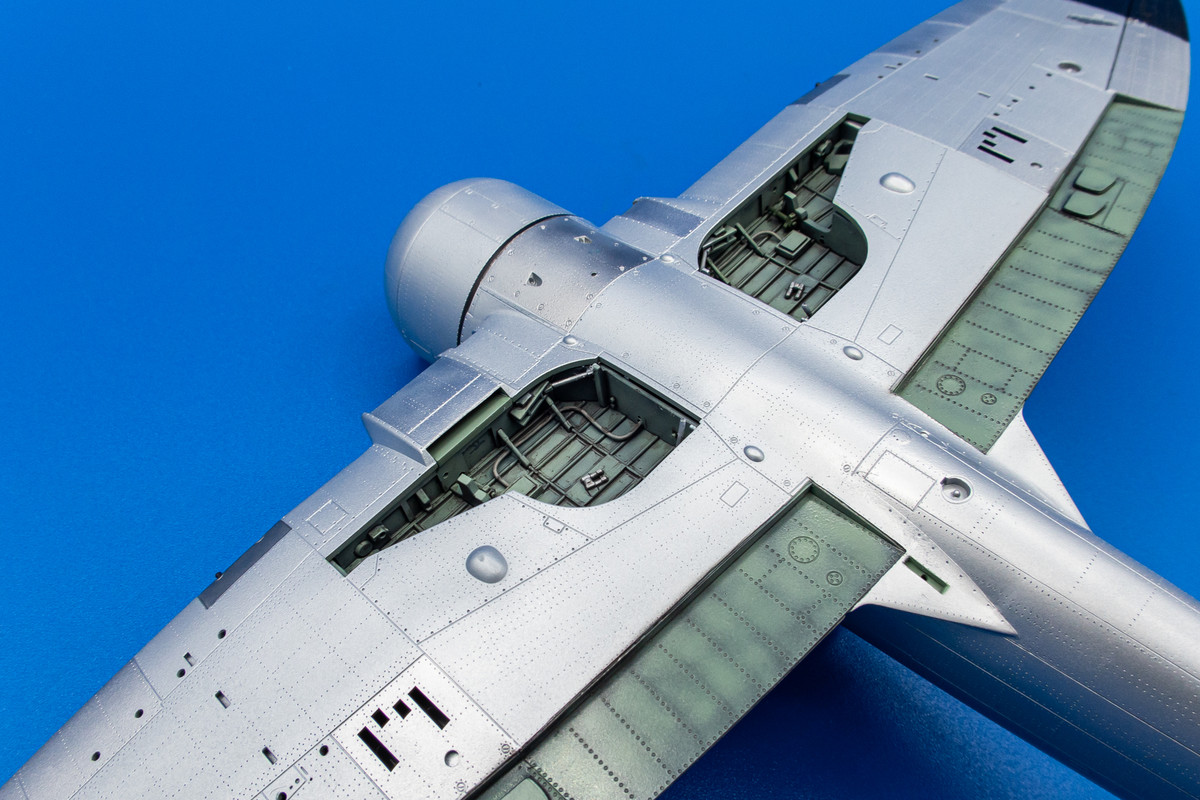
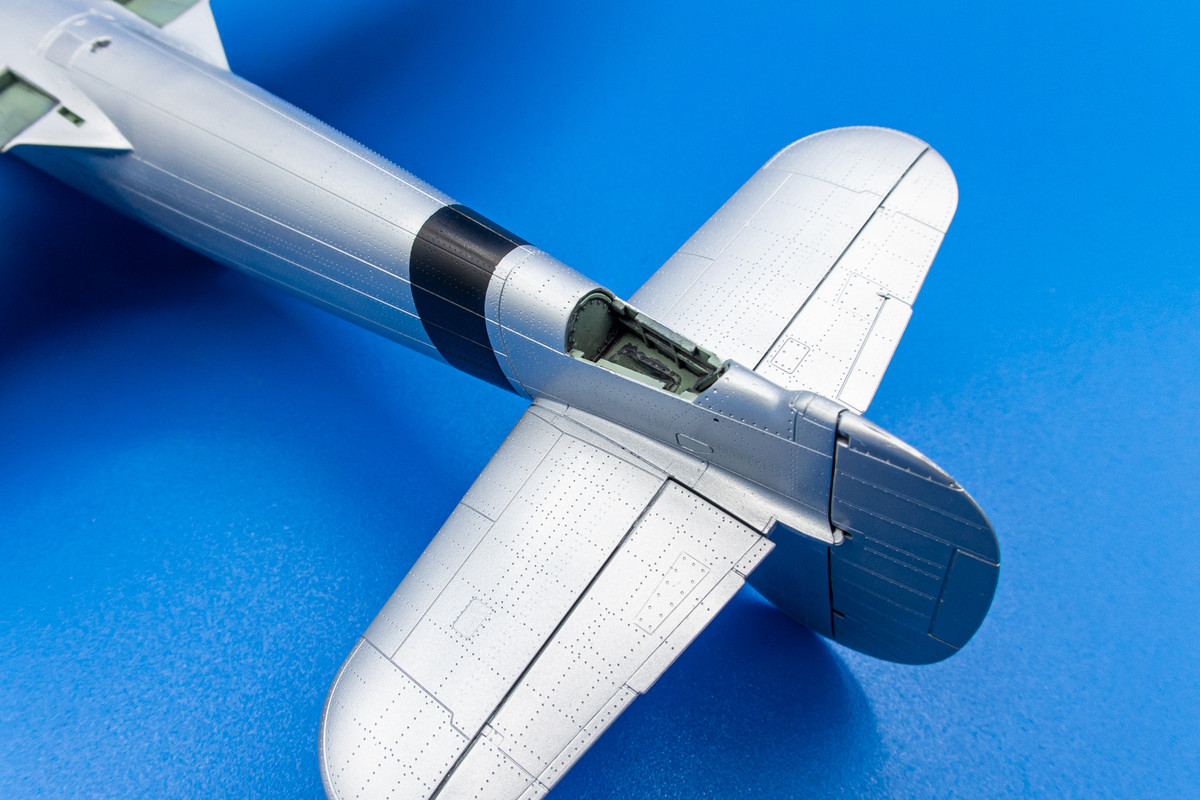
The markings are next!
I work the walkway one small area at a time until I get the desired chipping effects. There is one spot that I took off a little too much black for my liking.
I know it's a trivial detail but I decided to correct that small spot using an old splatter template from RB Productions.
Not a big difference but I like it much better and I guess that is what counts.
Since the boarding ladder is on the starboard side, I assumed that more wear would occur on that side and kept the chipping on the port side minimal.
Once the chipping on the walkways is completed, I sealed the area with a light gloss coat. The painting stage is now officially complete.
The markings are next!
John aka JKim
-----------<><
-----------<><
-
tempestjohnny

- Elite Member
- Posts: 3825
- Joined: Sat Oct 15, 2016 4:51 am
- Location: Naples. FL

-
Gary Brantley
- Elite Member
- Posts: 2770
- Joined: Tue Apr 08, 2014 9:40 pm
- Location: Cameron, Texas
Re: Eduard 1/48 Hawker Tempest II
That's some really nice scale modeling, John!  The paintwork looks mighty fine; that will be a great Tempest when you're finished!
 The paintwork looks mighty fine; that will be a great Tempest when you're finished!
Re: Eduard 1/48 Hawker Tempest II
Great looking finish and I really dig the color of that spinner!
Thanks,
John
John
Re: Eduard 1/48 Hawker Tempest II
Thanks guys! Appreciate the feedback!
I've read that the Eduard decals have a weird feature. Apparently the clear carrier film can be removed, leaving only the decal pigment on the model. The instructions make no mention of this so it may be unintentional on Eduard's part but I wanted to check this feature out.
Unfortunately, I couldn't get it to work for me. After placing the decal normally and using Micro Sol to conform the decal to the model surface, I used mineral spirits to soften the carrier film. But it was very stubborn and I could not remove it without damaging the decal. I had some partial success on a paint mule but this result led me to abandon this approach. I quickly removed the decal with some tape and moved to the masking stage. Luckily, I had scanned the decal sheets at the beginning of the build just for this outcome.
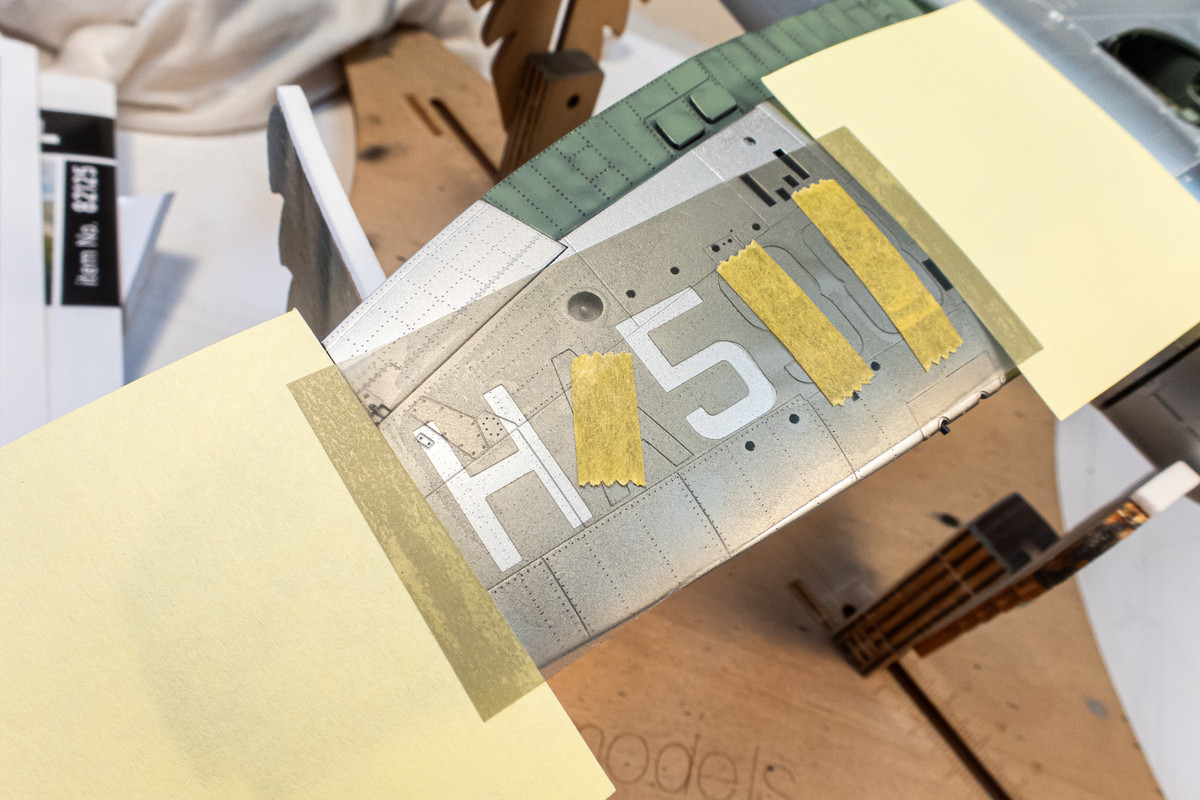
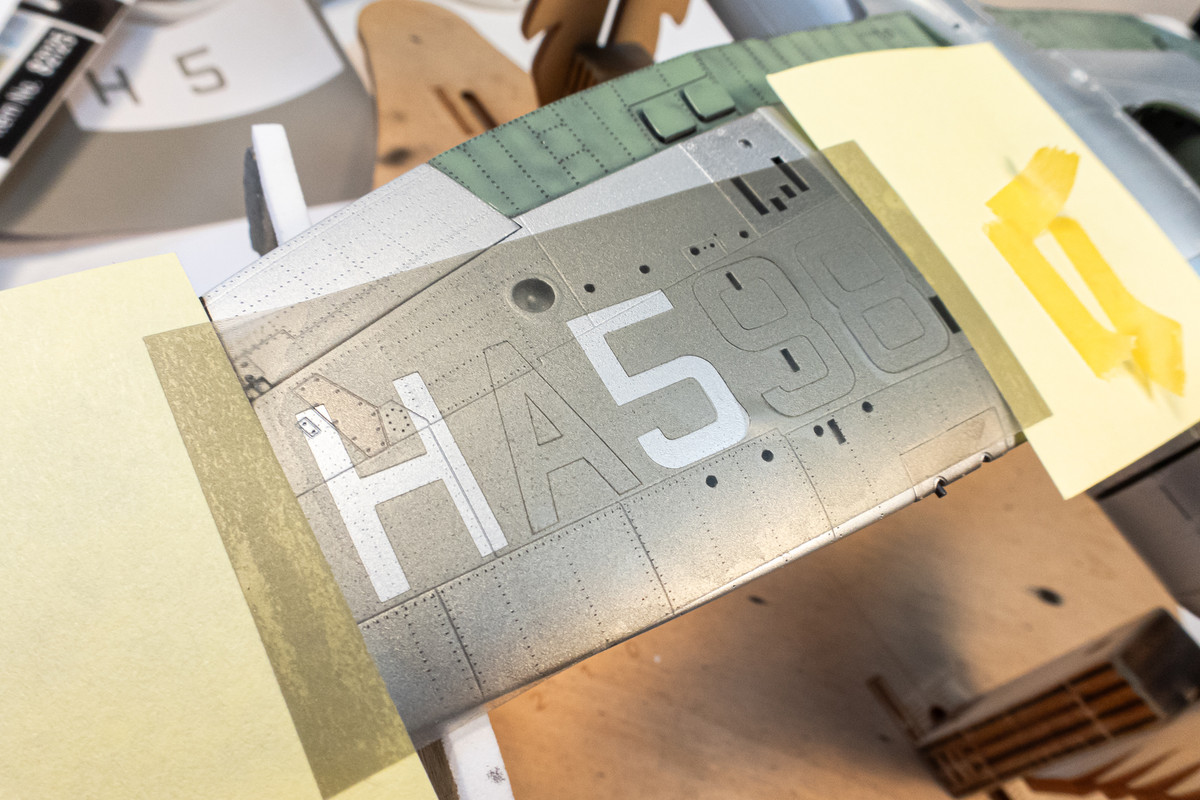
I decided to tackle the large underwing aircraft codes first. The mask is carefully placed in position. The entire A, 9 and 8 components were placed on the model to make sure the isolated portions of the mask were perfectly positioned.
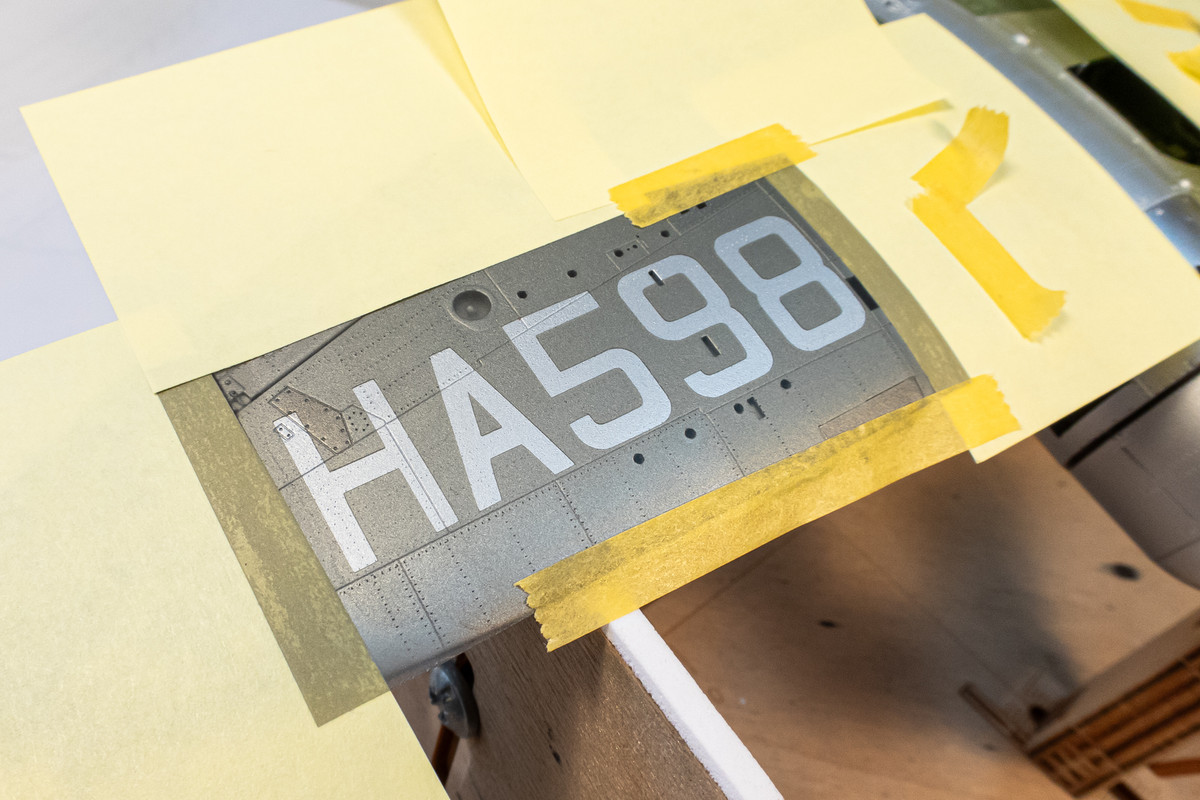
I used the same 50/50 mix of Nato Black and Black for the codes.
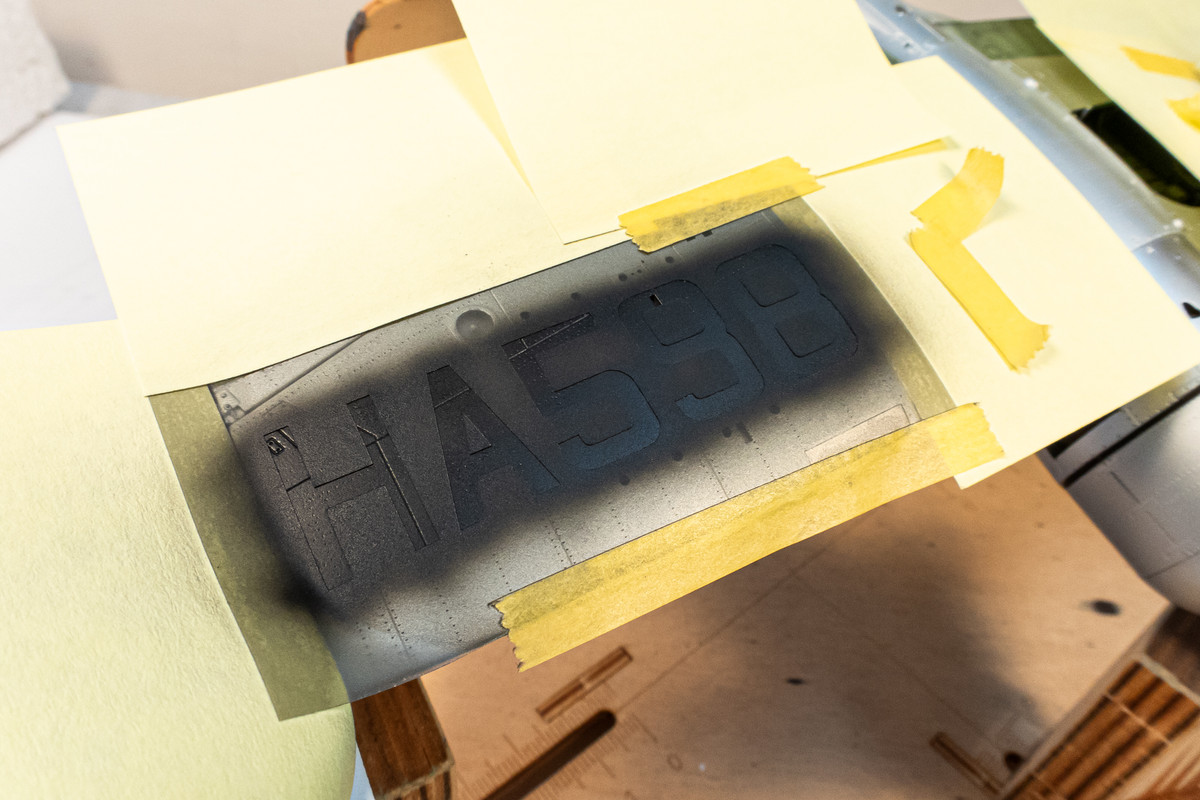
After the main mask is removed, the isolated portions of the A, 9 and 8 remain and need to be VERY CAREFULLY removed.
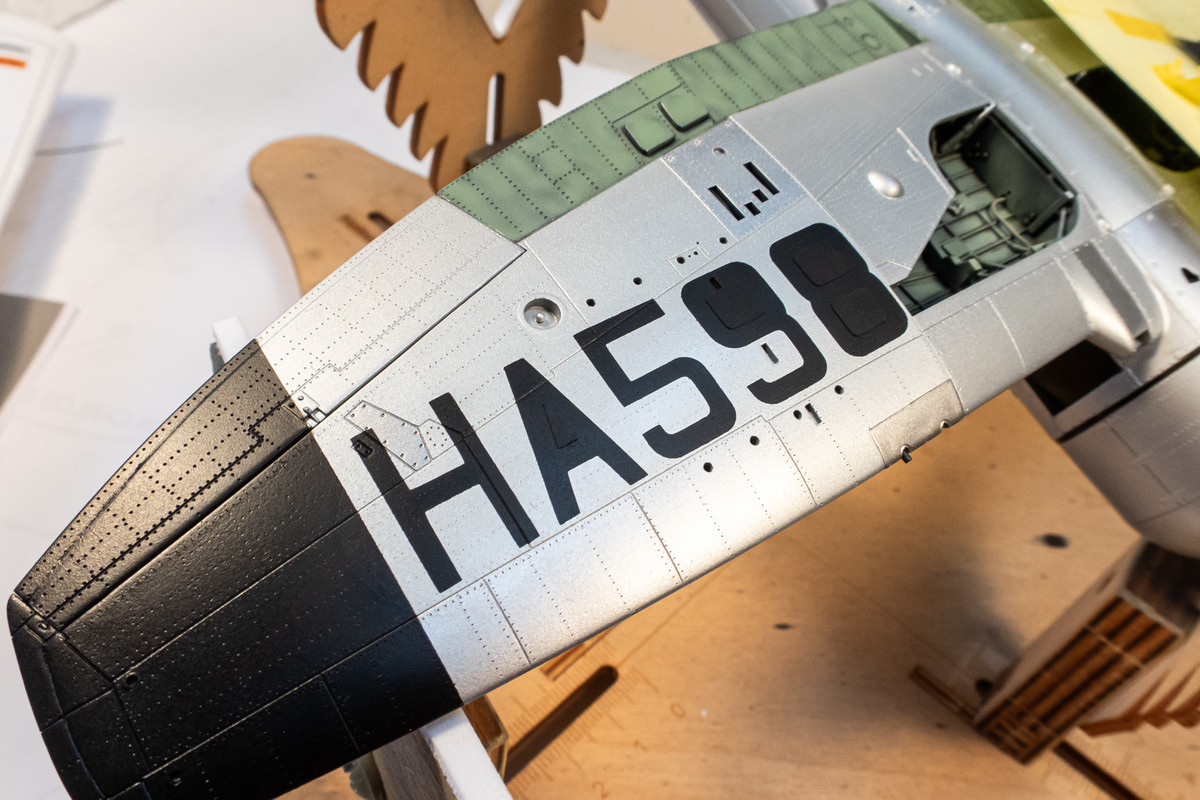
And voila... a very nice masking result!
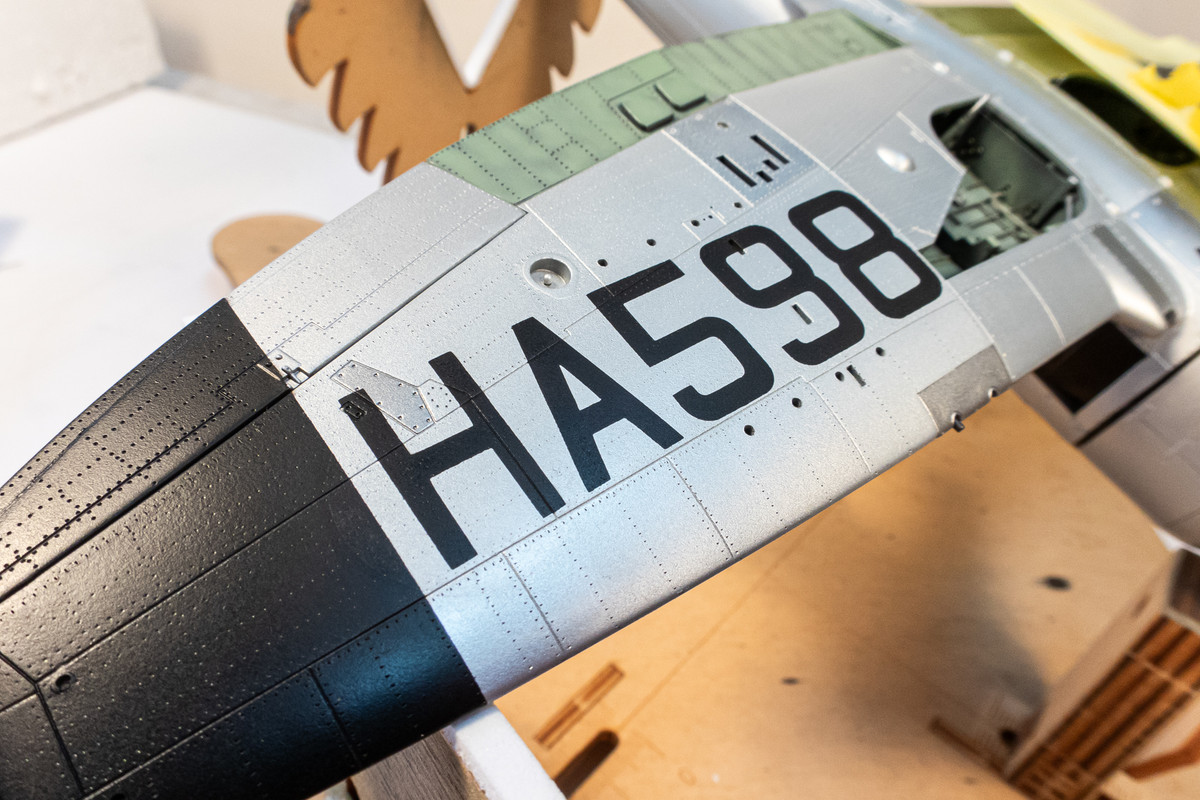
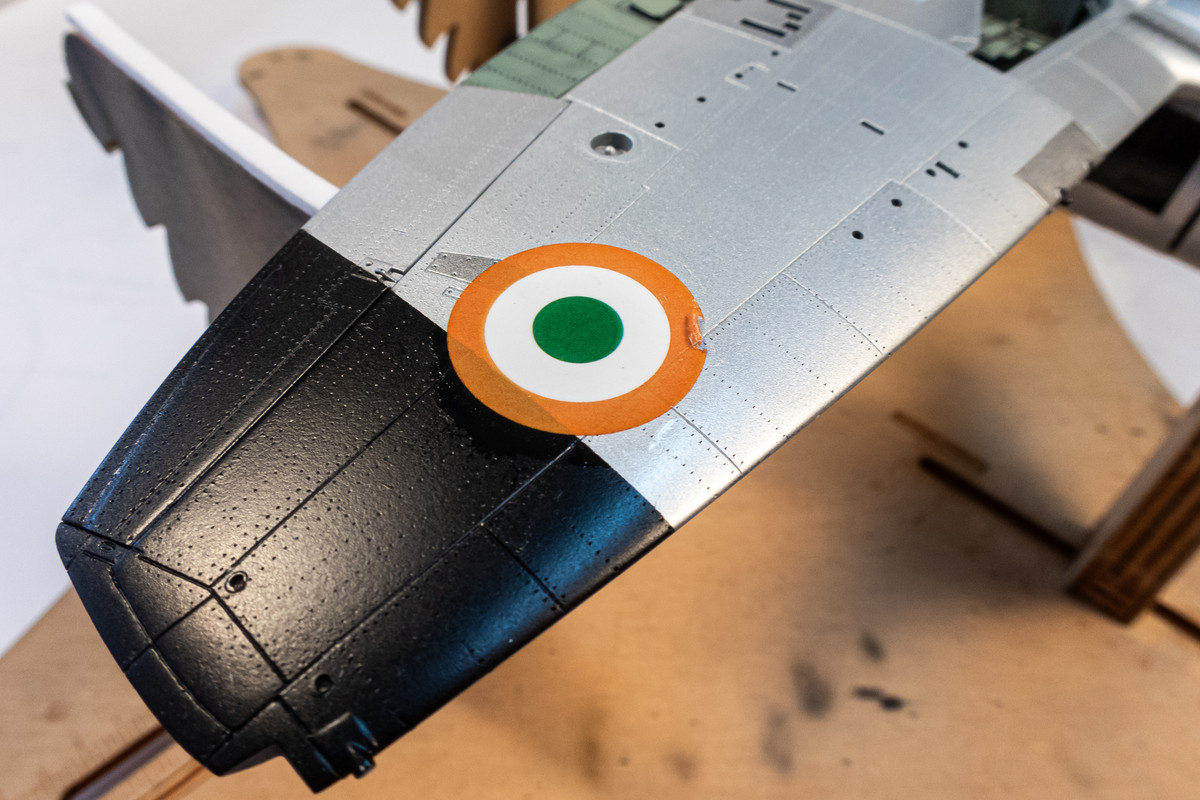
But waitaminnit... there is no room for the roundels betwteen the codes and the black wing tips. What's going on??? To my horror, I've discovered that I cut the code masks too big! Being such an unfamiliar aircraft, I was clueless of this huge mistake until now.
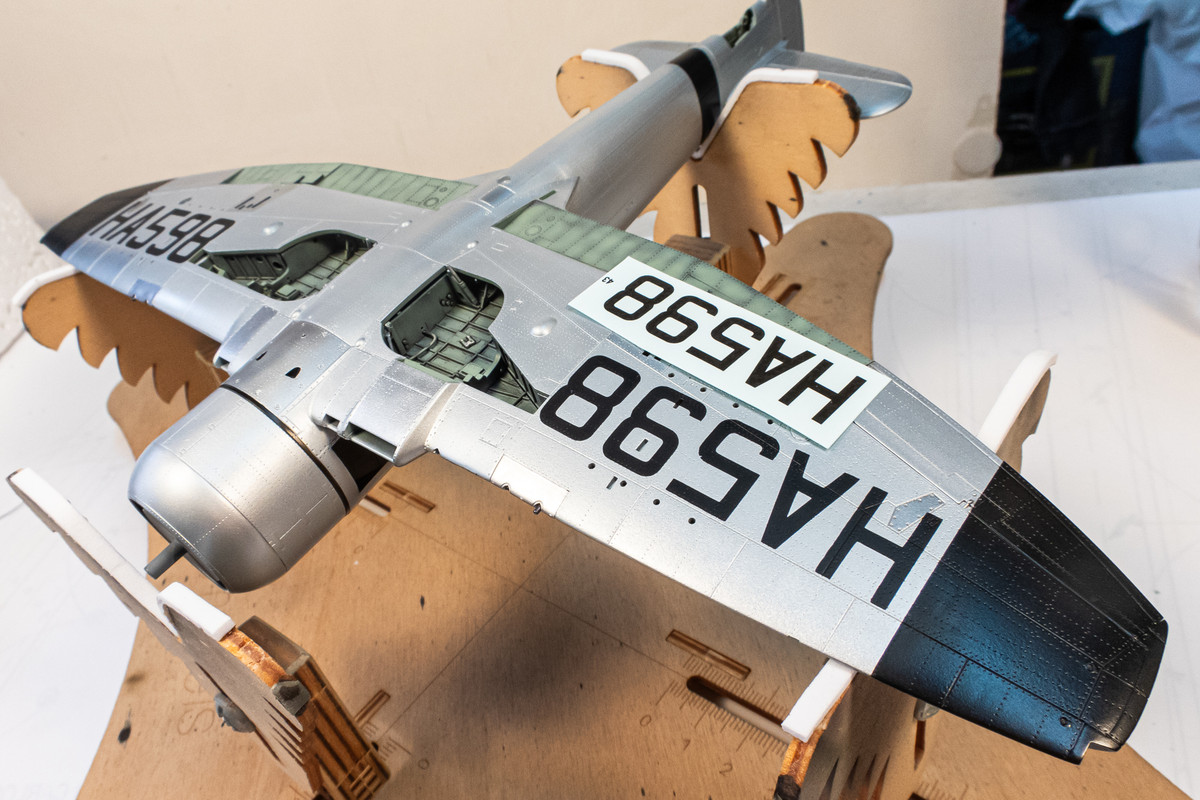
Ah well... I'm going to let this completely dry and attempt a repair. I don't think it will be too difficult actually but it will put a delay on completion! Some intense micro-meshing to come...
I've read that the Eduard decals have a weird feature. Apparently the clear carrier film can be removed, leaving only the decal pigment on the model. The instructions make no mention of this so it may be unintentional on Eduard's part but I wanted to check this feature out.
Unfortunately, I couldn't get it to work for me. After placing the decal normally and using Micro Sol to conform the decal to the model surface, I used mineral spirits to soften the carrier film. But it was very stubborn and I could not remove it without damaging the decal. I had some partial success on a paint mule but this result led me to abandon this approach. I quickly removed the decal with some tape and moved to the masking stage. Luckily, I had scanned the decal sheets at the beginning of the build just for this outcome.
I decided to tackle the large underwing aircraft codes first. The mask is carefully placed in position. The entire A, 9 and 8 components were placed on the model to make sure the isolated portions of the mask were perfectly positioned.
I used the same 50/50 mix of Nato Black and Black for the codes.
After the main mask is removed, the isolated portions of the A, 9 and 8 remain and need to be VERY CAREFULLY removed.
And voila... a very nice masking result!
But waitaminnit... there is no room for the roundels betwteen the codes and the black wing tips. What's going on??? To my horror, I've discovered that I cut the code masks too big! Being such an unfamiliar aircraft, I was clueless of this huge mistake until now.
Ah well... I'm going to let this completely dry and attempt a repair. I don't think it will be too difficult actually but it will put a delay on completion! Some intense micro-meshing to come...
John aka JKim
-----------<><
-----------<><