Page 6 of 9
Re: Eduard 1/48 Hawker Tempest II
Posted: Wed May 15, 2024 8:22 am
by Gary Brantley
Magnificent scale modeling, John!

Re: Eduard 1/48 Hawker Tempest II
Posted: Wed May 15, 2024 11:12 am
by jkim
Re: Eduard 1/48 Hawker Tempest II
Posted: Wed May 15, 2024 11:45 am
by Medicman71
Nice!!!

Re: Eduard 1/48 Hawker Tempest II
Posted: Thu May 16, 2024 2:45 pm
by jkim
Re: Eduard 1/48 Hawker Tempest II
Posted: Thu May 16, 2024 3:07 pm
by BlackSheep214
Re: Eduard 1/48 Hawker Tempest II
Posted: Thu May 16, 2024 6:12 pm
by jkim
Re: Eduard 1/48 Hawker Tempest II
Posted: Fri May 17, 2024 3:18 am
by tempestjohnny
Re: Eduard 1/48 Hawker Tempest II
Posted: Fri May 17, 2024 6:58 am
by Gary Brantley
That's some really nice scale modeling, John!

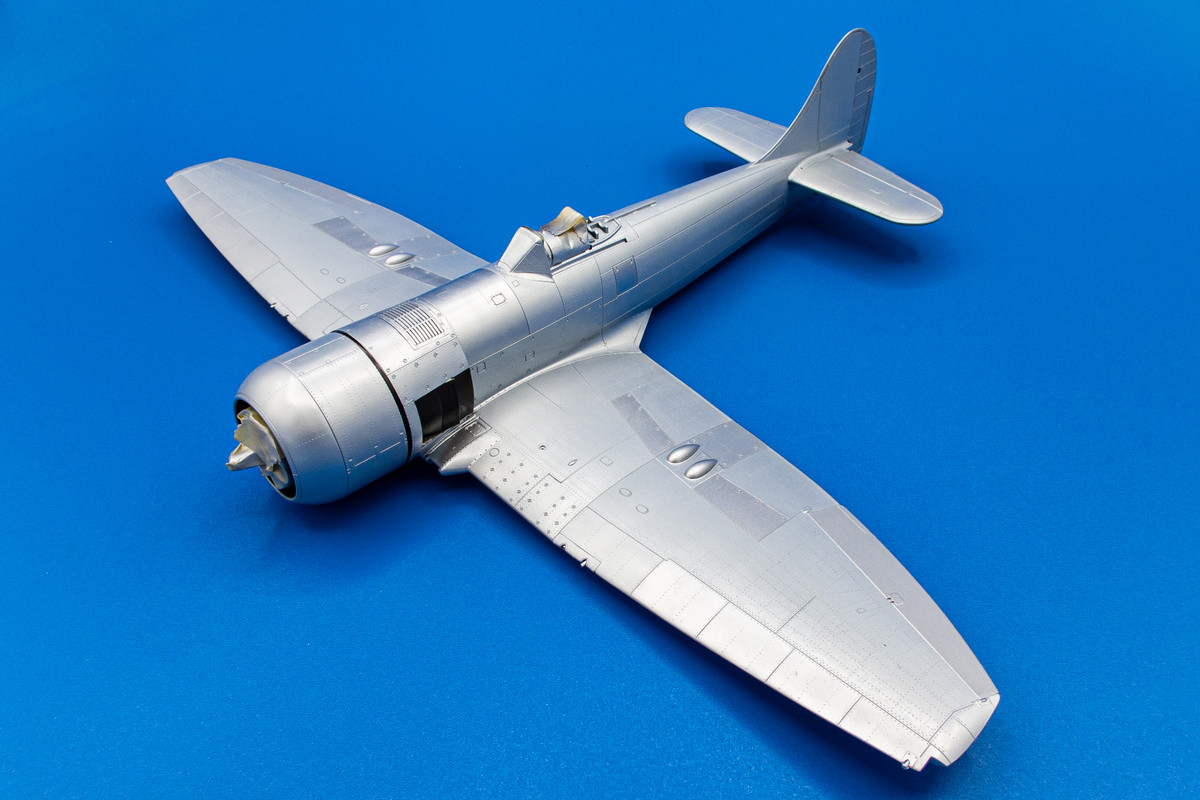
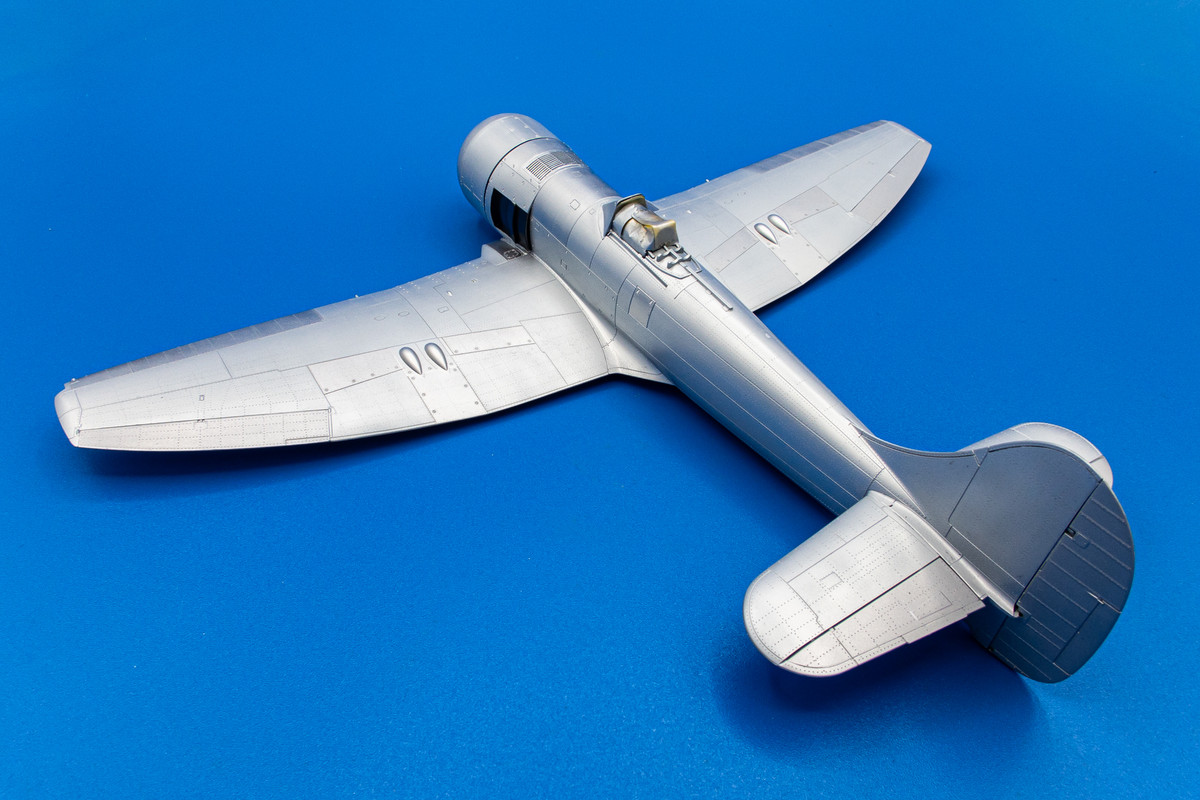
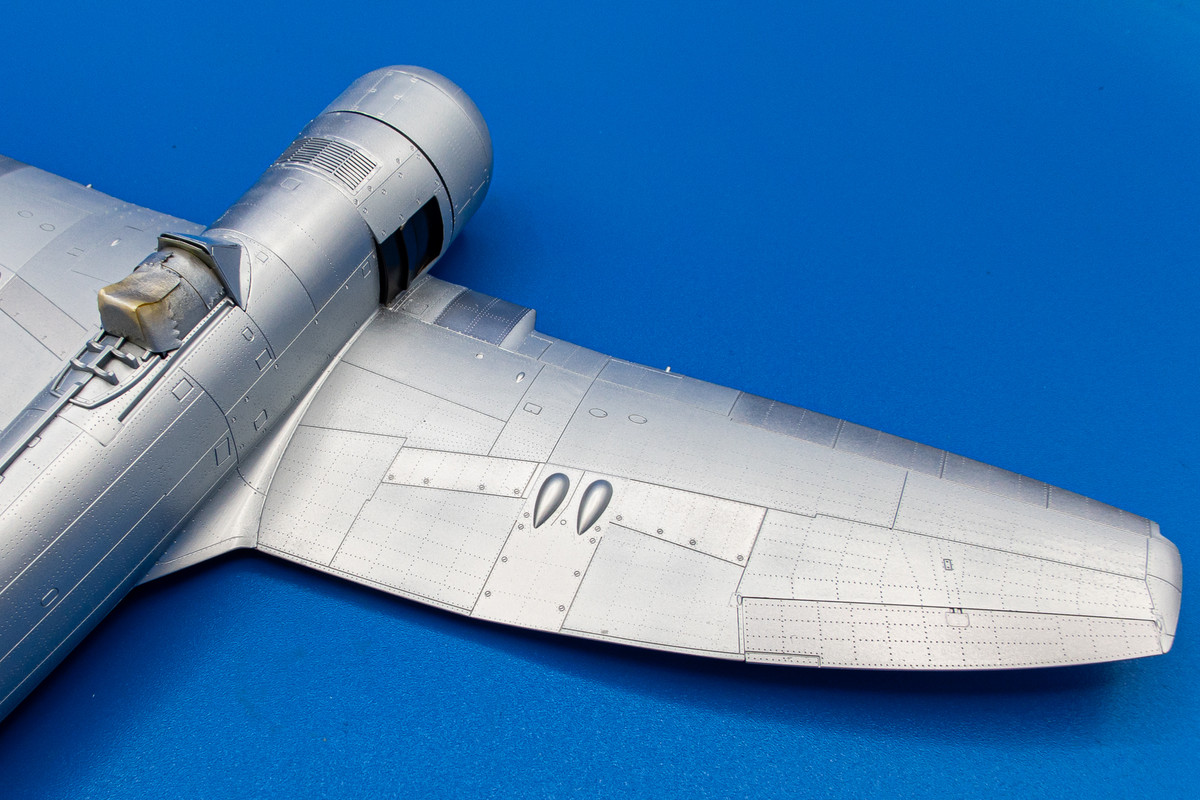
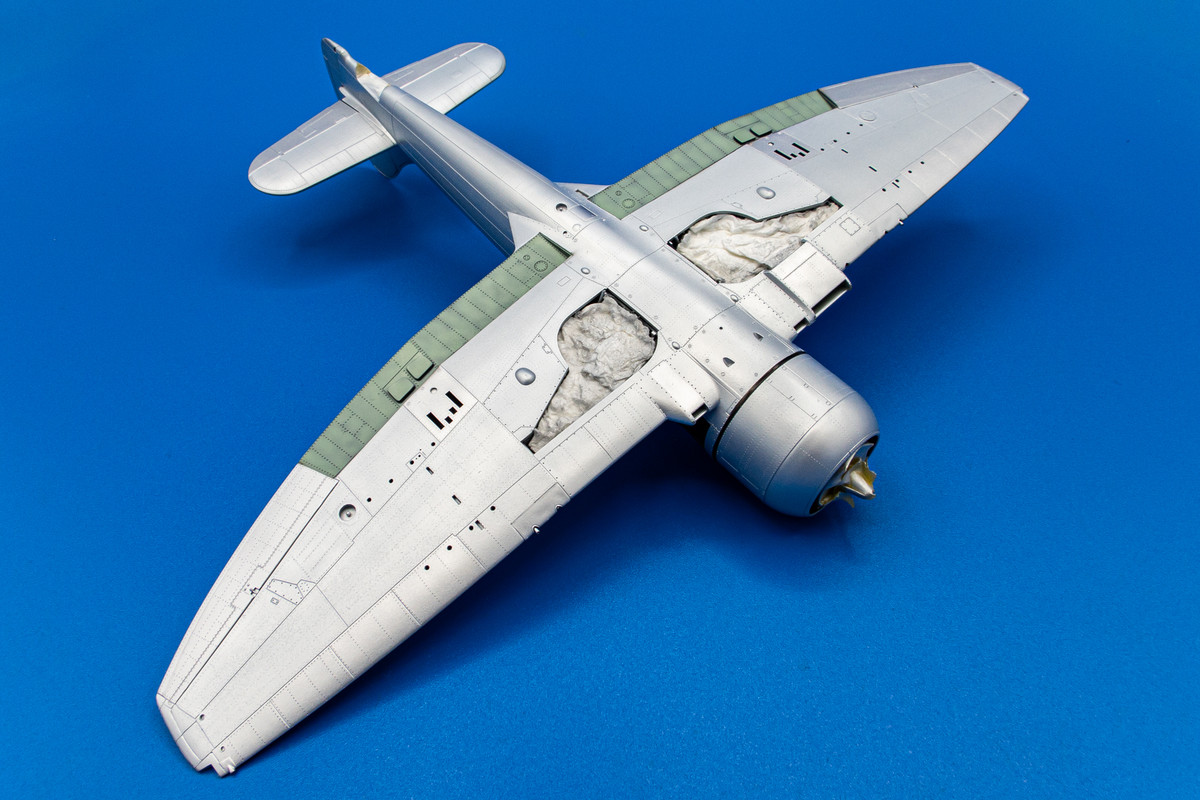
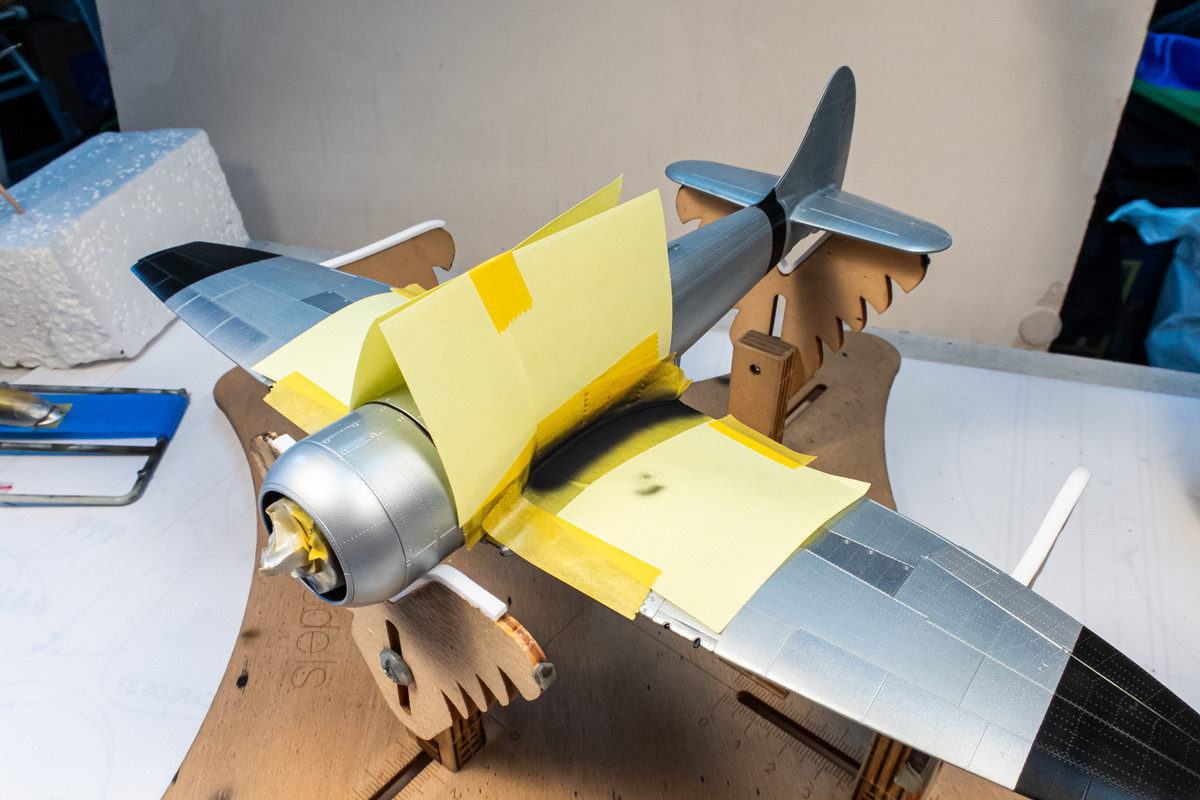
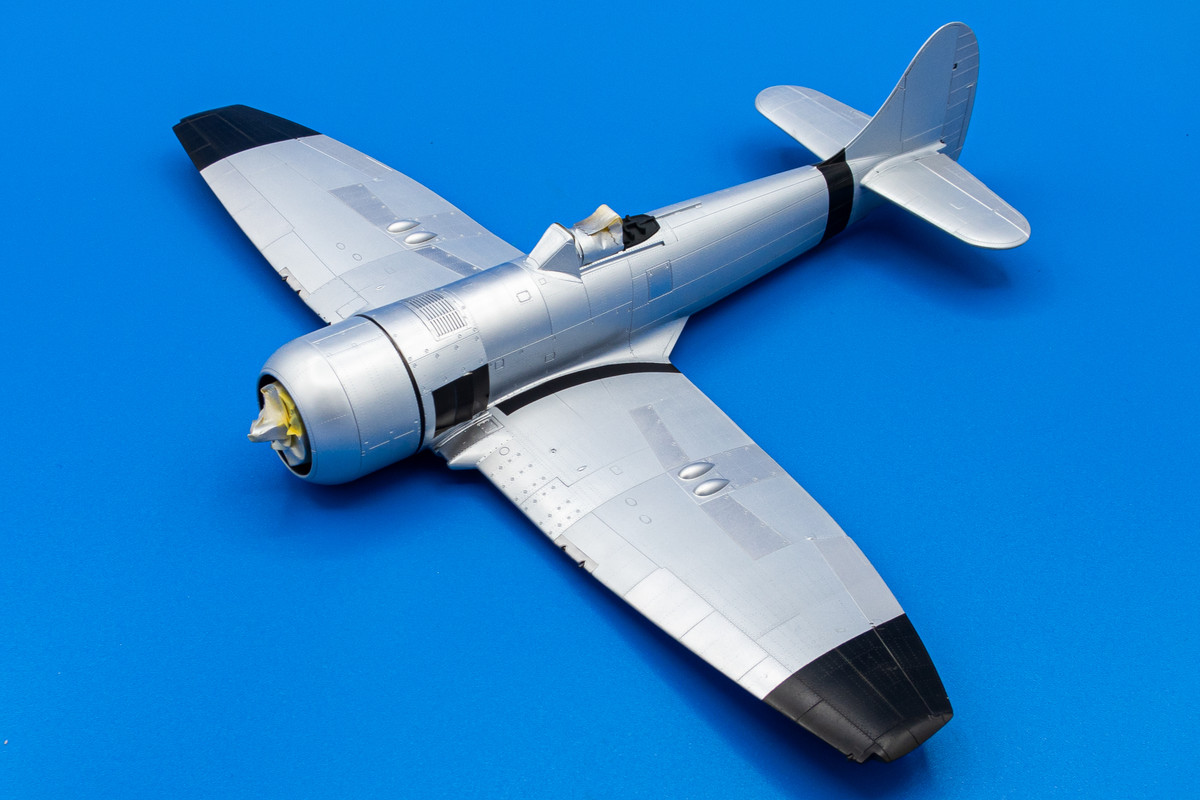
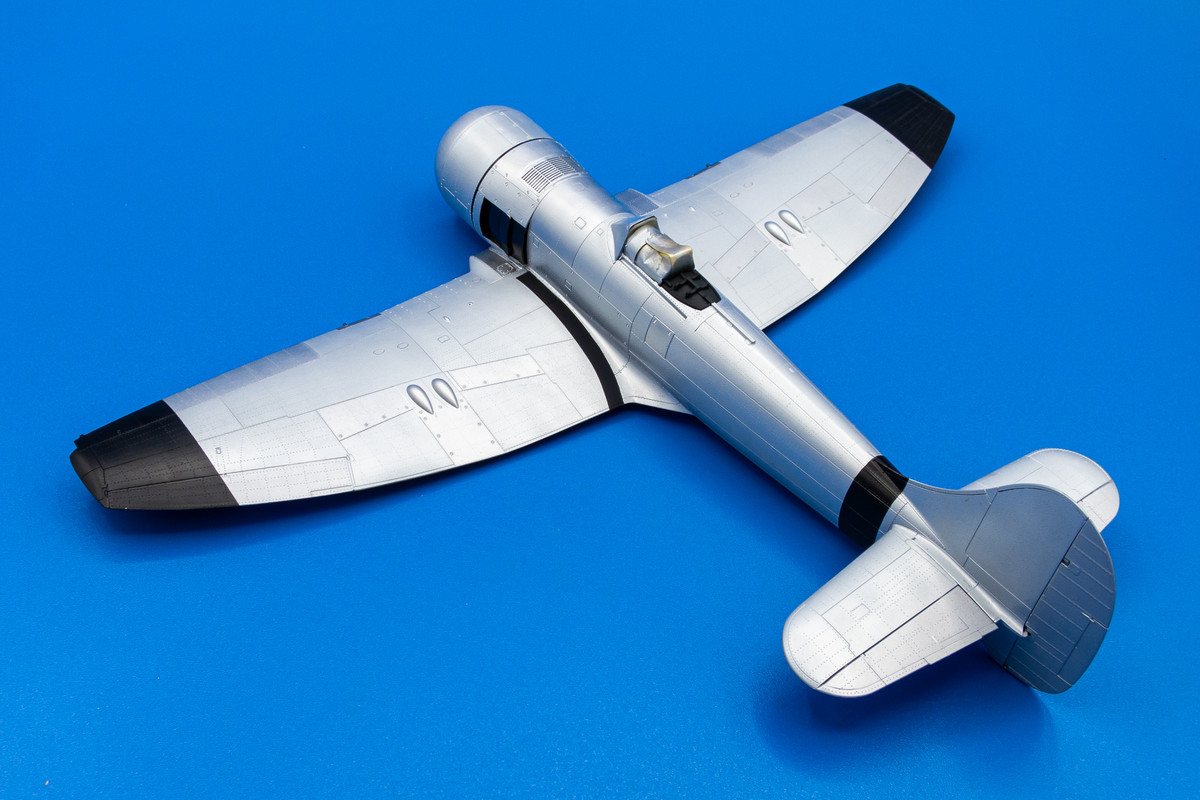
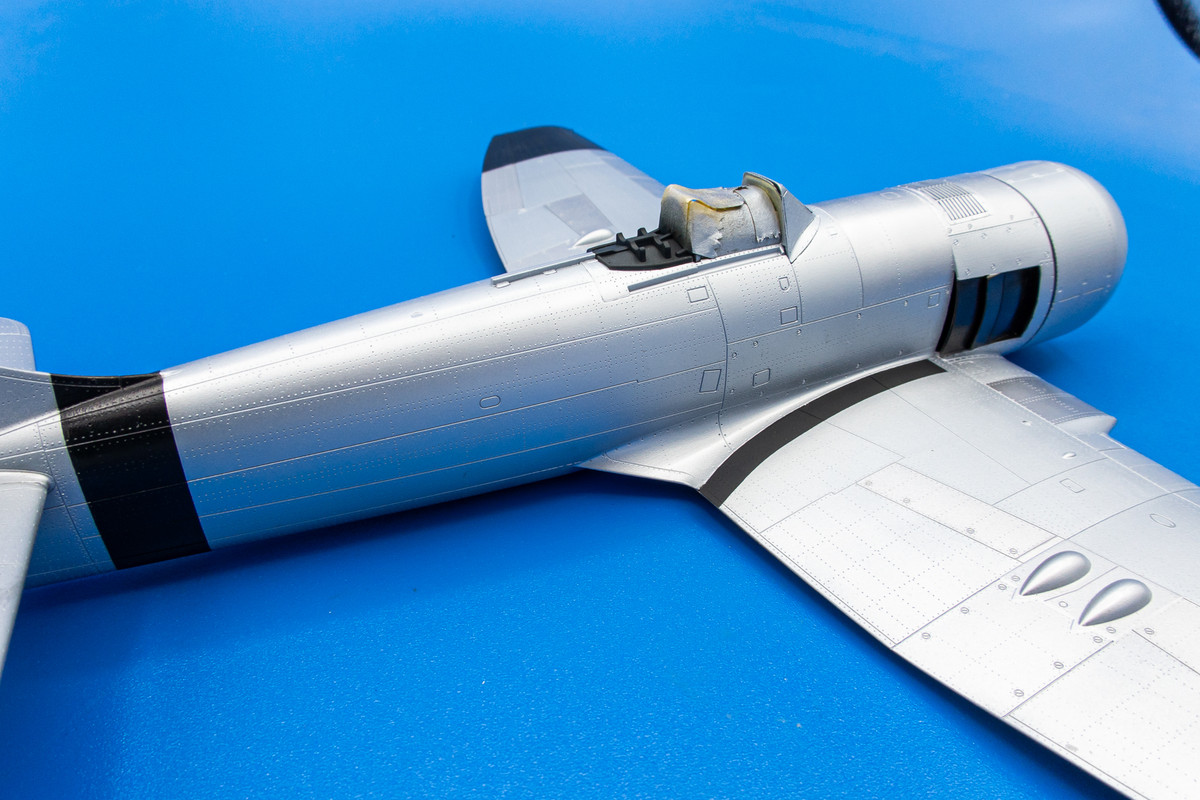
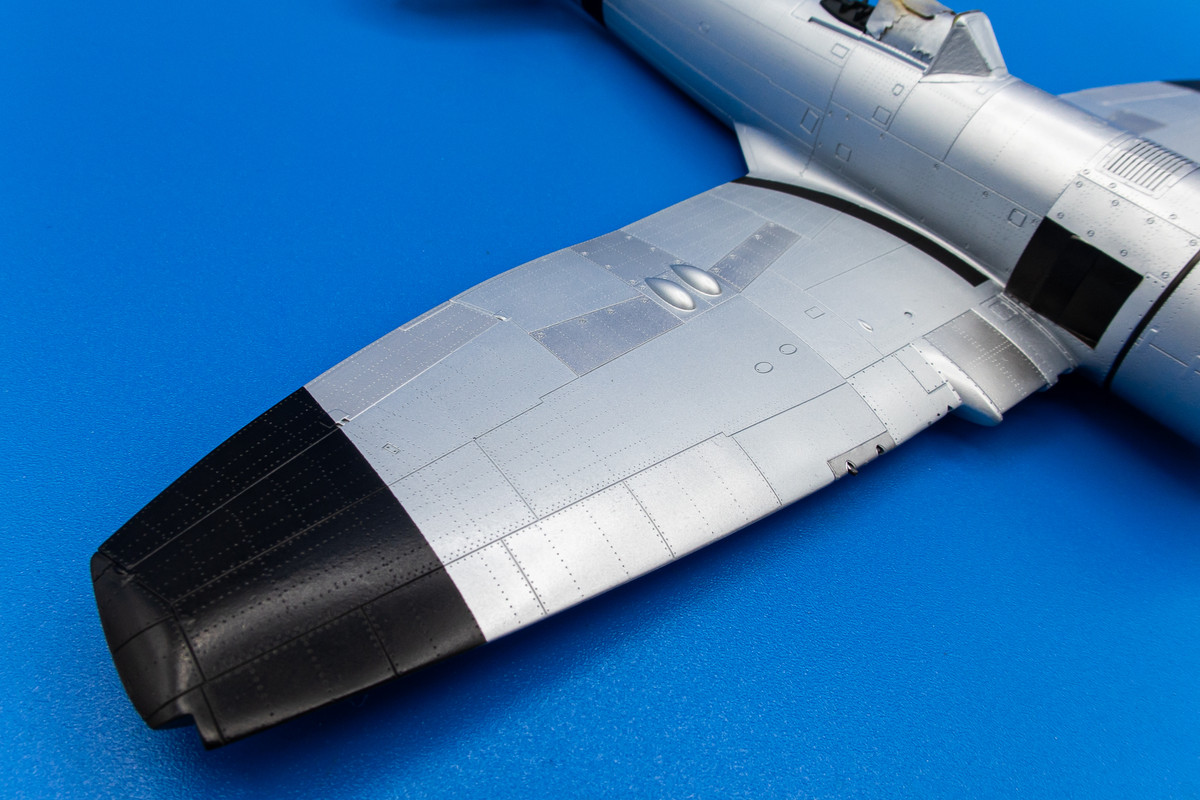
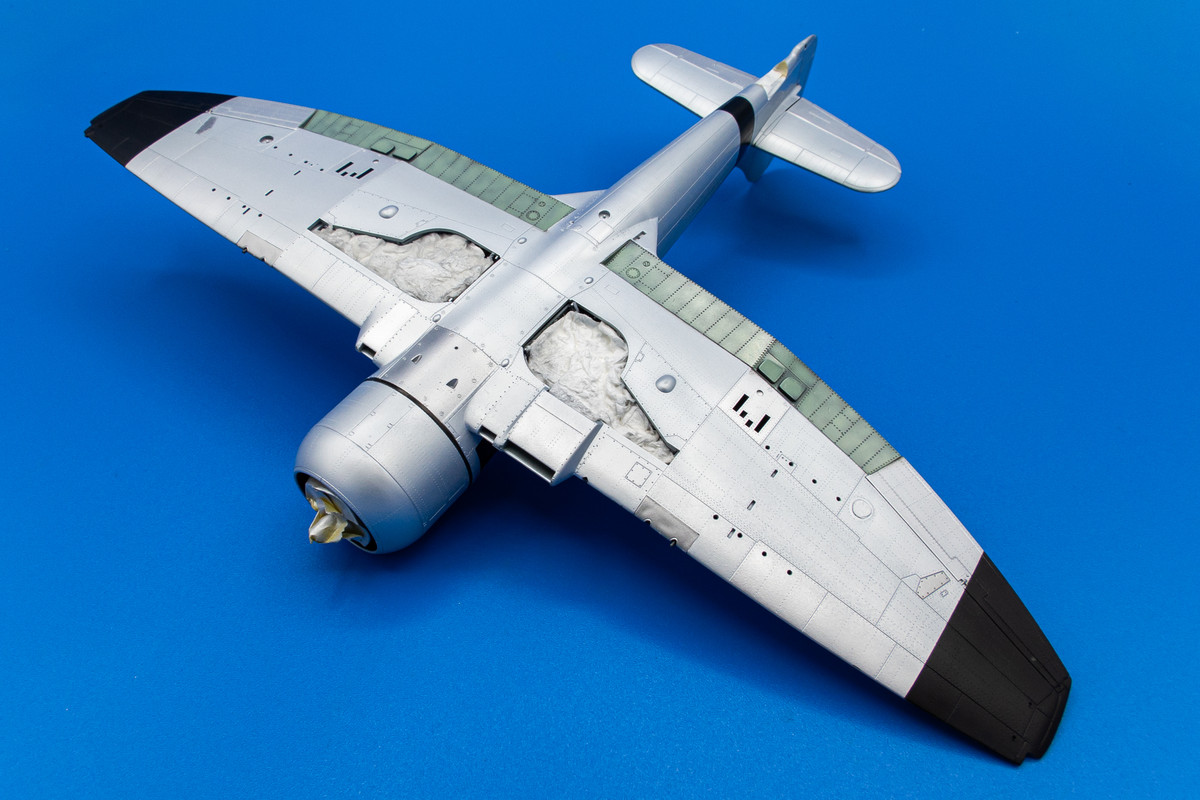
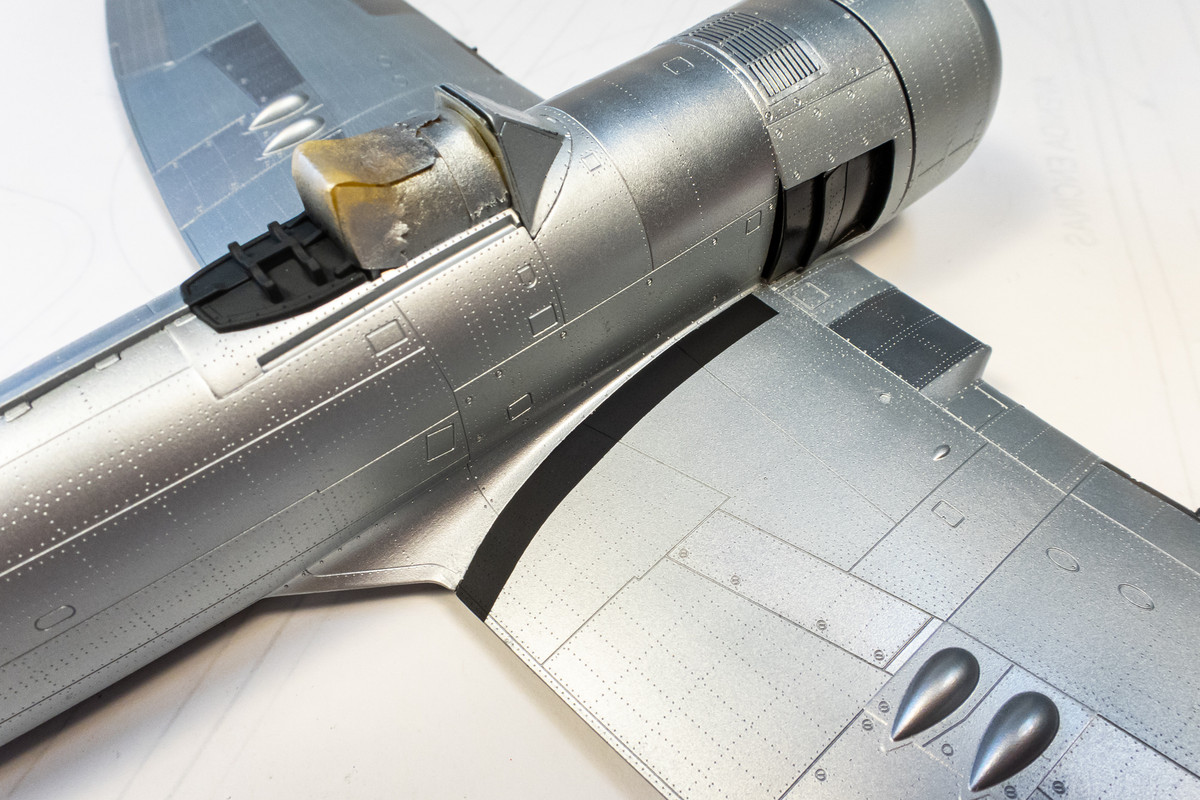
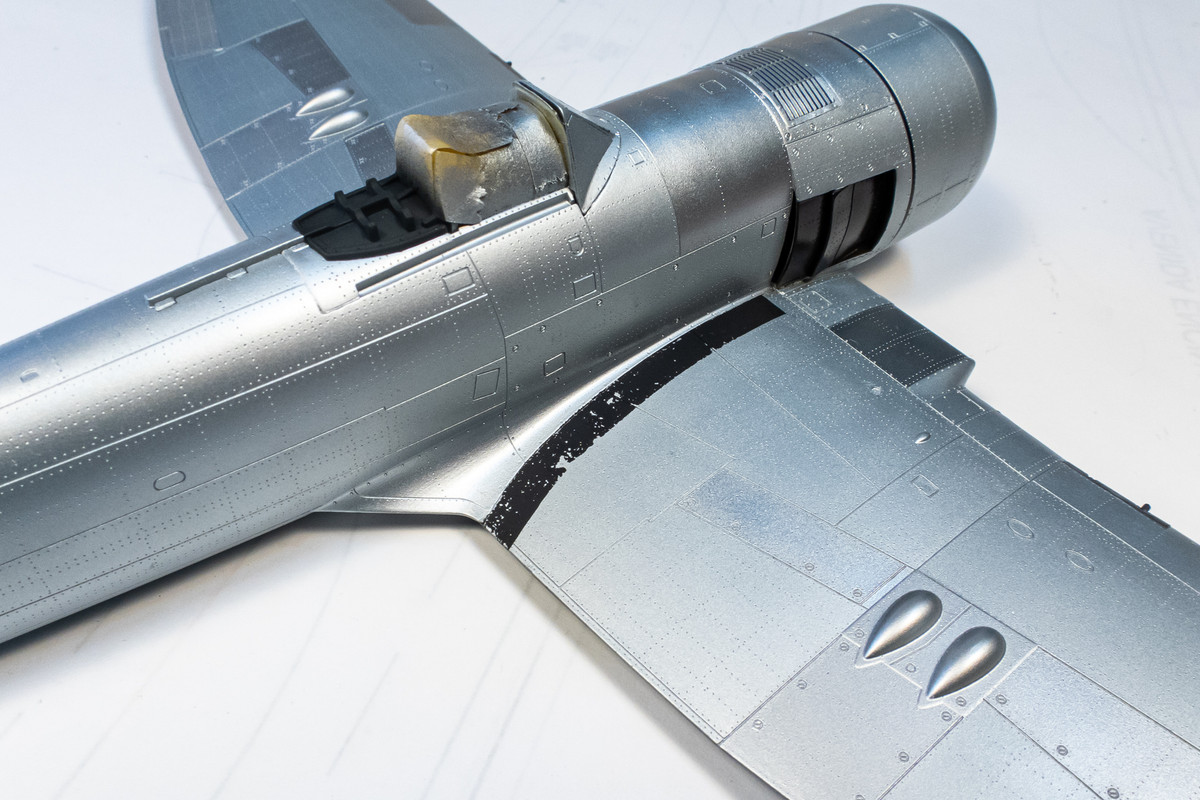
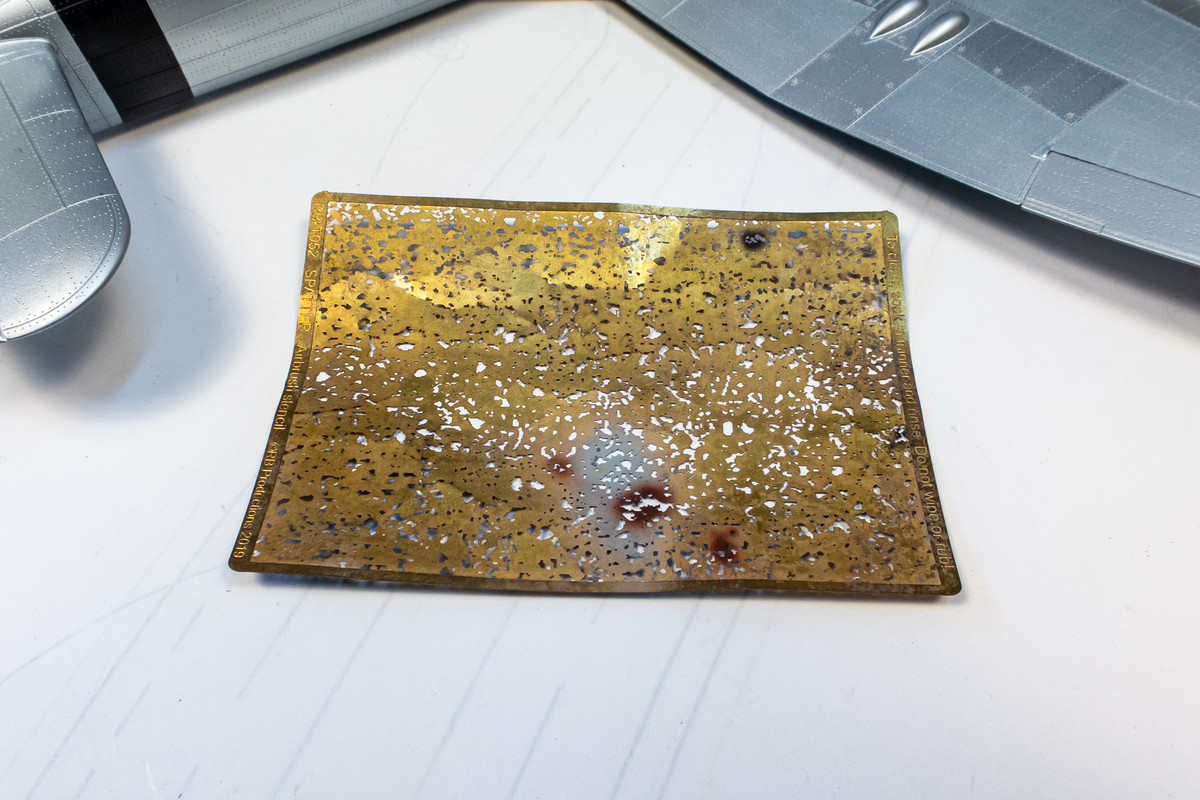
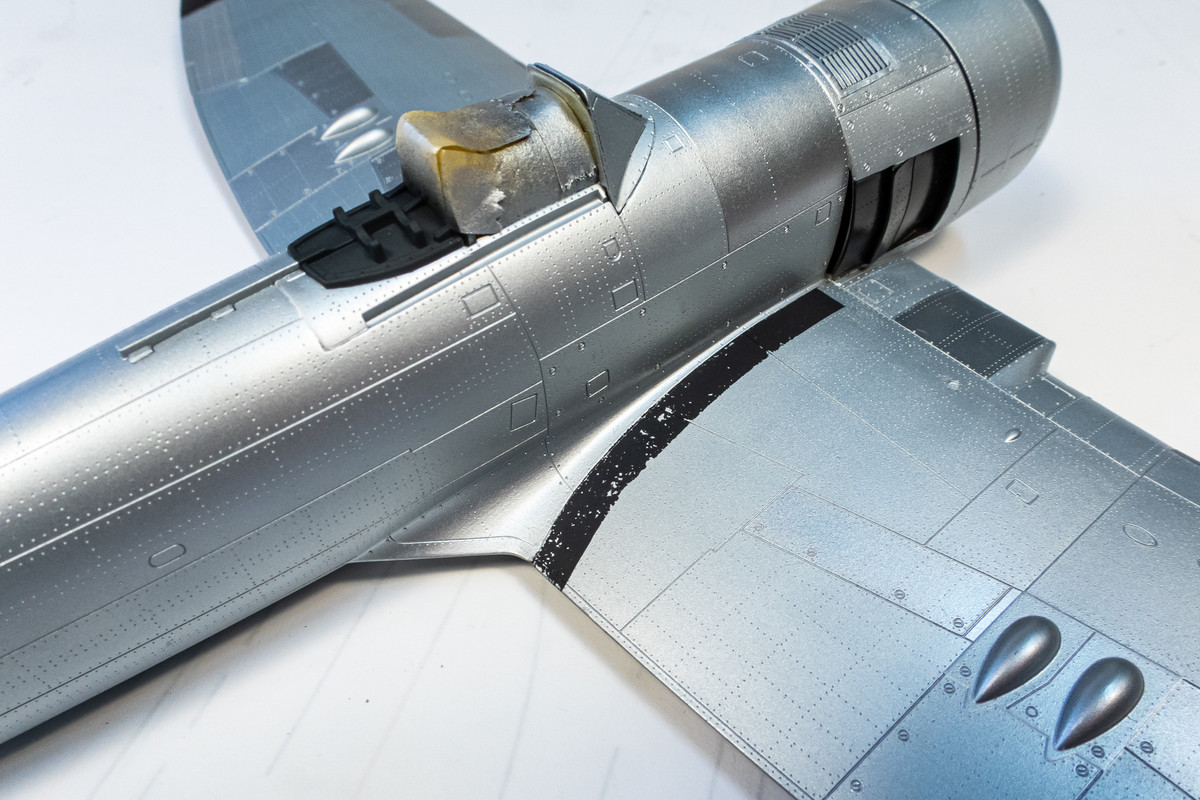
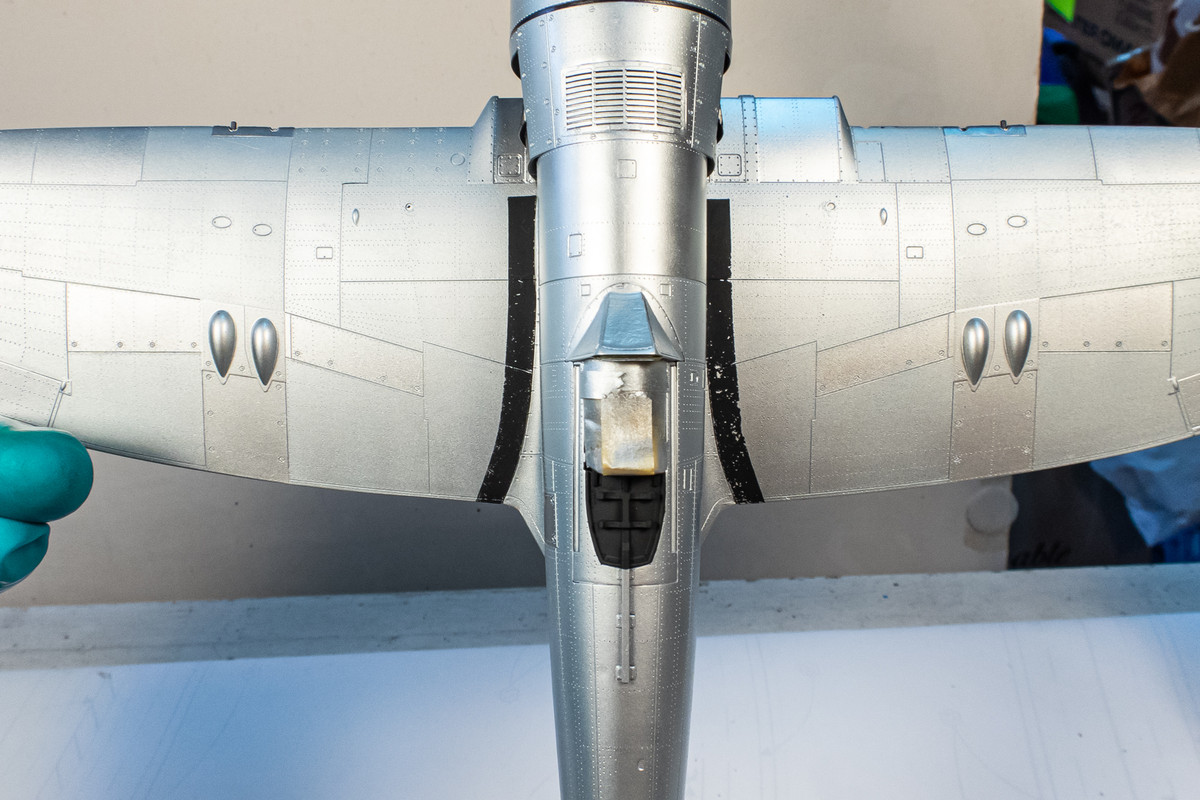
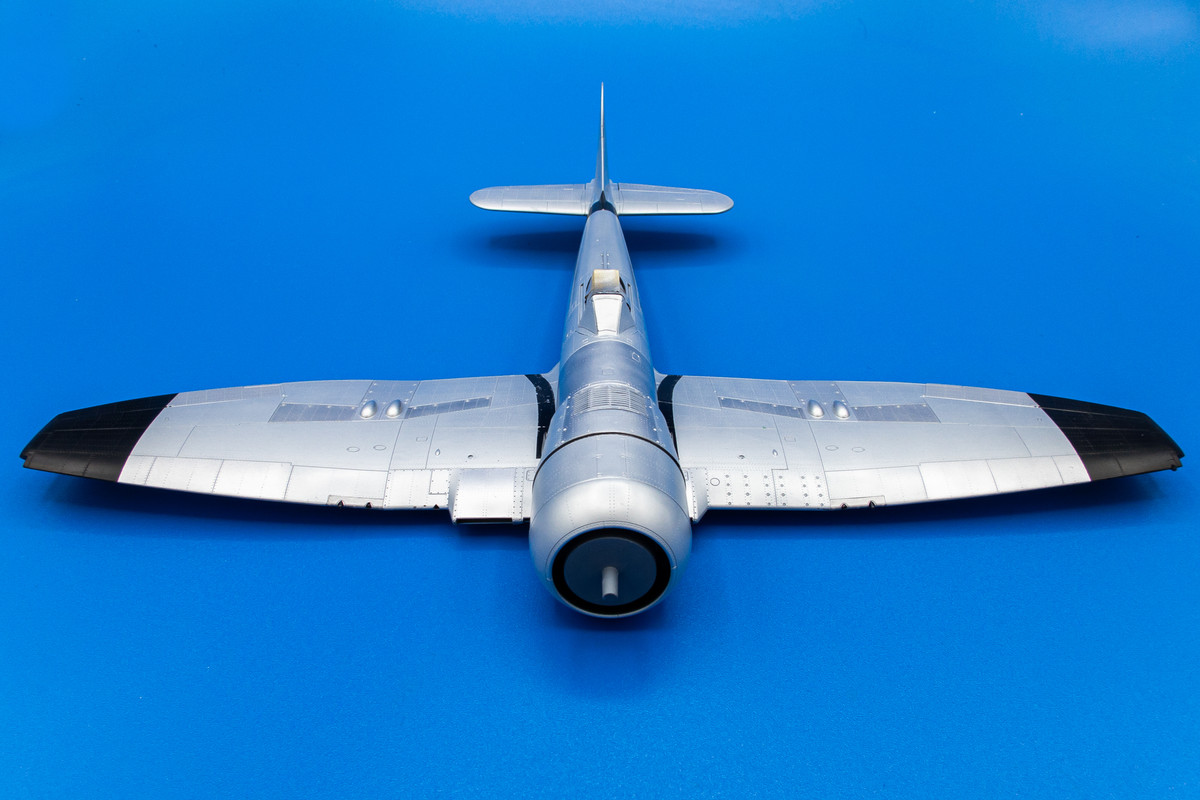
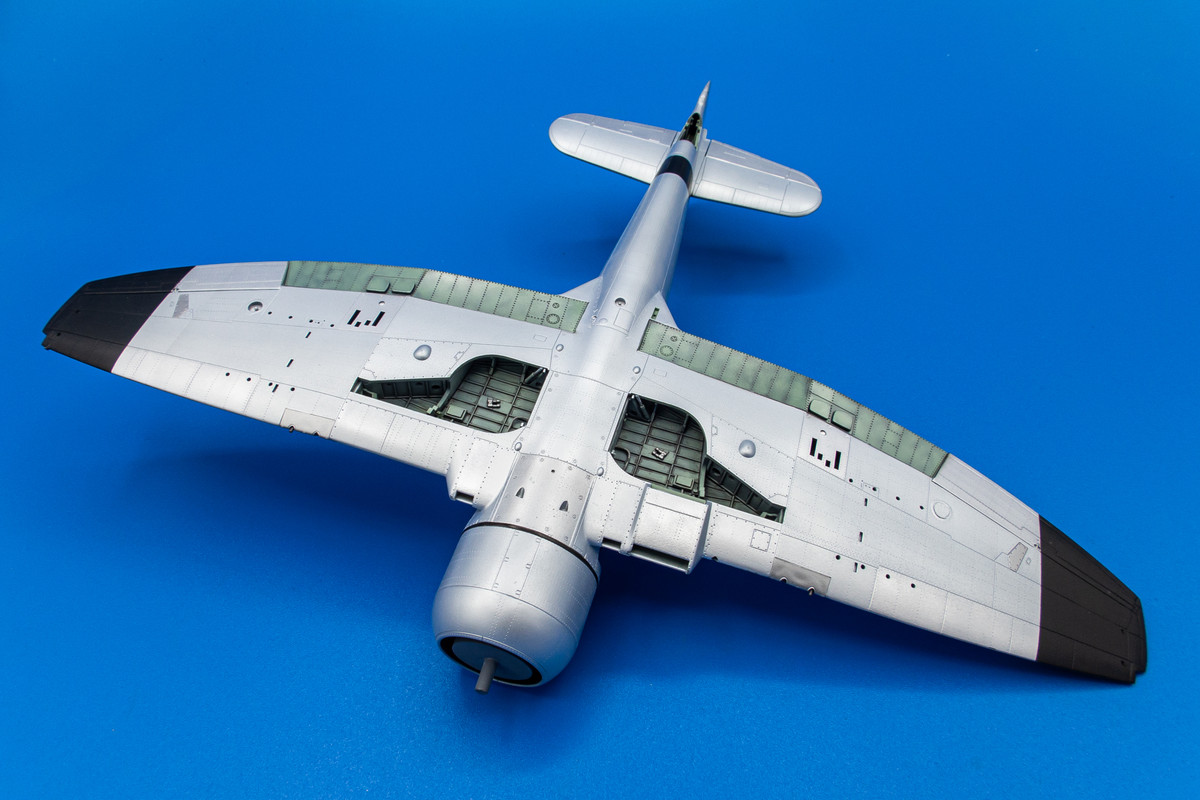
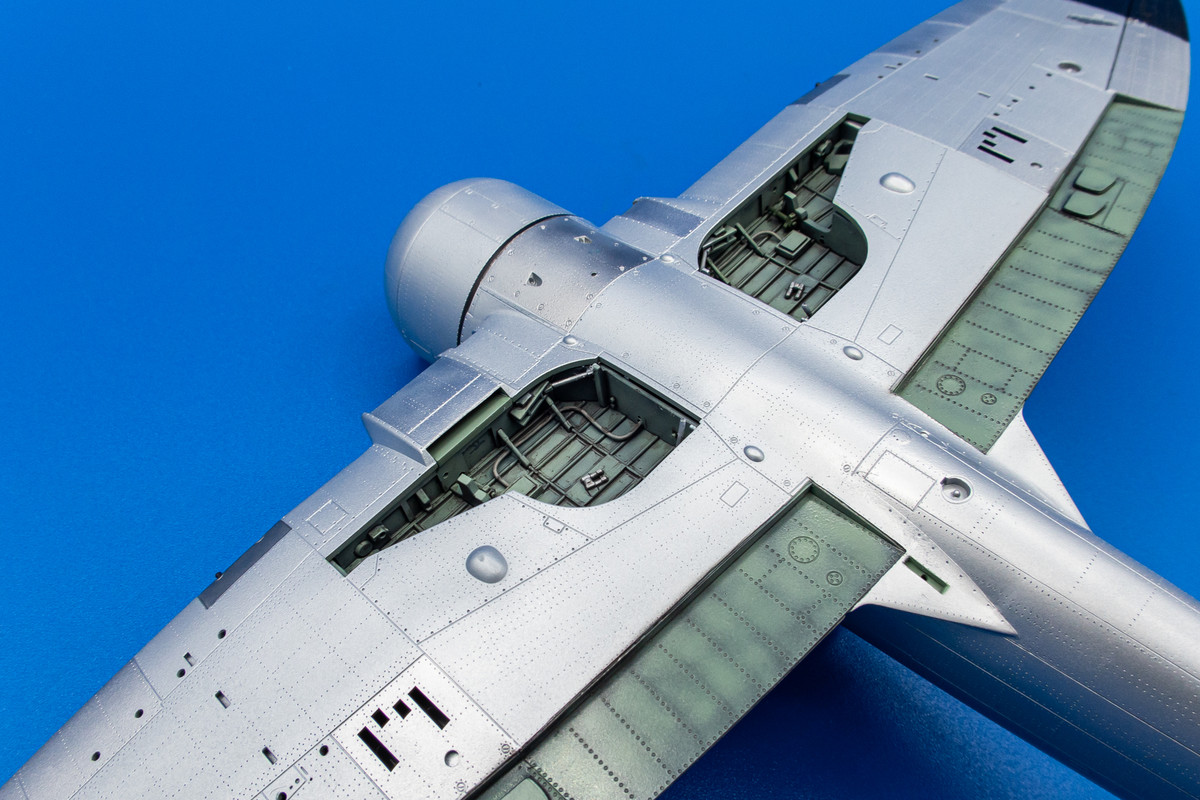
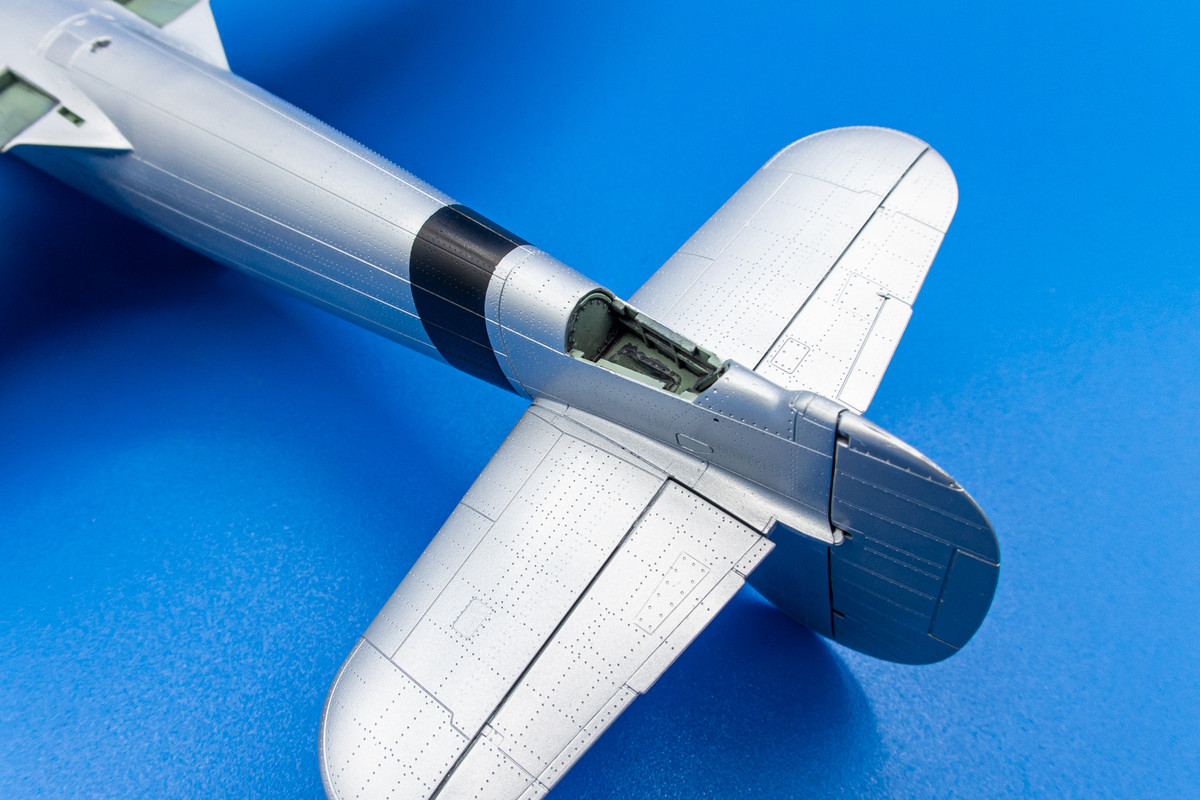
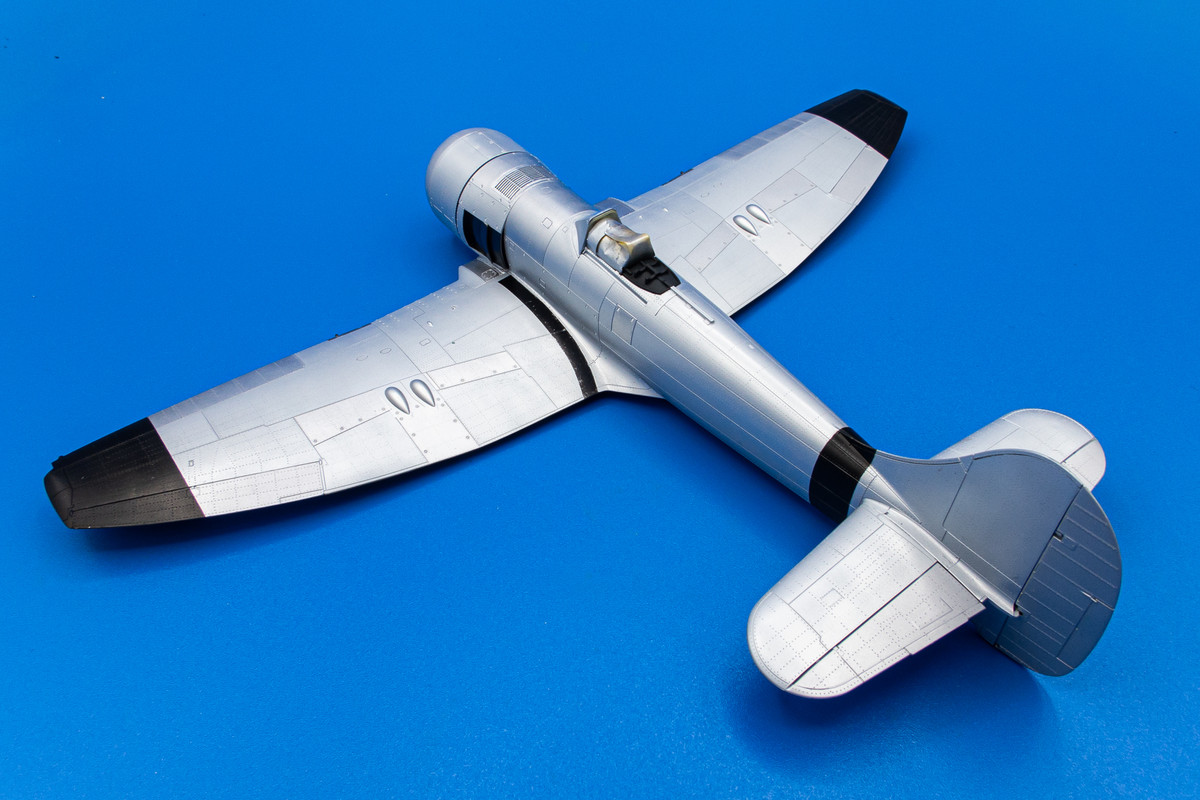
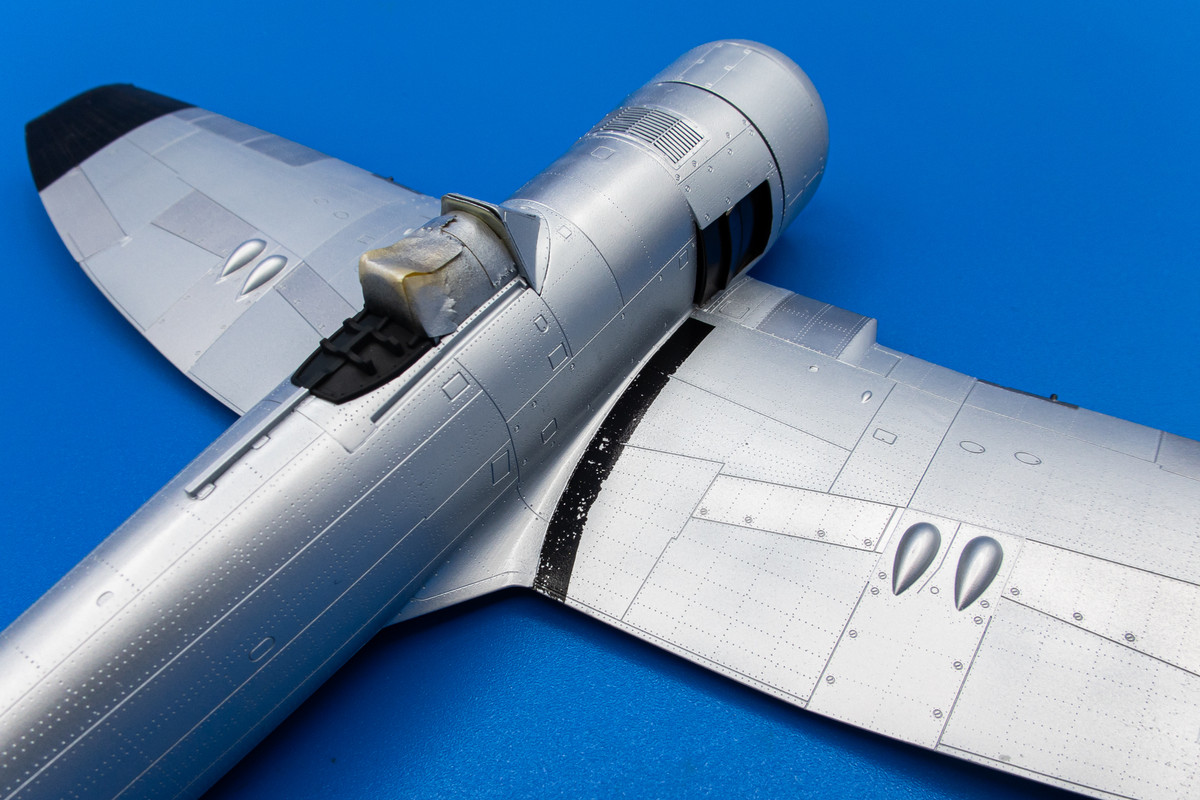
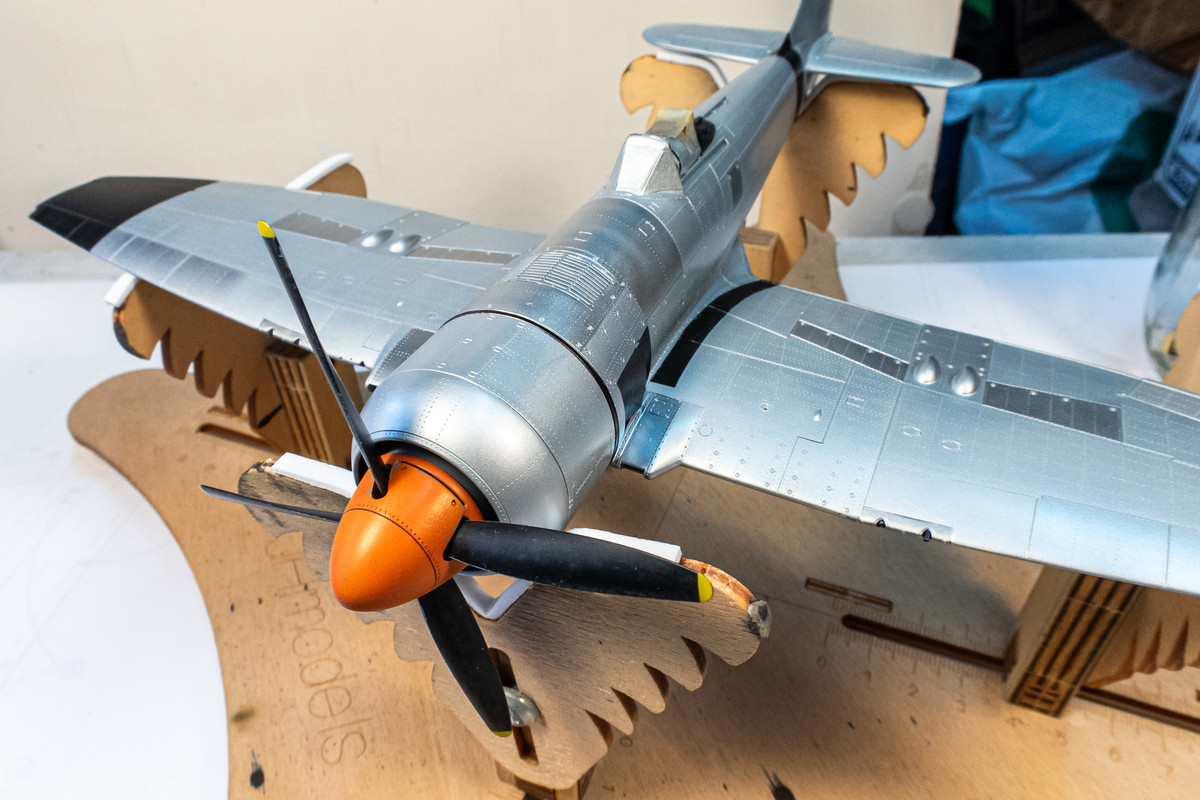
The paintwork looks mighty fine; that will be a great Tempest when you're finished!
Re: Eduard 1/48 Hawker Tempest II
Posted: Fri May 17, 2024 6:59 am
by keavdog
Great looking finish and I really dig the color of that spinner!
Re: Eduard 1/48 Hawker Tempest II
Posted: Fri May 17, 2024 5:55 pm
by jkim
Thanks guys! Appreciate the feedback!
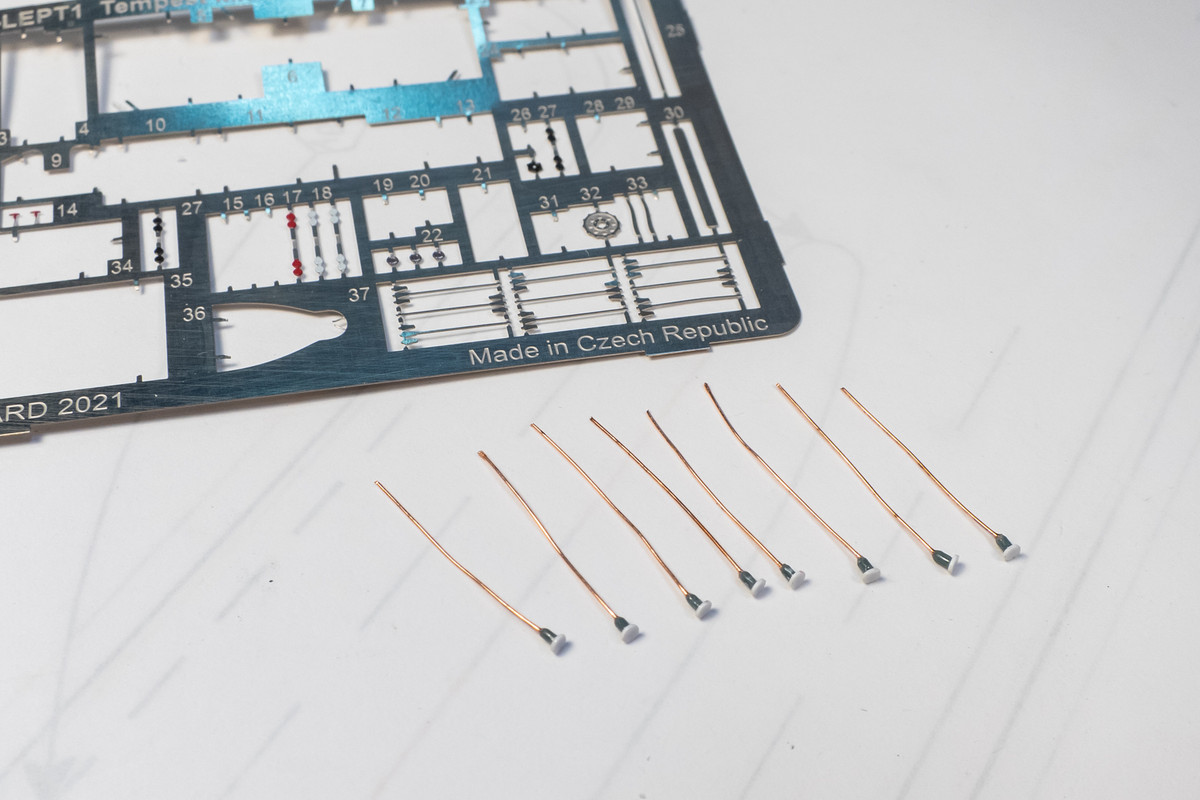
I've read that the Eduard decals have a weird feature. Apparently the clear carrier film can be removed, leaving only the decal pigment on the model. The instructions make no mention of this so it may be unintentional on Eduard's part but I wanted to check this feature out.
Unfortunately, I couldn't get it to work for me. After placing the decal normally and using Micro Sol to conform the decal to the model surface, I used mineral spirits to soften the carrier film. But it was very stubborn and I could not remove it without damaging the decal. I had some partial success on a paint mule but this result led me to abandon this approach. I quickly removed the decal with some tape and moved to the masking stage. Luckily, I had scanned the decal sheets at the beginning of the build just for this outcome.
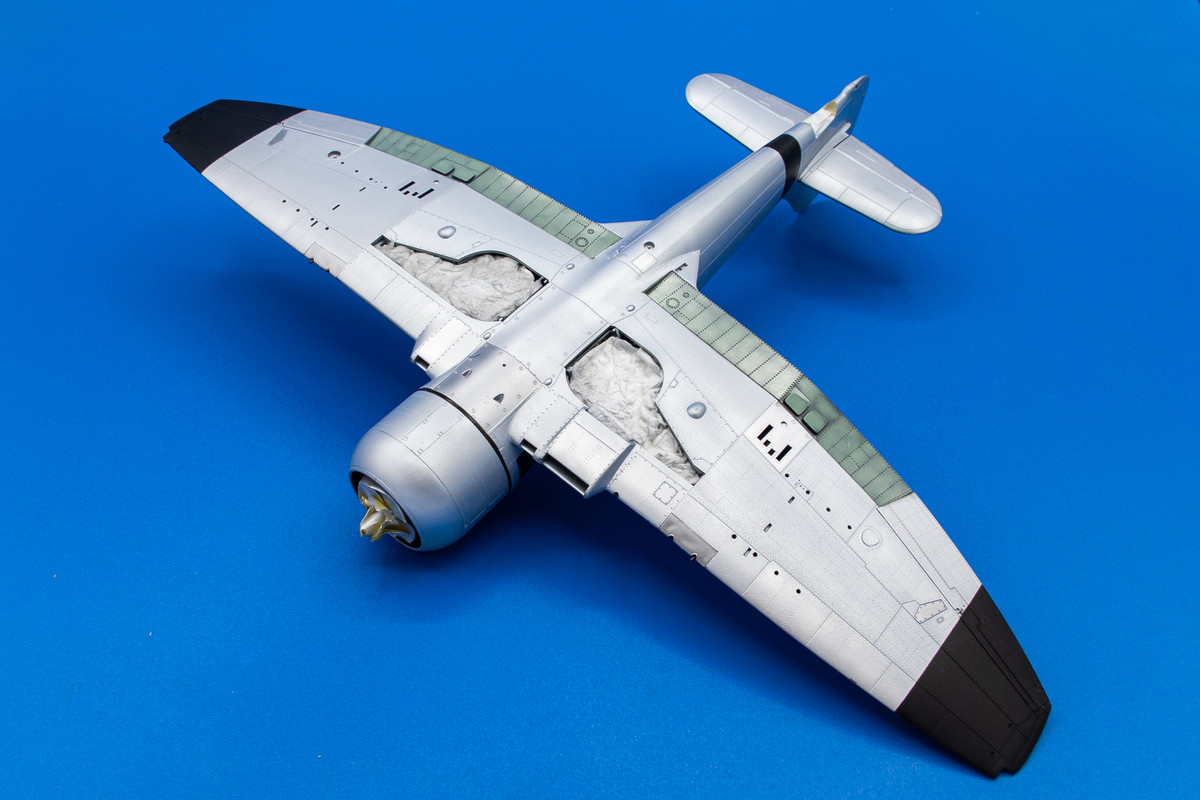
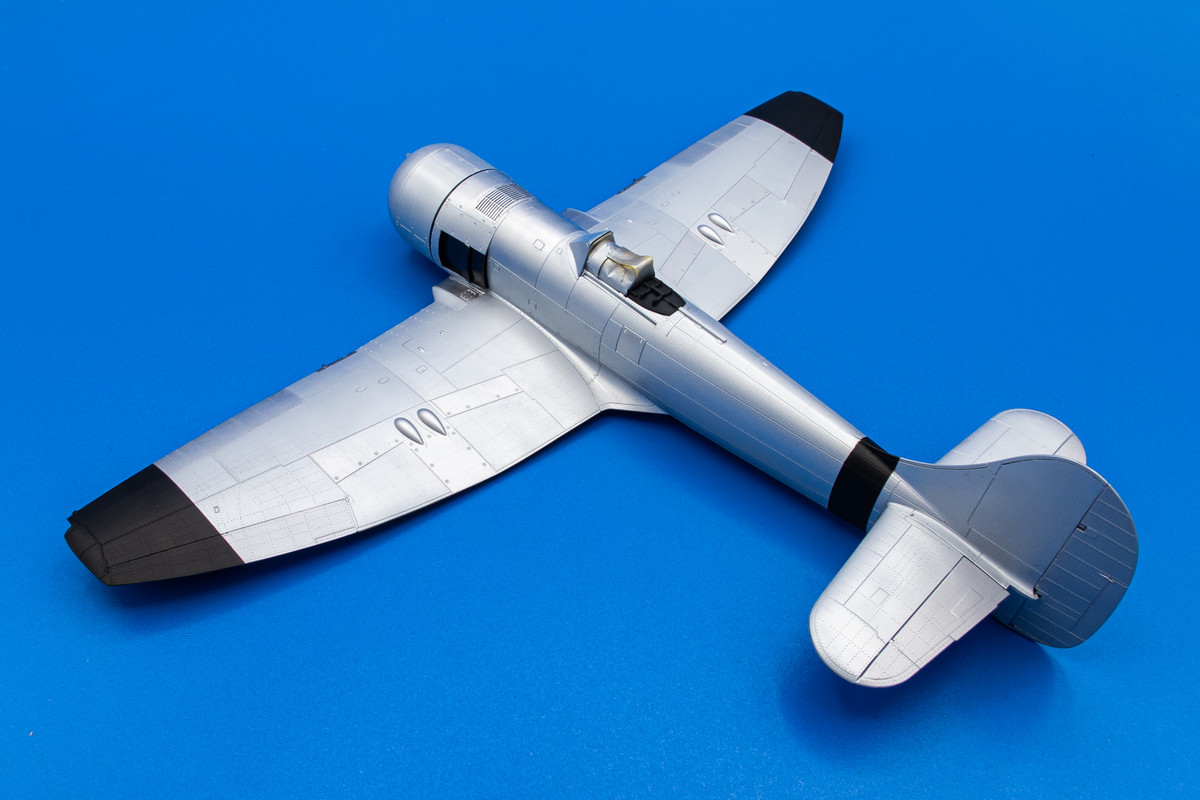
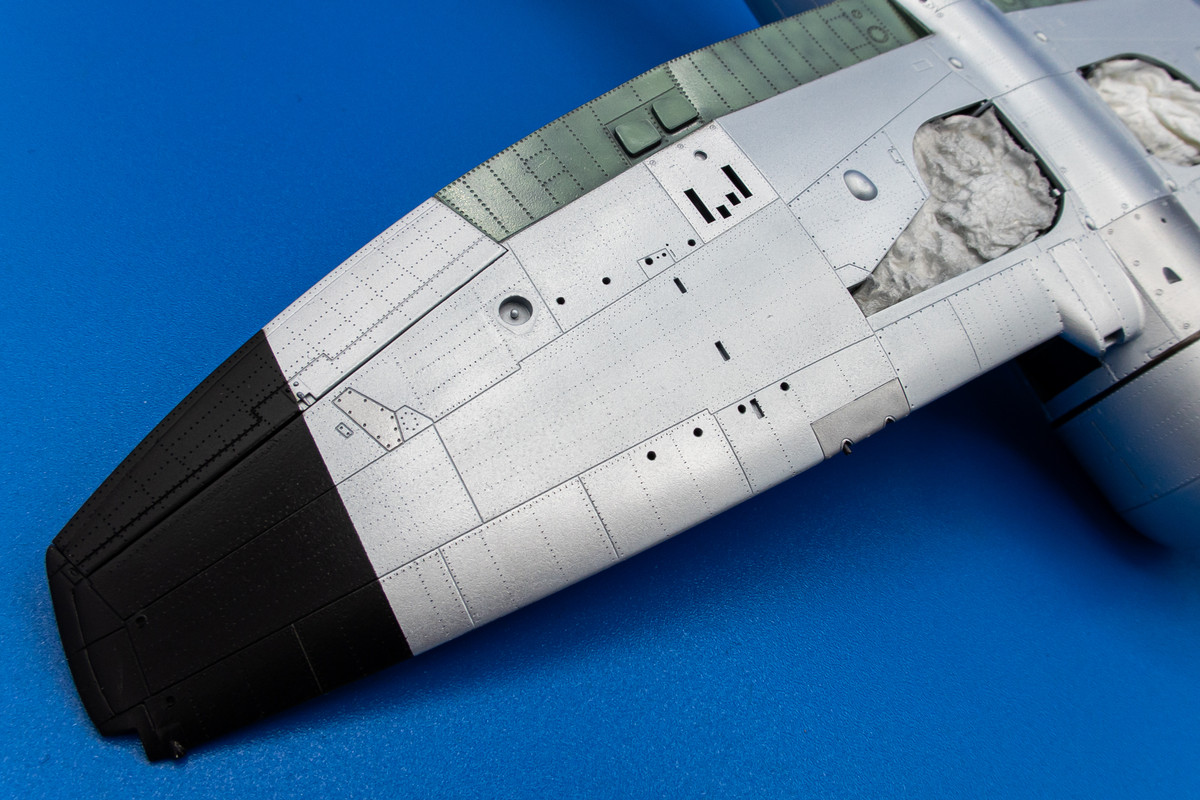
I decided to tackle the large underwing aircraft codes first. The mask is carefully placed in position. The entire A, 9 and 8 components were placed on the model to make sure the isolated portions of the mask were perfectly positioned.
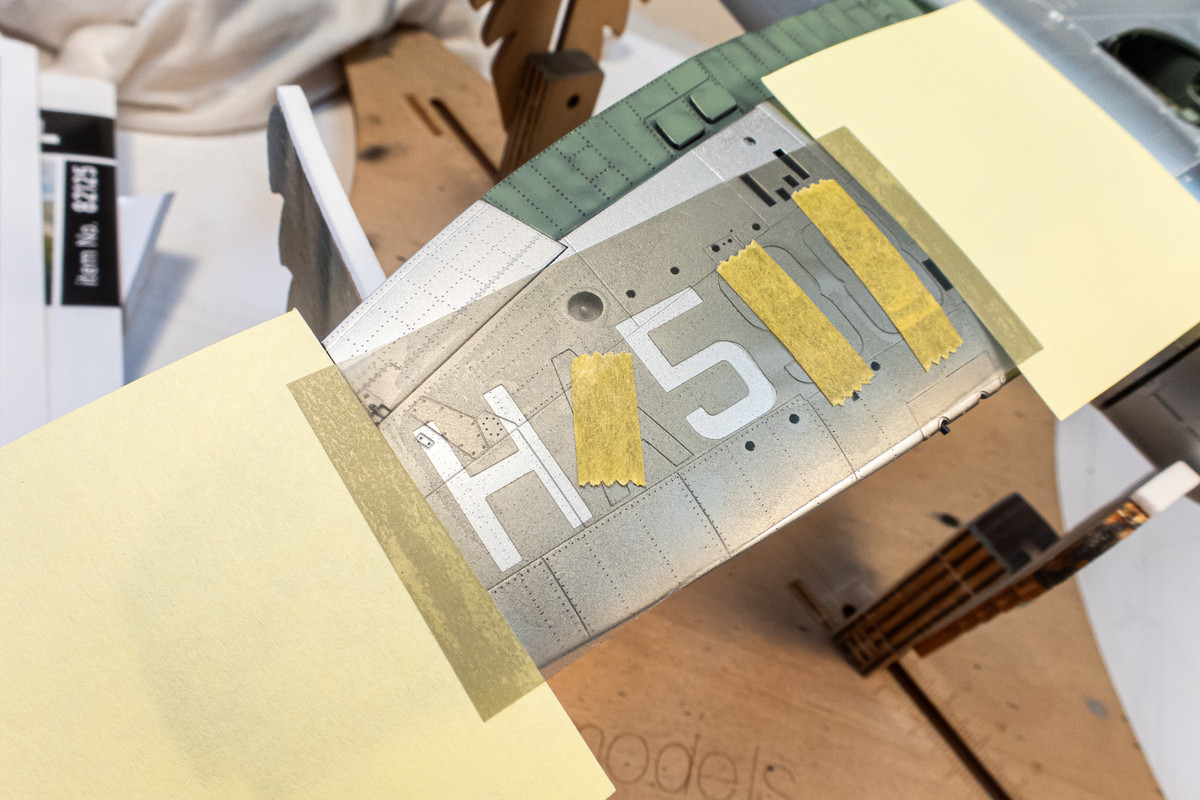
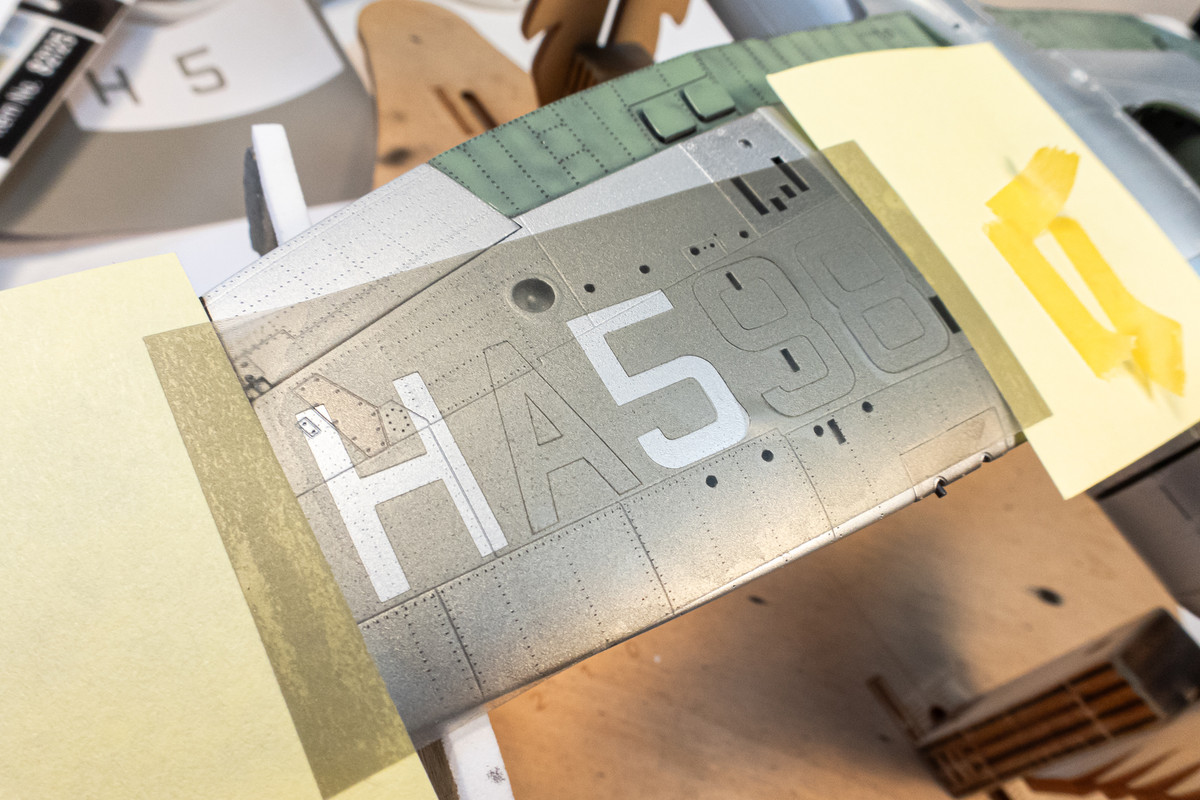
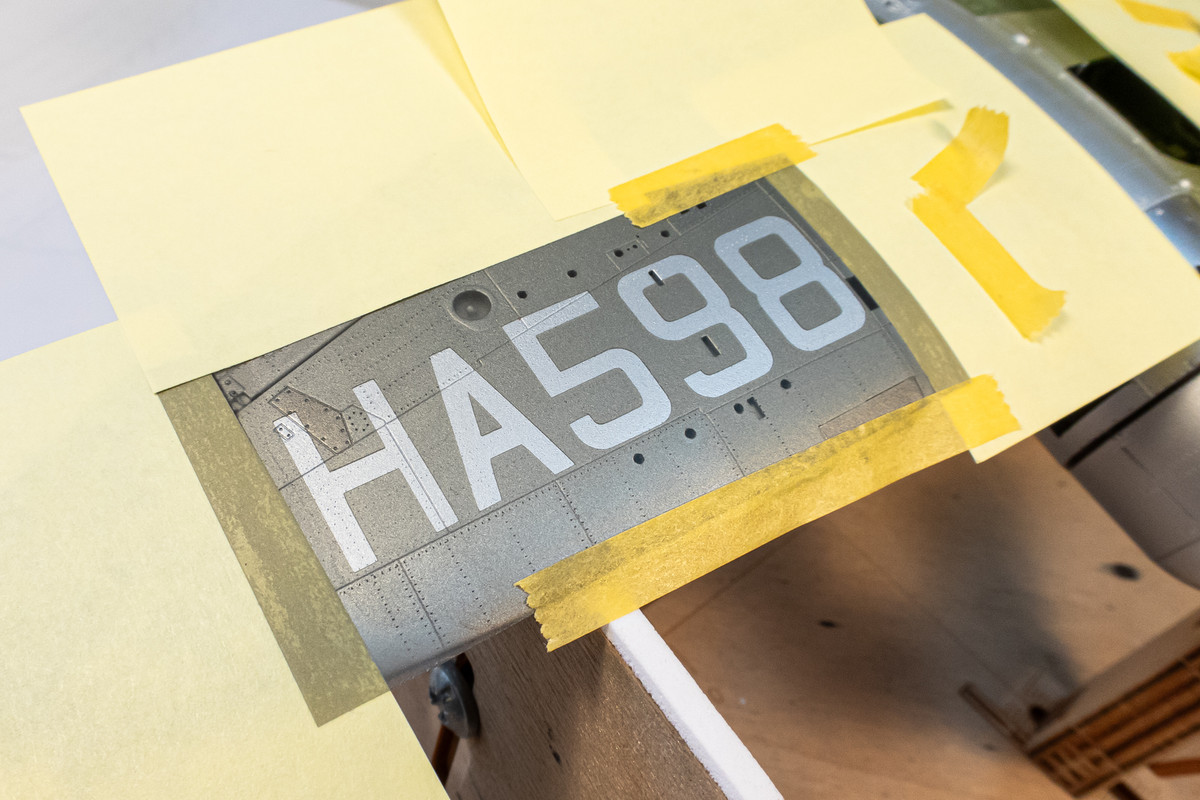
I used the same 50/50 mix of Nato Black and Black for the codes.
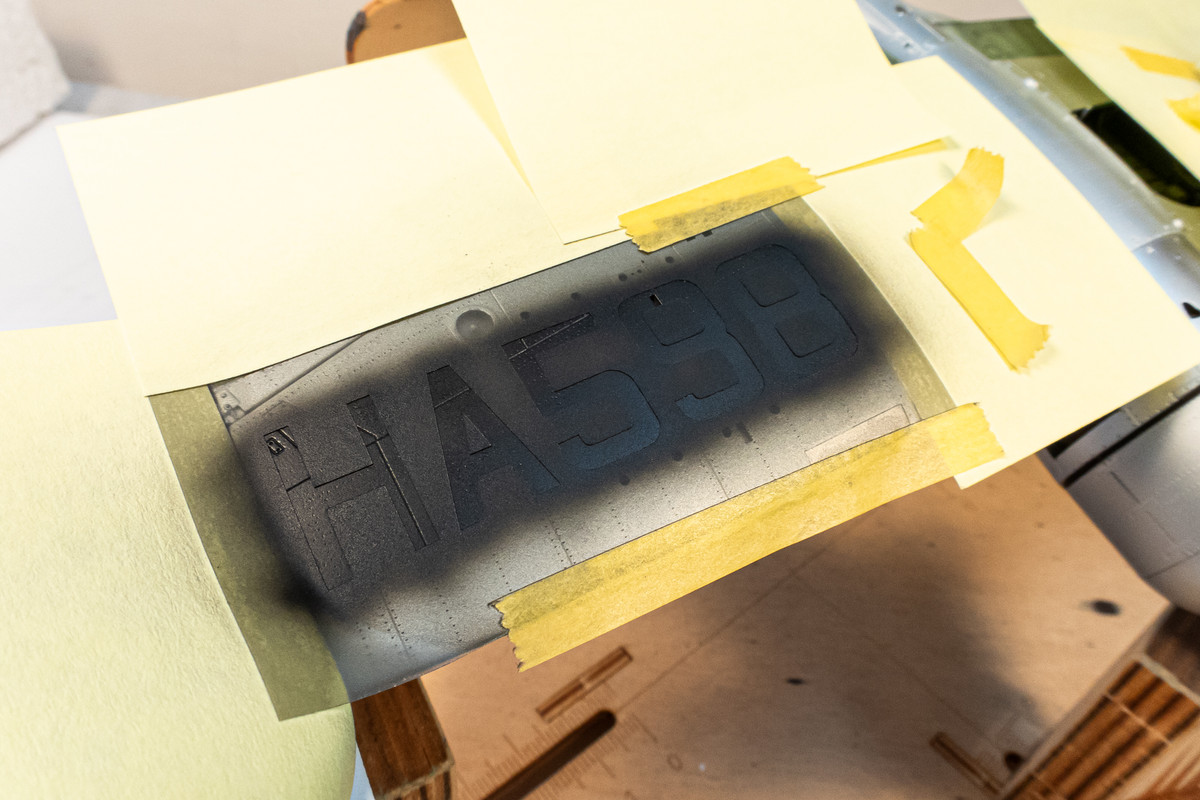
After the main mask is removed, the isolated portions of the A, 9 and 8 remain and need to be VERY CAREFULLY removed.
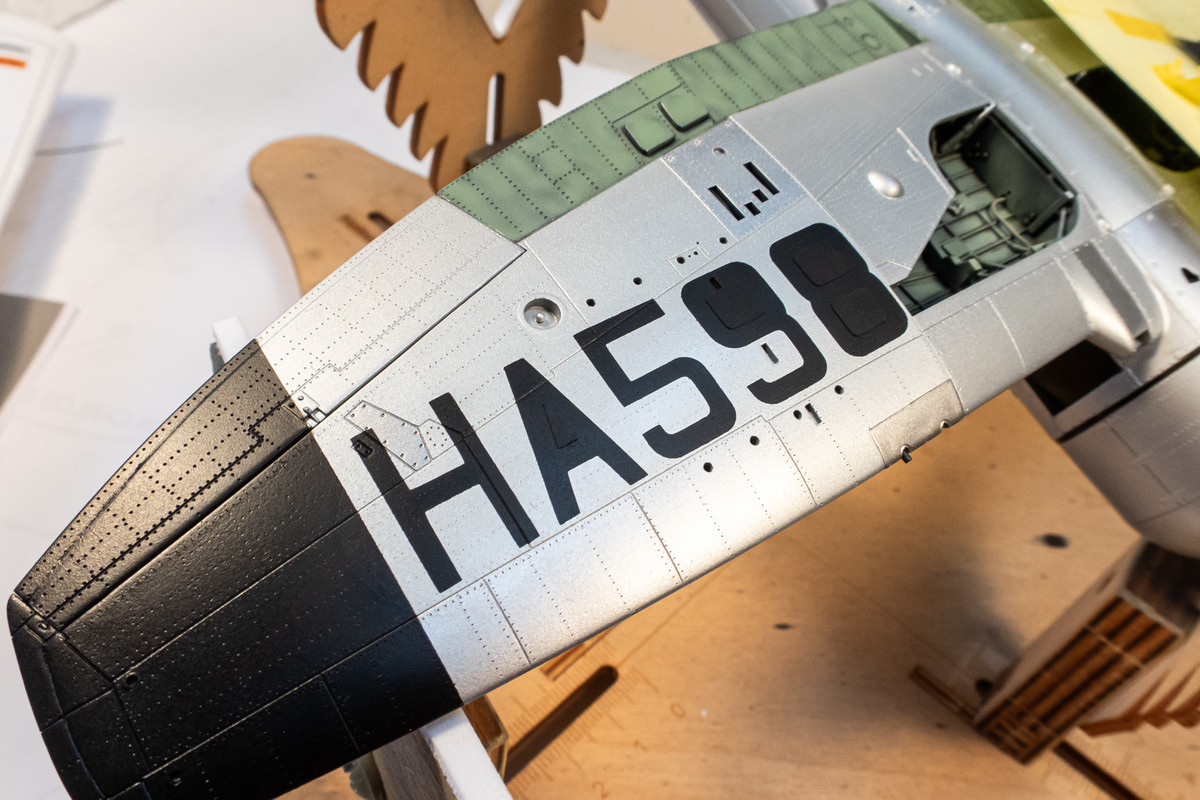
And voila... a very nice masking result!
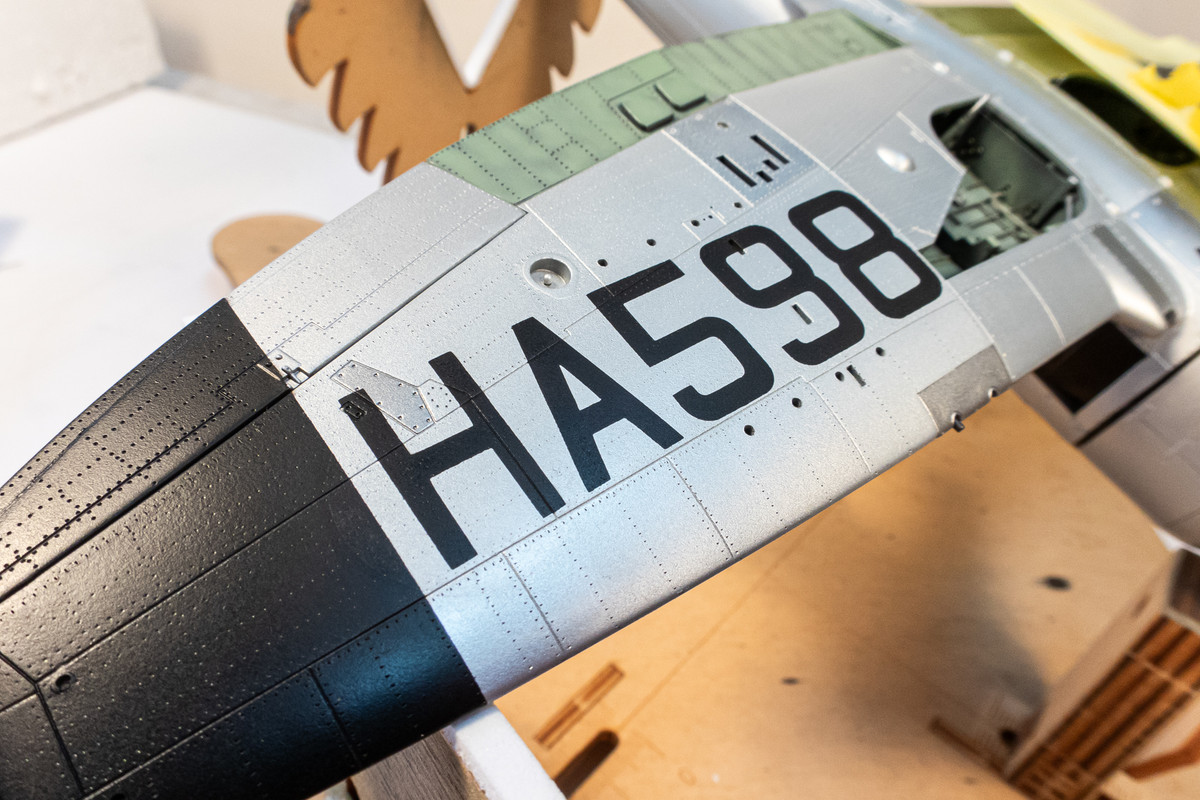
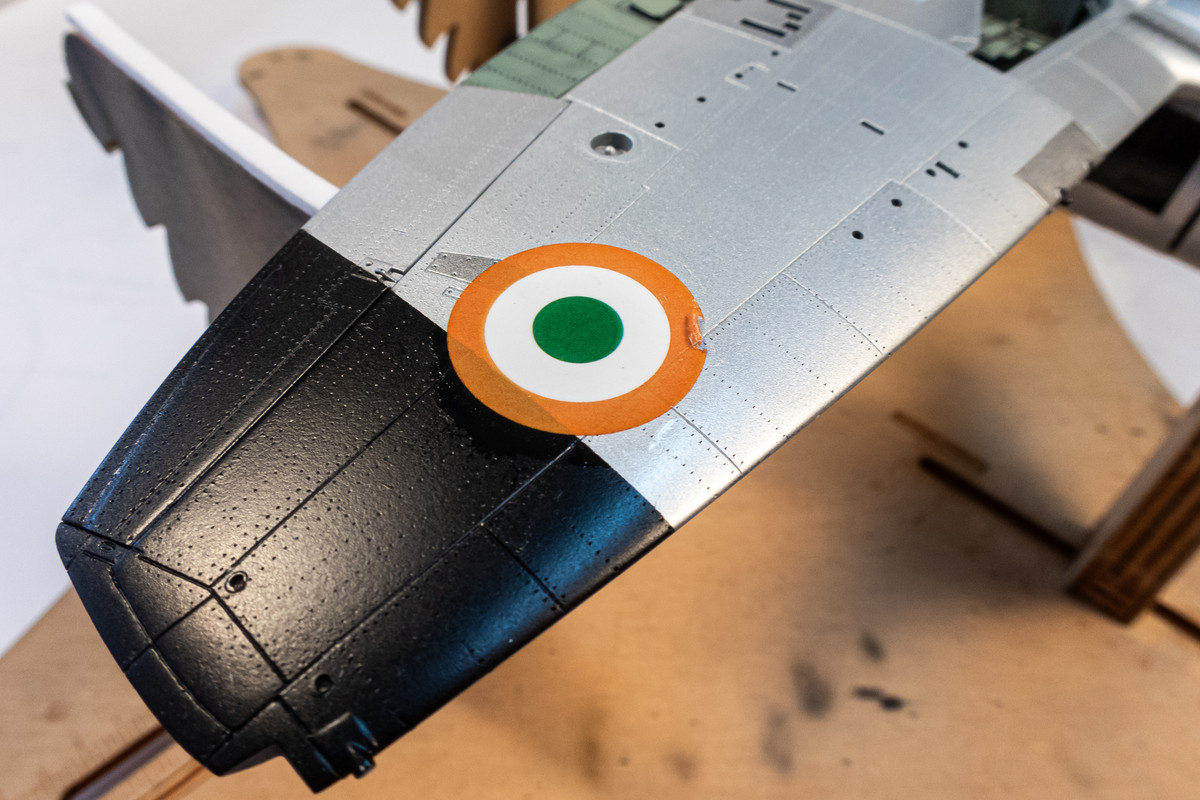
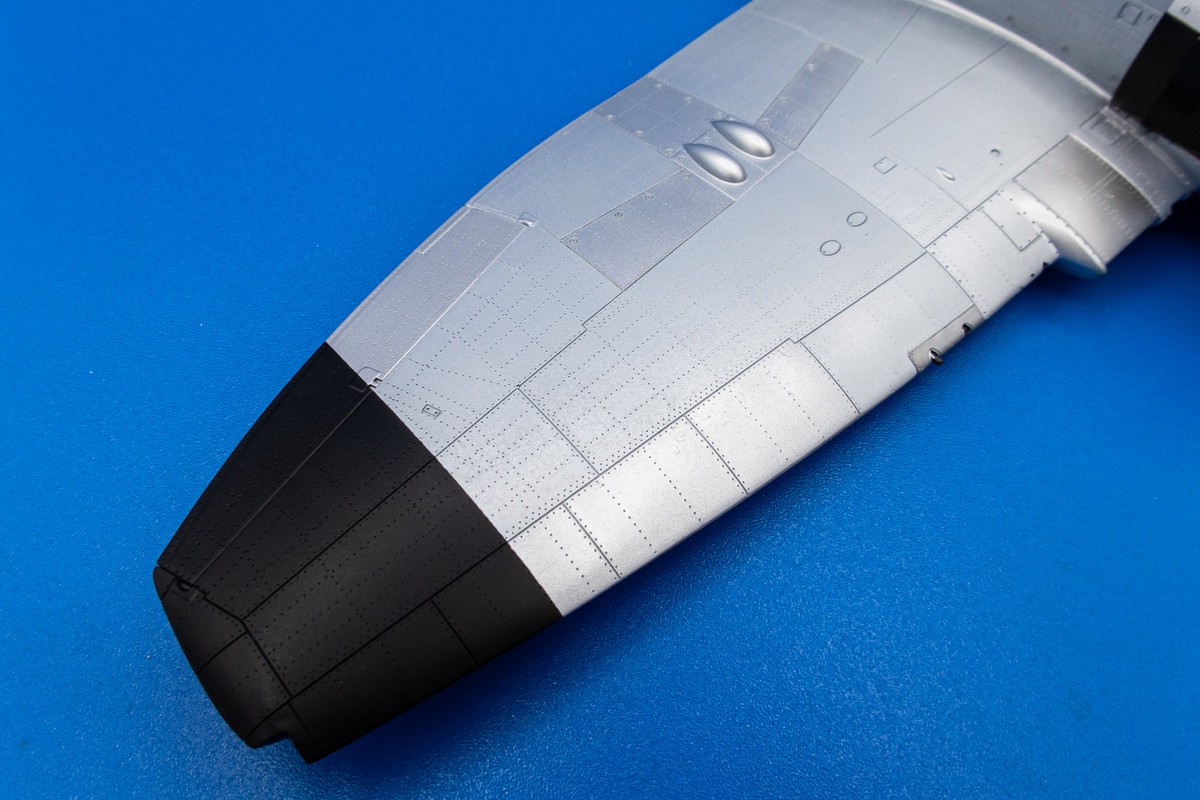
But waitaminnit... there is no room for the roundels betwteen the codes and the black wing tips. What's going on??? To my horror, I've discovered that I cut the code masks too big! Being such an unfamiliar aircraft, I was clueless of this huge mistake until now.
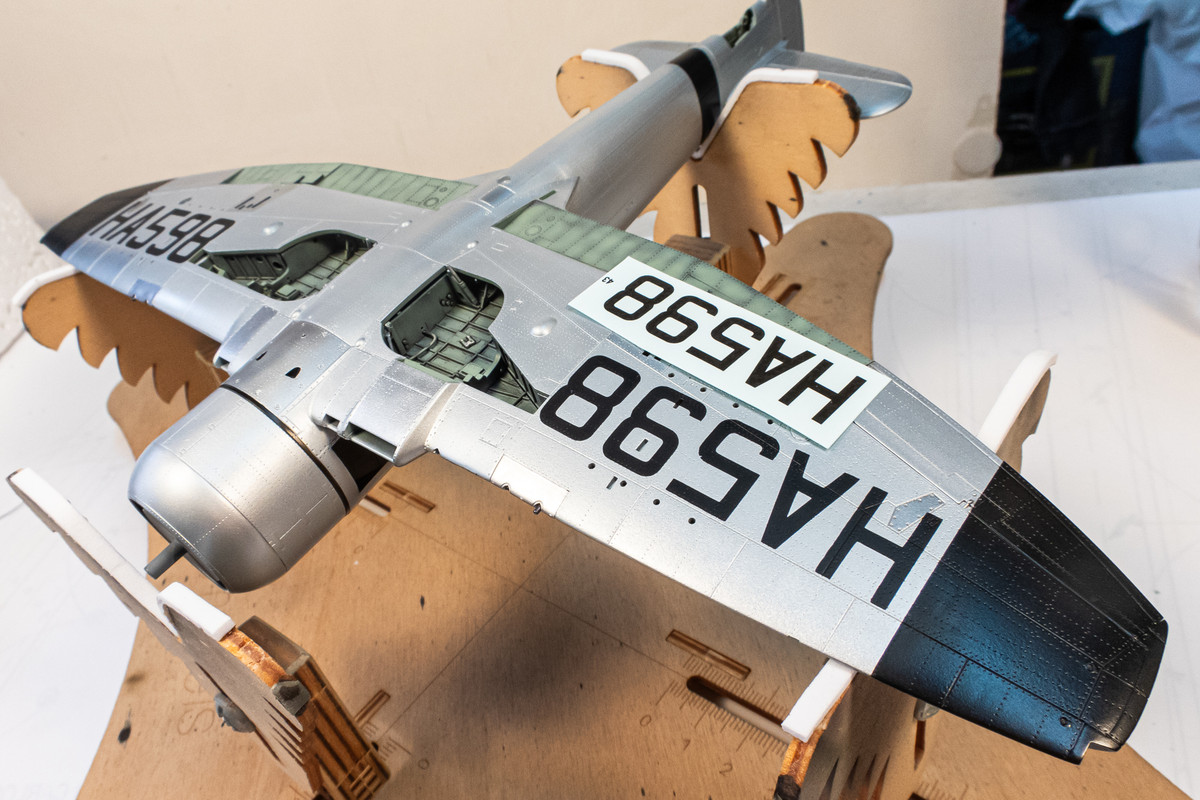
Ah well... I'm going to let this completely dry and attempt a repair. I don't think it will be too difficult actually but it will put a delay on completion! Some intense micro-meshing to come...

 The paintwork looks mighty fine; that will be a great Tempest when you're finished!