Re: Russian fighter project
Posted: Mon Jan 13, 2025 3:43 pm
Gary,
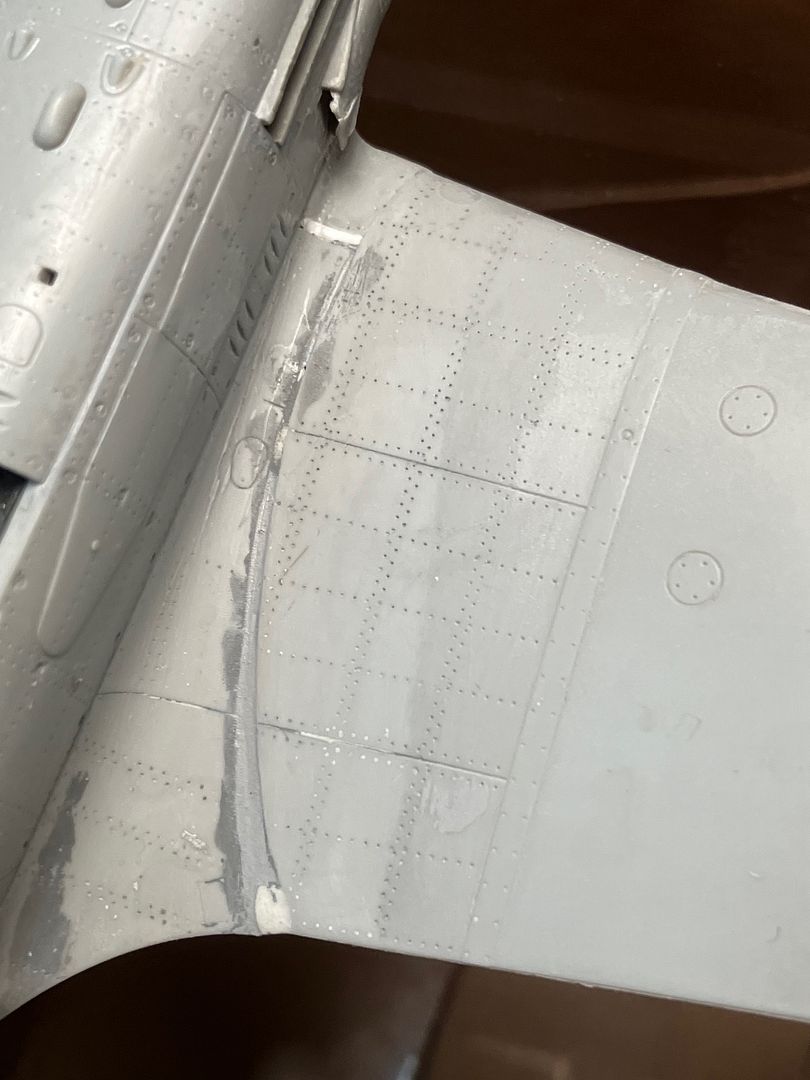
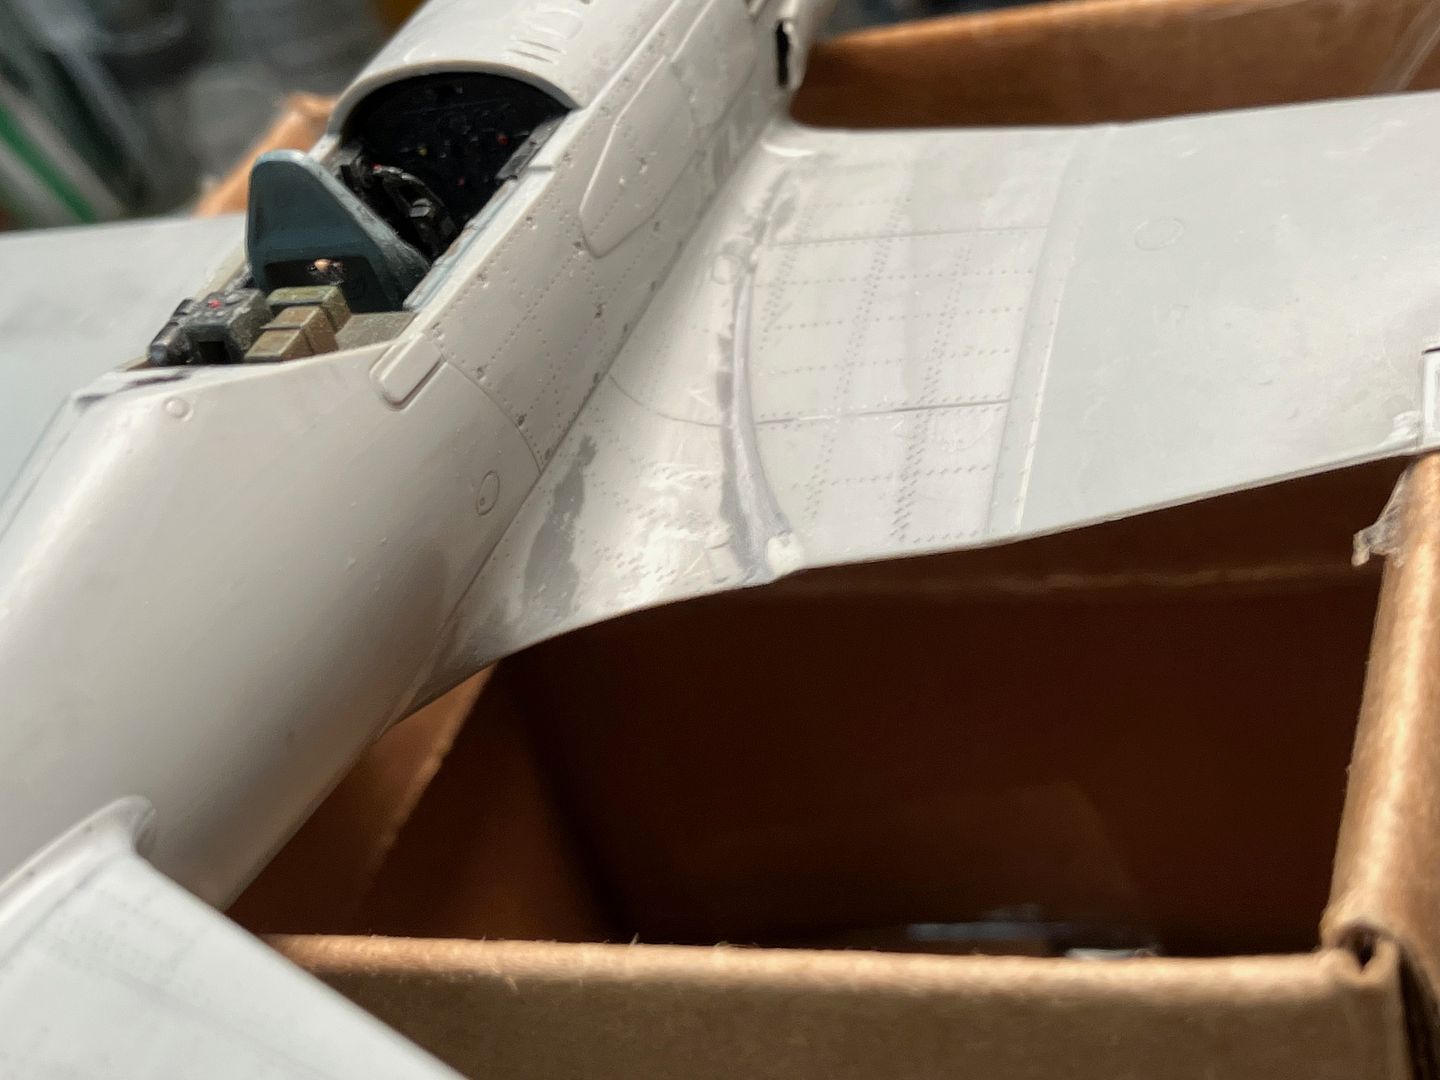
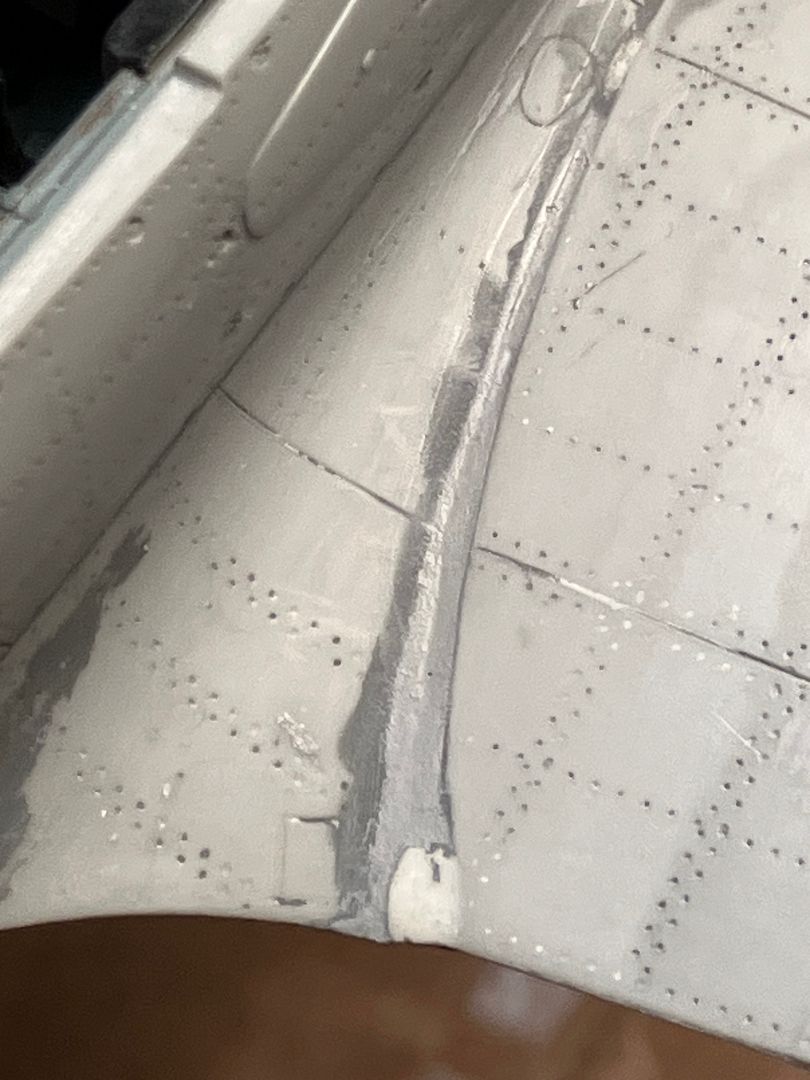
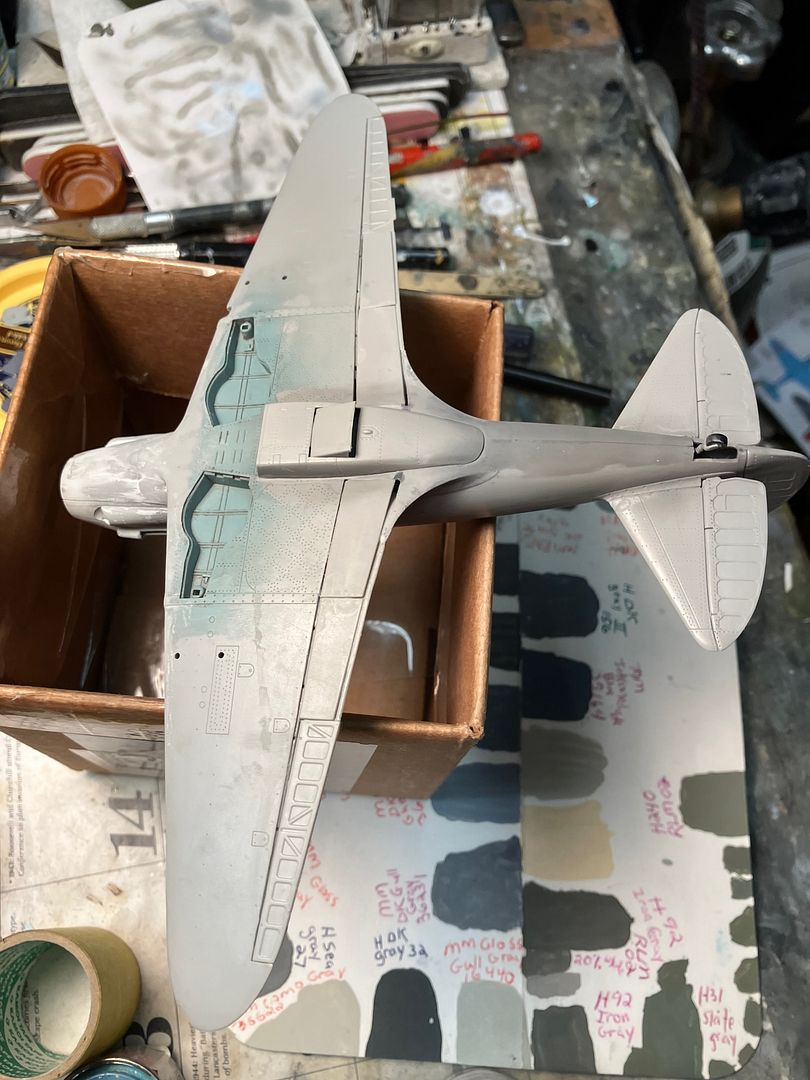
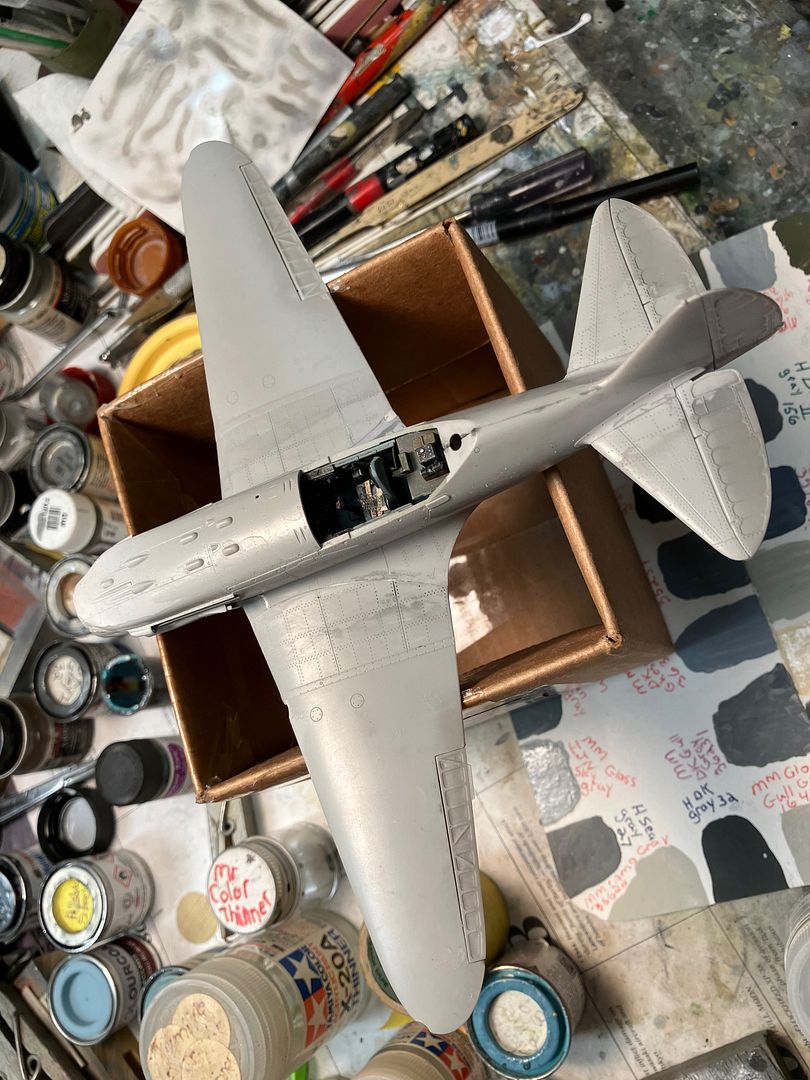
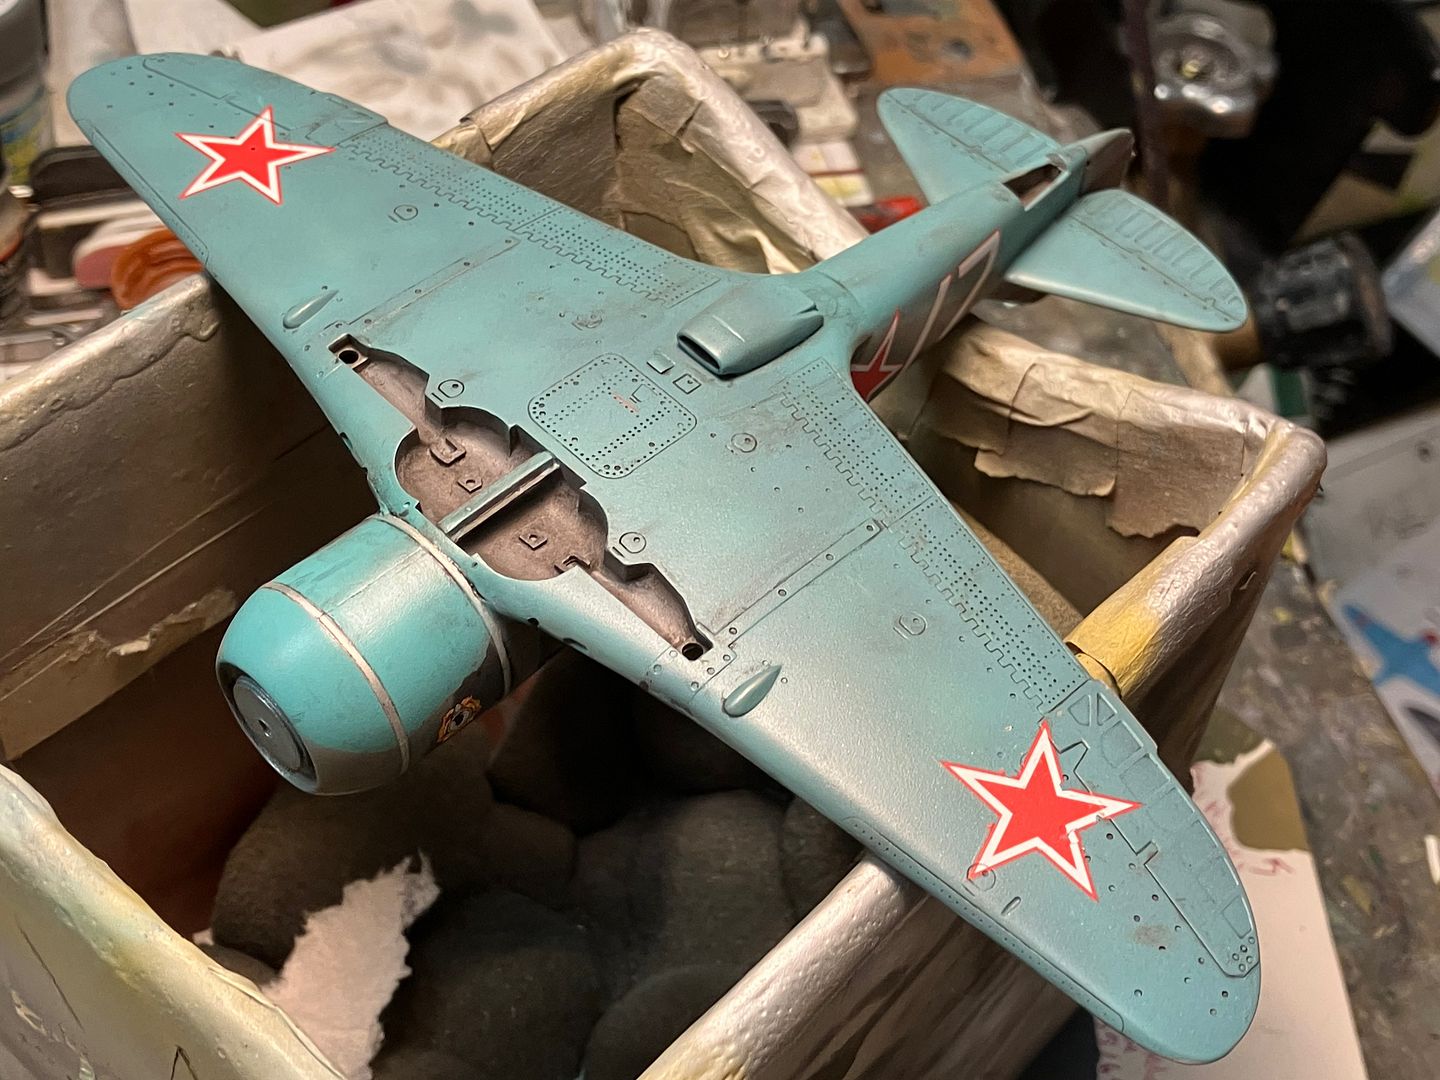
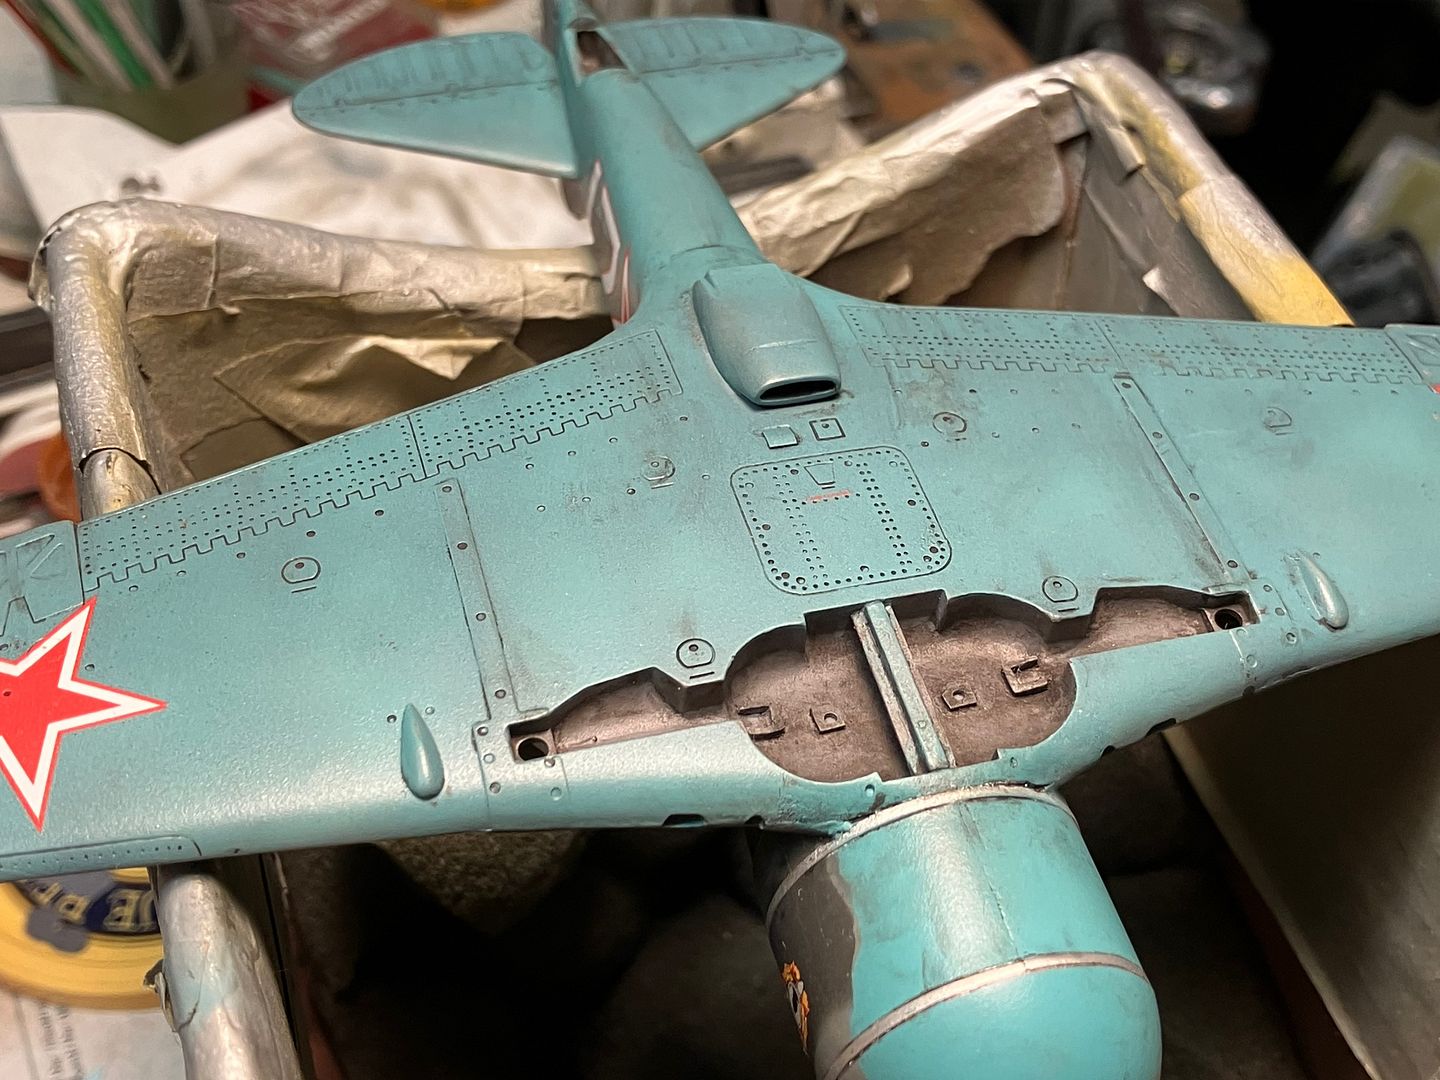
In this case you can wet down the wing using a small cloth, which is what I will do when I address the Sopwith Camel’s fuselage seams.
Timing Notes
7 minutes to workable mixture
First 10 to 12 minutes
Apply putty sparingly to surface - for example work level rather than overfill and reduce
Add clean water to wet the mixture
Apply additional fill if necessary
Add clean water
Soak a strip of 800 grit sandpaper
Draw the sandpaper along the root to the edges in both directions
Wet again
Again pull the putty which should be slimy and not chalky
14 minutes
Wet the wing, wet the paper - soak the paper well
Flip the paper to smooth side
Draw the paper on both sides of the fill
15 minutes
This is when I clean my workstation
Let set
Then take clean water and moisten surface
Use only smooth sandpaper to keep a hard surface not cotton buds which are too rough and create a texture
Use a sharp toothpick to restore panel lines if desired
20 minutes
This is when I stop
In this case you can wet down the wing using a small cloth, which is what I will do when I address the Sopwith Camel’s fuselage seams.
Timing Notes
7 minutes to workable mixture
First 10 to 12 minutes
Apply putty sparingly to surface - for example work level rather than overfill and reduce
Add clean water to wet the mixture
Apply additional fill if necessary
Add clean water
Soak a strip of 800 grit sandpaper
Draw the sandpaper along the root to the edges in both directions
Wet again
Again pull the putty which should be slimy and not chalky
14 minutes
Wet the wing, wet the paper - soak the paper well
Flip the paper to smooth side
Draw the paper on both sides of the fill
15 minutes
This is when I clean my workstation
Let set
Then take clean water and moisten surface
Use only smooth sandpaper to keep a hard surface not cotton buds which are too rough and create a texture
Use a sharp toothpick to restore panel lines if desired
20 minutes
This is when I stop

 I need some practice, me thinks. Can the Apoxie be thinned with water before it's applied to the model?
 :
: