Page 6 of 11
Re: DML Easy 8
Posted: Tue Aug 12, 2025 8:22 am
by Brandons_Iron
Color won't be far off now. Looks great!
Re: DML Easy 8
Posted: Tue Aug 12, 2025 8:59 am
by Stikpusher
Well, you two do know what you like or don’t like when you see it

And thank you

Re: DML Easy 8
Posted: Tue Aug 12, 2025 9:02 am
by Medicman71
Nice!!
Re: DML Easy 8
Posted: Tue Aug 12, 2025 12:39 pm
by Stikpusher
Thanks Mike!
I made some more progress this morning...
I glued the tow cable into place on the upper left side of the hull, as was standard stowage position. I also added some grab/cargo rails on the turret side using music wire. That stuff sucks compares to brass wire, but Hobby Lobby doesn't care the .020 or .030 brass wire anymore....
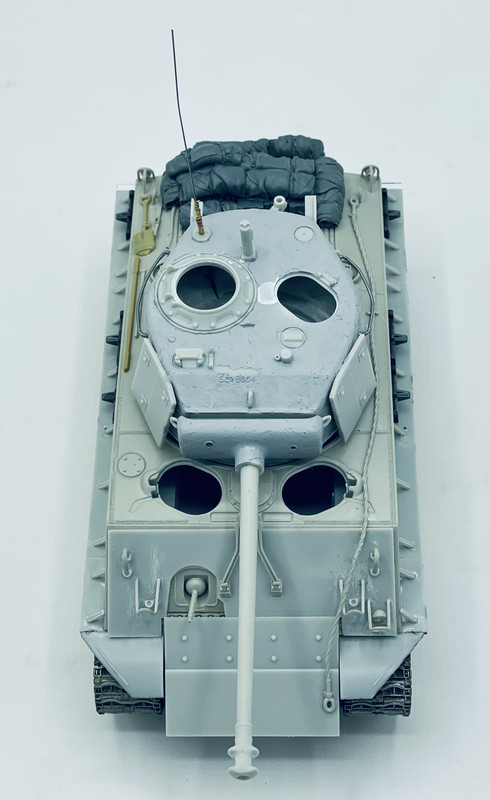
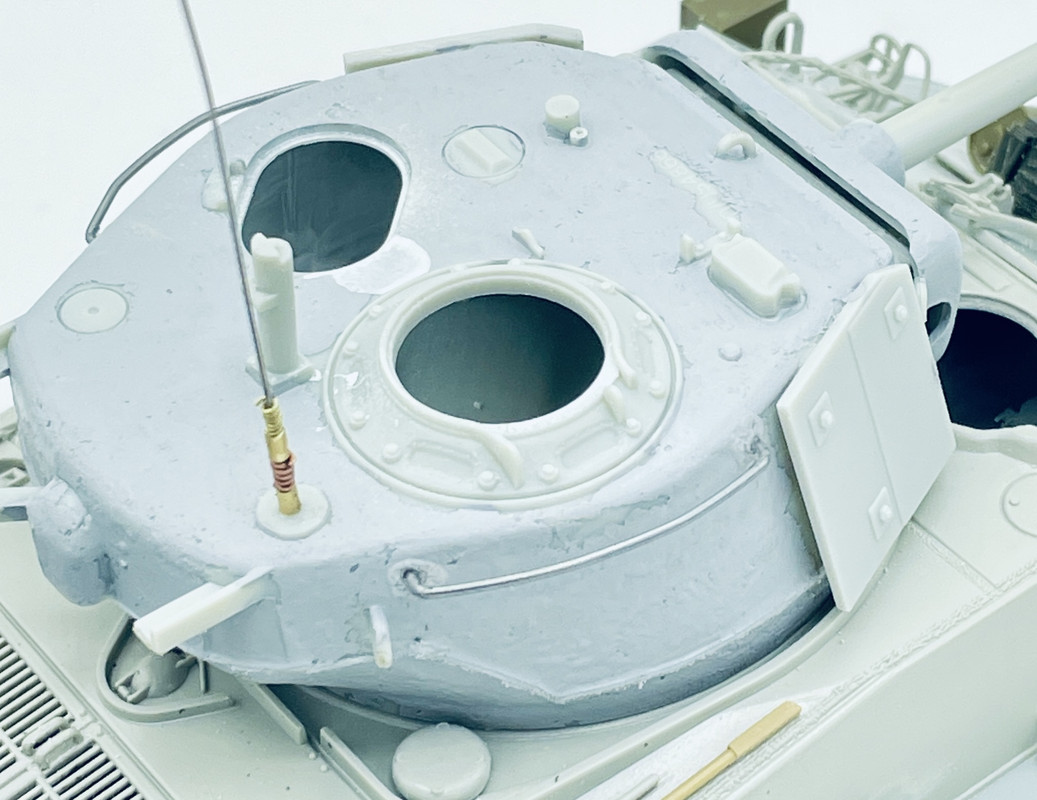
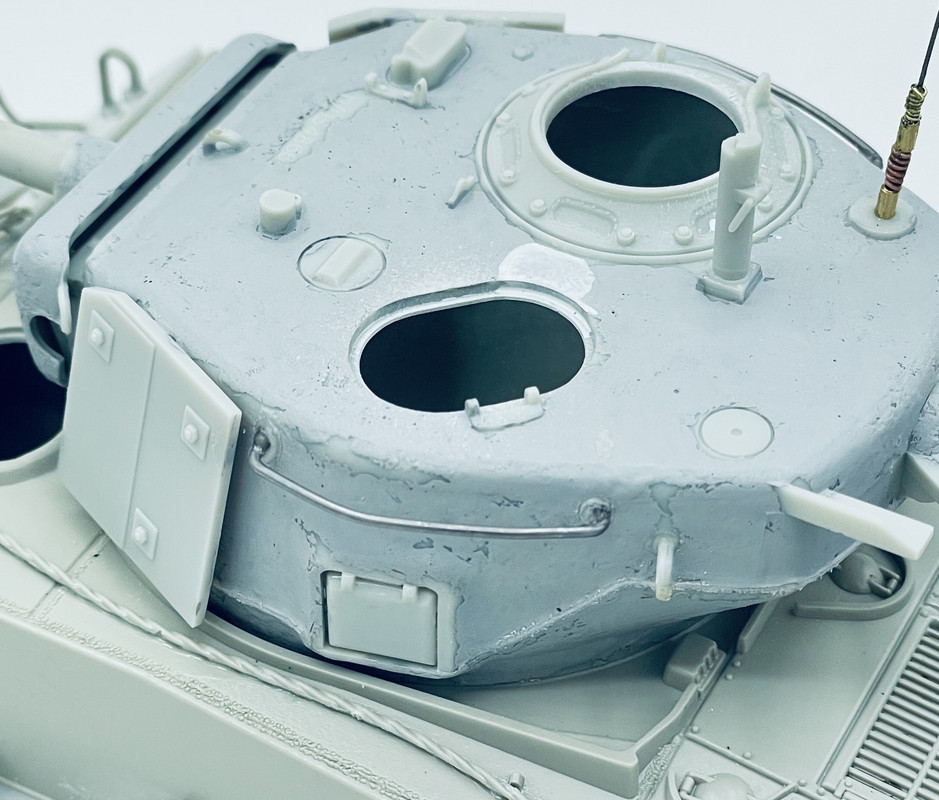
and lastly I added some assorted front stowage based upon what you can see in this photo here
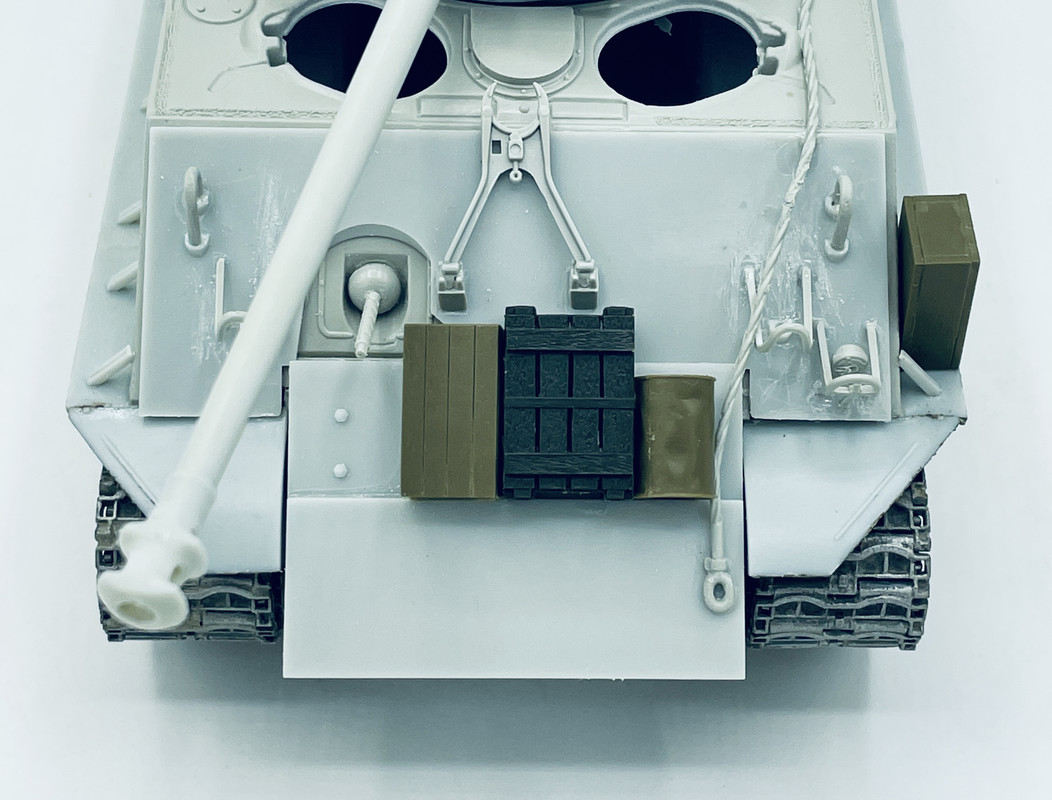
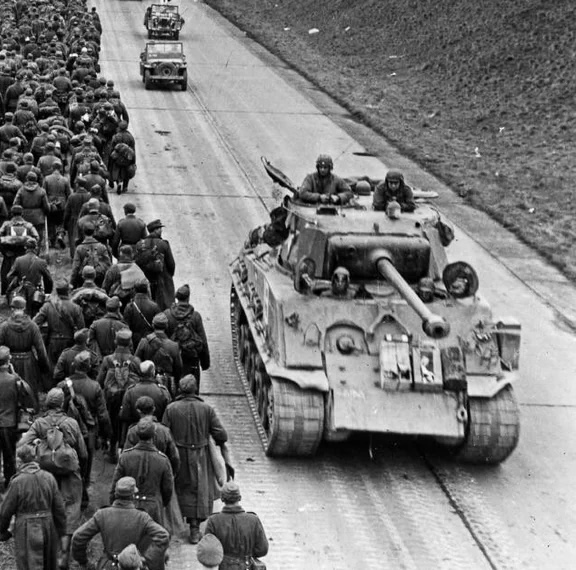
I just need to add some packs to the sides of the turret and this will be all ready for priming and painting...
Re: DML Easy 8
Posted: Tue Aug 19, 2025 6:15 am
by Stuart
Just caught up with this Carlos - very nicely done indeed and I'm looking forward to seeing it under paint.
Re: DML Easy 8
Posted: Tue Aug 19, 2025 9:52 am
by Stikpusher
Thanks Stuart. Now that a weekend of family stuff is behind me, I can get back on this project and get some paint applied.
Re: DML Easy 8
Posted: Sat Aug 23, 2025 8:32 pm
by Stikpusher
Yesterday I added the final bits of stowage to the turret
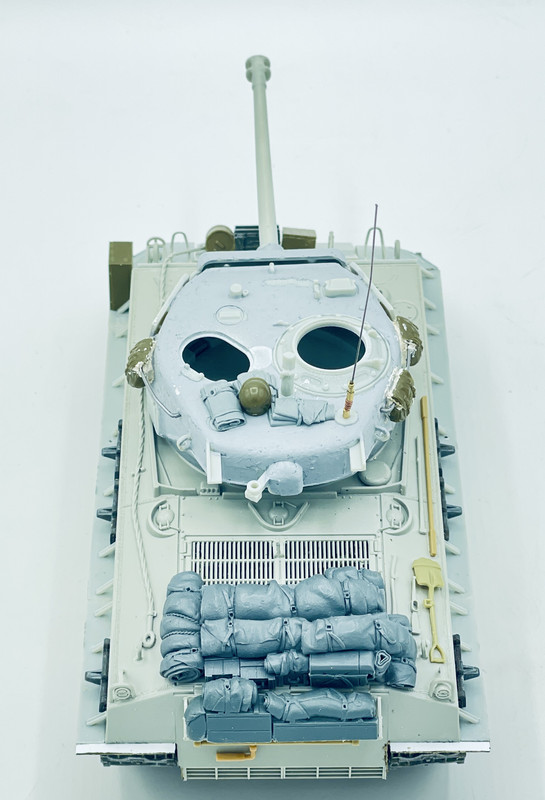
and today was a coat of primer using Mig Ammo One Shot... I also bent the antenna mount to represent the antenna being tied down. I'll add a tie down coord after painting...
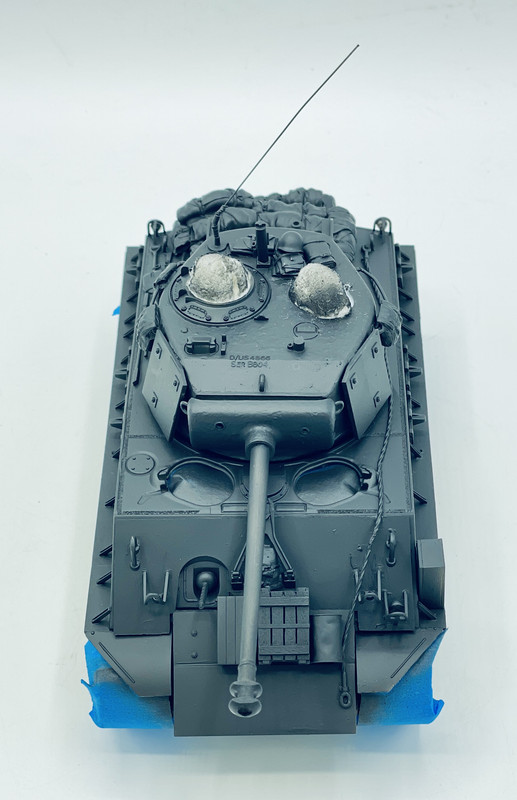
Monday I should be able to get a coat of OD applied...
Re: DML Easy 8
Posted: Sun Aug 24, 2025 9:58 am
by cbaltrin
Very impressive work Carlos

Re: DML Easy 8
Posted: Mon Aug 25, 2025 5:08 pm
by Stuart
That's superb Carlos!
Re: DML Easy 8
Posted: Mon Aug 25, 2025 7:16 pm
by Stikpusher
Chris & Stuart, thank you sirs.
And now, finally, some OD paint on the beast... first a coat of AK Real Color Olive Drab No.9 on the center areas... followed by a lighter misted on coat of Gunze Aqueous Olive Drab (2) to tone it down and blend it all... 1st and second stages
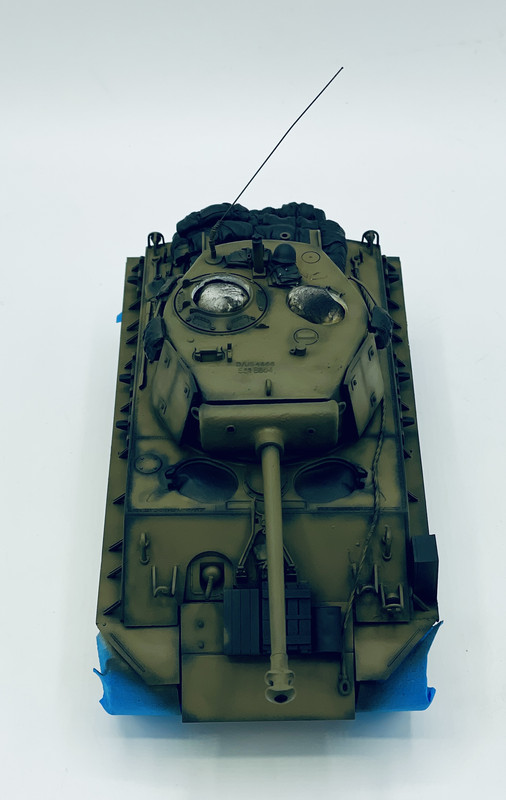
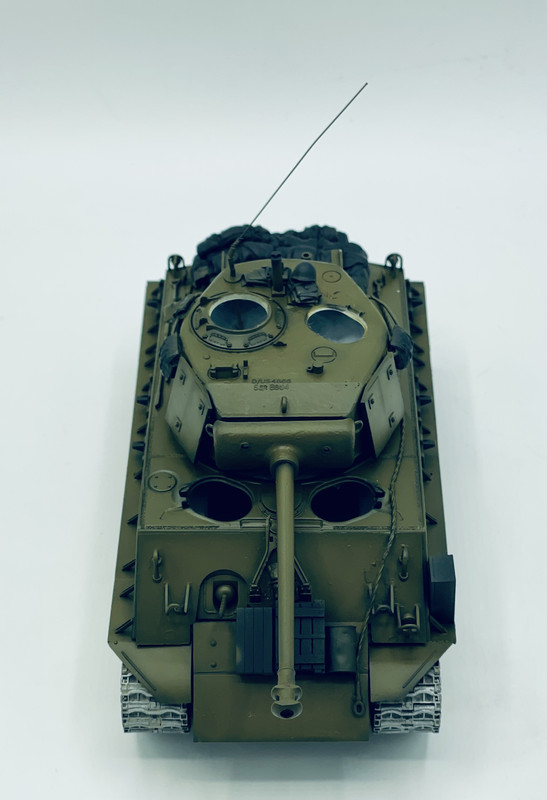
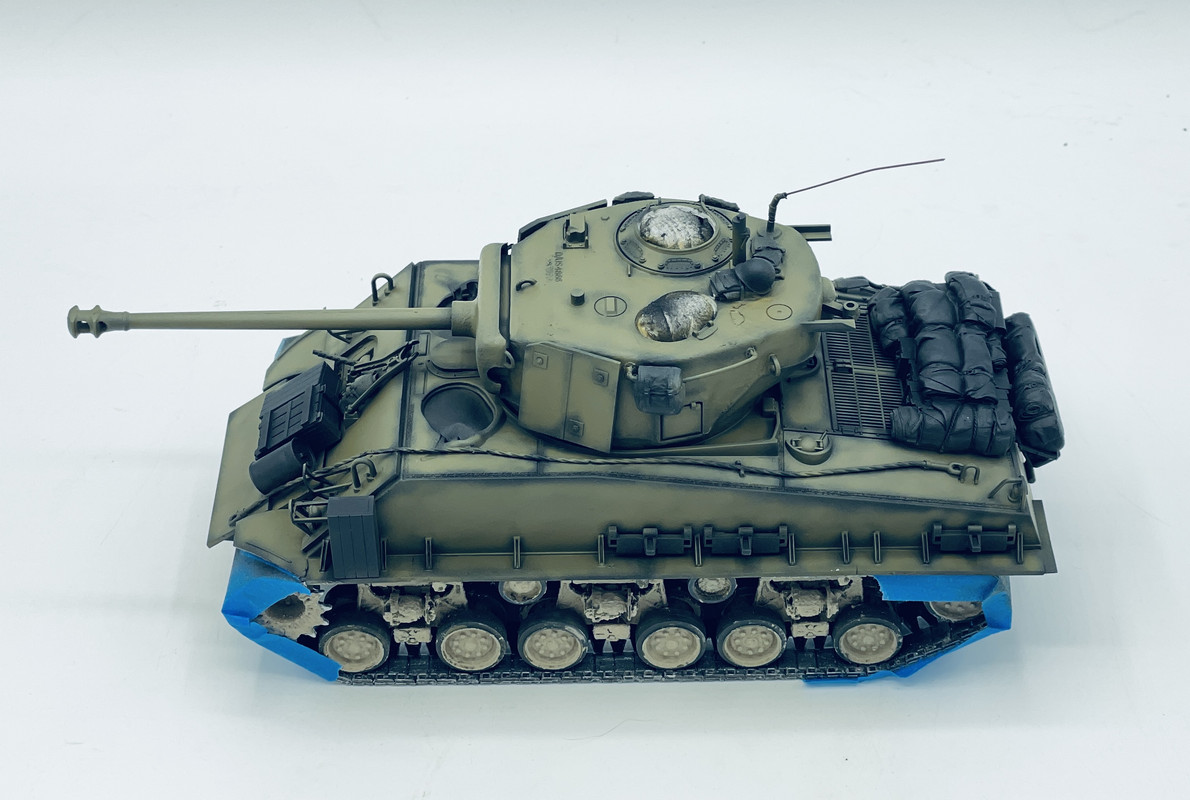
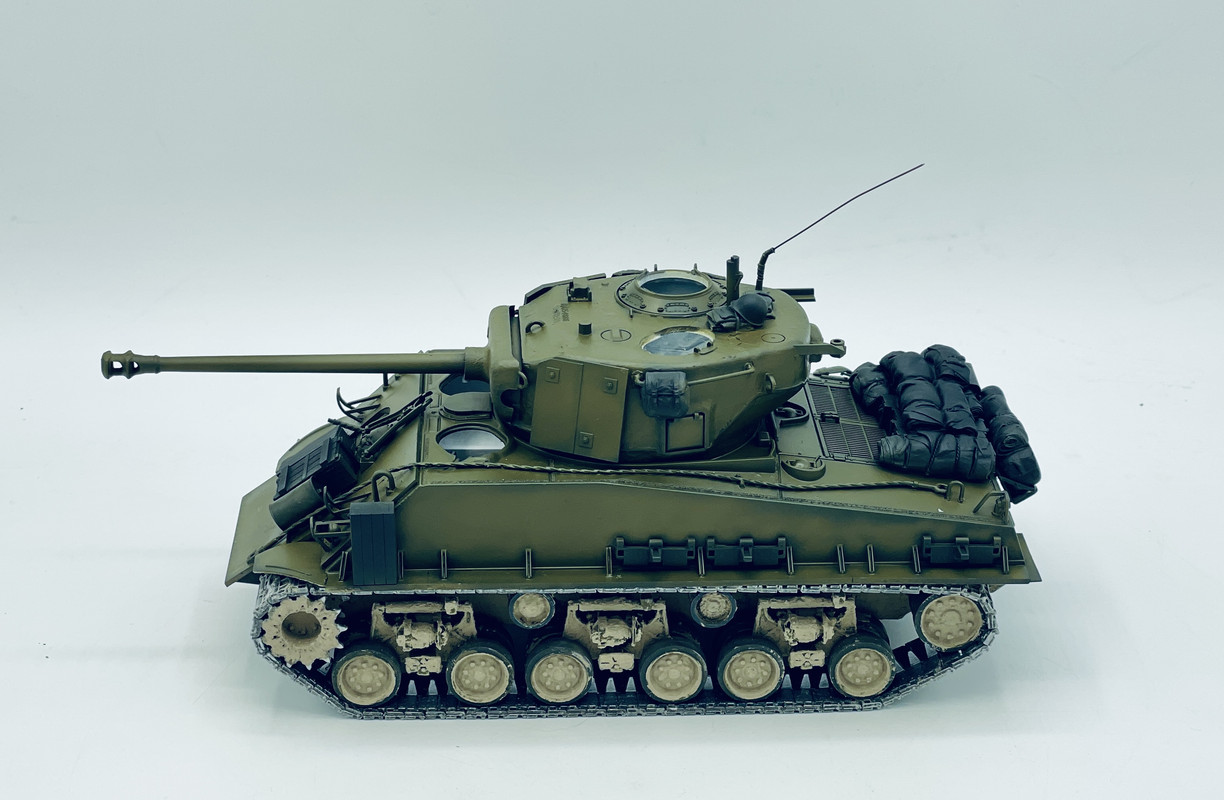
also over the weekend I started cobbling together a figure for the loaders hatch
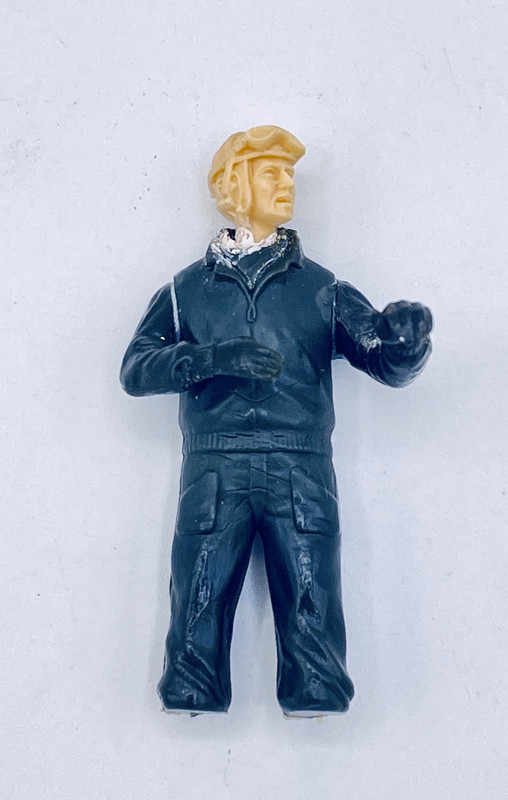
This guy is an Italeri torso, Tamiya arms, and a Ultracst head.... more to come soon...