Page 6 of 11
Re: 2015's first new project Typhoon IB
Posted: Fri Jan 23, 2015 11:08 pm
by Stikpusher
JimD wrote:Nicely done. Bringing this one to life nicely. Doesn't look like the new AB is presenting much of a problem.
No, I am starting to get the hang of it now... I do find that it is more sensitive to paints though. Gotta make sure that they are properly mixed...
LyleW wrote:I love and want to...oh never mind. Well done, officer.
LOL! Where have I heard that before???
sergio wrote:Great job by the time a model 60 is in expert hands a good and nice work lies ahead I encourage
BlackSheep214 wrote:Looking good, stik!
Thank you guys!
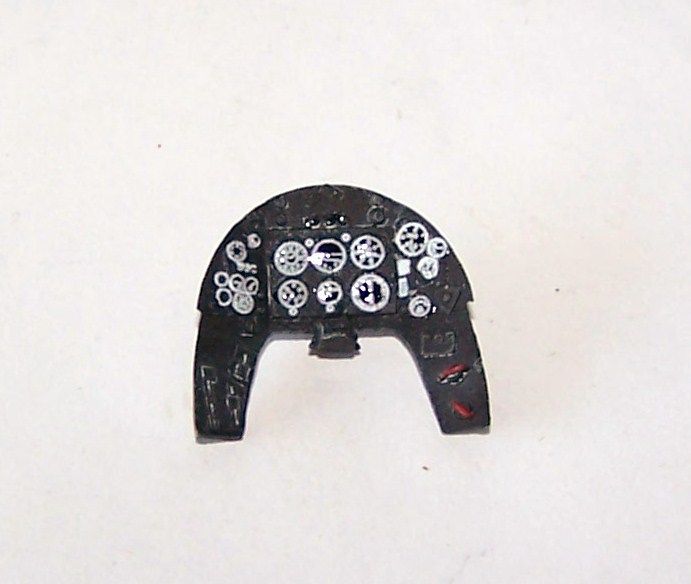
And now for today's progress report... last night before bed I added drops of Testors Clear Parts cement over the instruments to represent their lenses
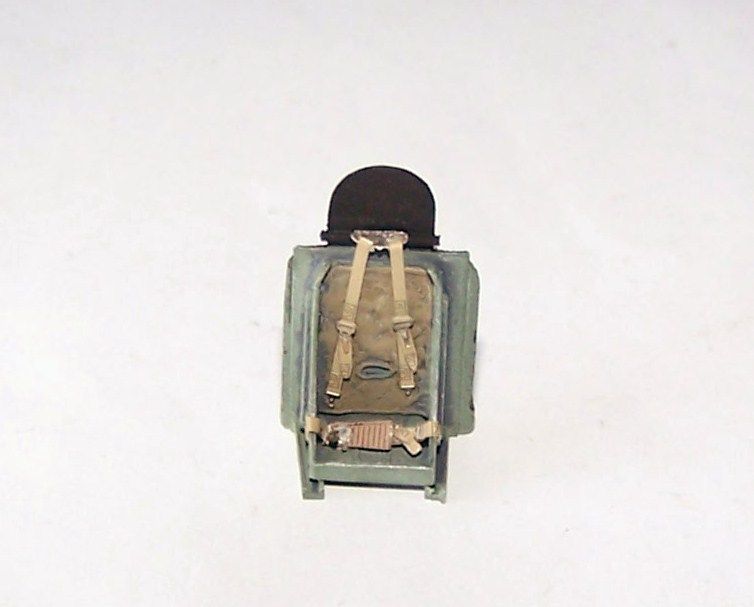
Then today in the afternoon I added some Eduard pre painted PE seat belts to the seat. What you see here is about two hours worth of work... with a few curse words and hand cramps thrown in... note to self, do not do tiny precision work after a long hard bike ride, the body needs more time to recover...
Now as you can see from this photo, there was some light framework around the dust filter...

so I spent the later afternoon with wire and superglue making up that stuff for mine
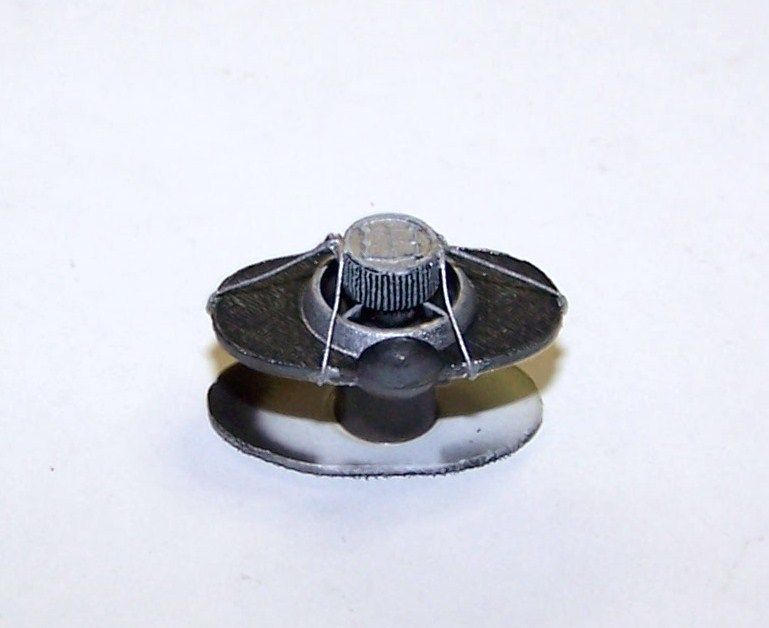
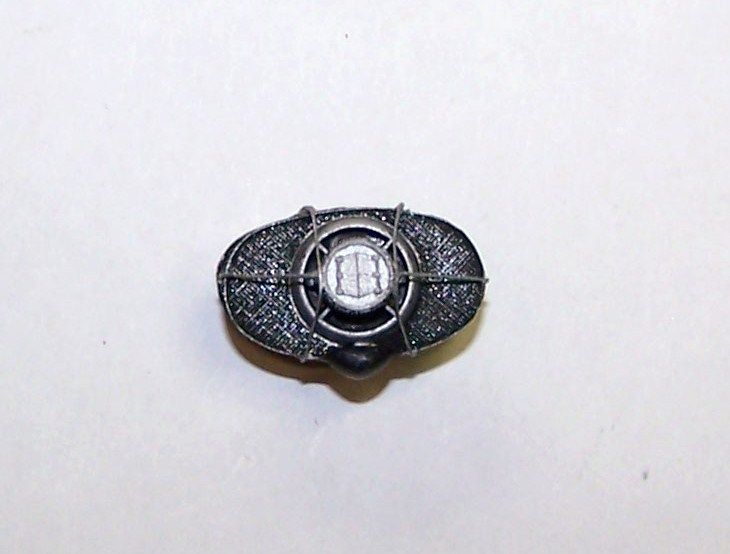
I think that it looks the part....
and as my last bit of progress for today I glued the IP in place
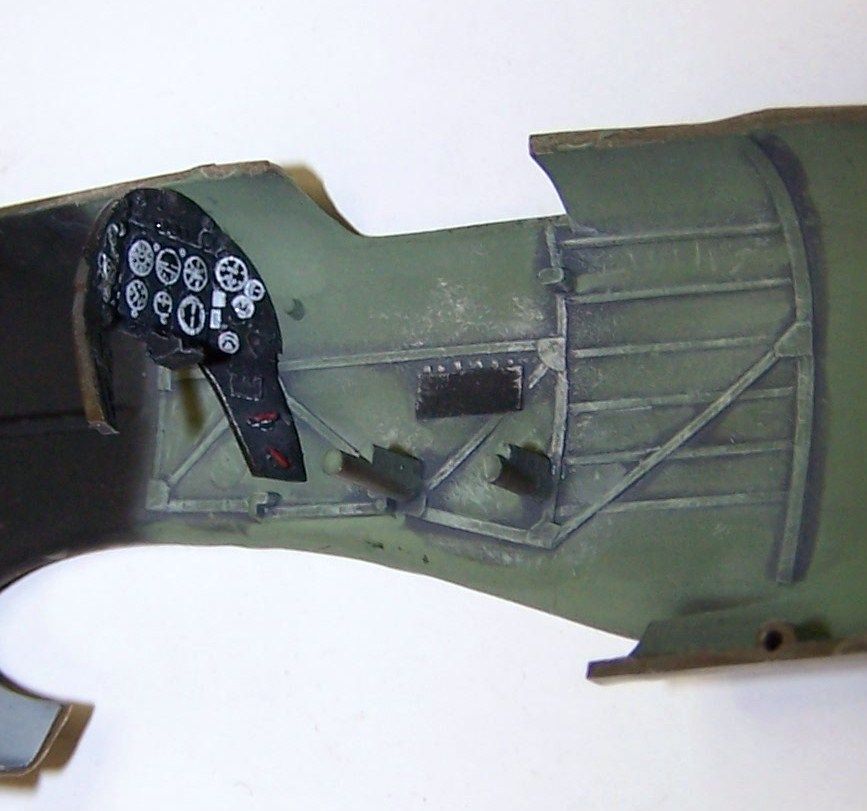
and oil cooler assembly
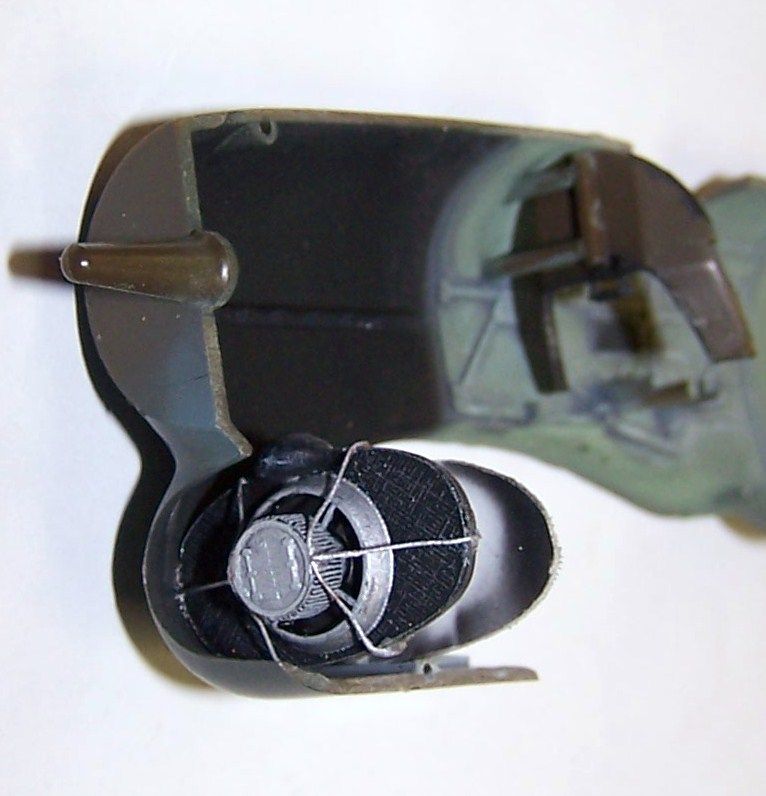
more to come tomorrow...
Re: 2015's first new project Typhoon IB
Posted: Sat Jan 24, 2015 5:36 pm
by Stikpusher
Today's update...
first thing at the bench today, I added the seat...


then it was time to glue the fuselage halves together

after that I glued the cockpit bottom portion in place. I Had to do a bit of adjusting due to the PE additions I made to the IP and rudder pedals, etc.

and looking down thru the top with the wing in place...

after I sanded the fuselage seam and scribed in some lines to replace lost ones, I glued the wings on

then a couple views of the back side of the oil cooler that I scratched up... much better than the open space that was there


and finally a test fitting of the stabilizers- once I filed away the mold seam lines where they mate up with the fuselage they fit nice and tight!

I have reached my stopping point for today while the glue dries. After I get the lower wing/fuselage seam sanded I can get the stabilizers glued on and then it will be just about ready for paint!
Re: 2015's first new project Typhoon IB
Posted: Sun Jan 25, 2015 8:53 pm
by Stikpusher
Yes it was a productive day. Now I can see how the final build will look!
Re: 2015's first new project Typhoon IB
Posted: Mon Jan 26, 2015 7:31 am
by LyleW
Nice work. Do you contract out?
Re: 2015's first new project Typhoon IB
Posted: Mon Jan 26, 2015 9:39 am
by VanceCrozier
Love it when that fuselage + wing get mated up, the pace always seems to pick up at that point. Looking good Stik.
Re: 2015's first new project Typhoon IB
Posted: Mon Jan 26, 2015 11:44 am
by Stikpusher
LyleW wrote:Nice work. Do you contract out?
My friend, I wish that I had that sort of time!
VanceCrozier wrote:Love it when that fuselage + wing get mated up, the pace always seems to pick up at that point. Looking good Stik.
Now, that you mention that, it sure does...
Thanks for looking in and the feedback guys...
Re: 2015's first new project Typhoon IB
Posted: Mon Jan 26, 2015 2:36 pm
by Stikpusher
Well, I got the horizontal stabilizers glued on and the lower wing/fuselage seam sanded smooth. All I need to do now is some quick sanding tomorrow to clean up the stabilizers seams, attach a couple of AM parts (bomb racks and PE gun sight), and then I can start painting...
Re: 2015's first new project Typhoon IB
Posted: Tue Jan 27, 2015 1:49 am
by BorgR3mc0
Nice one Stik, I like the extra details around the air cooler.
Re: 2015's first new project Typhoon IB
Posted: Tue Jan 27, 2015 12:53 pm
by Stikpusher
Thank you Borg. All the little things add up I believe...
Well here are today's photo updates. Nothing too exciting.
Stabilizers on and seams sanded up a bit- I really am pleasantly impressed with the fit of this kit. aside from one bit on the lip of the chin intake, I have not had to use any filler...

and the Ultracast bomb racks added. They come with resin shackles/sway braces as well, But I am gonna replace those with some wire instead.


she is now officially a "bombphoon"
Thanks for looking, more to come in a few days....