Page 56 of 70
Re: Pacific Coast Models 1/32 Fw 190A-1. Black 13. Belgium,
Posted: Sat Apr 06, 2019 10:27 am
by speedgraflex
Thanks so much, Ken—I will need your advice on getting such a finish... and I also wonder if the warning “Motor nicht... something something” is as visible as I think it is? Since adding those placards no detail is left behind!
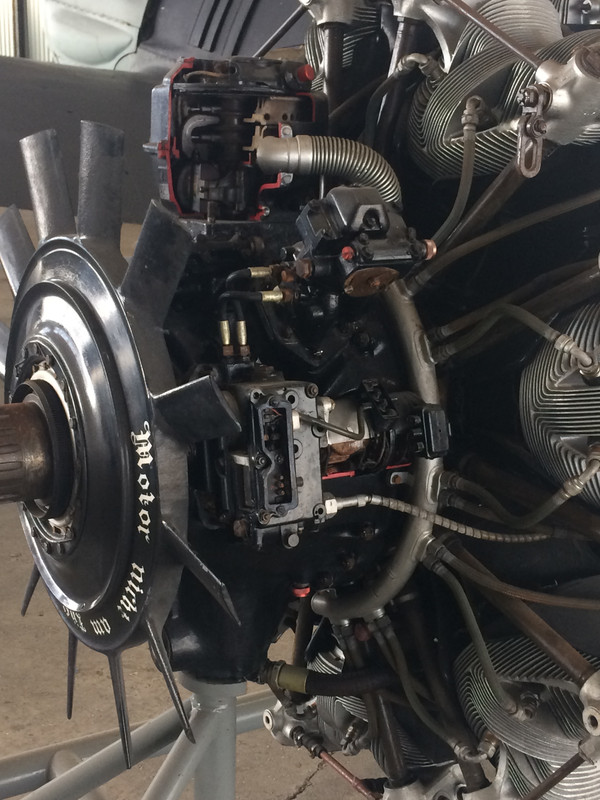
I do realize as with all museum or restoration work, a clear coating of preservatives is added, but those pieces—particularly the fan assembly—look like these were nearly black.
Re: Pacific Coast Models 1/32 Fw 190A-1. Black 13. Belgium,
Posted: Sat Apr 06, 2019 10:42 am
by KennyX
Oh I’ll be happy to sidebar with you and talk about that. I already have some ideas.
Re: Pacific Coast Models 1/32 Fw 190A-1. Black 13. Belgium,
Posted: Sat Apr 06, 2019 10:49 am
by speedgraflex
KennyX wrote:Oh I’ll be happy to sidebar with you and talk about that. I already have some ideas.
Thanks, brother. Those dark, dark grey colors need even more modulation otherwise they just fall flat. Cheers and thanks.
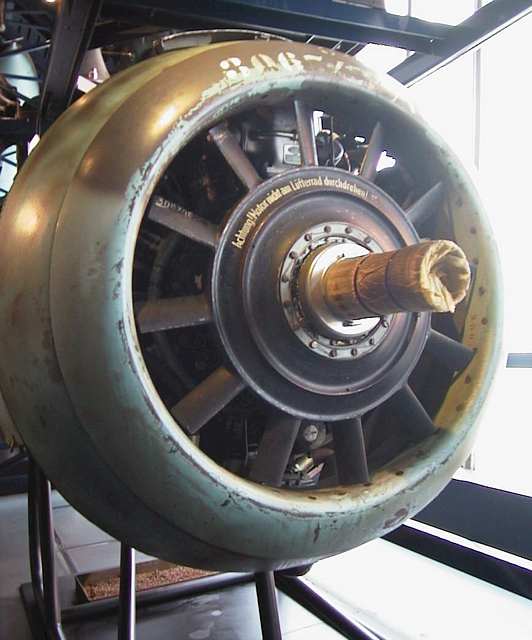
I wrote to Eaglecals and HGW Decals asking if they have this notice as a decal:
Re: Pacific Coast Models 1/32 Fw 190A-1. Black 13. Belgium,
Posted: Sat Apr 06, 2019 2:33 pm
by mostrich
Achtung! Motor nicht am Lüfterrad durchdrehen! 
I love the fact that they wrote stencils in serif. Don't care if it's easy to read, just follow the order, lol.
Re: Pacific Coast Models 1/32 Fw 190A-1. Black 13. Belgium,
Posted: Sat Apr 06, 2019 3:12 pm
by KennyX
mostrich wrote:Achtung! Motor nicht am Lüfterrad durchdrehen!
I love the fact that they wrote stencils in serif. Don't care if it's easy to read, just follow the order, lol.
I always loved that font.
Re: Pacific Coast Models 1/32 Fw 190A-1. Black 13. Belgium,
Posted: Sat Apr 06, 2019 4:47 pm
by mostrich
Me too. Still have some old books like that in my library.
Funny fact: It was the Nazis who changed to sans-serif for official correspondence.
Re: Pacific Coast Models 1/32 Fw 190A-1. Black 13. Belgium,
Posted: Sat Apr 06, 2019 8:47 pm
by speedgraflex
Thank you both! Thank you Torben, for your explanation of meanings and significance of those words. I looked up earlier online but I was at the raggedy edge of information. My brain was ready to go off line with so much data! I just drank a glass of water and feel slightly stable—more or less fit again for service.
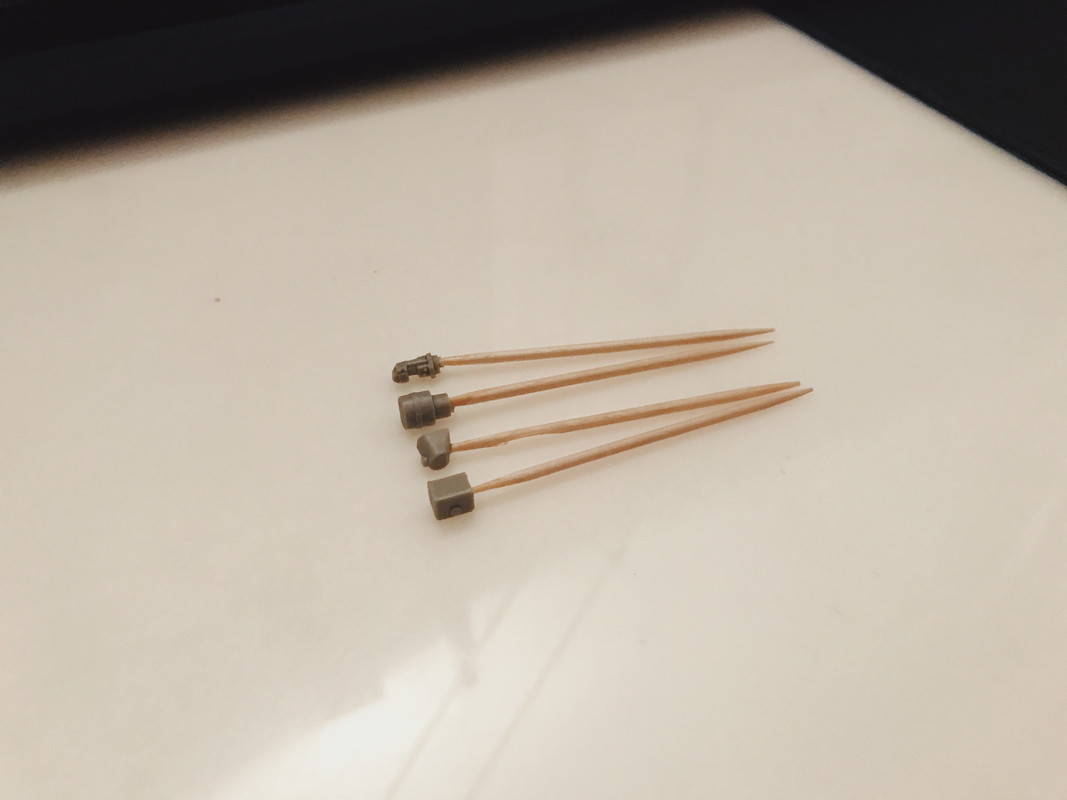
These four detail pieces attach to the engine. I cut these from the casting block, cleaned them up and cemented them with a dab of CA to toothpick handles for painting... and will these be seen? I don’t really truly think so. Nope. Still, it’s good to be moving along. Right?
Right?
Re: Pacific Coast Models 1/32 Fw 190A-1. Black 13. Belgium,
Posted: Sun Apr 07, 2019 2:01 am
by jkim
Moving along is good! Those engine pieces look really simple... why not glue them onto the engine and paint them in place? Saves you a step and you'll get a better glue joint.
And before you drill a hole from behind the engine, do a test with the magnets at that spacing. I think it's much too far. I would be thinking of mounting the magnet where the eraser gob is at... right at the end of the prop shaft. Perfect place for it, no? Does the A-1 have a cannon firing through the spinner?
Re: Pacific Coast Models 1/32 Fw 190A-1. Black 13. Belgium,
Posted: Sun Apr 07, 2019 2:21 am
by Floki
Any progress is good progress. I use to think why bother sitting down at the bench if I only have 10 or 15 minutes. But now if I get the smallest thing done well that just something I don't have to do later.
Re: Pacific Coast Models 1/32 Fw 190A-1. Black 13. Belgium,
Posted: Sun Apr 07, 2019 11:39 am
by speedgraflex
Thank you so much!
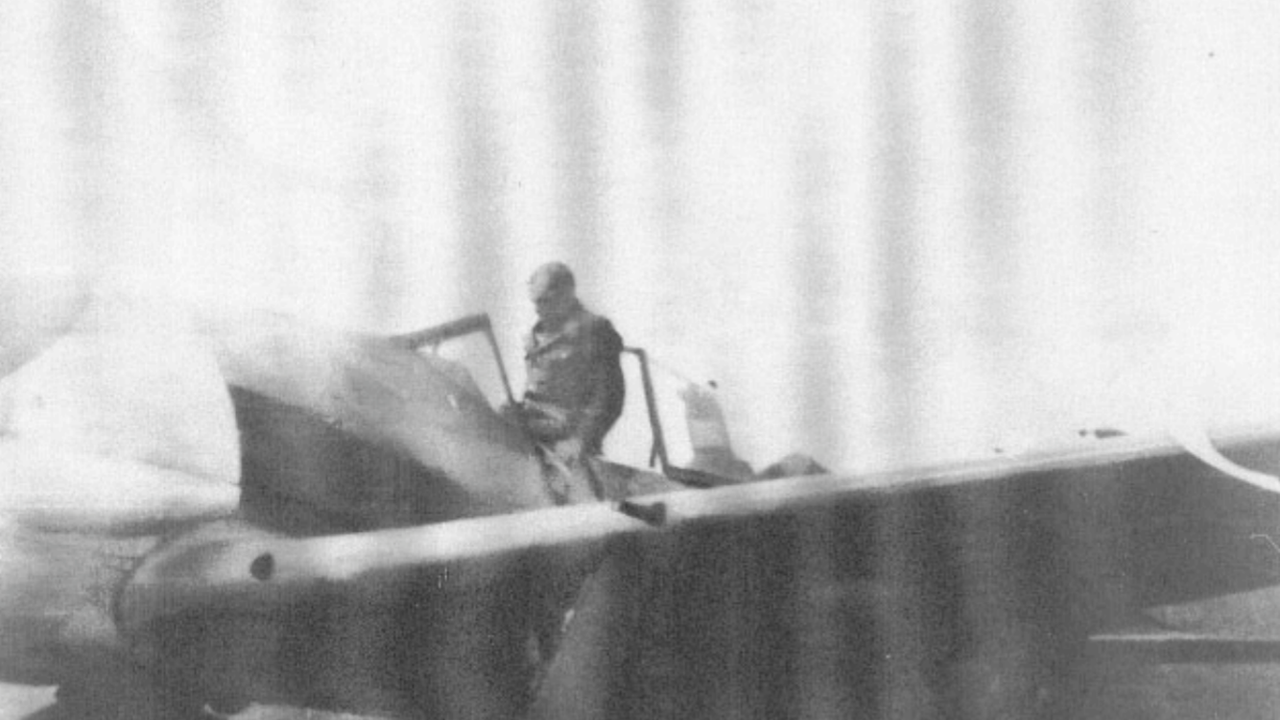
Armament consisted of two fuselage-mounted 7.92 mm (.312 in) MG 17s, two wing root-mounted 7.92 mm (.312 in) MG 17s - with all four MG 17s synchronized to fire through the propeller arc - and two outboard wing-mounted 20 mm MG FF/Ms.