Page 58 of 113

Re: Modelcrazy's bench production 2021

Posted: Fri Mar 12, 2021 11:10 am
by Stuart
I'm just gobsmacked by this build - I would love to see it in person!

Re: Modelcrazy's bench production 2021

Posted: Tue Mar 16, 2021 7:53 am
by Modelcrazy
Thanks Stuart.
A few more days, a few more things added, a few more things to repair.
My fat hands just can't seem to keep their meat hooks from bending or breaking off a piece of something painstakingly added. Oh well, two steps forward, one step back.
I completed the hull weathering and was starting on the futon shields that I made and they just looked out of scale and took away from the build IMO. So, ...I took them off......one step back. After reinstalling new railing where the shields were (I like the non-Hasegawa stuff better anyway) and re-spraying and weathering the hull, I sprayed some dull coat to the entire ship...part of a step forward. I took the build to a friends house to see it in person but I saw the silvering on the wind direction strips decal attached to the bow. With everything else looking like it is, that just stuck out like a sore thumb. Once I brought it back home I took 24 hours considering my options. The best, and one I went with, was to scribe anlong each strip and using wet sandpaper, 1000 grit, I was able to remove the offending additional carrier paper....continuation of the step back. New problem, now I have a triangular section that's clean and almost perfect :hmm:. After re-applying a gloss coat, I wet sanded again, this time trying to match the areas that were weathered. Once completed I then went back over the area with an oil wash. It turned out pretty well I think and assuming that you never knew what had happend, almost unnoticeable and looks like I meant it....the rest of the first step forward.
The above paragraph represents around 7 lost days :headslap: but the good news, it takes care of issues that surely would have counted against me. Tonight I need to go back over that area with some dull coat.
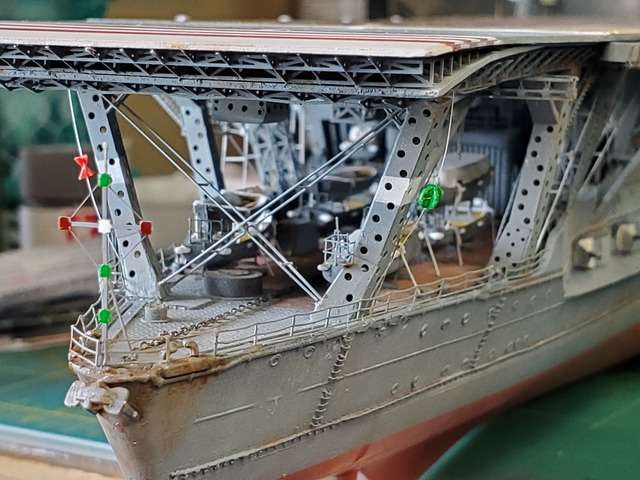
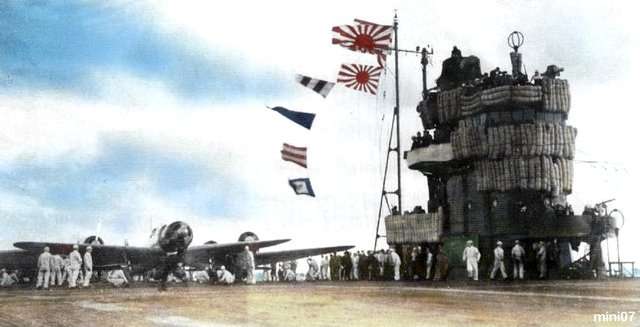
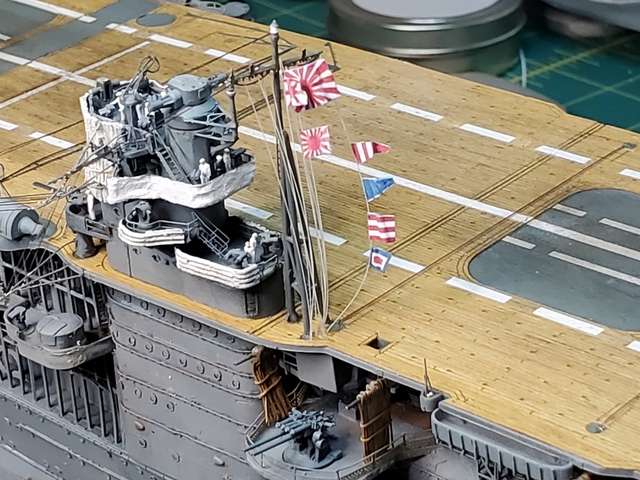
Now on to the second step forward. I completed the rope shields using the laser paper cutouts from Korea (remember those) which again, took a few days to get right, installed the Type 10 120mm twin AA guns and the flags/pennants to the mast lanyards. As close to the picture taken before the second wave as I could. I couldn't find a white/blue/white/blue/white pennant so I went with a red/white/red/white/red. It's probably telling them to attack their own carries for all I know.

Image
Image
Image

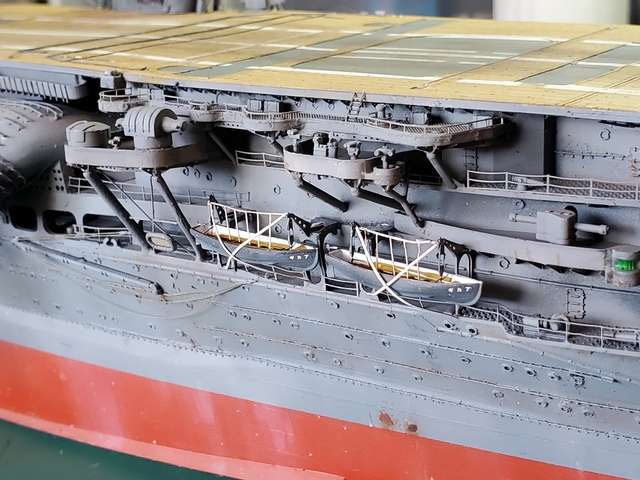
I'm also in the process of installing the boats to the davits and of course that's proving to be a small pain as well.

Re: Modelcrazy's bench production 2021

Posted: Tue Mar 16, 2021 8:06 am
by keavdog
Wow that's looking good! Post application excess carrier film surgery...that's a new one on me. Well done.

Re: Modelcrazy's bench production 2021

Posted: Wed Mar 17, 2021 11:12 am
by Medicman71
Wow! Just incredible!

Re: Modelcrazy's bench production 2021

Posted: Wed Mar 17, 2021 4:57 pm
by BlackSheep214
Wow... how about a Jap doing “BANZIA” and another giving the finger. LOLOLOL!
Seriously, that is incredible work.

Re: Modelcrazy's bench production 2021

Posted: Wed Mar 17, 2021 5:02 pm
by jeaton01
Yeah, you're going to need a base with moving waves for this one!

Re: Modelcrazy's bench production 2021

Posted: Mon Mar 22, 2021 9:22 am
by Modelcrazy
I was able to get quite a bit done this weekend. Almost done with the carrier itself!

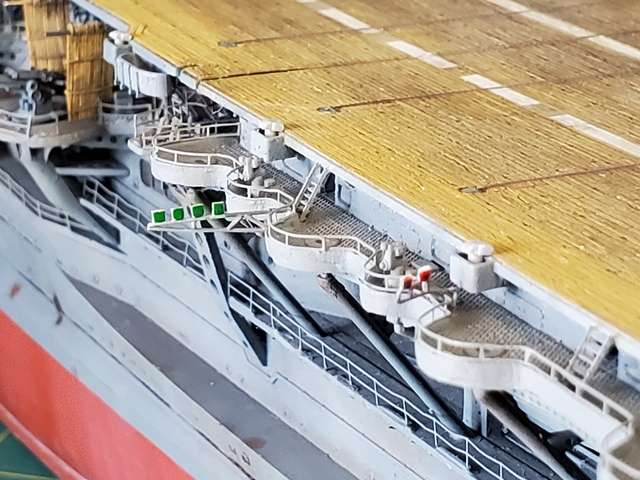
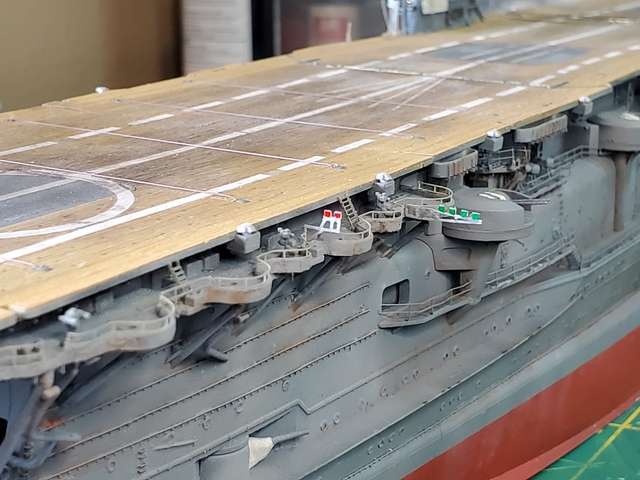
I completed the side boats, scratched the landing light system, repaired various area broken off or bent with my fat fingers, scratched the rudder position indicators and touched up the paint.

I started the water base because setting it in the base, while making it difficult to work on it due to the bases large size, 12"x32", will lessen the possibility of breaking items such as the folding aerials and safety netting hanging off the side of the flightdeck.

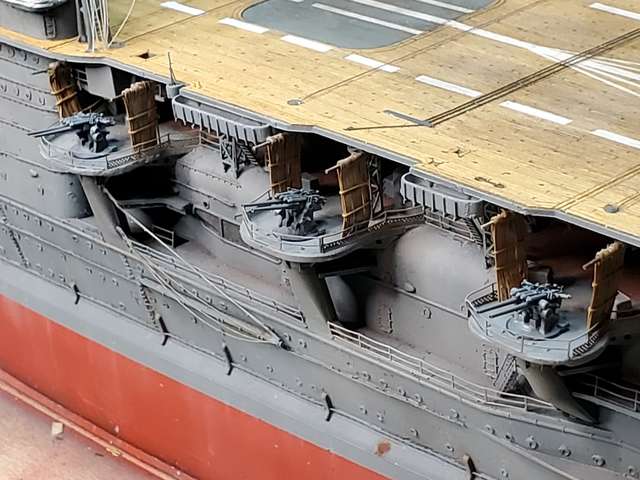
The rope shields with the type 10 120mm AA guns.

Forgive me if I you already saw some of these pics. I lose track.
Image

The flight deck, decal carrier paper post surgery. The deck aft of the indicator lines is a little too sanded down but that just adds to show wear, at least I hope it does.

Image

The side boats tied down.

Image

Landing light system

Image
Image

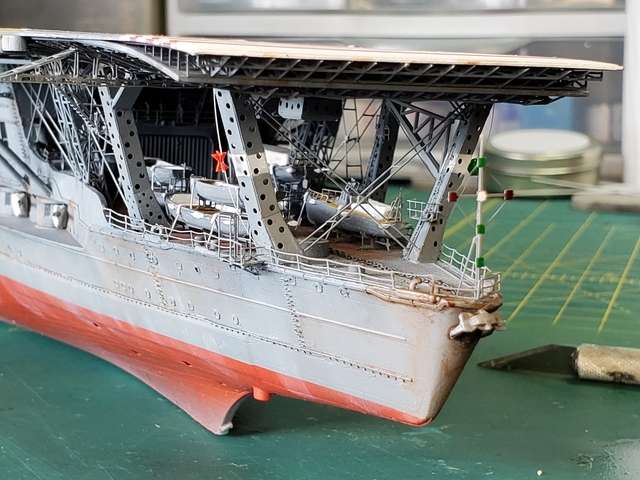
The rudder indicator system. Port, red hourglass, starboard, red ball.
Image
Image

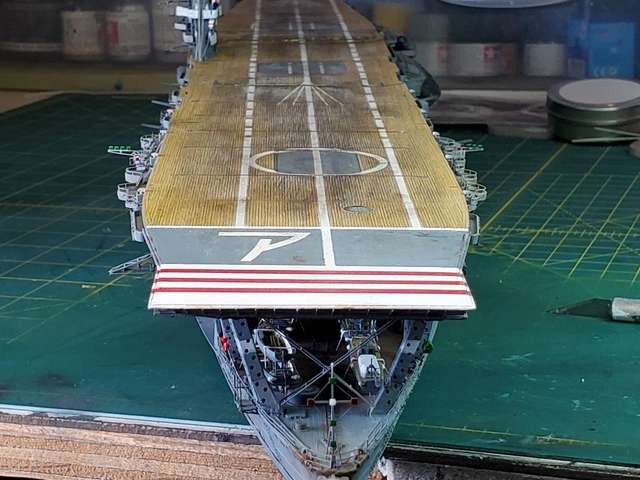
What everything would have looked like landing.
Image

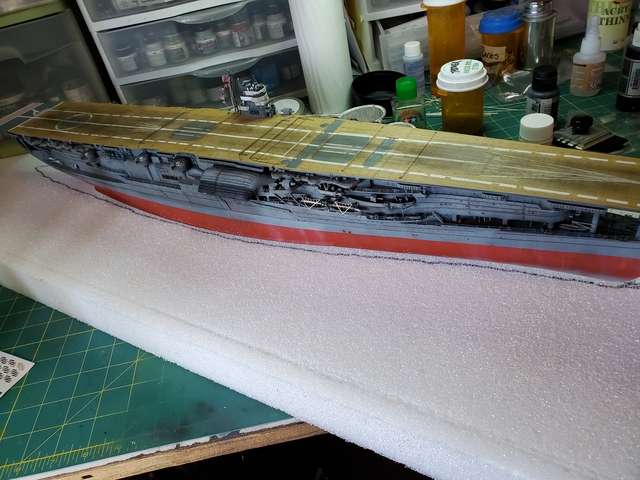
On to the base. I started out as usual tracing the hull. Why I don't do this before I start building is beyond me.
Image

Next, cut out the hull, and grind the waves. The Akagi just came out of a squall so the waves were a little rough before they launched.
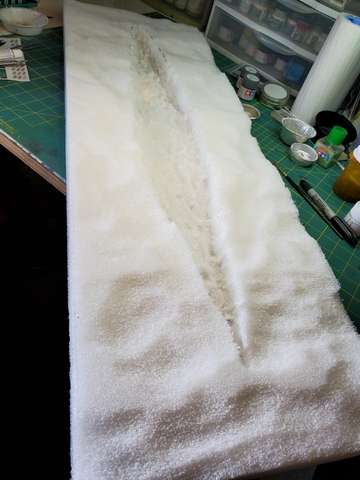
Image

Next, I added aluminum foil for the chop and primed with grey paint to cut down the metallic look, I also added some paper towels soaked with glue to fill and acrylic medium the gaps. I did this by placing Saran Wrap on the base, placing the hull in it and spreading paper towels and acrylic medium to fill any gaps at the hull and removing both the hull and Saran Wrap. This is why I need to do this before building the kit. When will I ever learn. None of this will be seen in the final product.
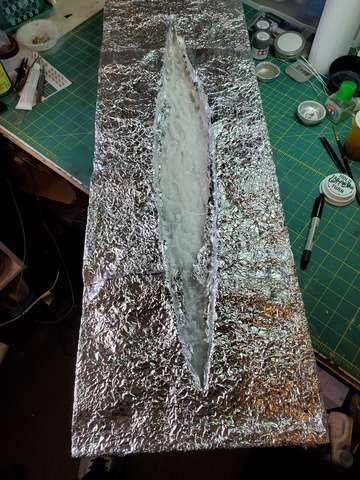
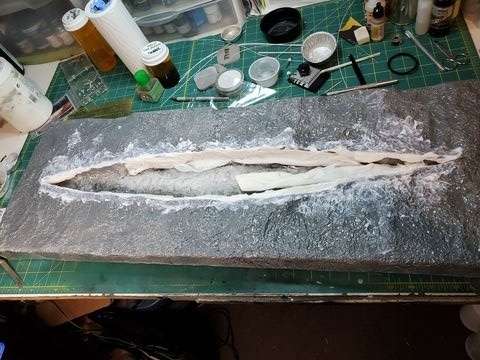
Image
Image

After all is dry in a few days, I will start the acrylic medium and painting process.

Re: Modelcrazy's bench production 2021

Posted: Mon Mar 22, 2021 2:04 pm
by Duke Maddog
Wow, most impressive work! I can't wait to see that landing shot after you mount it to the sea board with a sky image in the background. This looks so real that I would actually believe I'm landing on this ship!

Re: Modelcrazy's bench production 2021

Posted: Mon Mar 22, 2021 2:49 pm
by Floki
Incredible work! I'm really excited to see how you make your seascape

Re: Modelcrazy's bench production 2021

Posted: Wed Mar 24, 2021 10:22 am
by Modelcrazy
Thanks guys.
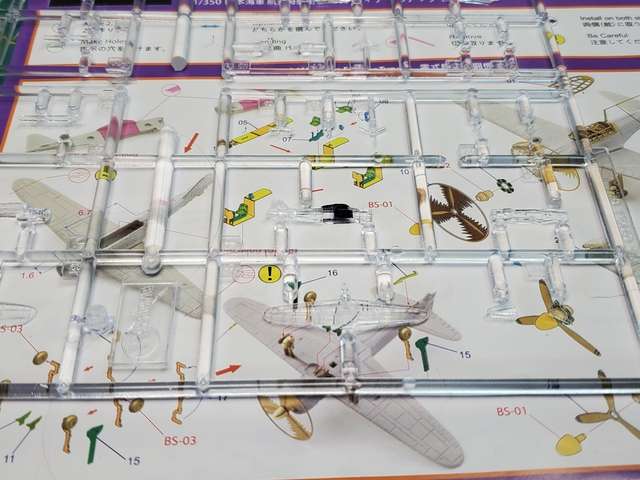
While I'm waiting for the deck to dry I started on the planes. As an update, here is what I'm working with. The Infini 350 detail set and the Hasegawa Carrier aircraft sets.

Here is one of the Zeros with the area to be removed in black and after the PE interior is installed.

Image
Image
Image

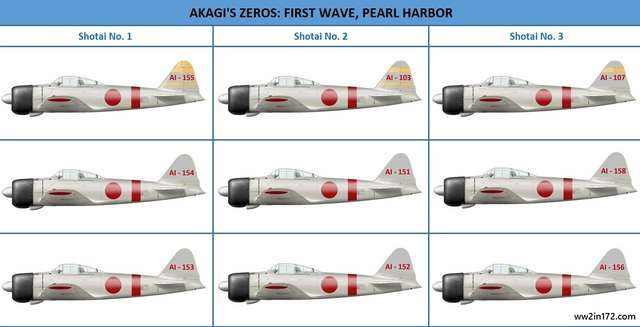
I found it difficult to grind out the interior just enough not to either grind through the exterior or break the fuse where it is thin. I have 15 zeros to practice with and the first wave only had nine. The Kates will appreciate the practice.

First wave Zeek markings

Image

Still trying to get a list of the 27 Kates. I found 4 and each are a little different from the other but I may have to make it up.