Re: 1/32 Revell Bf109G-6/AS Hohenjager
Posted: Sat Feb 22, 2020 8:23 pm
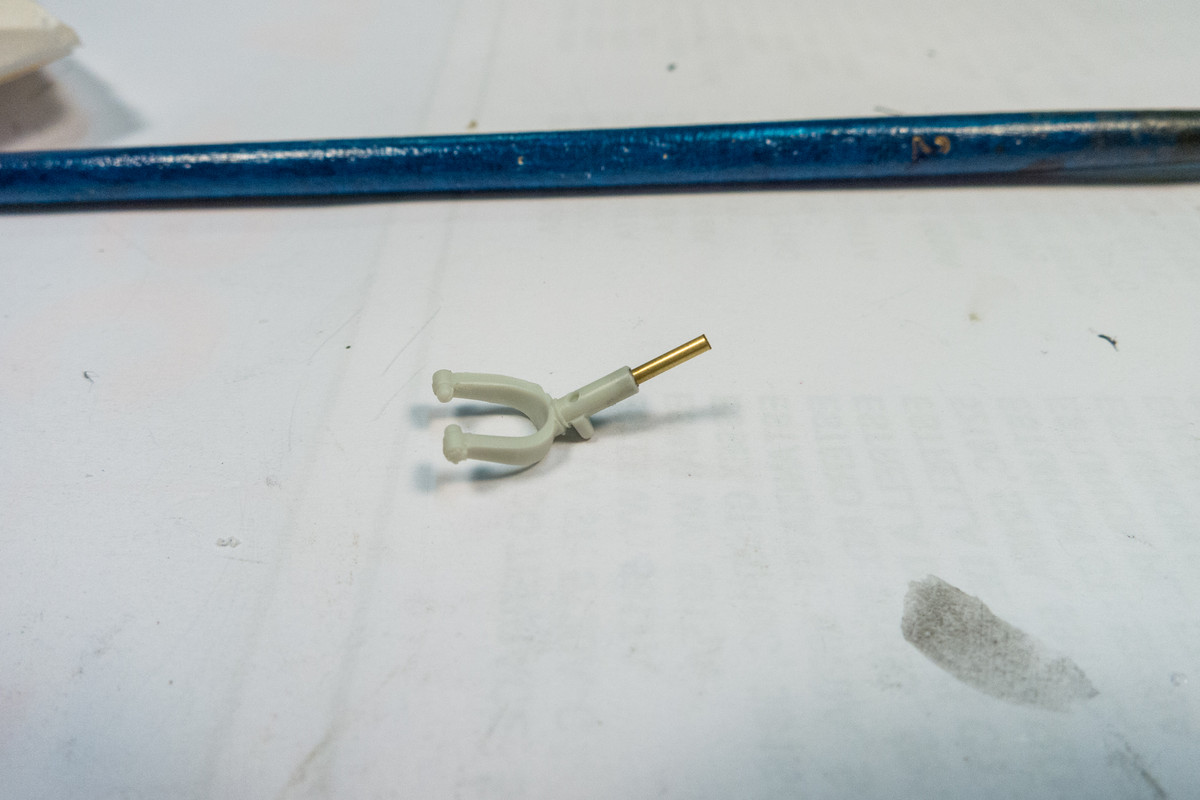
Hopefully good! There is play between the wheel and the axle so I'm sure I can make it sit right.
When I was dry-fitting the cockpit to the fuselage, I was using bits of Blue Tack to hold the resin pit into place. It gave me a little bit of "give" to make minor adjustments. So I thought I'd permanently attach the cockpit in a similar manner using Milliput instead of Blue Tack. Hmmm... I forgot to take a pic of the buttoned up fuselsage!
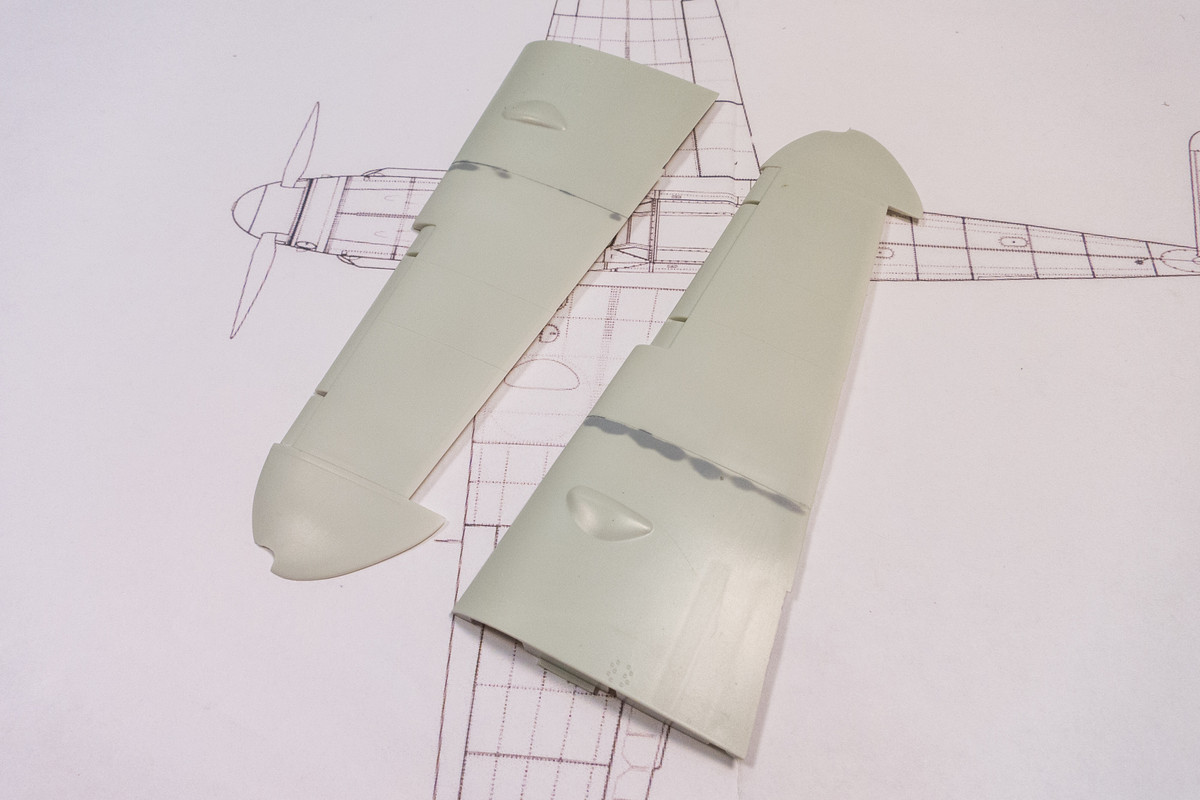
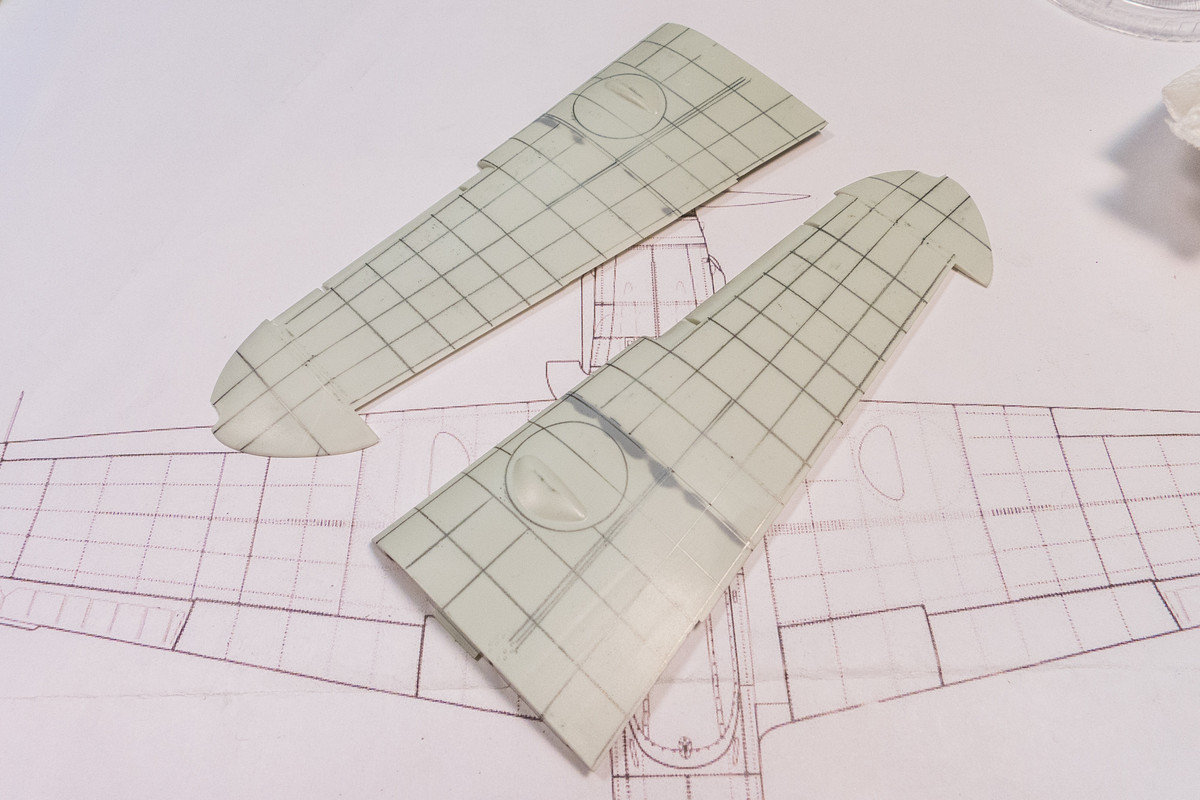
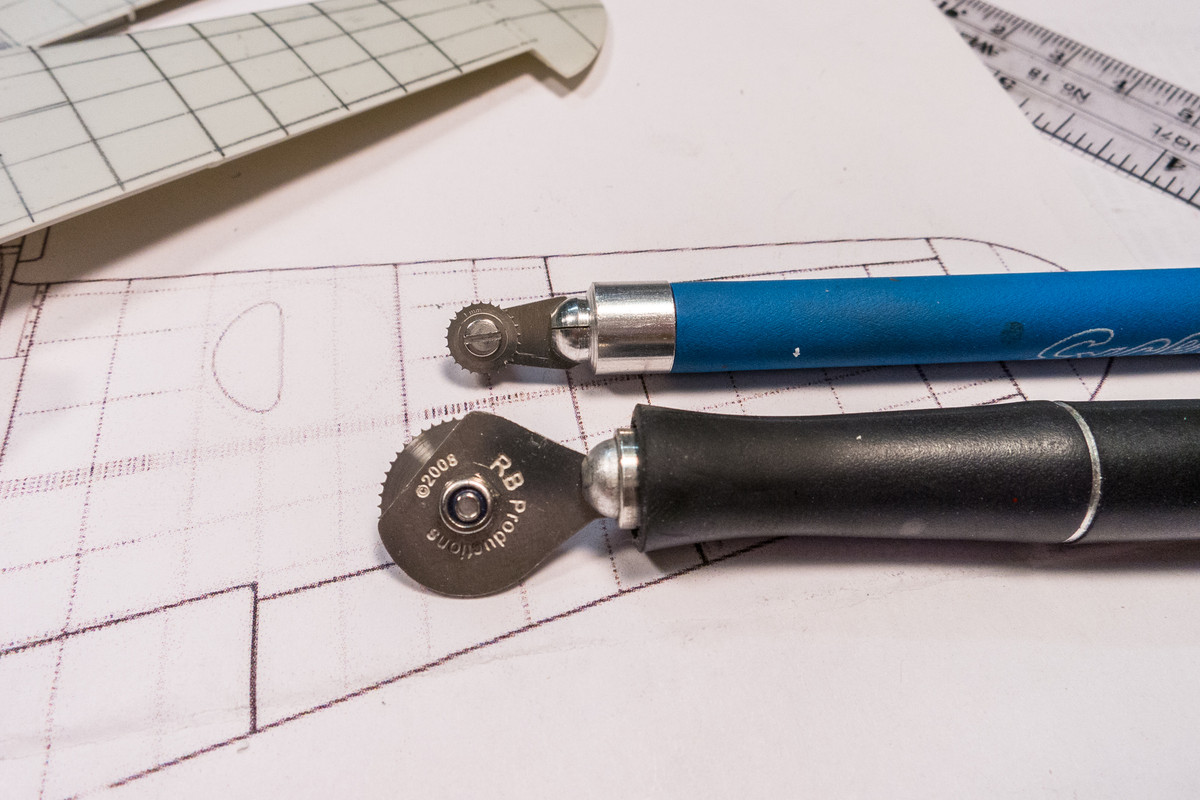
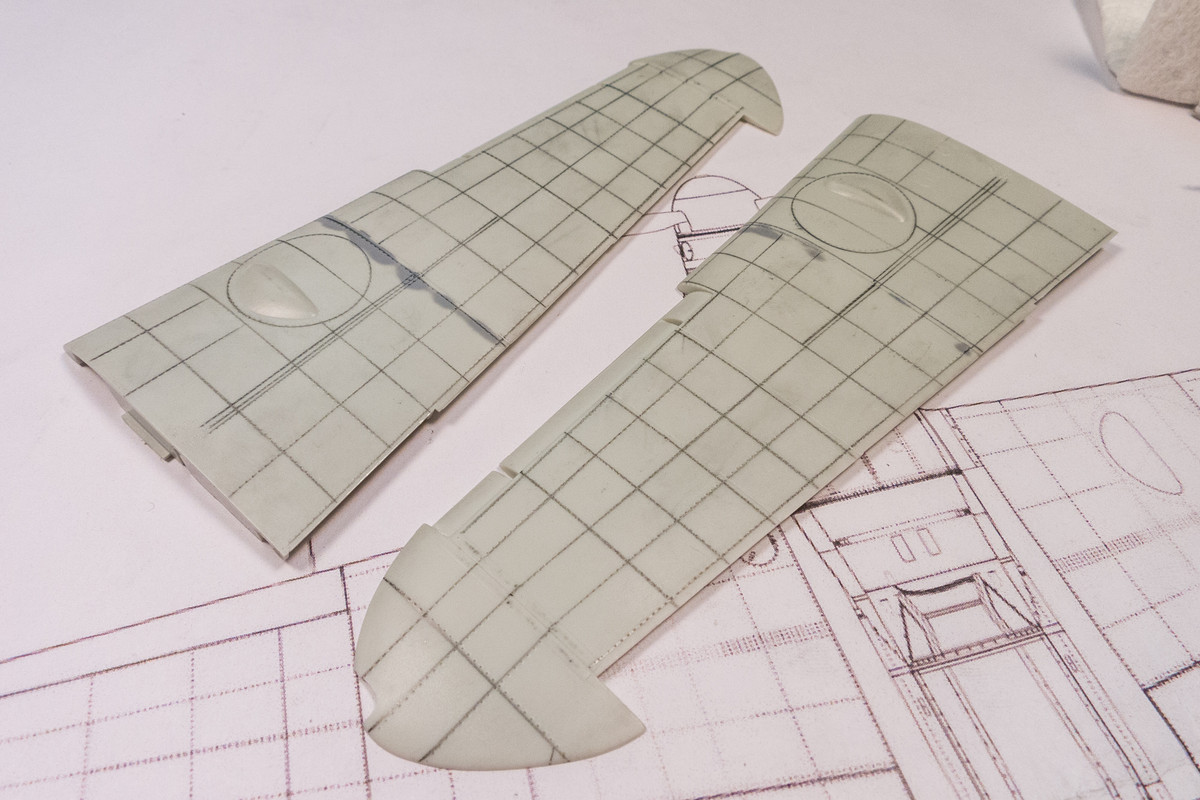
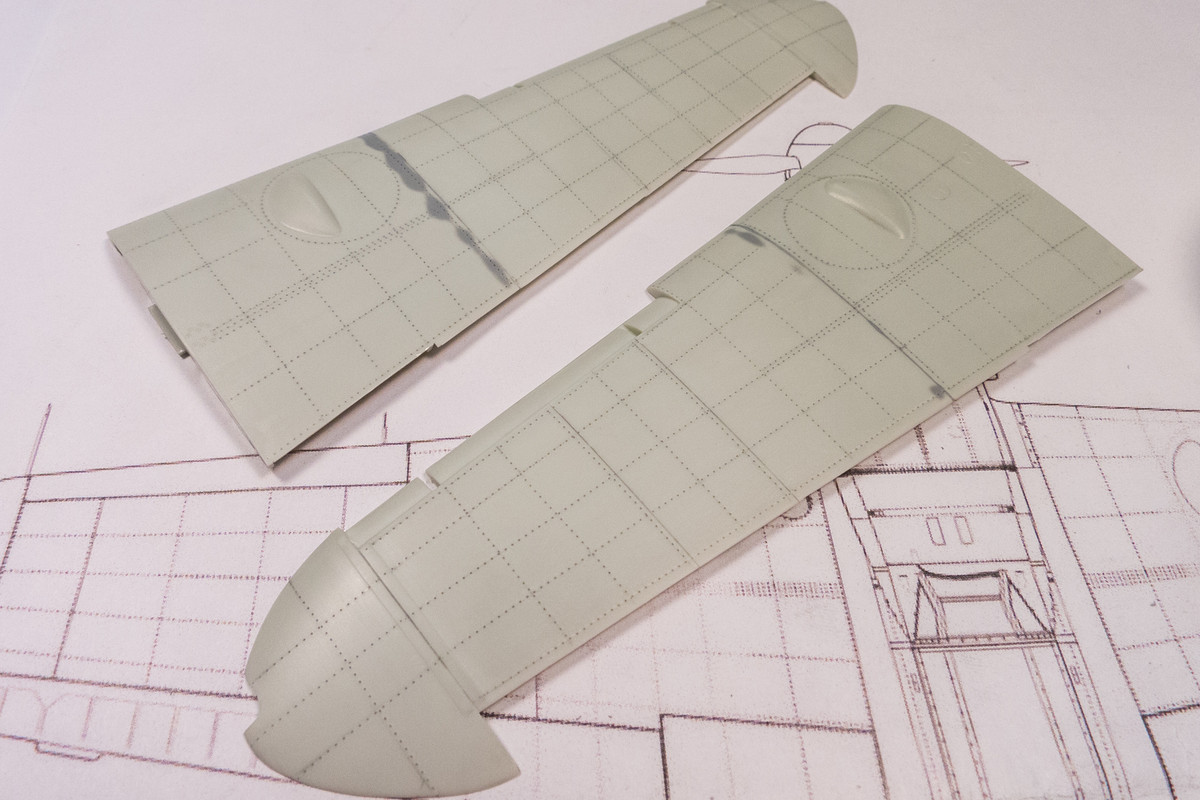
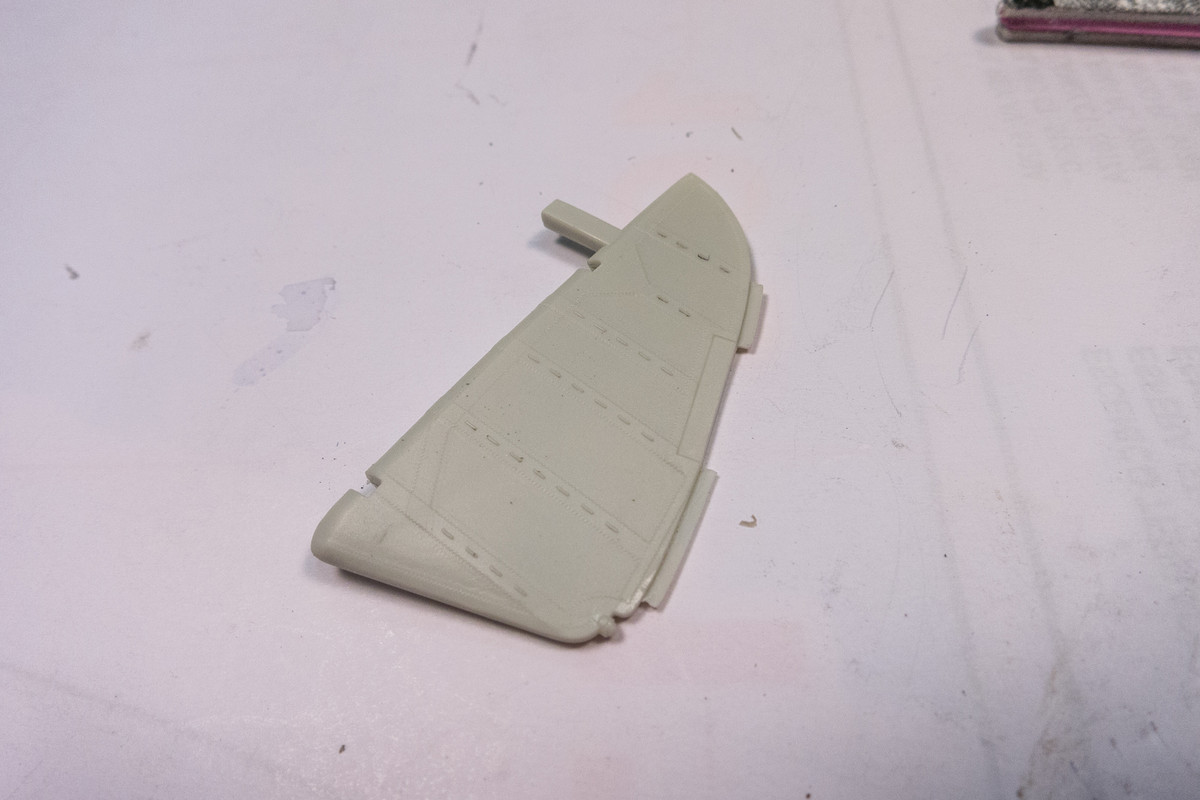
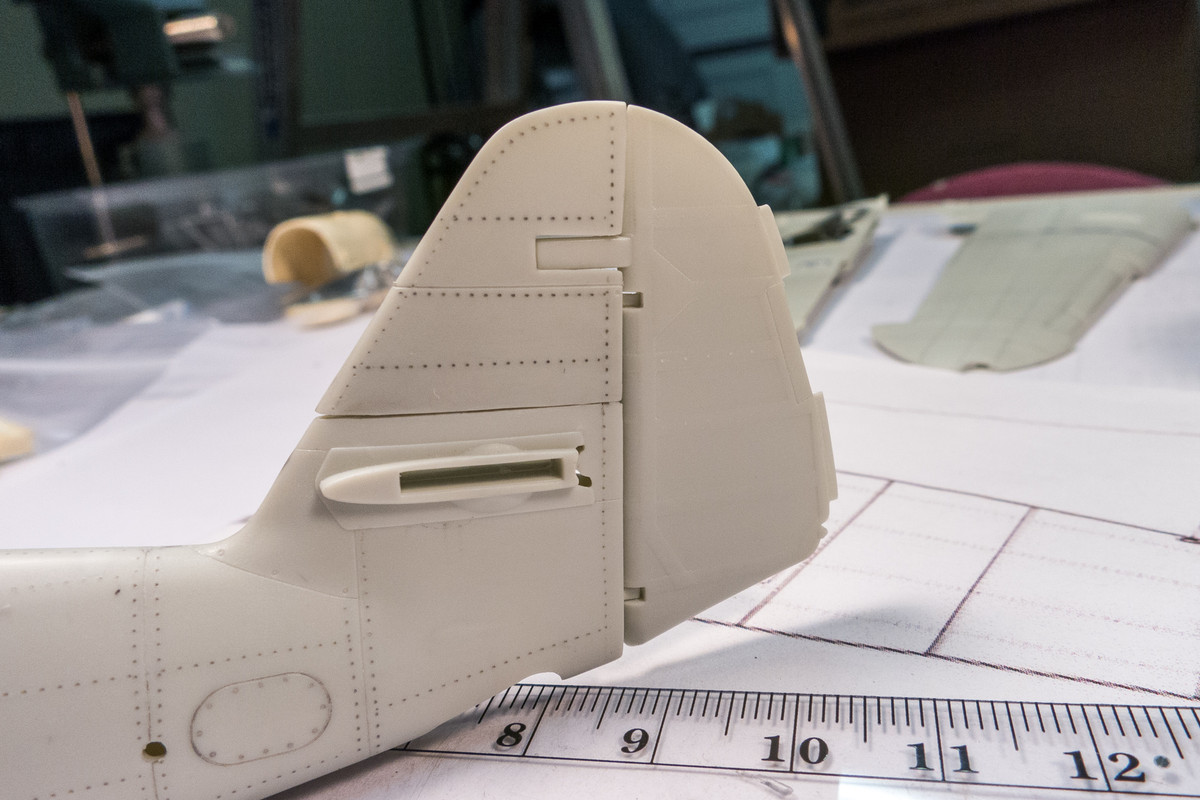
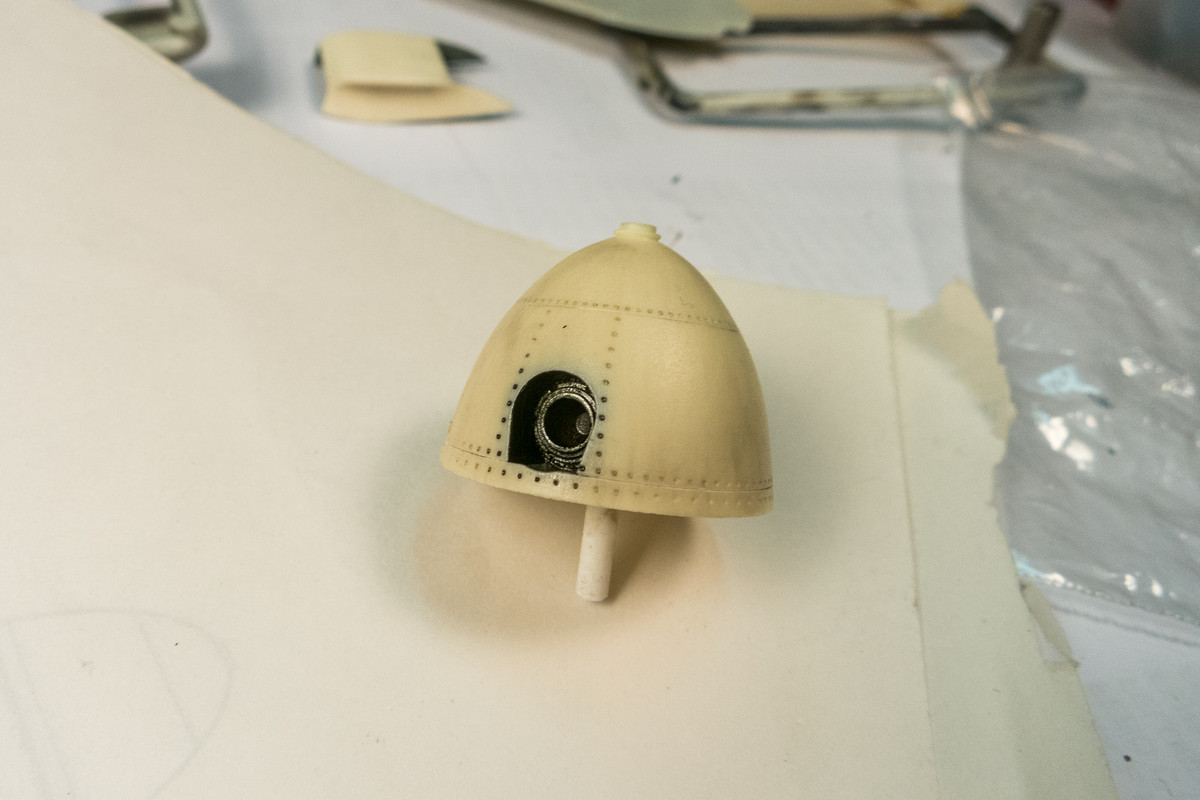
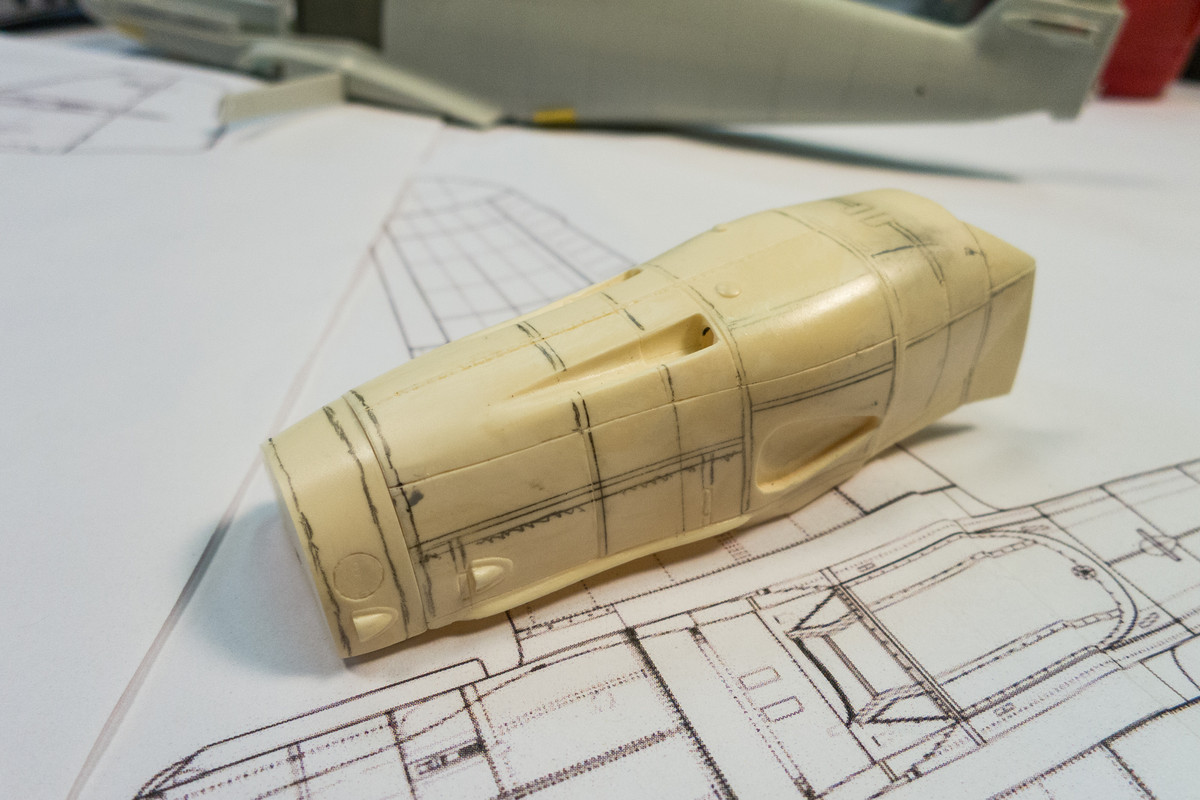
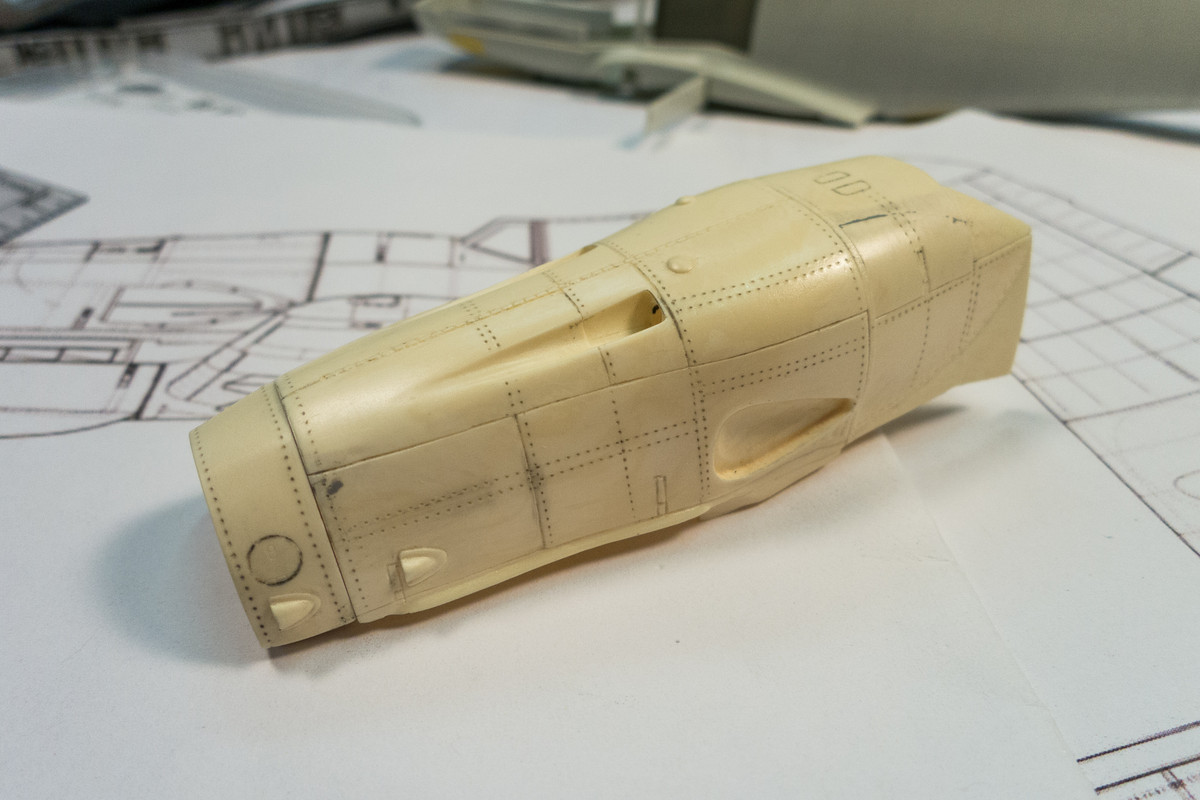
Attachment of the resin cowling to the fuselage is coming up so I thought it would be a good time to apply the rivets...

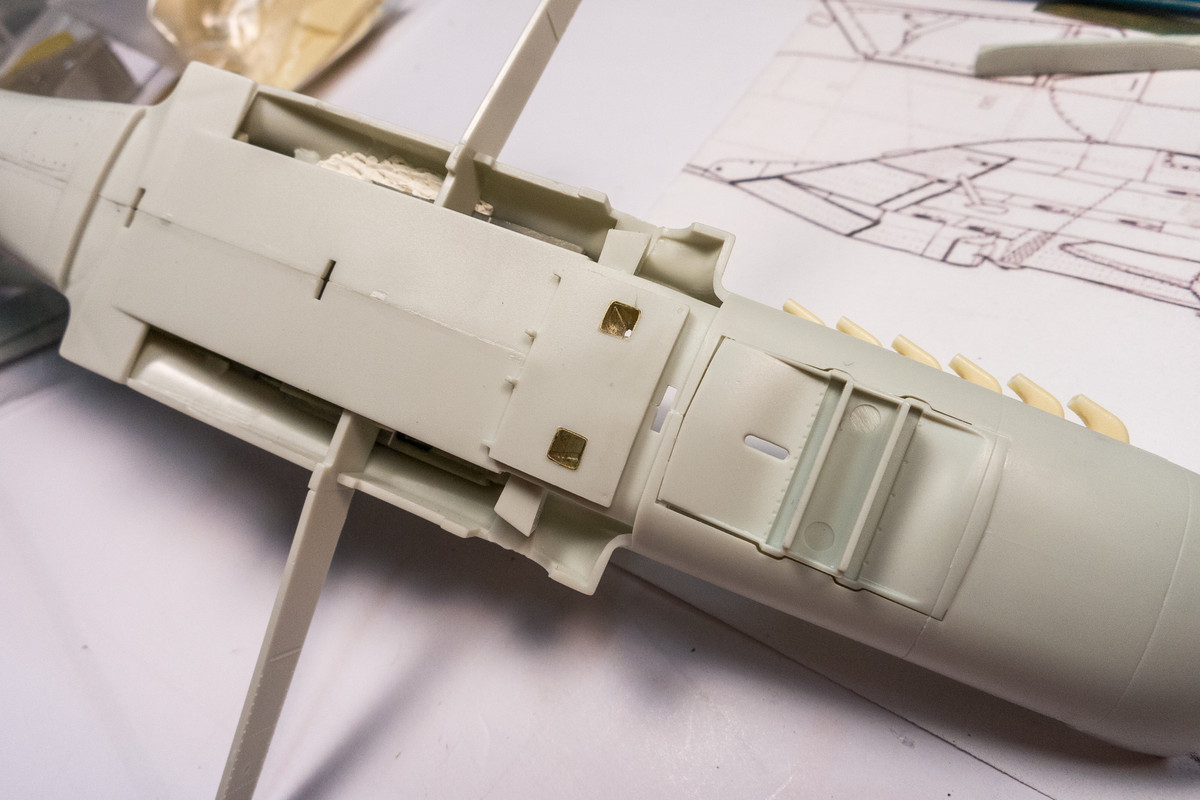
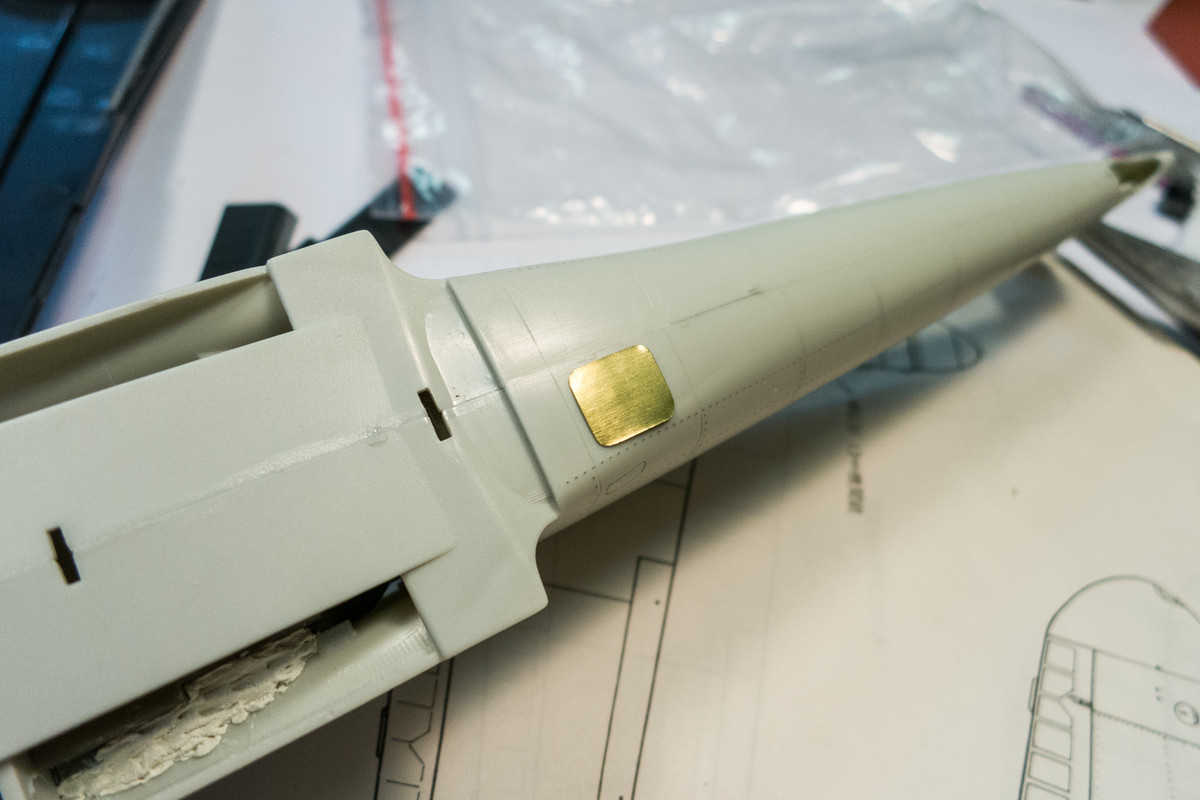
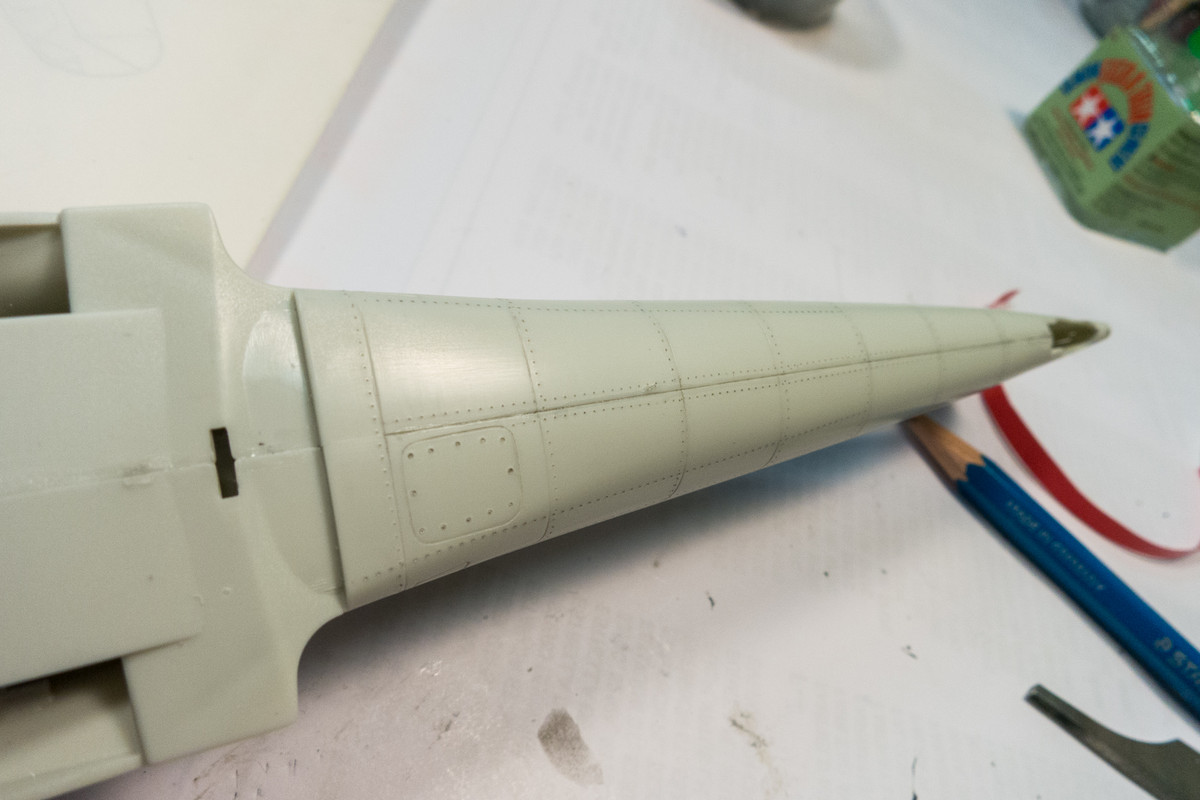
After cleaning up the fuselage seams, I added a missing panel on the fuselage bottom using a piece of brass sheet as a scribing template. The shape for template was derived from a scan of a 1/48 scale drawing of a G-6. The scan was imported into AutoCAD, scaled up to 1/32 scale and a mask file was generated for the Silhouette Portrait. The mask was stuck onto a piece of brass and cut out with scissors. Once you get used to a piece of technology, this stuff becomes a bit ho-hum and I didn't record any of it photographically.
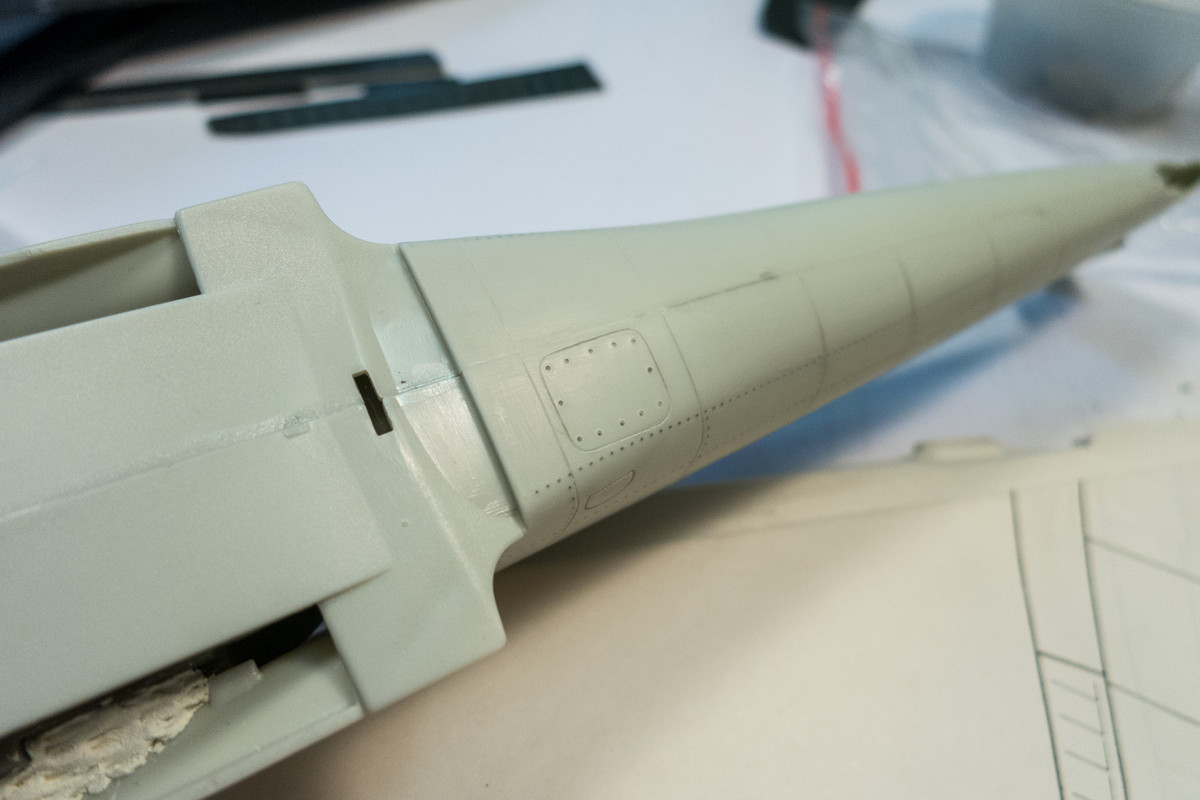
The centerline seam was re-established and riveted.
When I was dry-fitting the cockpit to the fuselage, I was using bits of Blue Tack to hold the resin pit into place. It gave me a little bit of "give" to make minor adjustments. So I thought I'd permanently attach the cockpit in a similar manner using Milliput instead of Blue Tack. Hmmm... I forgot to take a pic of the buttoned up fuselsage!
Attachment of the resin cowling to the fuselage is coming up so I thought it would be a good time to apply the rivets...
After cleaning up the fuselage seams, I added a missing panel on the fuselage bottom using a piece of brass sheet as a scribing template. The shape for template was derived from a scan of a 1/48 scale drawing of a G-6. The scan was imported into AutoCAD, scaled up to 1/32 scale and a mask file was generated for the Silhouette Portrait. The mask was stuck onto a piece of brass and cut out with scissors. Once you get used to a piece of technology, this stuff becomes a bit ho-hum and I didn't record any of it photographically.
The centerline seam was re-established and riveted.