Page 7 of 30
Re: 1/32 Hasegawa Fw 190D-13 Yellow 10
Posted: Fri Dec 18, 2020 8:27 pm
by BlackSheep214
LOLOL. And the Brady Bunch. No bus but they had Alice.

Re: 1/32 Hasegawa Fw 190D-13 Yellow 10
Posted: Sat Dec 19, 2020 12:38 pm
by Duke Maddog
Partridge family bus! Now
there's a blast from the past! Hilarious!

Wood grain looks stunning man, way to go!

Re: 1/32 Hasegawa Fw 190D-13 Yellow 10
Posted: Sat Dec 19, 2020 3:39 pm
by tempestjohnny
Stikpusher wrote:You kids don’t know what you missed...
Susan Dey
Re: 1/32 Hasegawa Fw 190D-13 Yellow 10
Posted: Mon Dec 21, 2020 6:14 pm
by Stuart
veey impressive work on those flaps John!
Re: 1/32 Hasegawa Fw 190D-13 Yellow 10
Posted: Mon Dec 21, 2020 11:43 pm
by jkim
Not completely happy with the flaps to be perfectly honest. And this was my second attempt at it. I can't quite put my finger on it... the lack of visible grain on the wood decals or the panel lines on the flaps being too deep or the lack of positive attachments. I've scratched up a set of replacement flaps using the kit parts and sheet styrene but haven't done anything further. I've got time to think about this.
Re: 1/32 Hasegawa Fw 190D-13 Yellow 10
Posted: Tue Dec 22, 2020 12:06 am
by Stikpusher
Take your time and do it right John. You always figure out what needs to be done.
Re: 1/32 Hasegawa Fw 190D-13 Yellow 10
Posted: Sat Jan 02, 2021 3:24 am
by jkim
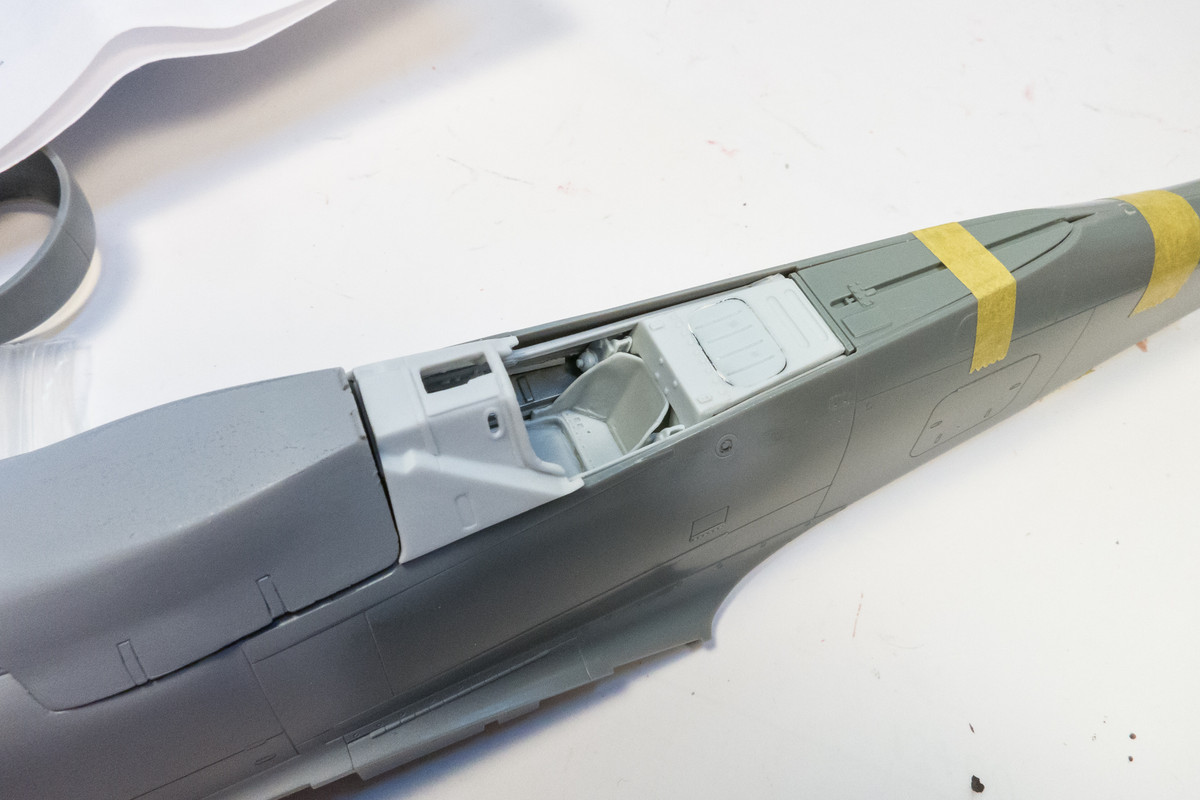
I'm still trying to focus on the 262 build so I've not really jumped into deep water on this build yet. But I am making a little bit of progress. Months back, I did check to see if the Eagle Editions resin cockpit fit between the thinned fuselage sides but so much time has elapsed that I didn't feel completely confident of those findings. So I double checked.
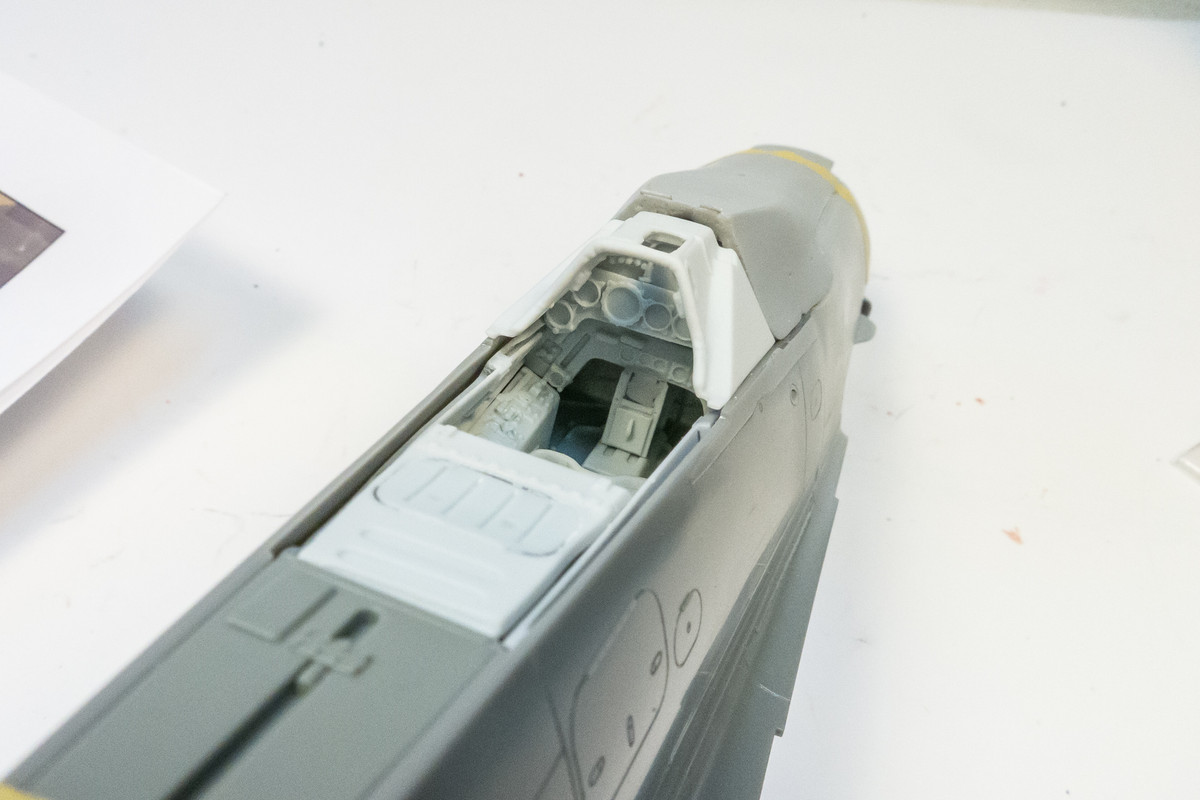
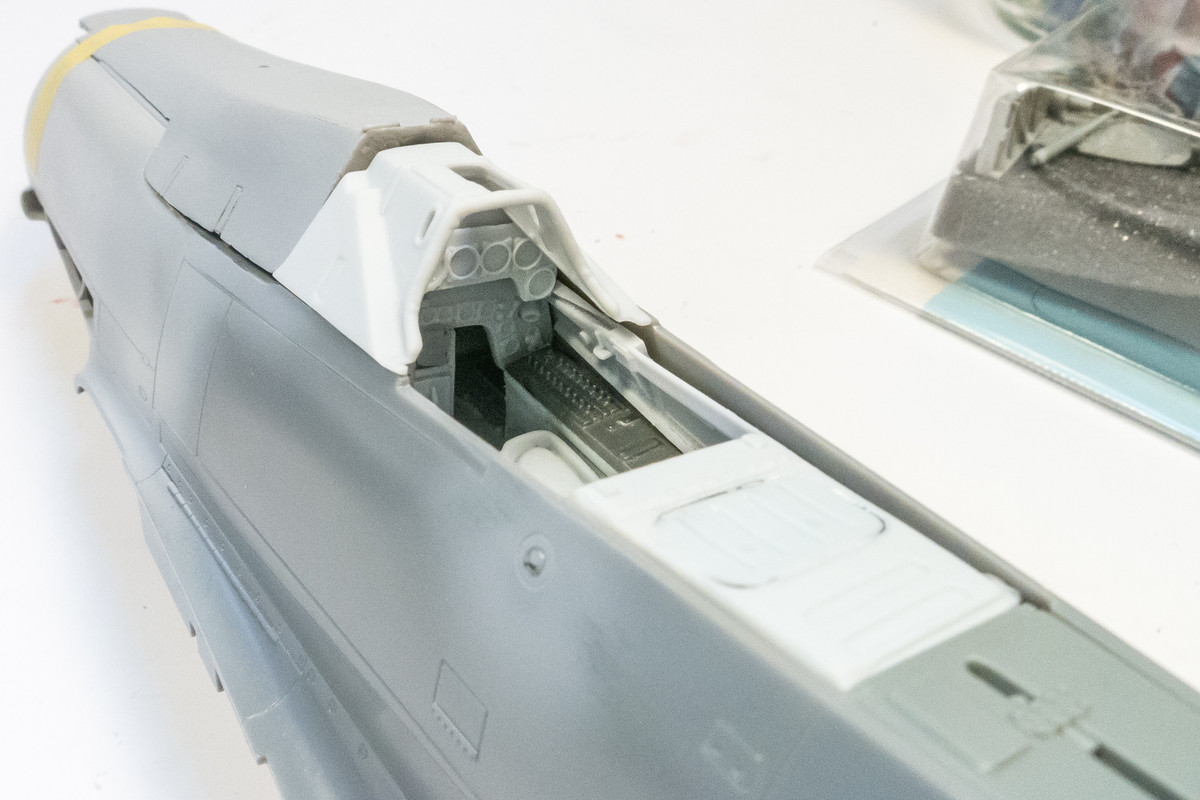
With the major cockpit components taped together, the fit looks to be acceptable.
I simplified the Jabo bomb control panel that came with the Eagle Editions set to match the center panel of the D-13.
The dark-colored side panel is from the Zoukei Mura Ta152H-1 kit, again to match the D-13.
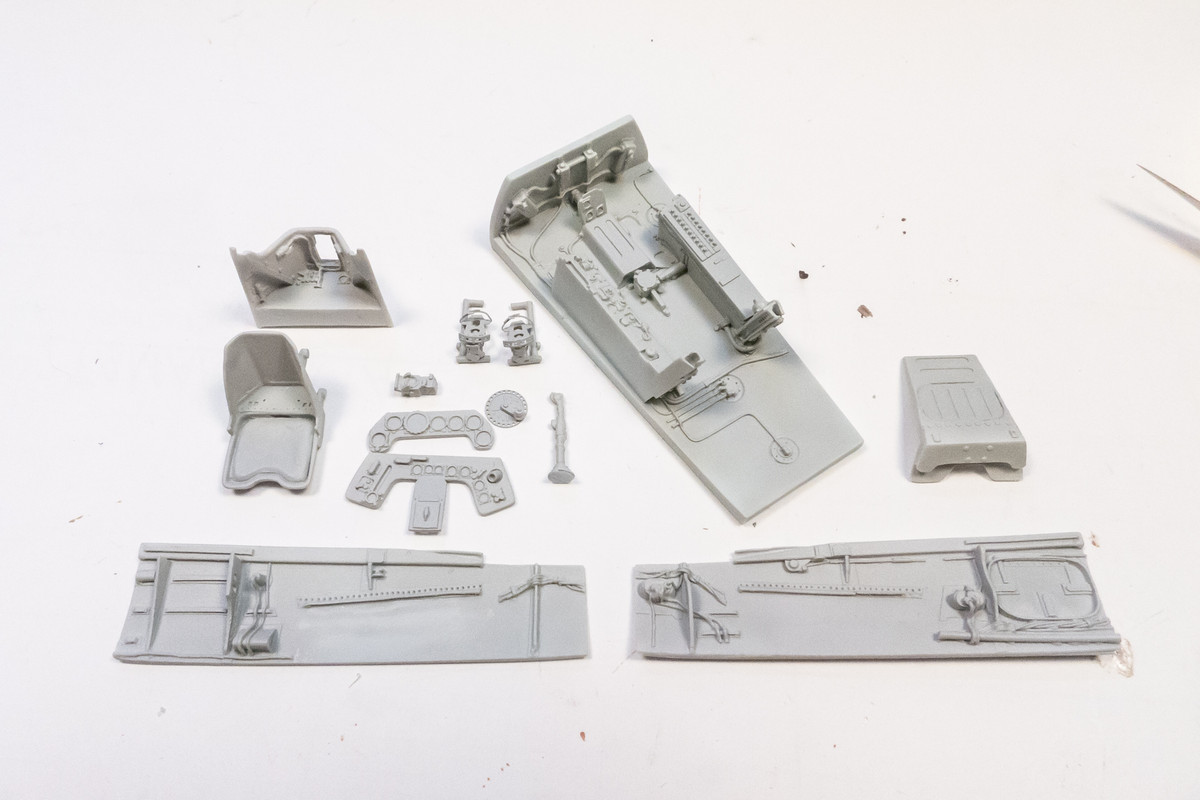
Confident that the cockpit fit is okay, I can start the painting process. Since the resin bits were a mix of different colored resins, I thought I'd start it off by using Mr Primer Surfacer 1000 on everything.
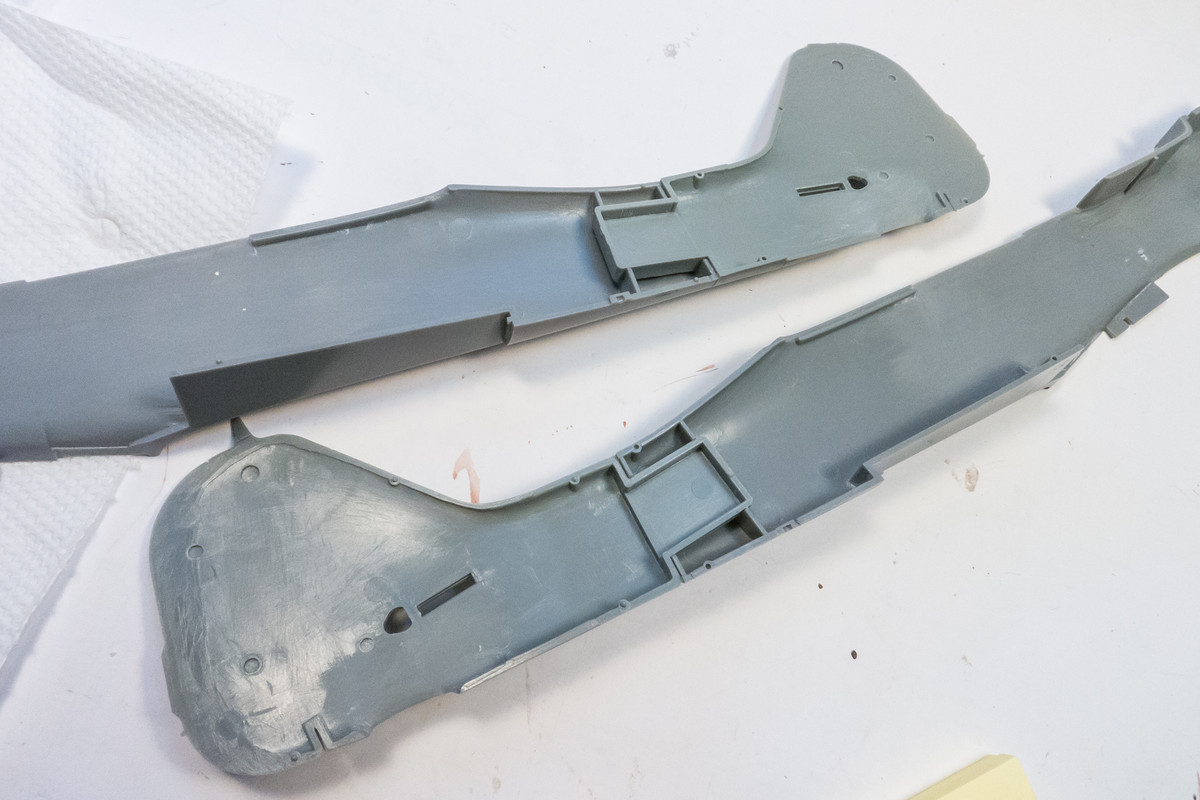
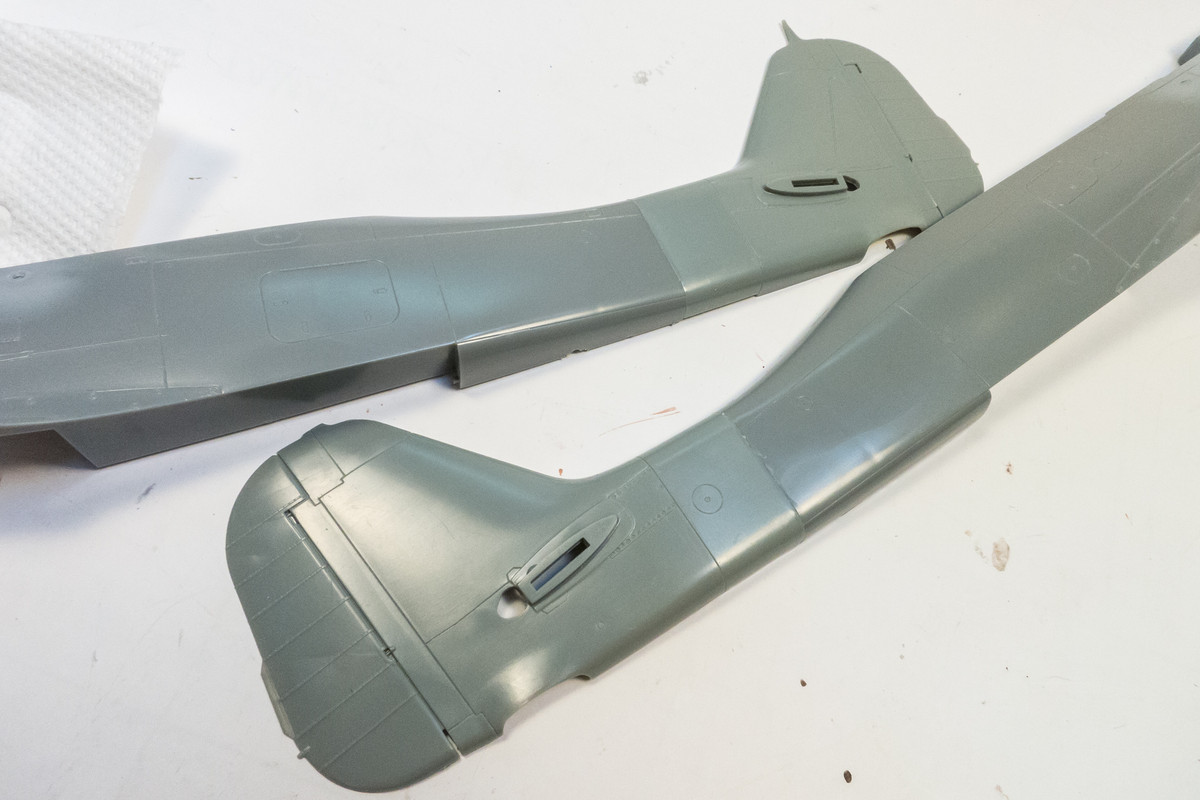
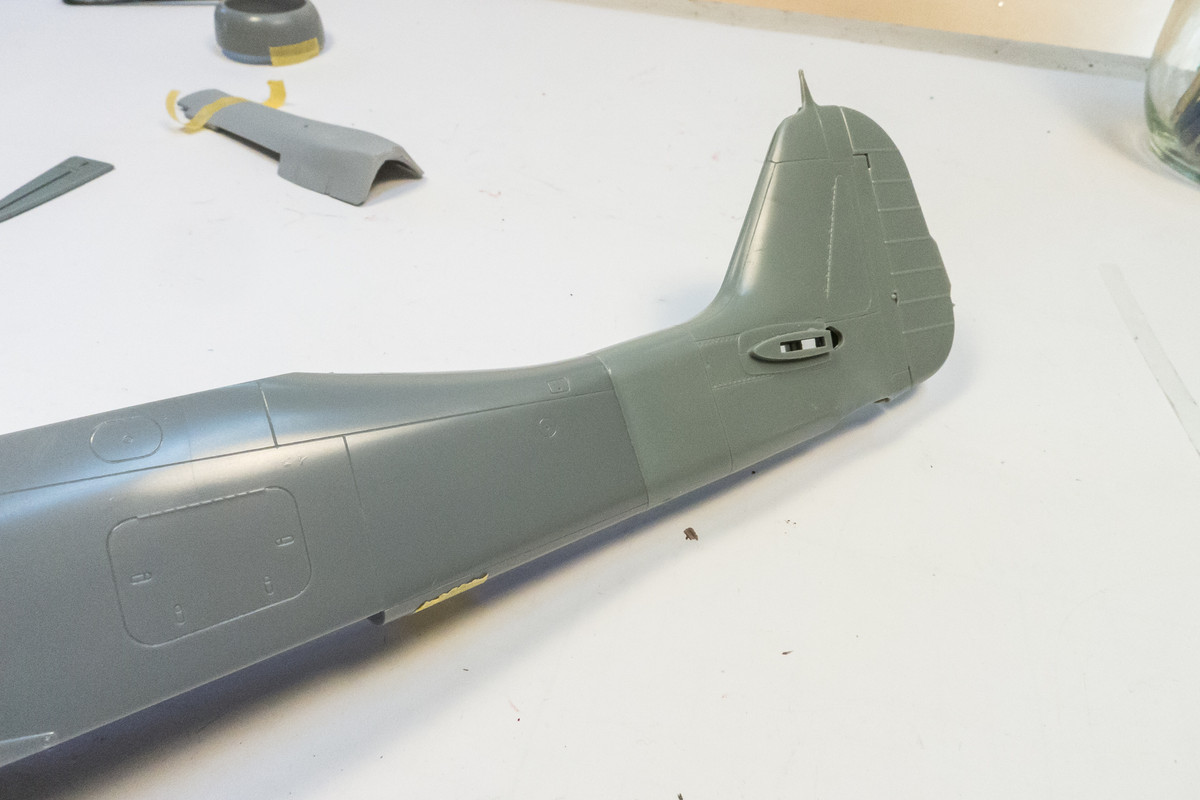
The Hasegawa D-9 kit has a separate tail. Instead of following the instructions and inserting the finished tail assembly into the fuselage, I decided to keep the halves separate. This will give me more glue access to the contact surfaces and ensure a nice strong bond.
Re: 1/32 Hasegawa Fw 190D-13 Yellow 10
Posted: Sat Jan 02, 2021 7:45 am
by LyleW
John, your work is always a treat to see, and something to emulate. It is something to see.
Re: 1/32 Hasegawa Fw 190D-13 Yellow 10
Posted: Sat Jan 02, 2021 9:45 am
by Floki
Glad to see the resin cockpit is going to work, odd that the tail is a different color plastic.
Re: 1/32 Hasegawa Fw 190D-13 Yellow 10
Posted: Sat Jan 02, 2021 8:13 pm
by jkim
Pretty common on Hasegawa kits that I've worked on to have slightly different colored plastic on the modular parts (tail assembly in this case).
I decided to spend today riveting the fuselage. Gotta strike when the willingness is there! The guide lines are sketched onto the fuselage using a soft lead pencil. I've been using thin strips of yellow Tamiya tape as guidelines, especially for the double lines of rivets that go around the fuselage.
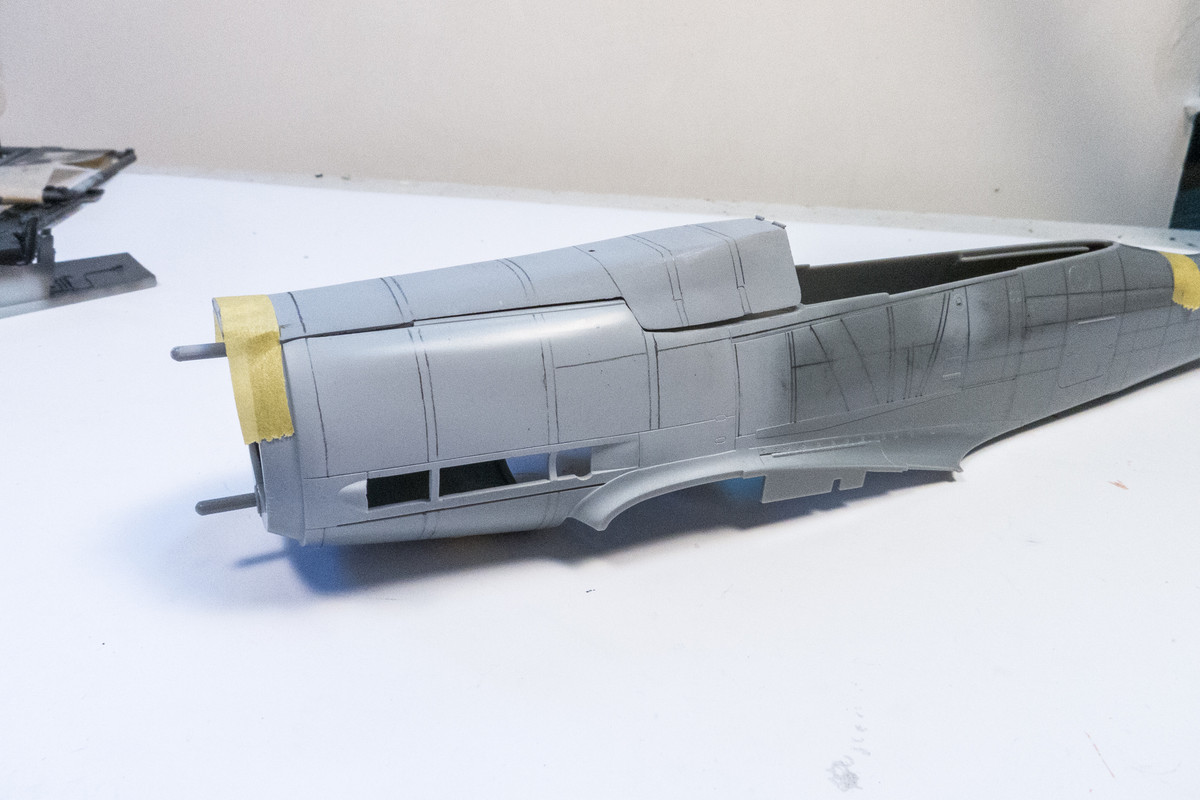
After the guide lines are drawn, the rivets are applied using a rivet wheel tool. In this case, I am using a 1.00mm pitch wheel from Galaxy Tools.
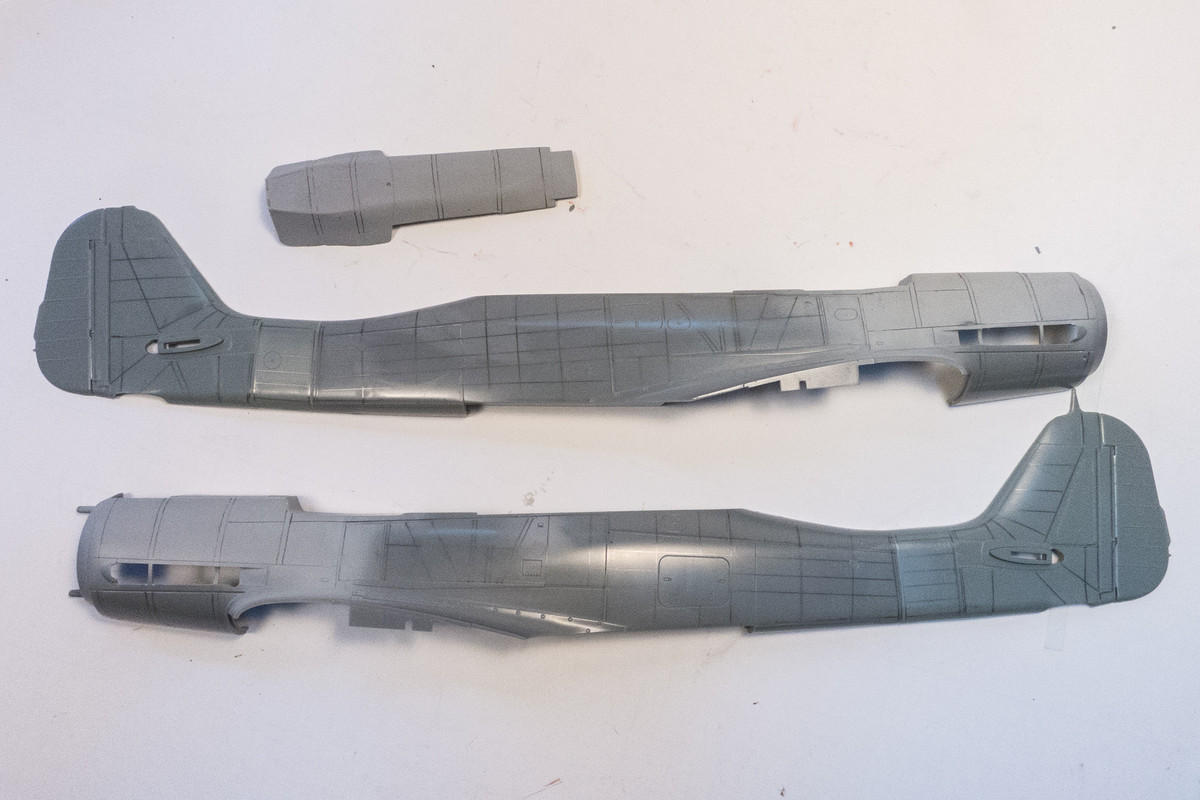
The fuselage is given an overall sanding with fine sandpaper to remove the raised divots of plastic around each newly-formed rivet. A dark wash is applied over the riveted parts to check the work. Rivets and panel lines that don't hold a wash can be fixed at this point.

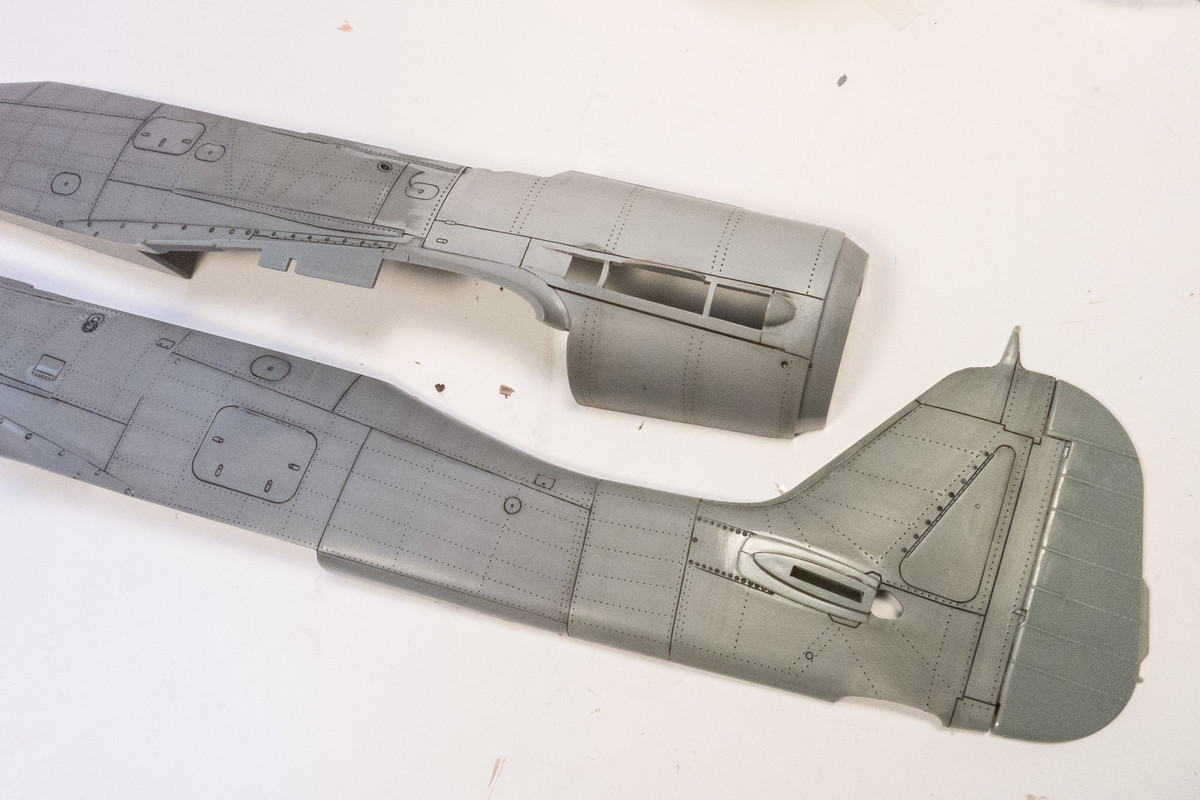
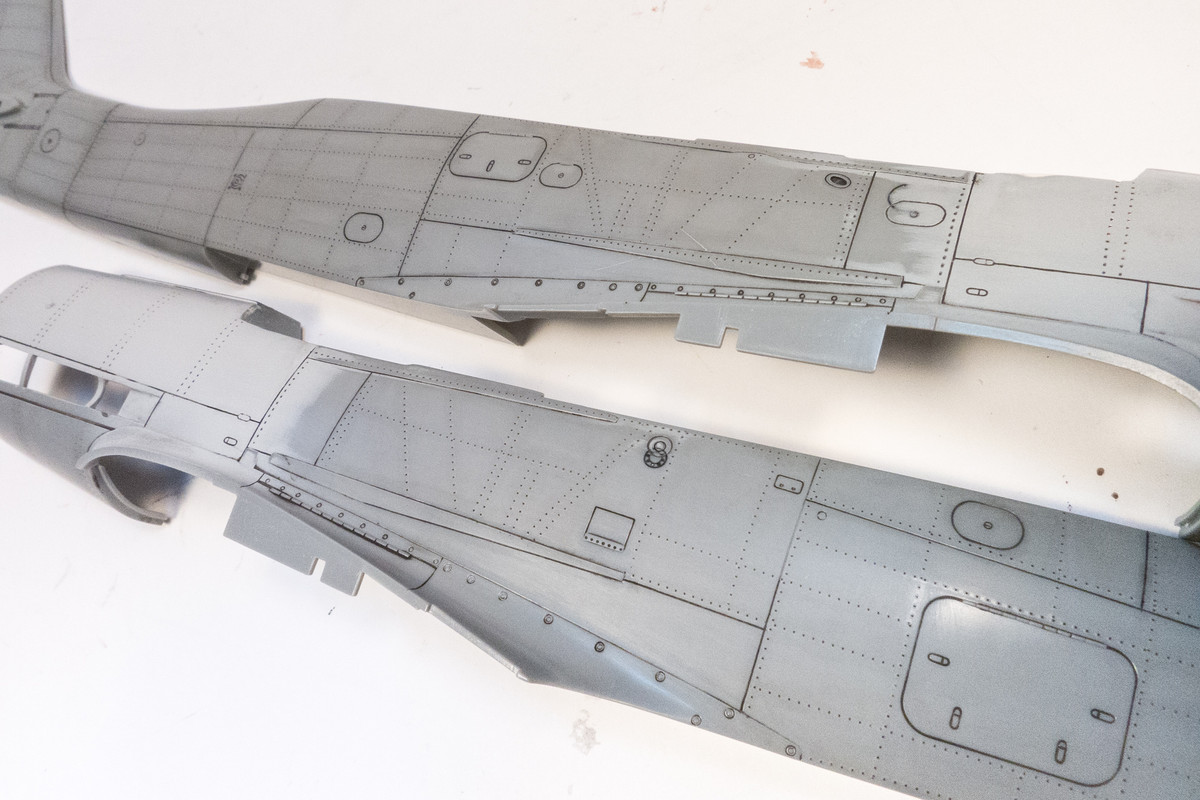
The initial try on the Grey Matter cowling was not up to par so I filled the rivets with CA glue and re-did them.
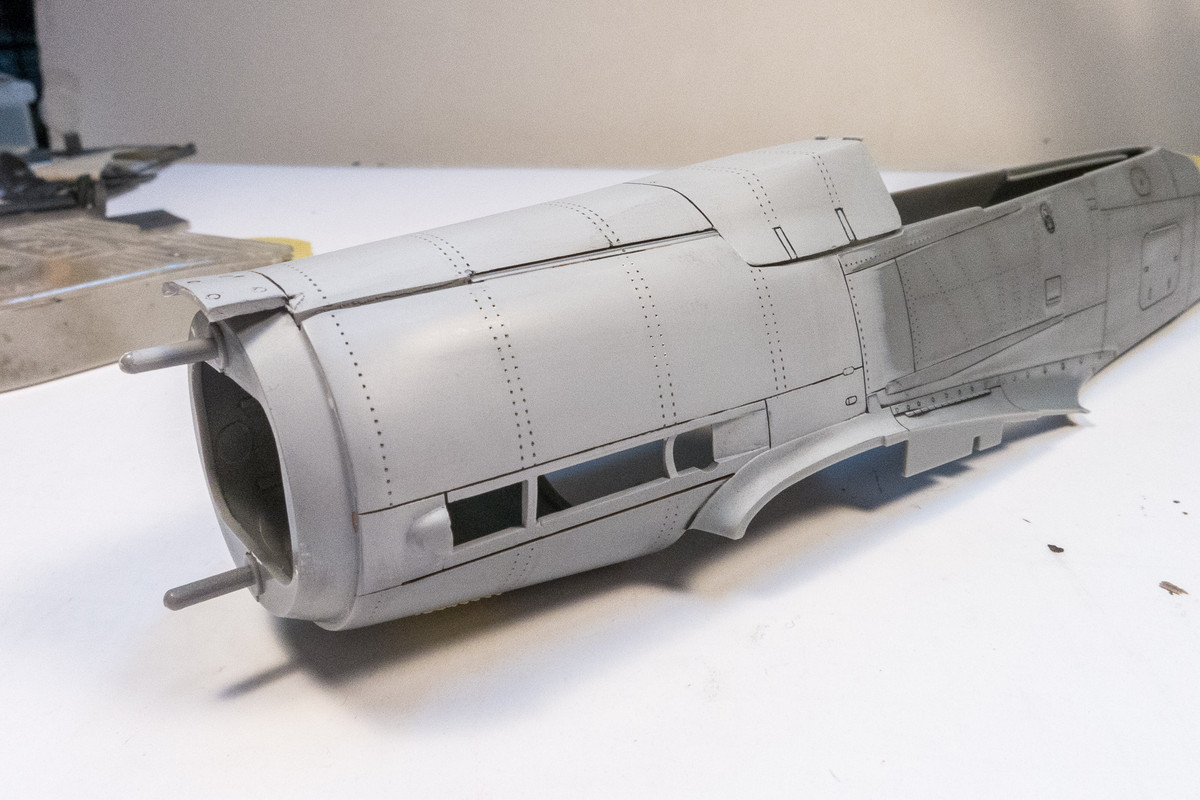
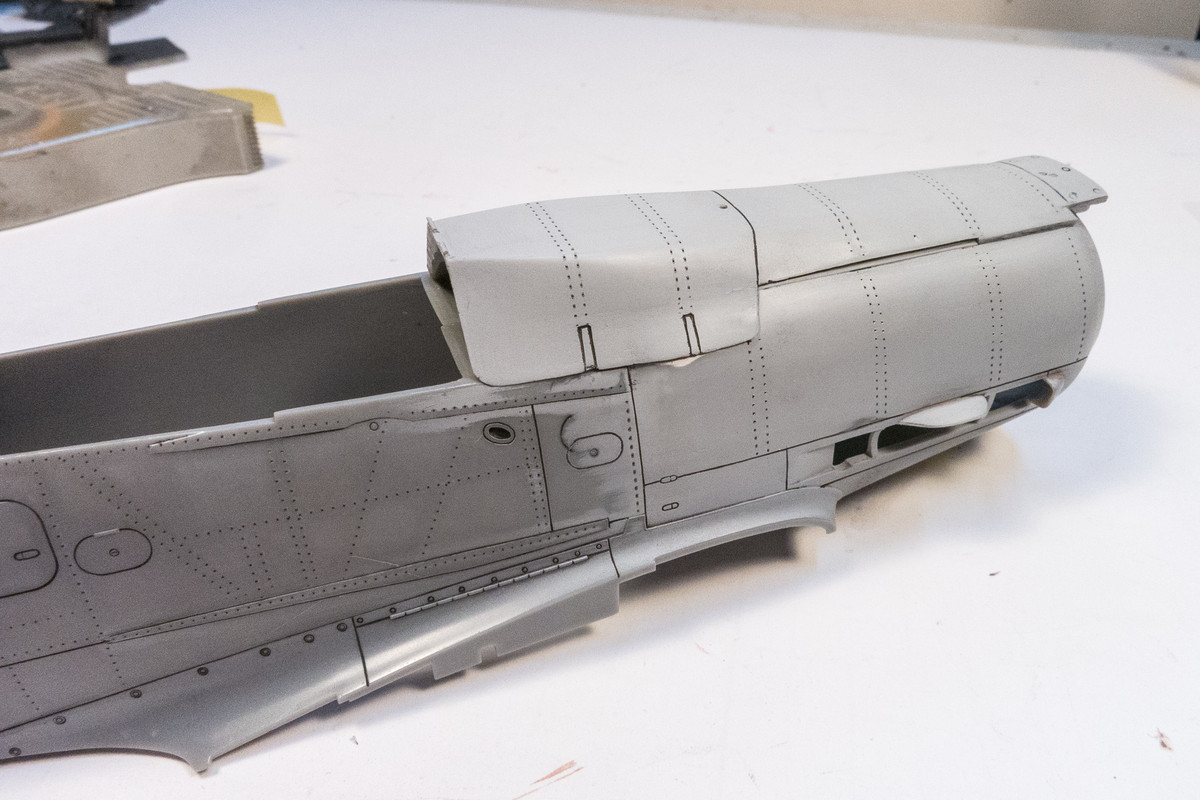
After photos, the riveted parts will be taken to the kitchen sink and given a scrub with a toothbrush to remove as much wash and sanding debris from the rivets and panel lines.