Re: 1/32 Revell Me262B-1/U1 Nachtjager
Posted: Fri Nov 27, 2020 7:08 pm
Thanks guys! Lots of the little details that I've been adding is due to comments I am getting over at LSP. Some of it I can do but others... out of my league (and also not my list of important things to do).
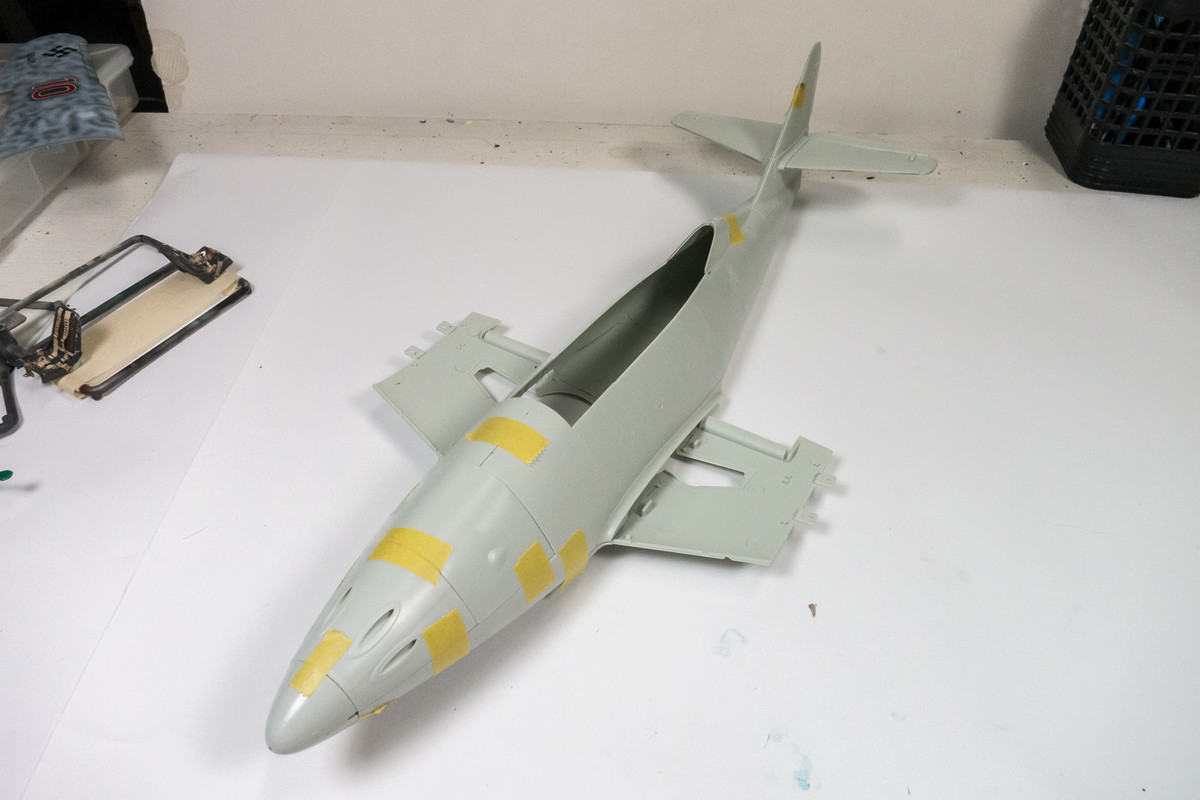
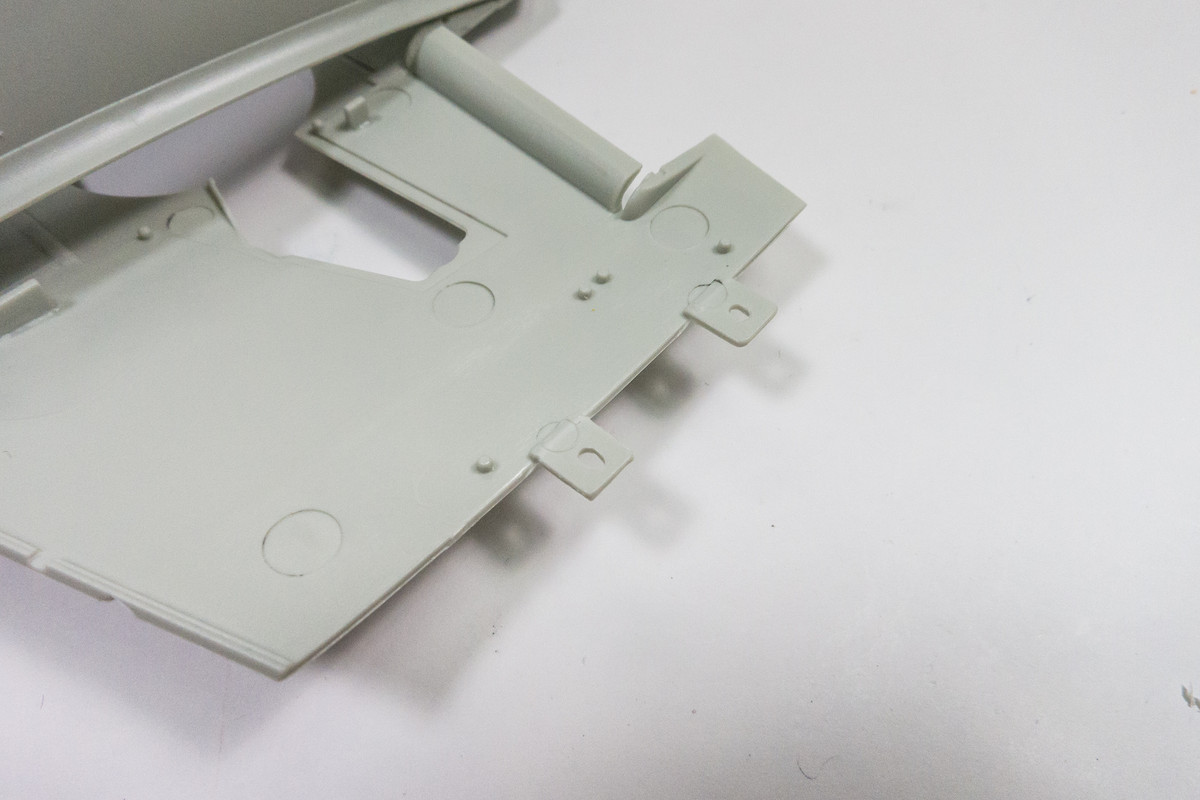
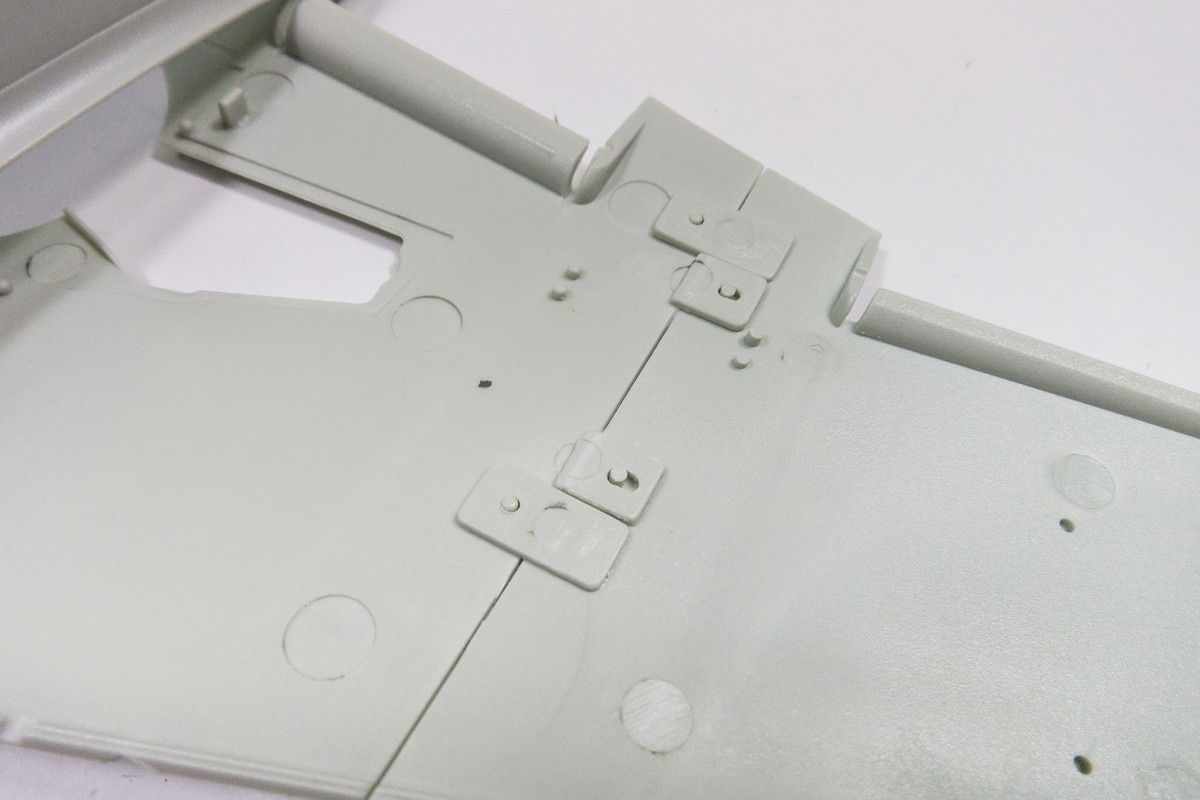
Lots to share in this update. I expanded my preliminary dry-fitting to the wings. The outer wing bottoms attach in a strange arrangement of tabs and pins.
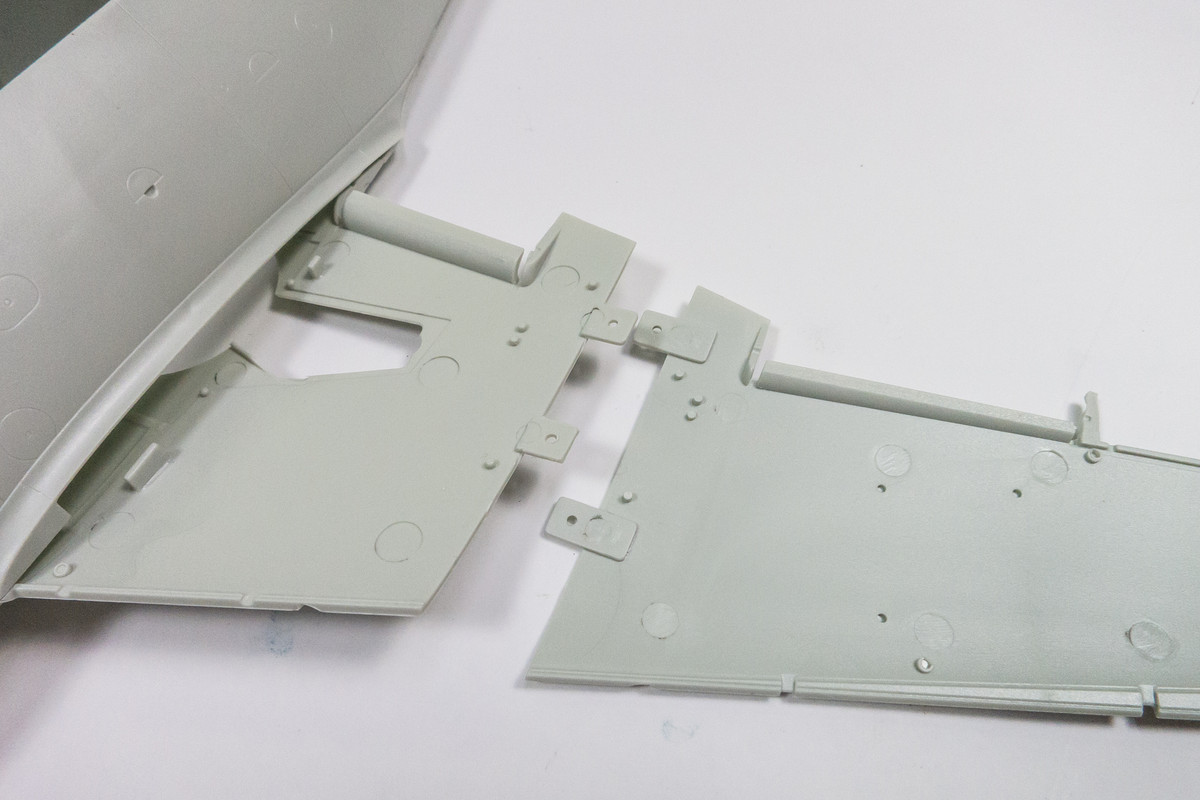
Due to the forced geometry of this connection, it was very difficult in getting the locating pins to go in their proper hole at an angle. Reminds me of the Zoukei Mura Ta152H push-and-twist landing gear legs. I figured something was going to break either forcing the pieces into place or trying to disassemble them.
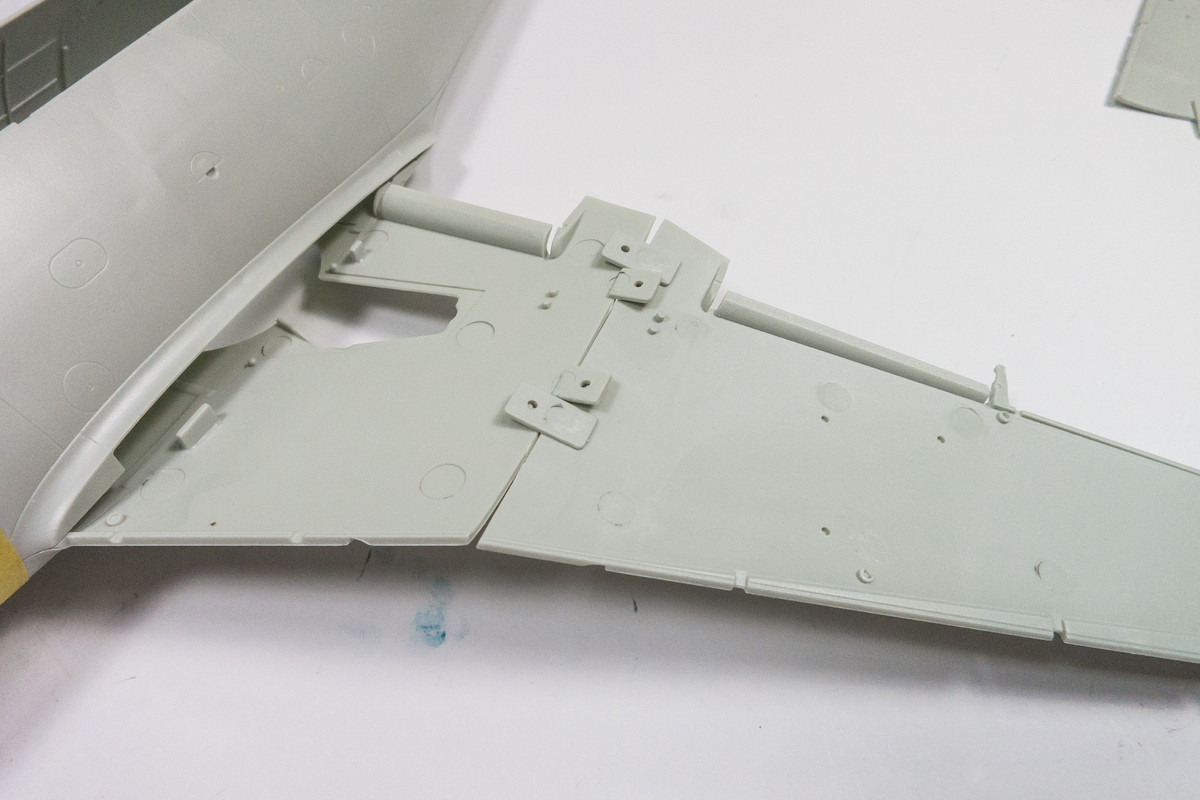
Put my engineer's hat on for a sec and decided to enlarge the two of the holes into ovals. It gives me just enough clearance to get the wings on and off and still providing a positive fit.
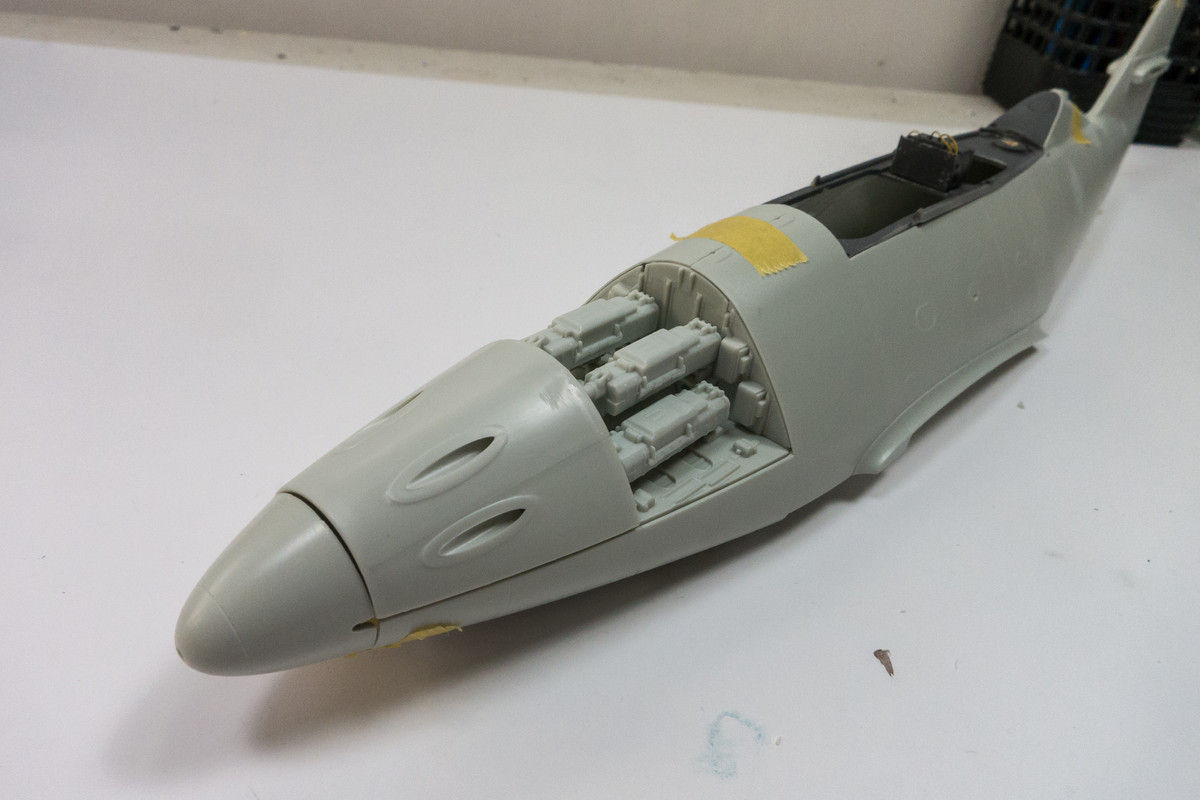
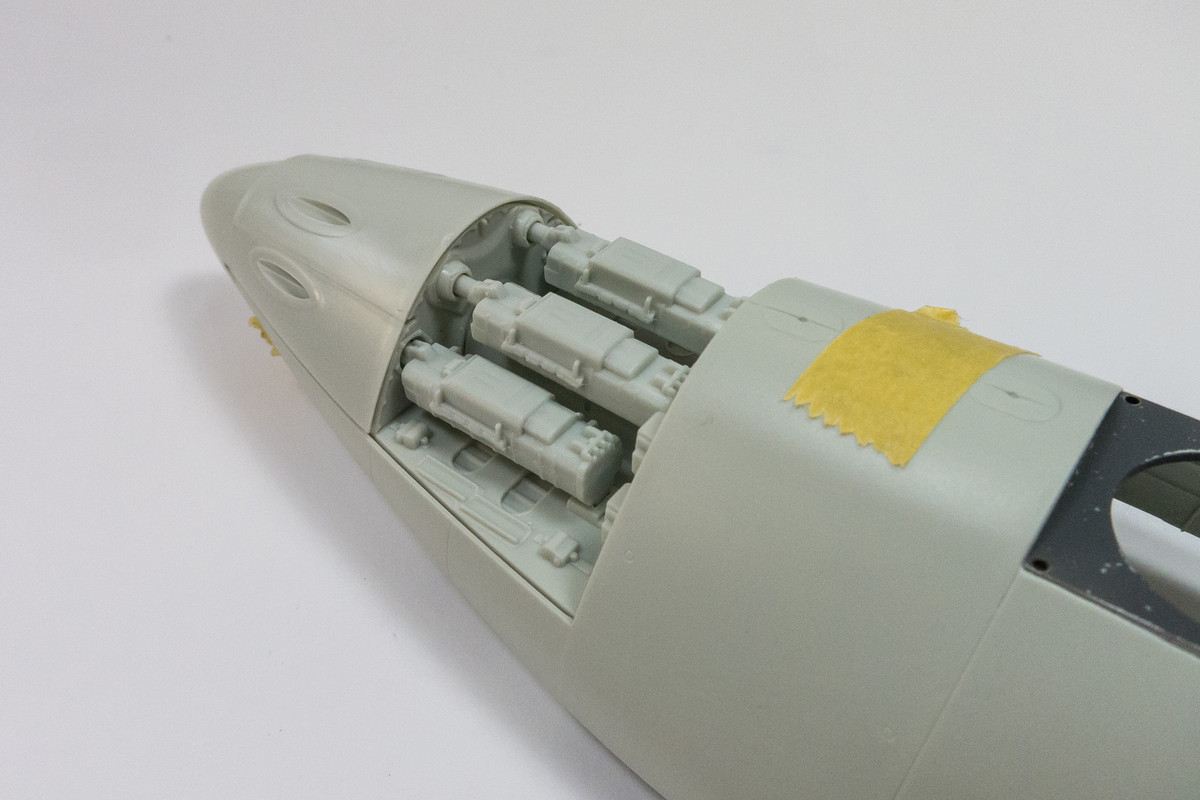
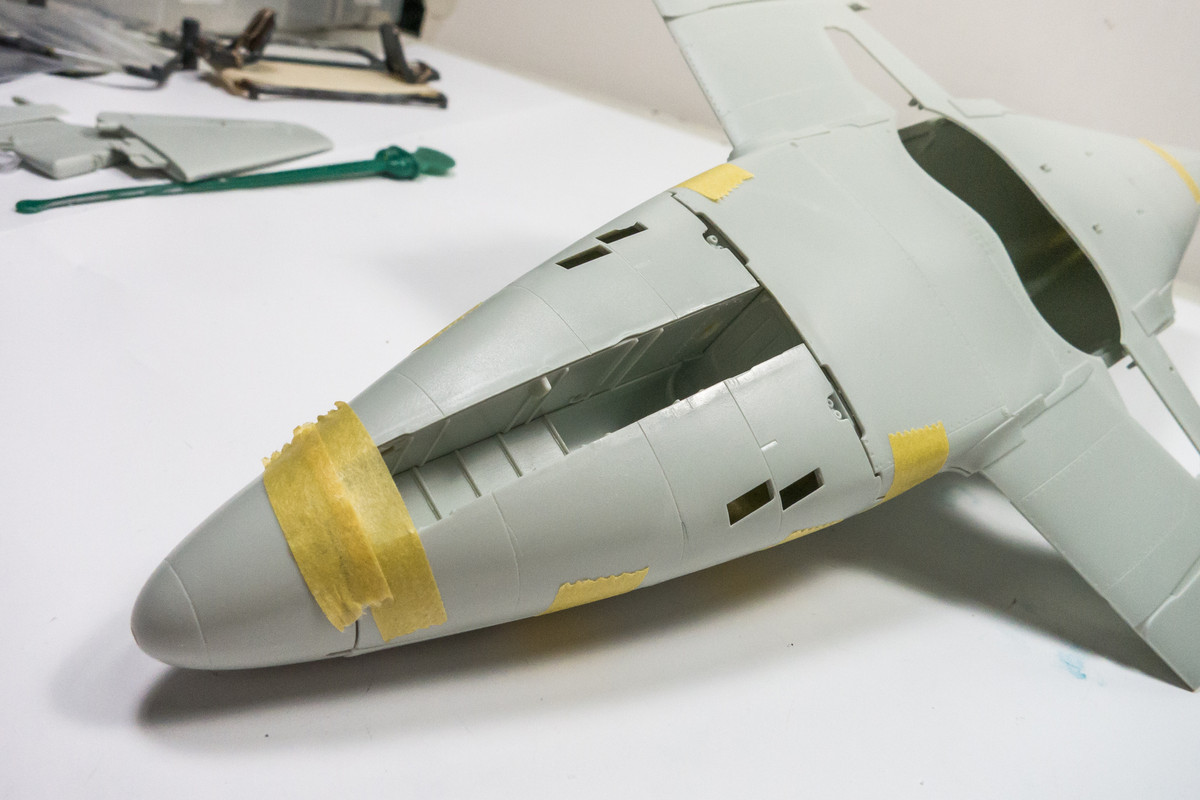
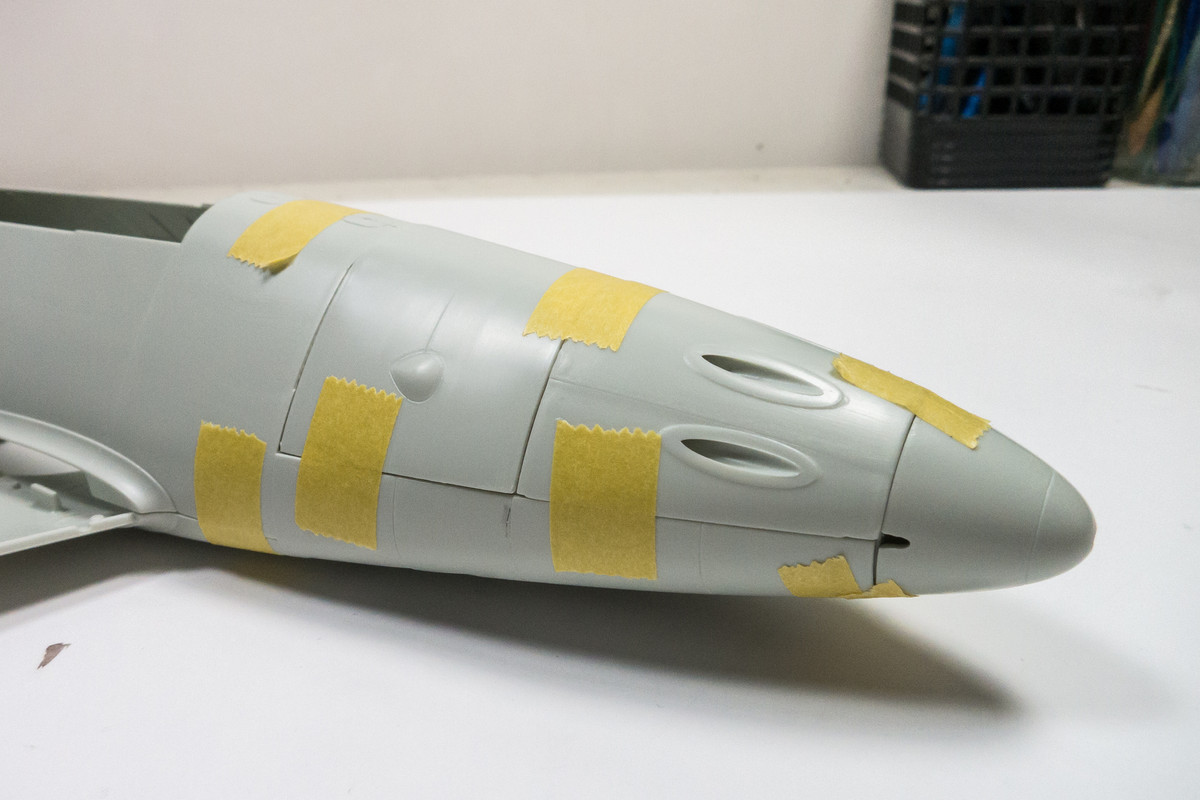
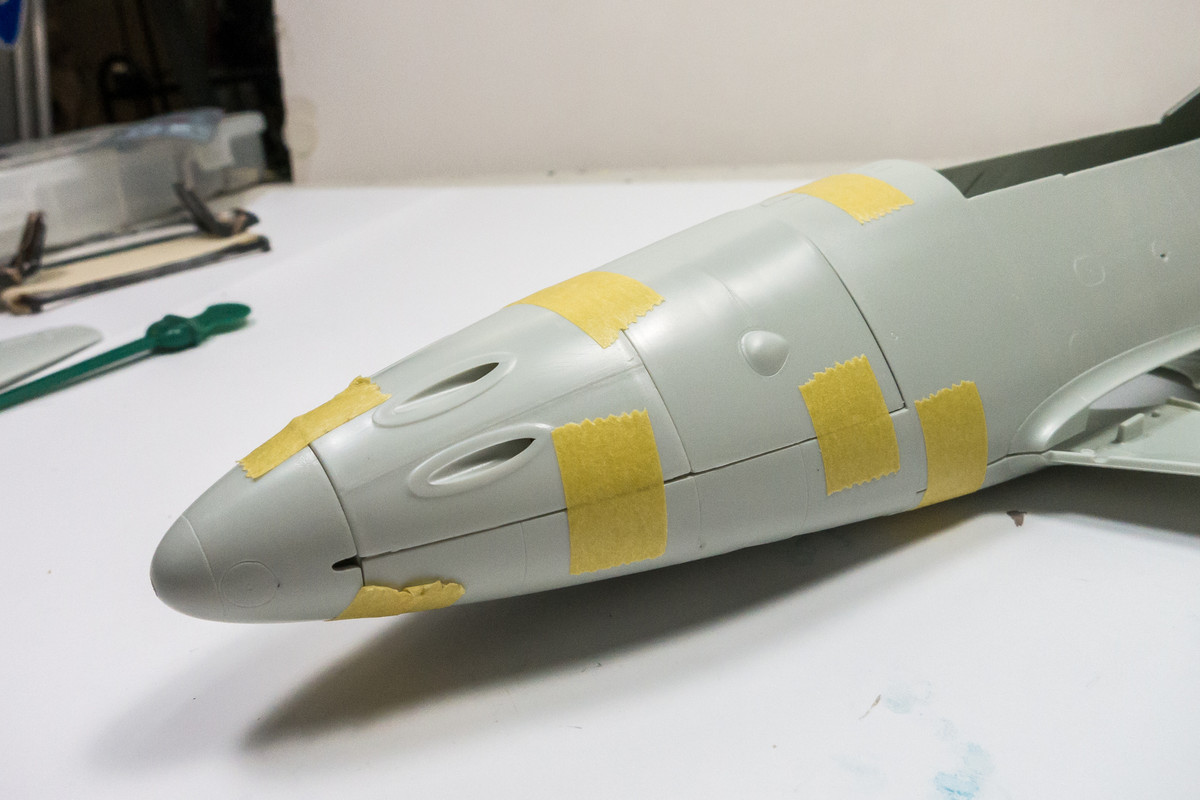
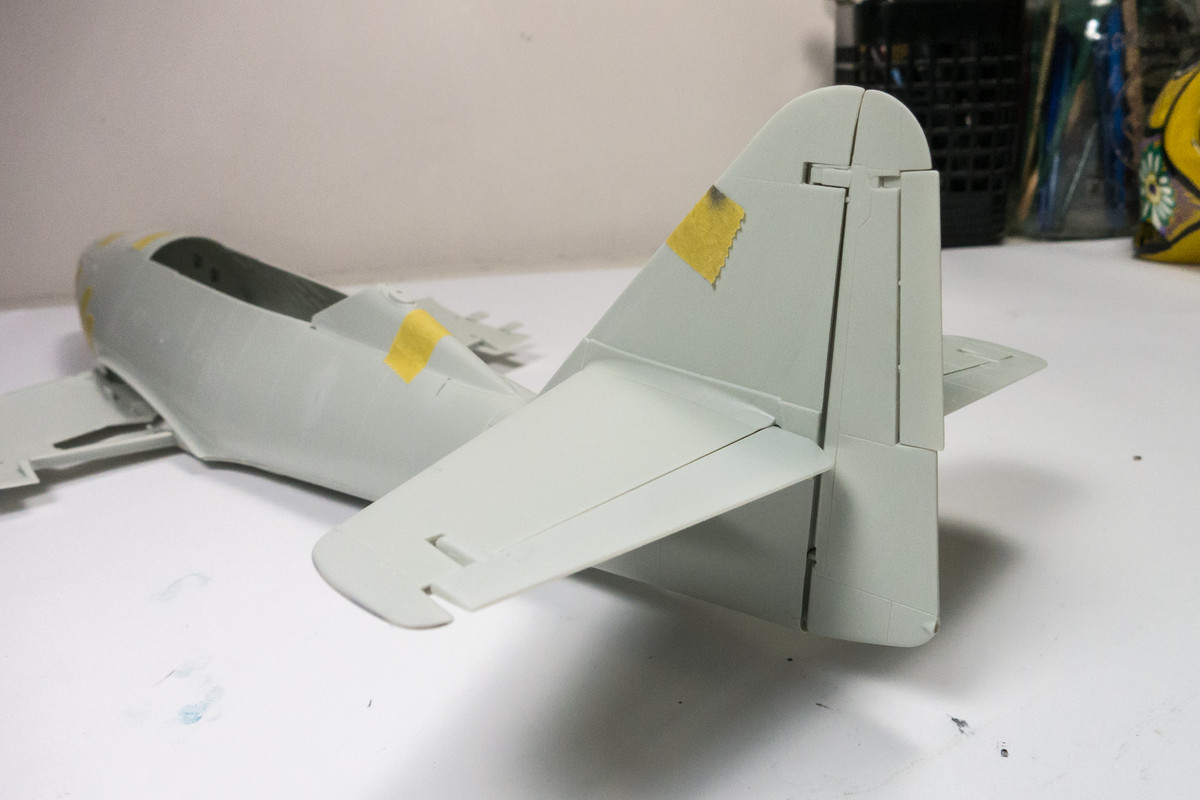
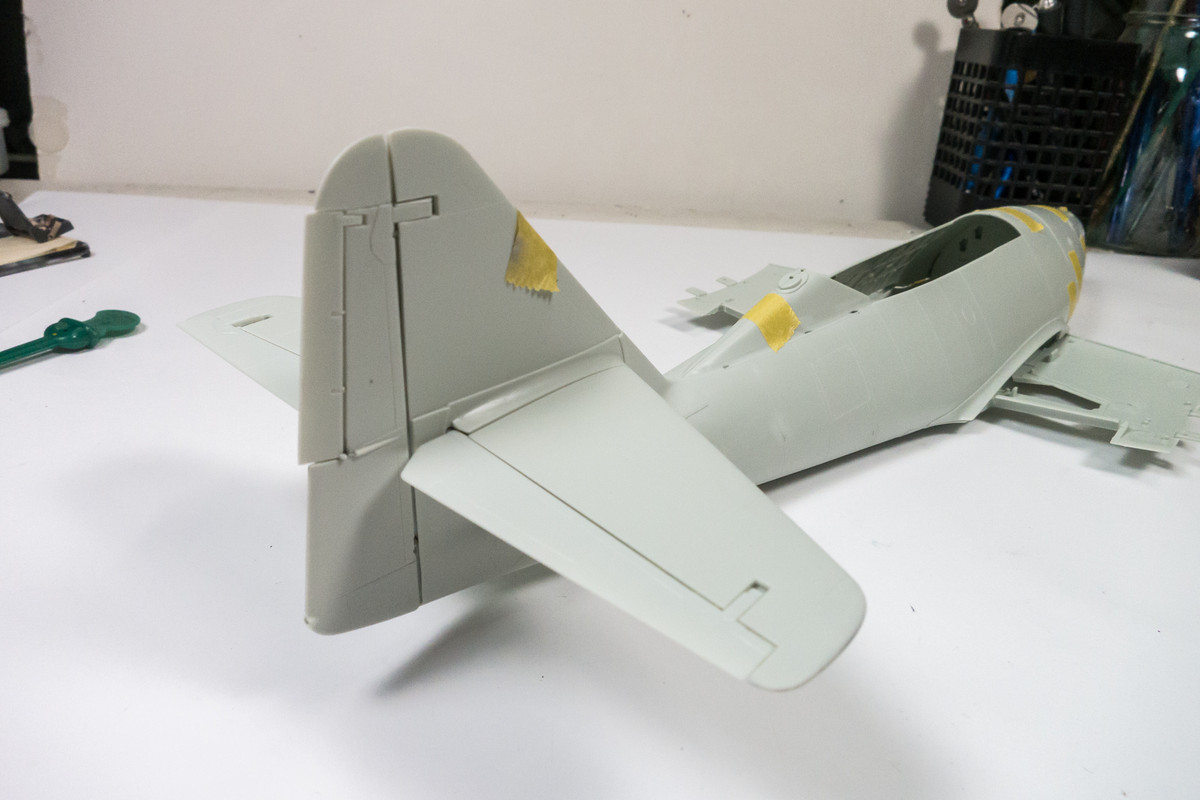
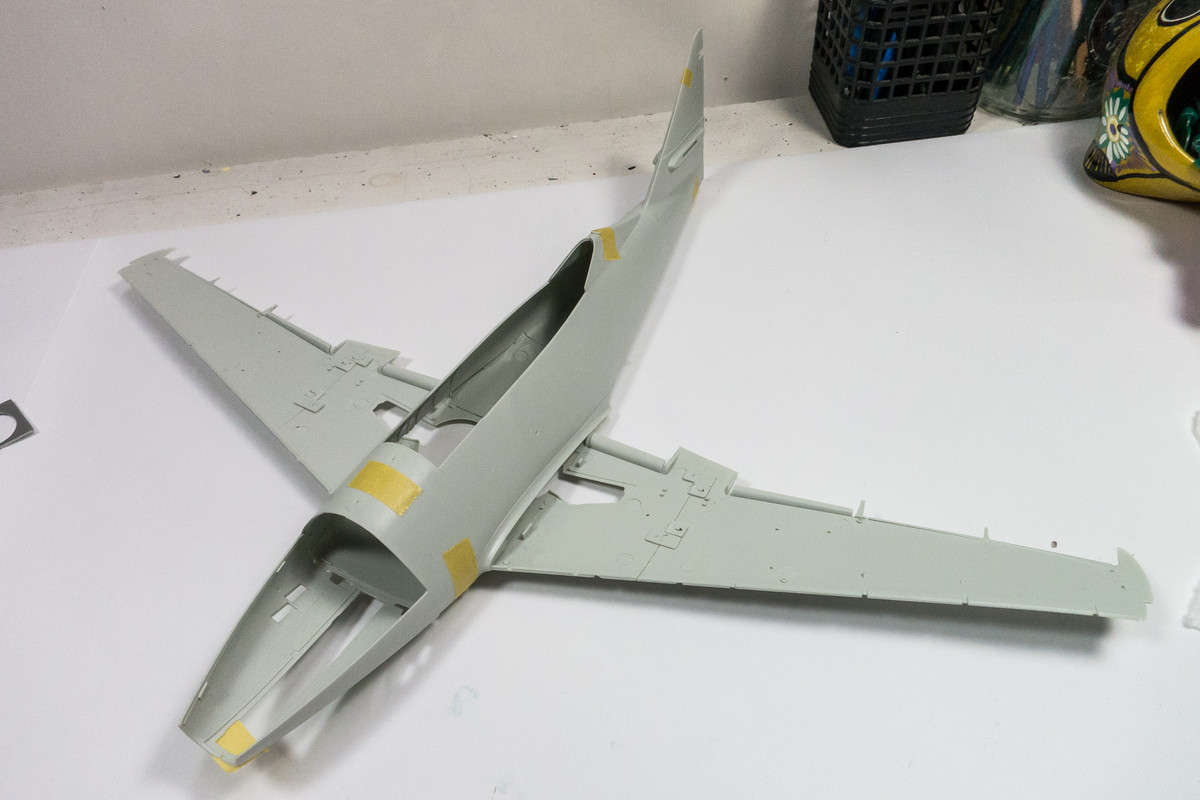
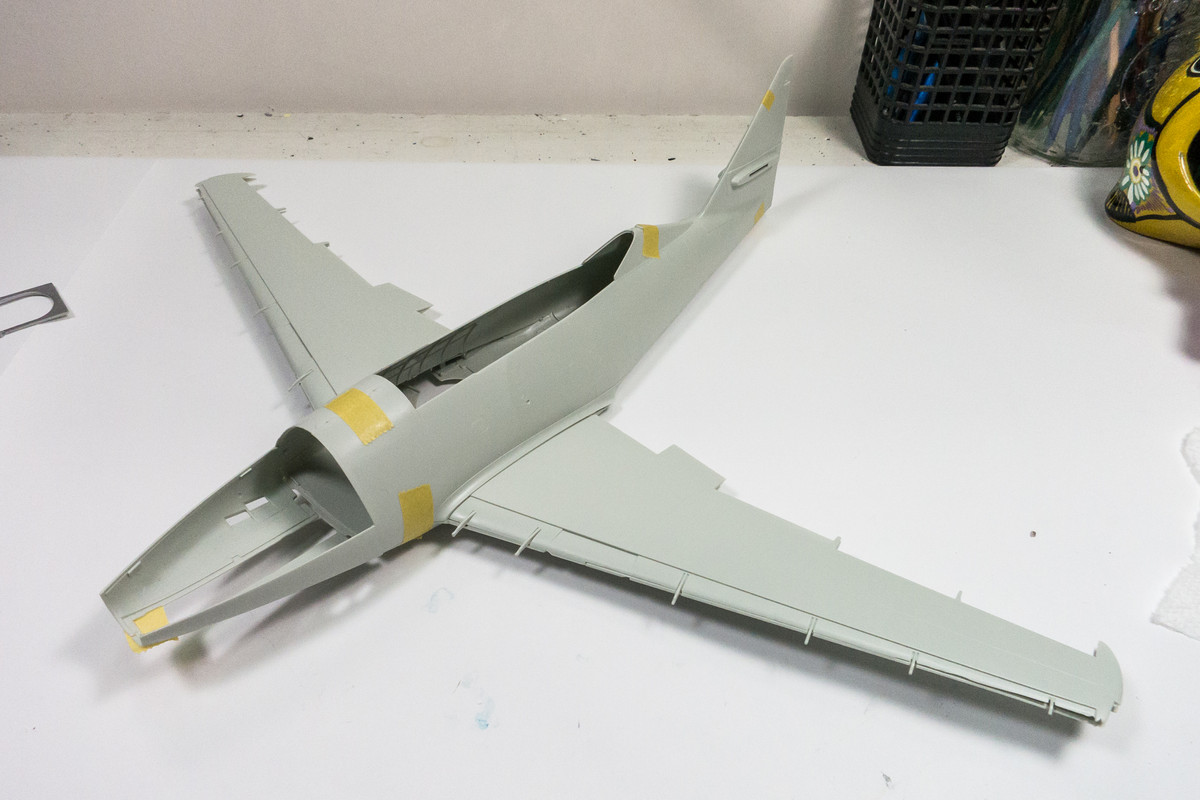
Just a quick look to see how the fuselage and wings go together. Hard to tell from this stage since so little has been glued together but I haven't spotted any obvious trouble spots yet.
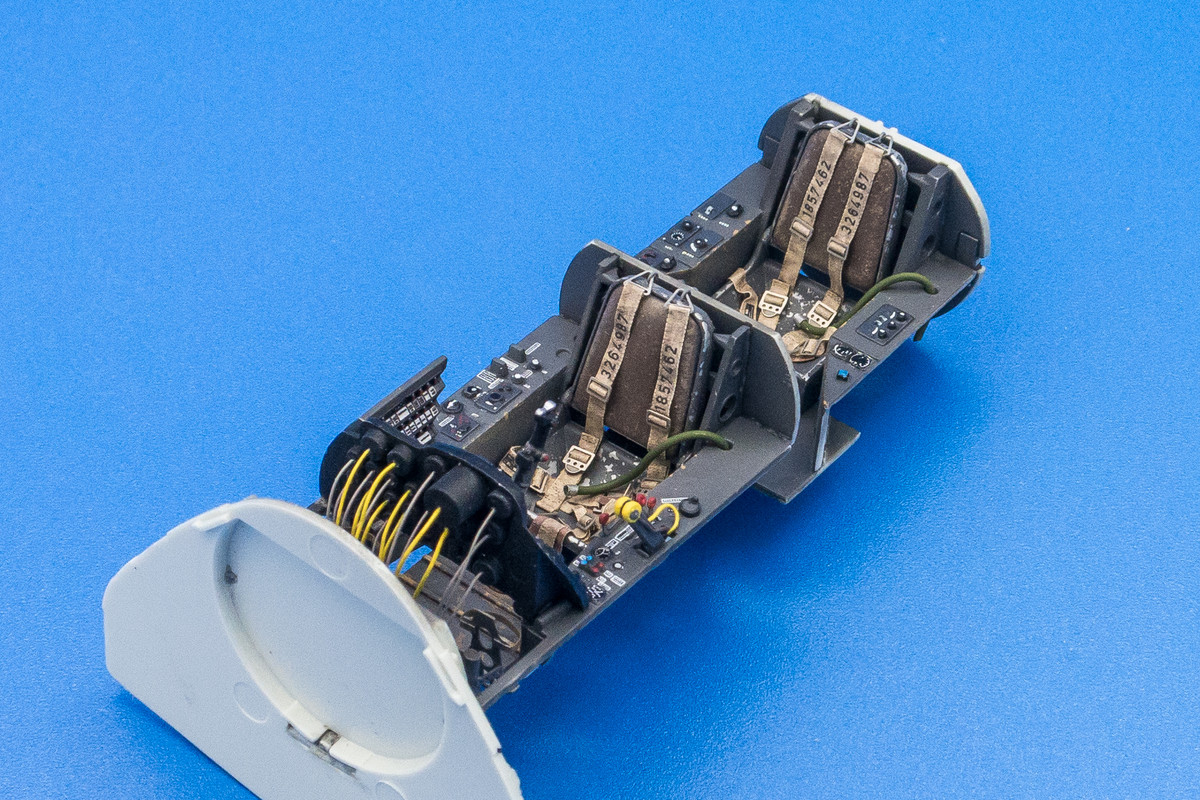
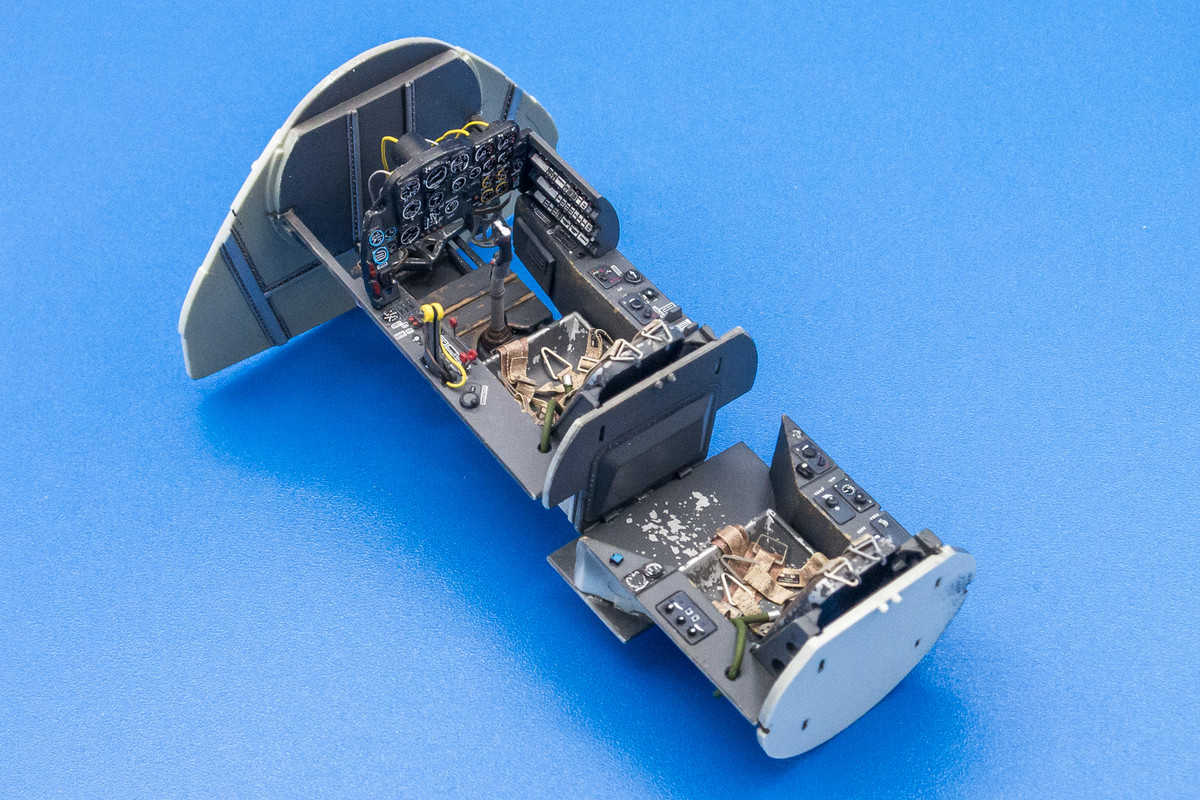
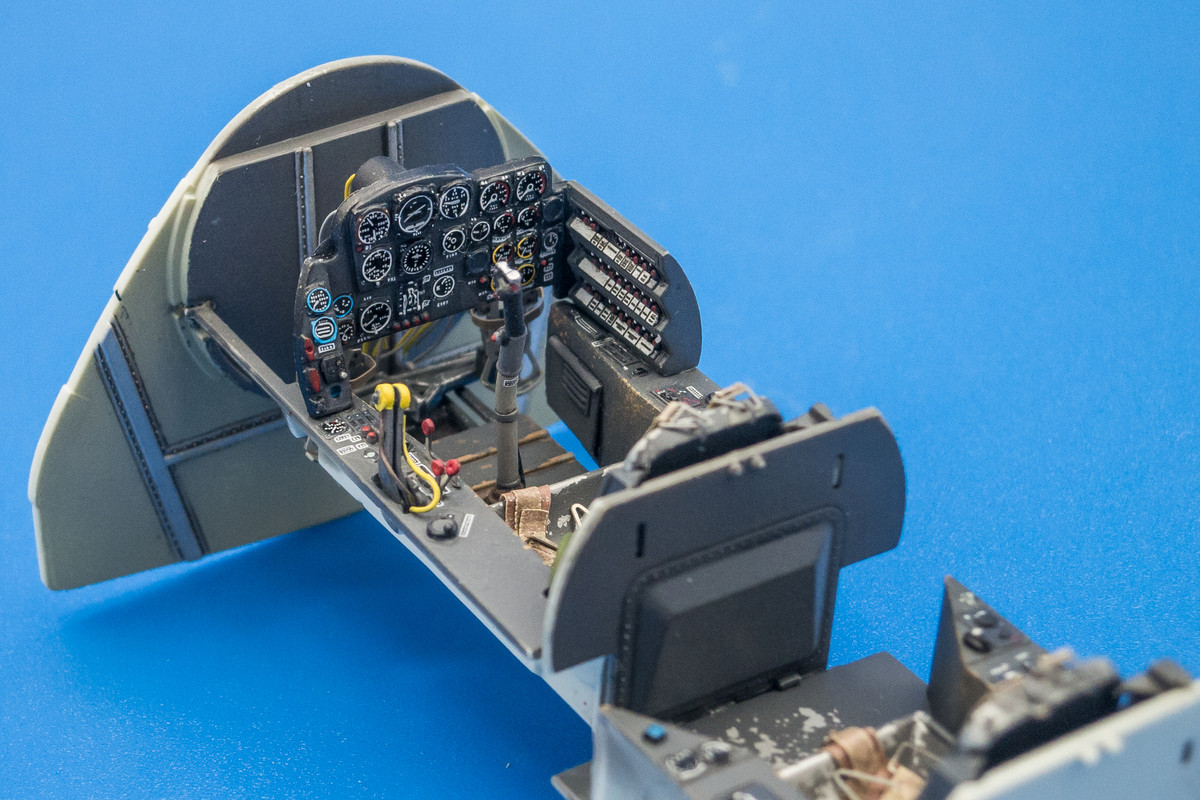
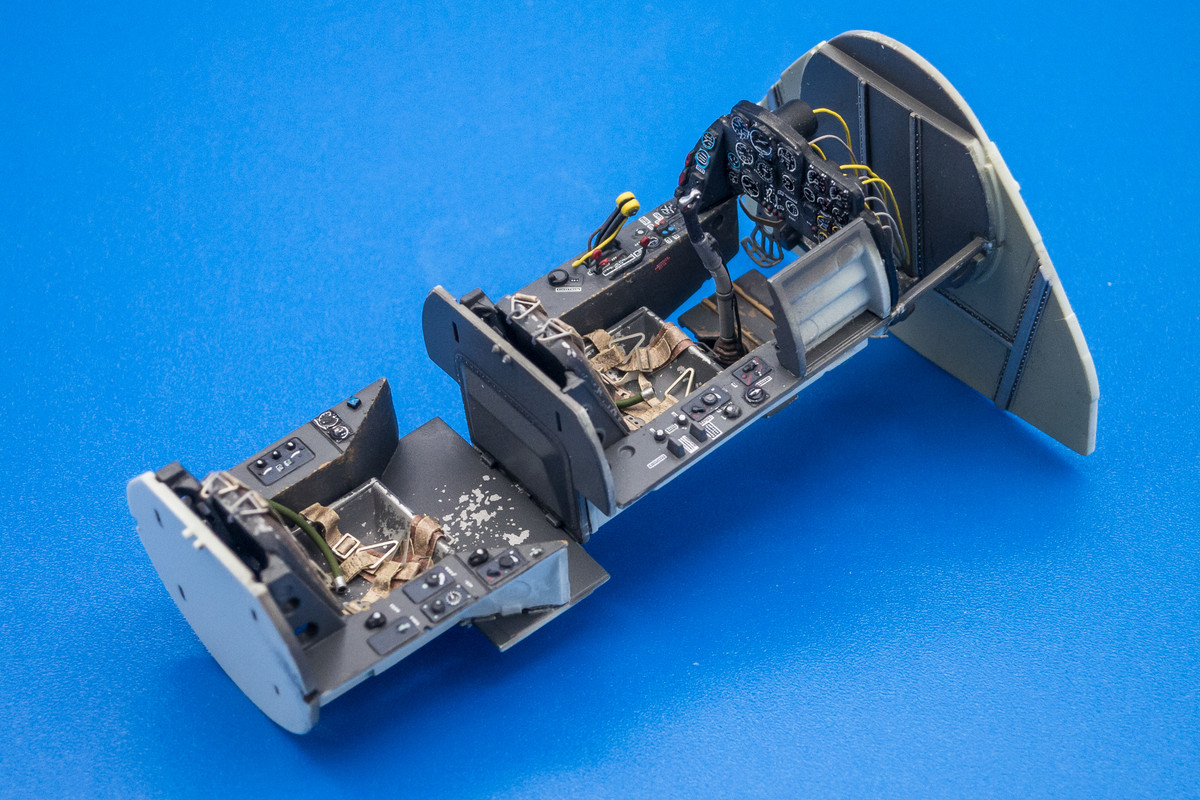
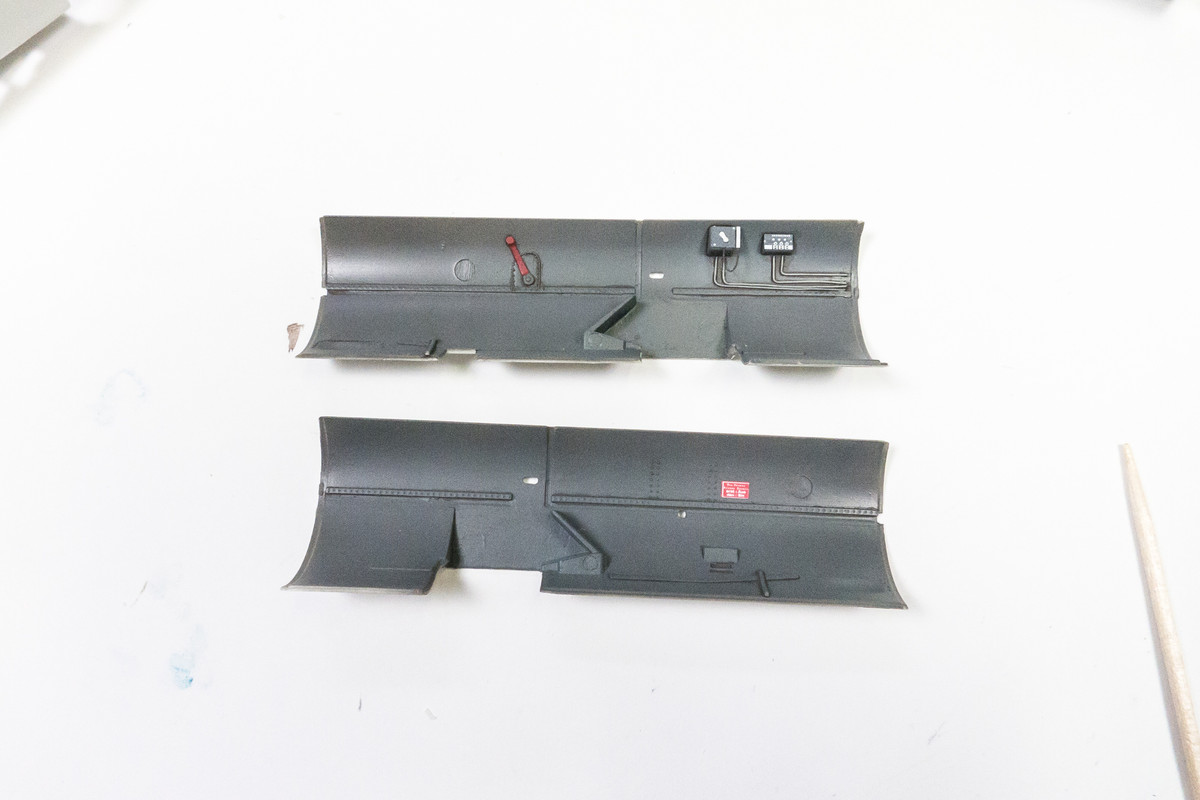
The cockpit inner side of the "tube" have been painted. I added some wiring to the radio operator's starboard wall.
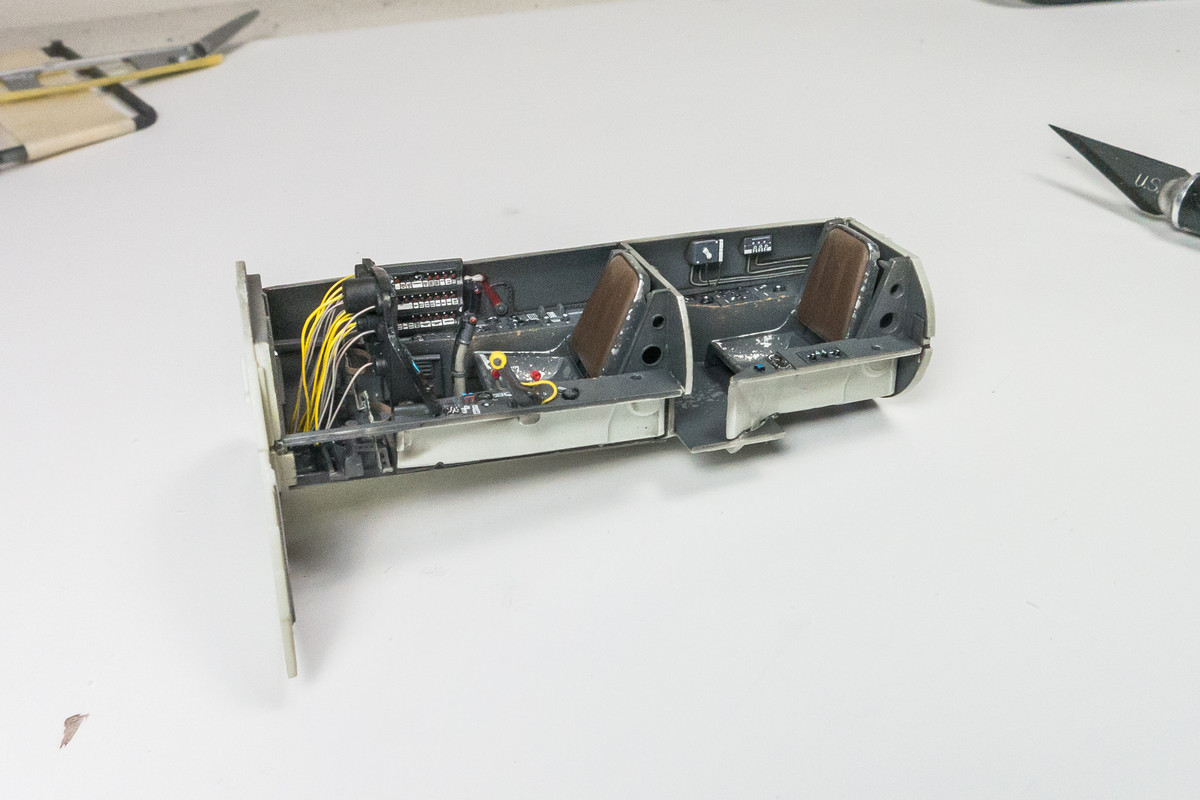
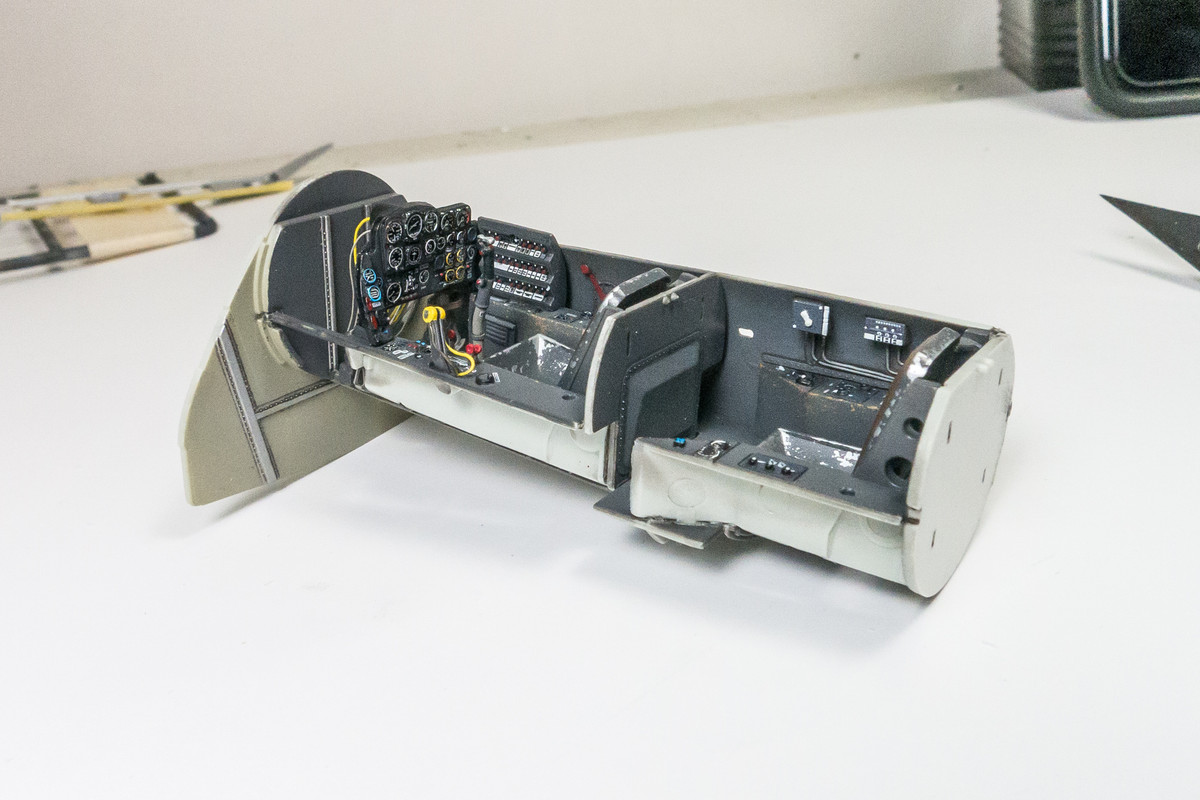

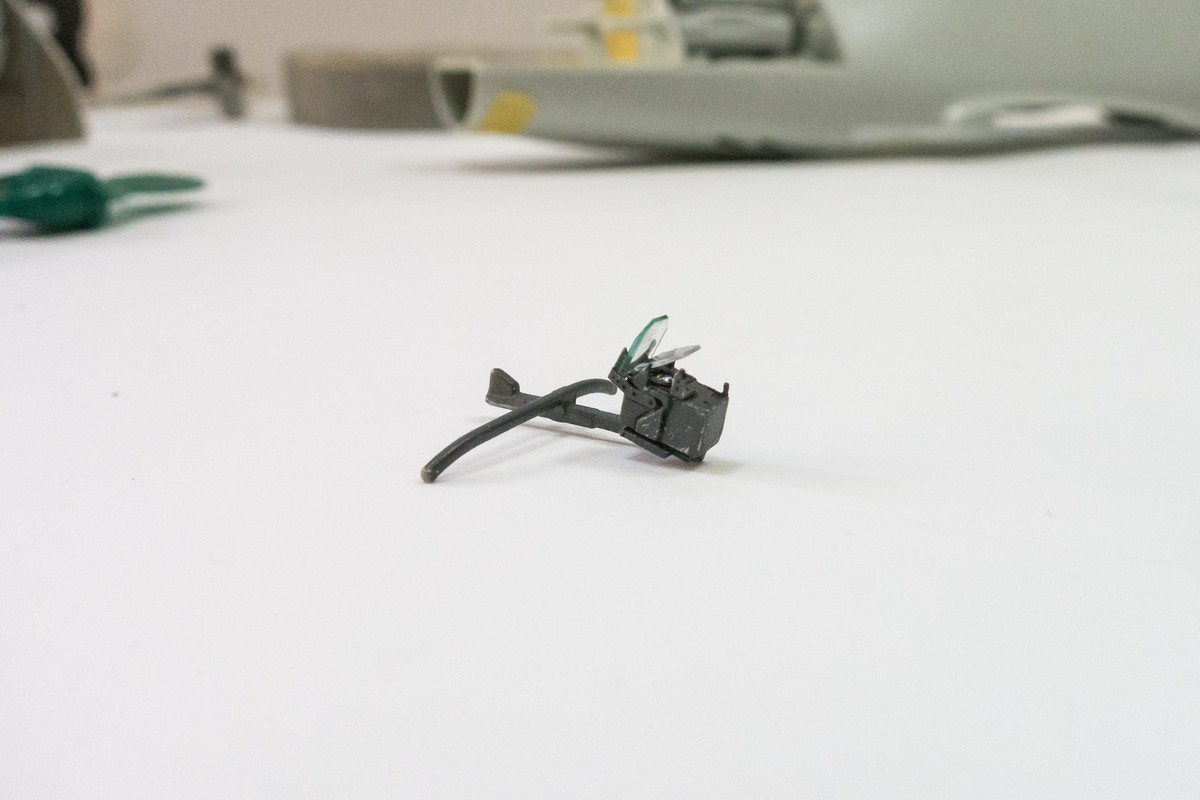
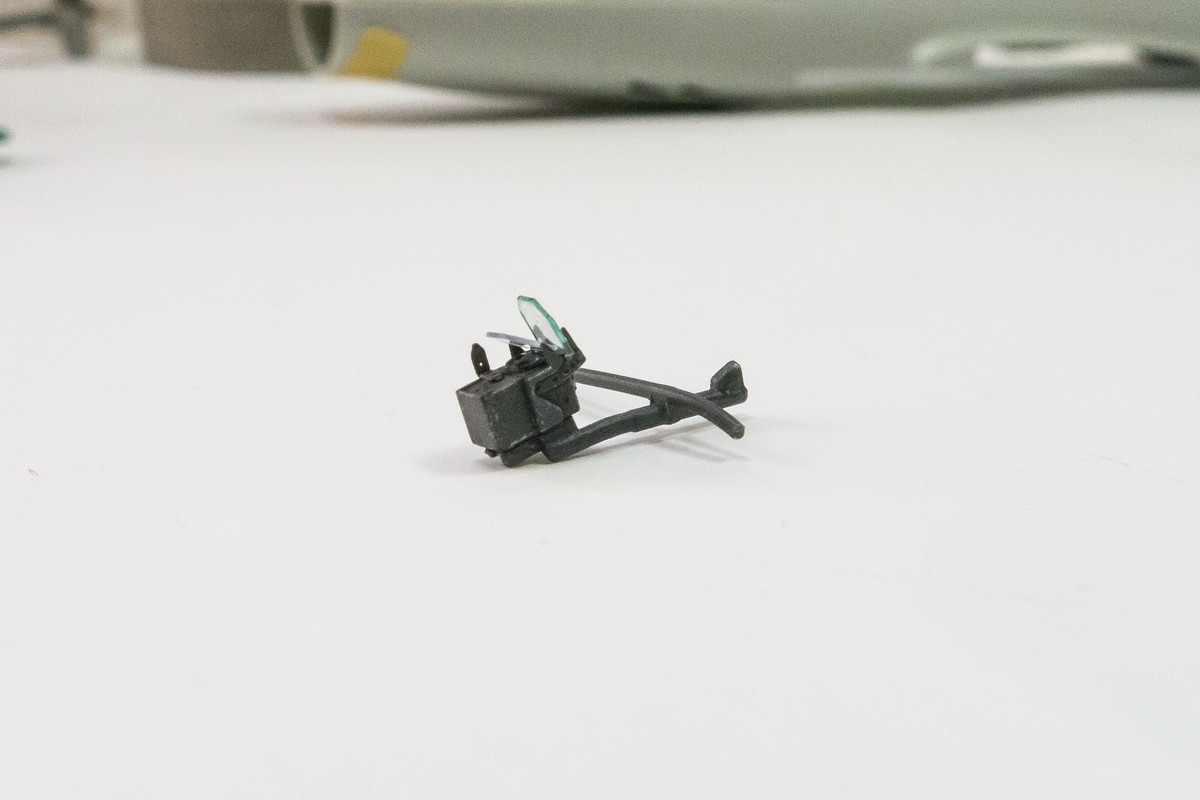
Thinking about adding oxygen tubes to the cockpit using lead wire.
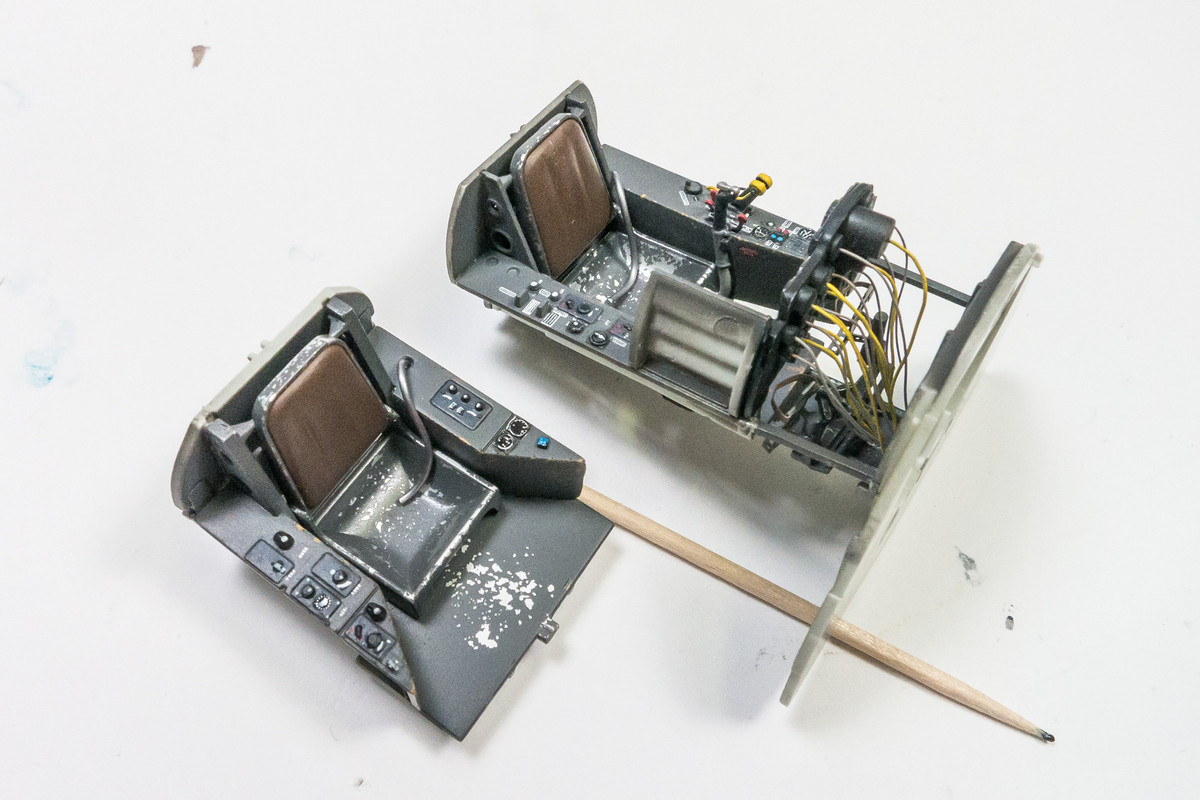

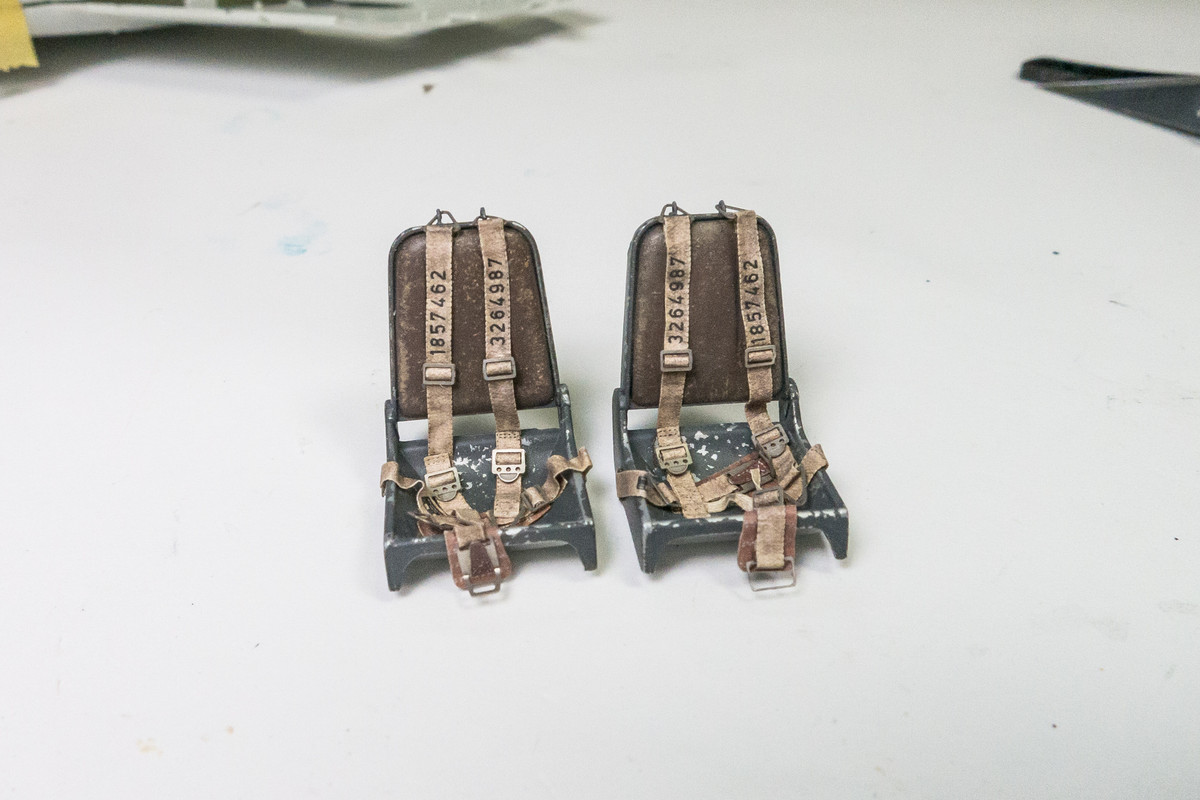
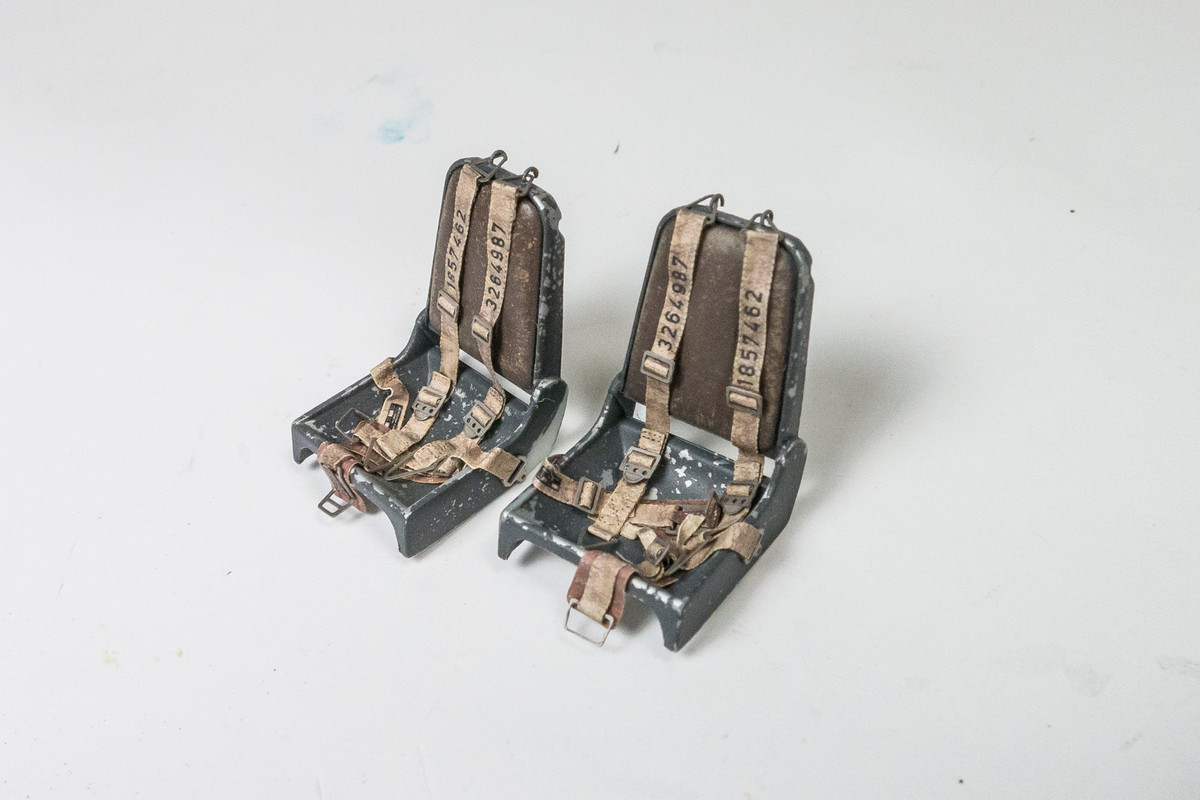
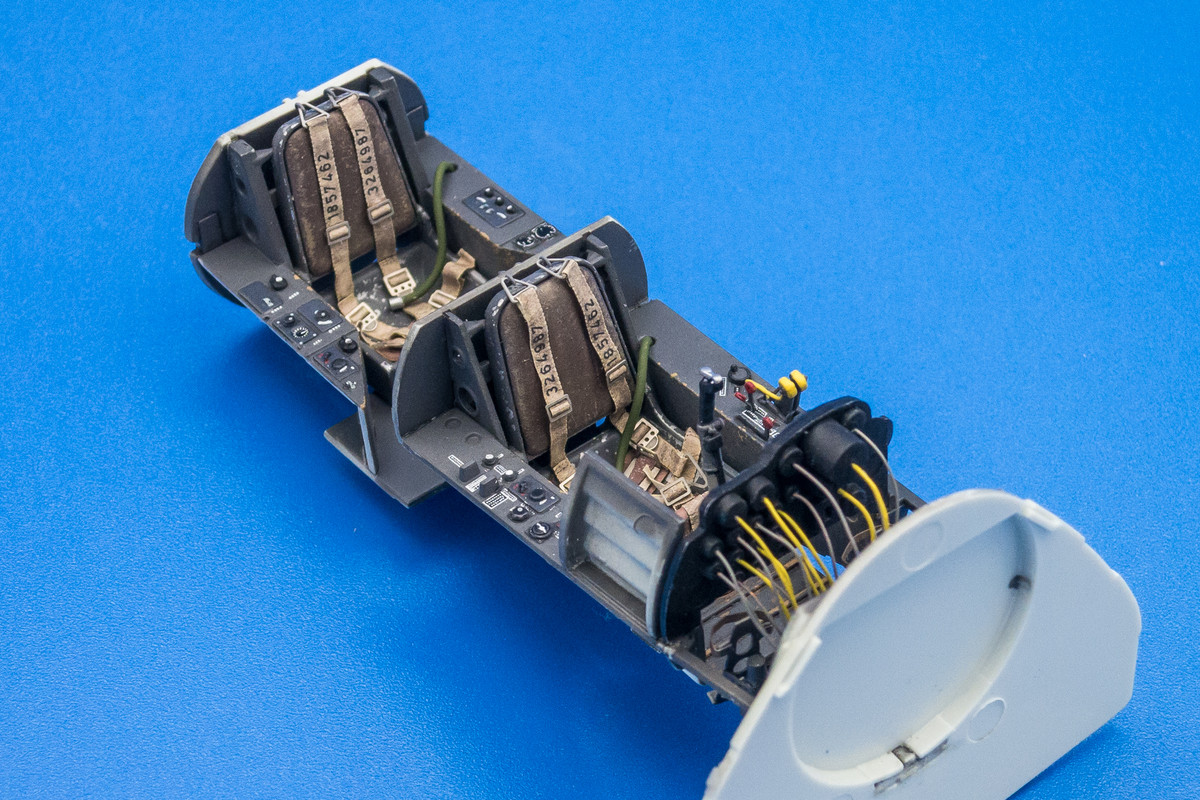
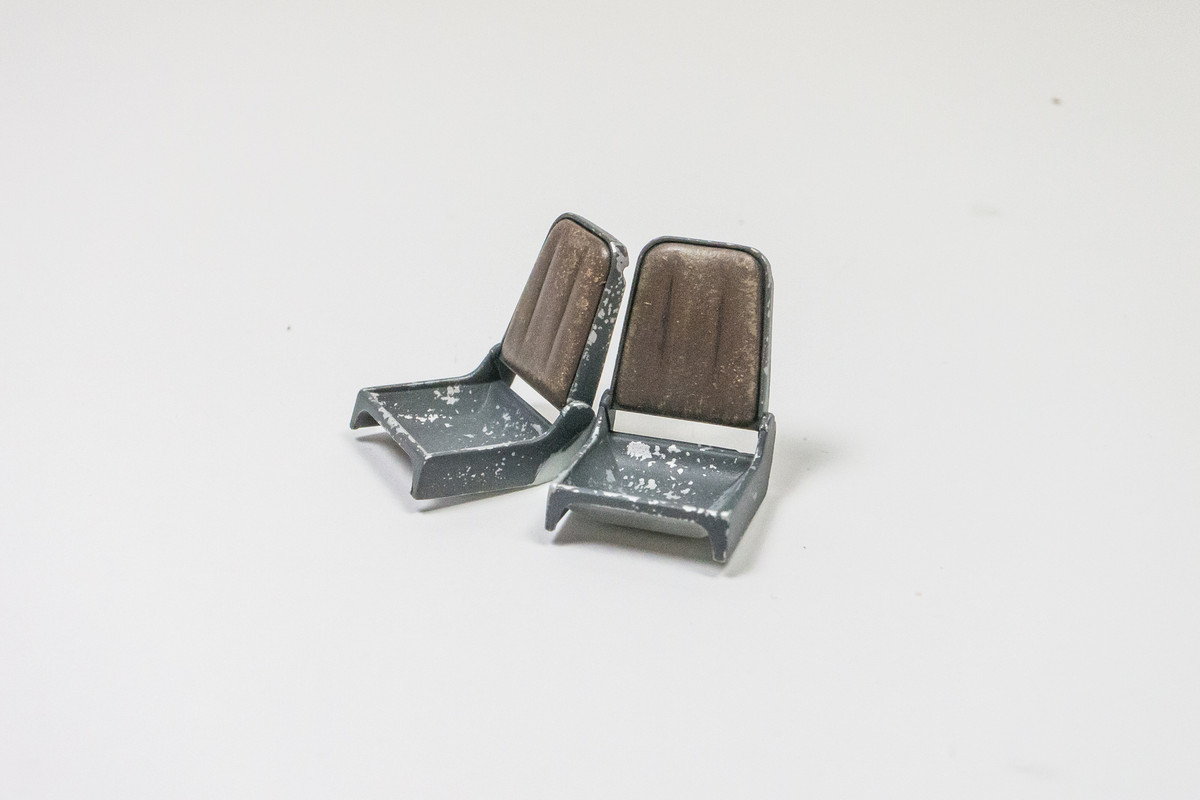
Finished off the painting of the seats with some dry-brushing to simulate cracked leather.
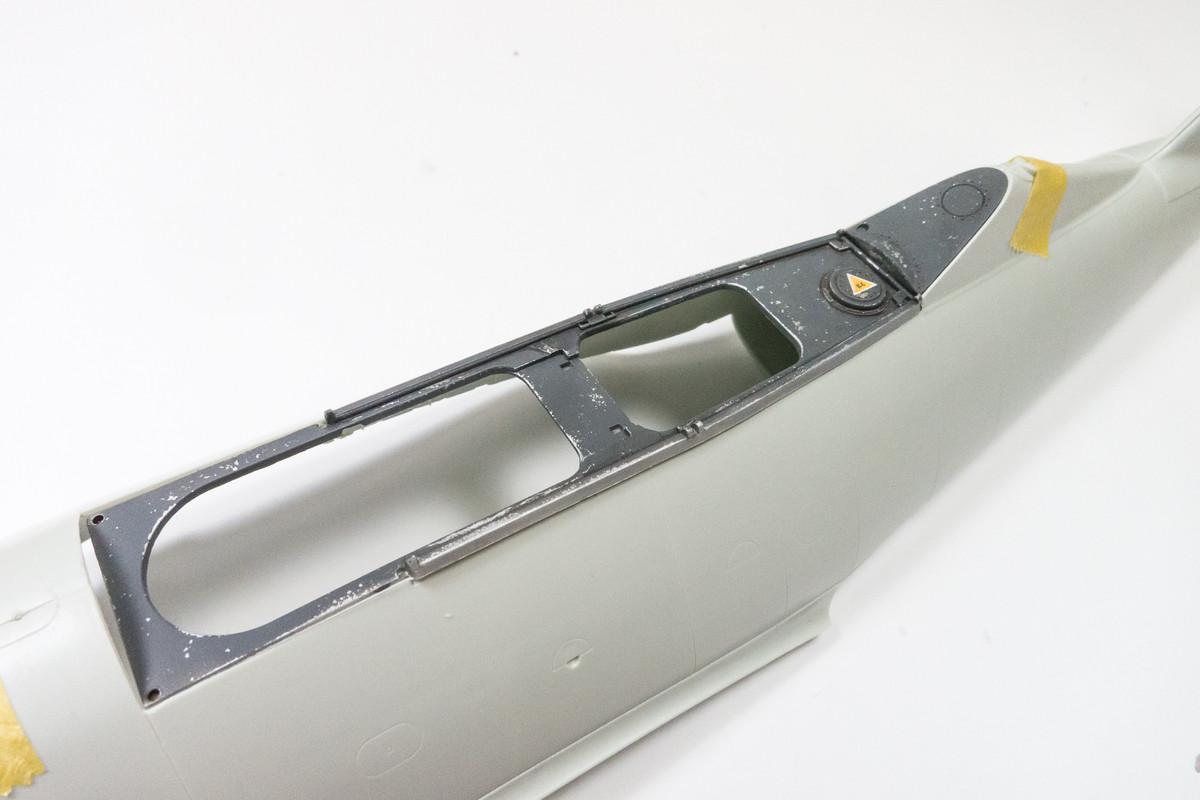
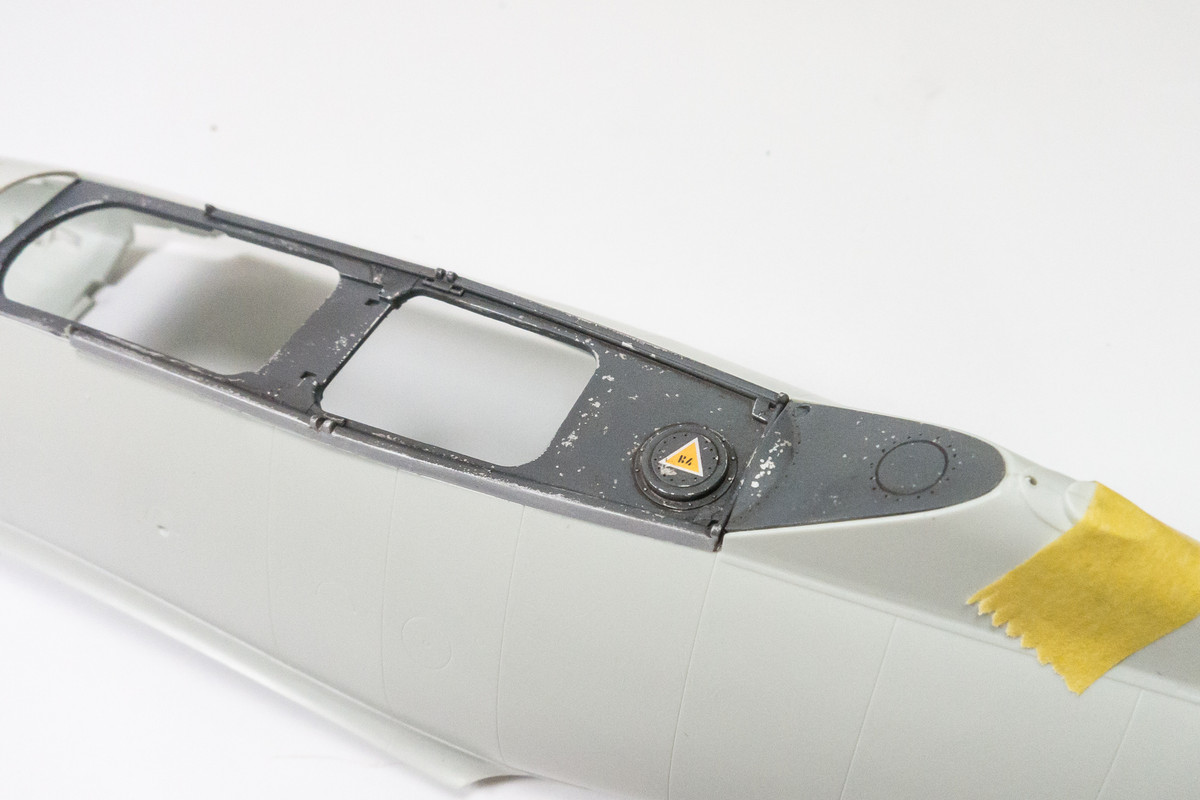
The cockpit sill has been painted and chipped.
Lots to share in this update. I expanded my preliminary dry-fitting to the wings. The outer wing bottoms attach in a strange arrangement of tabs and pins.
Due to the forced geometry of this connection, it was very difficult in getting the locating pins to go in their proper hole at an angle. Reminds me of the Zoukei Mura Ta152H push-and-twist landing gear legs. I figured something was going to break either forcing the pieces into place or trying to disassemble them.
Put my engineer's hat on for a sec and decided to enlarge the two of the holes into ovals. It gives me just enough clearance to get the wings on and off and still providing a positive fit.
Just a quick look to see how the fuselage and wings go together. Hard to tell from this stage since so little has been glued together but I haven't spotted any obvious trouble spots yet.
The cockpit inner side of the "tube" have been painted. I added some wiring to the radio operator's starboard wall.
Thinking about adding oxygen tubes to the cockpit using lead wire.
Finished off the painting of the seats with some dry-brushing to simulate cracked leather.
The cockpit sill has been painted and chipped.