Page 7 of 11
Re: 1/32 Tamiya Corsair with BRASSIN P&W R-2800 engine
Posted: Mon Sep 08, 2014 4:57 am
by pg265
Hello there,
Thank you.
Tiny update.
In order to definitively close the fuselage and install the center wing box, the latest additions are underway.
It is therefore necessary to finalize the cockpit and the engine to have no surprise during assembly of the firewall.
This last determines the successful integration of the entire front section.
The motor is thus completed to 98%:

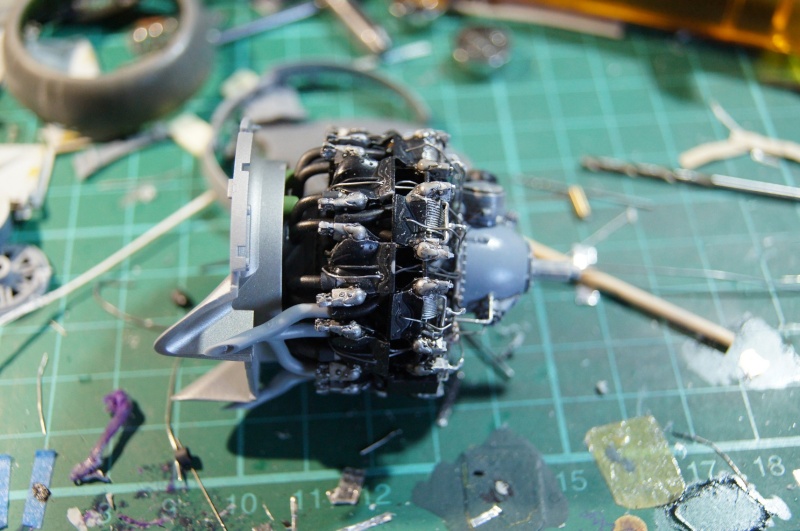
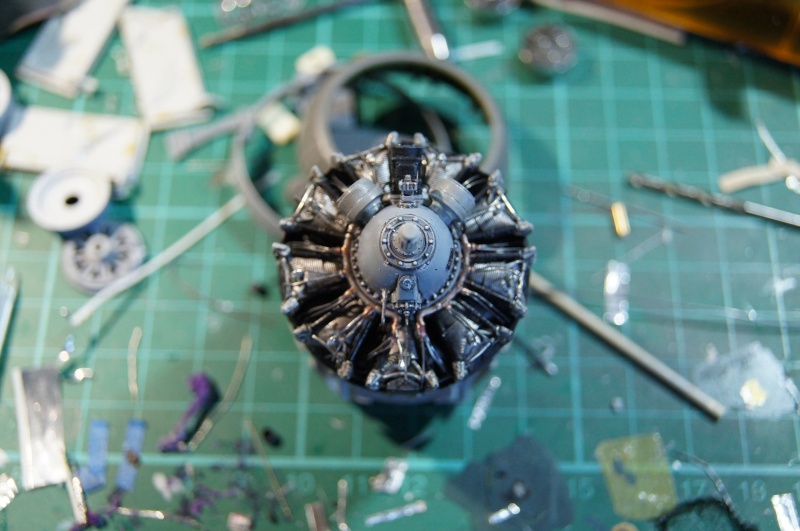
Some details still need to be added before a light "aging" and installation of reinforcement arms of the lower window:

More shortly ...
pascal

Re: 1/32 Tamiya Corsair with BRASSIN P&W R-2800 engine
Posted: Mon Sep 08, 2014 6:33 am
by Paul
That engine looks gorgeous Pascal.
Re: 1/32 Tamiya Corsair with BRASSIN P&W R-2800 engine
Posted: Mon Sep 08, 2014 6:53 am
by LyleW
My goodness, I expect that to start right up! Great work, Pascal.
Re: 1/32 Tamiya Corsair with BRASSIN P&W R-2800 engine
Posted: Sat Sep 13, 2014 4:56 pm
by pg265
Hi,
Thank you very much Messieurs!
Small progress, but progress.
I was not really satisfied with the cockpit because of the details I had decided not to represent ... were missing!
So I removed the support of the hydraulic system to add connections and pipes.
It seems a bit raw at the moment but once painted, it will look better.
Fittings .031 "and .038"
0.3 cables pipes, 0.5, 0.6.
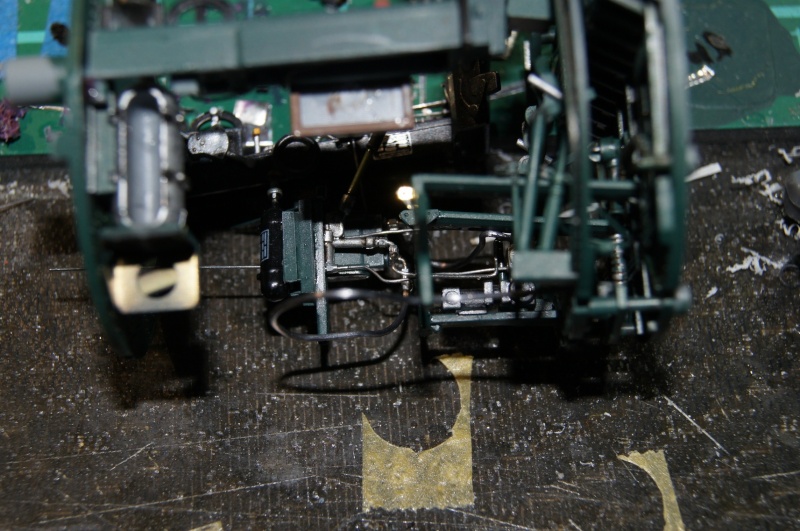
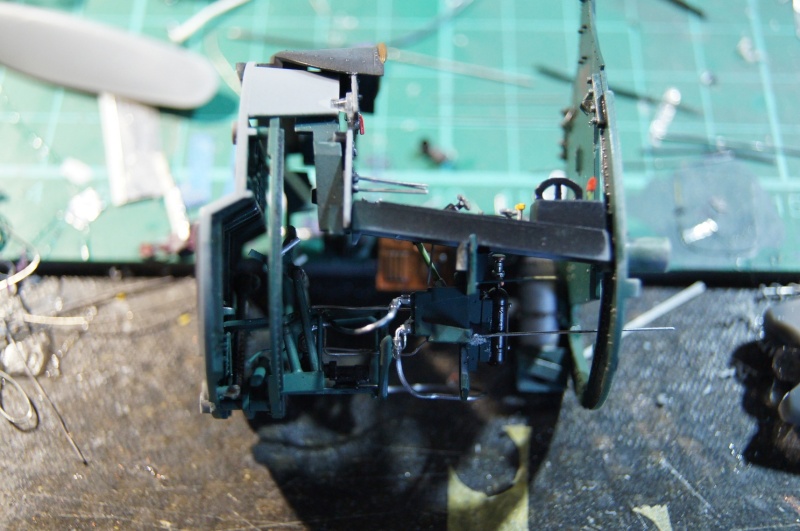
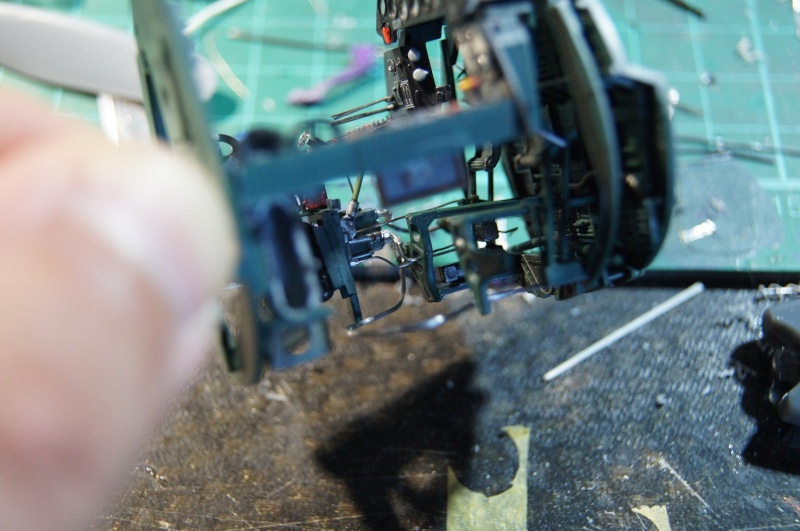
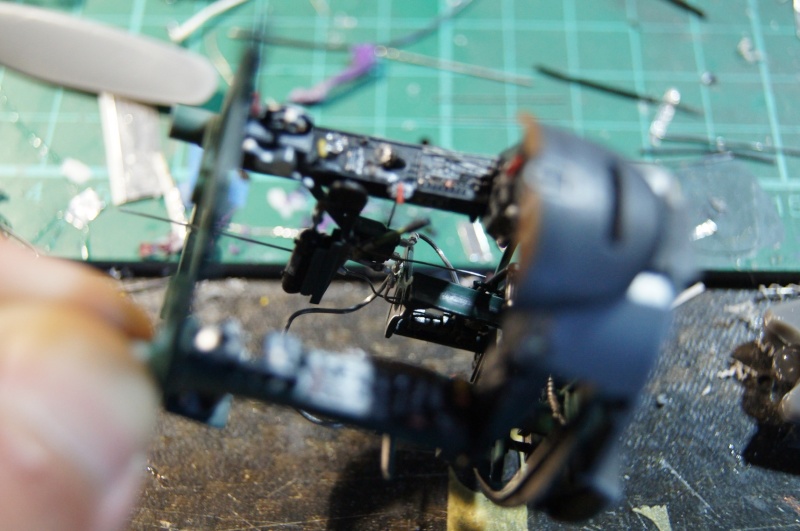
That's it.
pascal
Re: 1/32 Tamiya Corsair with BRASSIN P&W R-2800 engine
Posted: Mon Sep 15, 2014 3:54 pm
by pg265
Hi,
The cockpit is now enclosed in the fuselage.
I finalized the stick adding the conduct of the "funnel". Hard to see with the center wing box in place, but I will try to take a picture tomorrow.
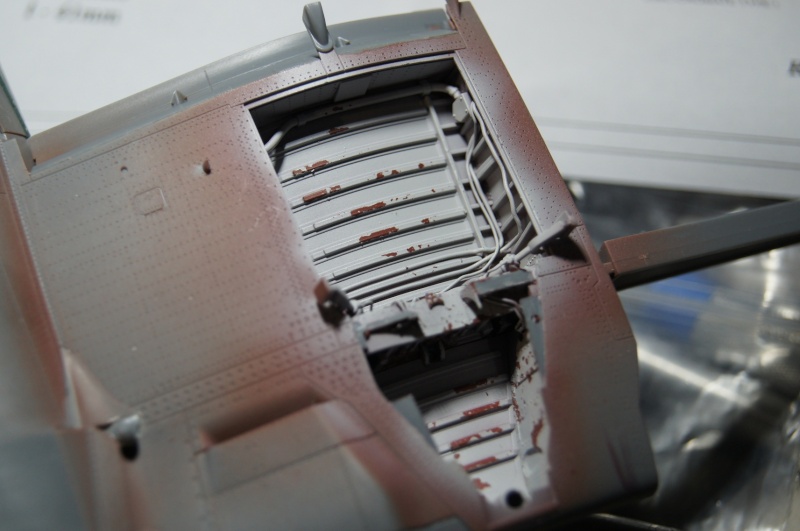
Lower window reinforcements are also installed, painted and slightly weatheredas well as the "bottom" of the cockpit.
The pipes have all well took their place: Cool!
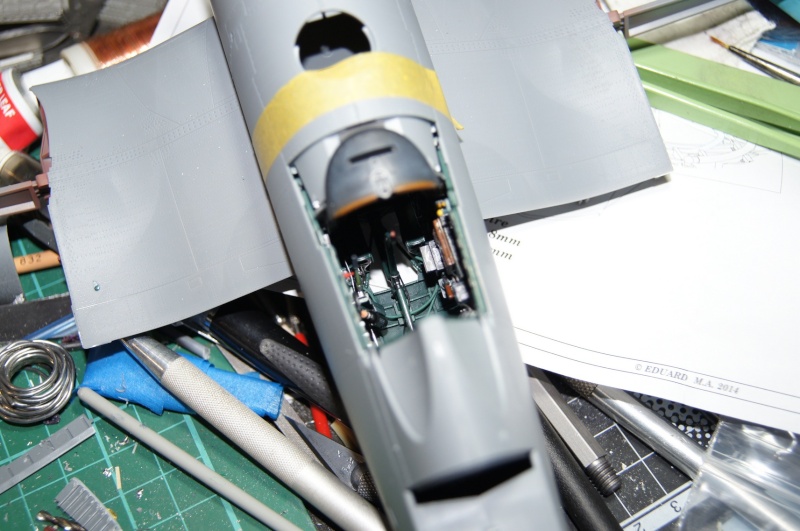
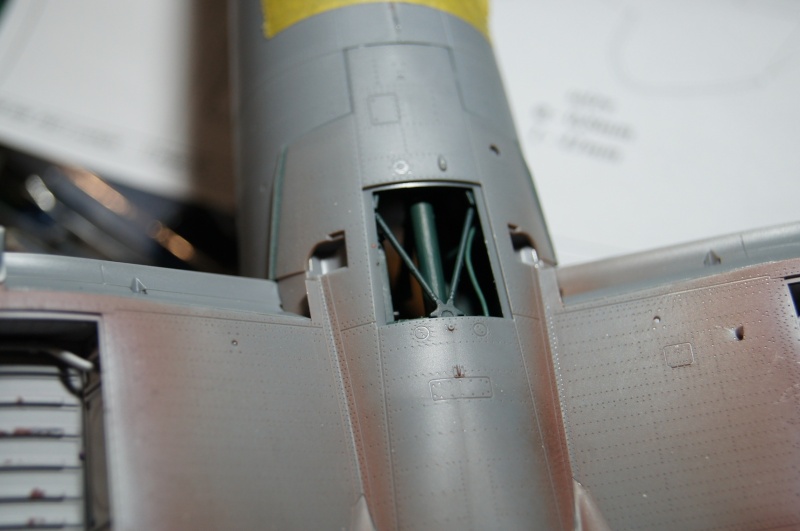
Next step : Maybe weathering the wheel wells
I also paint the internal frames of the windshield and canopy.
Green for the first, to have the cockpit color on the lower area of the transparent part:
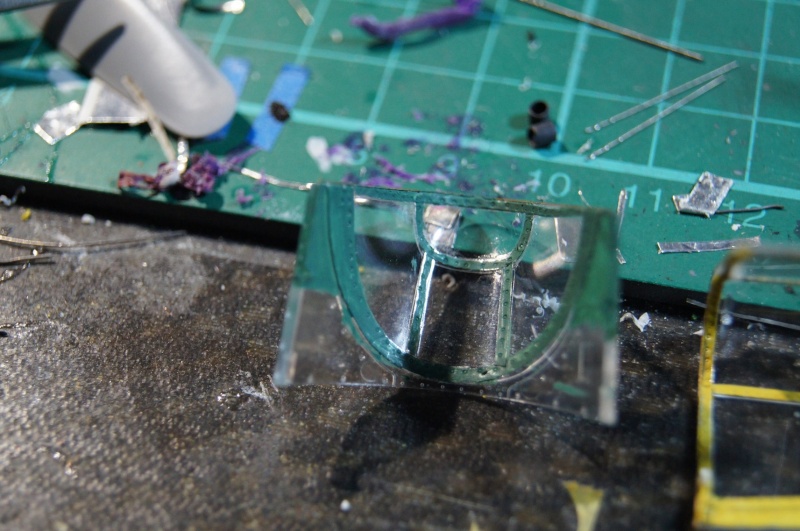
Still need to install the flap control handle on the left side, straddling the transparent part and fuselage.
Tamiya part is misplaced in my opinion. Eduard seems to have made the same error on the new resin cockpit ...
The canopy is equipped with its opening handles , slightly visible at the moment, and receives a coat of zinc chromate.

The under layer will allow a possible additional small effect in the weathering process...
I know it is not really consistent in terms of color (maybe hue is the right term? Sorry for my poor English...), but ...
More soon.
pascal

Re: 1/32 Tamiya Corsair with BRASSIN P&W R-2800 engine
Posted: Tue Sep 16, 2014 4:23 am
by Thomas_M
Pascal, your English is just fine and very understandable, so don't worry. Also your pictures tell a great story of an impressive build.

Re: 1/32 Tamiya Corsair with BRASSIN P&W R-2800 engine
Posted: Tue Sep 16, 2014 6:23 am
by Manny1943
Your pictures don't do your build justice...
...keep up the good work!
Re: 1/32 Tamiya Corsair with BRASSIN P&W R-2800 engine
Posted: Mon Sep 22, 2014 4:12 pm
by pg265
Good evening,
Thank you

Progress but few pictures.
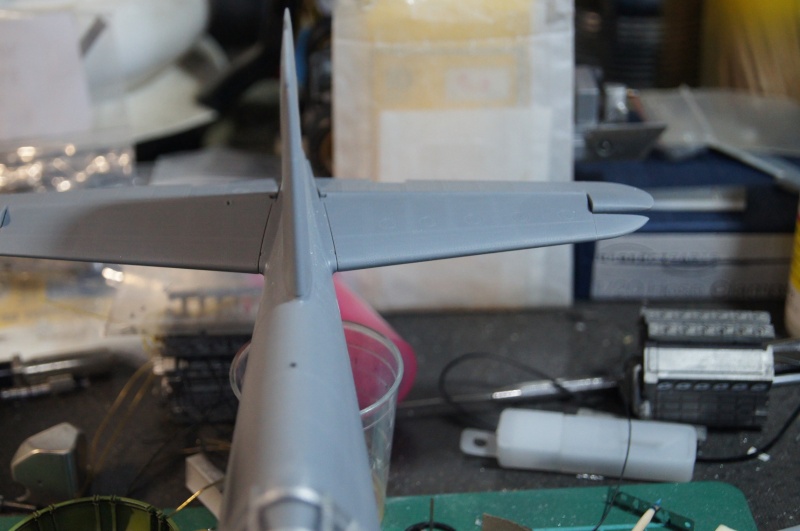
After bonding the two halves of body, the bead is removed with a blade.
A very rapid transition from abrasive in places enough to guarantee a good surface finish, no filler.
A slight darker line at the junction area is sometimes perceptible, but it is that the weld of melted plastic.


Exhausts were drilled, refined and covered with a thin layer of "cockpit black":
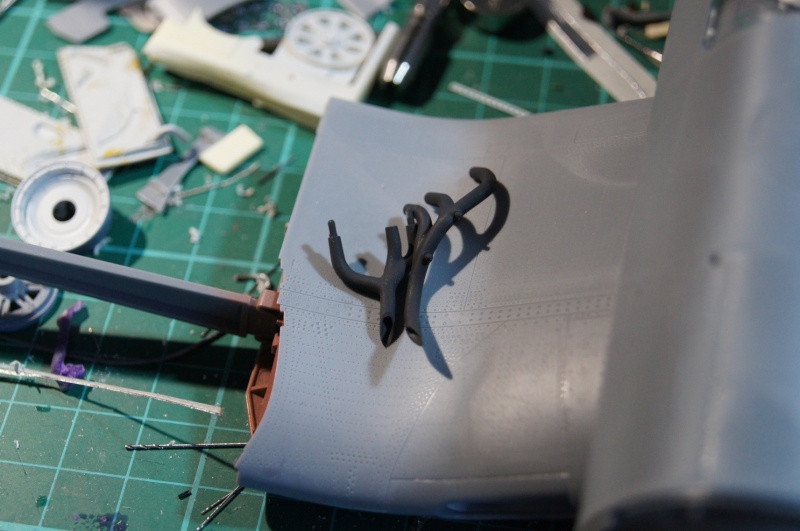
Very thin layer of Alclad Black Primer in anticipation of the "Airframe alu" underlayer :
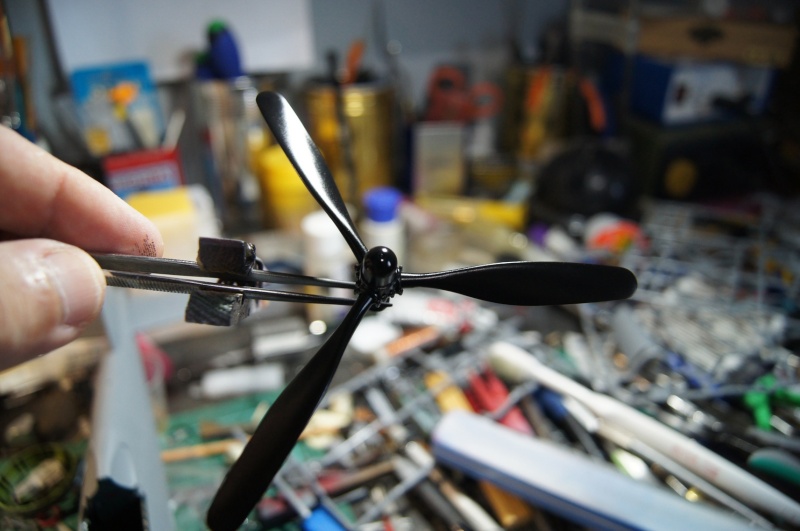
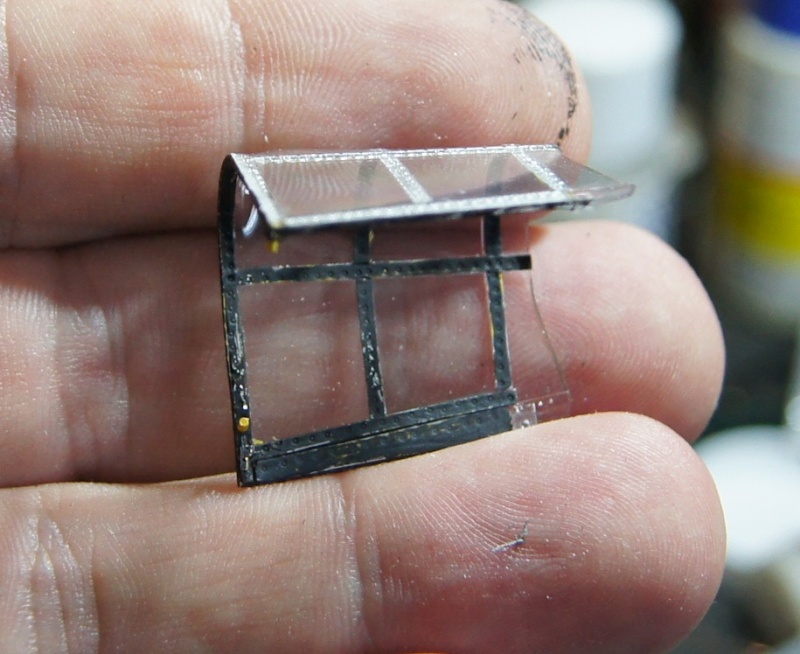
The inside of the glass parts are partially weathered:
These tasks have been an opportunity to try one of the last painting tools:

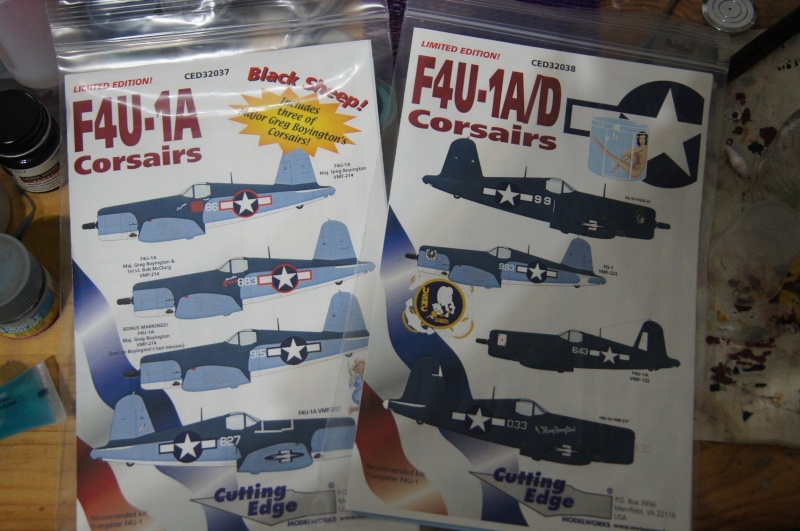
I start to stock up in anticipation of the next ... Corsair
More soon.
Pascal
Re: 1/32 Tamiya Corsair with BRASSIN P&W R-2800 engine
Posted: Tue Sep 23, 2014 11:08 am
by Thomas_M
Pascal, this last post is again most impressing! I wonder what glue you use to get a seamless bond on the fuselage?
What type of Harder & Steenbeck is the one you show in your picture above?
Re: 1/32 Tamiya Corsair with BRASSIN P&W R-2800 engine
Posted: Wed Sep 24, 2014 1:14 am
by pg265
Hi Thomas,
Thanks for comments
I mainly use Tamiya glue.
I put glue on each part (each fuselage half here), wait for about 30 seconds and the press the 2 halves.
A small bead of molten plastic will form at the junction of parts. You just have to wait the bead to be dry and hard, a day is perfect, then cut it with a blade.
When you still have a small seam to fill between the parts glued, you can add Tamiya thin cement and press parts after few seconds to soften plastic and make the bead appear.
I also often use MEK to glue the parts together, from inside: it's extremely powerful.
It works the same way the Tamiya thin cement (green cap): hold the parts together and apply MEK (TAM Green cap) with a brush and press the parts up to the bead appear and maintain pressure on parts.
You can repeat the process of adding thin cement until satisfied.
In the case of the fuselage halves, I just use classic "white cap" Tamiya cement.
Same for the rear parts of empennage that are all made of 2 halves, like the flaps... or the wings.
It can be seen on the pics of the flaps earlier in the Wip.
The advantage is that you don't need any putty!
I hope it helps.
Pascal
