It's been a productive week with three Hobby Days happening, so I now have more to show in our next tour. Al aboard the trams for this next trip through Maddog Manufacturing.
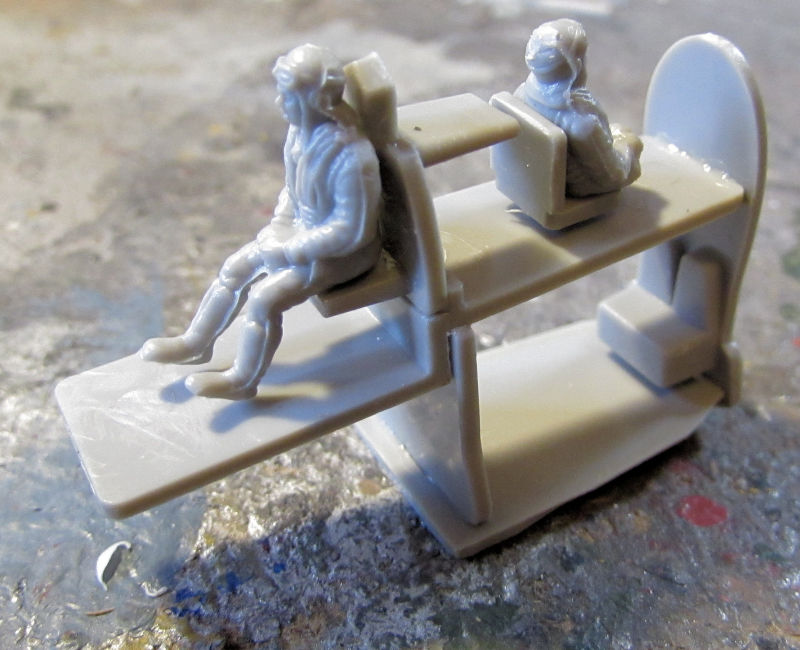
Starting in the hanger, we have managed to re-start an aircraft we had started before, but lost a lot of the parts and decals and such due to a broken box. I got this second Grumman Duck and built up the cockpit and interior:
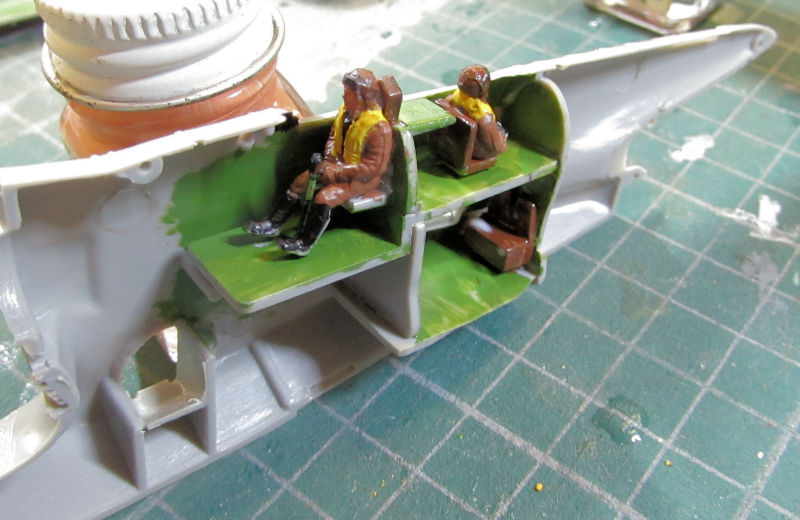
Later on it got painted and mounted inside the fuselage:
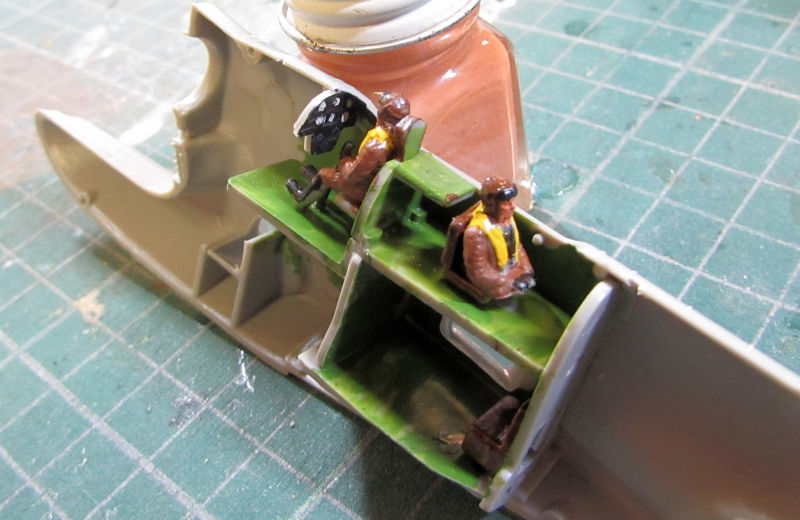
I tried to do a bit on the instrument panel, even though it most likely won't be seen:
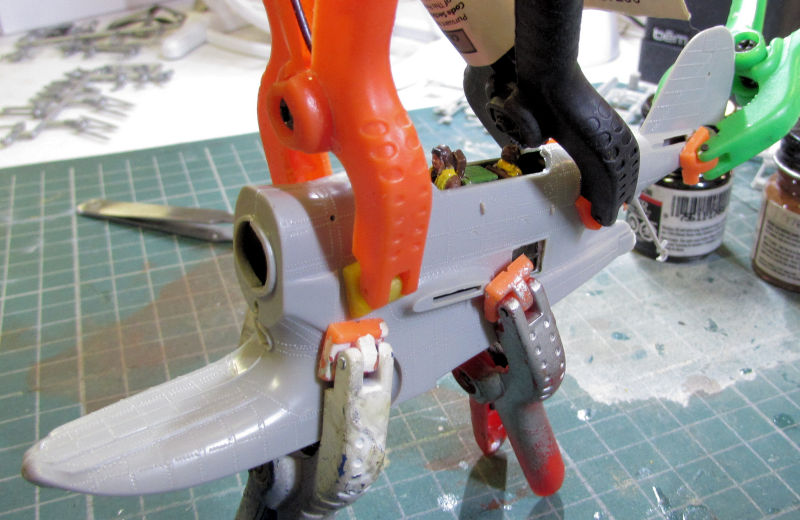
She closed up very nicely:
While that was drying, we painted up the engine with some flat black and a drybrush of steel; followed by an intermediate blue for the center:
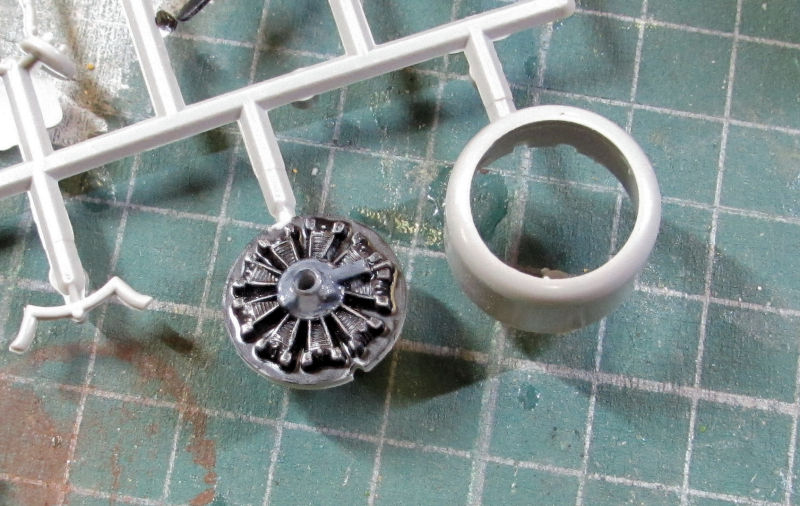
Later we added the engine to the cowl, installing the exhaust pipes and propeller as well:
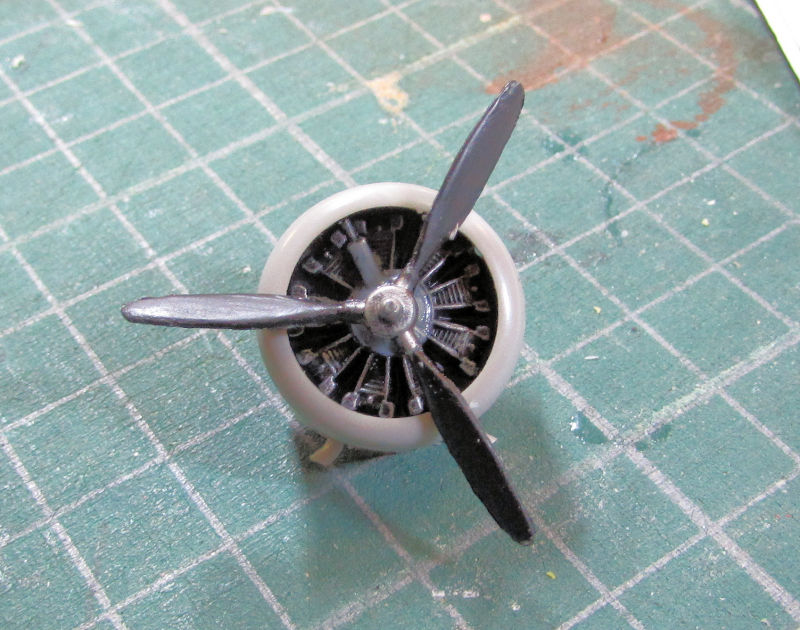
That's where that one stands for now. The next one is another helicopter we started for the campaign. Naturally, the cockpit was done first. I immediately had the cockpit added to the one fuselage side:
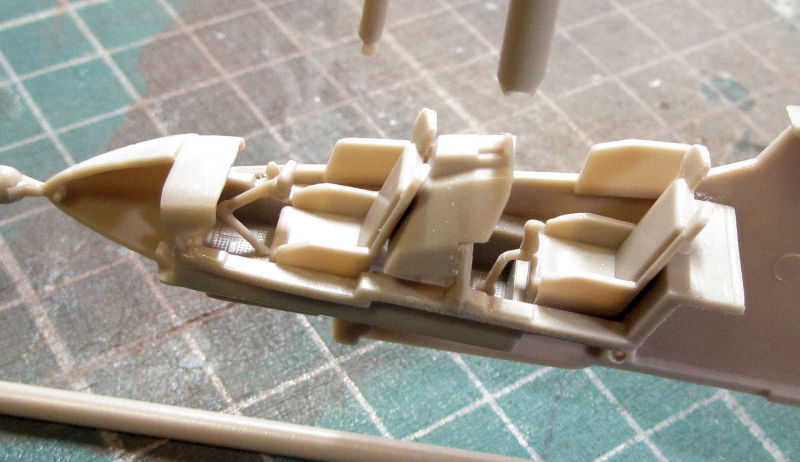
It got painted up later:
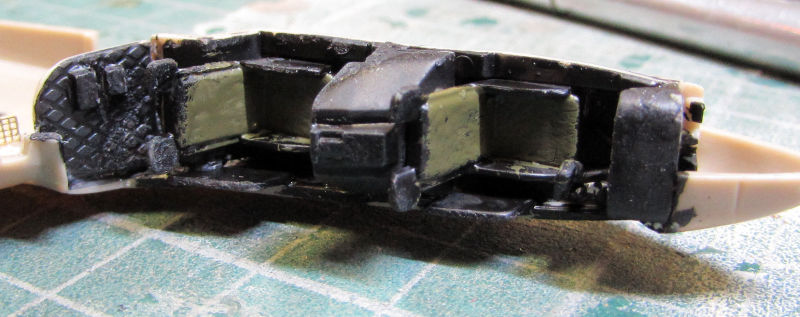
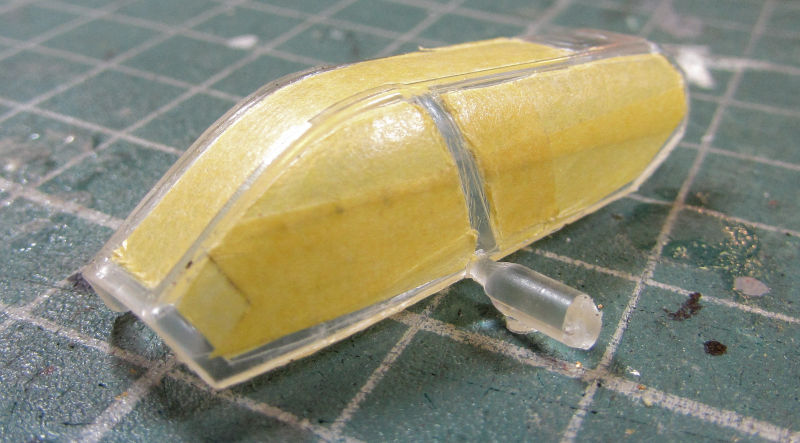
While that was drying, we masked off the canopy to prepare for painting:
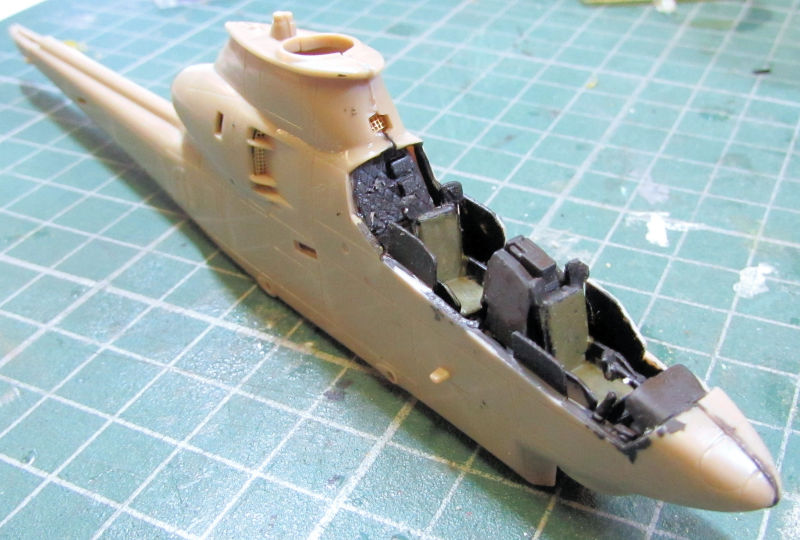
The fuselage then got closed up, after adding some photo-etch screens inside:
We then added the tail, horizontal stabilizers, wings and exhaust. The canopy is only dry-fitted:
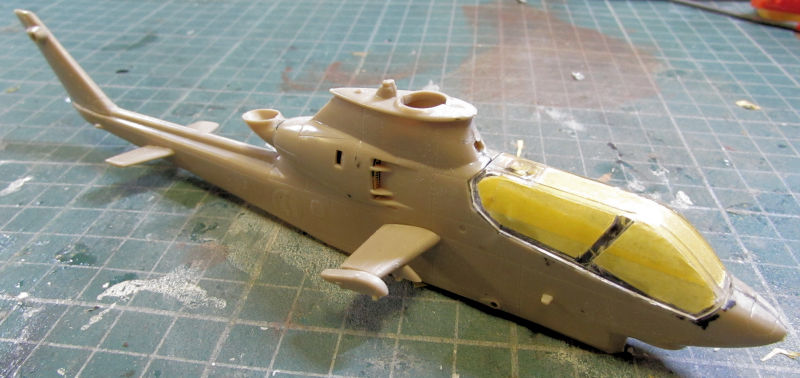
That beastie is practically ready for paint now.
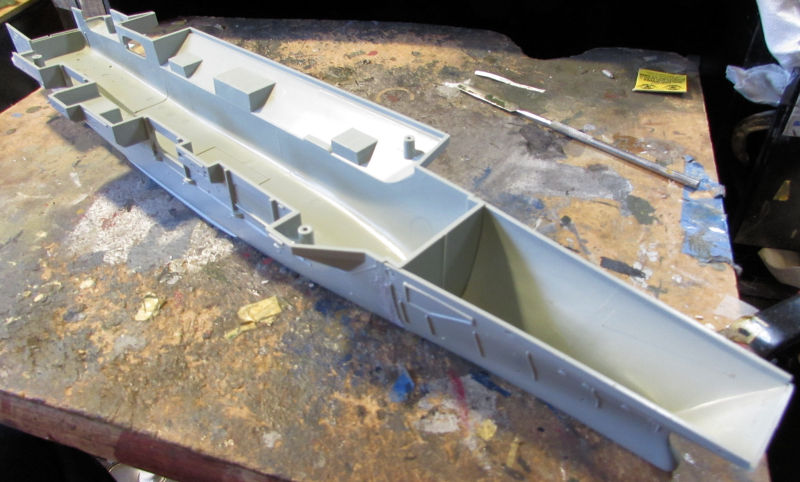
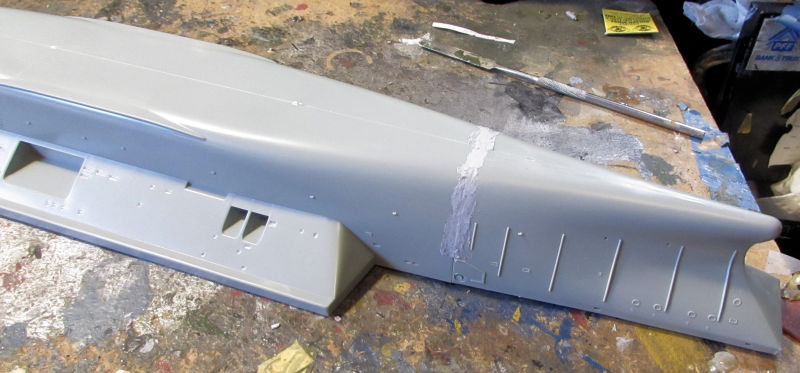
That was a short tour of the Hanger, and the Shipyards will be just as short for now. We did lay the keel for another ship: the USS Enterprise in 1/600 scale from Academy. Interestingly enough, the first thing we needed to do was to install the bow to the main hull. That left quite the seam between the two part, which got the first application of filler:
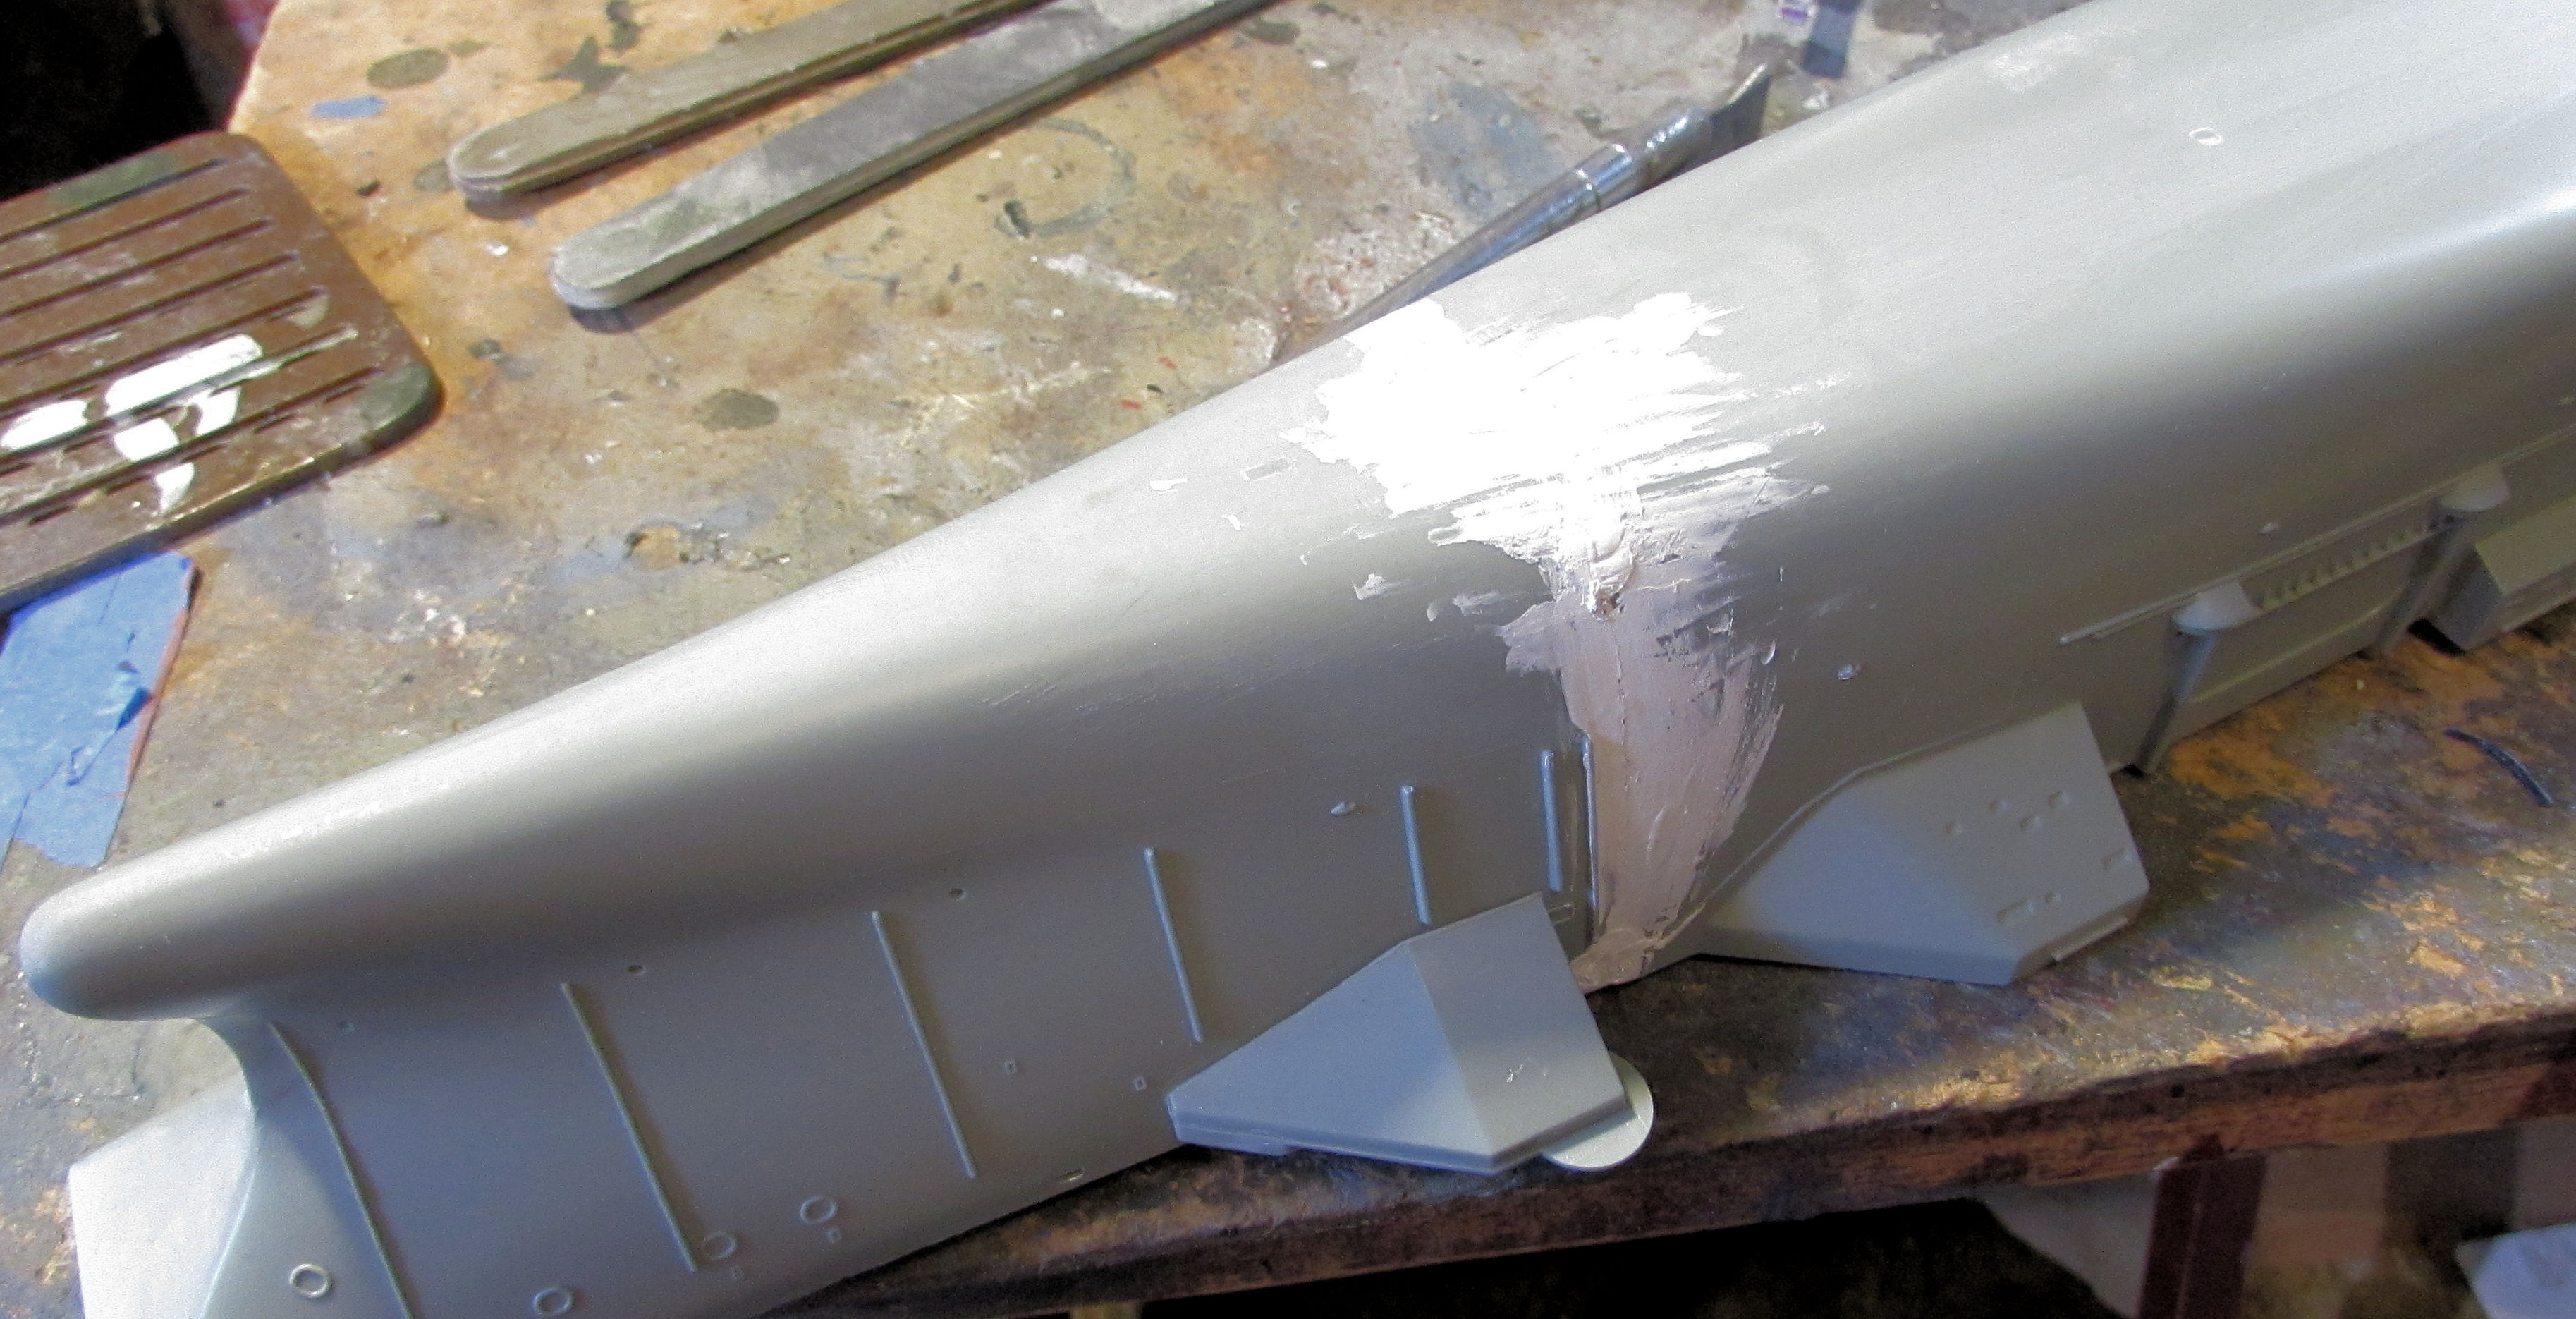
Once that was sanded, We installed the hnager bay doors and started on installing some of the forward sponsons. That's when I noticed that the seam was still a shallow depression and needed more filler. So we got it slathered with more Tamiya white putty:
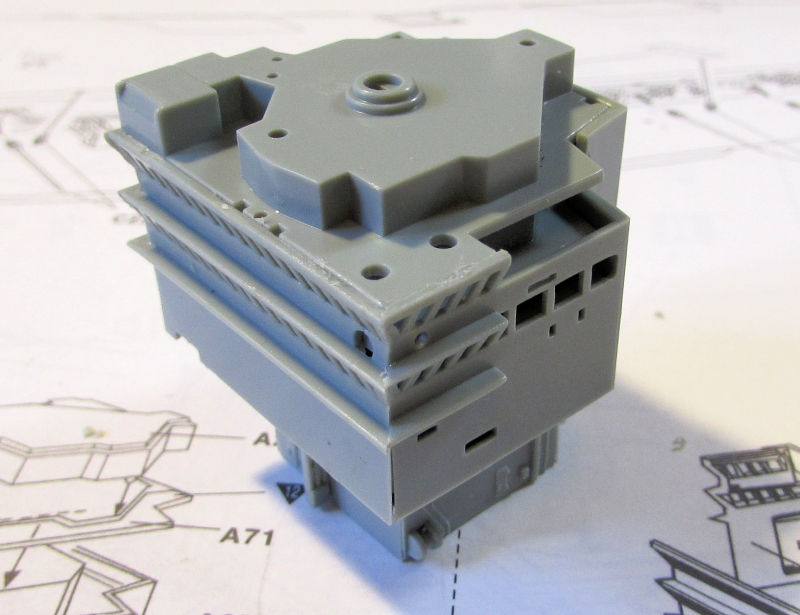
While that was drying, We started the construction of the island, getting it mostly done. We kept off the more detailed and easily broken parts so far:
That is a pretty good start so far; I'm looking forward to getting that further along.
One other thing we did was to clearcoat the RAF Rescue Launch with a gloss for decals. I didn't shoot pics for that, but should be able to have them later once I get the decals on. Hopefully they survive and look good.
Moving on to the Motor Pool, there is quite a bit going on there.,
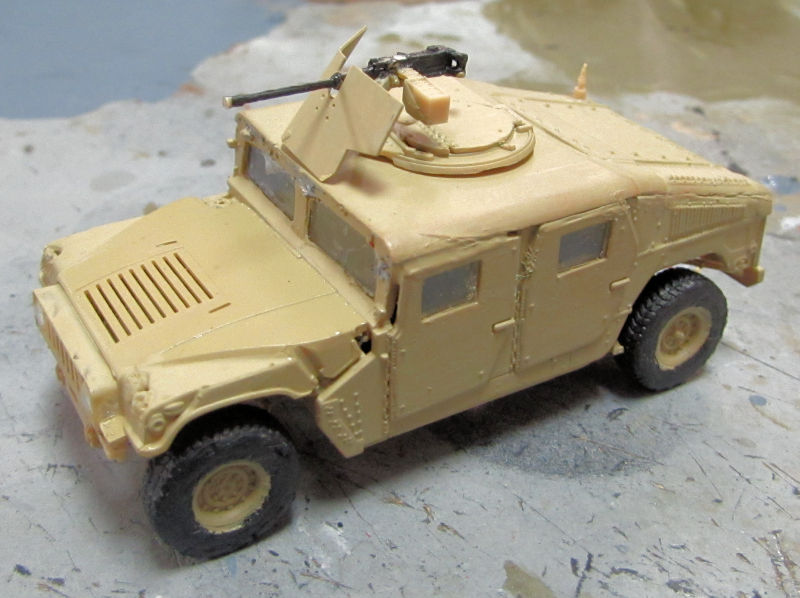
The troublesome HUMVEE has finally gotten to the weathering stage and final detail painting stage. There were no decal indicators on the instruction sheet so none went on. The wheels were difficult to install because the axles and linkages were so delicate that any adjustment broke them. I had some judicious reinforcement done that can't be seen and so now all four wheels touch down. We also got the machine gun turret assembled and dry- fit in place:
Now, thanks to a good friend who finished a T-72 scale Shelf Queen...magnificently I might add, (Thanks Carlos!) I got motivated to start the lineup of all my Russian tanks that were stacked up on my shelf.
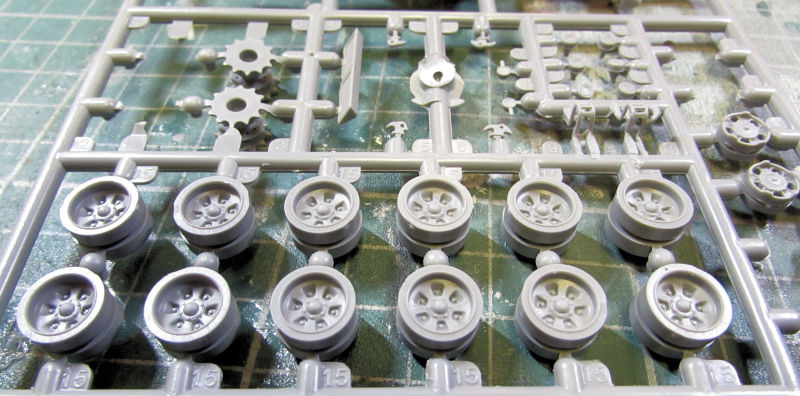
We started with the T-72 Rogatka that I'd been wanting for quite some time. First thing we did was to assemble all the roadwheels and sprockets. We kept them on the sprues to keep them from getting lost:
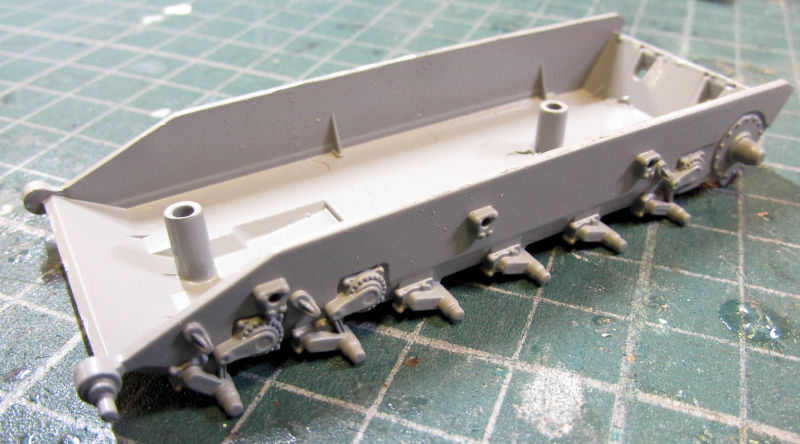
We started on the suspension. All these Modelcollect tanks so far have separate axle parts which sometimes makes it difficult to line up all the roadwheels:
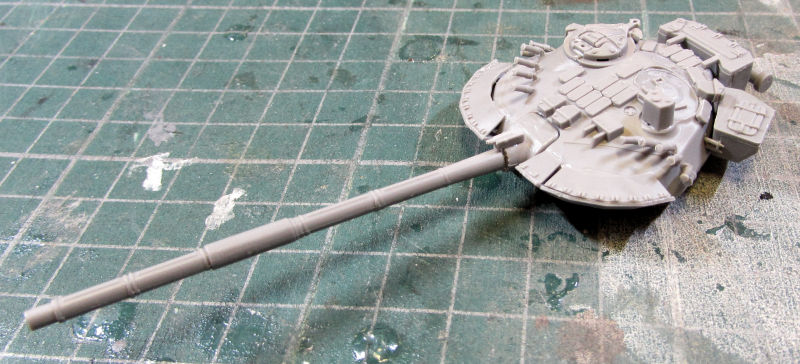
While the suspension was drying, we assembled the turret:
The upper hull was assembled next. This is four pieces all together:
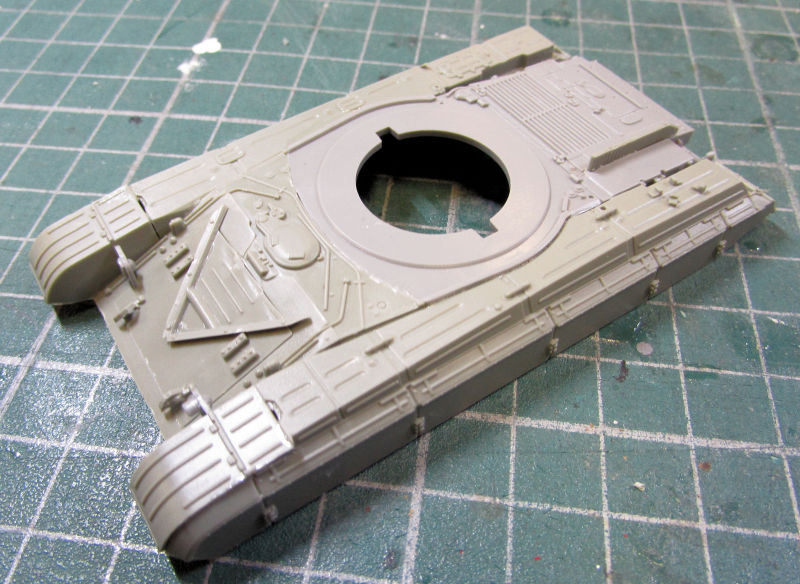
Later when the lower hull and suspension was dry enough, we tried test fitting the upper hull to the lower hull. It sat too high up due to a couple lengths of siding that connected the fenders to the hull. These needed to be cut out so that the upper hull would sit properly
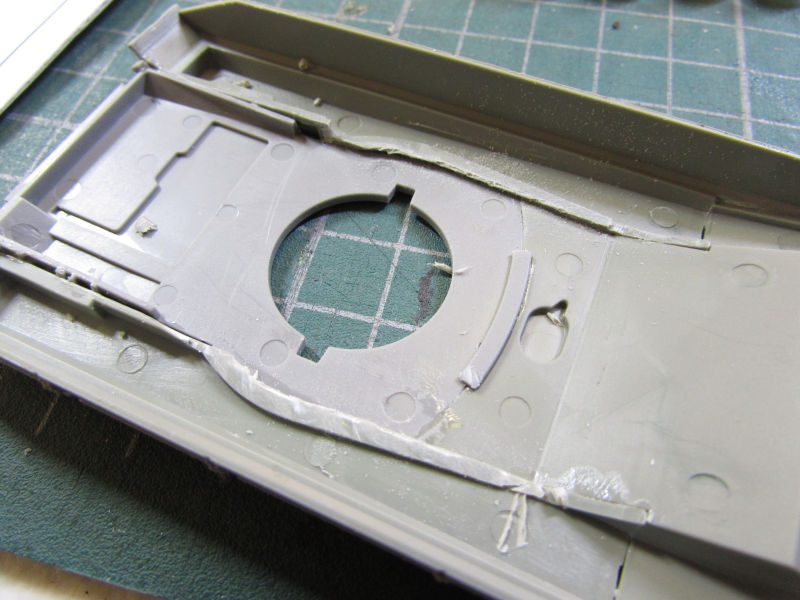
Note: I had to do this with all my Russian tanks....so far.
So, later we added all the roadwheels and sprockets:
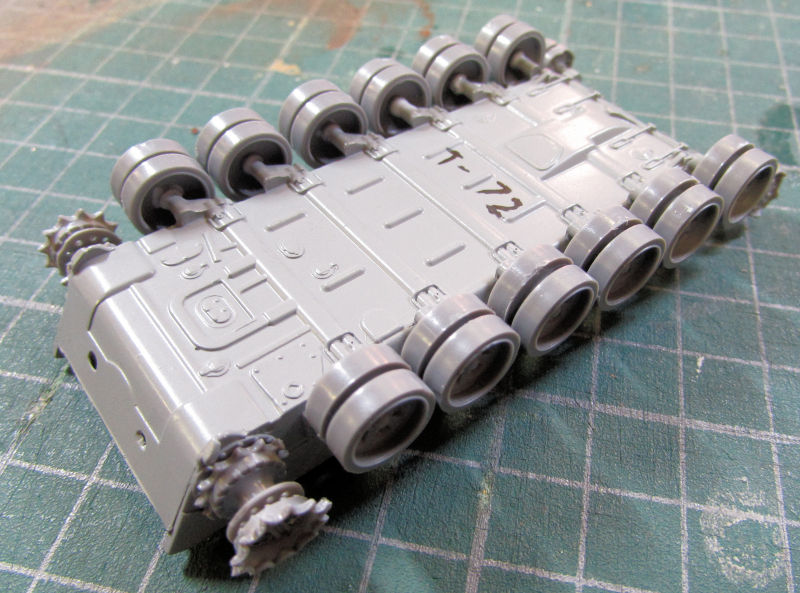
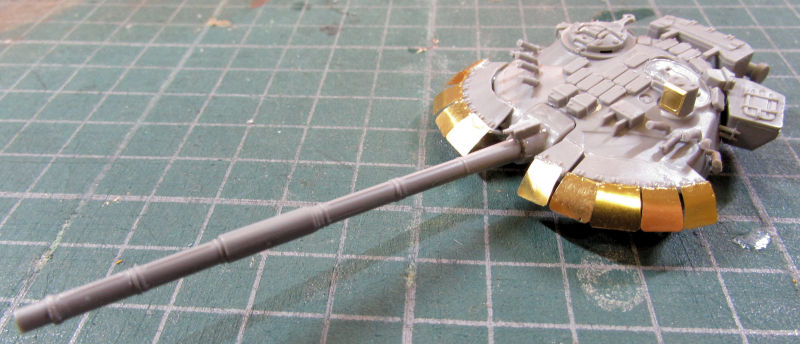
The turret then needed some photo etch added to it. These represent heavy rubber panels that are used to detonate RPG rounds before they get to the turret. I had to bend them a bit and then glued them on with Gator Grip glue:
Here is a shot of all the major subassemblies dry fit together:
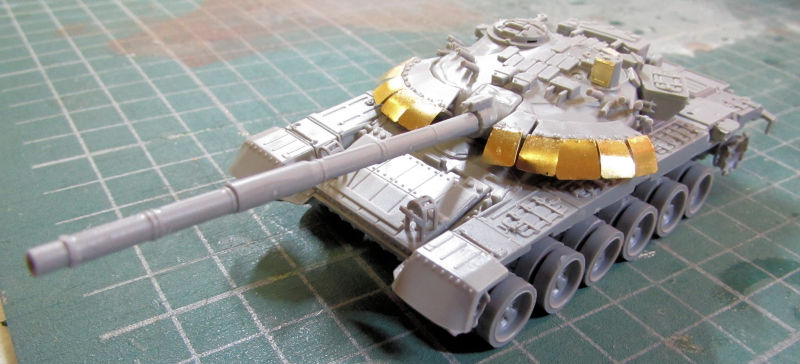
Gonna be able to paint that shortly.
The next models were all T-64 tanks of different variants. The first one is a T-64 Mod 1981 tank that we added the suspension to after assembling all the roadwheels and sprockets:
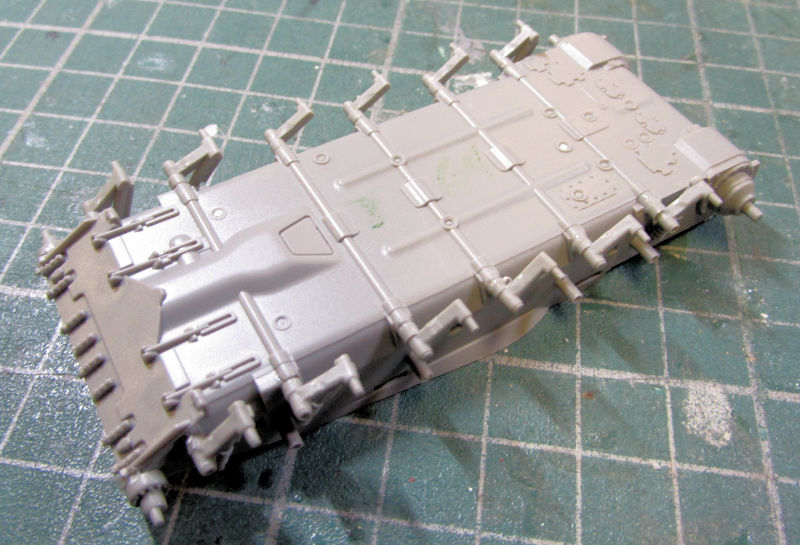
The next one is a T-64 AV that also got the roadwheels and sprockets built and the suspension installed. You can see here I labeled the bottom both inside and out so I don't forget which goes to what. I later did the same with the rest of them:
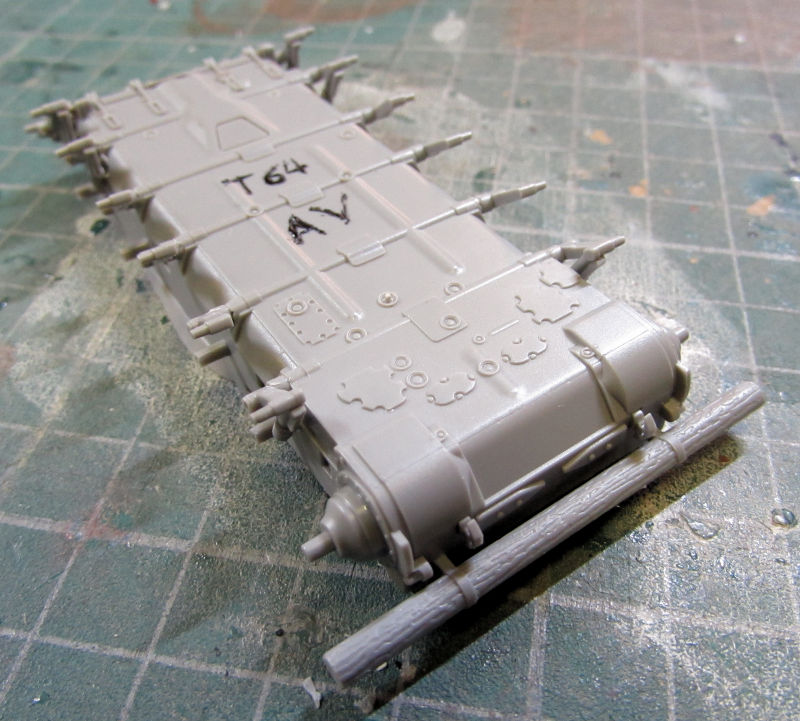
The last one is the T-64BM-2. Same as before:
That's as far as I got on that one.
The next thing we did was to assemble the turrets. The Mod 1981 one was quite simple:
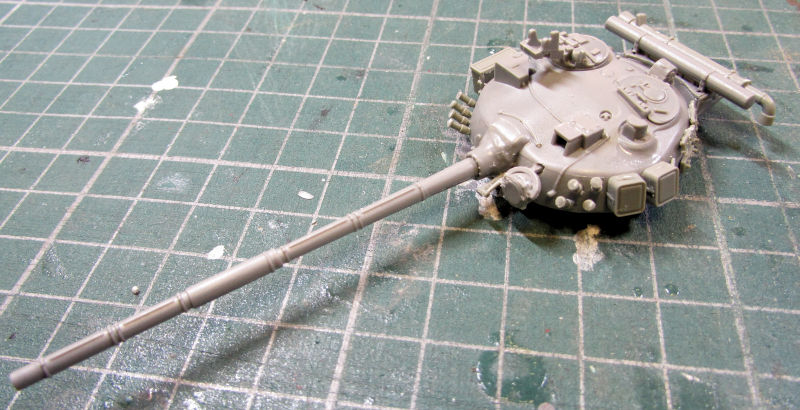
Followed by the T-64AV turret. This was a bit more involved:
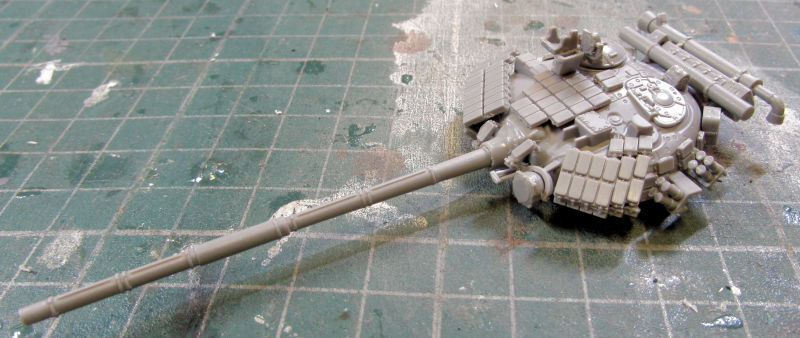
Something started nagging me a bit about this kit, but I moved on. We went back and assembled the upper hull for the Mod 1981, all except the exhaust so far:
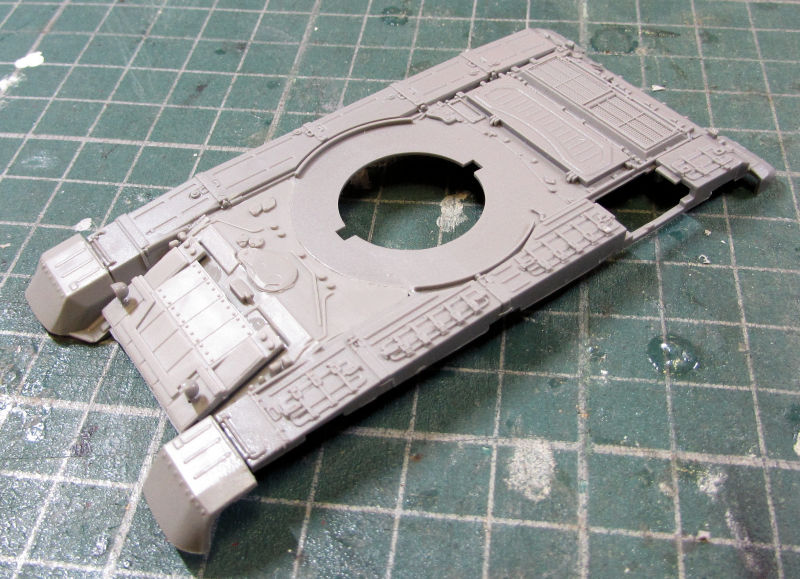
That turret fit on the hull quite nicely. The roadwheels and sprockets went on next:
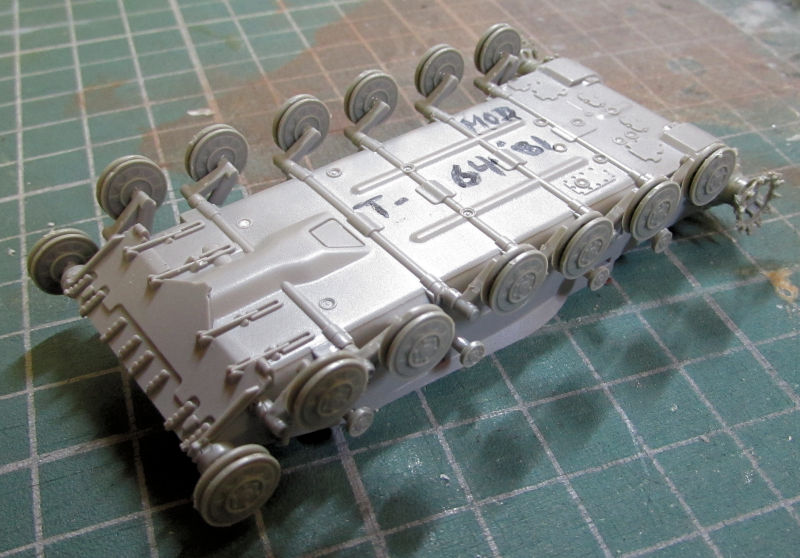
We also got the wheels installed on the T-64AV, finished most of the upper hull, and then dry-fit everything together:
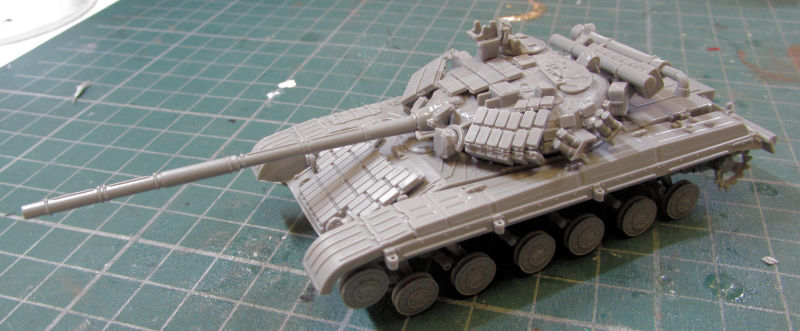
After looking further ahead in the instructions, it finally hit me why this was nagging at me. I'd built this version before! I recognized that when I saw how the side skirt ERA was supposed to be attached. So, this T-64AV will be pre-side-skirt ERA. That also helps to avoid that horrendous five-fold exercise on ten tiny photo-etch pieces!
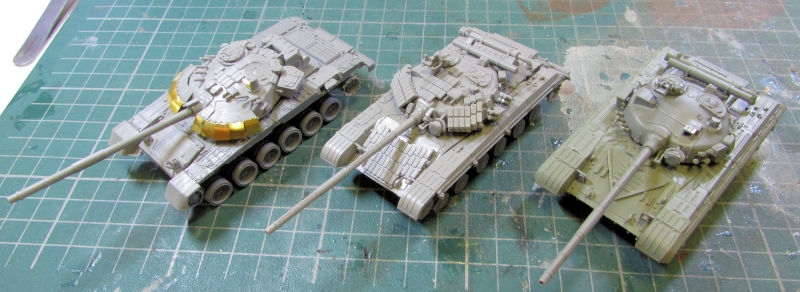
And now, this is where I'm at with these three tanks. I want to get the rest assembled to this point, then I can look into final detail parts before paint:
With that, we conclude this latest tour of Maddog Manufacturing. I hope you enjoyed it. Thank you all for taking the tour once again. Comments are always welcome.
 Now of course I’m a sucker for Russian armor, so I do love those tanks. I’m loving the Cobra with the “sugar scoop” exhaust deflector. On that Enterprise kit, is it with the original beehive top island, or the post SLEP island with the standard mast & radar?