1/72 IBG Fw 190D-9 Early Production

Post your work in progress of your aircraft builds in here.
Post Reply
User avatar
jkim
Elite Member
Posts: 4073
Joined: Mon Apr 10, 2017 4:03 pm

Re: 1/72 IBG Fw 190D-9 Early Production

Post by jkim »

Floki wrote:Everything is looking beautiful, so much to take in I'm not sure what I'm most impressed with.
Thanks Clint! I know it's a bit of overload. It's like I'm making up for lost time by building like crazy!

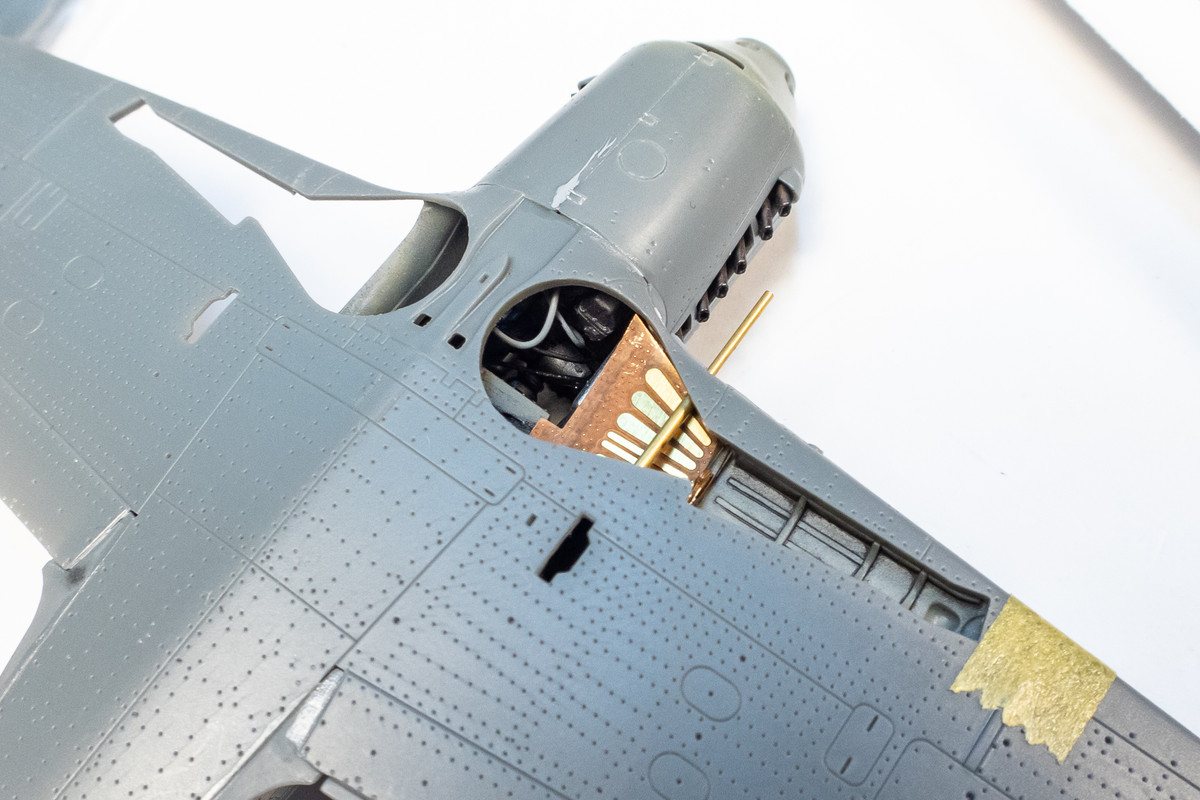
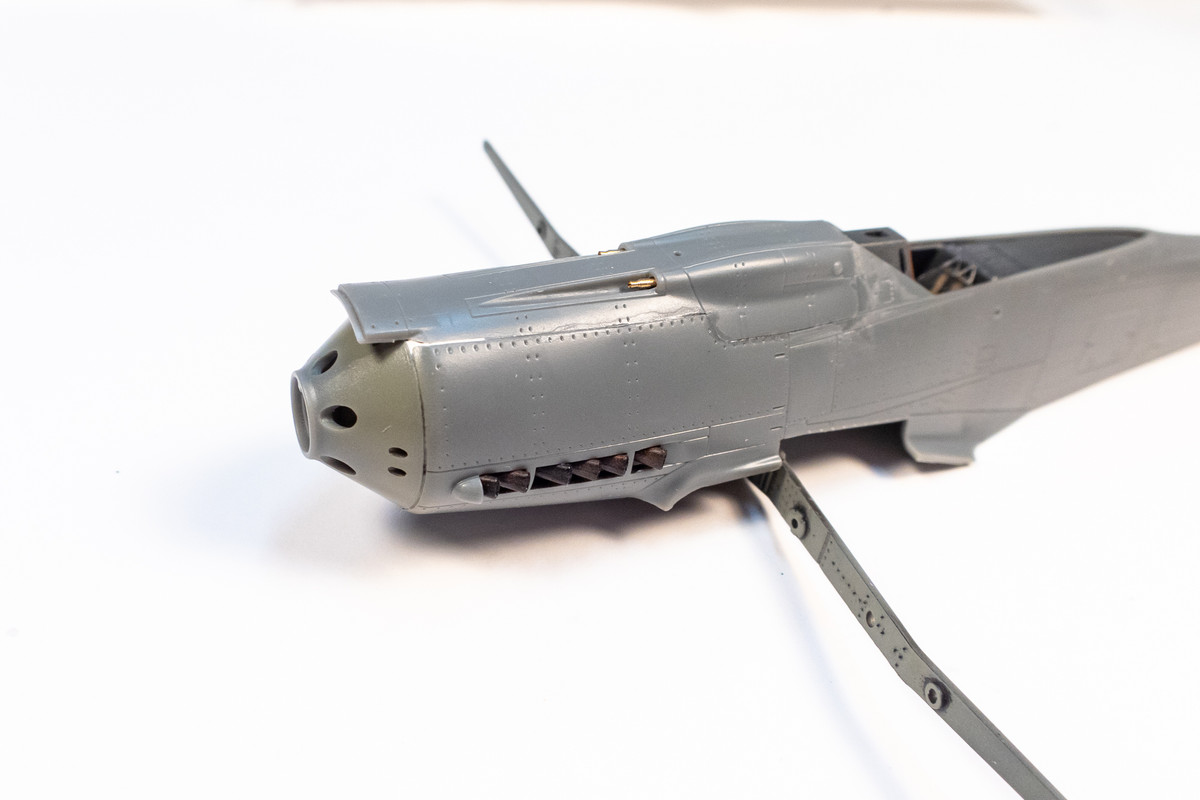
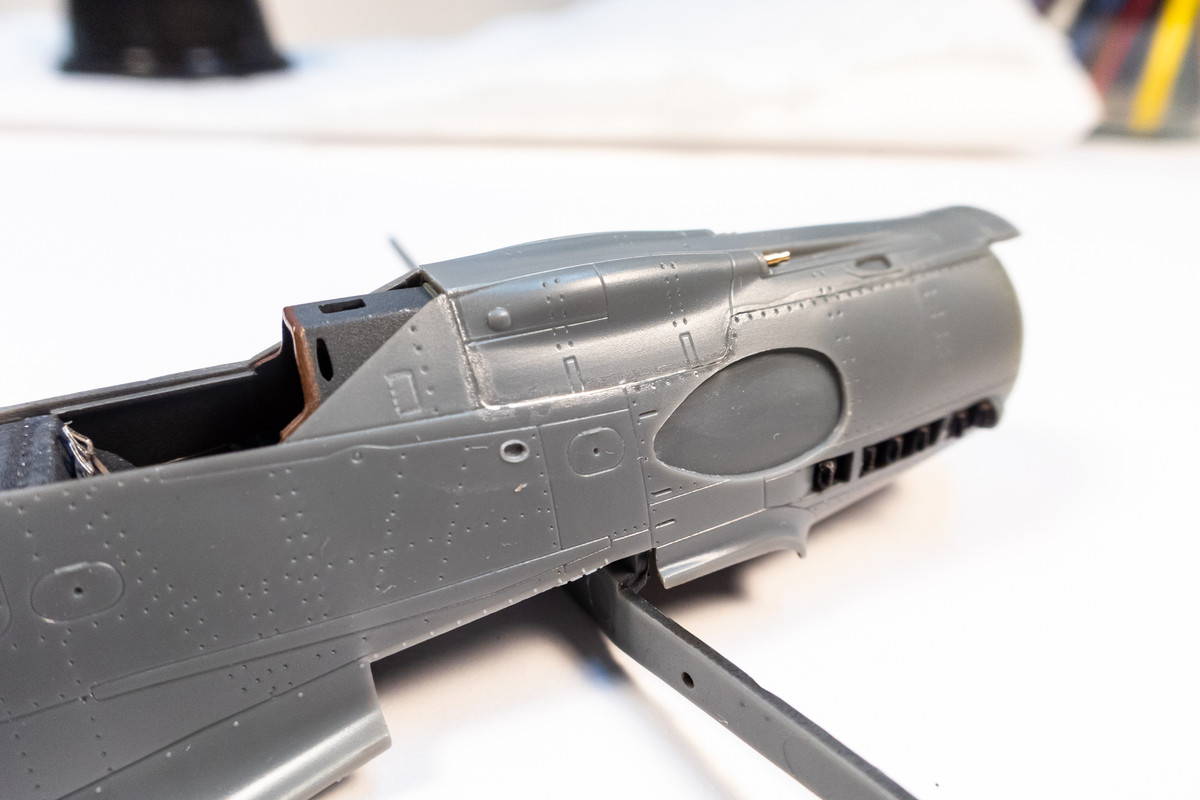
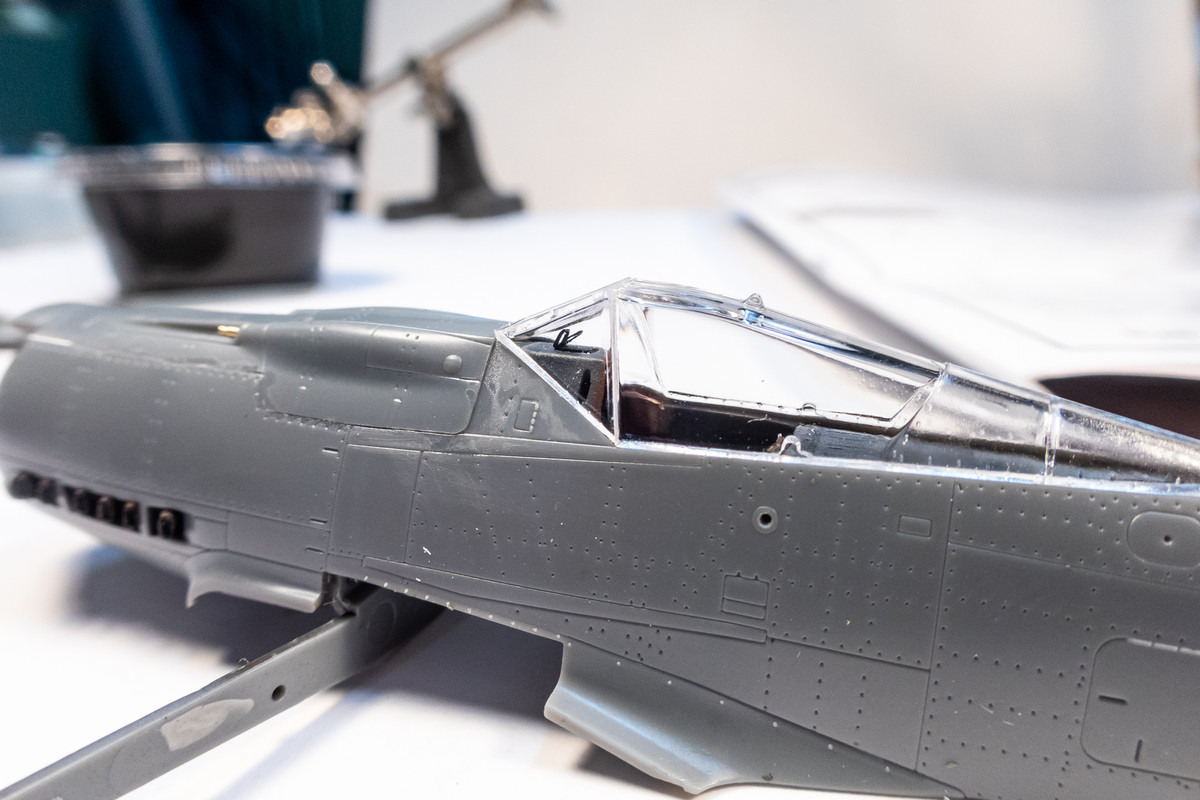
I've filled in the small gaps around the gun cowling using White Milliput. Milliput is perfect for this type of repair as you can fill the gap with one application and wipe it flush with a dampened cloth.
Image
Image

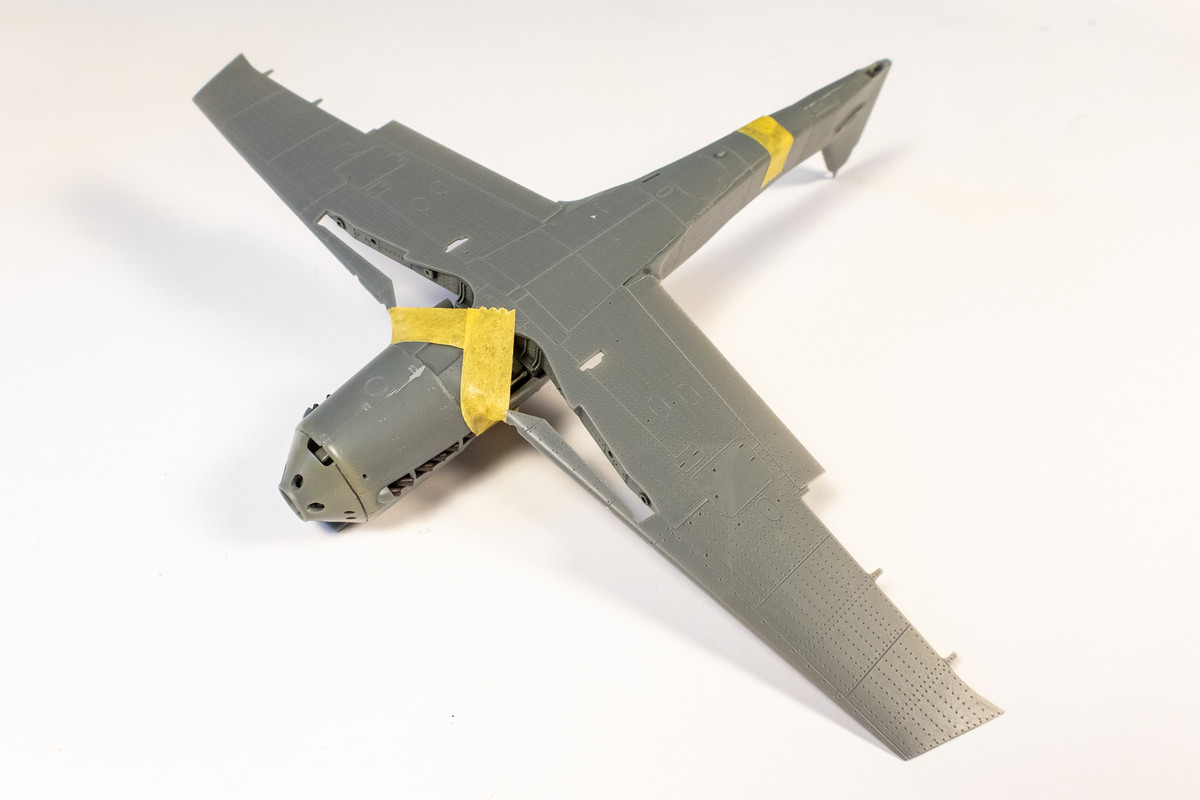
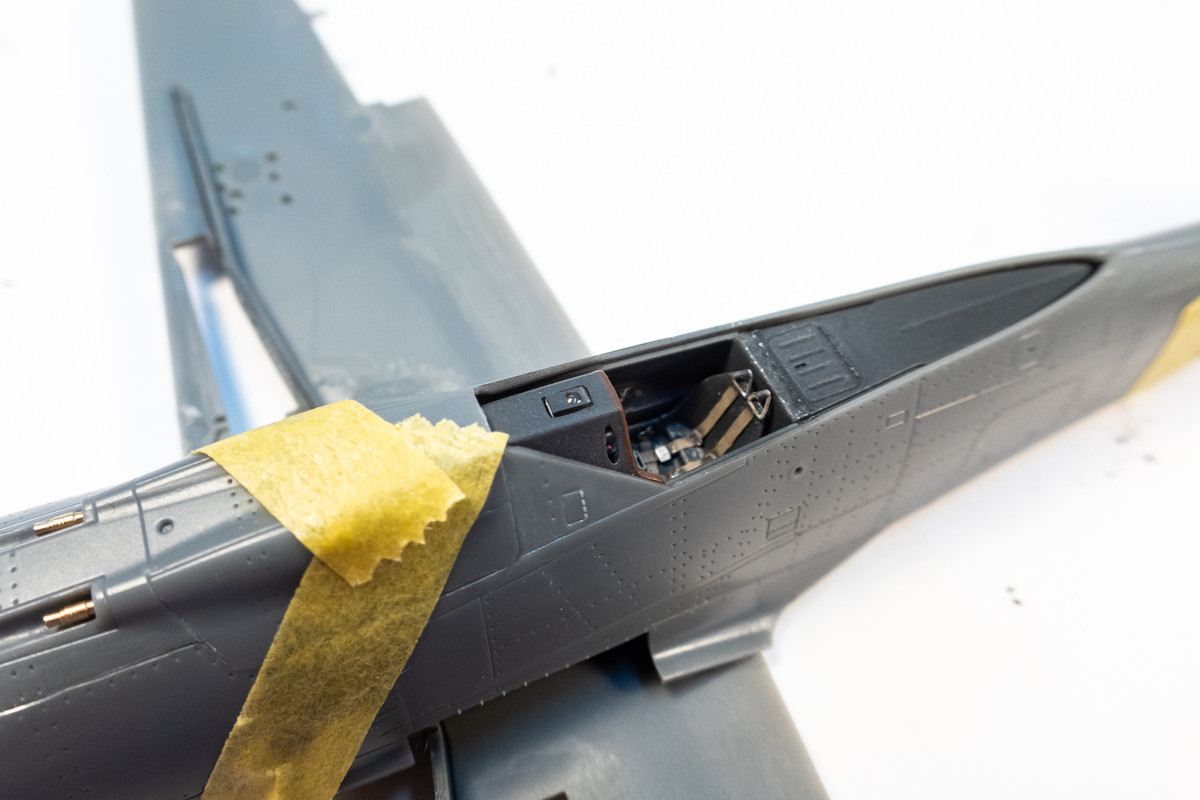
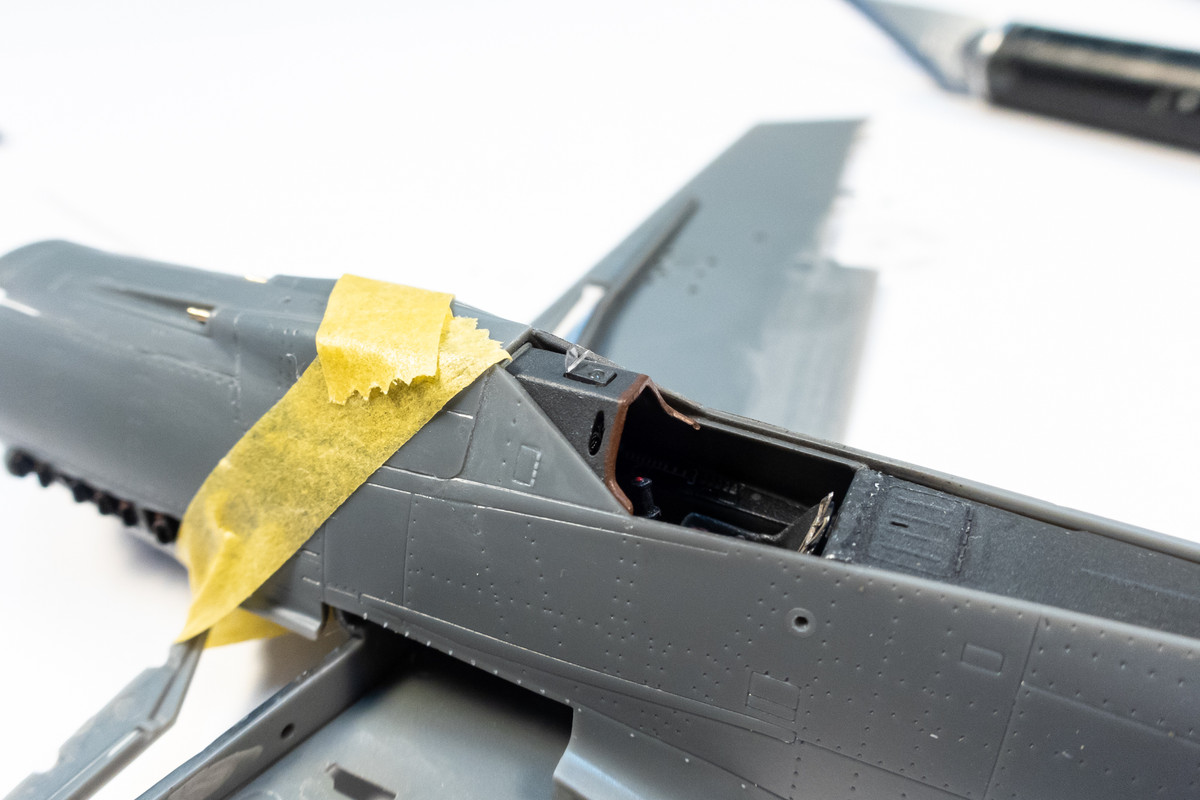
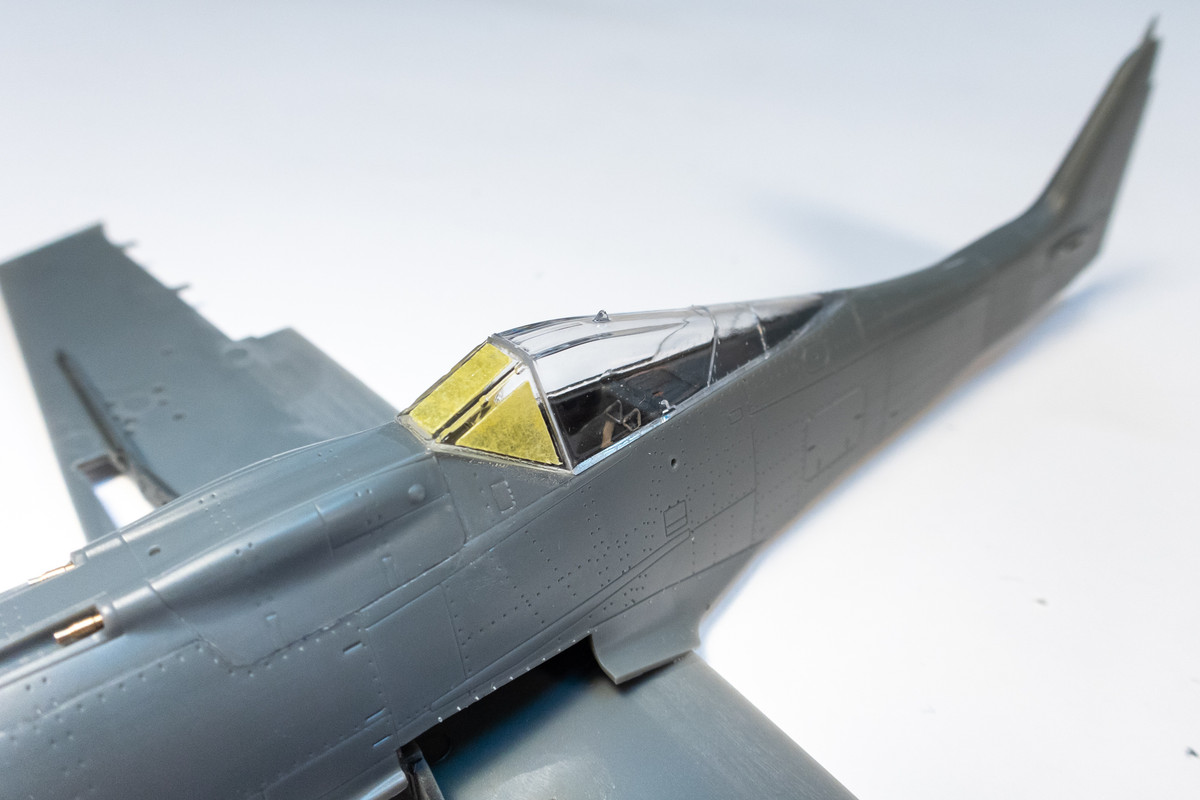
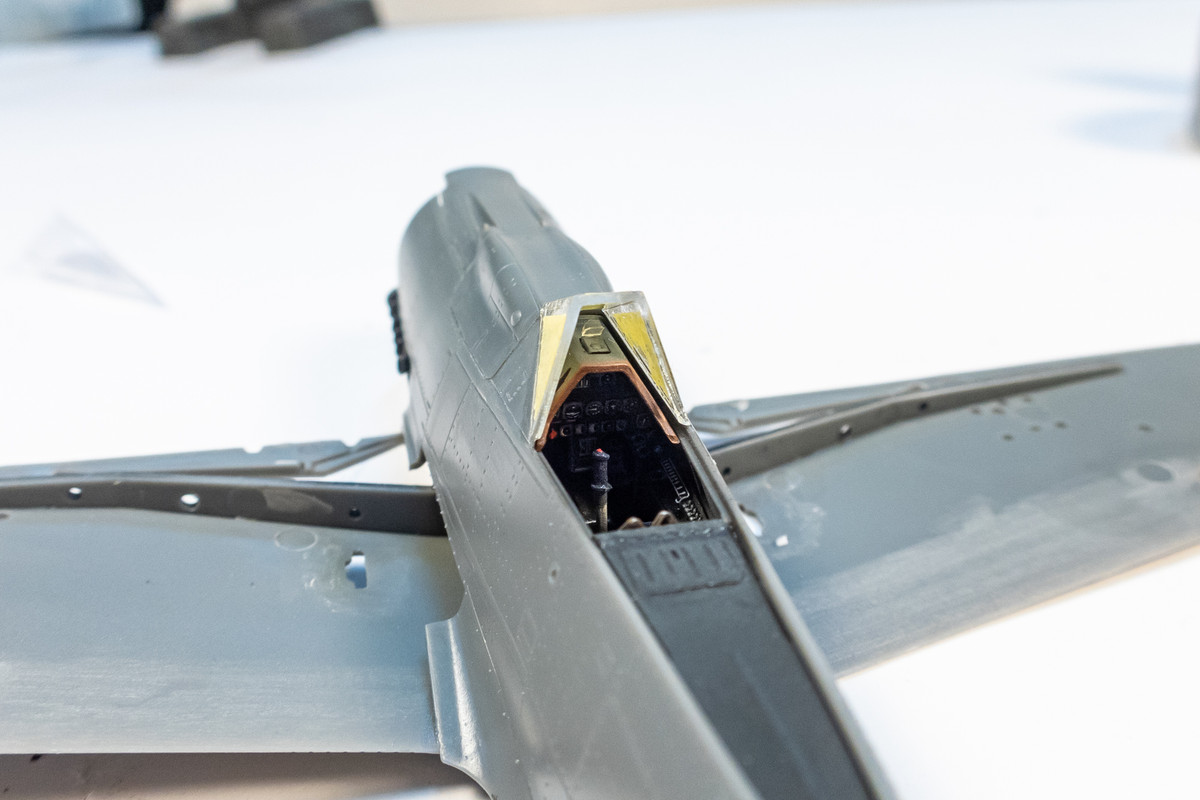
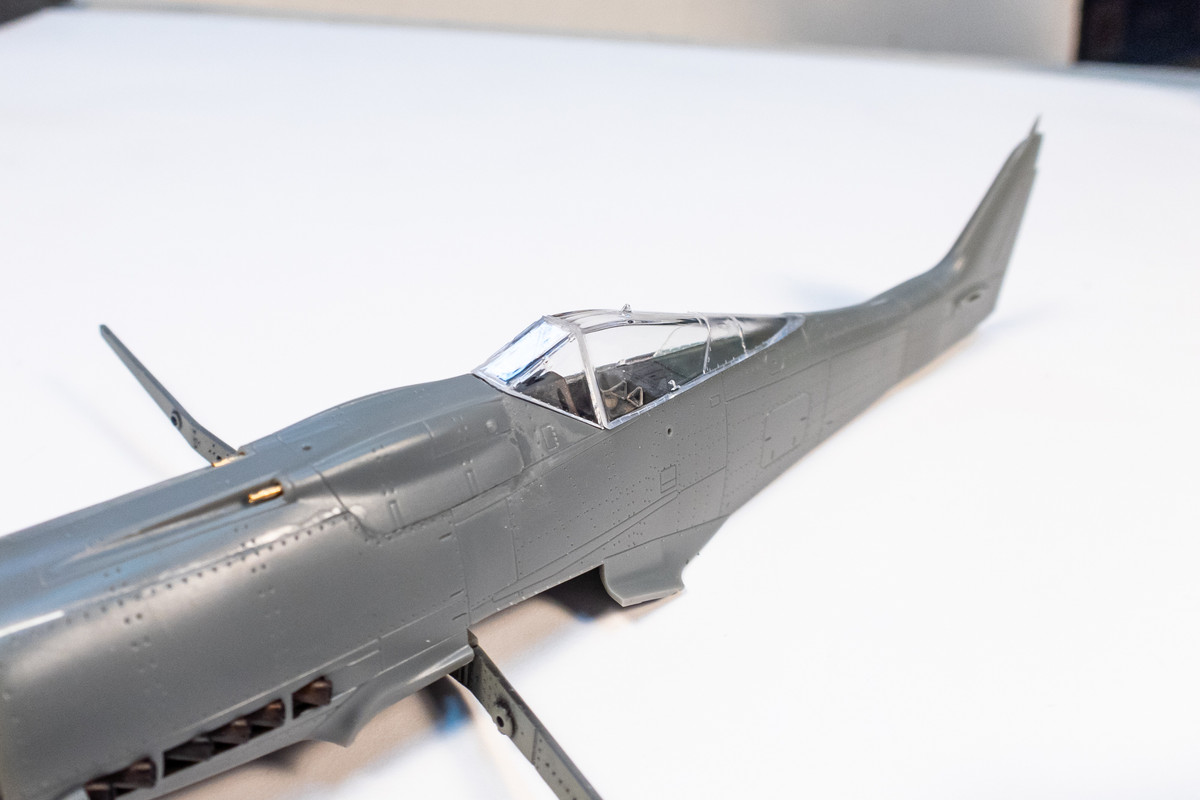
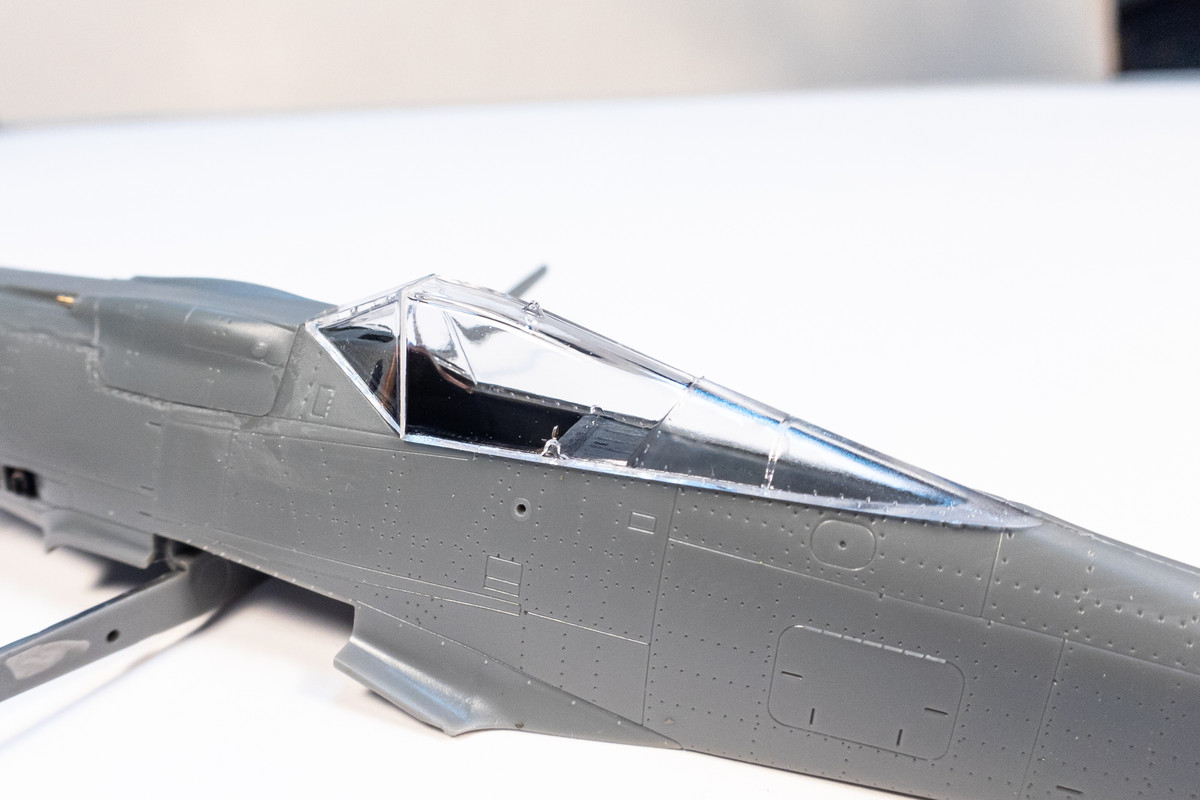
Taking a preliminary look at the clear canopy parts. After a dip in Future, the closed canopy option seems to fit well.
Image
Image
Image

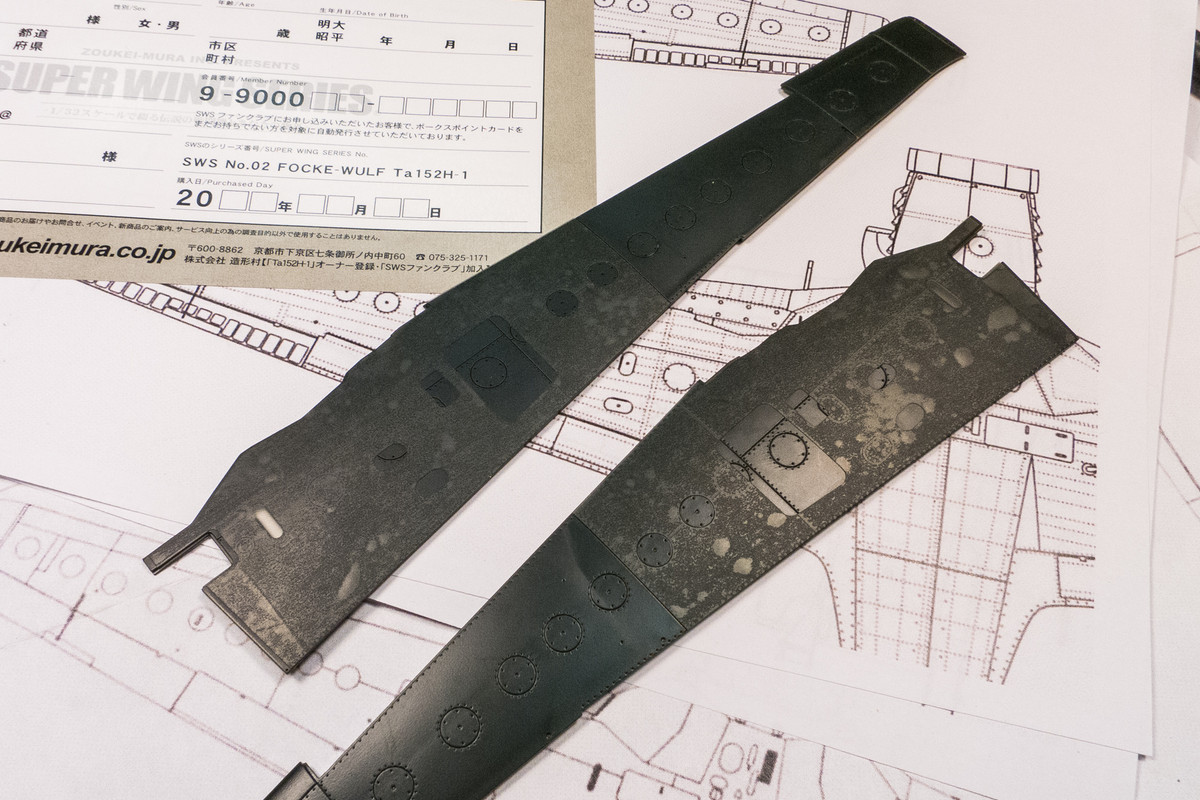
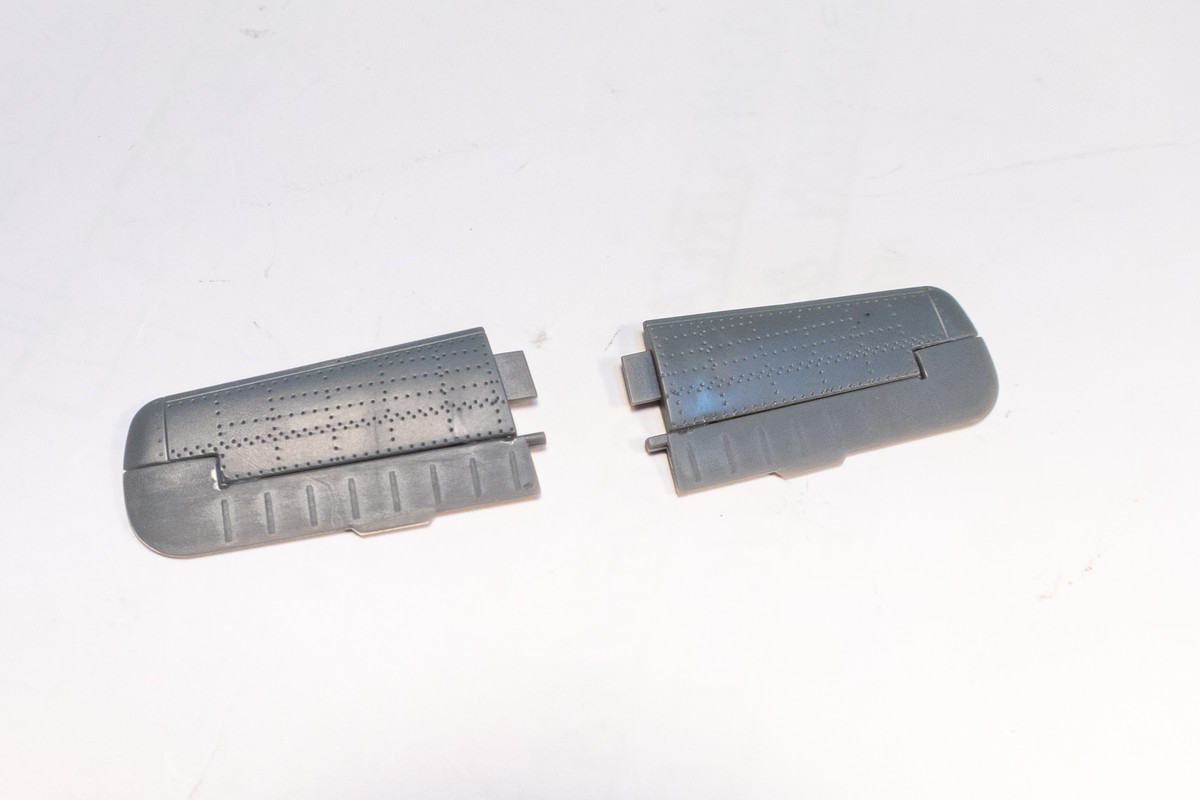
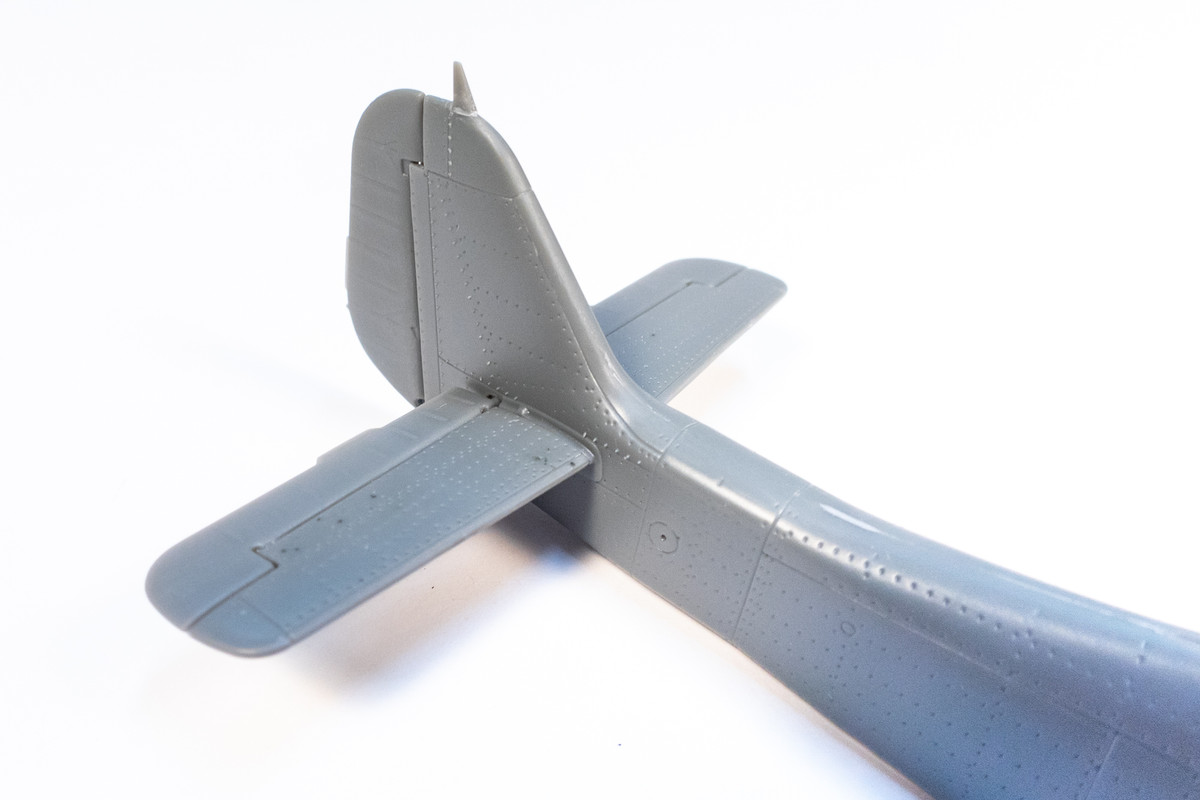
I've glued the fabric control surfaces to the horizontal tail planes.
Image
Image
Image

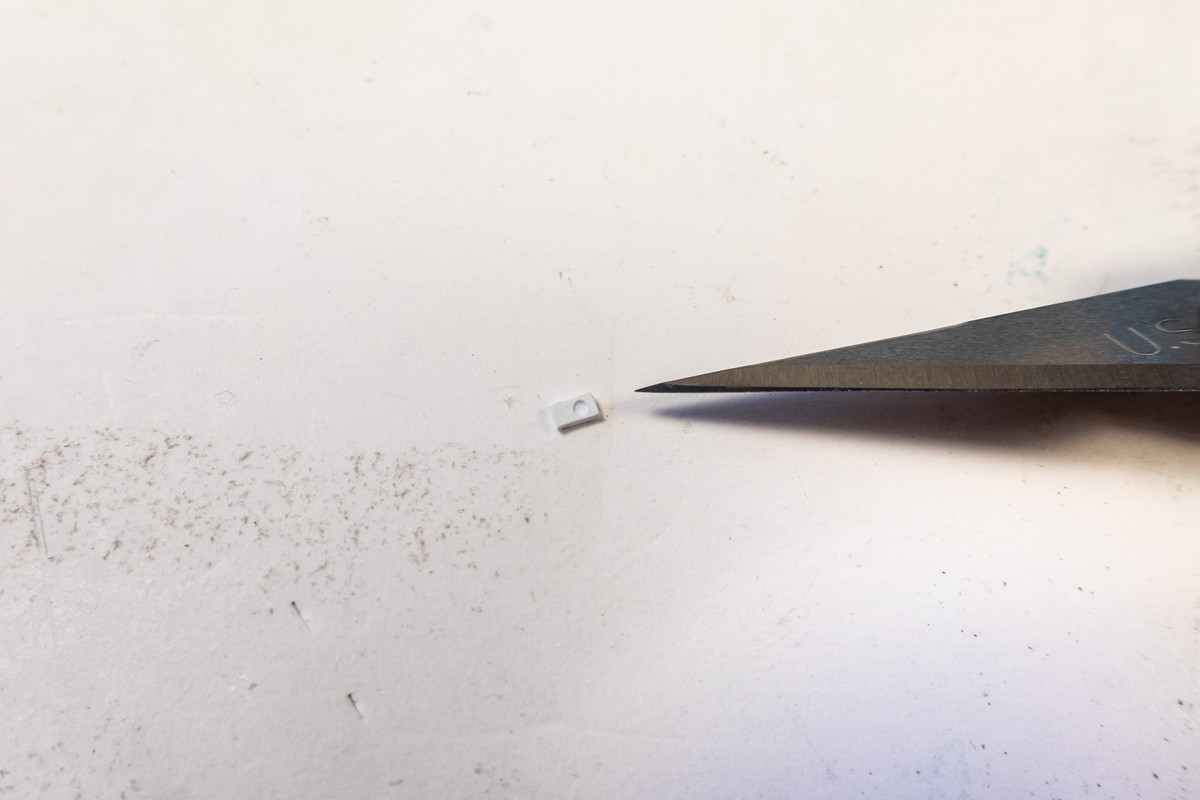
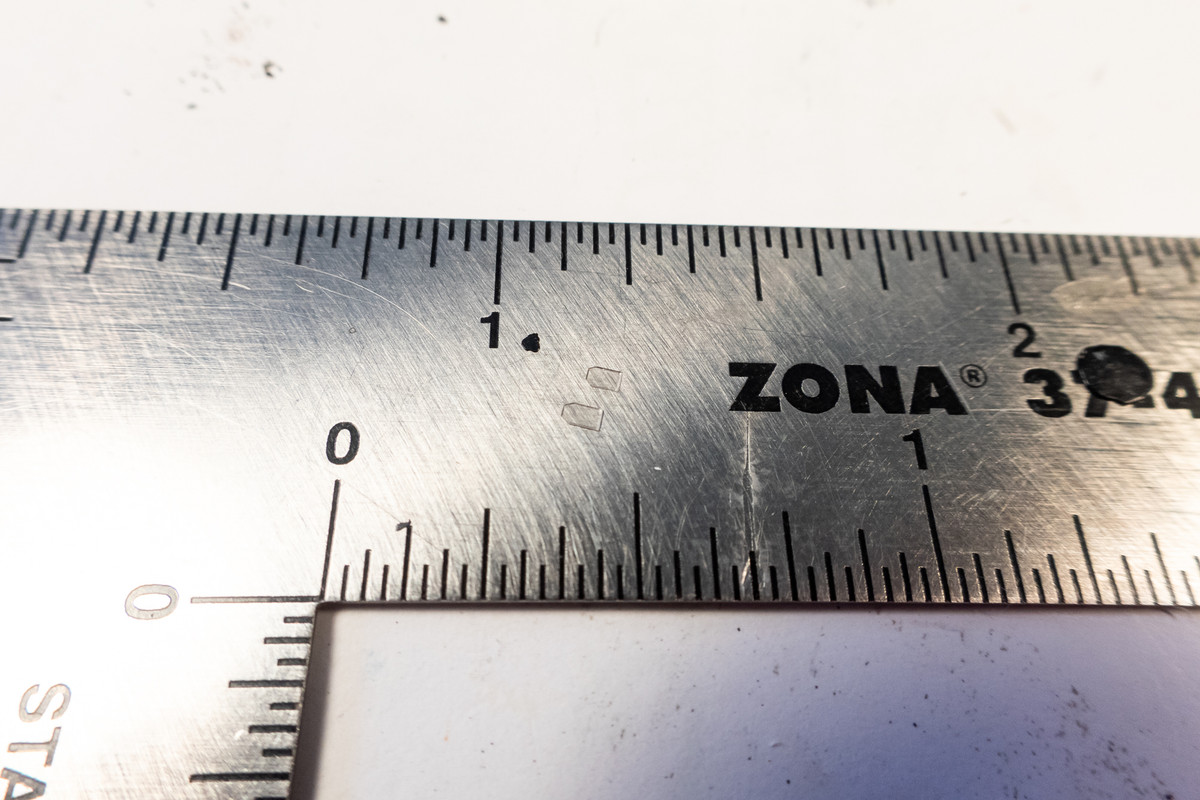
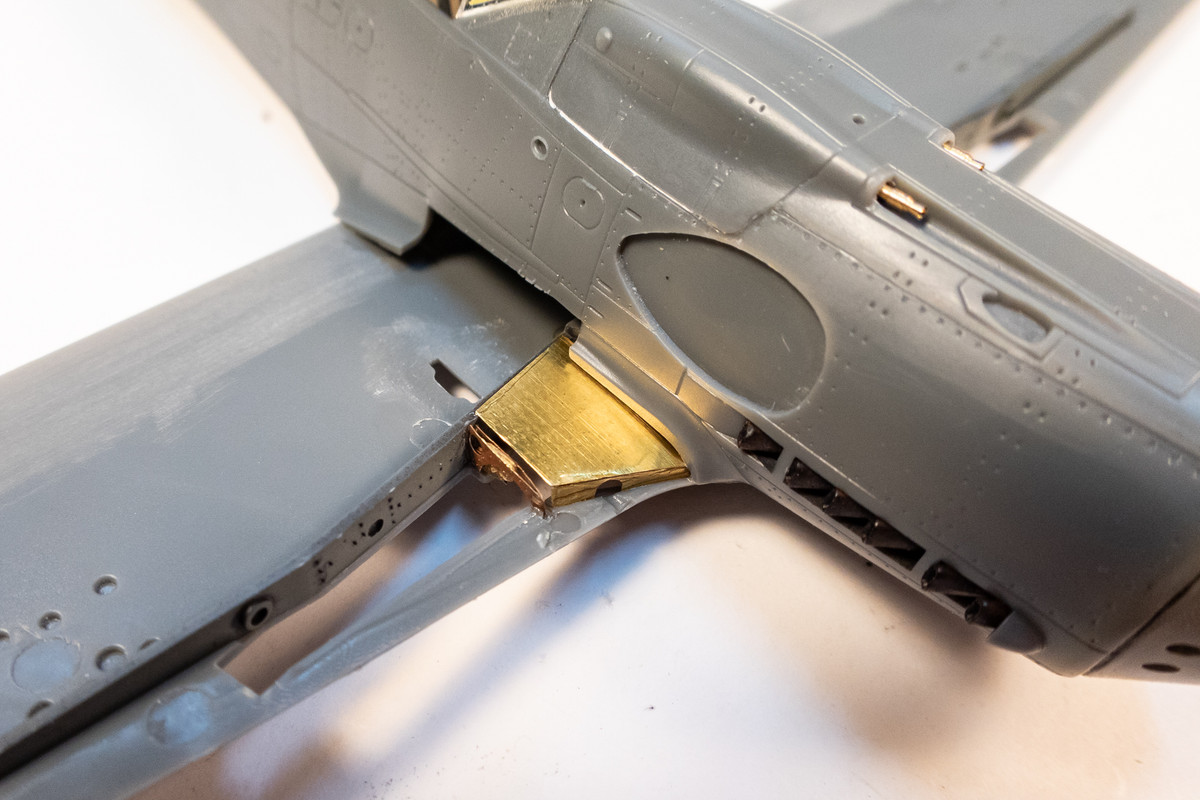
The kit provides two options for the Revi 16B gun sight. The first is a folded PE part. Since the optical glass if frameless, this is not technically accurate. The second option is molded in clear plastic and looks too thick. I'll try to see if I can cut the glass parts using clear acetate. If that doesn't work, I'll just use the PE.
Image
Image

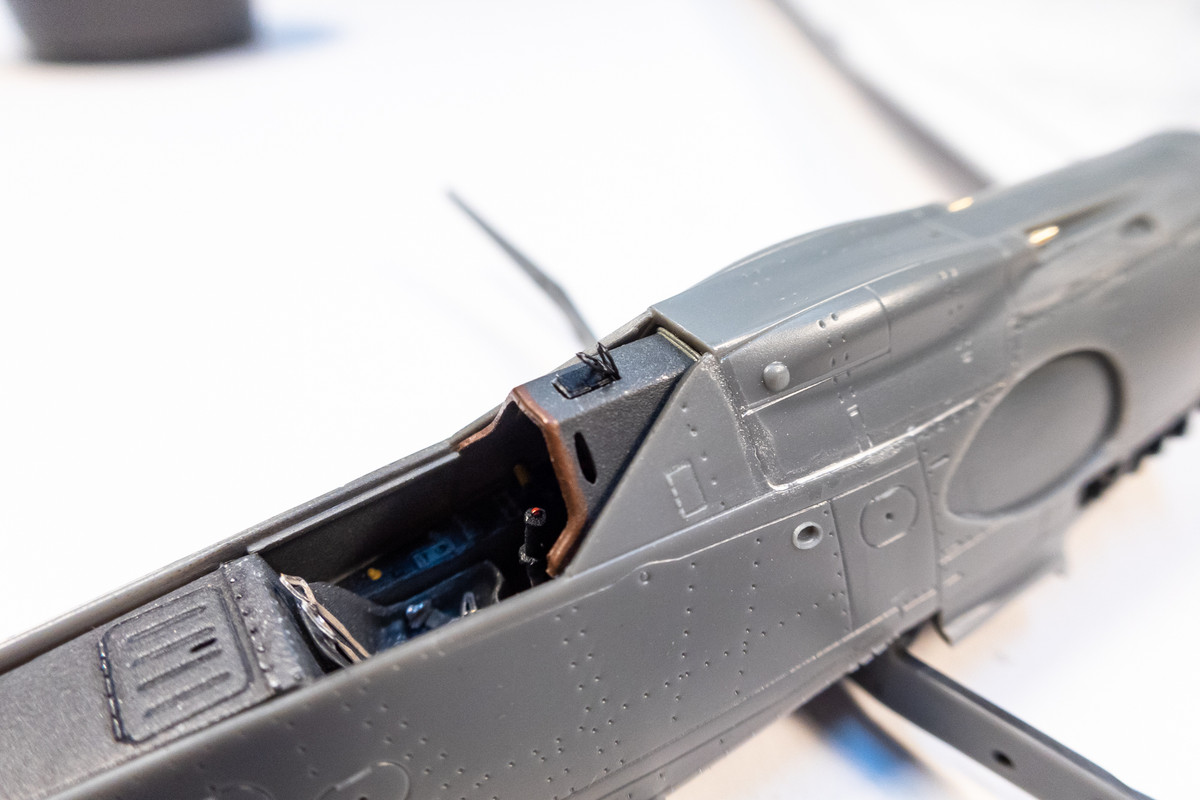
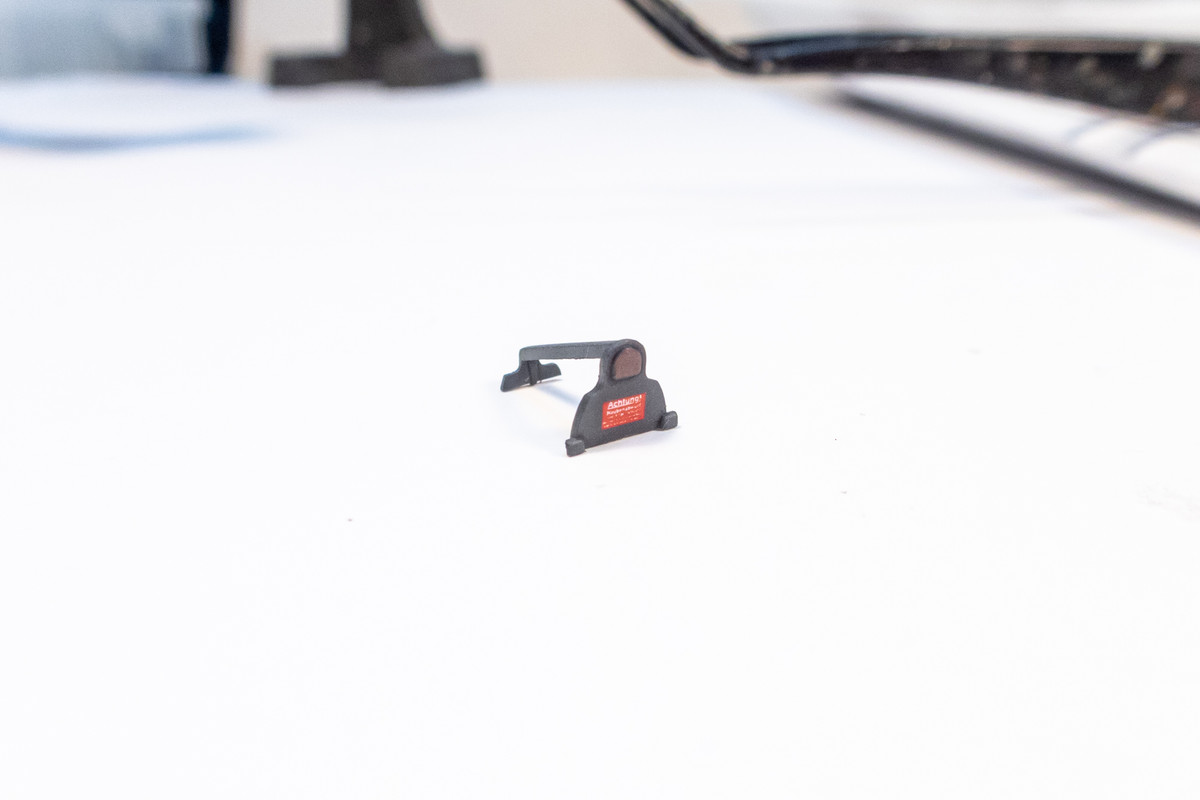
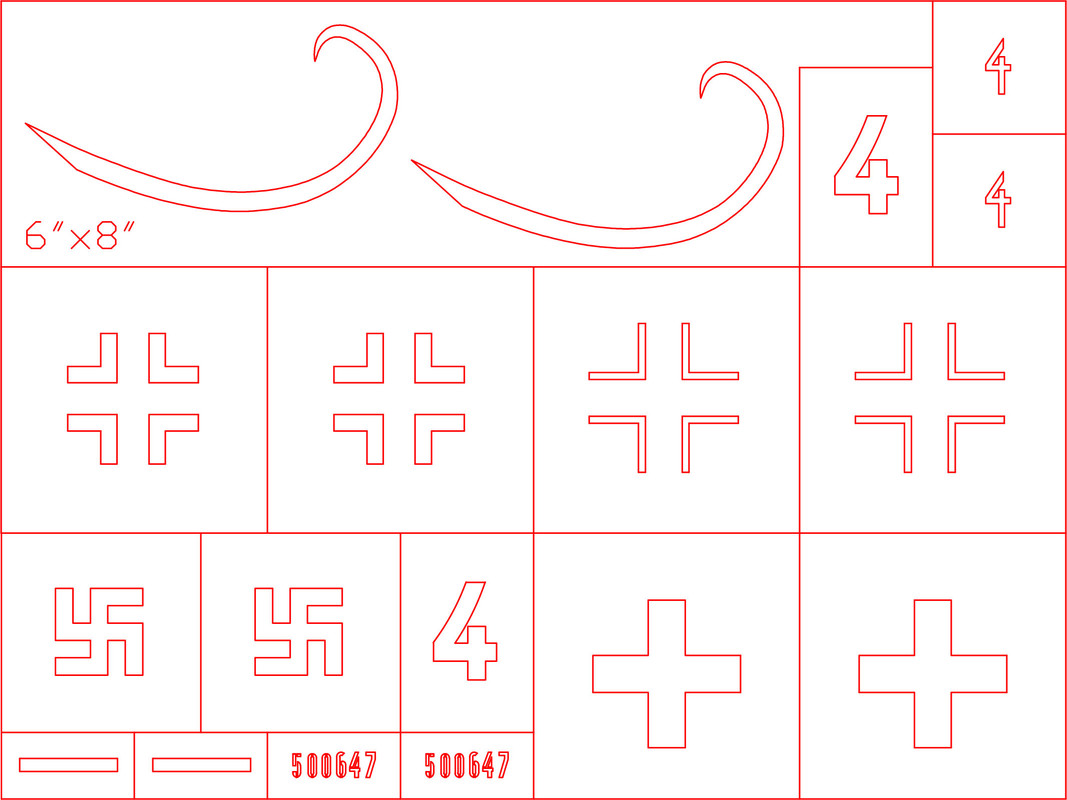
The pilot's armored headrest has been painted. IBG's stencil decal sheet is so extensive that it provides two options for the red headrest placard. I could not differentiate between the two.
Image
John aka JKim
-----------<><
Image
User avatar
jkim
Elite Member
Posts: 4073
Joined: Mon Apr 10, 2017 4:03 pm

Re: 1/72 IBG Fw 190D-9 Early Production

Post by jkim »

Moving right along with this build, I've glued the lower wings onto the fuselage.
Image

Instead of using the kit-supplied parts for the top of the Revi 16B gun sight, I decided to fabricate my own. I cut an appropriately small sized rectangle from thin sheet styrene. A drill bit was used to hollow out a circular depression to represent the optical element.
Image

This was glued into the empty space on top of the instrument panel hood. It was painted black and a small drop of UV-activated clear epoxy was used to create the optical element.
Image

I then cut two small pieces of clear acetate for the reflecting glass elements.
Image

These were carefully placed onto the gun sight using white glue.
Image

With major body work still to come, I thought that the gun sight was too delicate to be left unprotected so I decided to glue the clear windshield into place to protect it. I actually scanned the clear windshield and used the scans to create custom masks cut with the Portrait cutter. The sliding canopy was placed to help position the windshield and has not been permanently attached yet.
Image
Image

With the lower wings now in place, I moved to what is probably fiddliest part of this build. Instead of plastic parts, IBG has designed the central portion of the wheel wells to be fabricated from multiple PE parts. These parts are very thin and delicate and I was quite dubious about getting any kind of decent result.
Image

It took a good while figuring out how these pieces fit without bending them out of shape. I had to gouge out the accepting grooves on the wing spar part to accommodate these dual spars but once I did that, they seemed to fit pretty well.
Image

Once the spars are in, the roof of the wheels wells caps off the port wheel well assembly.
Image

I don't like this approach personally and I think it is overly complicated for such a small model. However, if one is careful, a decent looking result can be had. I did not have any trouble with the top of the wings closing over the installed PE parts but I made sure that I sanded all of the PE attachment tabs flush.
Image
Image
Image
Last edited by jkim on Tue Feb 15, 2022 4:35 pm, edited 1 time in total.
John aka JKim
-----------<><
Image
User avatar
Duke Maddog
Elite Member
Posts: 7580
Joined: Tue Jun 03, 2014 11:22 am
Location: Rowland Heights, CA

Re: 1/72 IBG Fw 190D-9 Early Production

Post by Duke Maddog »

Wow, stunning work, shaming me in my own scale ! LOL! :bag: :whiteflag:

I am not bothered actually, You take building these models to a whole ton of levels beyond what I do. I am having a thrilling time watching this Thread though. You're doing amazing and stunning work! It feels great making such fast progress doesn't it? Now you know why I stay exclusively in this scale! :lashed:


On a side note: many people on the Missing Lynx Braille Scale Forums are wondering how IBG could get this so incredibly right while making an unbelievably high number of mistakes and inaccuracies on all their 1/72 scale armor kits. :giggles:
The Duke
Virtuoso of Miniatures

"Do you know what the chain of command is? It's the chain I get and beat you with 'till you understand who's in ruttin' command!"
-Jayne Cobb, Firefly Episode 2 "The Train Job"

We are modelers - the same in spirit, in hunger to insanely buy newly released kits, hustlers in hiding our stash from our better halves and experts in using garbage as replacements for after-market parts.
User avatar
tempestjohnny
Elite Member
Posts: 3775
Joined: Sat Oct 15, 2016 4:51 am
Location: Naples. FL

Re: 1/72 IBG Fw 190D-9 Early Production

Post by tempestjohnny »

John absolutely stunning work on this. One question. You mentioned scanning the windshield to use your mask cutter. Can you explain this? I have access to a Cricut and was wondering if this could used with it
User avatar
Stikpusher
Moderator
Posts: 20868
Joined: Sat Apr 05, 2014 8:37 pm
Location: Ceti Alpha 5

Re: 1/72 IBG Fw 190D-9 Early Production

Post by Stikpusher »

:popcorn:
"Surely I have made my meaning plain? I intend to avenge myself upon you, Admiral. I have deprived your ship of power, and when I swing 'round, I intend to deprive you of your life."

FLSM
User avatar
jkim
Elite Member
Posts: 4073
Joined: Mon Apr 10, 2017 4:03 pm

Re: 1/72 IBG Fw 190D-9 Early Production

Post by jkim »

Duke Maddog wrote:Wow, stunning work, shaming me in my own scale ! LOL! :bag: :whiteflag:

I am not bothered actually, You take building these models to a whole ton of levels beyond what I do. I am having a thrilling time watching this Thread though. You're doing amazing and stunning work! It feels great making such fast progress doesn't it? Now you know why I stay exclusively in this scale! :lashed:


On a side note: many people on the Missing Lynx Braille Scale Forums are wondering how IBG could get this so incredibly right while making an unbelievably high number of mistakes and inaccuracies on all their 1/72 scale armor kits. :giggles:
Thanks Duke! It's been refreshing working in a different scale. Same mindset but less real estate means mistakes/sloppiness get magnified but overall everything goes faster, which has been nice. I can't speak to the accuracy of the IBG Fw 190D-9 kit but it looks good to my untrained eye. I'm familiar enough with the Dora to know that the basic things differentiating this mark from the others are there such as open wheel well, flat and bulged canopy versions, extra panel on the gun cowling for early production, etc. But I'm no technical expert and I have not looked at the kit with that critical an eye.

tempestjohnny wrote:John absolutely stunning work on this. One question. You mentioned scanning the windshield to use your mask cutter. Can you explain this? I have access to a Cricut and was wondering if this could used with it
Thanks Johnny! I have a Silhouette Portrait cutter and use AutoCAD to create the DXF files that the Portrait can use to cut masks. So what I do to replace decals with paint masks is to scan the decal sheet into a JPG file, import the JPG file into AutoCAD and use AutoCAD to trace over the decal image to produce the mask.

Here is an example of a mask that I produced using this method. Note that the dimensions of the outer red box is 6" x 8". This file is imported into the Portrait software. Using this software, the box is re-sized to be exactly 6" x 8" to ensure the masks are at the right scale.

I scan my decal sheets using my home all-in-one printer/scanner. The JPG scans, when imported into AutoCAD come in at a 1:1 scale. In other words, if the decal sheet is 4"x6", the JPG scan, when imported into AutoCAD, has the dimensions of 4 x 6 inches in AutoCAD and I don't have to do any re-sizing at this stage. I noticed this and figured out that I can scan a physical object (as long as it is relatively flat) and produce masks this way.
Image

An example of this was using a scan of the wing to create scribing guides for the Ta152H-0 conversion.
Image

The three-sided windshield of the Fw190 is flat on all sides so I just scanned each flat side, imported the images into AutoCAD and traced the masks over the images. I know that the process is more involved than what was described earlier. Without the use of CAD/illustration software capable of producing DXF files, I'm not sure if this information will be helpful but there it is!
Stikpusher wrote::popcorn:
Thanks Carlos! Will jump back onto the build shortly!
John aka JKim
-----------<><
Image
User avatar
jkim
Elite Member
Posts: 4073
Joined: Mon Apr 10, 2017 4:03 pm

Re: 1/72 IBG Fw 190D-9 Early Production

Post by jkim »

The other wheel well gave me more problems... I just could not get the L-shaped bulkhead into place. I ended up cutting it into two and gluing them in separately. But I got it installed and that's the main thing.
Image

Closing up the wings doesn't seem to be a problem on either side, thank goodness.
Image

Now that the wheels are completed, I'll have paint the new PE parts to match the rest of the wheel wells. I was hoping to be able to add the gun barrels in at the end but threading them through the multiple openings is causing too much friction so I'll probably have to install them before I glue the wing tops on.
Image
Image
John aka JKim
-----------<><
Image
User avatar
LyleW
Admin
Posts: 14815
Joined: Fri Dec 13, 2013 7:25 am
Location: Mt. Washington KY

Re: 1/72 IBG Fw 190D-9 Early Production

Post by LyleW »

Nice!
To make each build less crappy than the last one. Or, put another way, "Better than the last one, not as good as the next one!"..
User avatar
tempestjohnny
Elite Member
Posts: 3775
Joined: Sat Oct 15, 2016 4:51 am
Location: Naples. FL

Re: 1/72 IBG Fw 190D-9 Early Production

Post by tempestjohnny »

Thanks for the tutorial. Wheel bays look great
User avatar
Medicman71
Elite Member
Posts: 11097
Joined: Mon Apr 07, 2014 9:32 am
Location: Houston, Tx

Re: 1/72 IBG Fw 190D-9 Early Production

Post by Medicman71 »

Man that looks great! I think that those wheel wells are way too complicated. I'll never understand why they do things like that.
Mike

Sponsored by Boeing, Lockheed Martin, Northrop Grumman, Saab, BAE, and Dassault
Post Reply

Return to “Aircraft Work in Progress”