Tamiya M41 Walker Bulldog-Ending at last!
-
Stikpusher

- Moderator
- Posts: 21383
- Joined: Sat Apr 05, 2014 8:37 pm
- Location: Ceti Alpha 5
Re: Tamiya M41 Walker Bulldog
I used the figure for the Tamiya M3 Bradley with a Tamiya Japanese soldier head and US steel pot as the TC on my M41. Works ok, but in hindsight I would change him up more.
"Surely I have made my meaning plain? I intend to avenge myself upon you, Admiral. I have deprived your ship of power, and when I swing 'round, I intend to deprive you of your life."
FLSM
FLSM
-
Medicman71

- Elite Member
- Posts: 11396
- Joined: Mon Apr 07, 2014 9:32 am
- Location: Houston, Tx
Re: Tamiya M41 Walker Bulldog
Really nice work Gary! 
Mike
Sponsored by Boeing, Lockheed Martin, Northrop Grumman, Saab, BAE, and Dassault
Sponsored by Boeing, Lockheed Martin, Northrop Grumman, Saab, BAE, and Dassault
-
mustang1989

- Moderator
- Posts: 5044
- Joined: Tue Mar 18, 2014 8:35 pm
Re: Tamiya M41 Walker Bulldog
Good progress on this build Gary. That is really something about your approach to the bent headlight guards and brings another level of depth to the overall build. Very nicely done brother.
-
Gary Brantley

- Elite Member
- Posts: 2771
- Joined: Tue Apr 08, 2014 9:40 pm
- Location: Cameron, Texas
Re: Tamiya M41 Walker Bulldog
I've been looking around and have found a few possibilities but hey, they're gonna cost me! Prolly around $15 or more per guy. Dude. Wish I were a sculptor...Stikpusher wrote:I used the figure for the Tamiya M3 Bradley with a Tamiya Japanese soldier head and US steel pot as the TC on my M41. Works ok, but in hindsight I would change him up more.

Thanks Mike! I sure appreciate that!Medicman71 wrote:Really nice work Gary!

Joe, thanks a lot! I'm glad to hear that! I wIsh I'd made those guards from scratch; it would've been a pretty easy little project too. Must resist urge to redo them.....mustang1989 wrote:Good progress on this build Gary. That is really something about your approach to the bent headlight guards and brings another level of depth to the overall build. Very nicely done brother.


Re: Tamiya M41 Walker Bulldog
Caught up on this one...you sure seem to have a knack for armor. Go to the ER immediately!
This is becoming a masterpiece!
This is becoming a masterpiece!
To make each build less crappy than the last one. Or, put another way, "Better than the last one, not as good as the next one!"..
-
Gary Brantley
- Elite Member
- Posts: 2771
- Joined: Tue Apr 08, 2014 9:40 pm
- Location: Cameron, Texas
Re: Tamiya M41 Walker Bulldog
Calling 911 right now! Thanks Lyle, but you give way too much credit! Far from a masterpiece I assure you; if I can just keep it from looking like a toy you'd push across the floor, a' spewin' sparks, I'll be tickled to death!

-
Gary Brantley
- Elite Member
- Posts: 2771
- Joined: Tue Apr 08, 2014 9:40 pm
- Location: Cameron, Texas
Re: Tamiya M41 Walker Bulldog
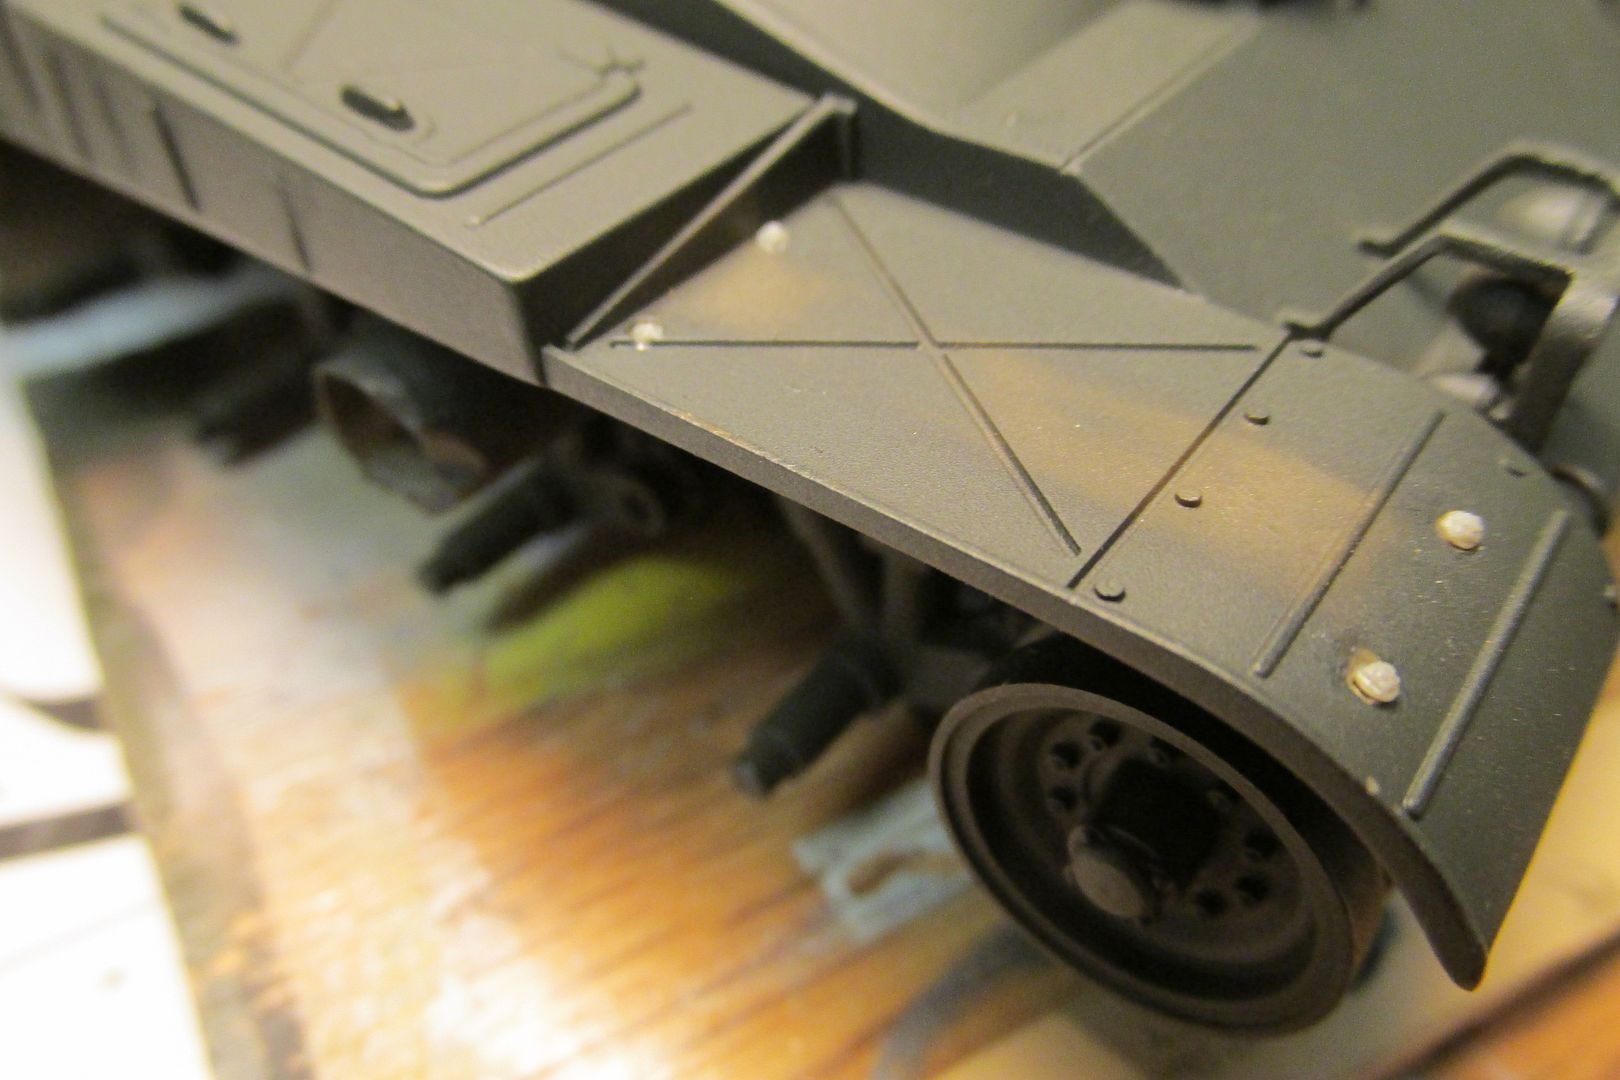
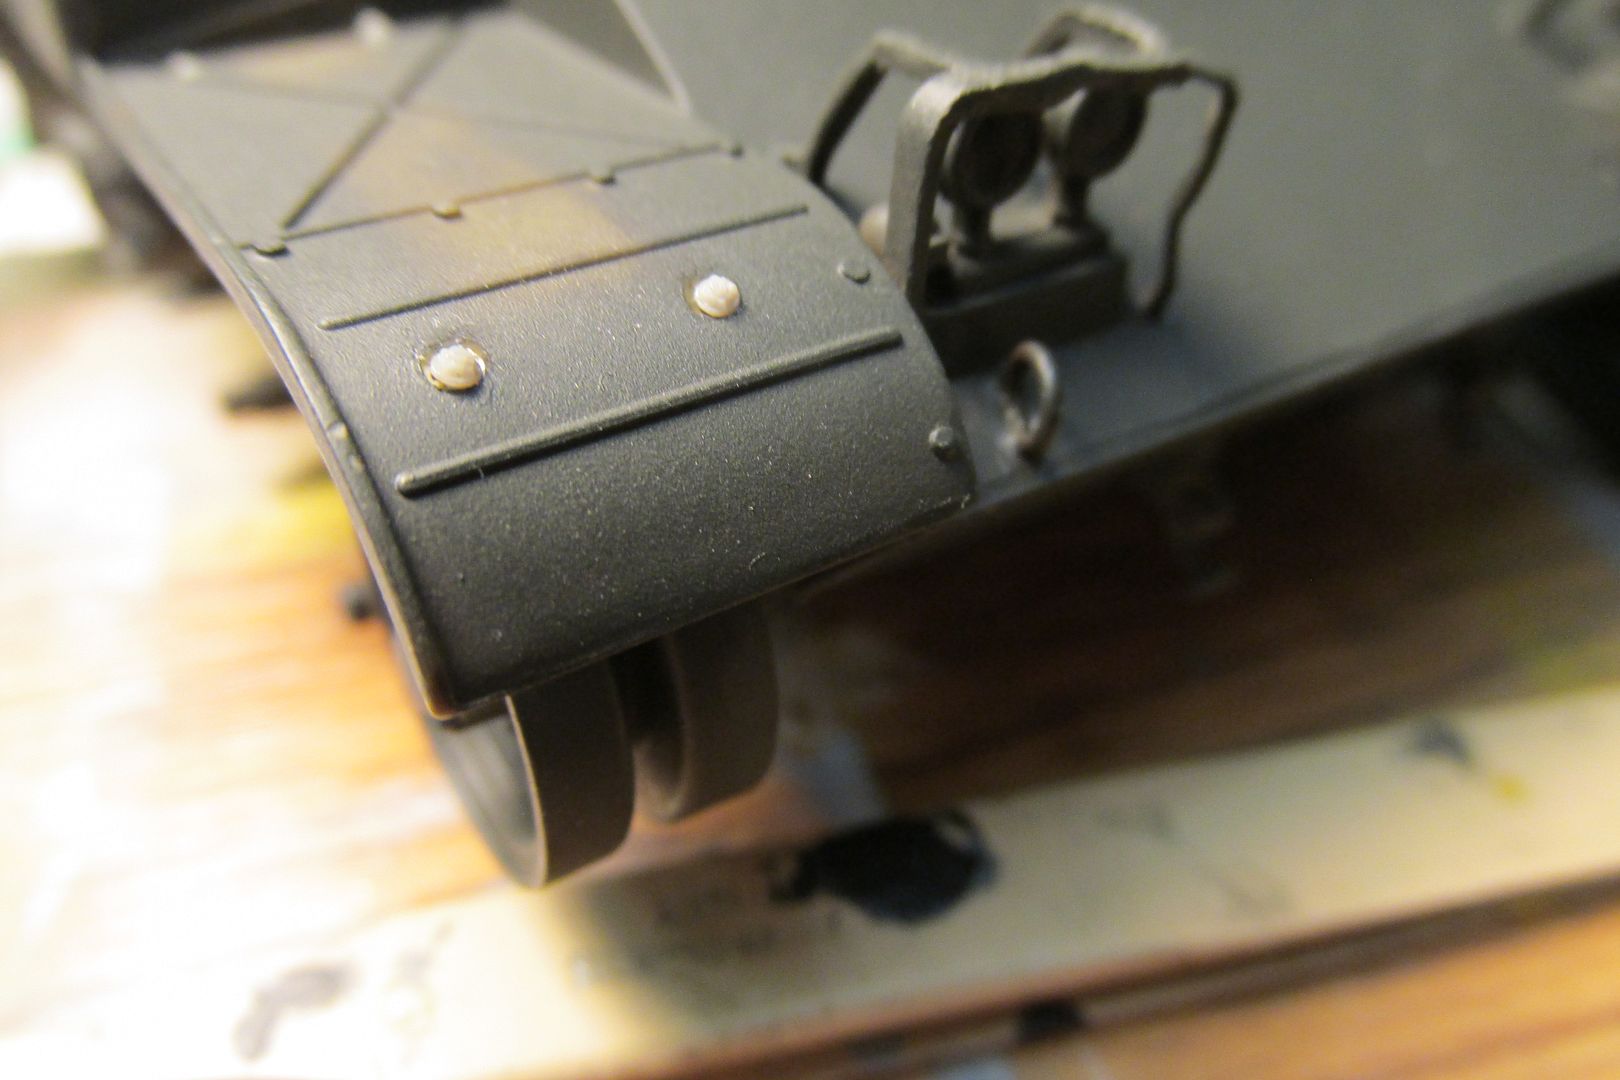
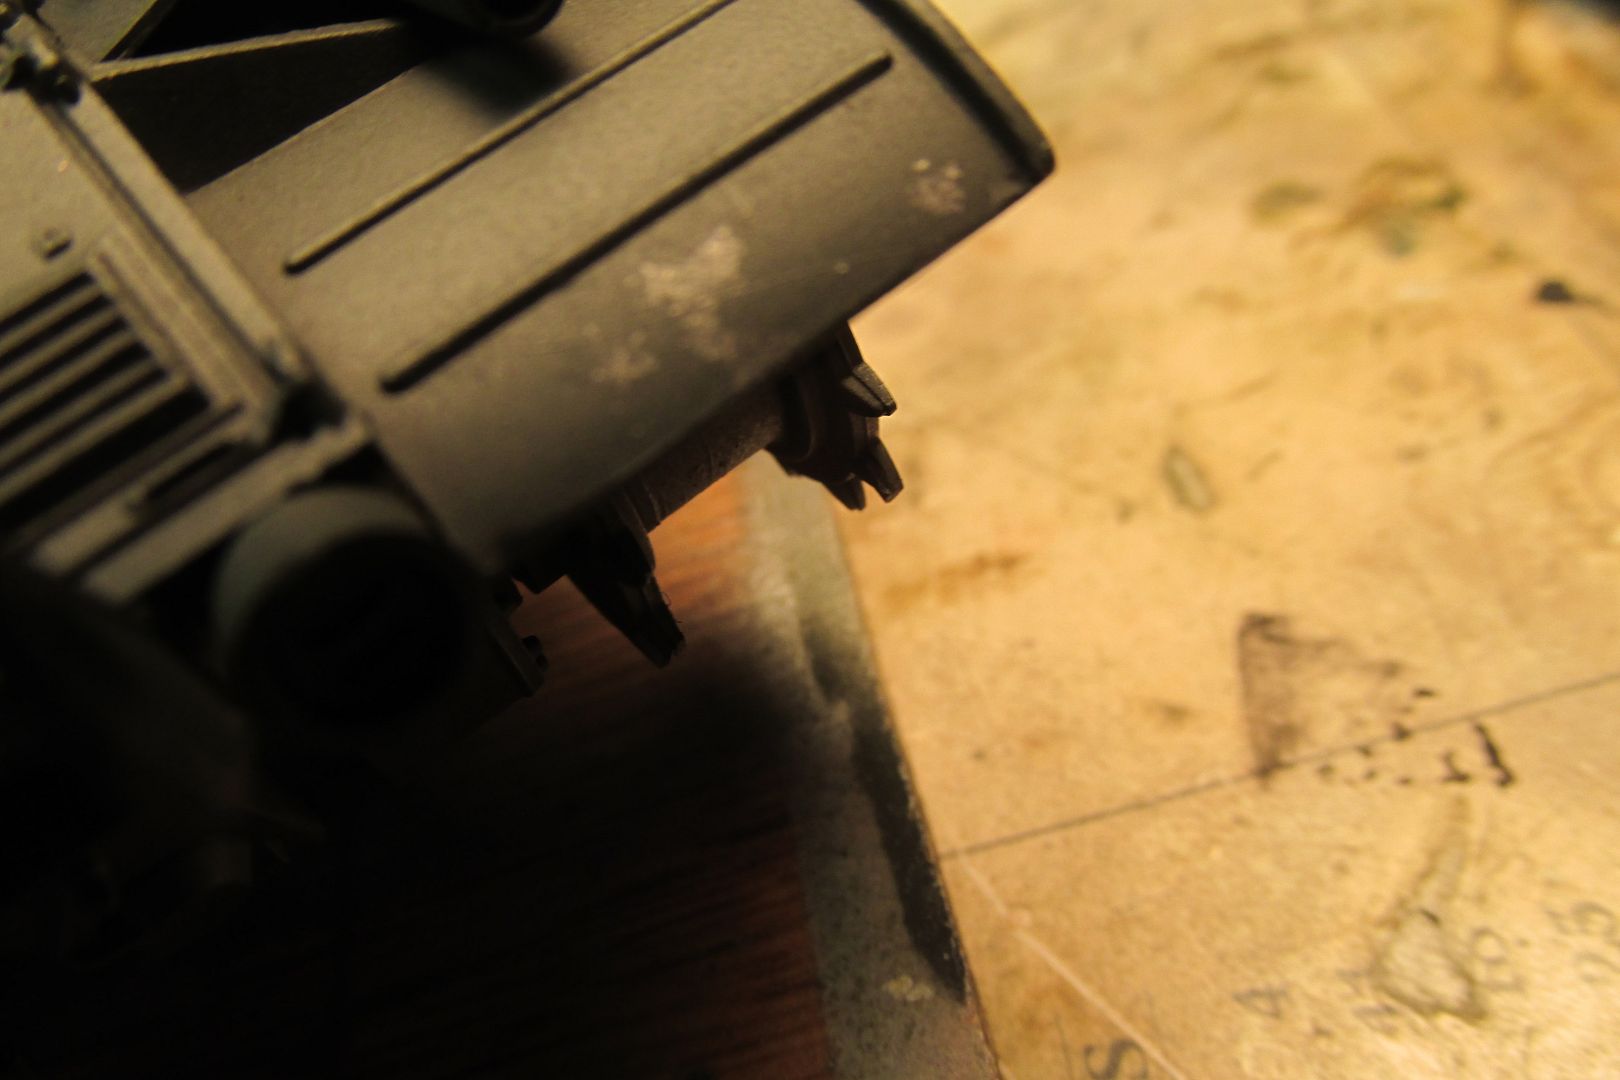
Good morning! A small update to make; I removed the pioneer tool bracket after reading that they were seldom used by ARVN forces. I was able to slip a little screw-driver beneath it and pop it off, leaving four divots where it had been attached. I placed a Grandt Line bolt-head on each of those divots. They may be a tad bit over-scale in that application but I think they'll look okay painted (which I should get done today). I also conducted an experiment in paint chipping, after having seen it used over at Britmodeler. I'm having a lot of fun here, even if somewhat outside my comfort zone of aircraft builds.
Here's a look at the fender after removing the tool bracket and filling the holes with the little Grandt Line bolt-heads. Tiny things, I tend to lose one for every two or three I manage to place correctly. I hope I've got enough to use 16 of them on the gun mantlet hold-downs I've made! Looks like a bit of filler needed, or just a dab of paint, on one or two of them. And one pic to show an experiment in paint chipping. Not too bad even if hard to see.
I'm also attaching one of the best color reference pics I've found for ARVN Bulldogs. Quite a bit of good reference detail in this one, and a good look at how the paint was fading. Notable in this pic in an urban AO is the lack of mud or even much dirt, on the tracks. Also, I think that a talented dio-builder could have a ball with this pic. Is that a Renault that's been crushed by the tank?
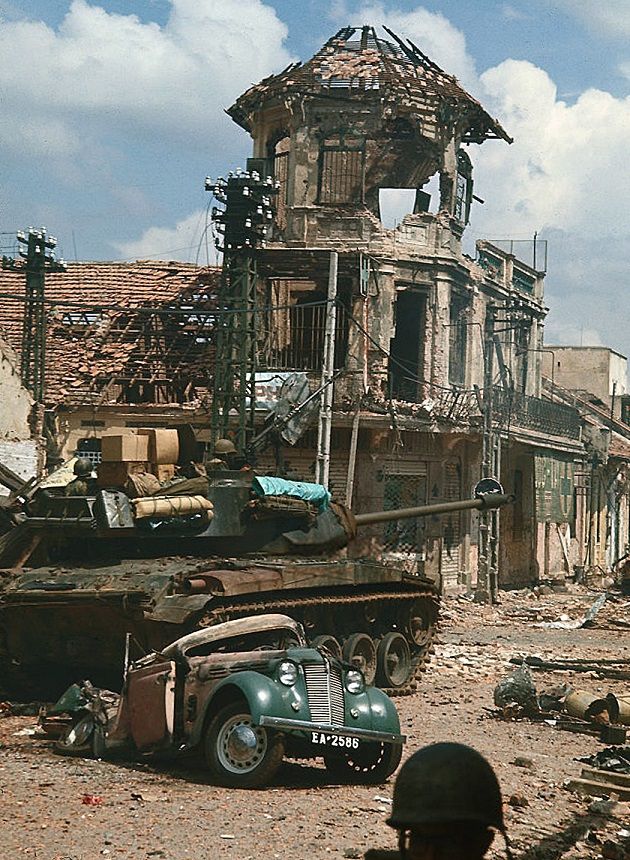
I wish that pic was bigger; zooming in soon loses the details. But, it is a good guide for paintwork I believe, or at least as an example being used in city combat. Thanks for stopping by and having a peek! Carlos, I'm soon sending some (more) questions your way sir!
Here's a look at the fender after removing the tool bracket and filling the holes with the little Grandt Line bolt-heads. Tiny things, I tend to lose one for every two or three I manage to place correctly. I hope I've got enough to use 16 of them on the gun mantlet hold-downs I've made! Looks like a bit of filler needed, or just a dab of paint, on one or two of them. And one pic to show an experiment in paint chipping. Not too bad even if hard to see.
I'm also attaching one of the best color reference pics I've found for ARVN Bulldogs. Quite a bit of good reference detail in this one, and a good look at how the paint was fading. Notable in this pic in an urban AO is the lack of mud or even much dirt, on the tracks. Also, I think that a talented dio-builder could have a ball with this pic. Is that a Renault that's been crushed by the tank?
I wish that pic was bigger; zooming in soon loses the details. But, it is a good guide for paintwork I believe, or at least as an example being used in city combat. Thanks for stopping by and having a peek! Carlos, I'm soon sending some (more) questions your way sir!

Re: Tamiya M41 Walker Bulldog
That's a great pic Gary. I was poking around the web and thought this would be funny to add - a Bulldog for sale, but the photo's are really nice and you can zoom in with nice detail. $230,000 and it could be yours!
https://www.rockislandauction.com/detai ... light-tank
https://www.rockislandauction.com/detai ... light-tank
Thanks,
John
John
Re: Tamiya M41 Walker Bulldog
Damn. I just filled up the car or it would have been mine.
To make each build less crappy than the last one. Or, put another way, "Better than the last one, not as good as the next one!"..
-
Gary Brantley
- Elite Member
- Posts: 2771
- Joined: Tue Apr 08, 2014 9:40 pm
- Location: Cameron, Texas
Re: Tamiya M41 Walker Bulldog
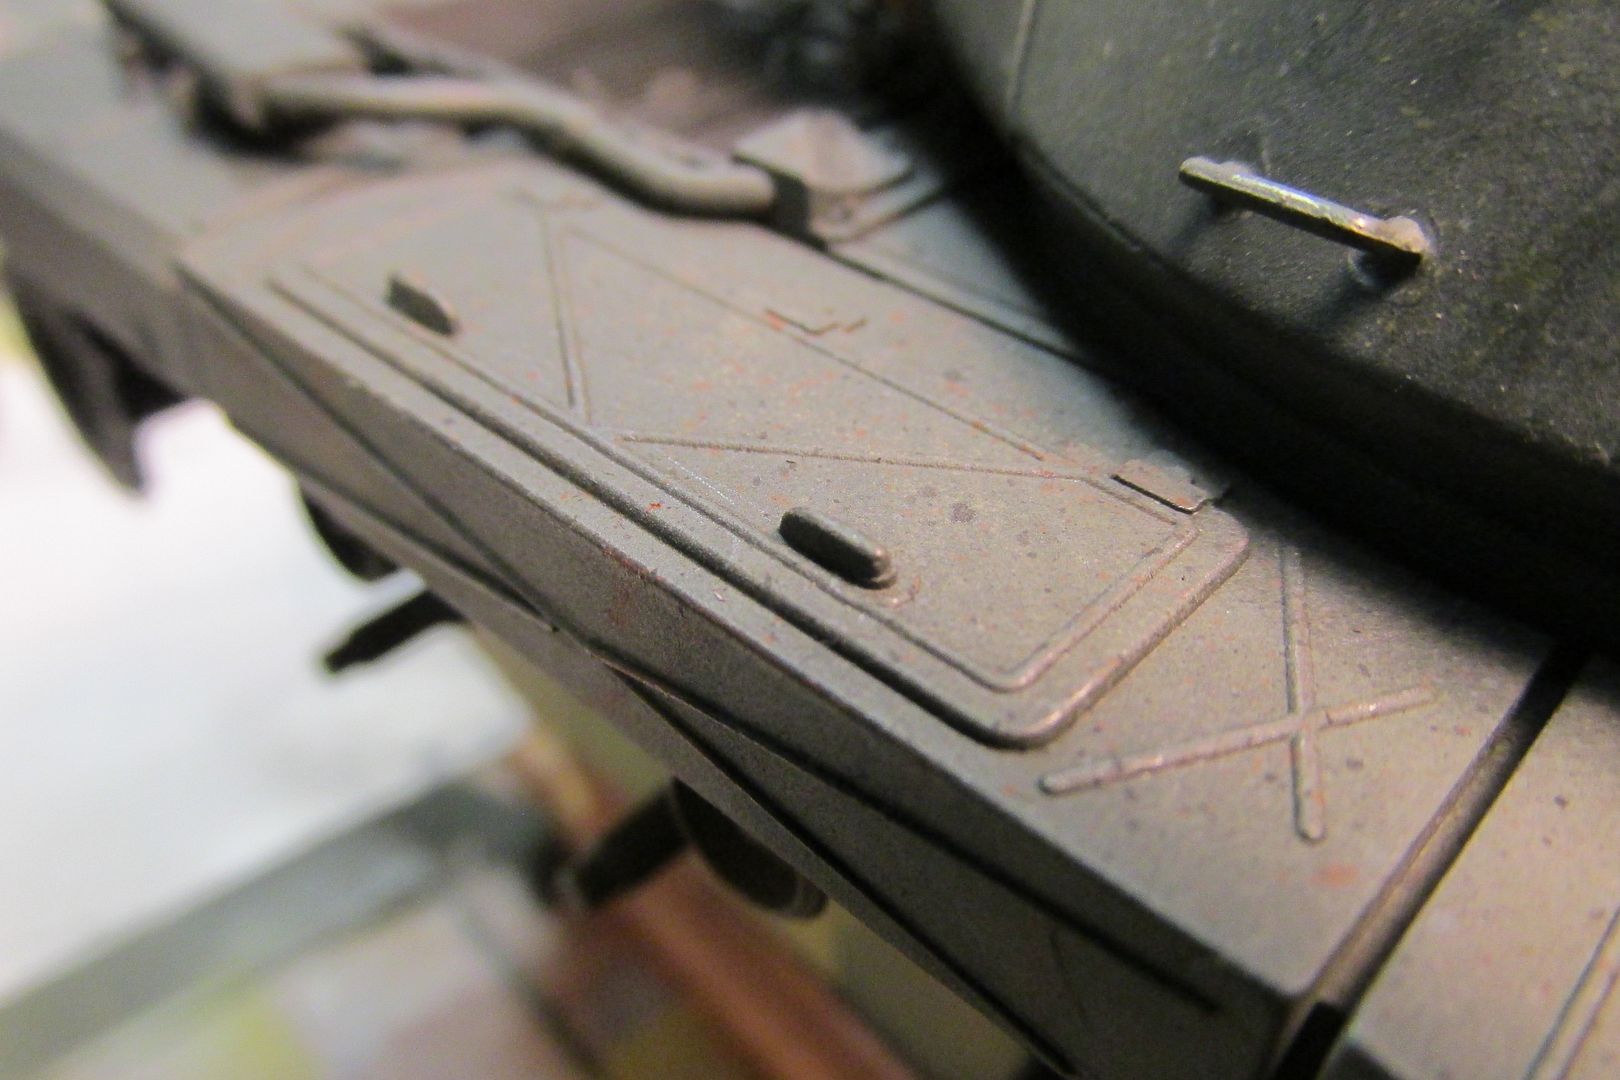
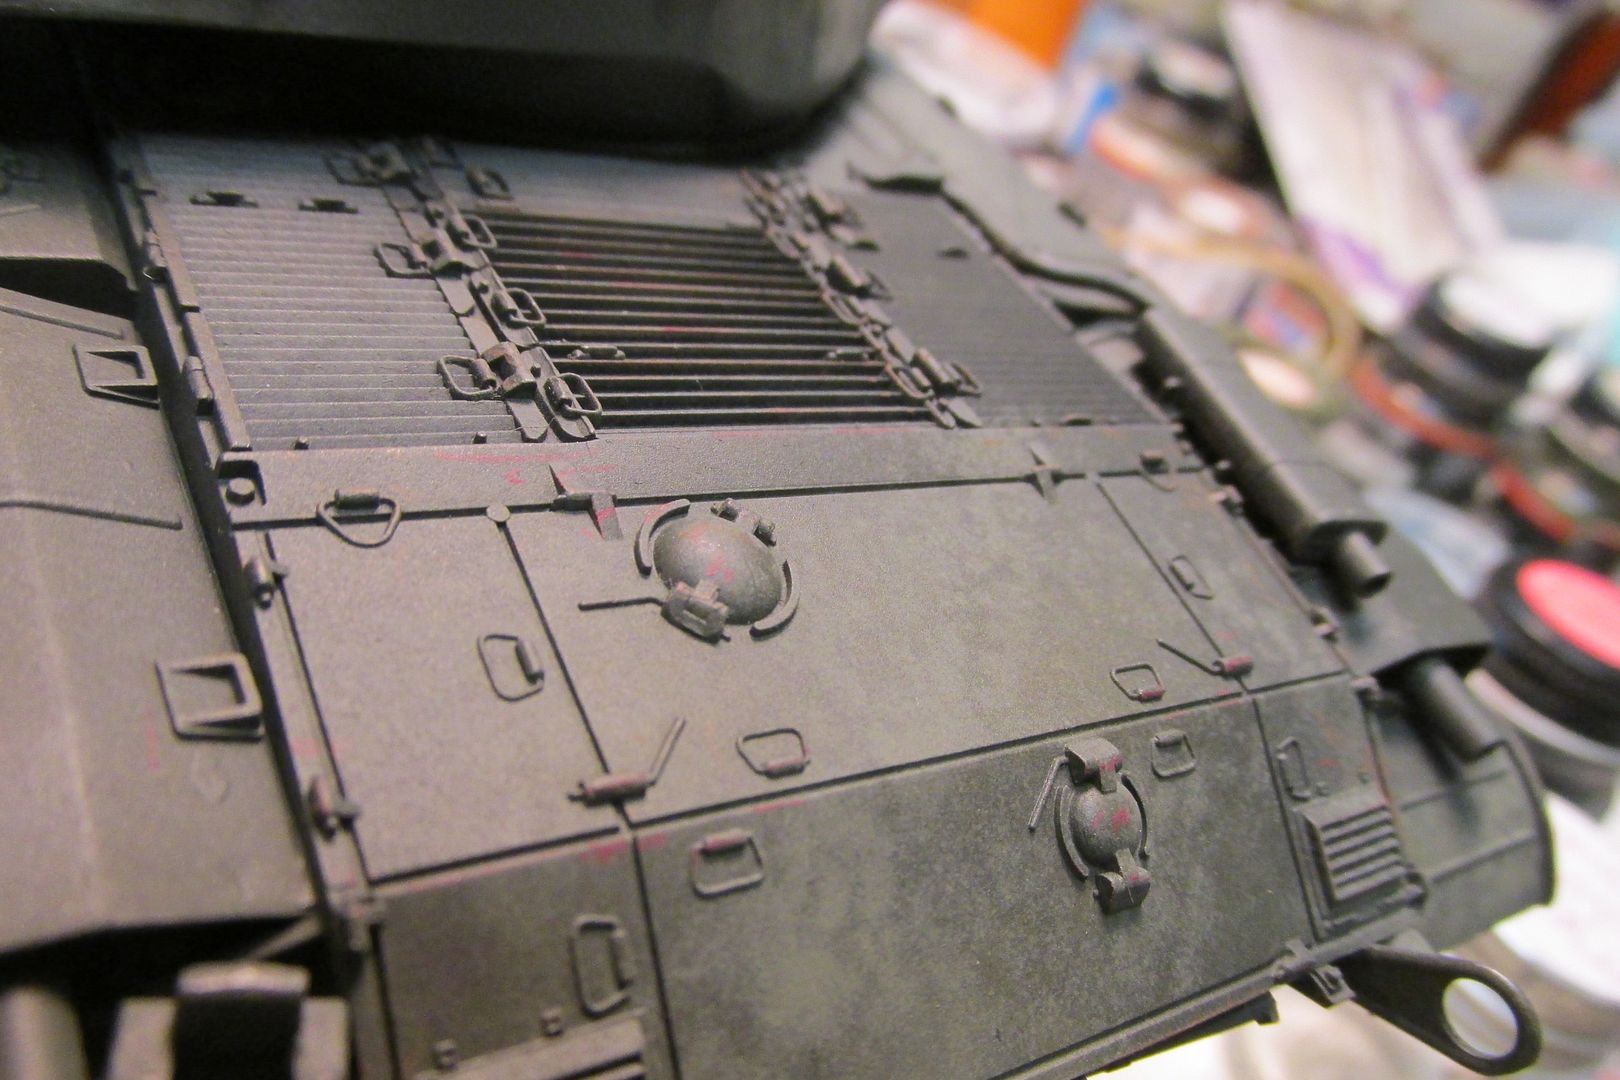
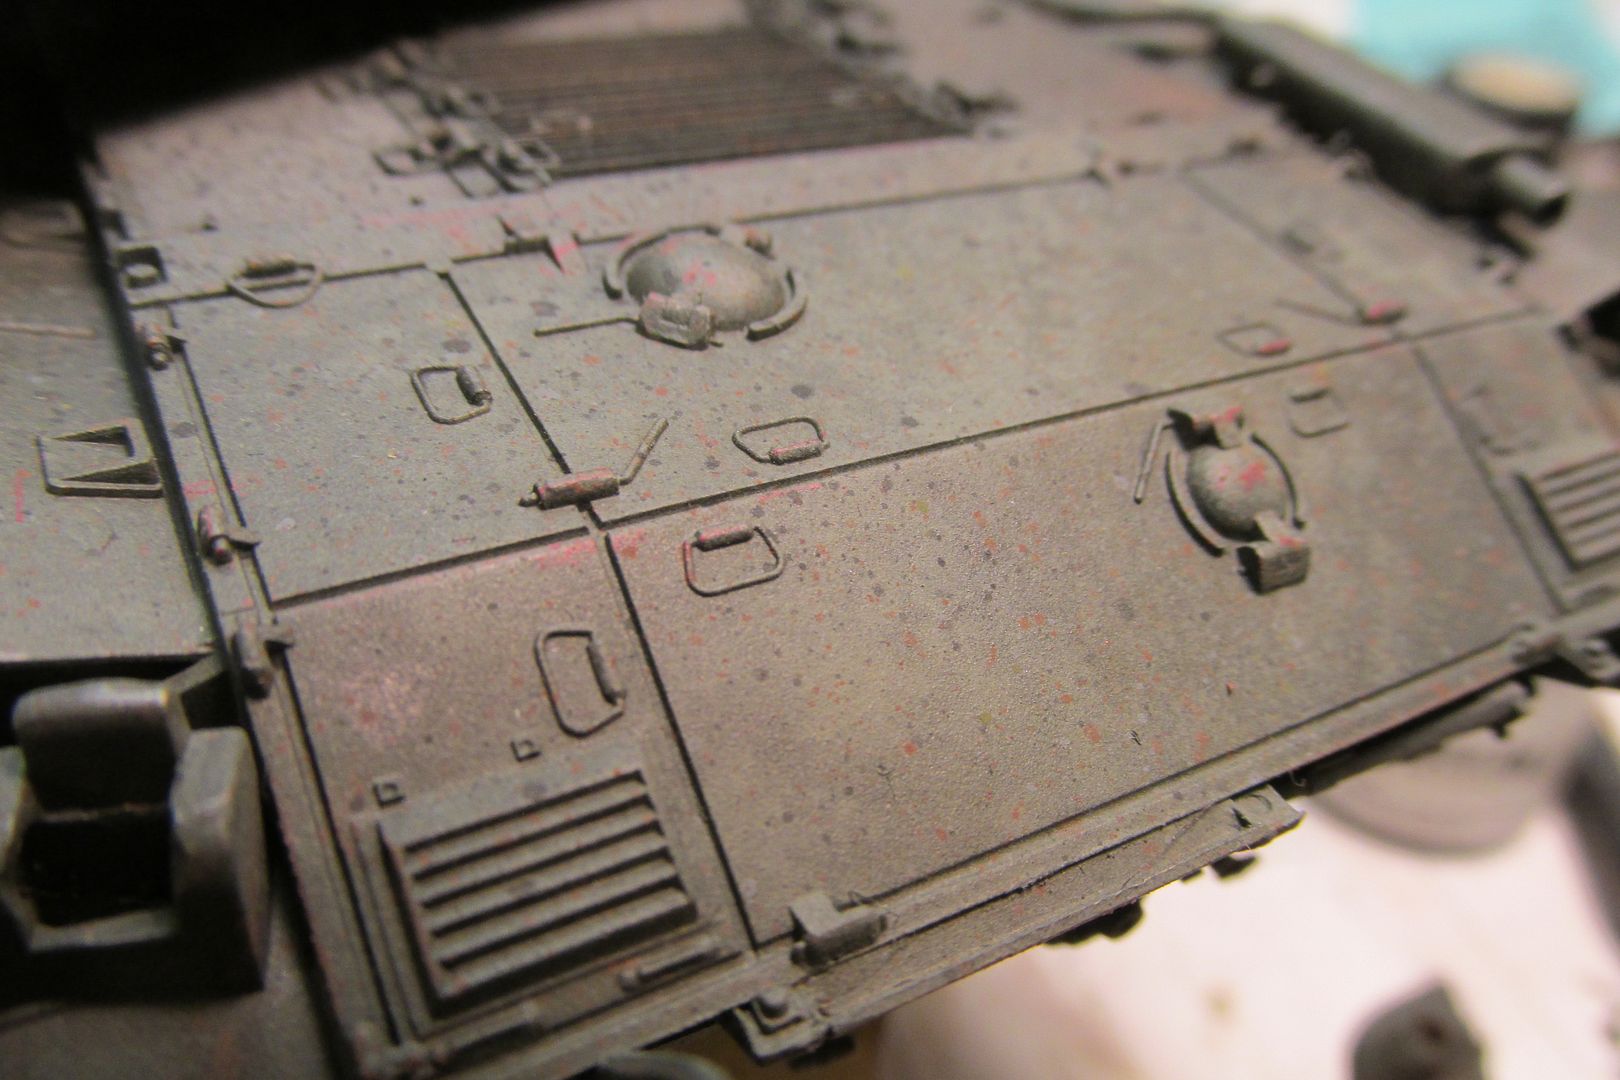
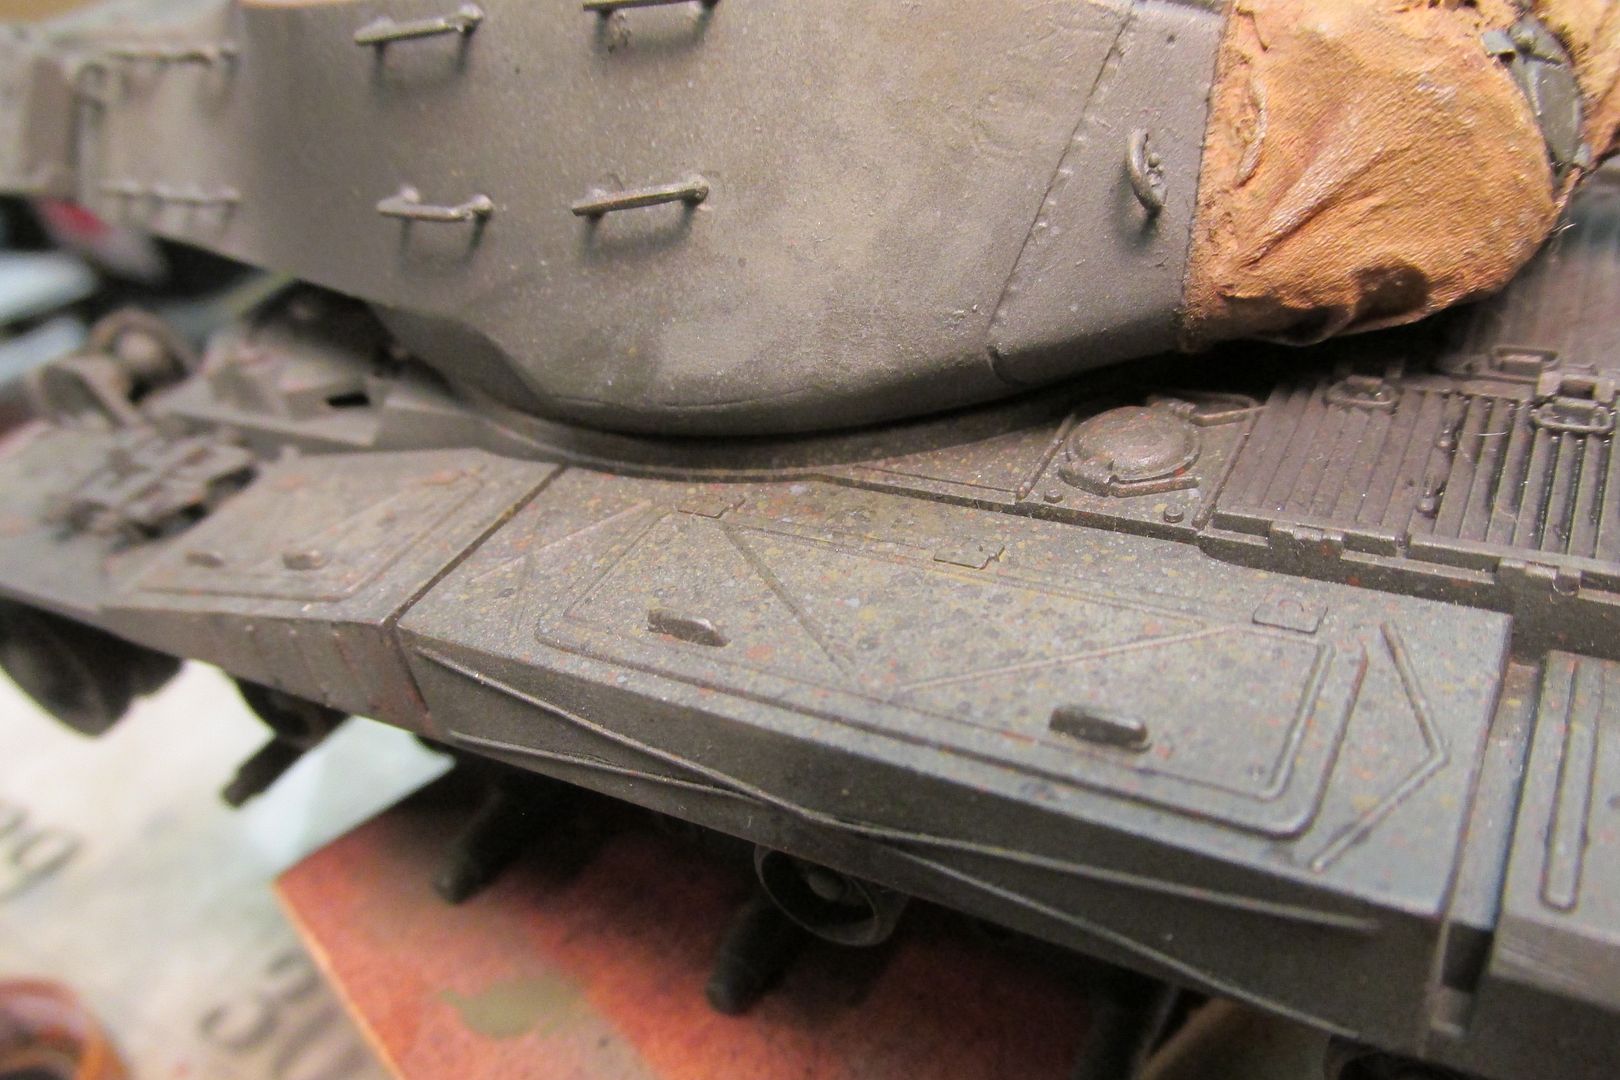
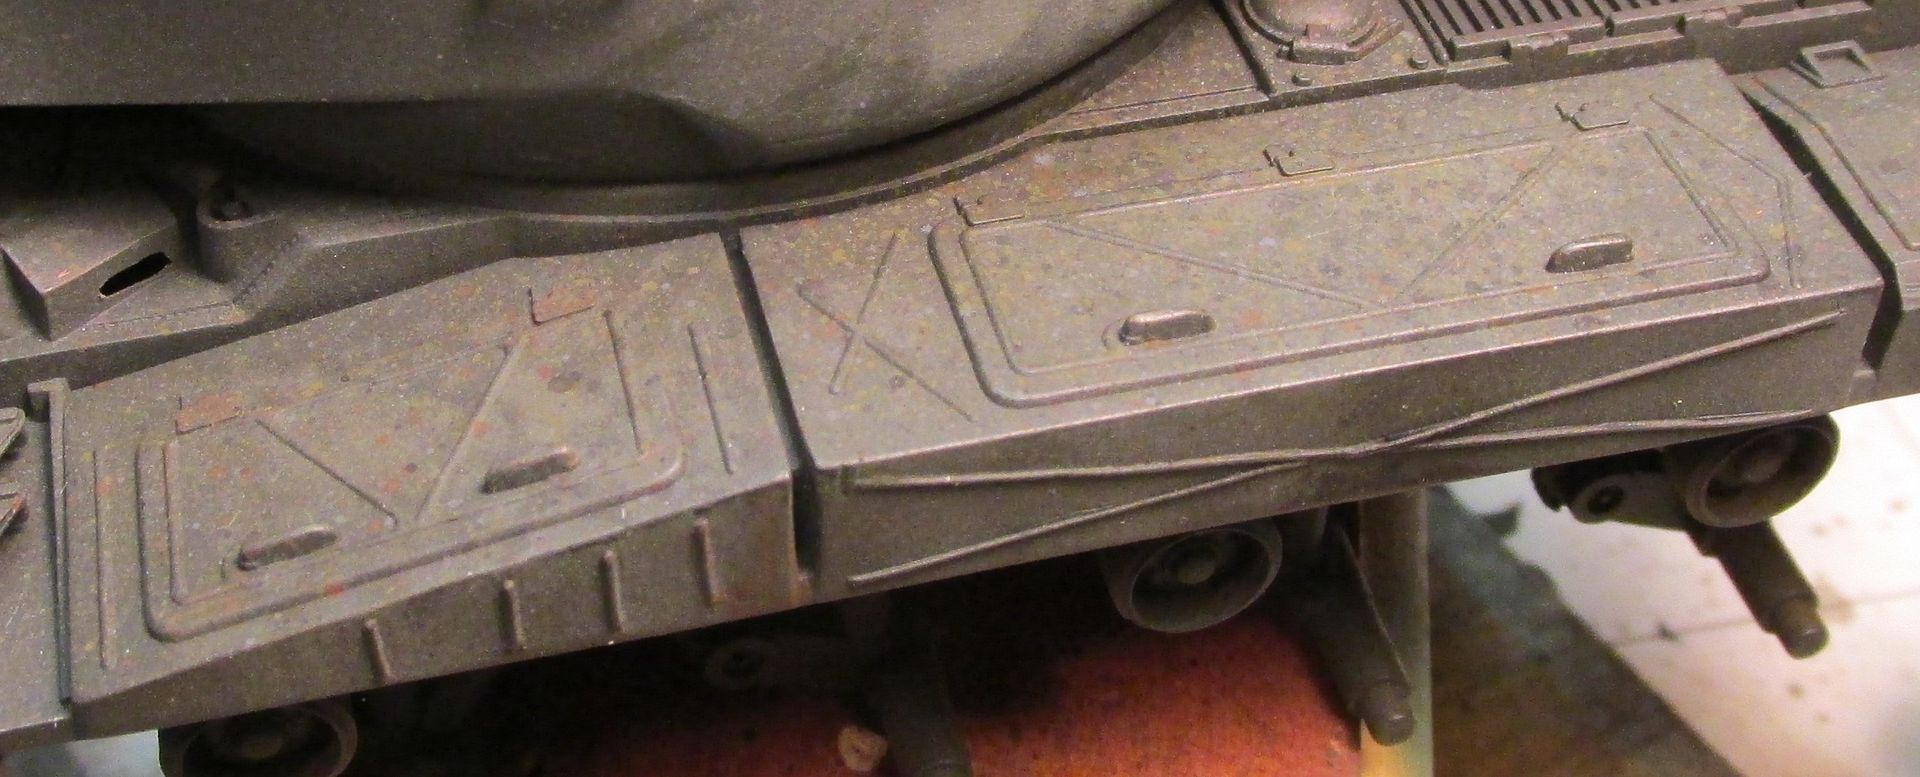
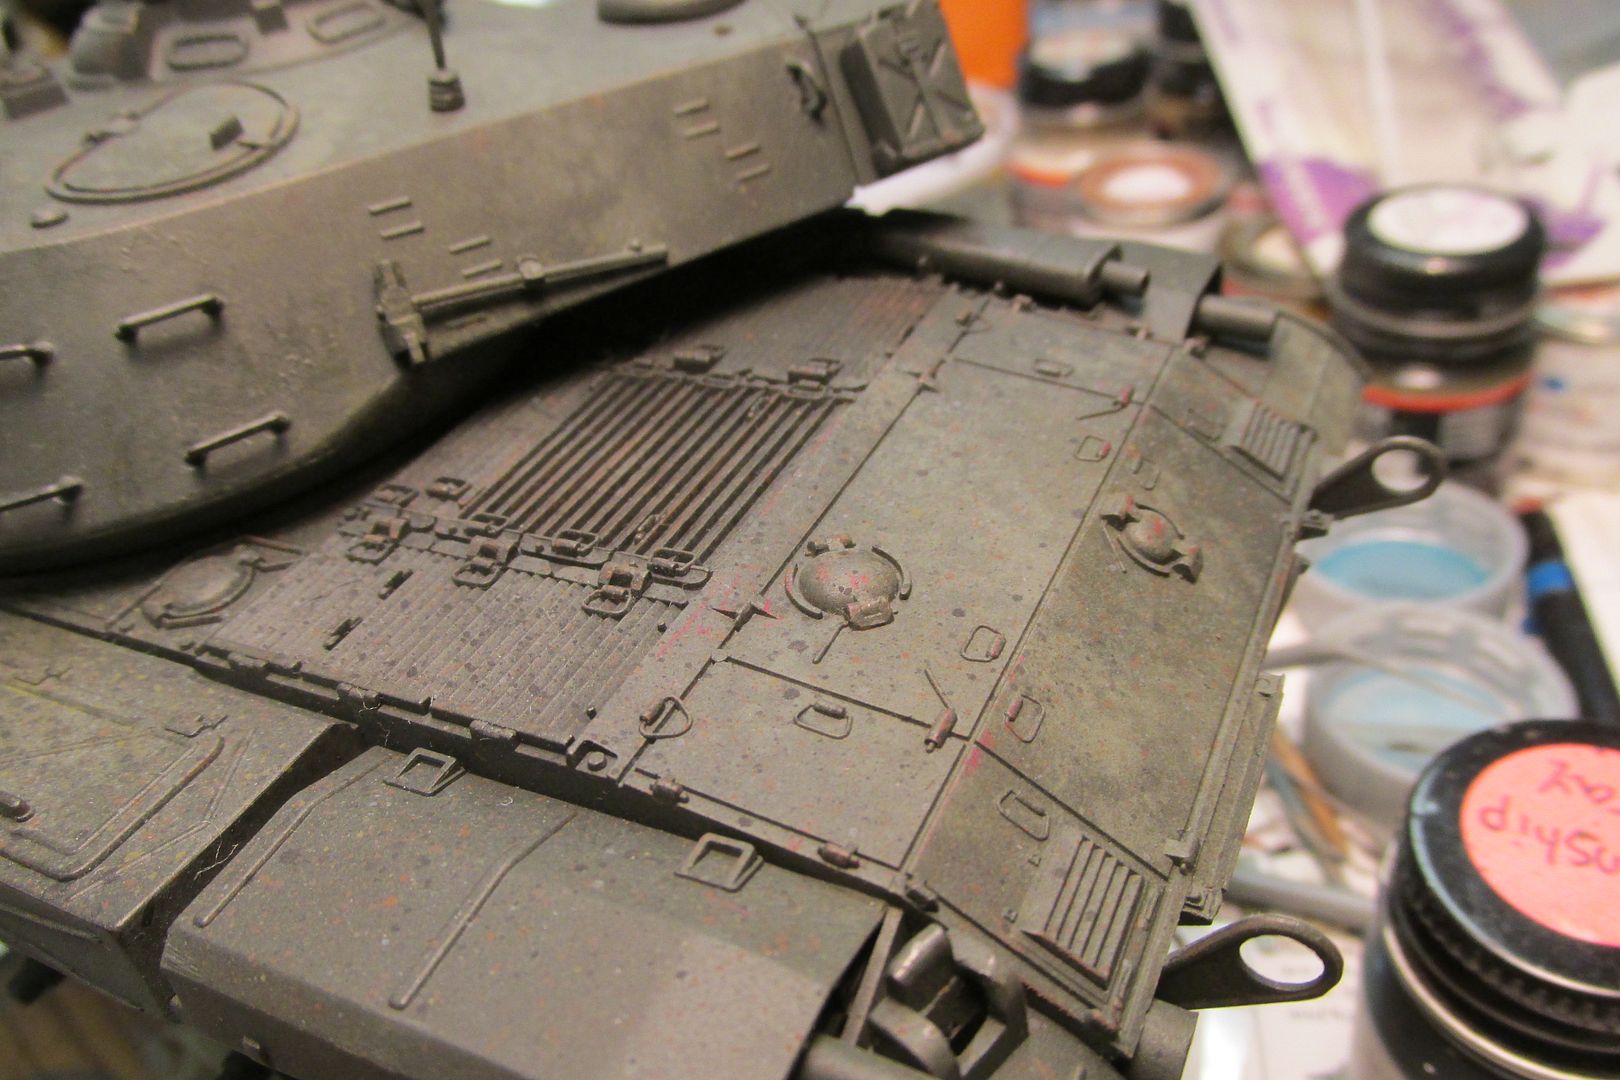
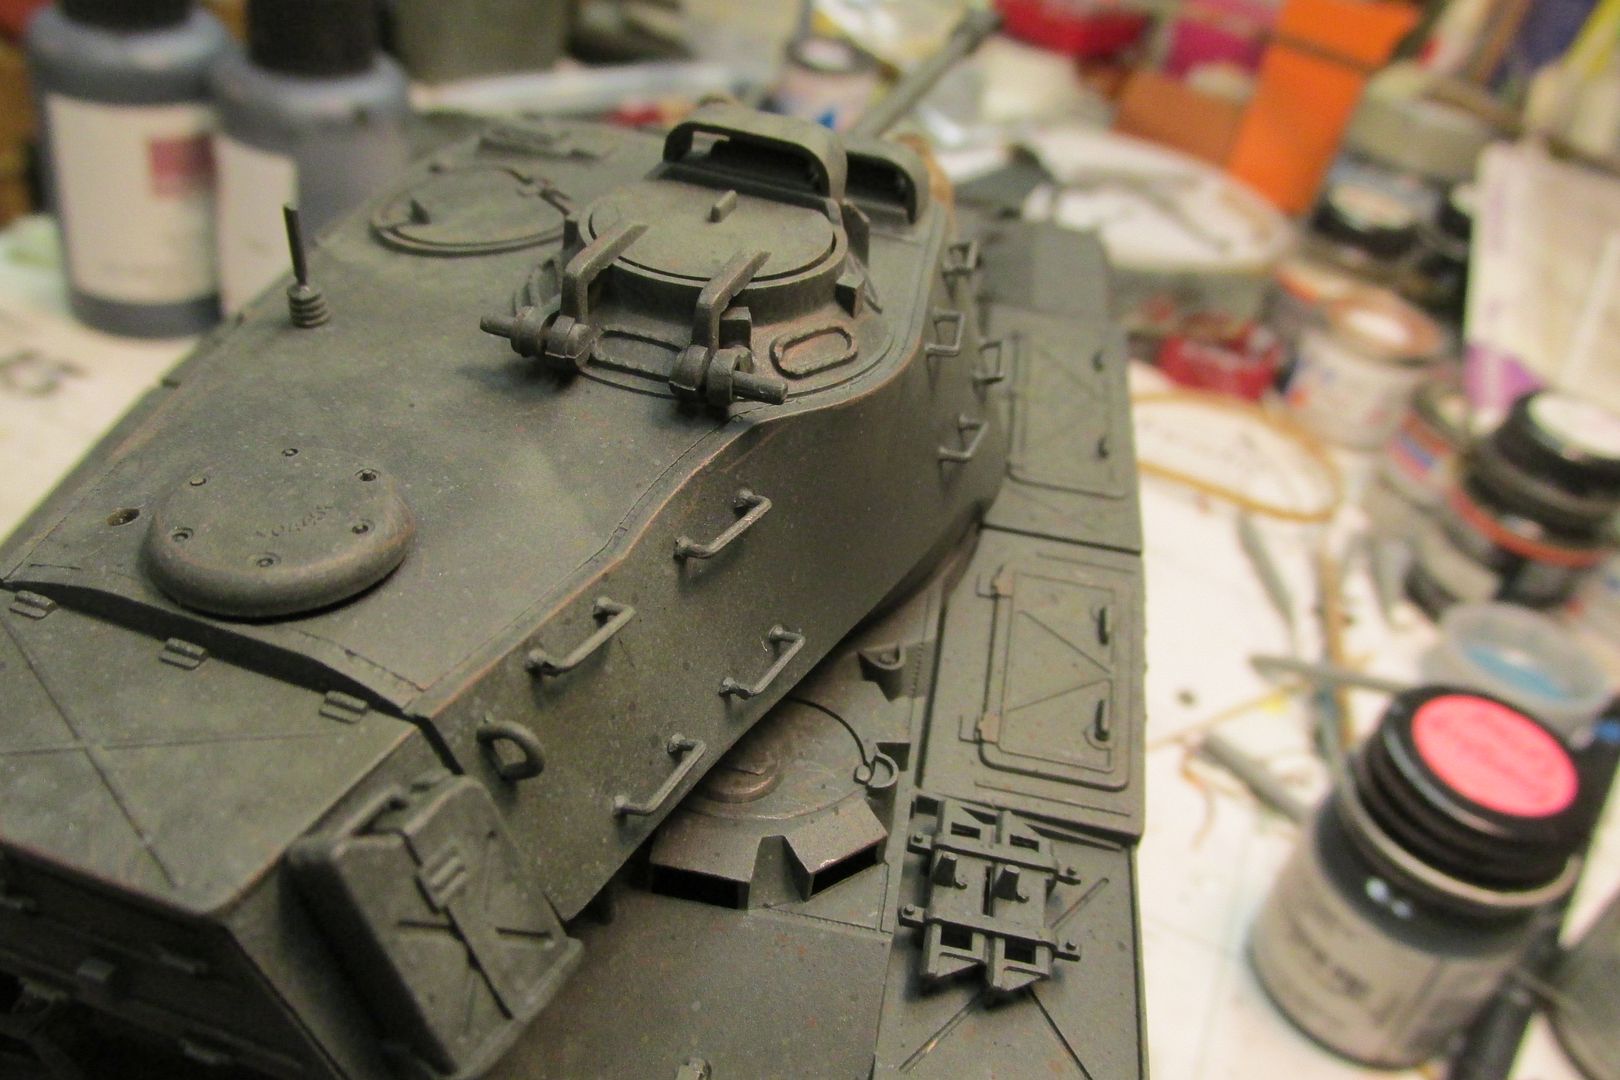
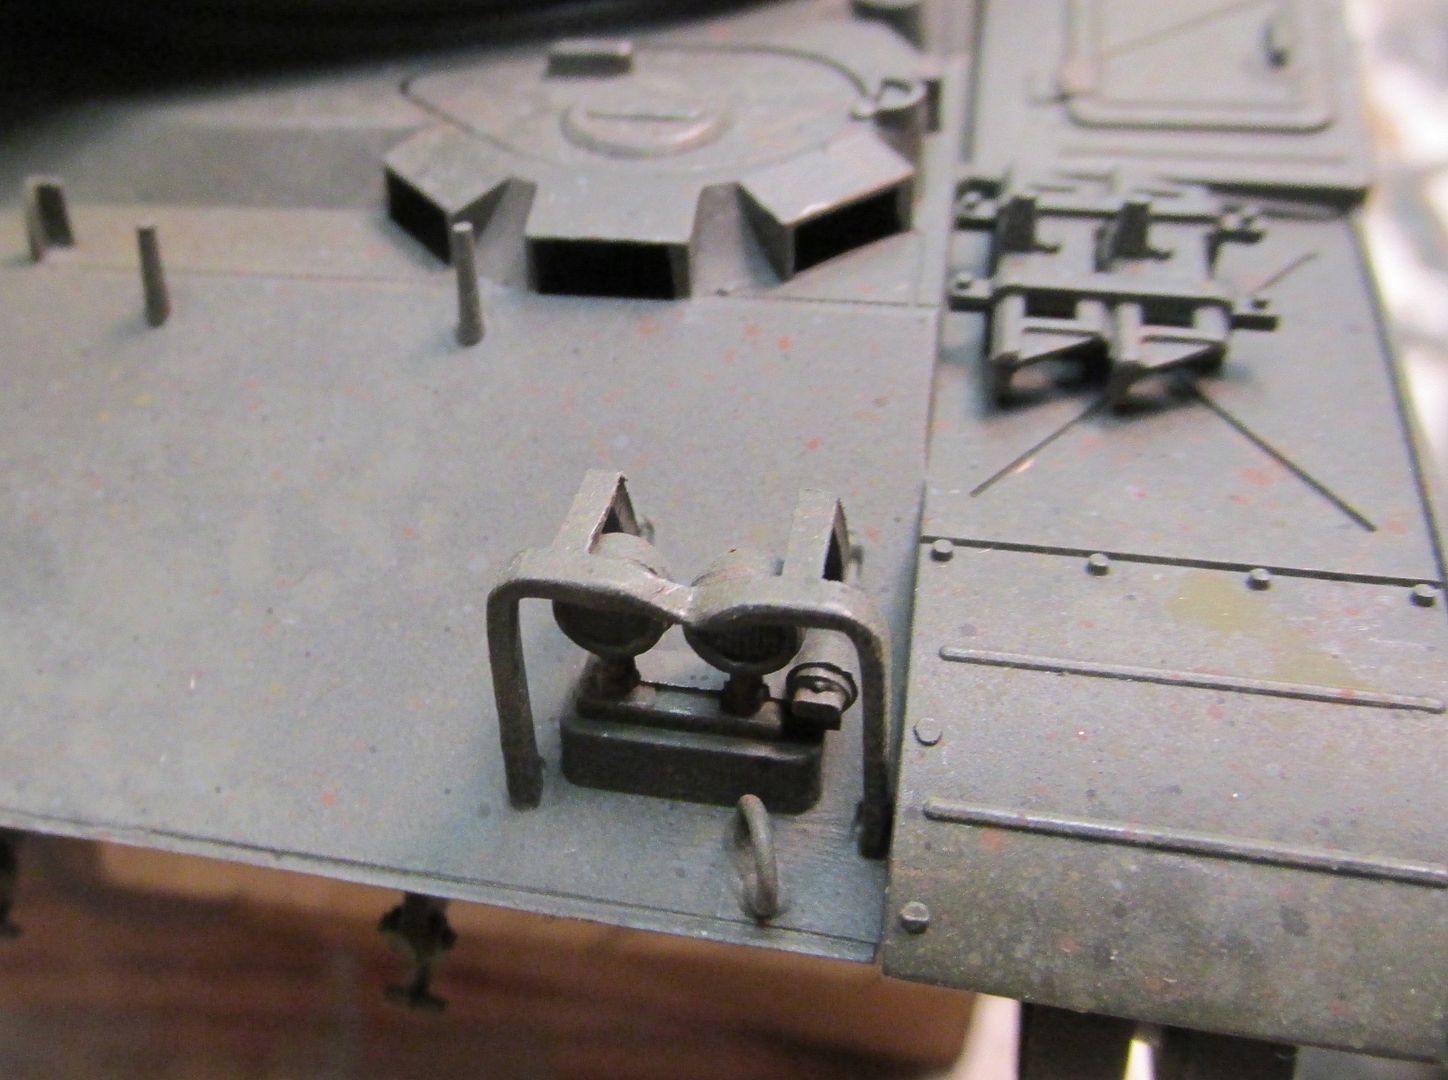
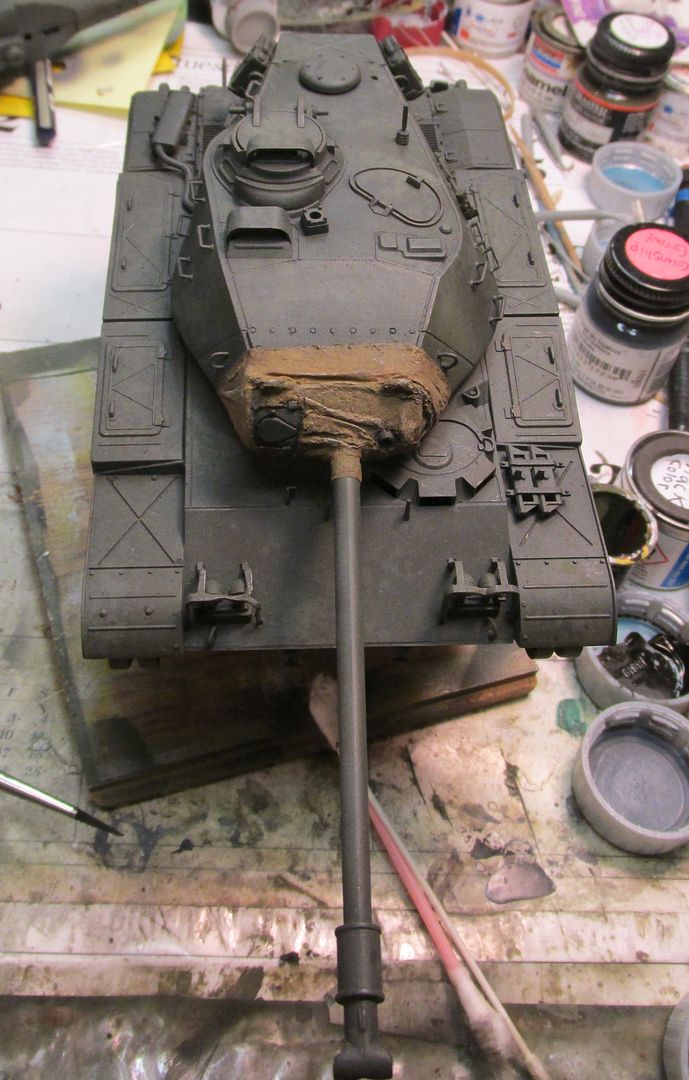
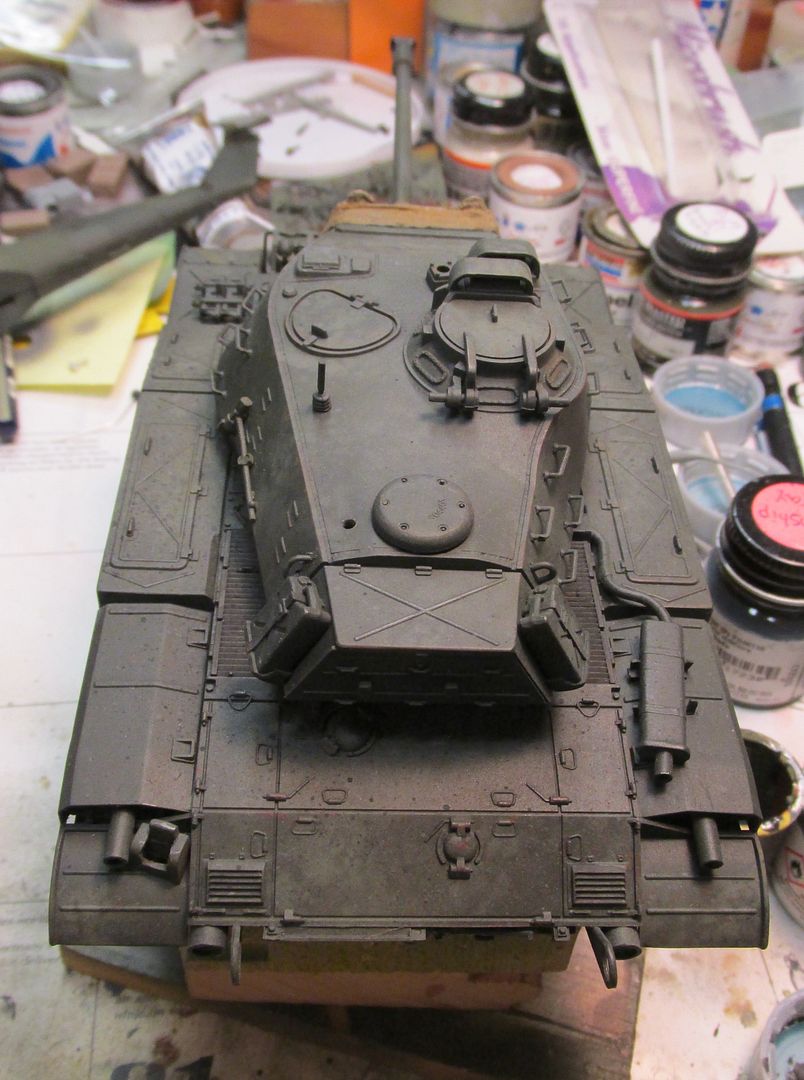
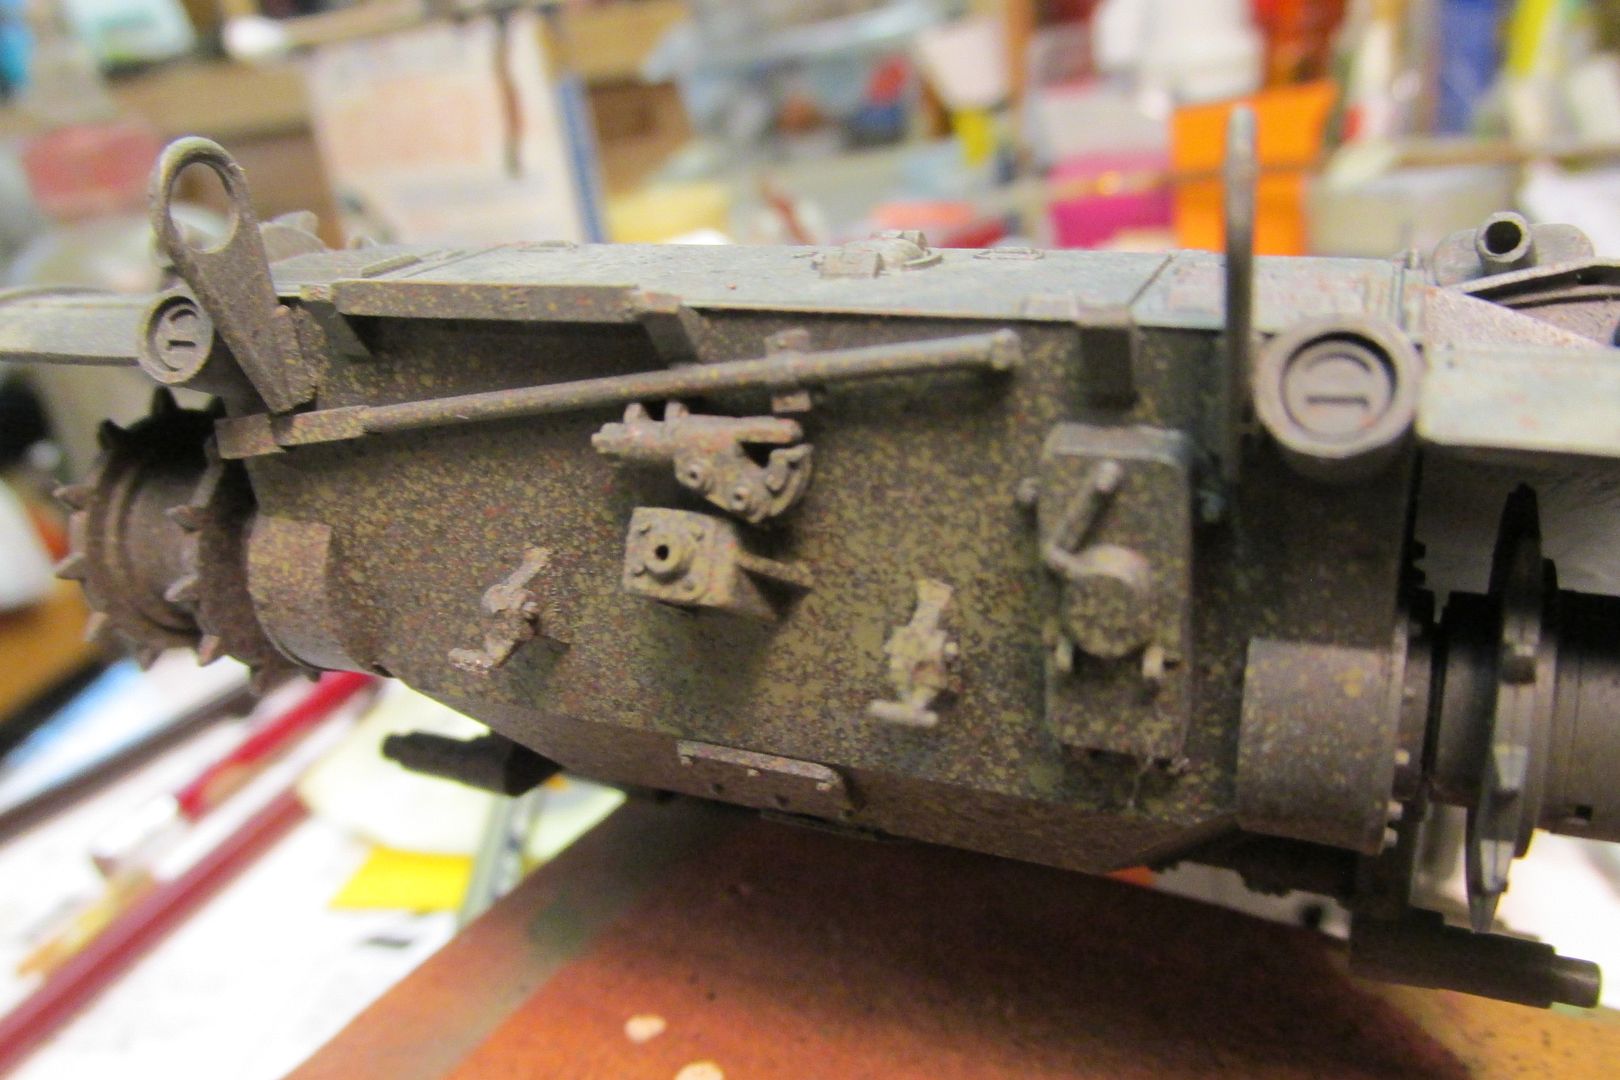
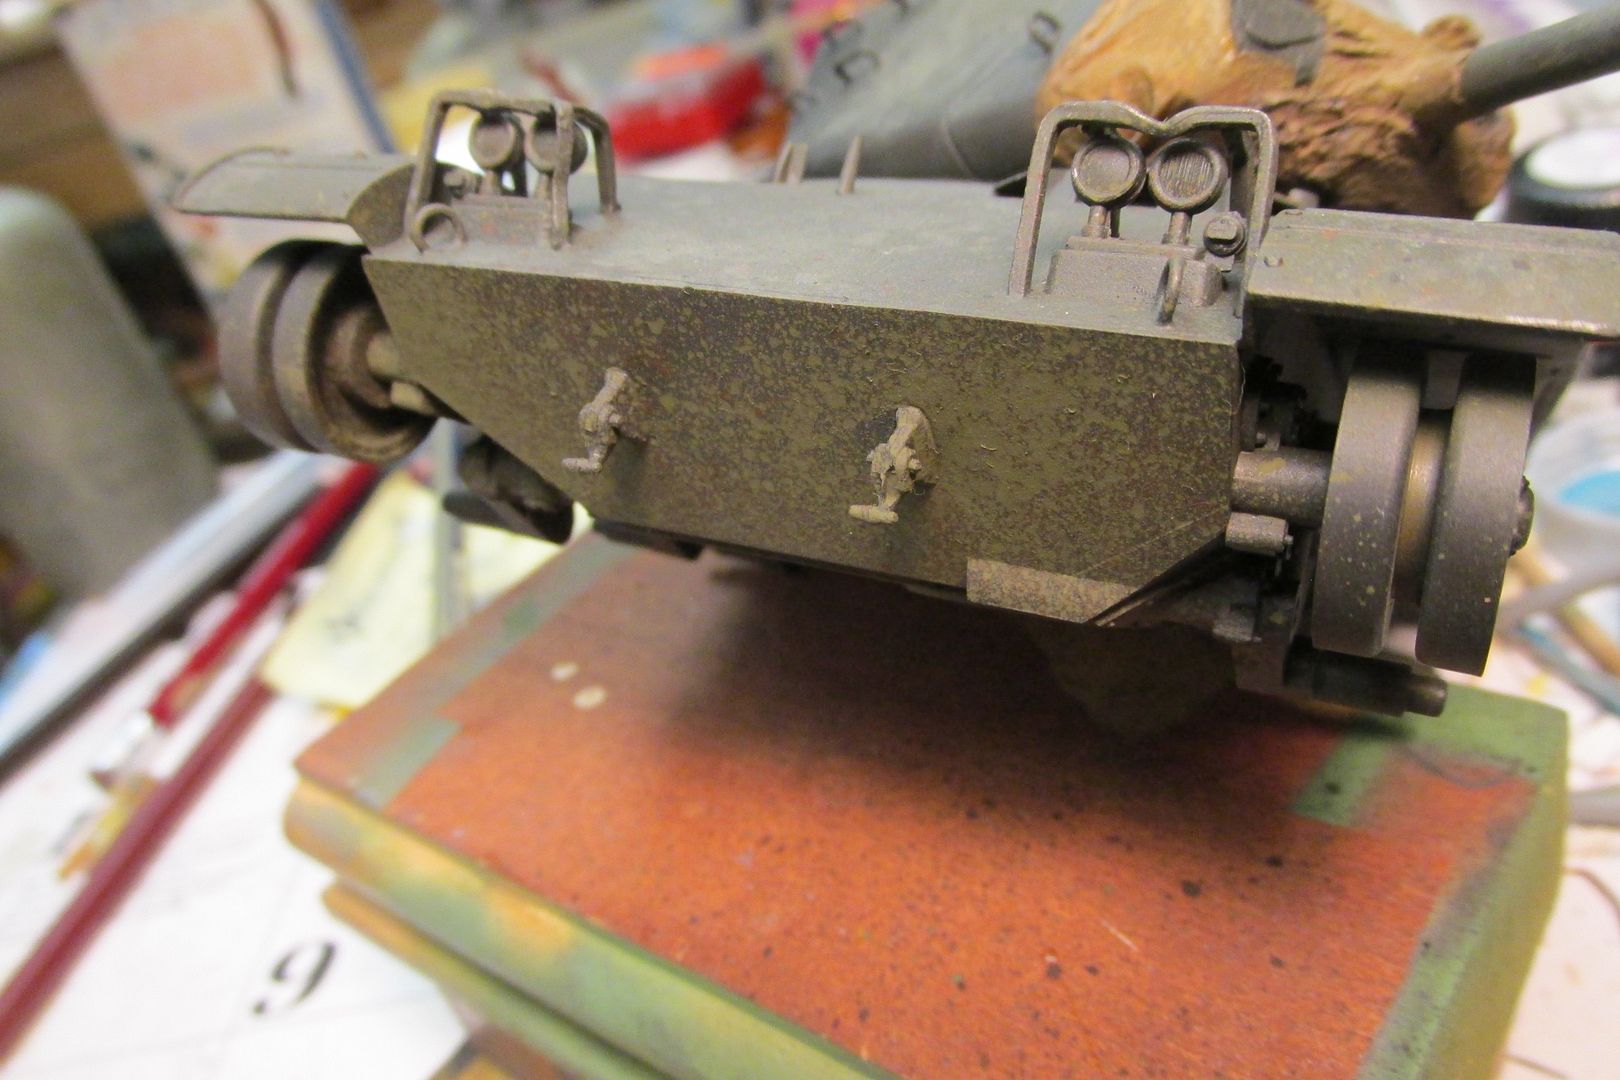
Okay my friendly friends, I have made a little progress on the tank. I believe I'll call the paintwork done. At least until I talk myself into fixing some errors. But, it has been a fun experiment, and fun experience too! The base color of Humbrol dark OD was over-laid with the lighter Humbrol OD and then again with Model Master Faded OD. I went back and forth a few times with each shade and then tried a 2B art pencil for a bit of raised detail highlighting. I also tried out a water color pencil that did have a useful effect. In some pics, it looks too garish and too "rusty". Prolly needs a little toning down. I wanted it to look more like brown dirt and instead it looks like rust on armor!?! Gotta fix that!
starboard stowage :
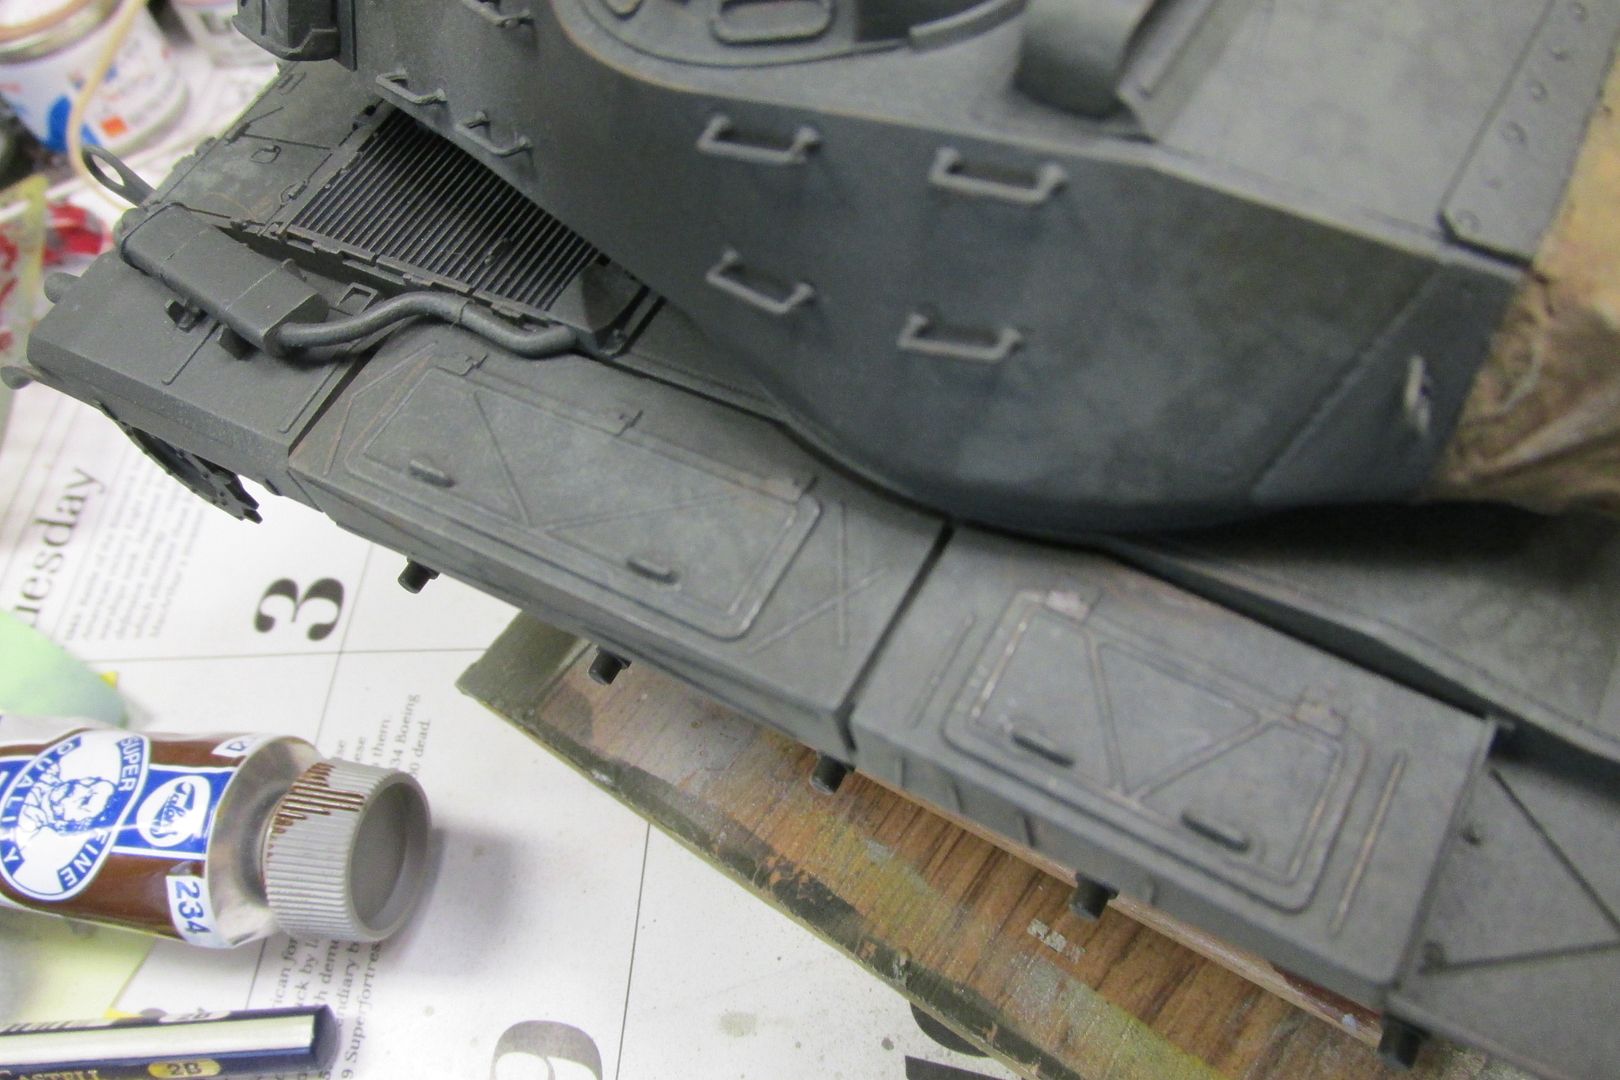
after "spots":
engine deck:
same with spots:
no spots yet:
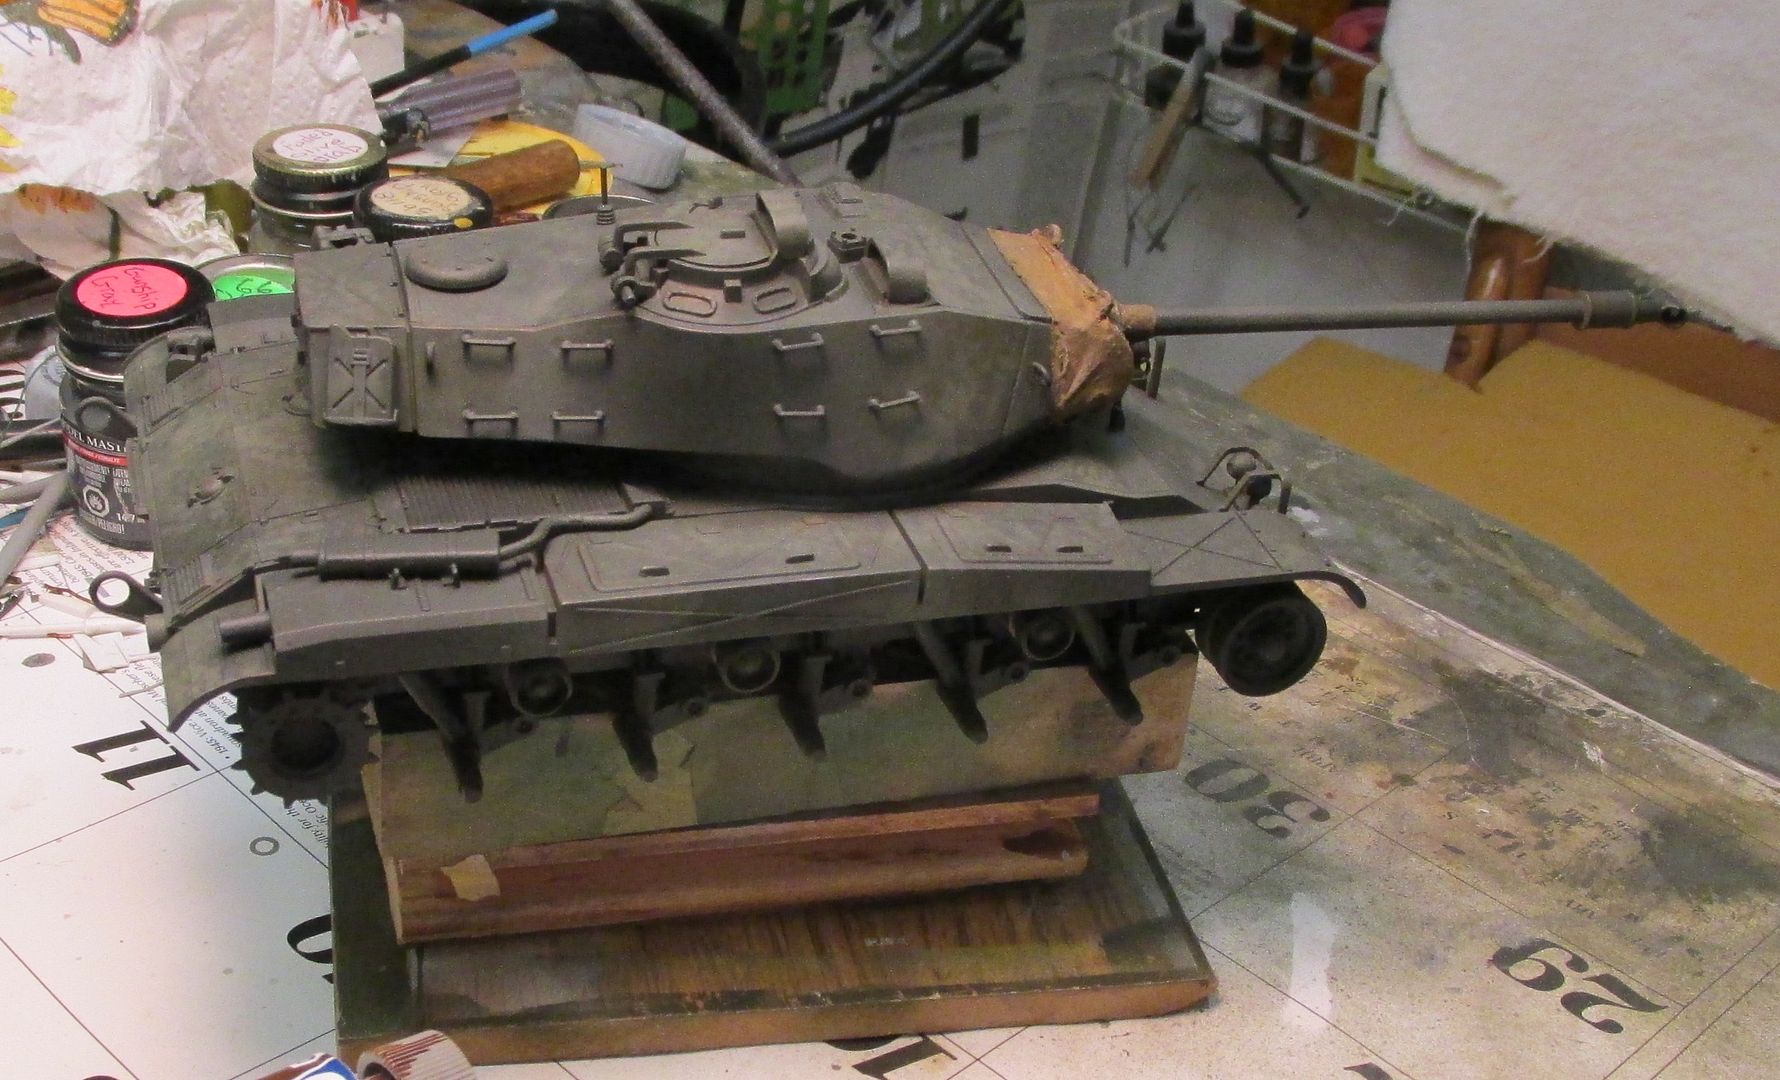
I will weather a few places with rust; gonna try out my Vallejo weathering set for that step. I haven't done much weathering on the road wheels yet. I will give them a coat of Future and then some Florry wash. They will also probably get some mud too. I haven't used a wash yet except for the engine deck grilles which for some reason look a bit brownish. But I guess I'll give the tank a coat of Future and try some shade of wash to bring out more details. After everything is final clear-coated in flat, I'll use some diluted oil-paint around the fuel fillers. My cousin was an M113 track commander in Vietnam (at the ripe old age of 19-20!) and he's told me that they kept a canteen full of oil for lubing down the .50 M2. I'll bet there would be oil stains around that pintle mount on this tank too!
I tried another technique; flicking a paintbrush to send various spots onto the surface. I used three colors of paint and had mixed results I guess. Some areas look better than others to me, but hey, they are supposed to look used aren't they?
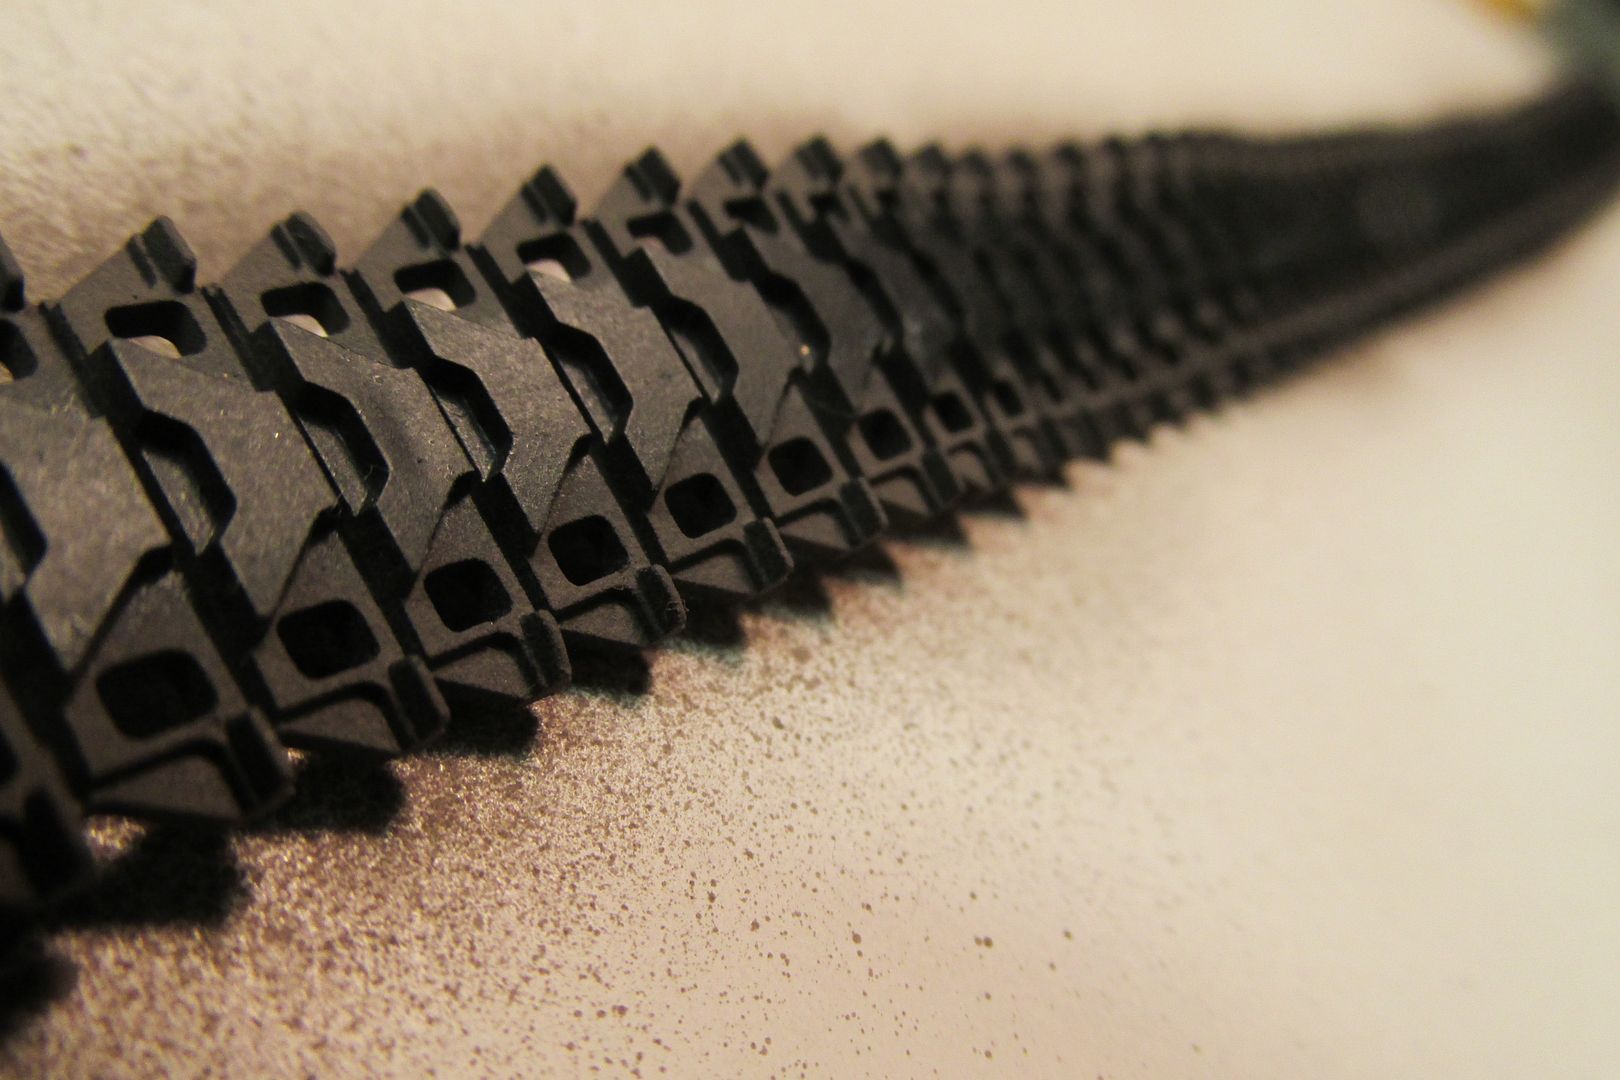
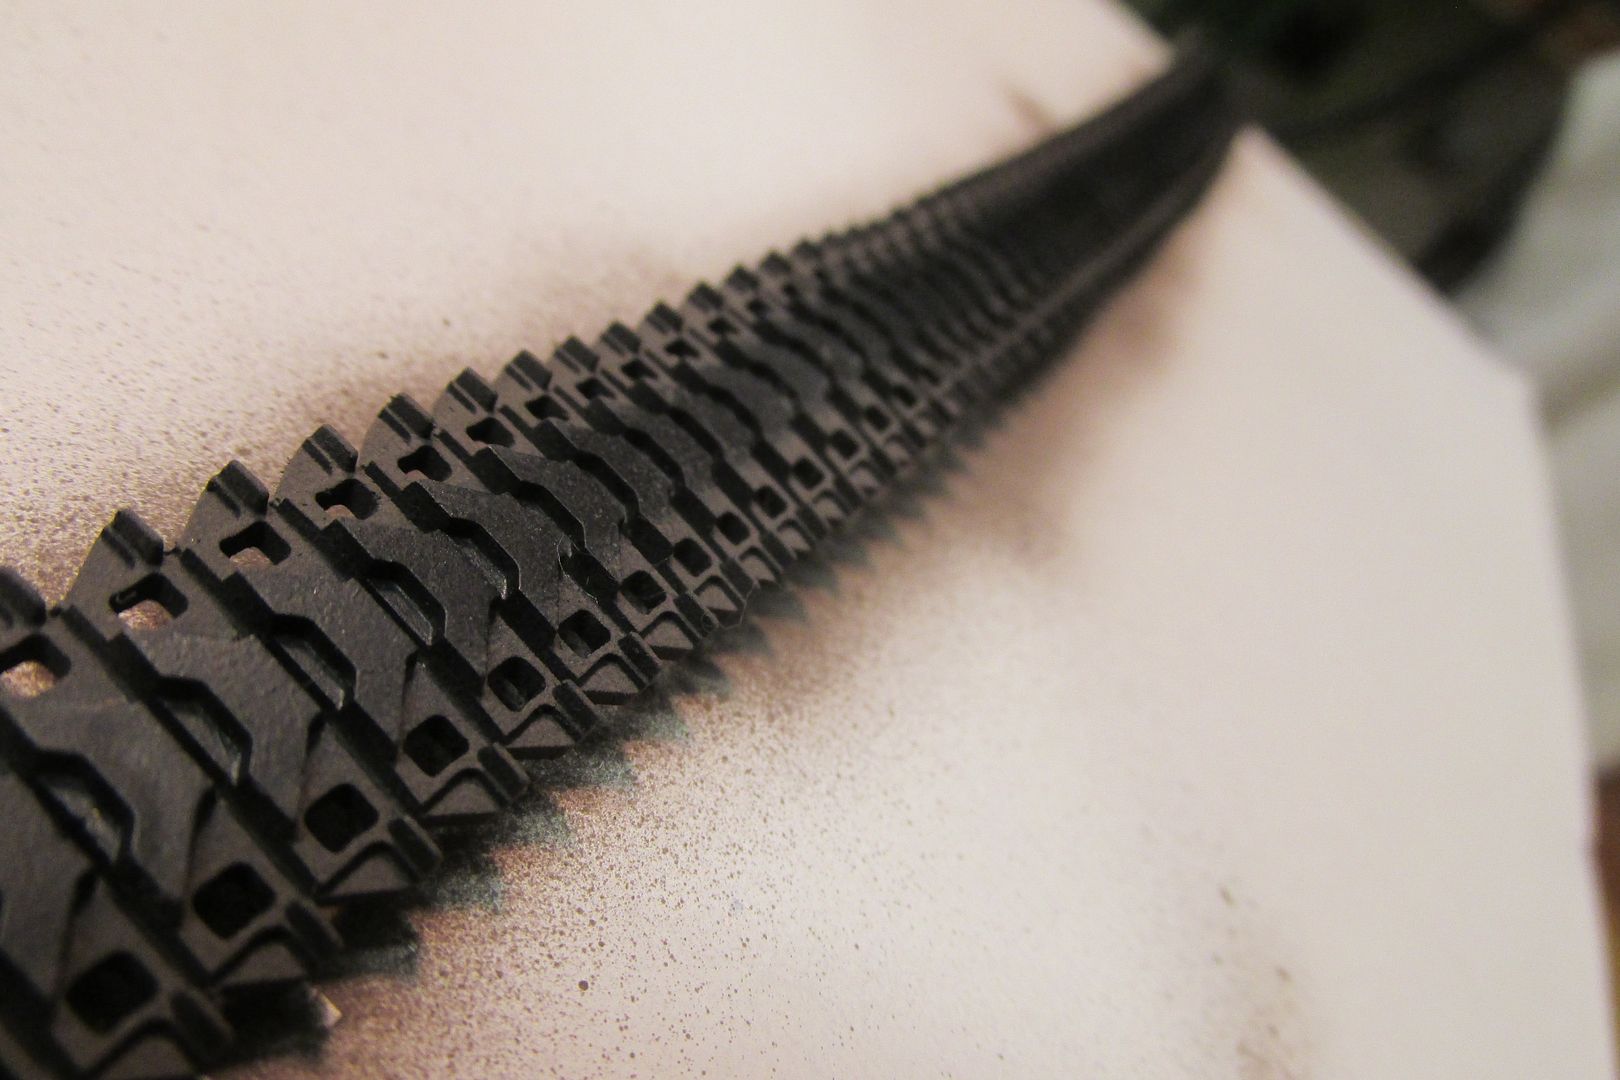
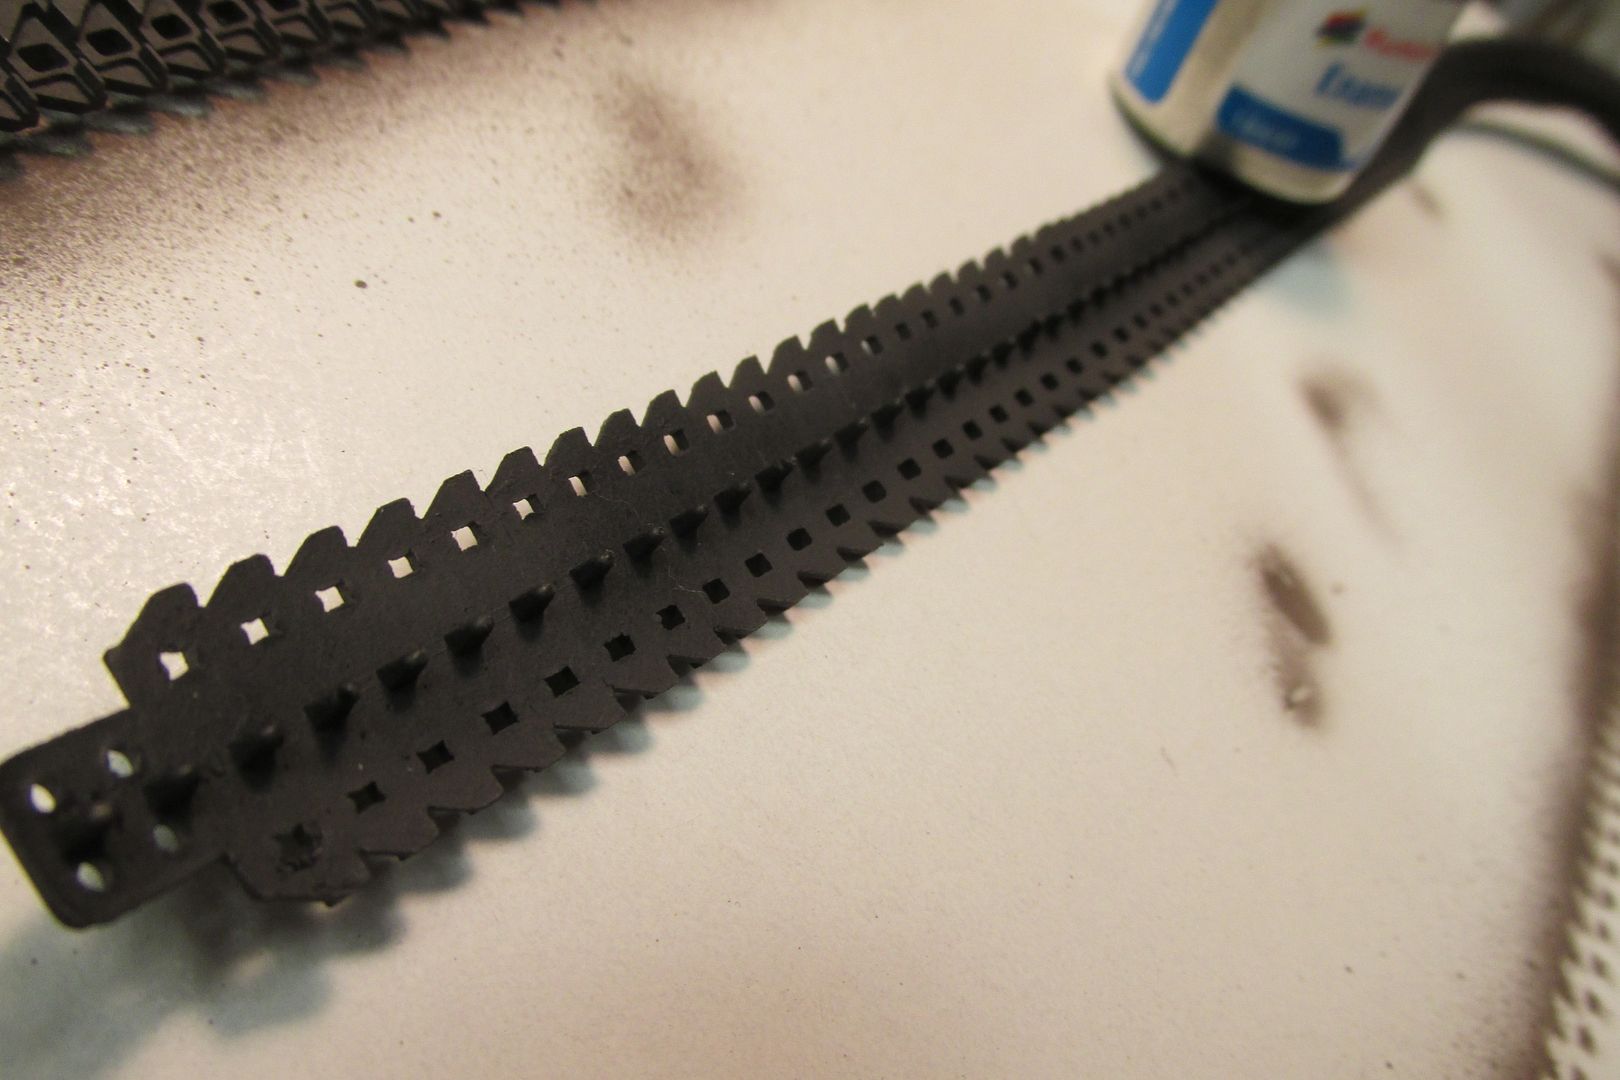
The tracks were first painted black with Fusion spray paint. I bought a tin of Humbrol Track Color to try for this project and used it on all but the road pads. I think it will look okay with a wash and some rusty drybrushing later one. I have several stowage items that will need painting and then weathering and I need to get started with those too!
Thanks for hanging in there with me this far! I hope to have more progress to report soon; thanks for your interest folks!
But, it has been a fun experiment, and fun experience too! The base color of Humbrol dark OD was over-laid with the lighter Humbrol OD and then again with Model Master Faded OD. I went back and forth a few times with each shade and then tried a 2B art pencil for a bit of raised detail highlighting. I also tried out a water color pencil that did have a useful effect. In some pics, it looks too garish and too "rusty". Prolly needs a little toning down. I wanted it to look more like brown dirt and instead it looks like rust on armor!?! Gotta fix that! starboard stowage :
after "spots":
engine deck:
same with spots:
no spots yet:
I will weather a few places with rust; gonna try out my Vallejo weathering set for that step. I haven't done much weathering on the road wheels yet. I will give them a coat of Future and then some Florry wash. They will also probably get some mud too. I haven't used a wash yet except for the engine deck grilles which for some reason look a bit brownish. But I guess I'll give the tank a coat of Future and try some shade of wash to bring out more details. After everything is final clear-coated in flat, I'll use some diluted oil-paint around the fuel fillers. My cousin was an M113 track commander in Vietnam (at the ripe old age of 19-20!) and he's told me that they kept a canteen full of oil for lubing down the .50 M2. I'll bet there would be oil stains around that pintle mount on this tank too!
I tried another technique; flicking a paintbrush to send various spots onto the surface. I used three colors of paint and had mixed results I guess. Some areas look better than others to me, but hey, they are supposed to look used aren't they?
The tracks were first painted black with Fusion spray paint. I bought a tin of Humbrol Track Color to try for this project and used it on all but the road pads. I think it will look okay with a wash and some rusty drybrushing later one. I have several stowage items that will need painting and then weathering and I need to get started with those too!
Thanks for hanging in there with me this far! I hope to have more progress to report soon; thanks for your interest folks!