Wow, it's been over a month so now it's time for a quick tour of the facilities again. This has been a slow month due to some other obligations and a serious injury that I've mostly recovered from. Also, this will be the last tour until I return from my vacation to Florida on September 14th. I'm going to visit my family and celebrate my mother's 90th birthday with her.
So, without further ado, let's board the trams and see what the latest progress has been happening at Maddog Manufacturing.......
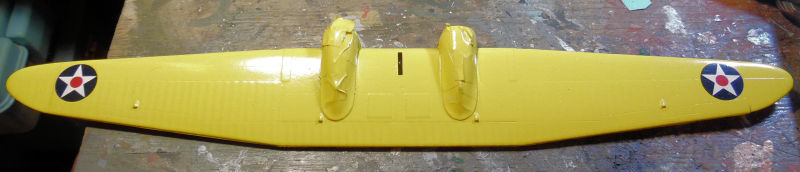
Starting in the Hangar, we have in this first bay the JRS-1. We got the wing masked and then painted yellow. After it dried, we applied the decals:
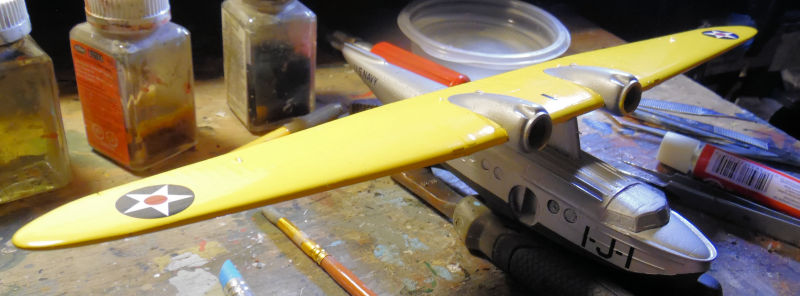
Later, the main wing was cemented to the fuselage which had also gotten the decals applied:
Afterward, the support struts and the outer pontoons were added to the wing. The pontoons will get support cables later:
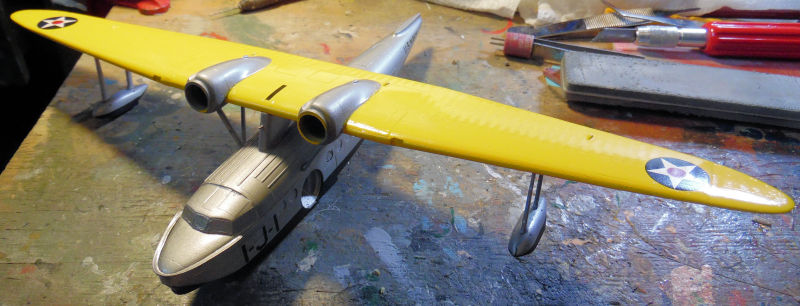
Still a lot to do with that but I still need the screen in my window before I can airbrush again. Until then, we shall move on to the next bay where
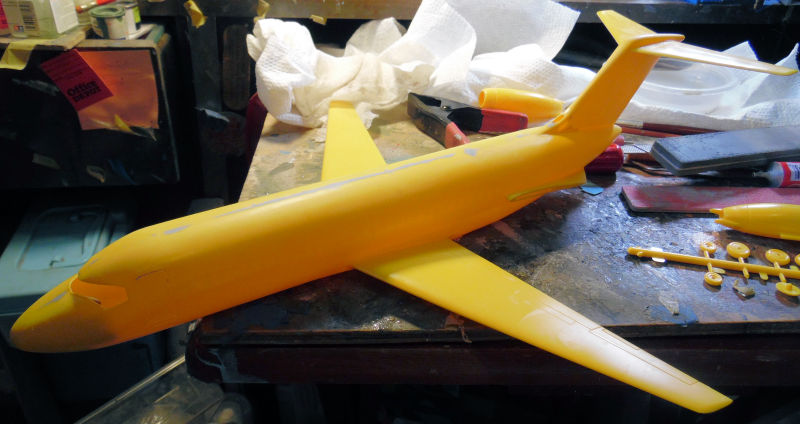
we started a 1/72 scale DC-9 in Hughes Airwest markings. This was a kit that I'd picked up at the San Diego Model Show. It had the parts for two almost complete kits inside and the yellow one had been started. Some parts were missing as you'll see soon. First, the wings and tail were all assembled and cemented to the already built fuselage:
Now we discovered what some of the missing pieces were. The previous builder had built the engines, but neglected to put in the end parts:
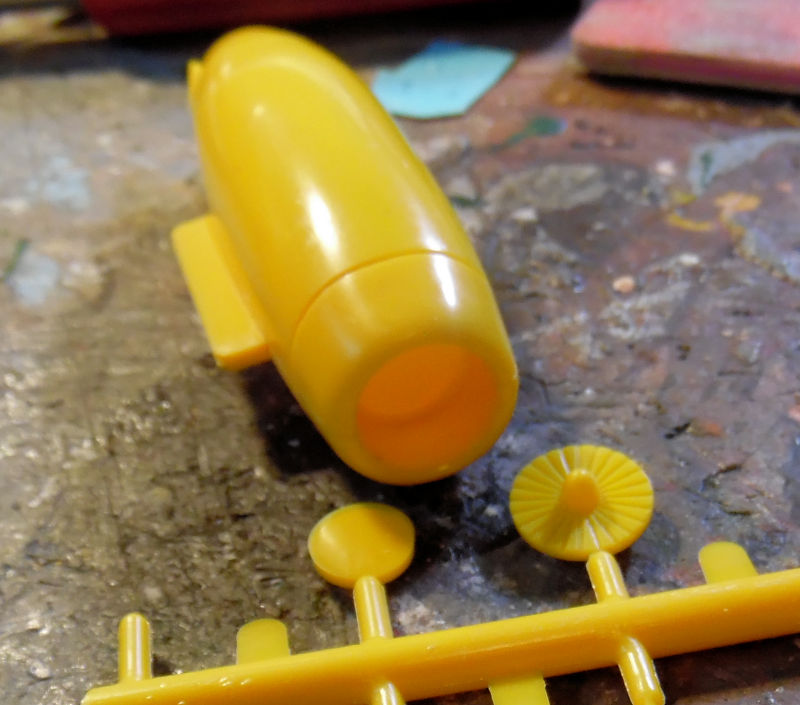
These went in okay, but the other set was missing so one engine has no end pieces. Not gonna worry about it. We installed the engines anyway:
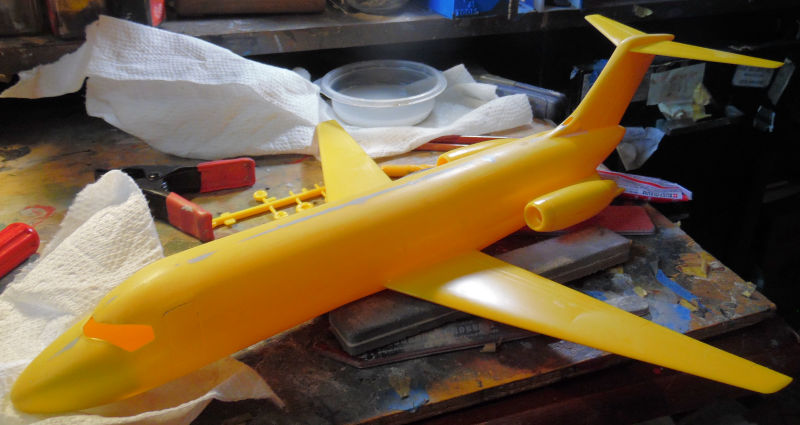
Later, we shot the metallic on the wings and tail:
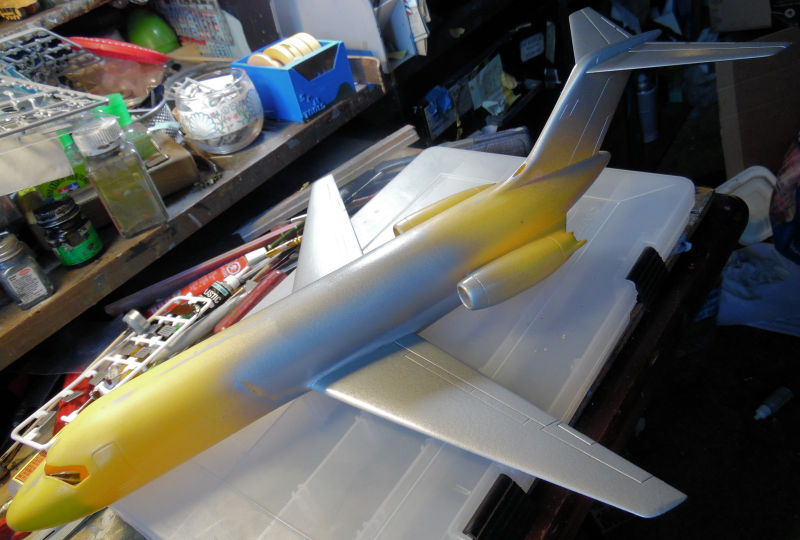
After that dried, we masked off the wings to try and shoot some yellow on this using a rattle can:
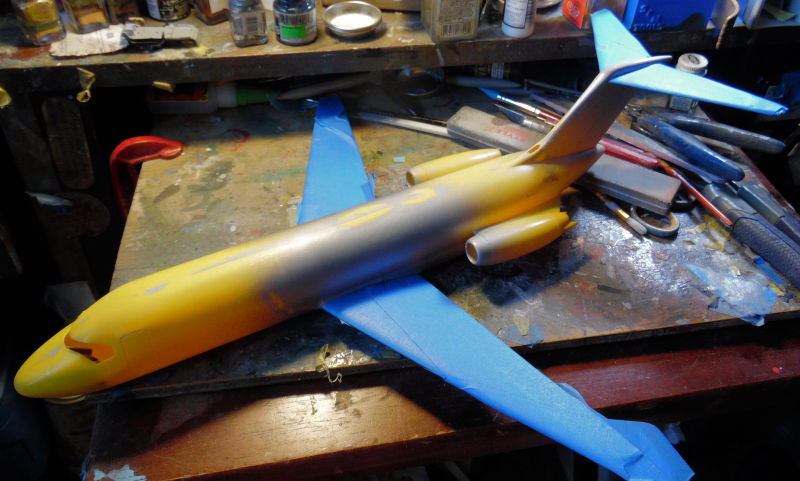
So far the yellow has been a dismal failure so no pics until I can get it right.....
Meanwhile, we looked at starting the second kit in the box, and found one more part that was missing: the main cockpit windscreen. So, using the original one as a template, we marked where the windscreen struts are supposed to go so we could fashion some new ones and use clear sheet to add the panes:
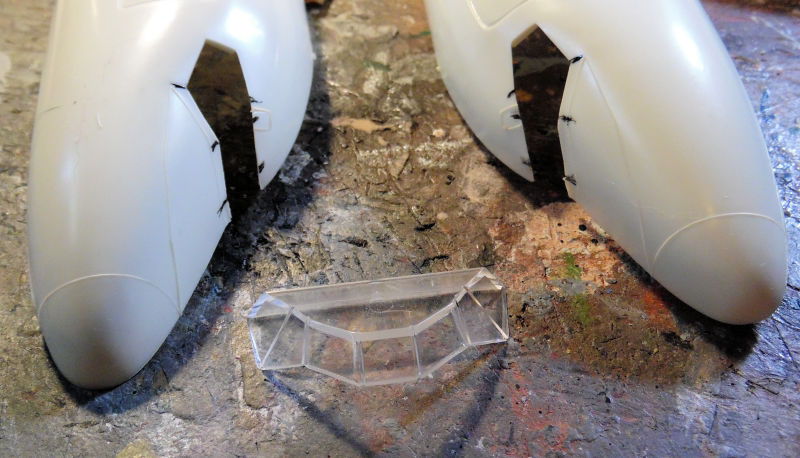
Later I found a third DC-9 kit that had both Hughes Airwest and TWA markings, so now I need to source another airline decal sheet for a 1/72 scale DC-9....
That's it for the Hangar for now, let's head out to the Shipyards to see what's going on..
Here in the Shipyards, we continued to work on the Sunseeker Predator 108. Lots of little parts being added to bigger parts and some decals being applied, but nothing worth shooting pics for. I did shoot one pic of the Predator interior now that it is done:
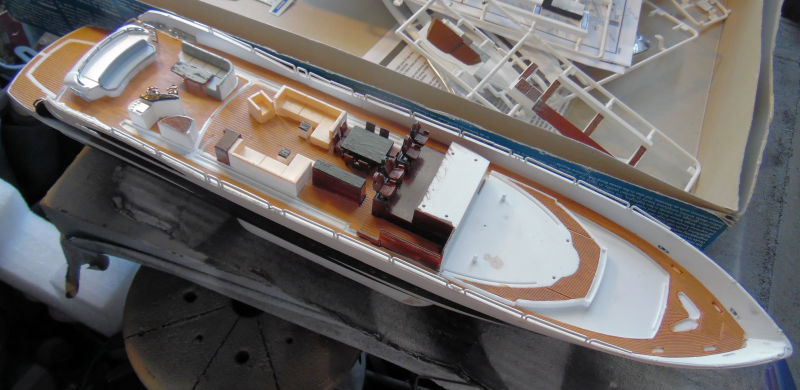
I also saw how the some of the tinted windows needed some black paint on some framework, so we masked off the parts and painted them black on the inside:
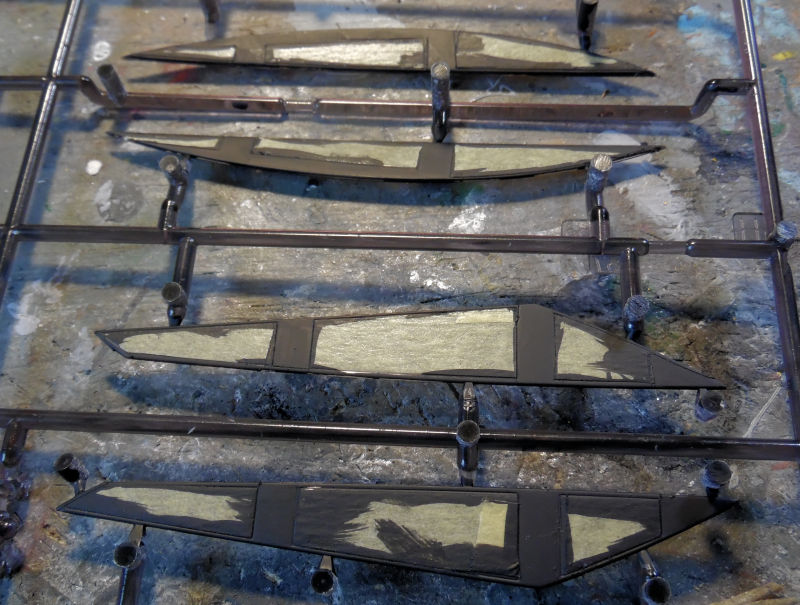
That way when they are installed the black will be gloss on the outside....
All there is left right now is to finish the instrument panel decals and then close this upper cabin up. Then we'll see what else needs to be done before this is finished.
In the next three slipways, we got to work on three Soviet Submarines from WWII. This was a kit that included all three boats:
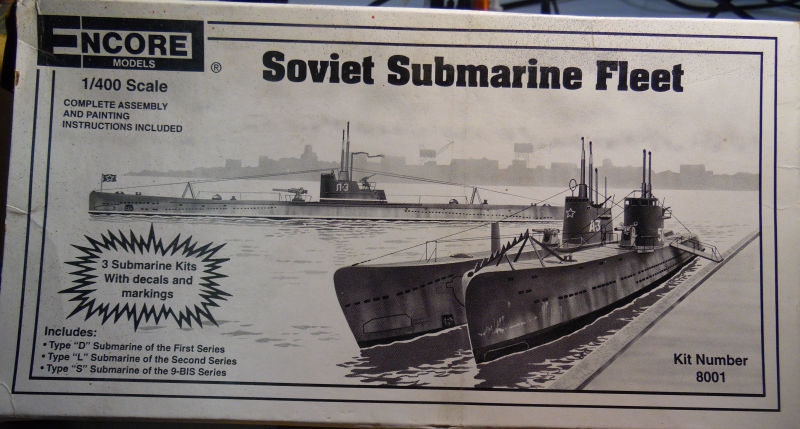
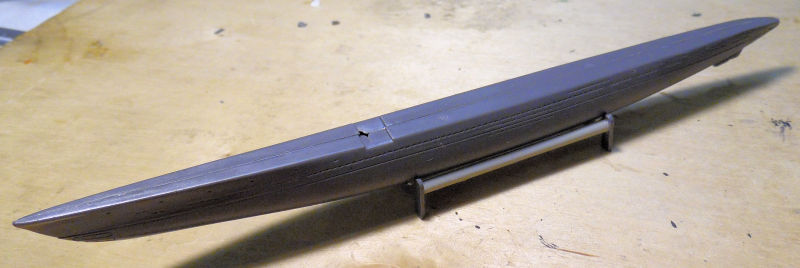
Now one of these had been started and has been a shelf queen for at least two decades. It was the first one, the Type D. One thing I wanted to do was put these on their stands so they would stay in place while things dried. Unfortunately, they did not add an crossbar for the stand pieces so we improvised:
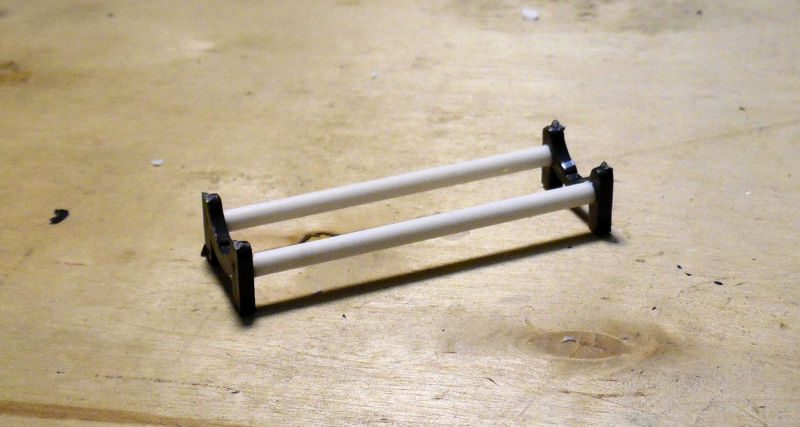
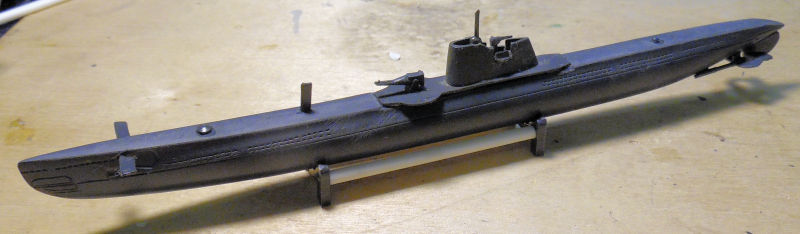
Later, all the missing pieces that I had not added in the past were installed on this hull and conning tower. Now this Type D is waiting for paint:
Next, a stand for the next one, a Type L:
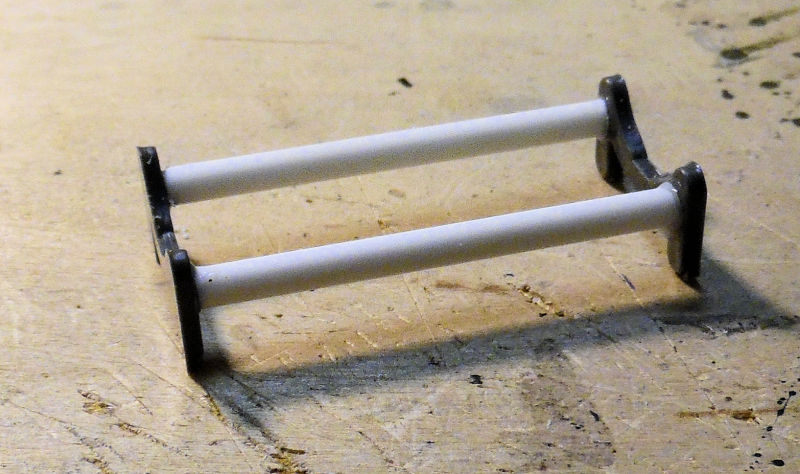
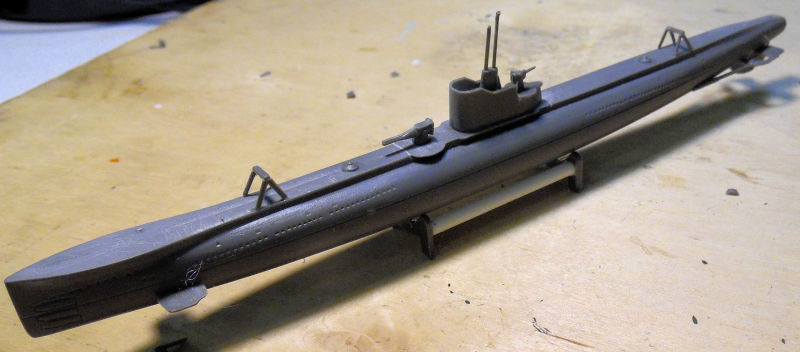
Yes it's shorter, I was running out of that size sprue. However, the hull and conning tower were built up and all the detail parts installed. This Type L is waiting for paint:
Finally we started on the last one, a Type S. Yes, I built a stand for it, but you don't need to see another stand for this one. The hull was put together first like before:
Before too long, the conning tower was built and all the other detail parts were added. This Type S boat is waiting for paint:

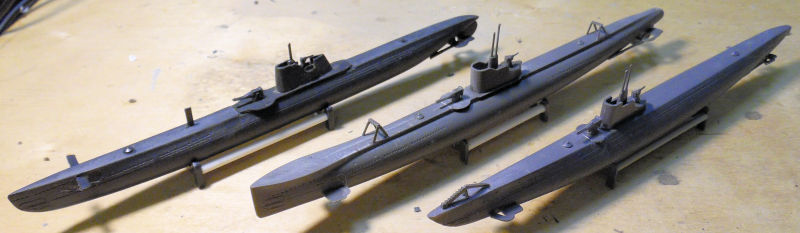
Just for fun, here's all three of them together:
That completes the tour of the Shipyards for now, let's move on to the Motor Pool...
Here in the Motor Pool, there's a couple of started vehicles and more work on my monstrosity.
Let's start with the German Staff Car. This is a snap together kit, but I'm using glue here and there. The first thing we did was to shoot a metallic color over all the body panels and such:
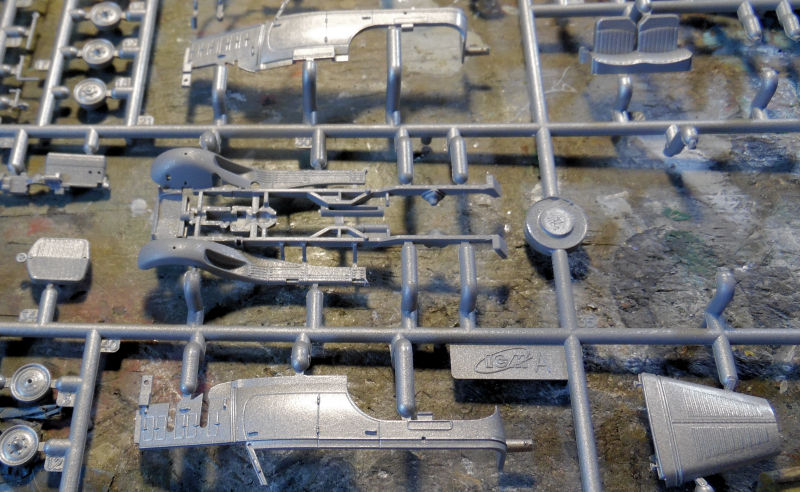
Later, details were painted when the metallic color had dried:
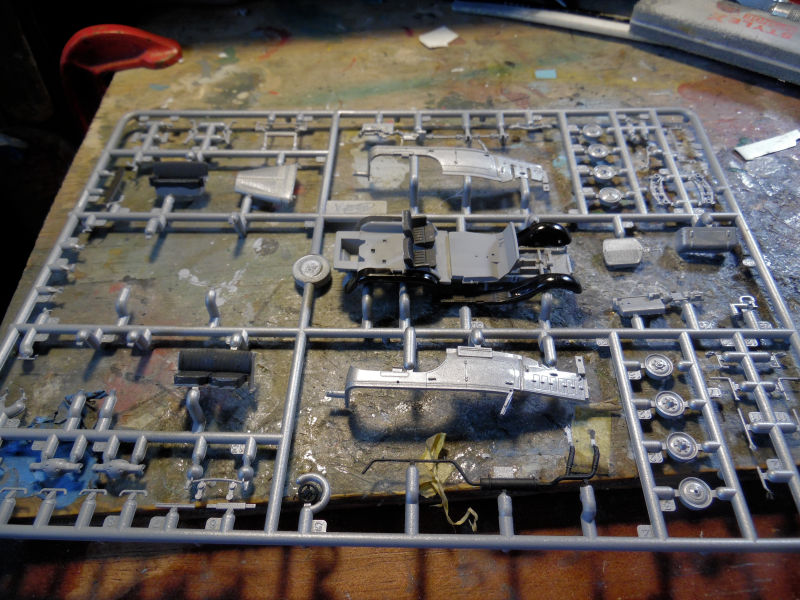
Finally, some assembly got done:
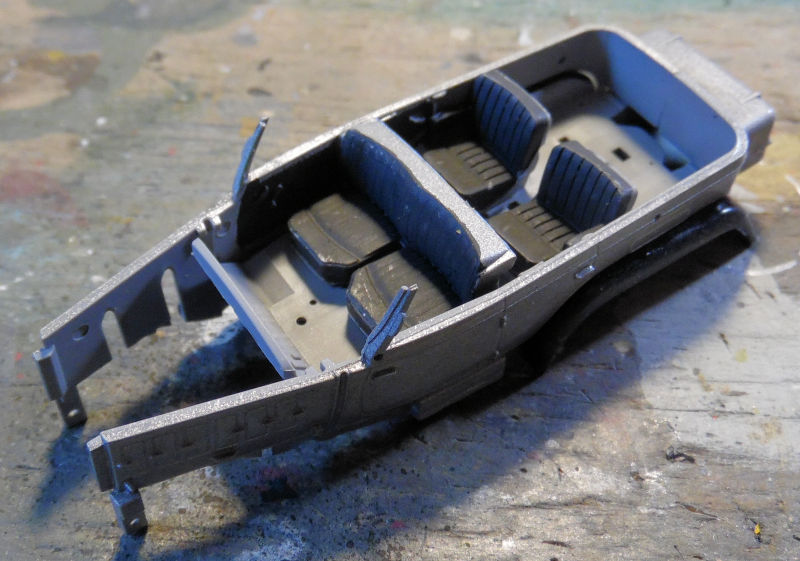
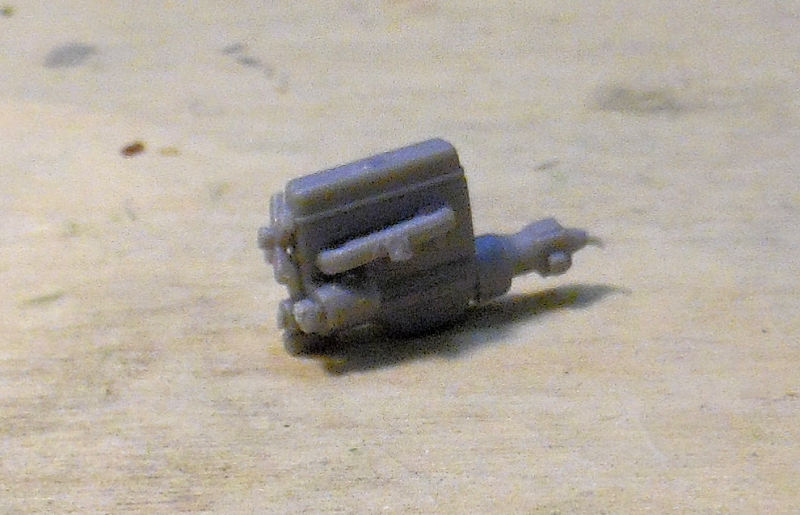
That's all for that one now, in the next bay we started a Chevy wrecker for a group build on another Forums. First was the tiny engine:
Next the cab which will go over that engine:
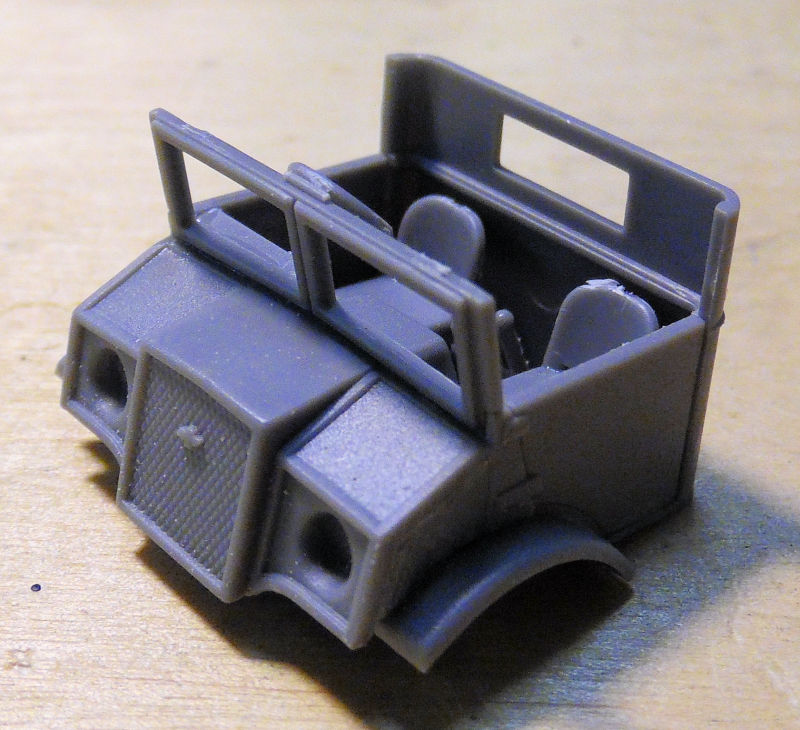
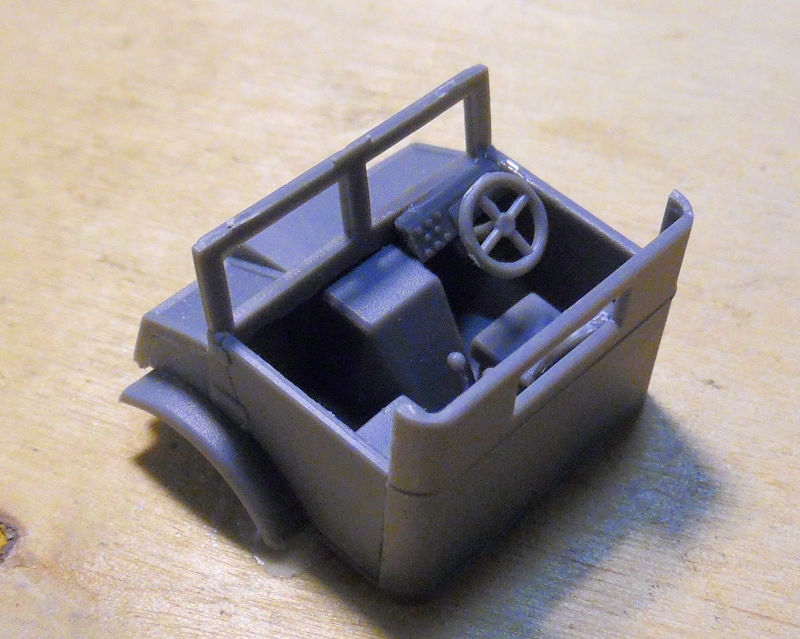
And that is where we stopped on that one.
In this final bay, we continued to build all the bogies for the P.1000 Ratte until they were all done. Afterward when everything was dry, we installed them all on the lower hull and then snapped the upper hull on them so they would dry in the proper position to lock into the connection points on the upper hull skirts. Here is what it looked like:
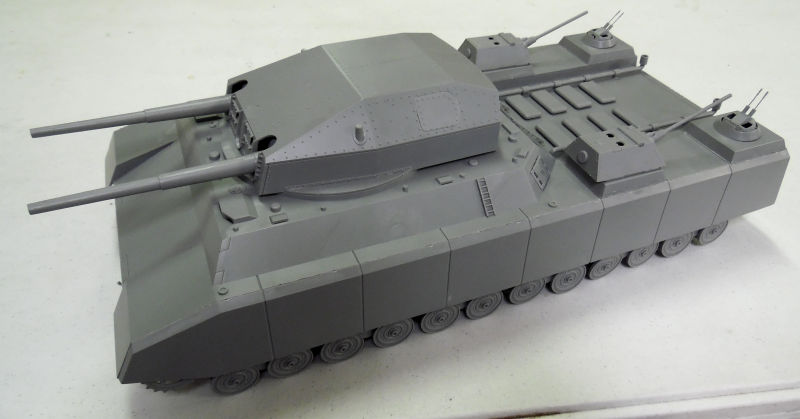
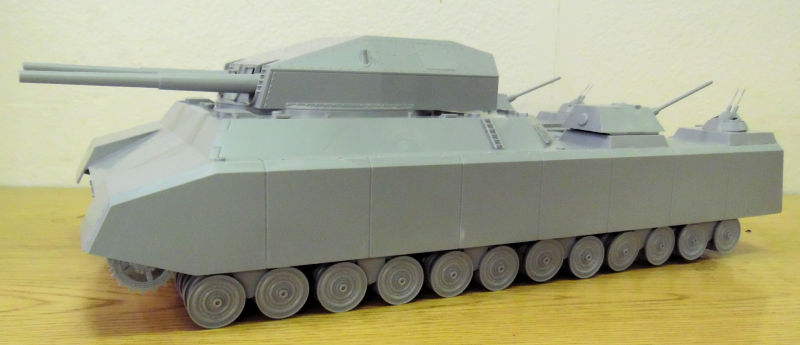
Now all I need to do is figure out the rear idler wheels and why they are fitting so loosely. Then maybe we can start installing the tracks if possible.
Still trying to figure out what camouflage pattern I want to put on this; the box art pattern is just too butt-ugly!!
Maybe an ambush pattern................
And that completes this tour of Maddog Manufacturing, I hope you enjoyed it. Thank you all for taking the tour and comments are always welcome.

 Lookin' good, dude!
