Page 7 of 9
Re: Eduard 1/48 Hawker Tempest II
Posted: Fri May 17, 2024 11:31 pm
by jkim
Re: Eduard 1/48 Hawker Tempest II
Posted: Sun May 19, 2024 12:37 am
by jkim
Re: Eduard 1/48 Hawker Tempest II
Posted: Sun May 19, 2024 3:00 am
by tempestjohnny
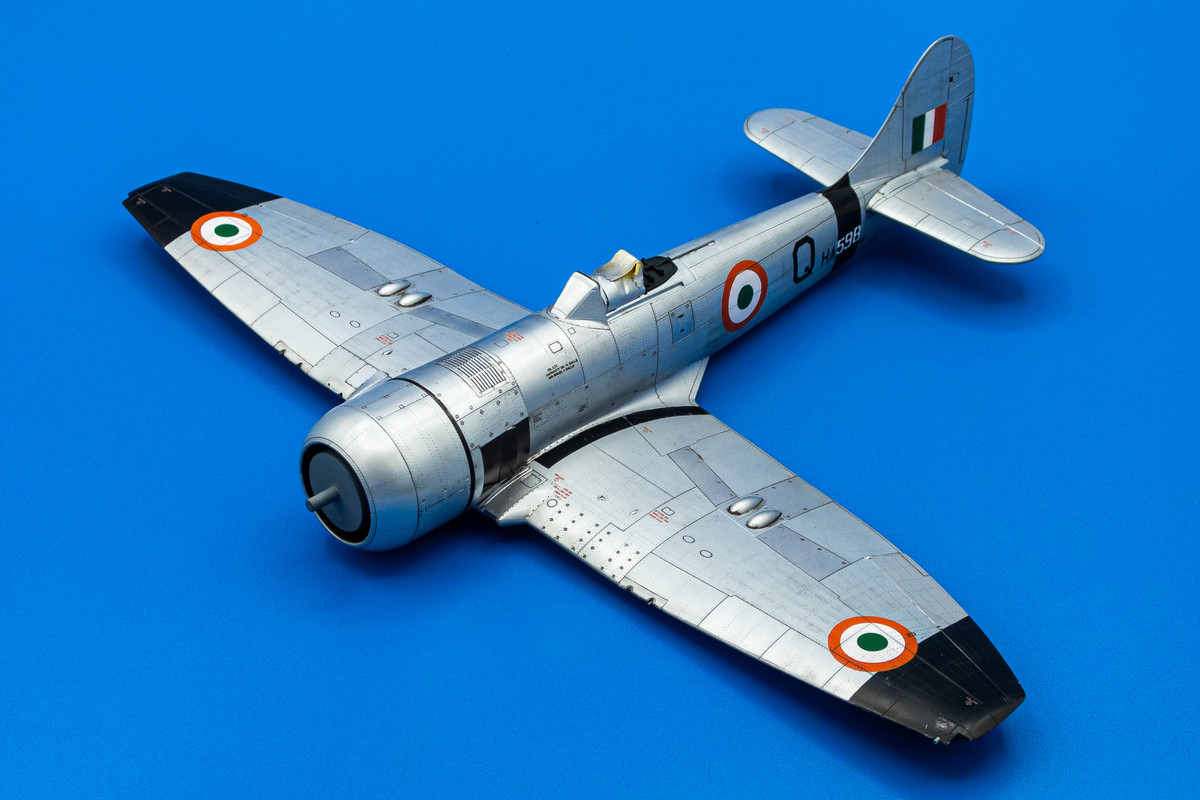
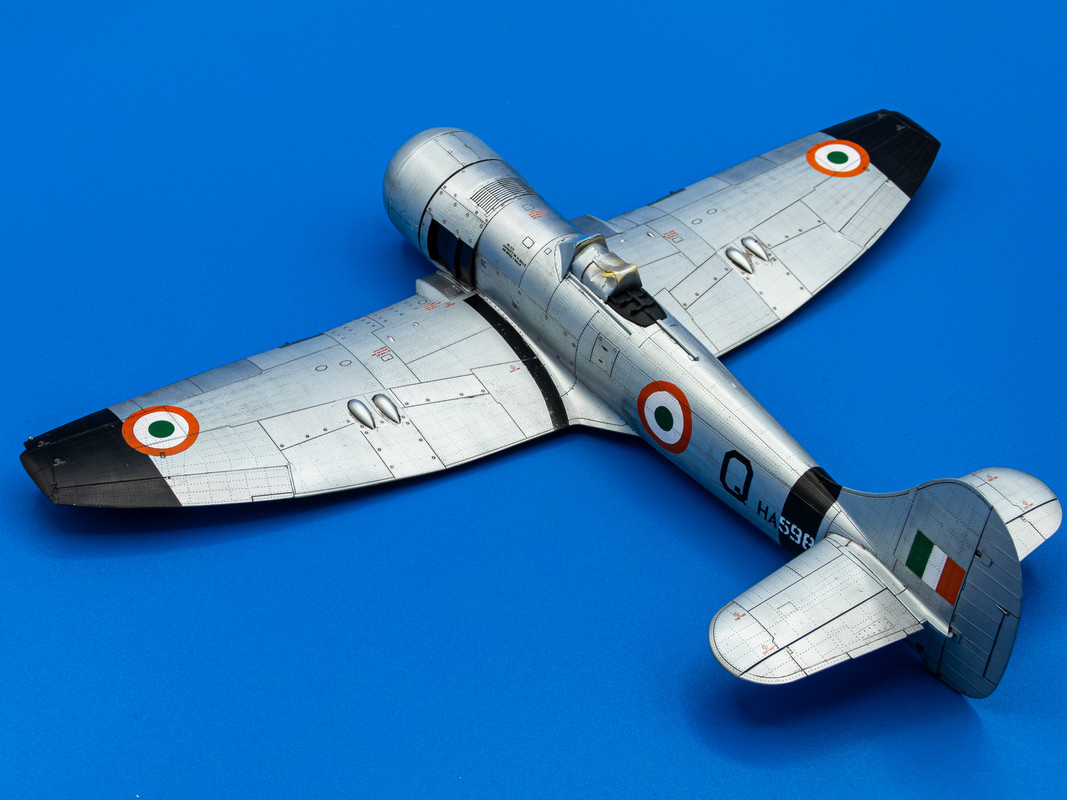
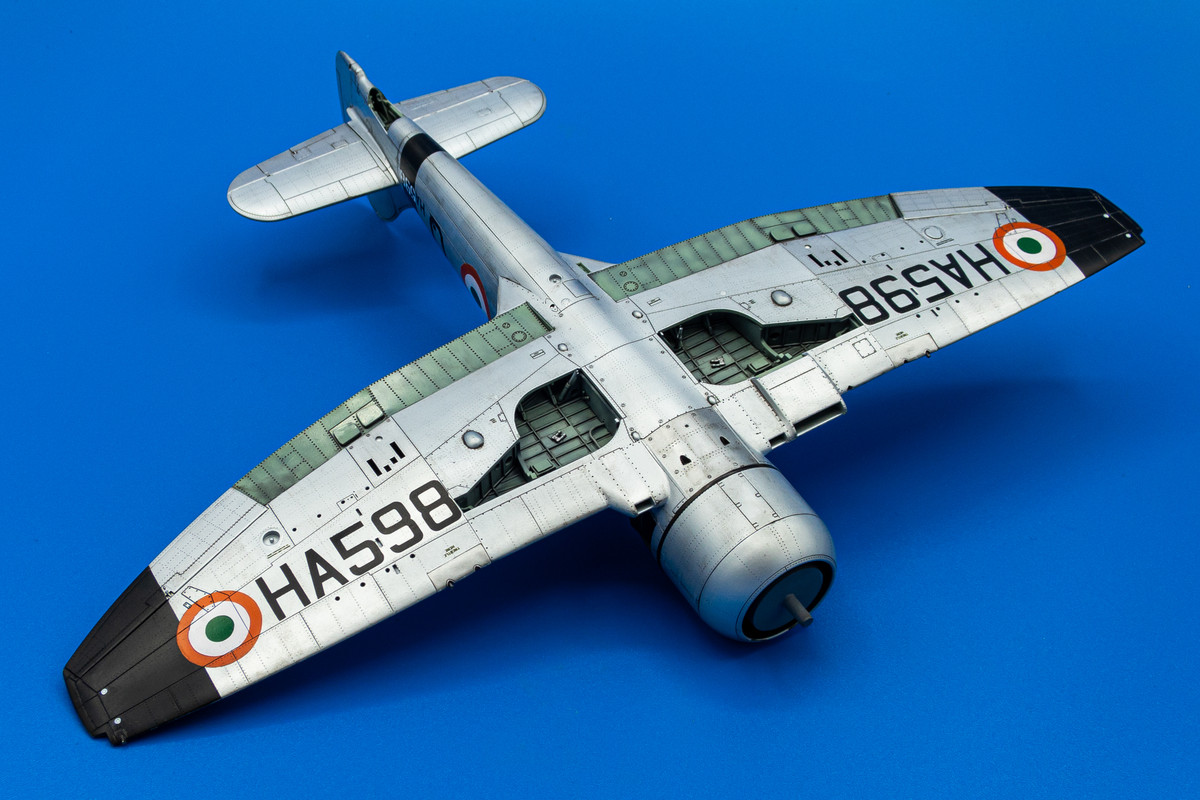
All those minute corrections have made this a masterpiece again. Fabulous
Re: Eduard 1/48 Hawker Tempest II
Posted: Sun May 19, 2024 7:04 am
by BlackSheep214
Incredible work...
Re: Eduard 1/48 Hawker Tempest II
Posted: Sun May 19, 2024 10:43 am
by Medicman71
Wow! That looks great!!
Re: Eduard 1/48 Hawker Tempest II
Posted: Mon May 20, 2024 7:30 pm
by jkim
Re: Eduard 1/48 Hawker Tempest II
Posted: Mon May 20, 2024 8:08 pm
by BlackSheep214
Do you usually put a drop of dish soap when mixing chalk and water for your custom wash? What is your usual go-to color preference chalk when making your own wash? What is your usual chalk : water ratio? Sometimes I feel I didn’t scrape enough chalk when mixing with water and a single drop of Dawn dish soap. It know it’s all about trial and error to find that sweet spot when brewing your own custom wash.
I have on occasion made my own wash but I usually use black for most, sometimes dark grey on some depending on the subject. I had thought about getting brown but wished I had. Have you used brown chalk wash on some subjects?
I, too tried wiping it away with a towel squeezed til damp, but I wondered why most of it were wiped away. Now I learn you let it dry completely before wiping away excess wash. Then again, I probably wiped it off with towel too damp.
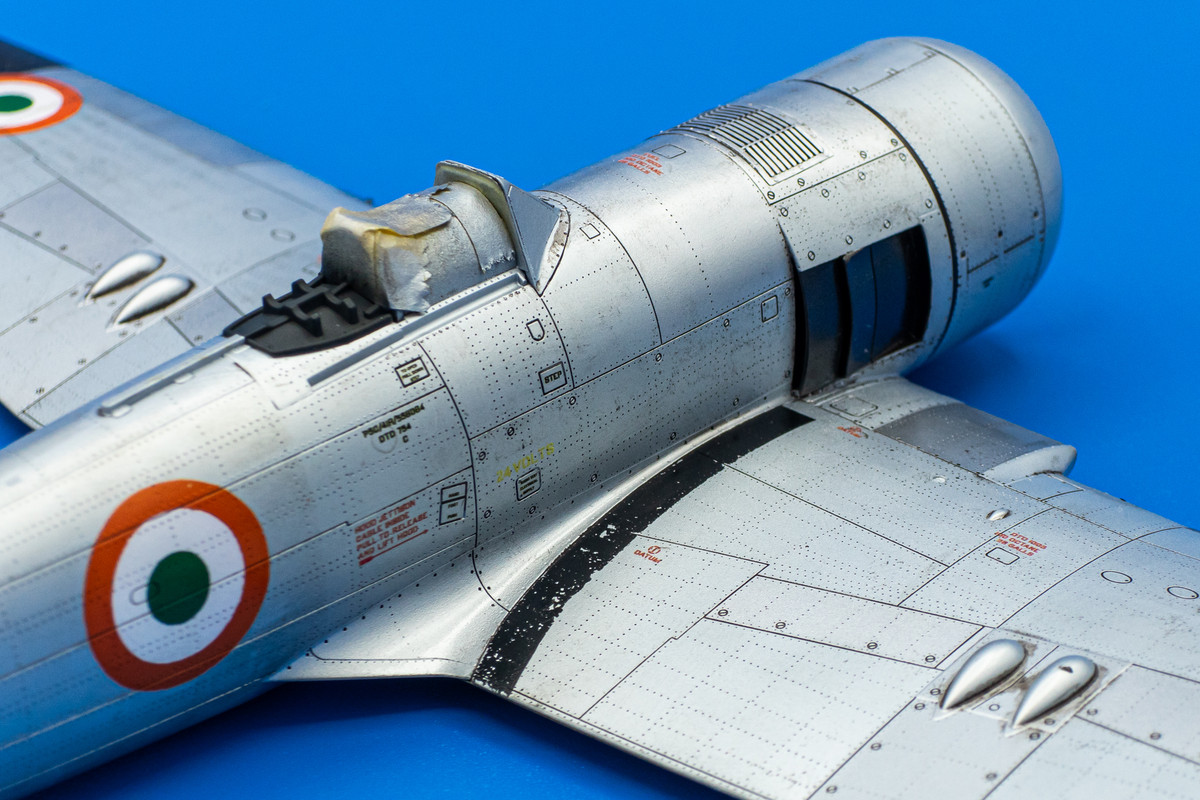
I’m curious what chalk color you used on the Tempest II kit. It looks really great.
Re: Eduard 1/48 Hawker Tempest II
Posted: Tue May 21, 2024 2:56 am
by mostrich
This WIP will become my instructions when I'm going to build mine. Such a great rescue of the "brain fart".
Re: Eduard 1/48 Hawker Tempest II
Posted: Tue May 21, 2024 10:38 am
by jkim
BlackSheep214 wrote: ↑Mon May 20, 2024 8:08 pm
Do you usually put a drop of dish soap when mixing chalk and water for your custom wash? What is your usual go-to color preference chalk when making your own wash? What is your usual chalk : water ratio? Sometimes I feel I didn’t scrape enough chalk when mixing with water and a single drop of Dawn dish soap. It know it’s all about trial and error to find that sweet spot when brewing your own custom wash.
I have on occasion made my own wash but I usually use black for most, sometimes dark grey on some depending on the subject. I had thought about getting brown but wished I had. Have you used brown chalk wash on some subjects?
I, too tried wiping it away with a towel squeezed til damp, but I wondered why most of it were wiped away. Now I learn you let it dry completely before wiping away excess wash. Then again, I probably wiped it off with towel too damp.
I’m curious what chalk color you used on the Tempest II kit. It looks really great.
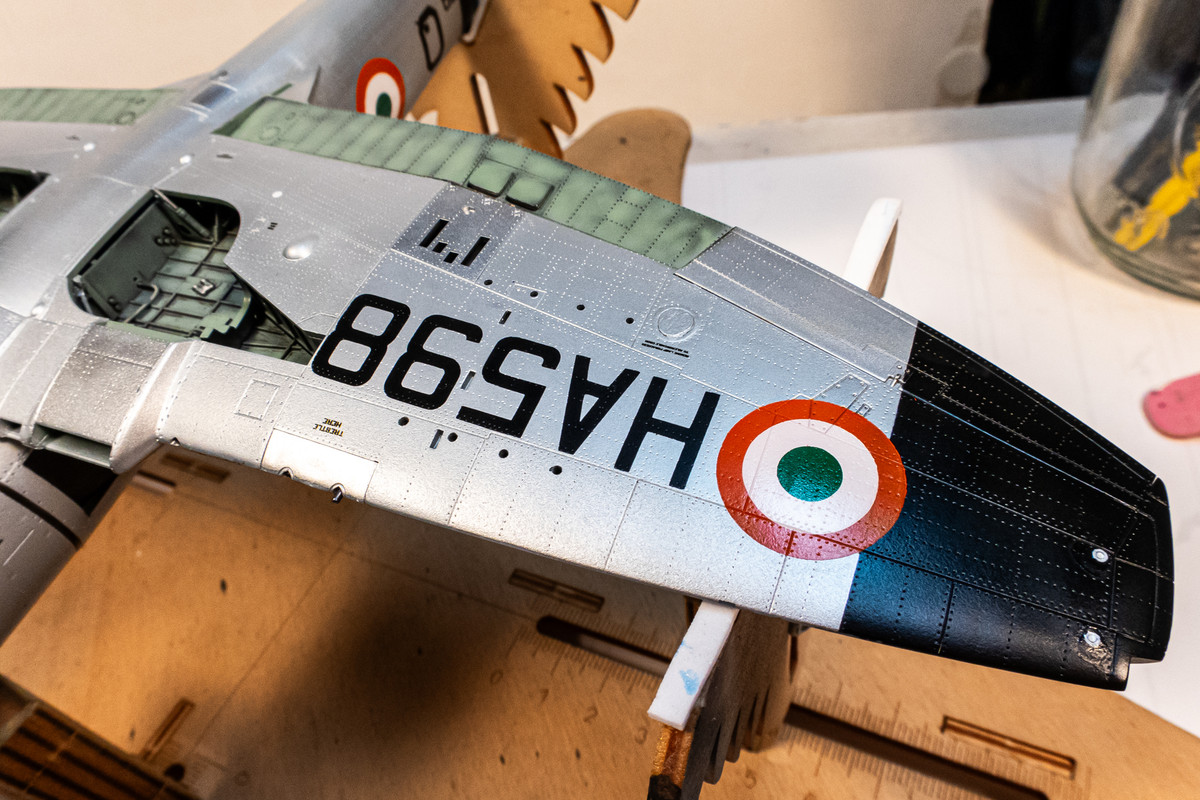
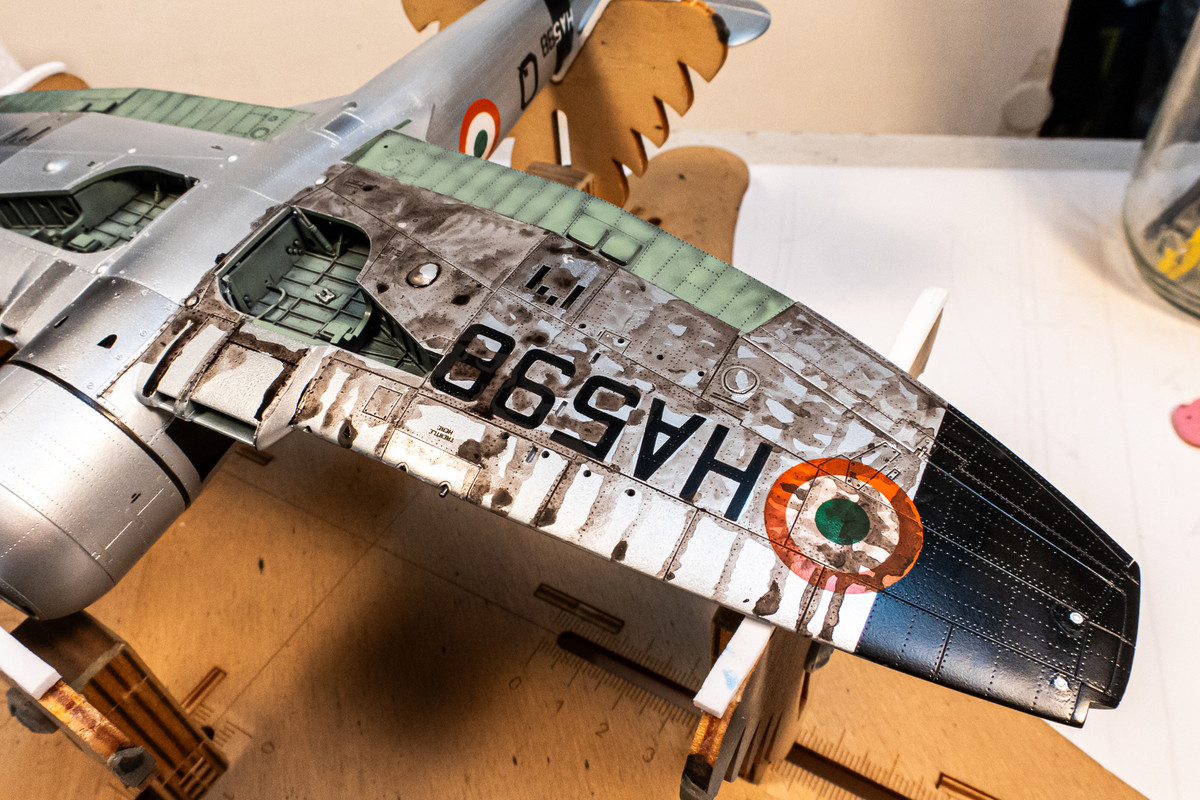
Hi Tom! Thank you for asking questions about the pastel wash. I'm not sure where it originated but I remember reading about it and deciding to try it. I've been using these pastel chalks by Sargent Art but I'm sure other chalk products would work just as well as long as they are not oil-based.
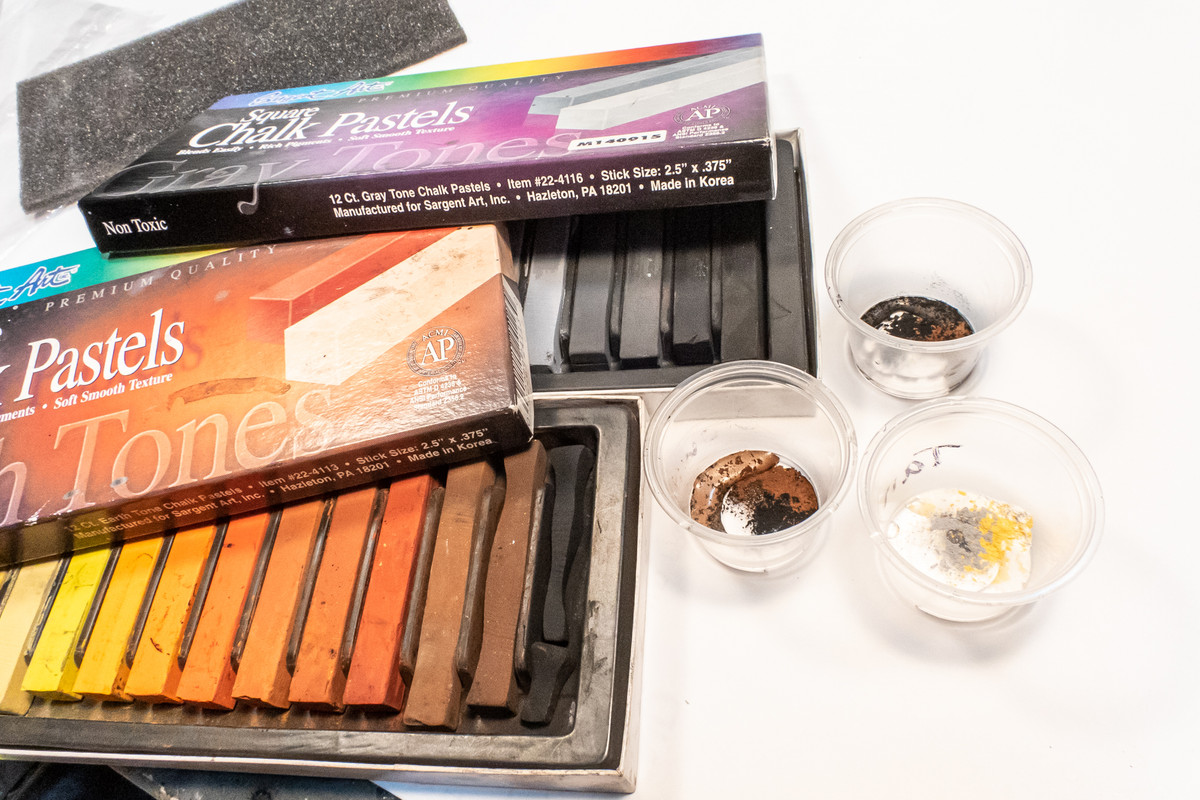
Since a good result requires the wash to be very opaque, I've learned to work with VERY small amounts of water. 3-5 drops. Otherwise, you'd have to scrape up a ton of chalk particulates to make the wash effective. You want the wash liquid to be opaque without transparency. The effect is created by the chalk particulates left behind in the recessed detail so you want want as much chalk as possible. I add a dab of dishwashing soap to help suspend the particulates in the water.
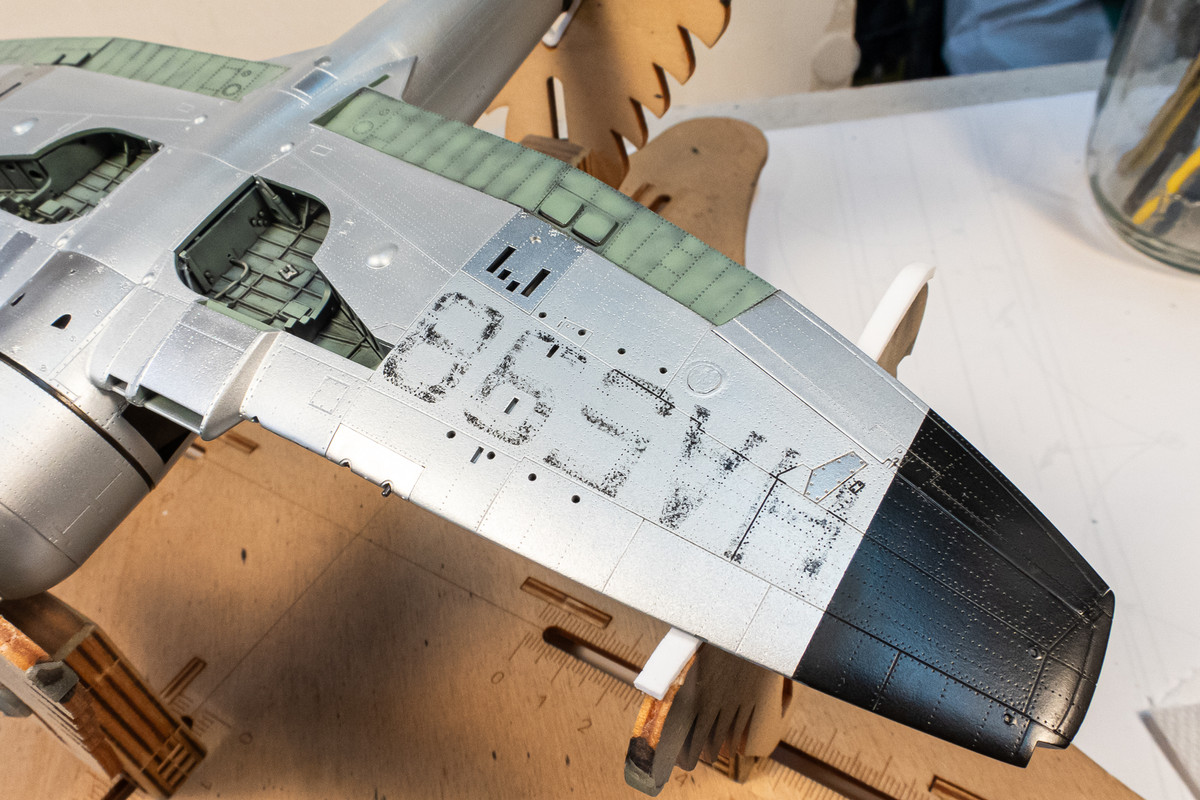
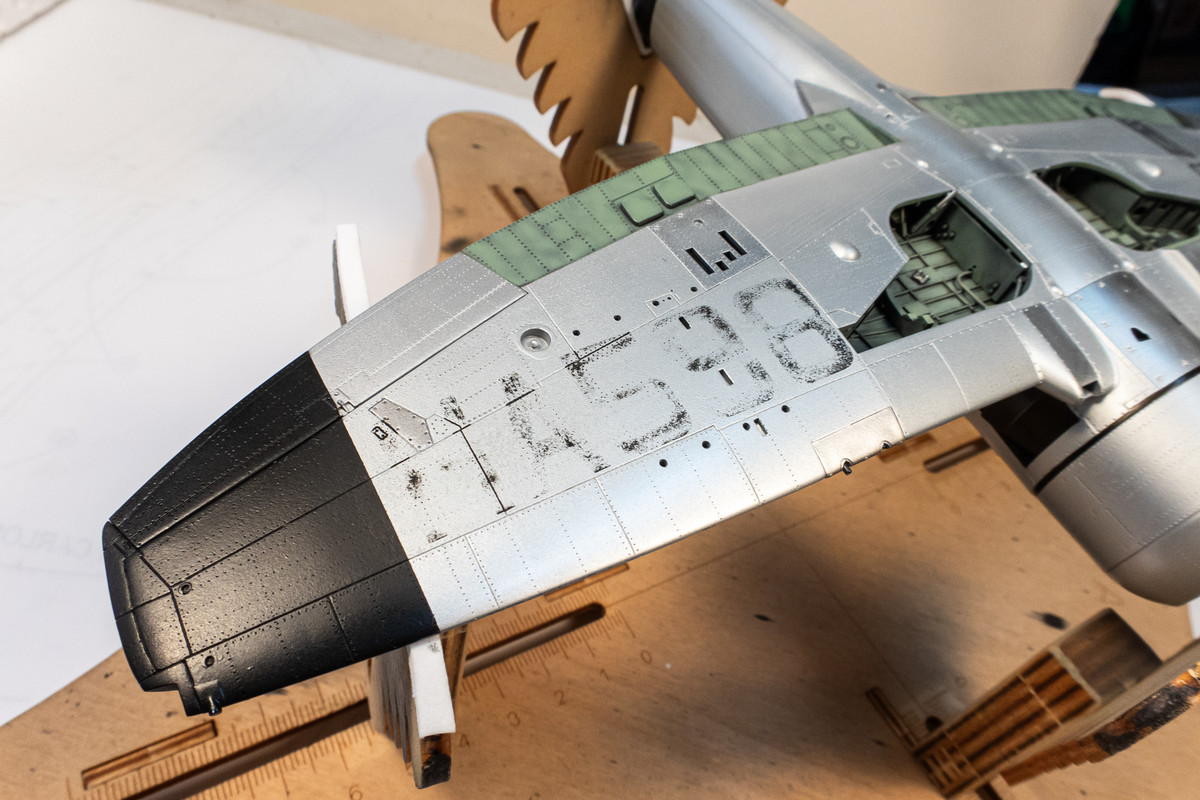
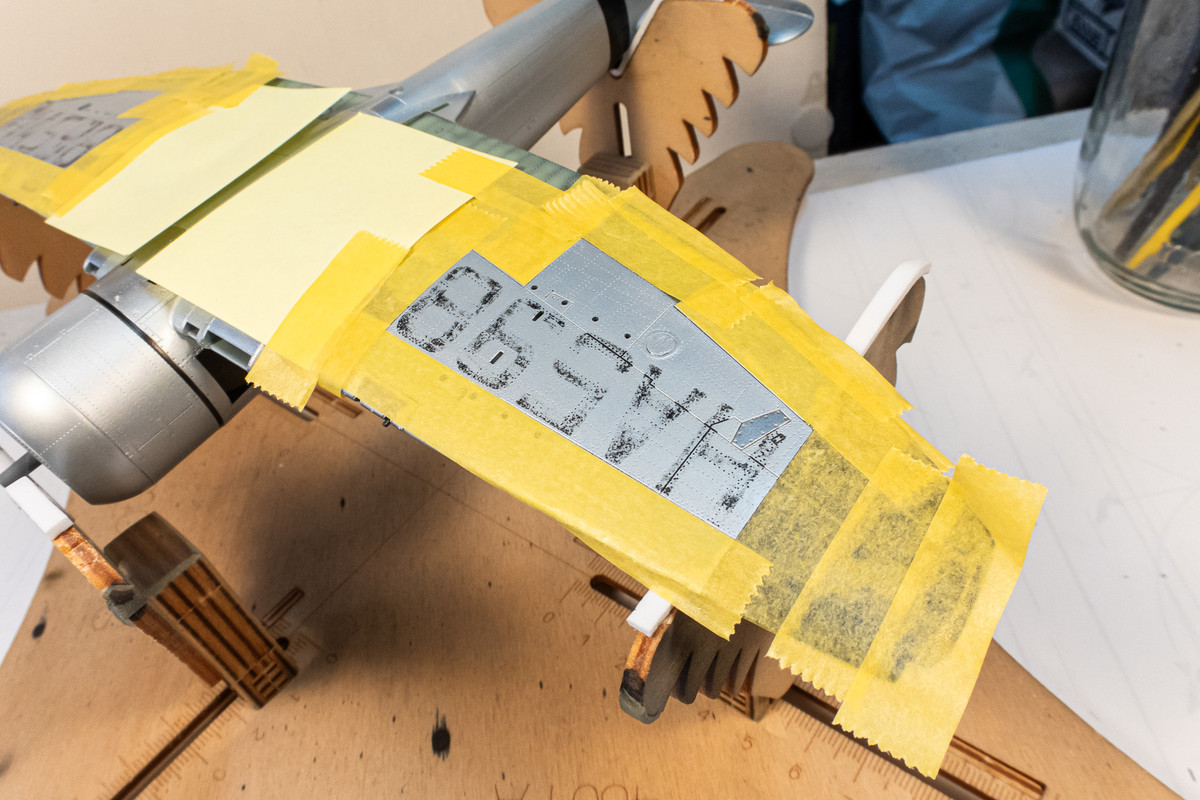
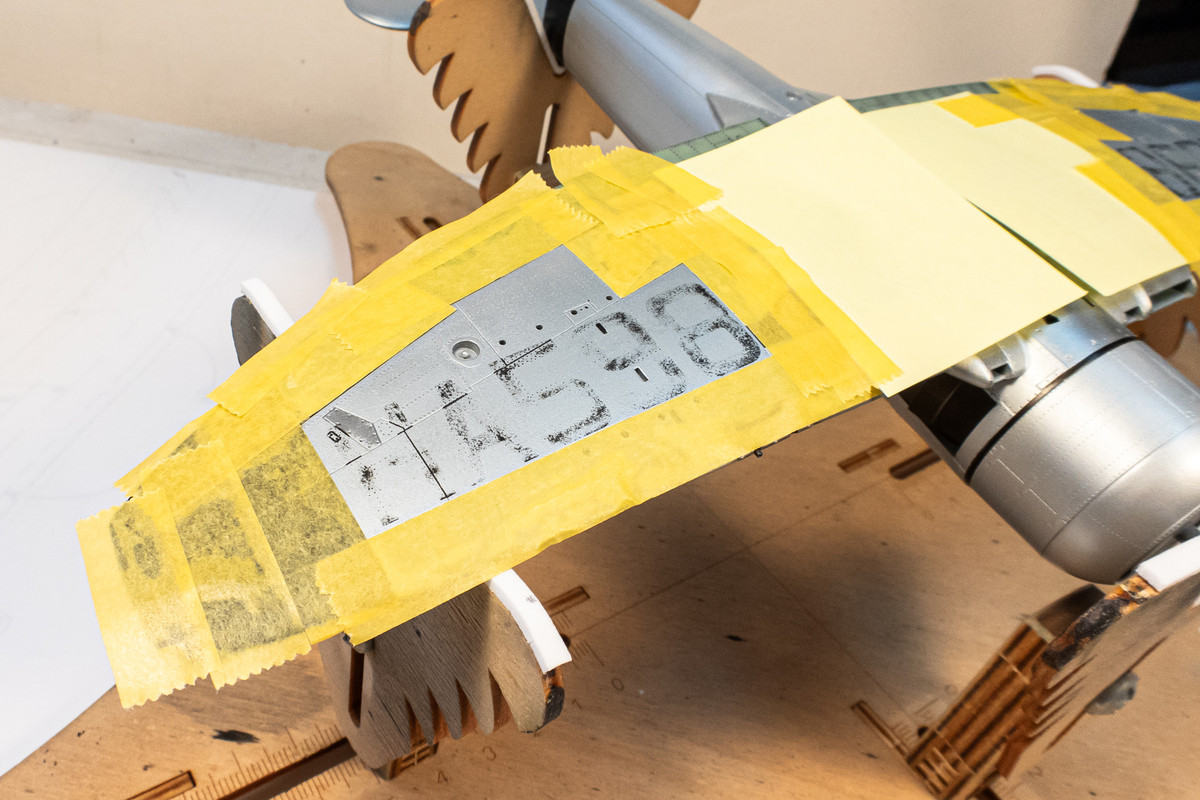
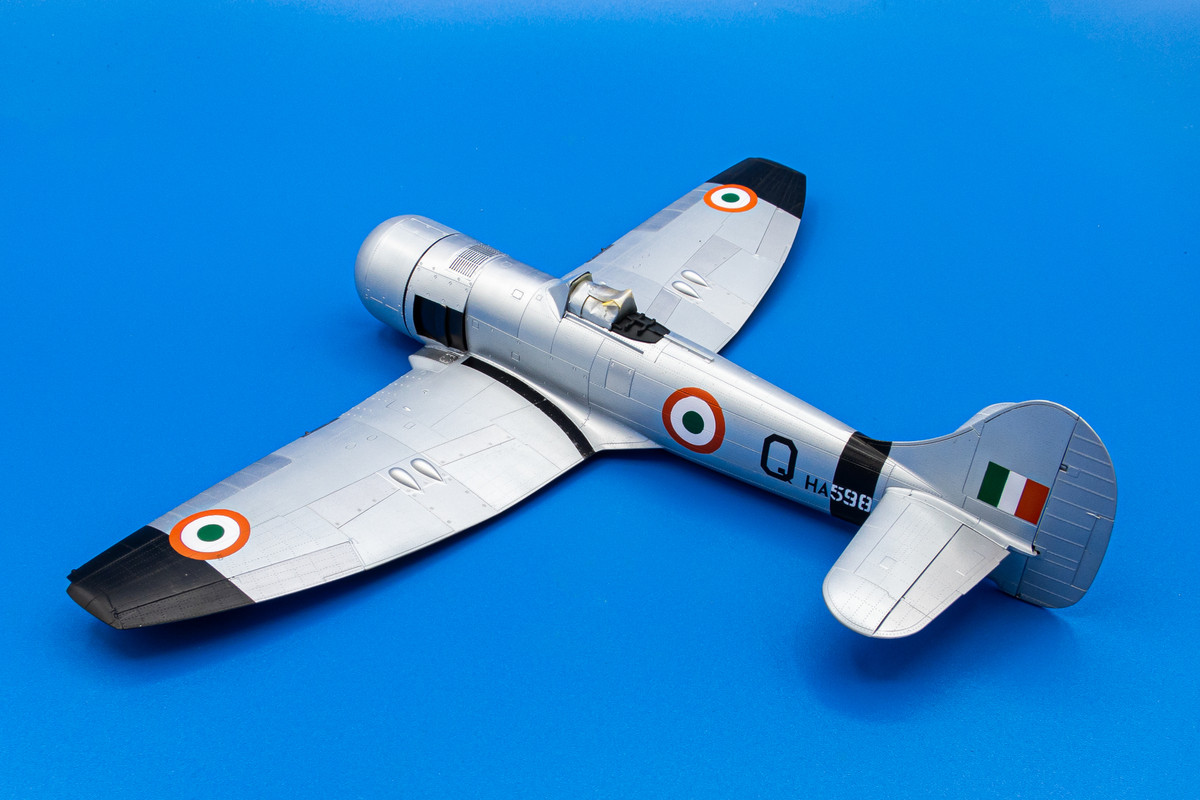
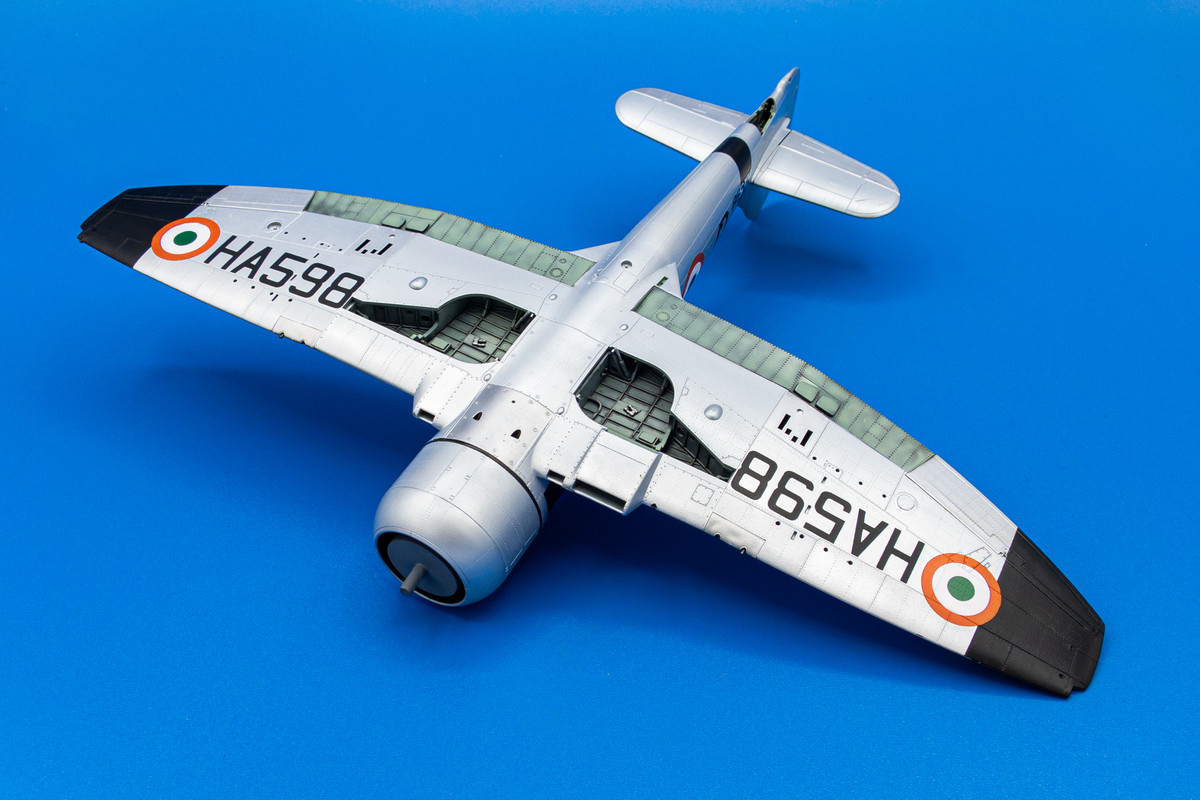
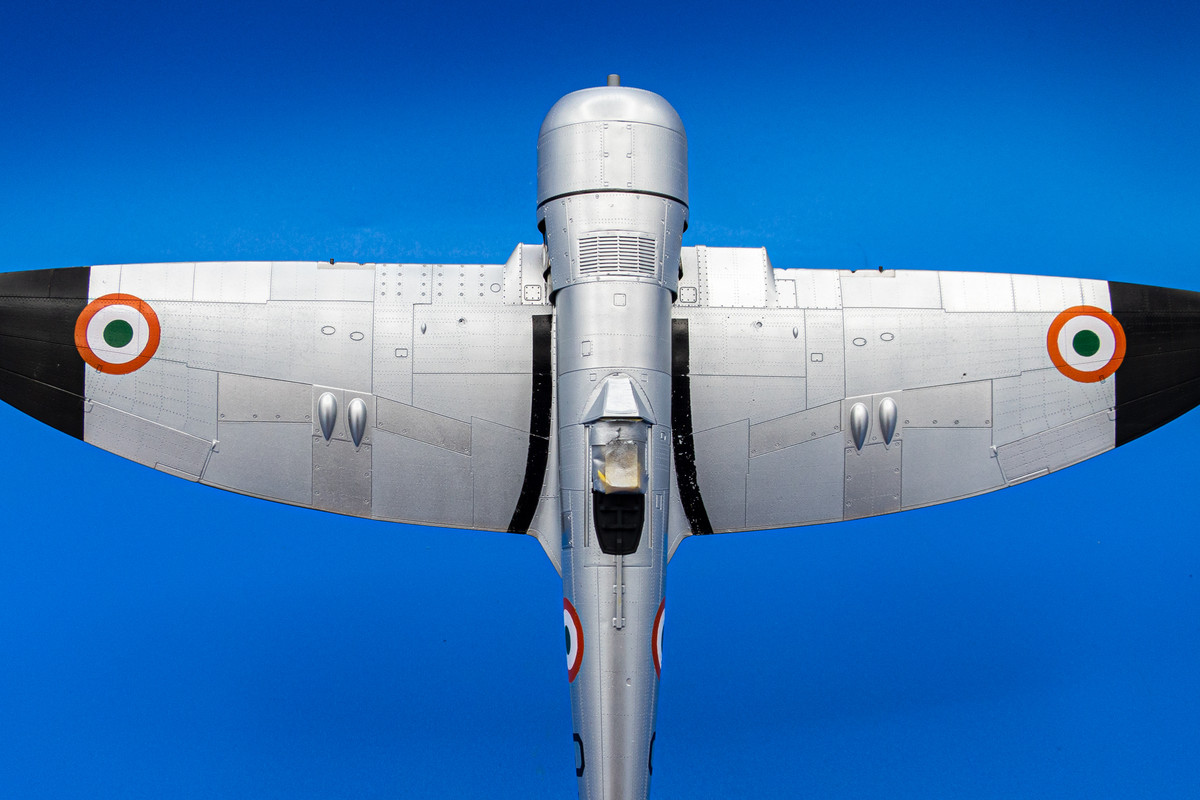
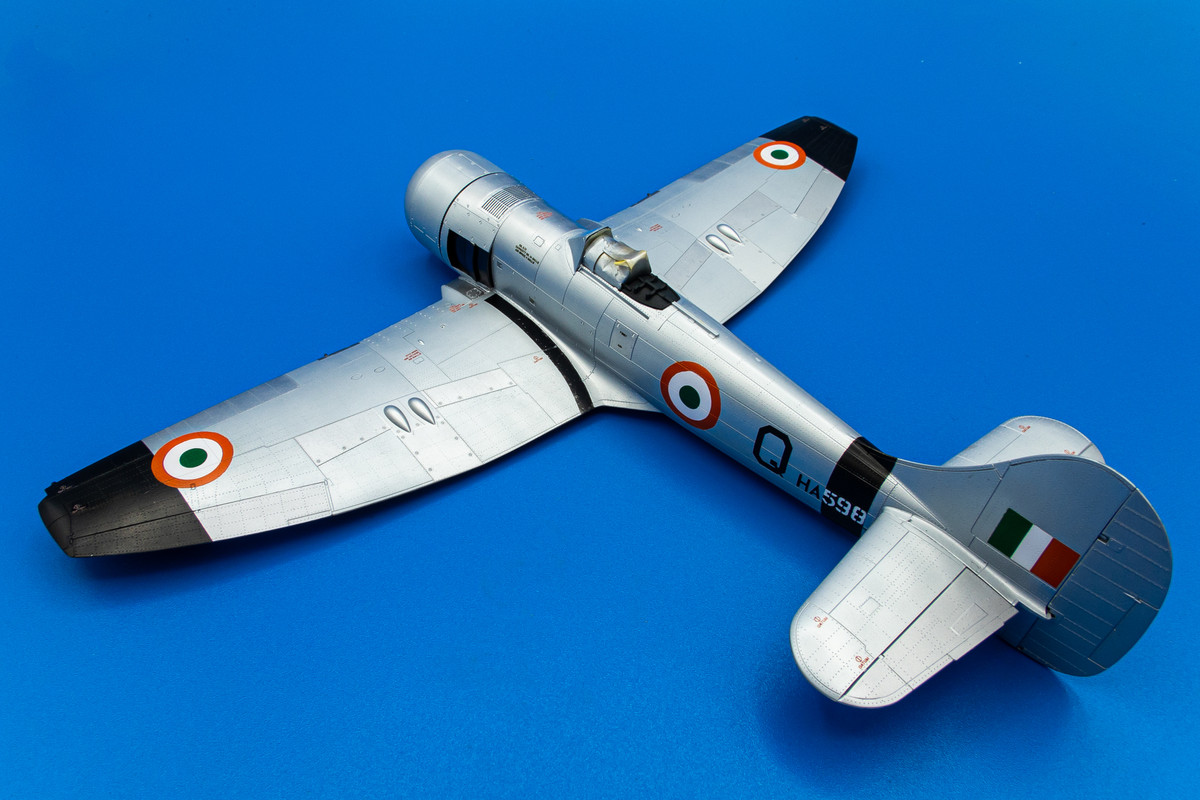
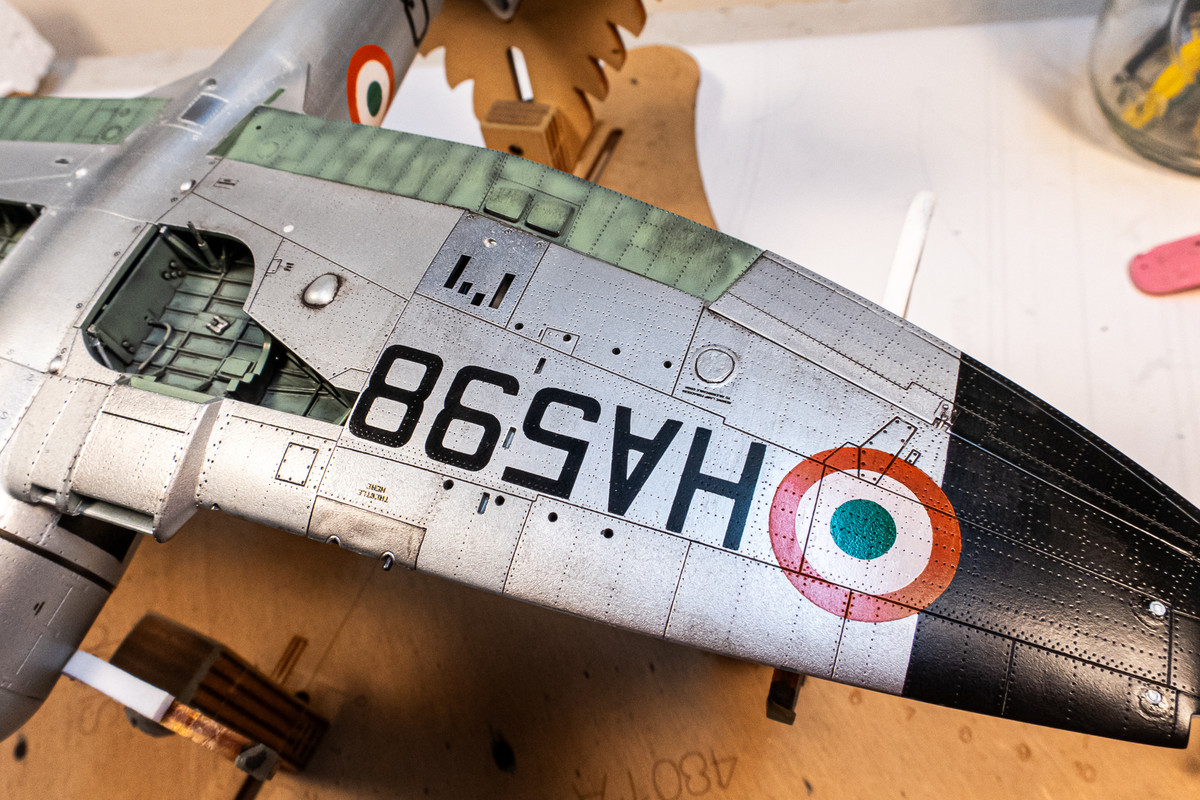
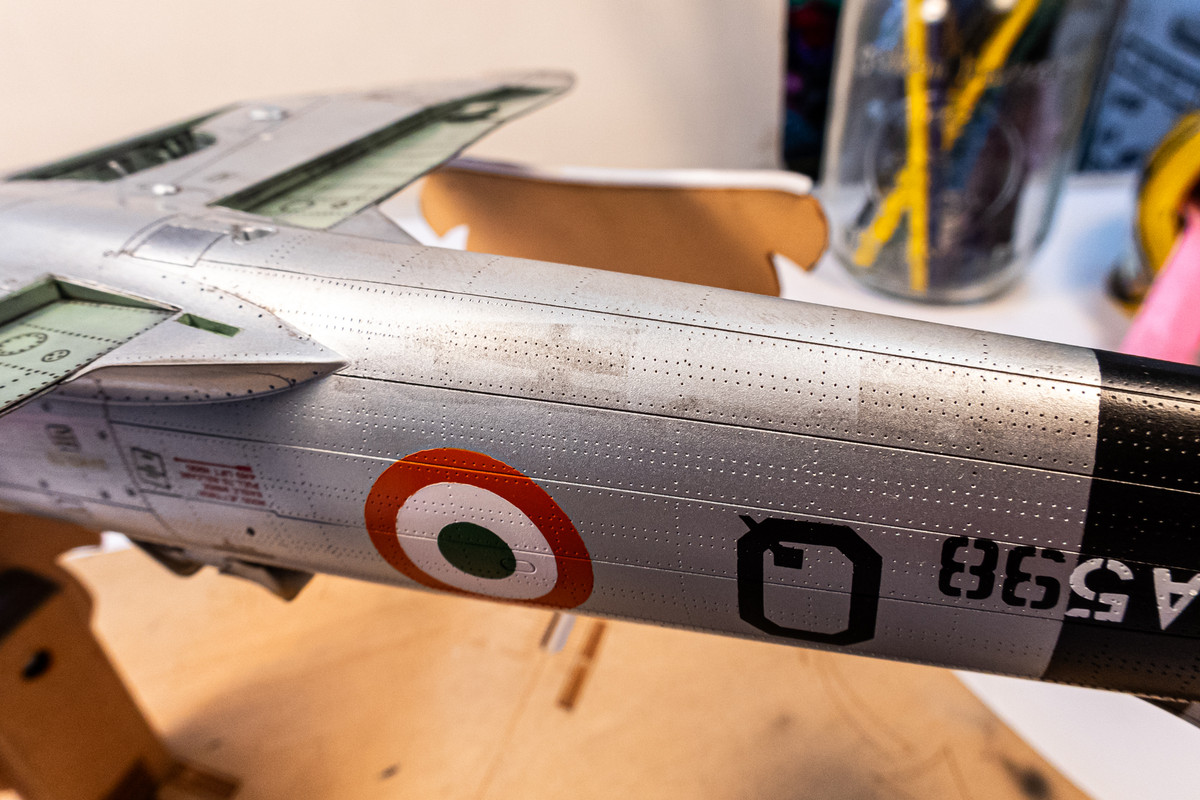
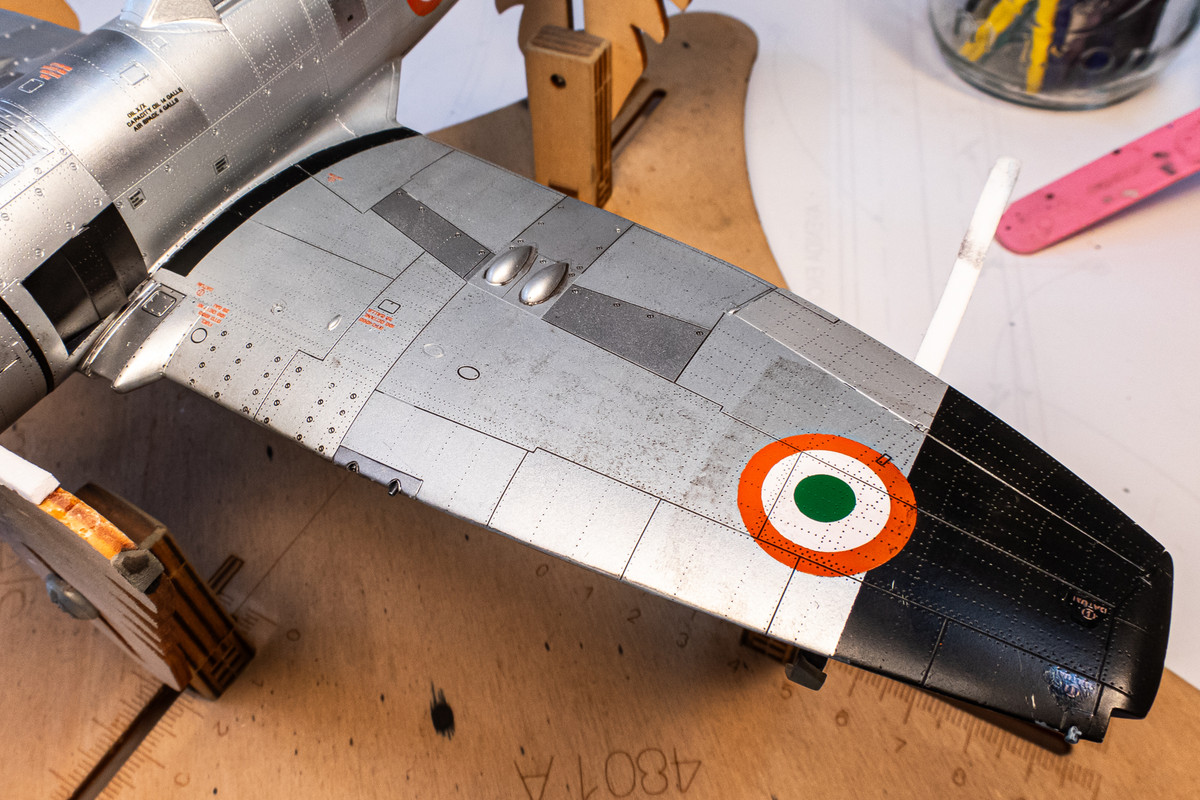
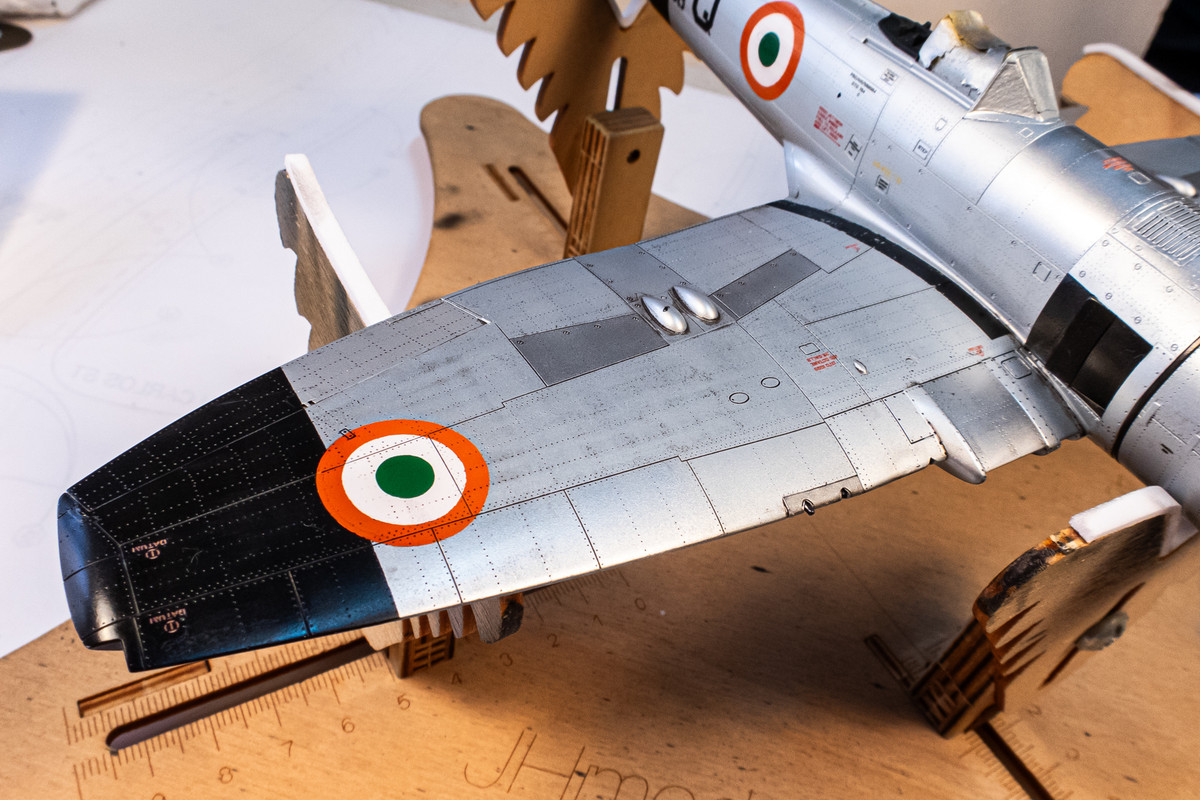
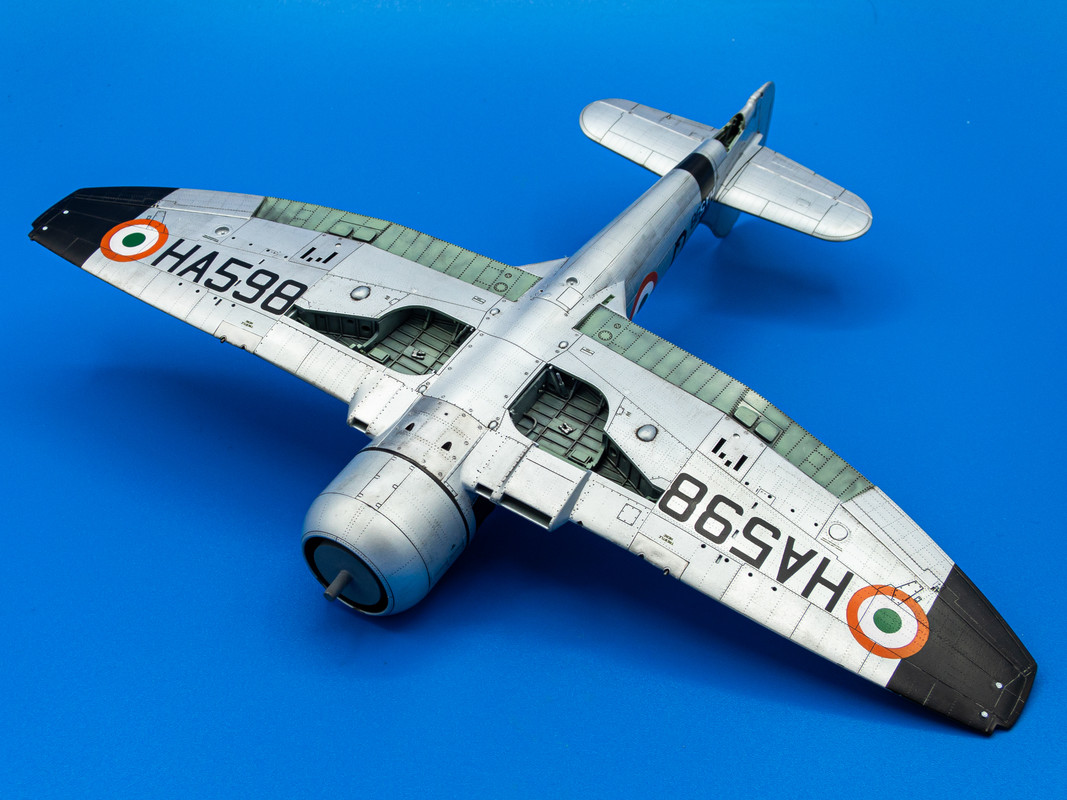
I rarely use blacks or greys but prefer to use brown shades for my washes. Most common is a mixture of black/brown for the majority of WW2 camo schemes. I like browns because the panel wash process will inevitably leave traces of the chalk outside of the recessed details, sometimes slightly staining the paint. The brownish residue adds a subtle layer of wear/tear to the model, which I like. I used a black/brown mix for this Tempest build.
The wash is applied over the model using a small paint brush. Because of the small amount of available wash, I typically try to trace the rivet and panel lines instead of just applying over the entire surface. Allow this to dry completely before proceeding to the next step.
To remove the excess wash from the model, I use a small piece of paper towel folded up to about a square inch in size. You want this to be slightly damp, not wet. Water will displace the chalk particulates from the model and you don't want to remove the chalk from the recessed areas. I typically dab the piece of paper towel on my tongue to moisten it. Wiping will immediately load the paper towel with chalk so I will open and re-fold the paper towel piece as necessary.
mostrich wrote: ↑Tue May 21, 2024 2:56 am
This WIP will become my instructions when I'm going to build mine. Such a great rescue of the
"brain fart".
Thanks Torben! I am king of the brain farts!
Re: Eduard 1/48 Hawker Tempest II
Posted: Tue May 21, 2024 3:12 pm
by BlackSheep214
Thank you for your response. This is a great learning experience. Now I understand your method. Gotta write this down in my notebook.