Page 62 of 85
Re: 1:48 Tamiya Corsair
Posted: Thu Jan 10, 2019 1:47 pm
by KennyX
Hey fellas, I could sure use a critique and probably a bit of help here too. This is my third attempt at painting this prop, and I don’t think I’m zeroing-in on accurately weathered blades. I did salt chipping on the leading edge and the tips (this is the rear of the prop):
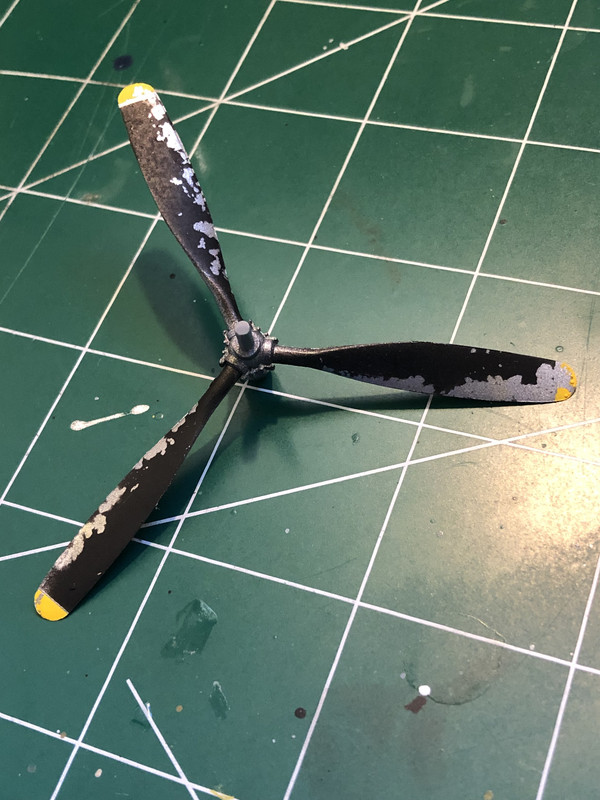
I just don’t think I’m getting it right. But I might be overthinking it. What do y’all think?
Re: 1:48 Tamiya Corsair
Posted: Thu Jan 10, 2019 1:59 pm
by speedgraflex
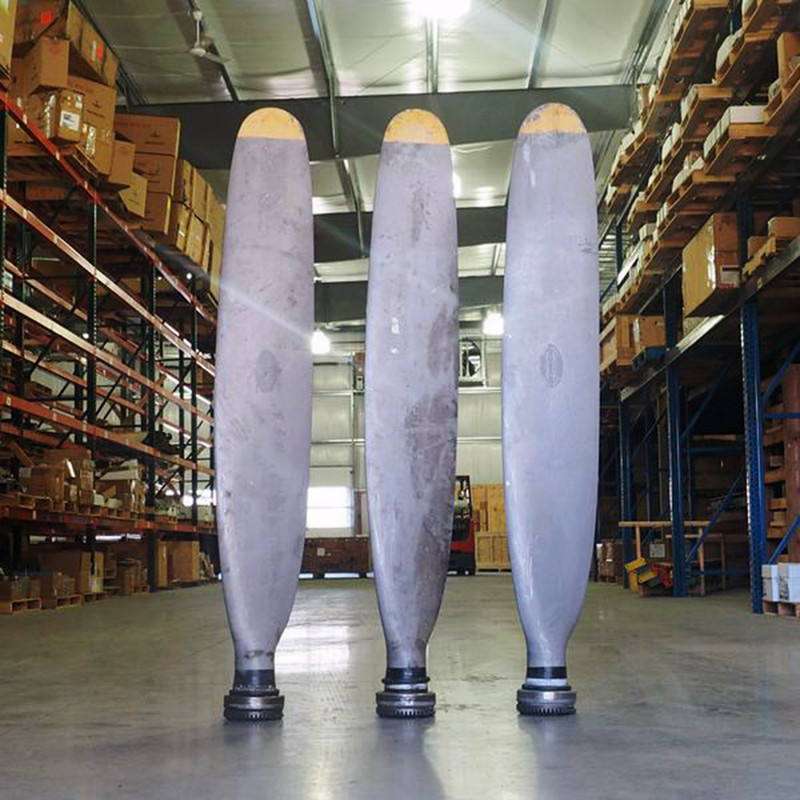
Is it cool for me to write maybe try removing the chipping effect and weathering with your gorgeous fading (TM Hole in the Wall) style? These are actual WWII propeller blades. My reason and I was just researching this by reading the repair manual of the Do 17, is that the blades at least in the Do 17’s case were maintained to optimize its speed and efficiency. However I do not want to suggest this as a generalization to be applied to aircraft universally, but it makes sense to me... Thoughts?
Re: 1:48 Tamiya Corsair
Posted: Thu Jan 10, 2019 2:22 pm
by KennyX
That is certainly doable.
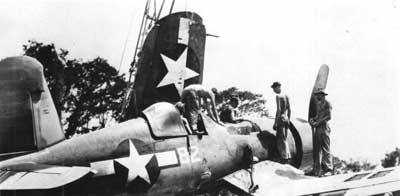
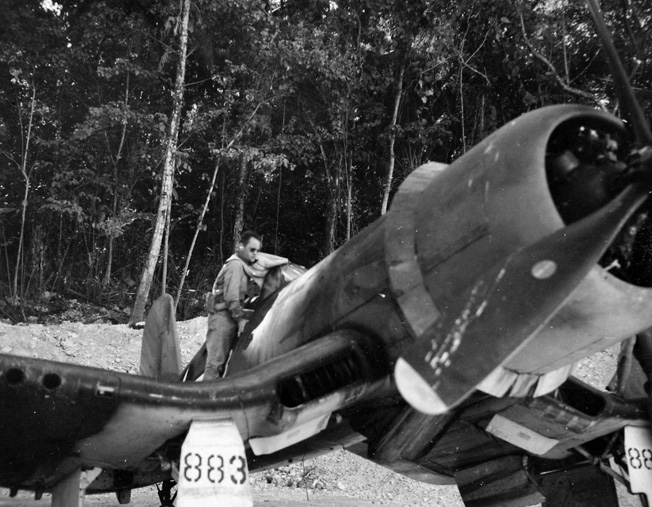
I was examining my reference photo and the prop, at least the front, doesn’t look chipped. It actually looks fairly new. But that could be angle/light, etc. it is an idea though. And a good one, and I appreciate it. I’m putting that in the #1 spot on the ideas list.
Re: 1:48 Tamiya Corsair
Posted: Thu Jan 10, 2019 2:44 pm
by Stikpusher
Re: 1:48 Tamiya Corsair
Posted: Thu Jan 10, 2019 2:52 pm
by KennyX
“Scouring”. That’s a good word for it. And it seems like it’s uniform on all blades. Which makes sense. I can replicate that, certainly. And I can also fade them just a bit, too,
I’m going to go that combined route in attempt #4, which’ll happen later on tonight or tomorrow.
Re: 1:48 Tamiya Corsair
Posted: Thu Jan 10, 2019 2:52 pm
by KennyX
AND THANK YOU, Bruce and Carlos,!
Re: 1:48 Tamiya Corsair
Posted: Thu Jan 10, 2019 2:58 pm
by Stikpusher
Anytime buddy!
Re: 1:48 Tamiya Corsair
Posted: Thu Jan 10, 2019 3:24 pm
by KennyX
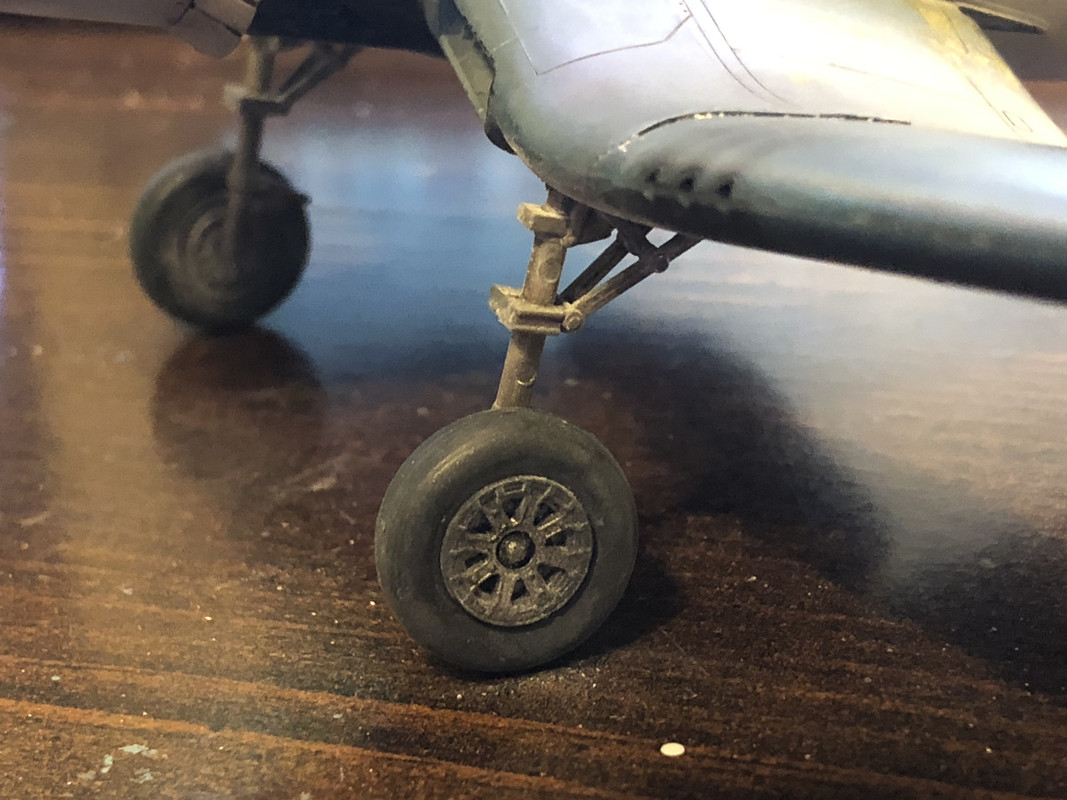
Here’s some other news. She’s got legs! And very obvious ejector pin marks now that Inlook closer, dangit! Anyway, crap, whatever, moving on- I weathered these pwith a mix of gray, light blue, and white pigments after giving the wheels and struts a slugger wash. The tires were painted NATO Black, lightened with white. In my head I can picture this kind of rustiness and weathering on landing gear happening at the beach. I hope I got it right. The struts were painted with Flat Aluminum. I dirtied those up with raw umber.
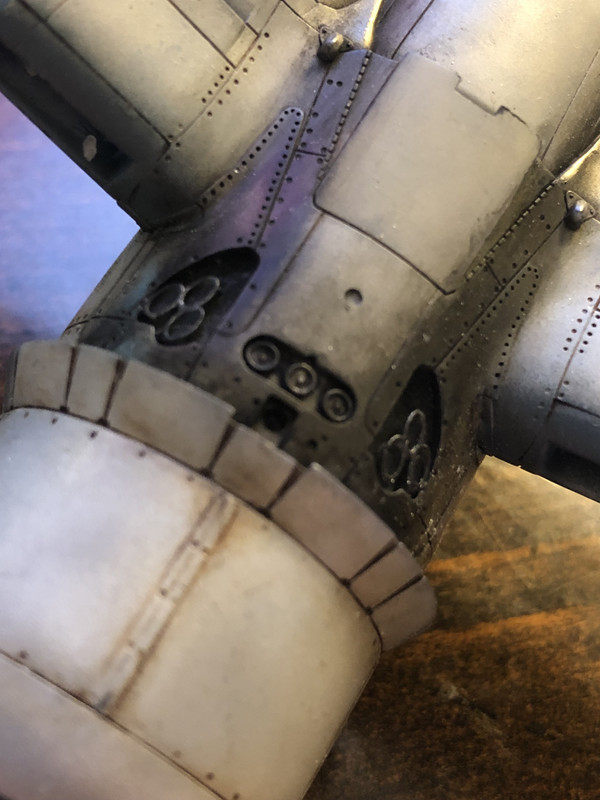
I dry brushed Testor’s Model Master Steel Over the exhaust stubs:
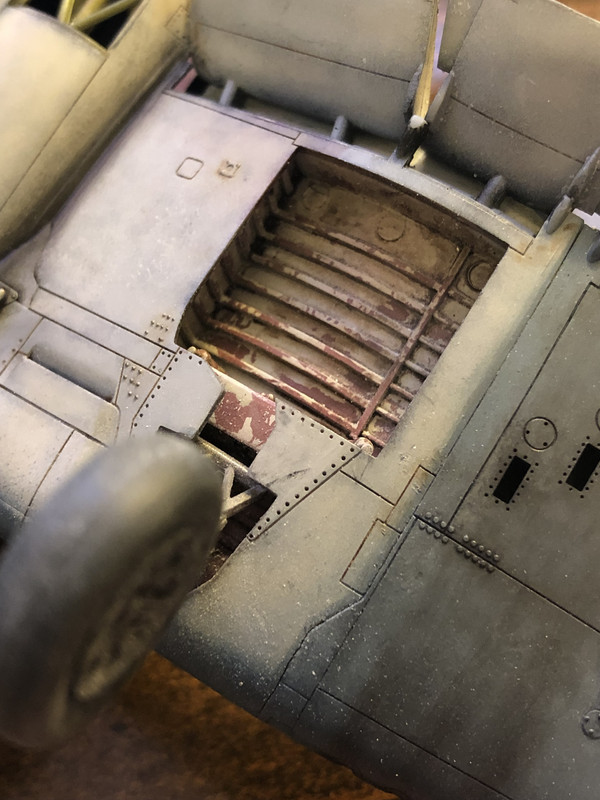
And I also dirtied-up the wheel wells with a burnt umber sludge wash, followed by a dusting with the same mix of pigments I used on the struts and wheels.
Re: 1:48 Tamiya Corsair
Posted: Thu Jan 10, 2019 3:34 pm
by mustang1989
Re: 1:48 Tamiya Corsair
Posted: Thu Jan 10, 2019 3:39 pm
by speedgraflex
Yea! Remove the pin marks. Two times two applications of your favorite putty. Me like Milliput the most ever since John suggested using it, but you could use something else. Plastic shavings and drops of CA. Tamiya White. Mr S in a jar if ya hold yer nose.