Page 8 of 52
Re: 1/32 Tamiya F4U-1a Corsair - Boyington 17740
Posted: Thu Mar 07, 2019 9:09 am
by Fermis
jkim wrote:.... heading to Hawaii Kai, where I grew up.
Well hell....I can't offer anything you don't already know!!!
I lived on Schofield from 89-91, and went to Leilehua HS (9th and 10th grade).
A good buddy of mine (former band mate) is stationed on the Marine base. He's a V-22 crew chief...and he's got a good connection with the guy that runs the sims. At some point, he's gonna get me in, and I'll get to log some V-22 sim time in my logbook!
I only fished the ocean a couple times...never did catch anything (got plenty with the sling spear while diving though). I fished the lake in Wahiawa quite a bit...hoping for some peacock bass....nothing. A buddy had accidentally snagged a huge pleco once, that's all I ever saw come out of there.
Re: 1/32 Tamiya F4U-1a Corsair - Boyington 17740
Posted: Sun Mar 10, 2019 11:53 pm
by jkim
Right on brah! I moved to Hawaii from Virginia in 1976 and attended elementary through high school there. Graduated from Kaiser High School in 1983. My parents are retired and still living in Hawaii Kai although it is not the same house I grew up in.
I'm back from my trip. Unfortunately, I didn't get to go fishing. No time and the weather was kinda sucky (lots of wind). But I had a good vacation spending time with my family and friends.
Got a chance to do a little work on the Corsair. Decided to work on the Vector resin cowling parts. The resin comes with small bulkheads for the nose cowling. So you have to remove the molded bulkheads first.
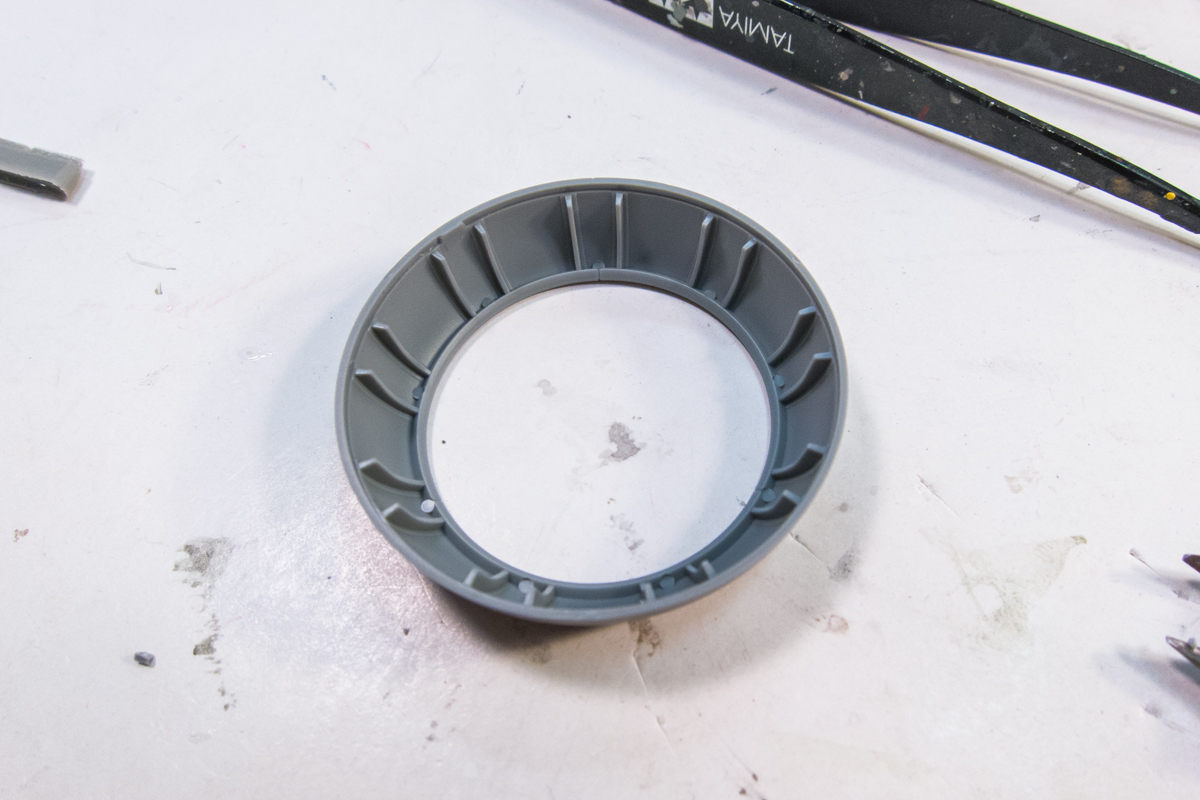
The major surgery was performed using my Tamiya snips like a pair of scissors.
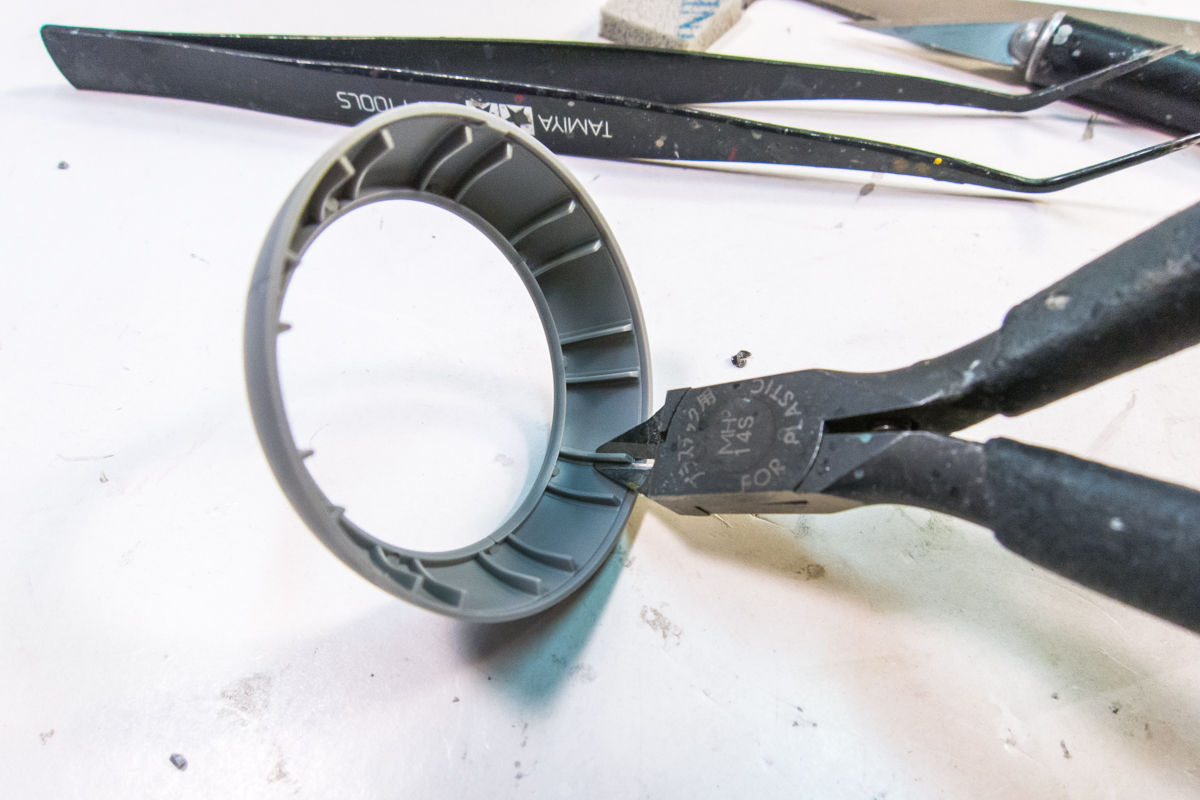
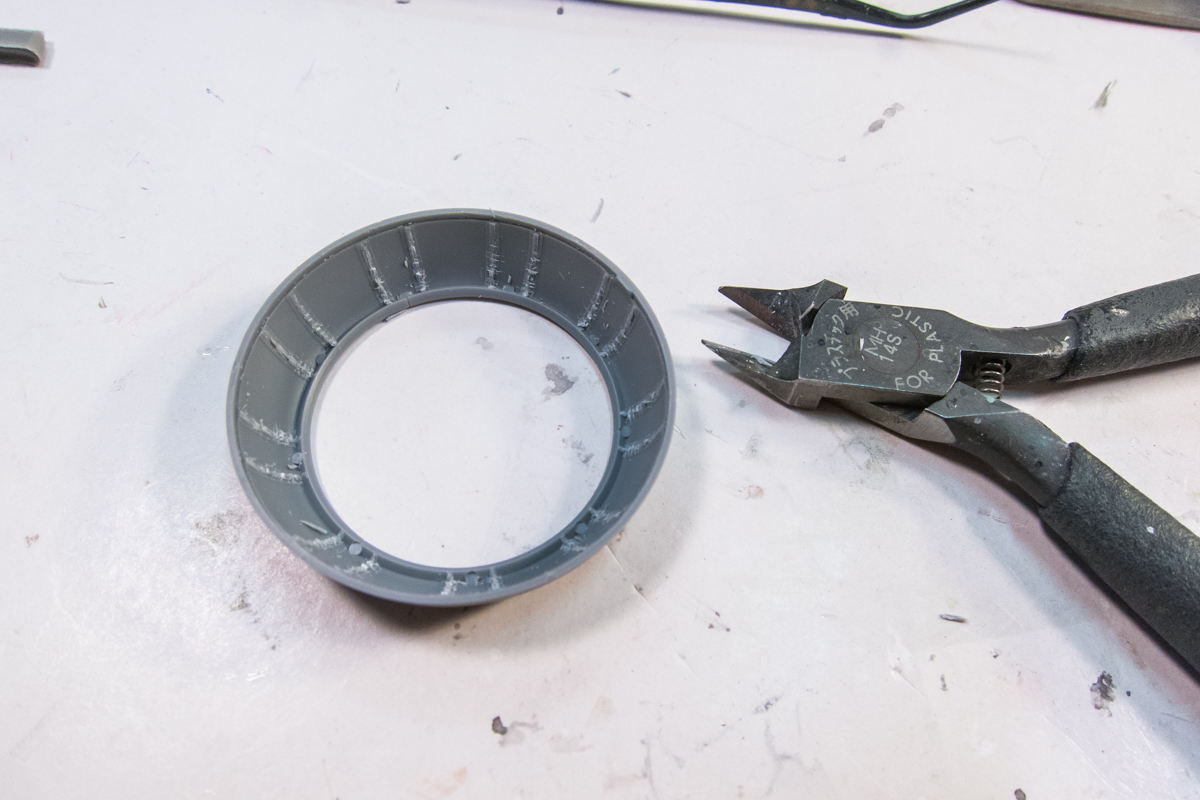
I then used a dremel to grind down the raised plastic.
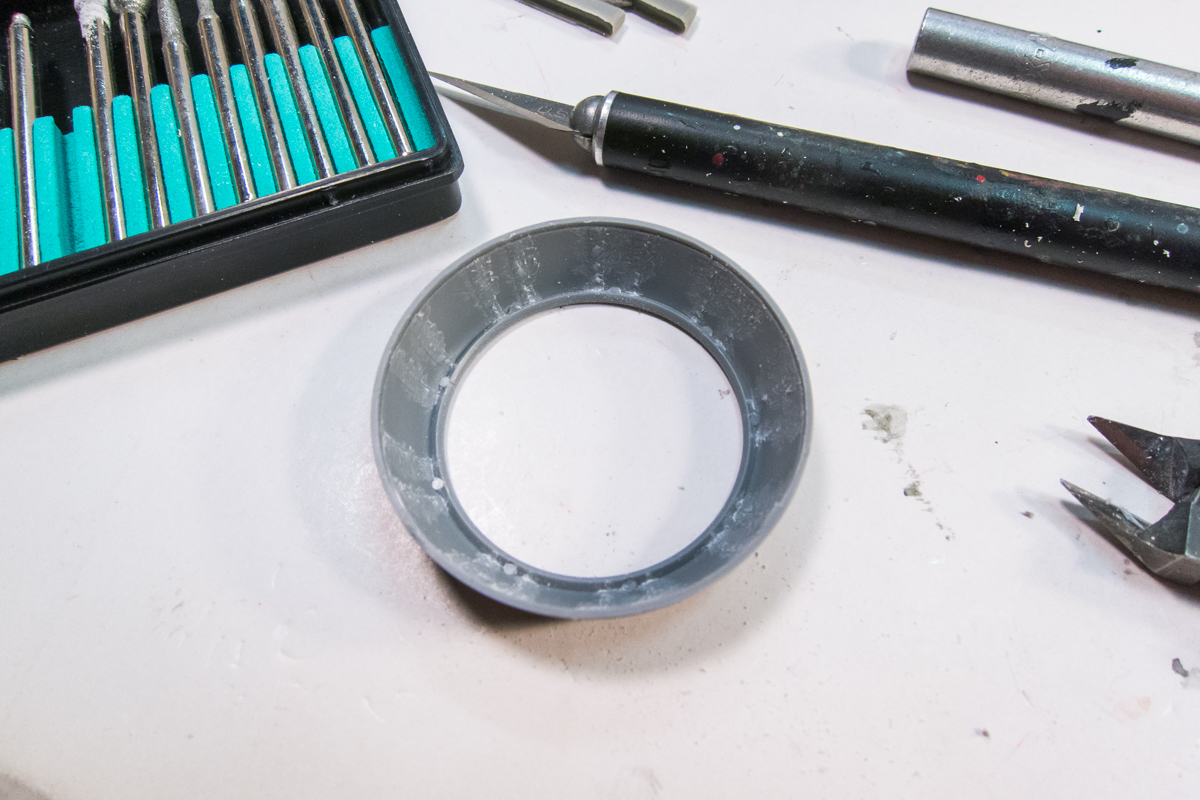
The interior of the cowling was then sanded down with sandpaper and sanding sponges.
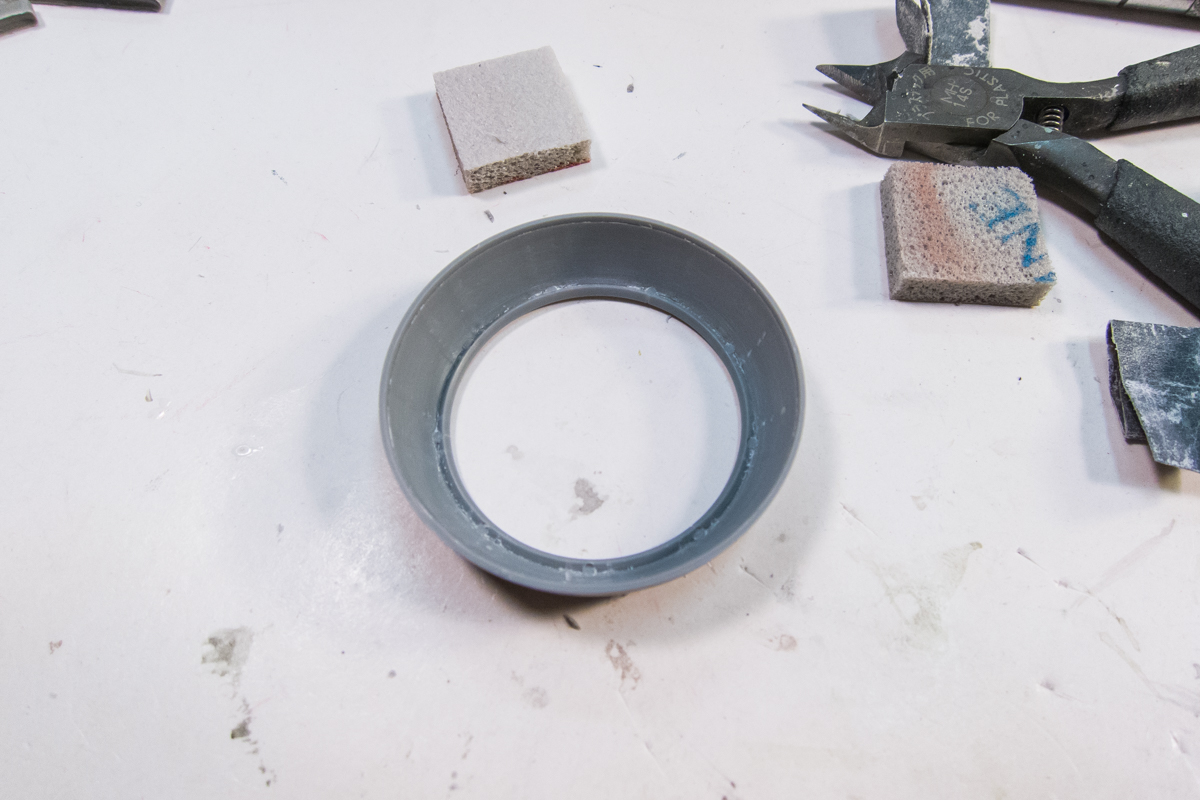
The resin bulkhead pieces were sawed off their casting bases.
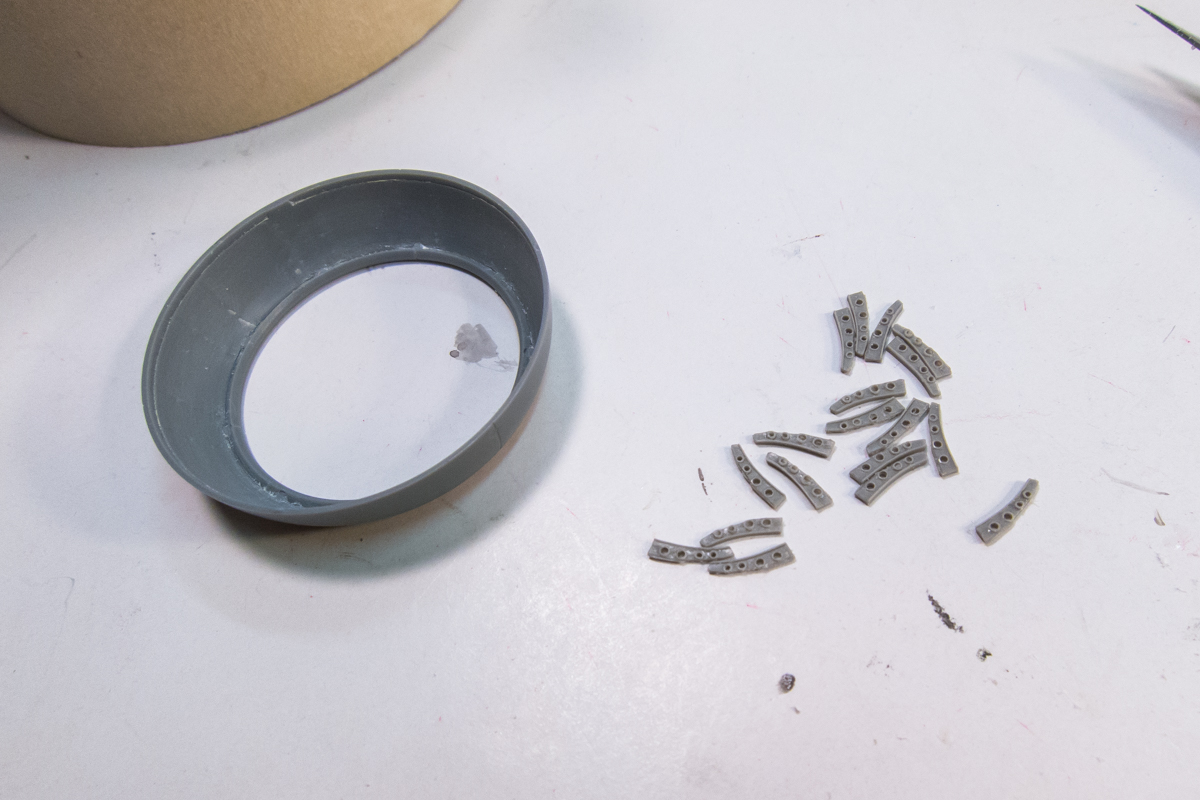
I used CA glue for attachment. I'm not sure if this will be visible or noticeable once the engine inside the cowling but the additional detail is nice.
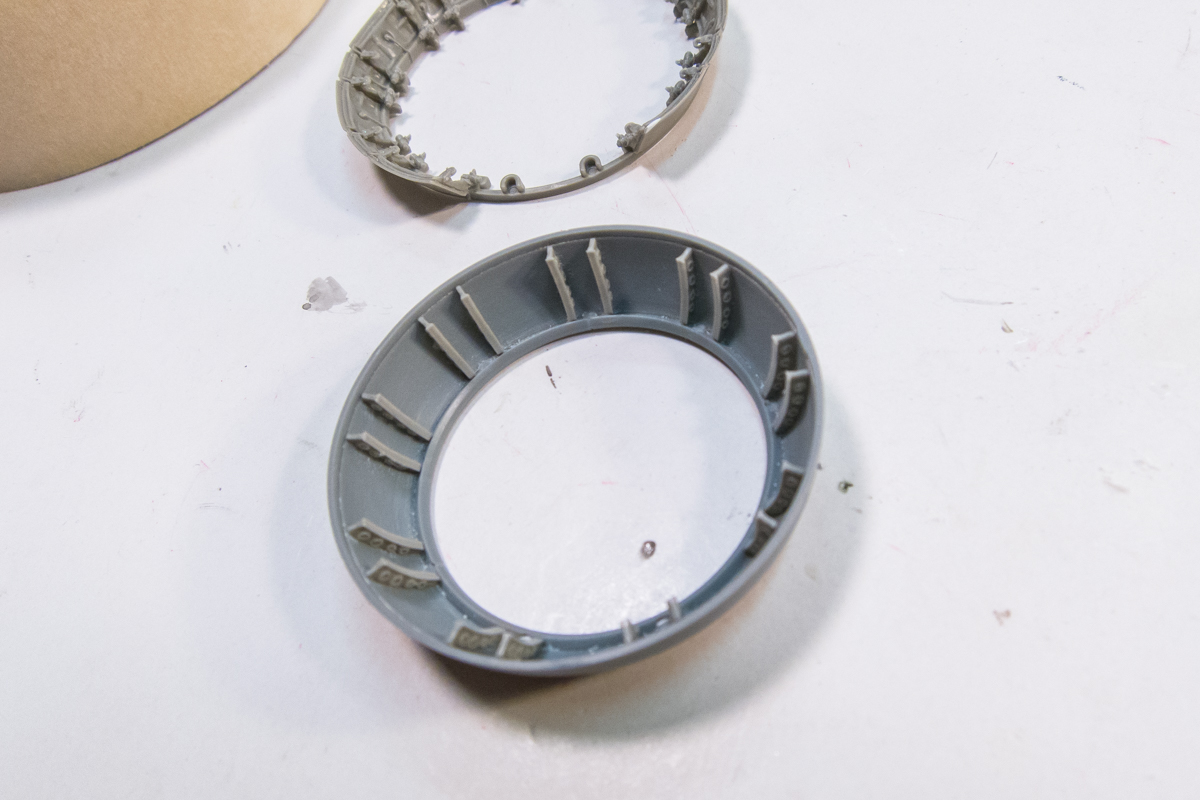
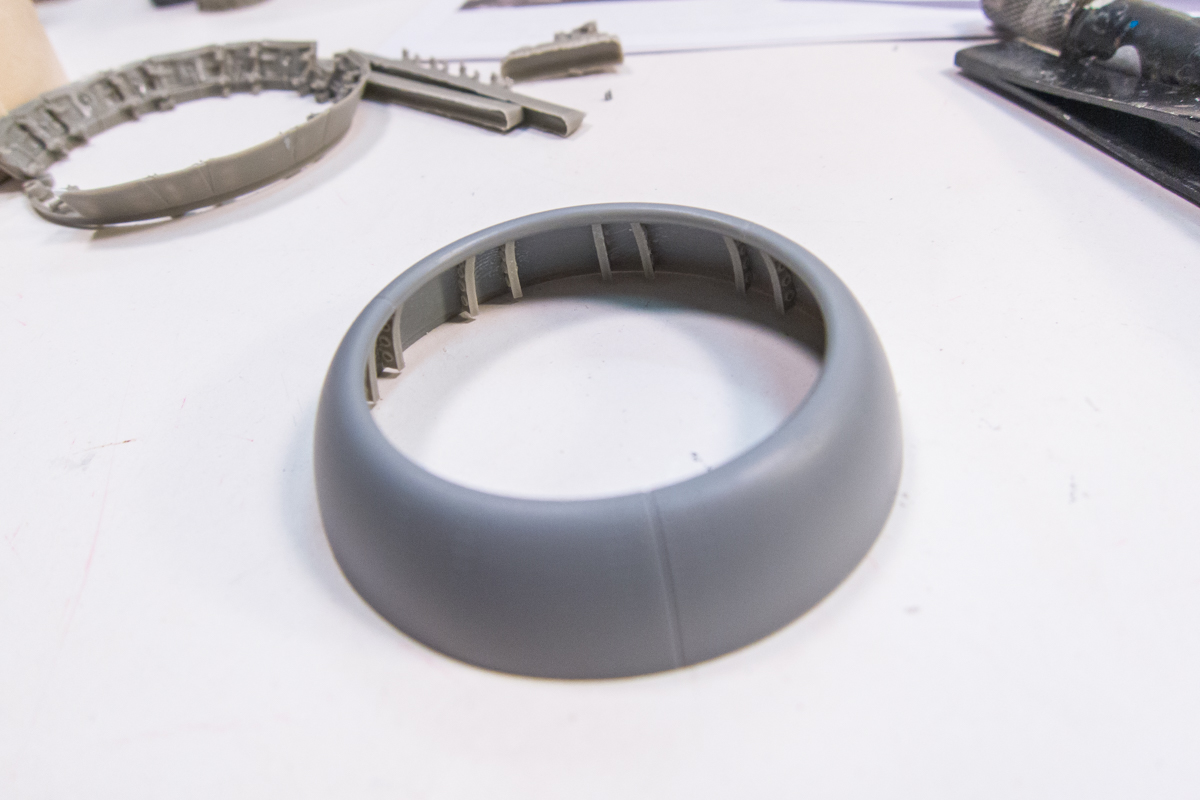
I moved on to the resin cowl flaps and decided to glue in the little actuator parts.
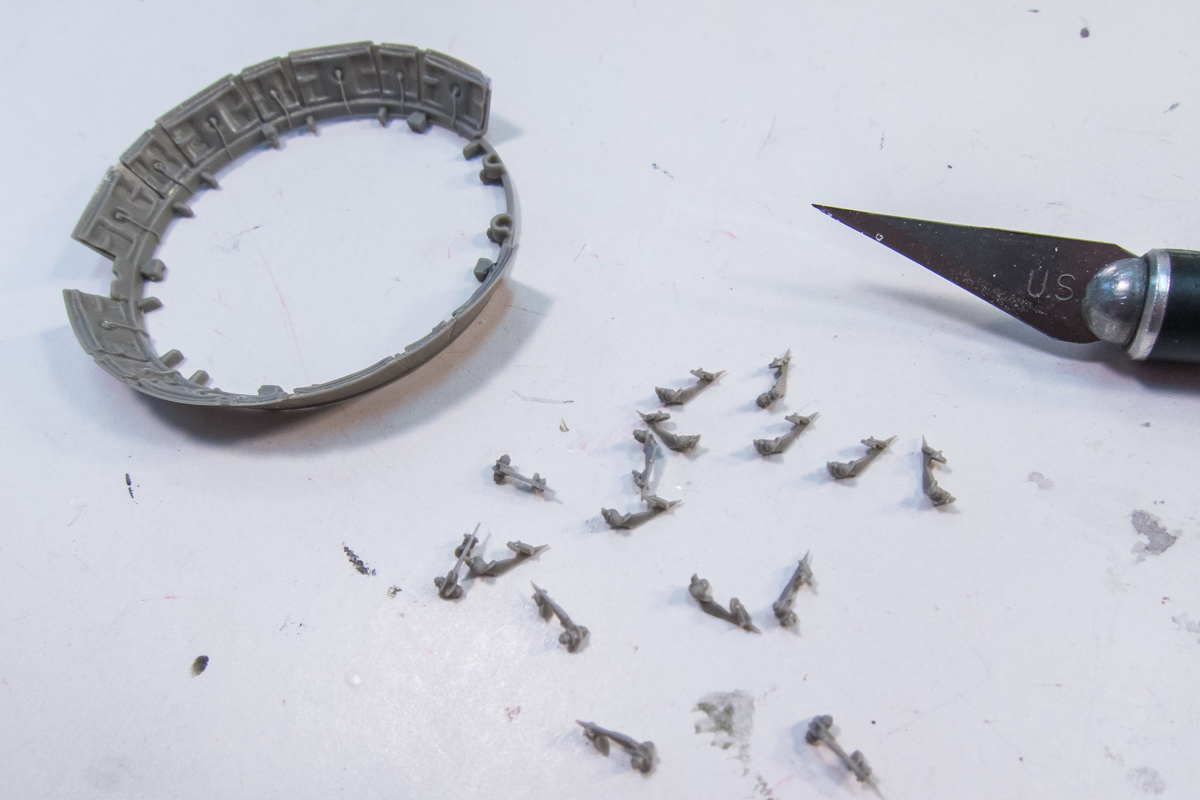
Stretched sprue was used for the cable that is strung along the actuators. I think this detail will be very noticeable and is a nice addition compared to the plain flaps that come with the kit.

Re: 1/32 Tamiya F4U-1a Corsair - Boyington 17740
Posted: Mon Mar 11, 2019 1:57 am
by speedgraflex
Well! What an update, John. The way the stretched sprue works is quite exquisite, and what a good call on your part to add these details. Has Vector Resin ever looked so good? Wow. I am trying to avoid using “Wow,” because it is not truly what needs to be written. What needs to be written here is this is simply exquisite work happening, and the most exciting work I have seen on a Corsair since Our Man X started on his in another scale awhile back. I keep thinking about buying an old Revell Corsair and following along with you here. Last week I was really close to going for it but I have since pulled back simply to watch for updates and hopefully come through with decent comments. Is this one on LSP? I wonder what those fellas will write. The details and fabrication you are doing—I still do not quite understand the IP gauges and how you figured out what looks like the real thing—are so clean and precise. You took something already quite good and at the same time unusual in design and created something new. I think that’s it. Your plan of attack or engagement will be to teach this potent kit some new moves! Whew. At least I stopped writing wow wow wow over and over again, and figured out your vector on this build! What a fantastic project.
Re: 1/32 Tamiya F4U-1a Corsair - Boyington 17740
Posted: Mon Mar 11, 2019 2:48 am
by kahunaminor
Excellent progress John!
Welcome back and thanks.
Regards,
Re: 1/32 Tamiya F4U-1a Corsair - Boyington 17740
Posted: Mon Mar 11, 2019 7:09 am
by LyleW
Wow. That is some amazing cutting and pasting. I majored in that at college. So envious of hands and fingers that can pull it off!
Re: 1/32 Tamiya F4U-1a Corsair - Boyington 17740
Posted: Mon Mar 11, 2019 7:28 am
by Stikpusher
Yup, I gotta echo what the others have already said: the replacement frame work in the cowling is a nice improvement. I’m sure that you can make it more visible thru the front with effective paint work. Now the cowl flaps... that is a huge boost in detail. And I know that your painting skills will make that area pop out visually.
Re: 1/32 Tamiya F4U-1a Corsair - Boyington 17740
Posted: Mon Mar 11, 2019 8:12 am
by Floki
That's going to look great under some paint

Re: 1/32 Tamiya F4U-1a Corsair - Boyington 17740
Posted: Mon Mar 11, 2019 6:58 pm
by BlackSheep214
Welcome back!! All I got is simply....
Re: 1/32 Tamiya F4U-1a Corsair - Boyington 17740
Posted: Mon Mar 11, 2019 8:58 pm
by Medicman71
That's some great work there!!
Re: 1/32 Tamiya F4U-1a Corsair - Boyington 17740
Posted: Tue Mar 12, 2019 10:58 pm
by jkim
Thanks for checking in guys! I'm still feeling out this kit and don't really have a clear path forward, especially when it comes to the cockpit. It's a multi-step process with many, many small parts. Most of it is contained in the central cockpit assembly but there is also stuff that needs to be hung on the fuselage walls. It's hard to figure out what to paint, when to paint it and in what order. I have to account for any added details (which won't be too many) and the Barracuda data stencils. There are just so many of them and I don't want to put in myself in a position where I can't apply the decals properly.
I selected the forward cockpit bulkhead to test my cockpit painting procedure. I'm going to lay down the base color, Interior Green, on bare plastic (no black base), highlight raised structure using a lightened Interior Green and pick out any details with a fine brush. I'll then give it a dark pastel wash. Since the bulkhead will be largely hidden and comprised of only two parts with no stenciling data, I thought it was a good place to start.
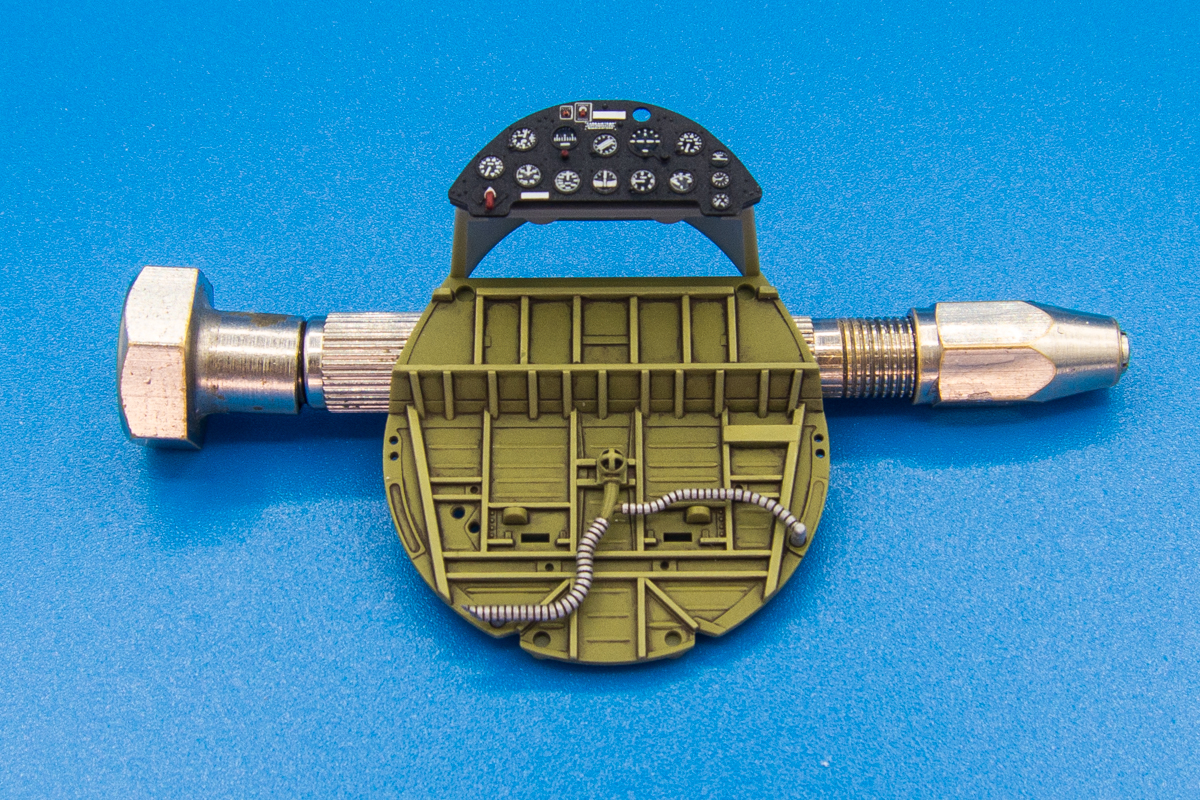
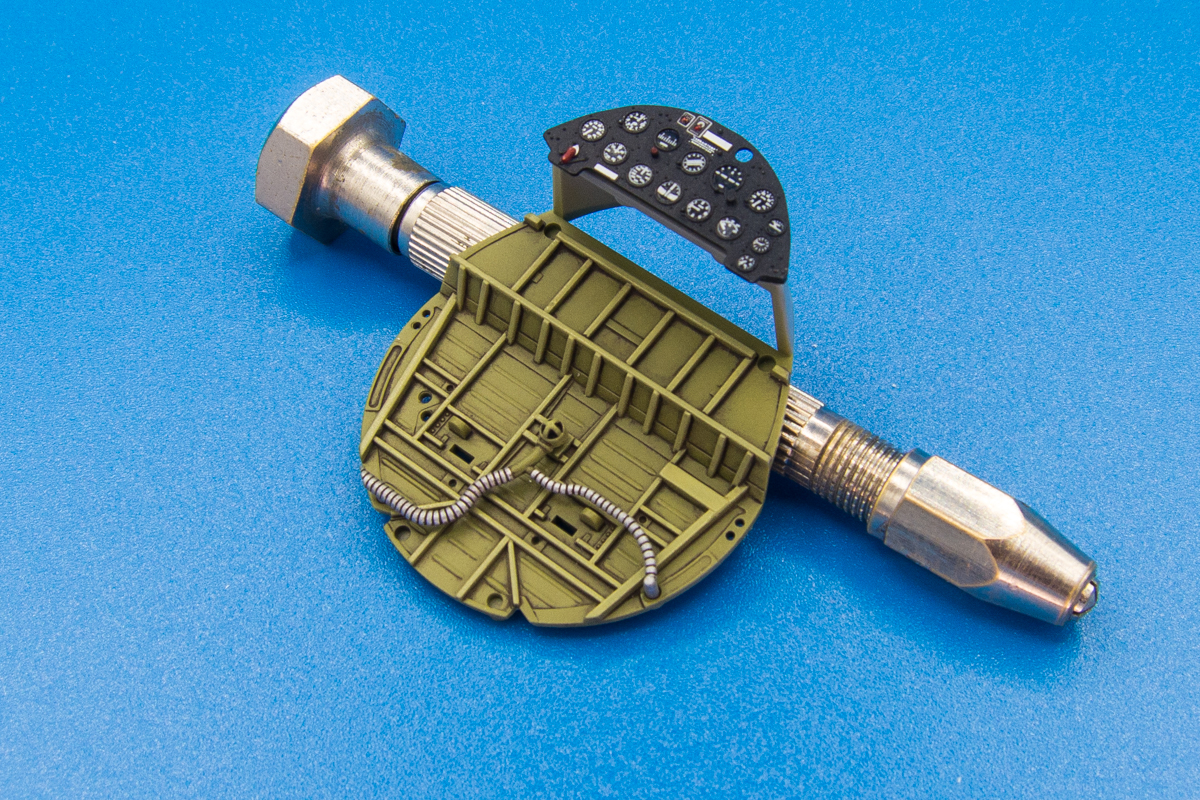
I'll have to figure out weathering on the more accessible parts of the cockpit like the seat, foot pedals, etc.