Page 8 of 35
Re: 1/32 Special Hobby Hawker Tempest Mk V
Posted: Sat Feb 20, 2021 3:08 pm
by jkim
Medicman71 wrote:Nice work on the spring! I hate when they do that. It's nearly impossible to fix.
In defense of the model manufacturers, that is the only way to mold such a piece so I just take it as one of the normal challenges.
Stikpusher wrote:Very tedious work with a needle file to clean up such seams.
Actually, I usually use a an x-acto blade to scrape the mold line off. It's a little bit faster.
Stuart wrote:Excellent work all round John, you've definitely made a difference to that spinner. Would the kit spinner not fit on the resin nose?
The Barracuda nose correction narrows the fuselage at the spinner base so the resin spinner has a smaller diameter than the kit spinner. I could theoretically lathe the kit spinner down to size but for now I want to keep the kit nose and resin nose components separate and functional since I'm not sure which route I am going to take.
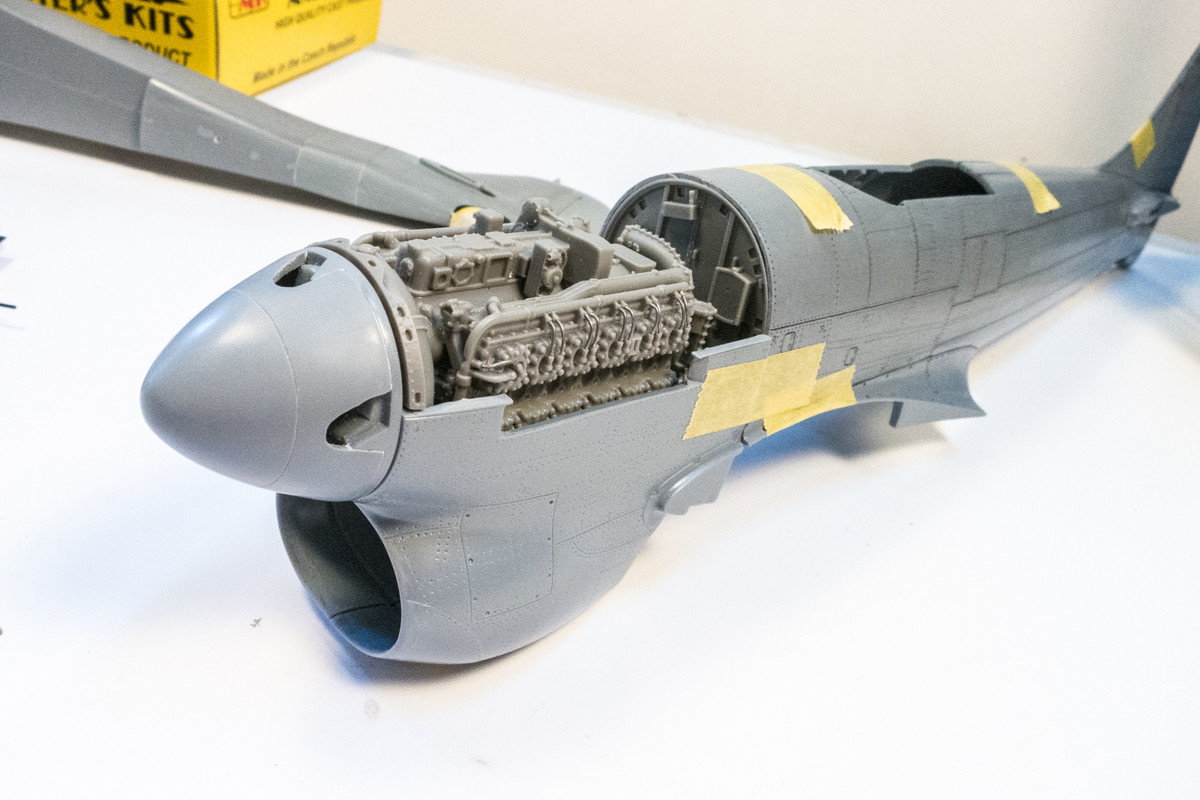
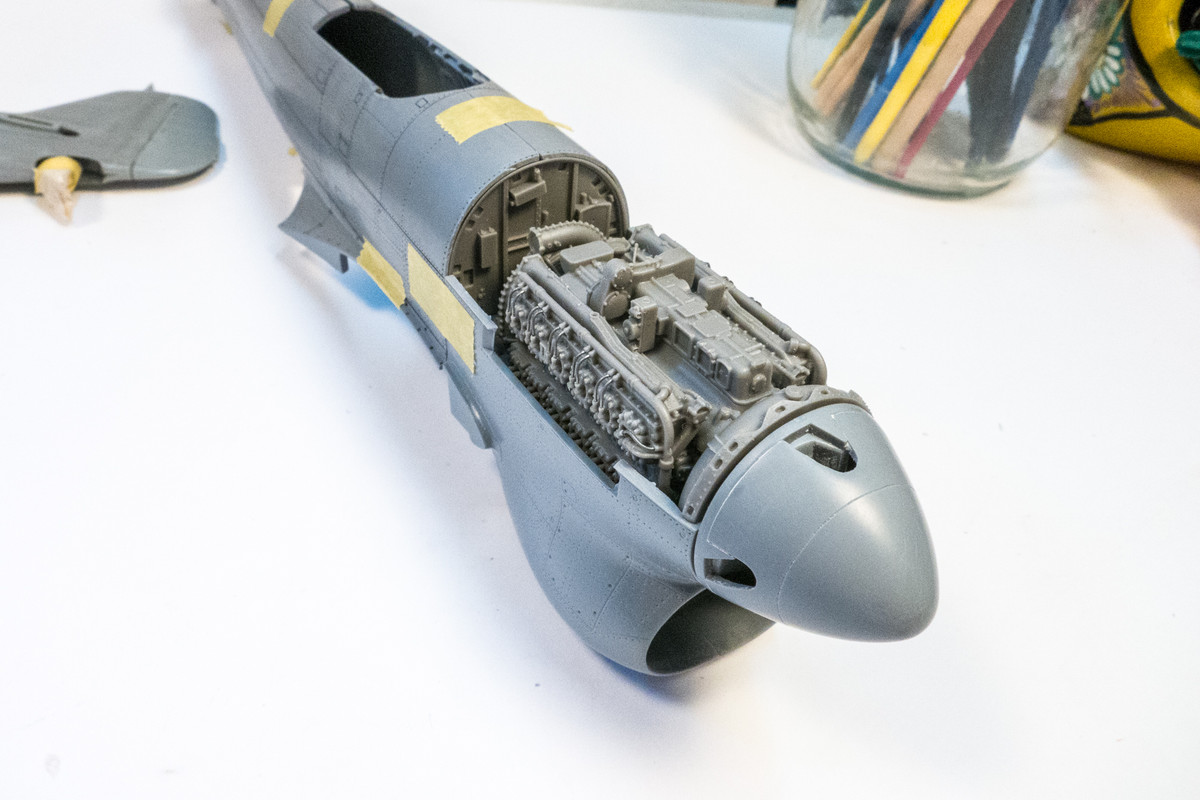
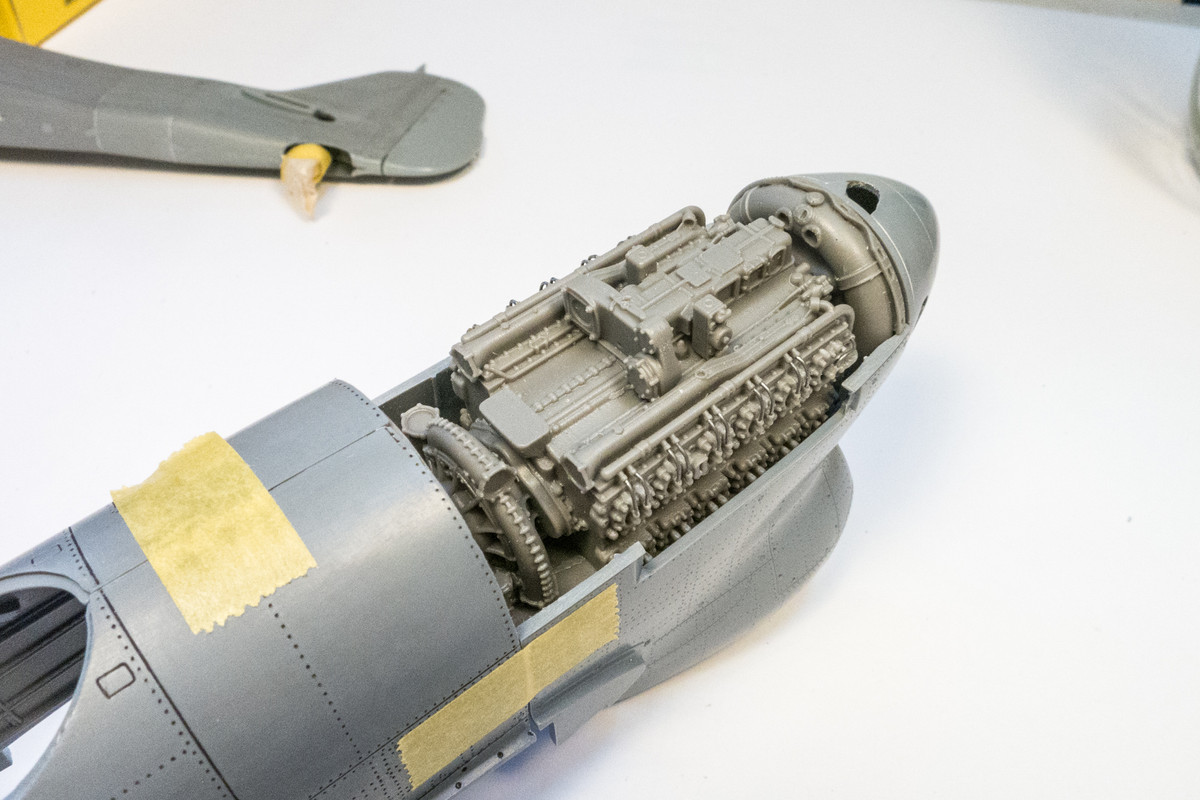
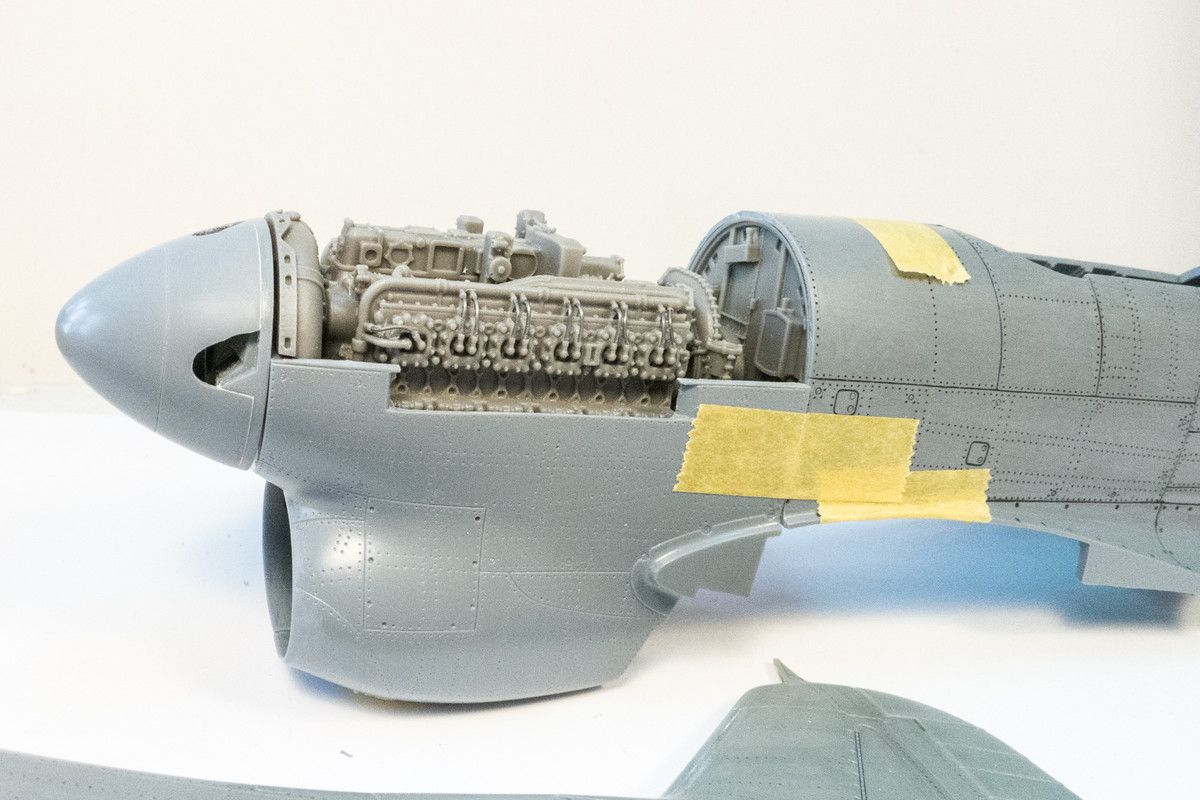
Still in a holding pattern while I wait for a new spinner to arrive. I decided to saw off the solid end of the kit fuselage to accommodate the resin engine. Using that big Tamiya saw, it's kinda fun sawing things off now. With that done, I can now do a very preliminary dry fit of the resin engine onto the fuselage. With the latest removal and the previous removal of the top of the engine cowlings from the nose section, there is a significantly reduced area for a glue connection. I was surprised I was able to get this to stay together with just tape and gravity.
Re: 1/32 Special Hobby Hawker Tempest Mk V
Posted: Tue Feb 23, 2021 1:10 am
by jkim
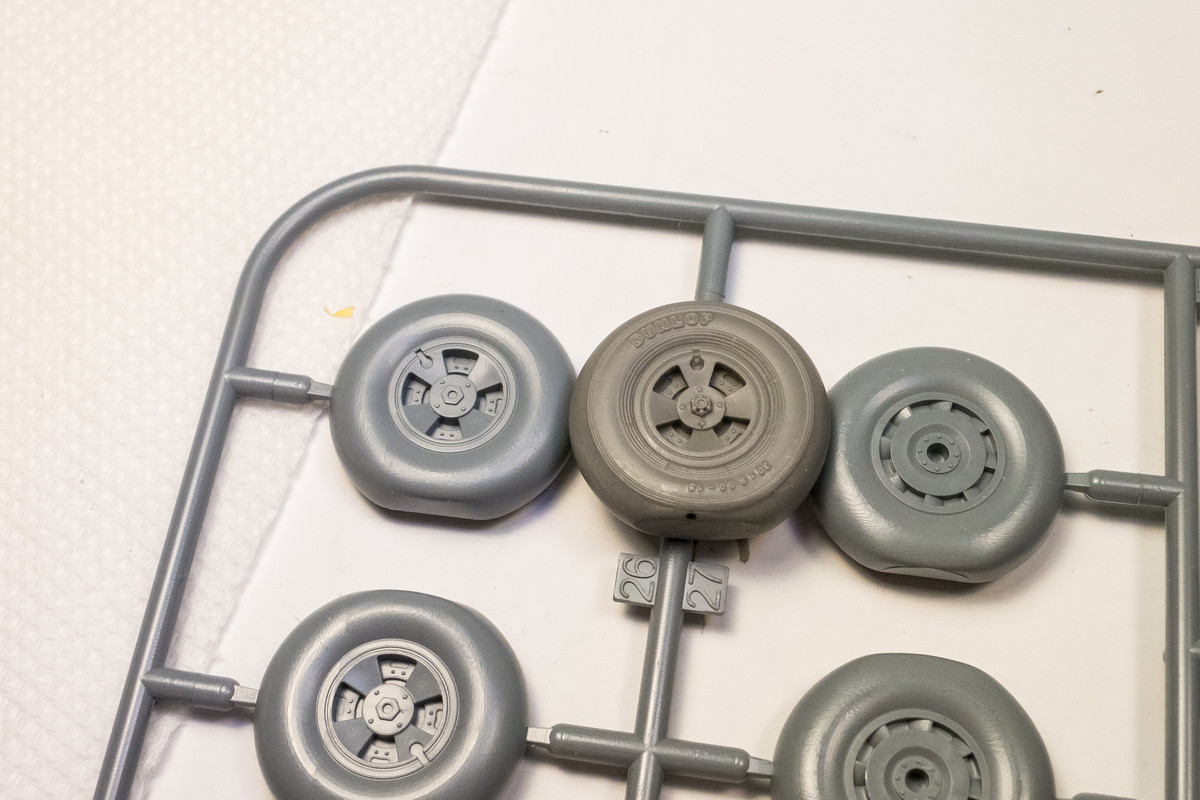
I played around with a few things on the Tempest build. The resin wheels were cut from their casting blocks, cleaned up and leveled on the bottom. They are represented as weighted with a flat spot and slight bulge around the contact area.
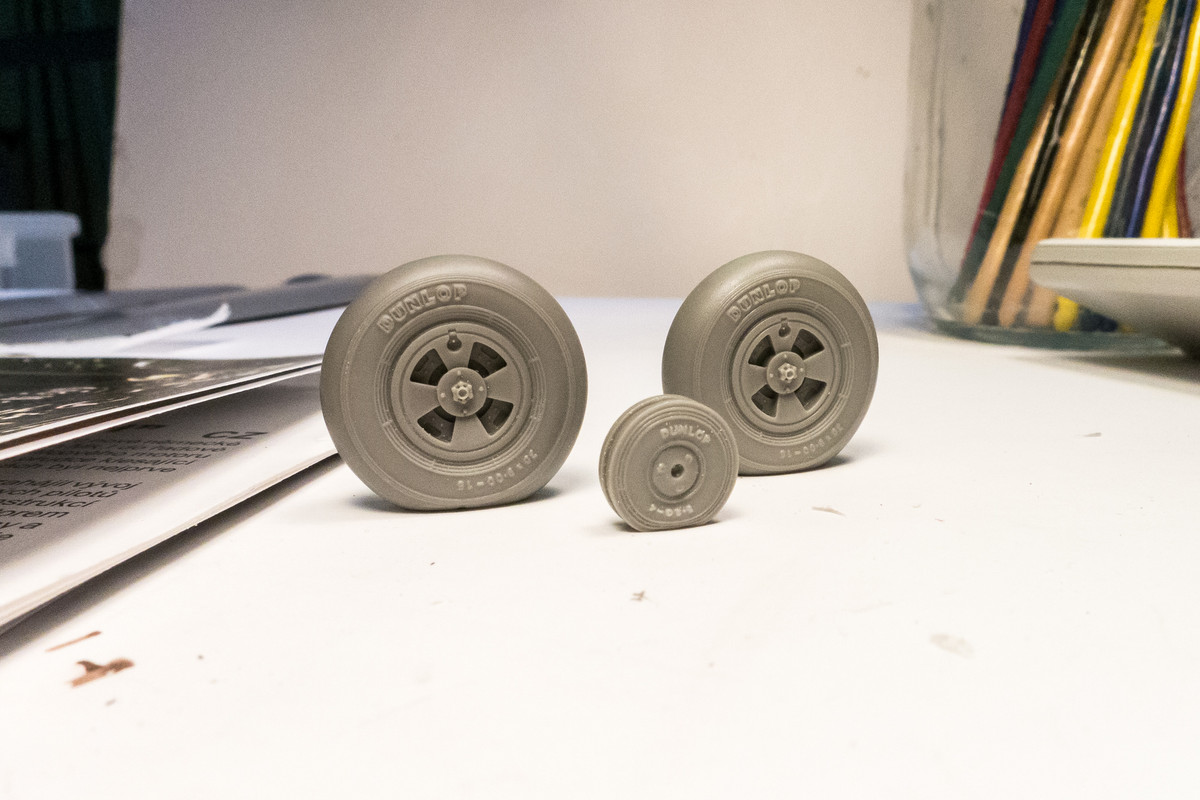
The kit tires are also weighted but the resin versions feature noticeably more detail on the sidewalls and hub.
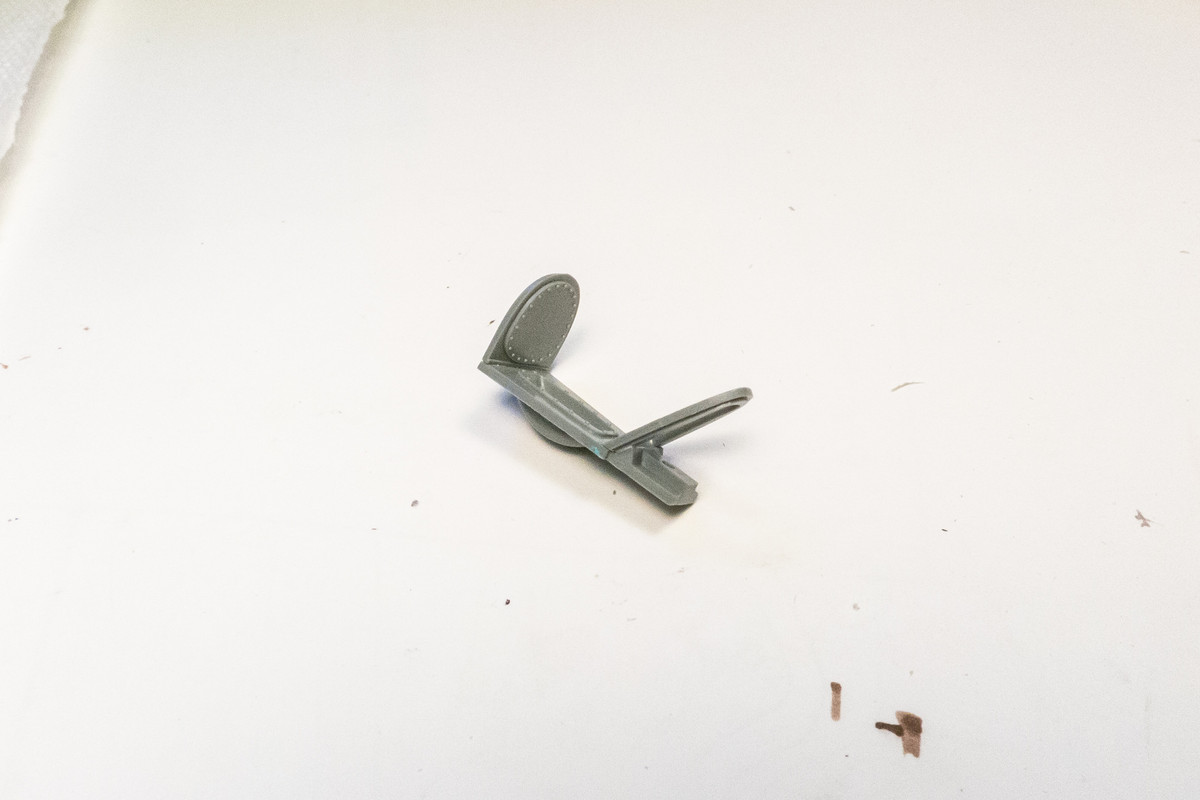
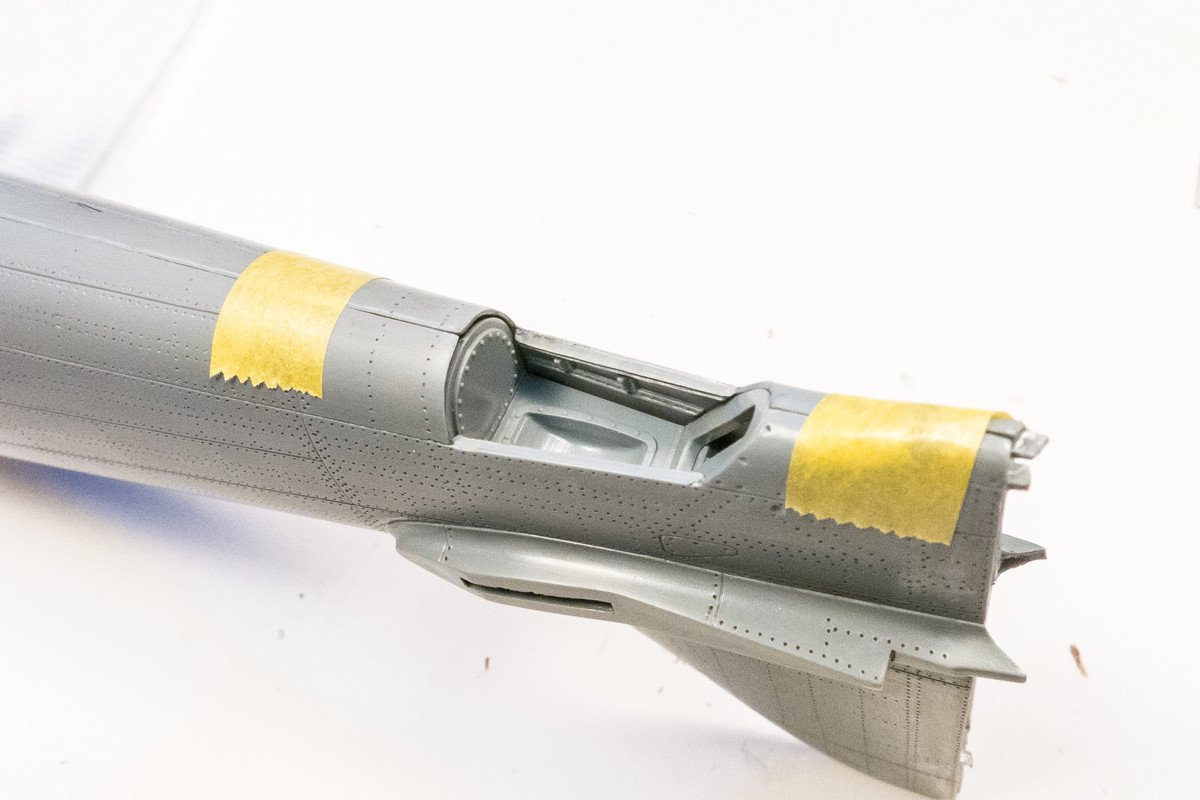
I wanted to see if the tail gear bay would give me any problems. It is a three-part affair that has given some modelers fit issues. I used Tamiya Extra Thin cement to attach the pieces together thinking that I could pull them apart if I encountered any obstacles.
The tail gear bay dropped into position without a hitch. I temporarily secured it with a blob of Blue Tack.
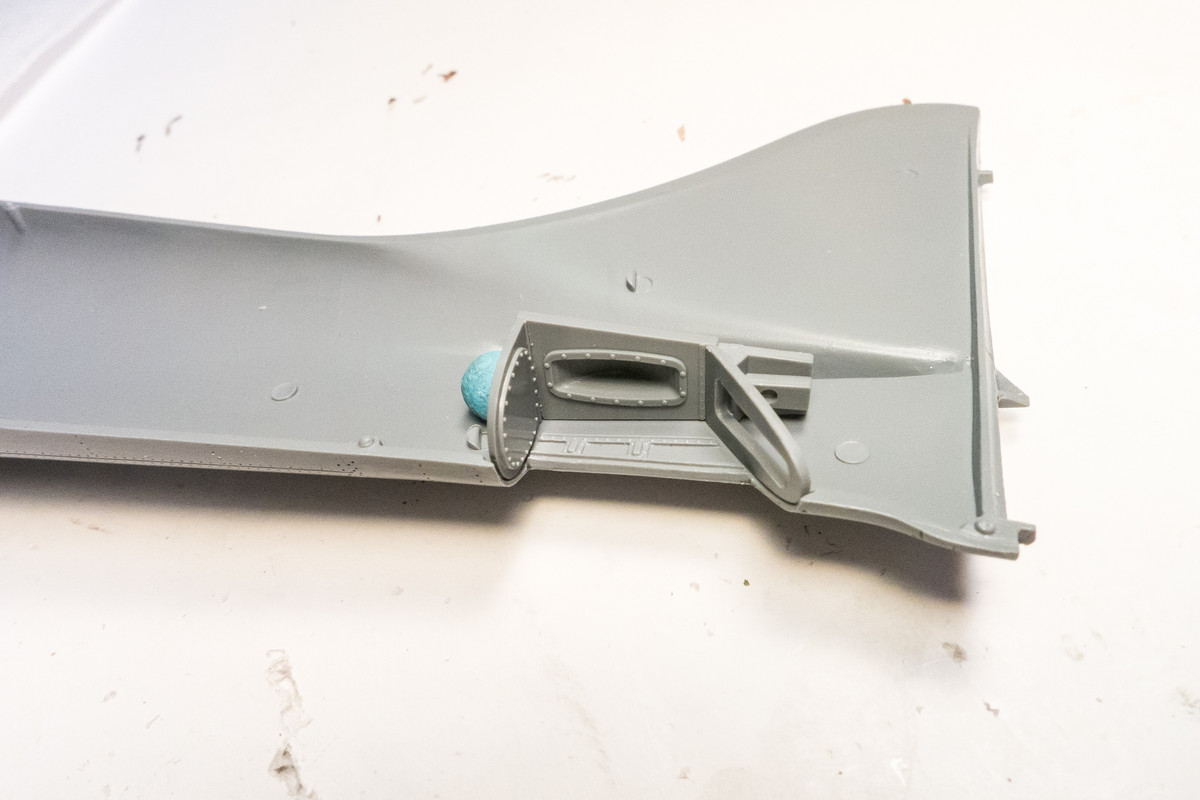
Seems ok with the fuselage halves taped together. No issues here!
Re: 1/32 Special Hobby Hawker Tempest Mk V
Posted: Wed Feb 24, 2021 12:02 pm
by jkim
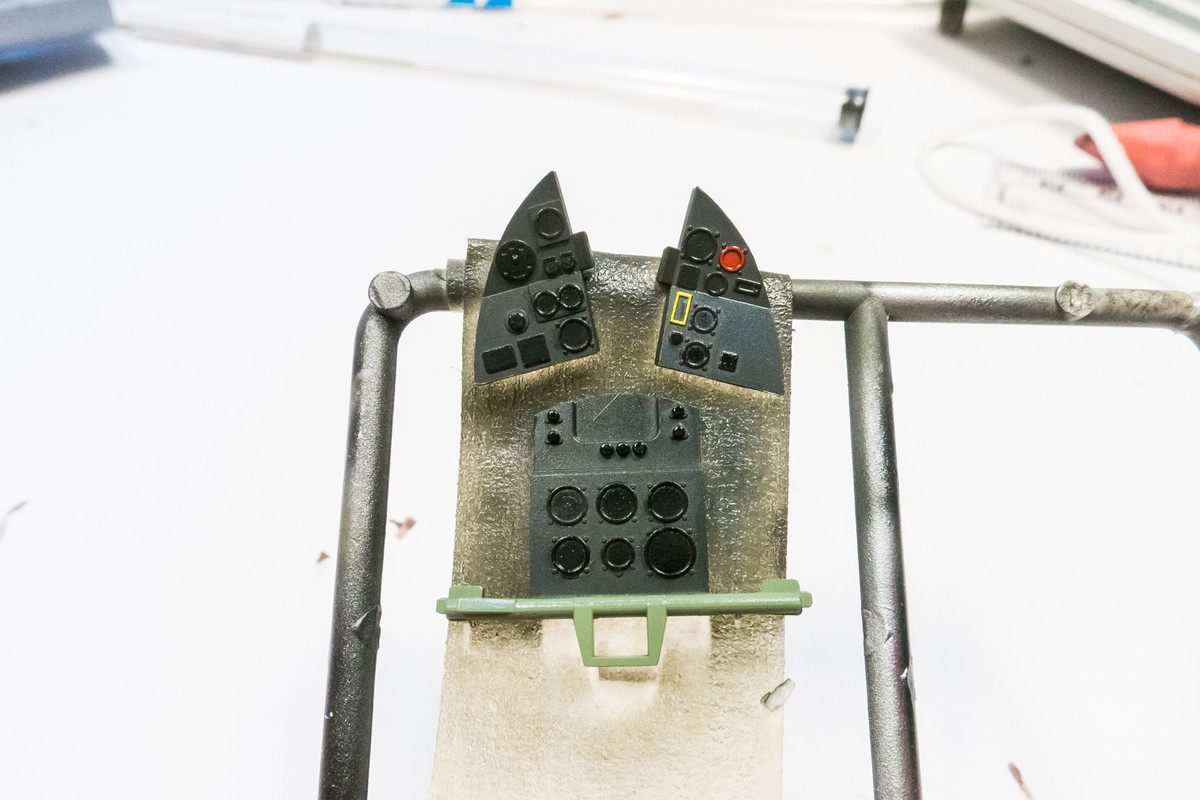
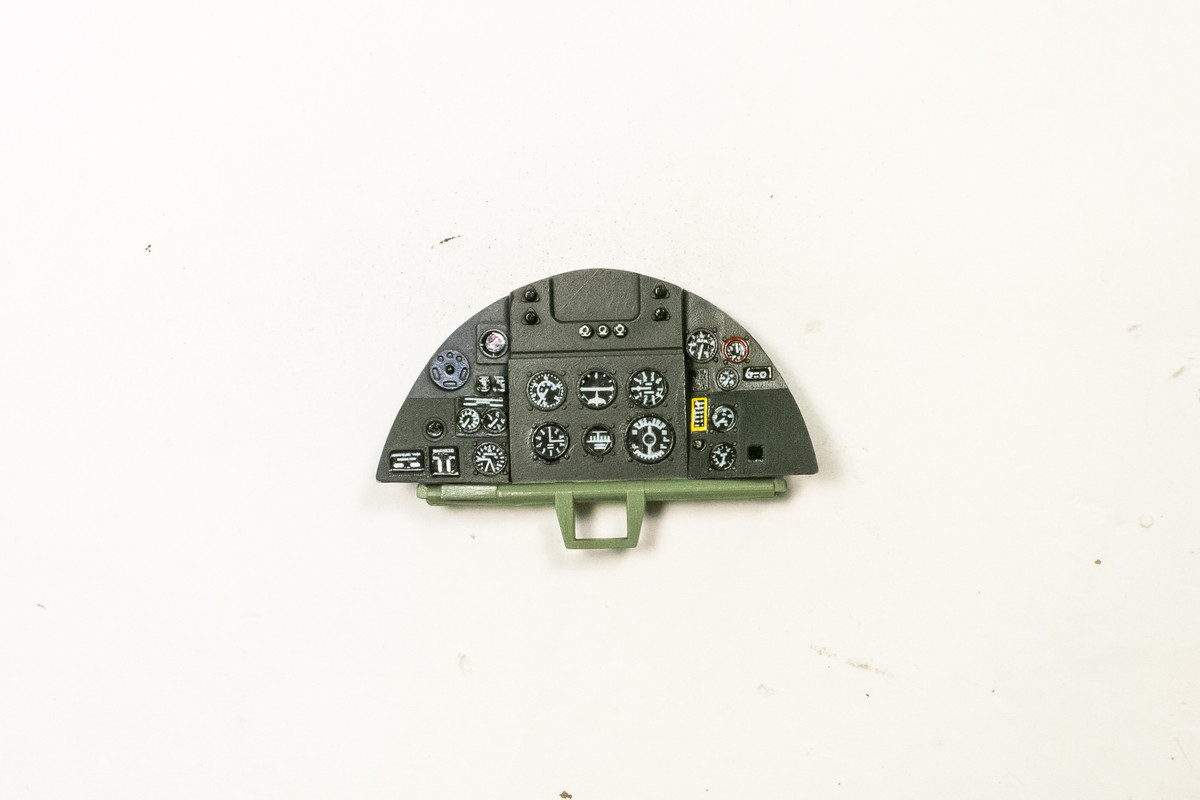
I finally received my cockpit color (Mr Hobby Aircraft Gray Green #364) so I thought I would tackle the instrument panel. It is provided in three parts and I've decided to keep the parts separate during the painting phase. Painted black has a way of sucking all of the detail from an area so I wanted to try and void that on the black instrument panel. The panel itself was painted Tamiya Nato Black, which is actually a black green color. The instrument dials were then painted straight black. I painted one of the dials red based on the reference photo I am using. The yellow box wasn't necessary as the decal already has this depicted.
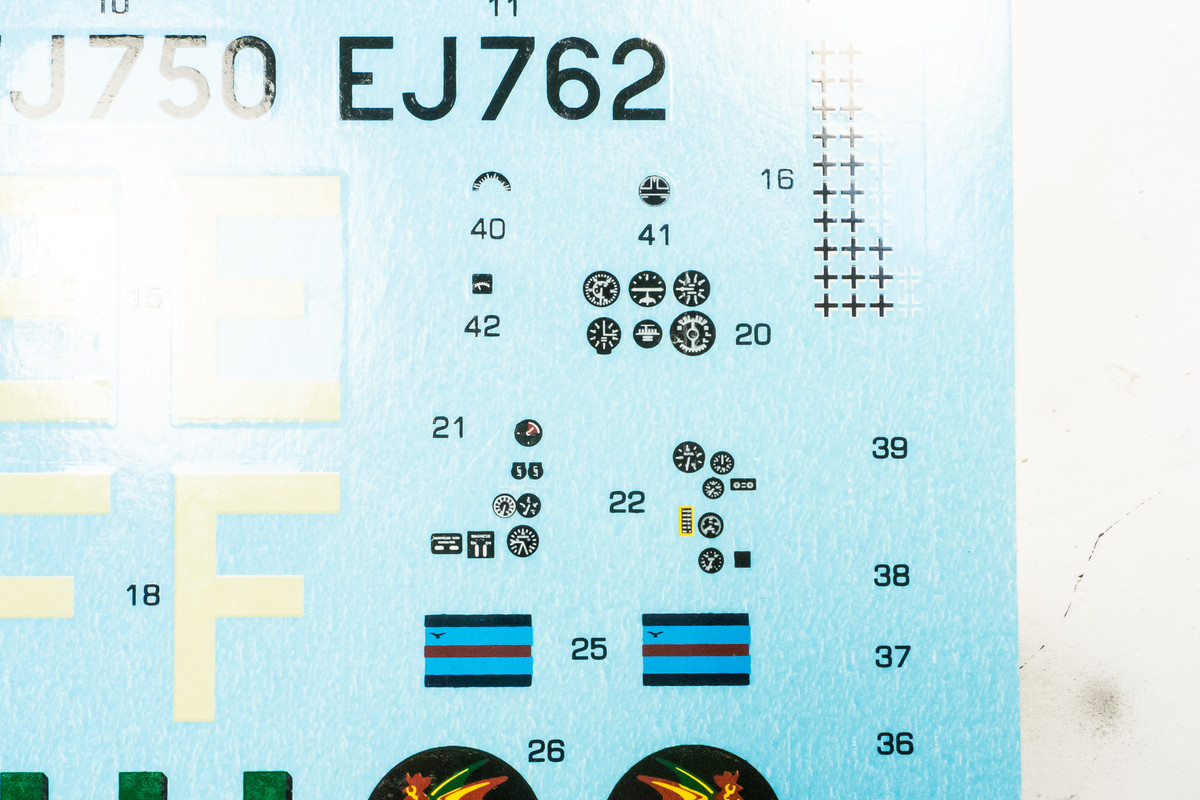
The Special Hobby decal sheet provides the instrumentation as decals. It can be difficult to align these instrument panel decals so that the instruments fall into their appropriate dials. Separating them into smaller sections helps but I went the extra step of punching each of the individual instruments and placing them one by one.
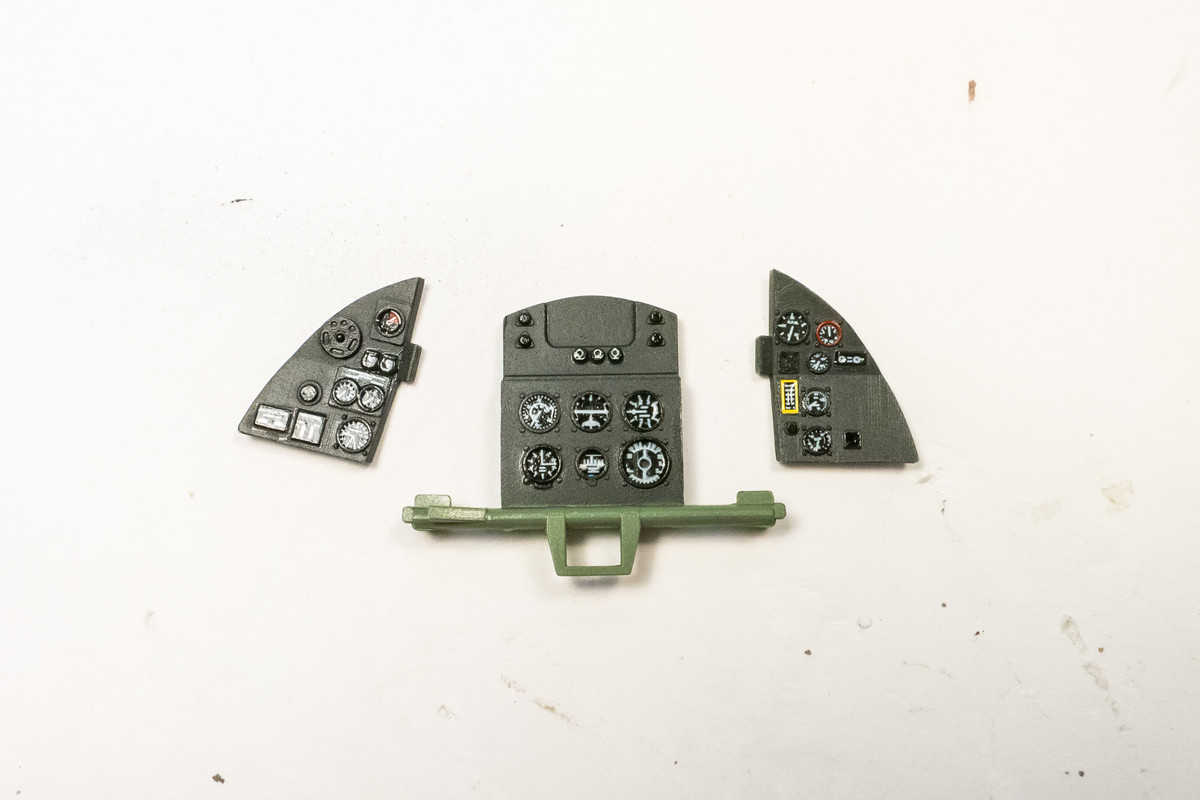
After the instrument dials were put into place, the instrument panel was given a flat coat. I normally like to drop in punched disks of clear acetate for each instrument but I didn't think the raised bezels were high enough to accommodate acetate. Instead I just applied a drop of Future into each of the dials.
Re: 1/32 Special Hobby Hawker Tempest Mk V
Posted: Wed Feb 24, 2021 12:08 pm
by LyleW
John, extraordinary work, and the process is very helpful. What type of punches do you use?
Re: 1/32 Special Hobby Hawker Tempest Mk V
Posted: Wed Feb 24, 2021 12:27 pm
by jkim
Thanks Lyle! RP Toolz, both the standard and large sets...


Re: 1/32 Special Hobby Hawker Tempest Mk V
Posted: Wed Feb 24, 2021 3:15 pm
by jkim
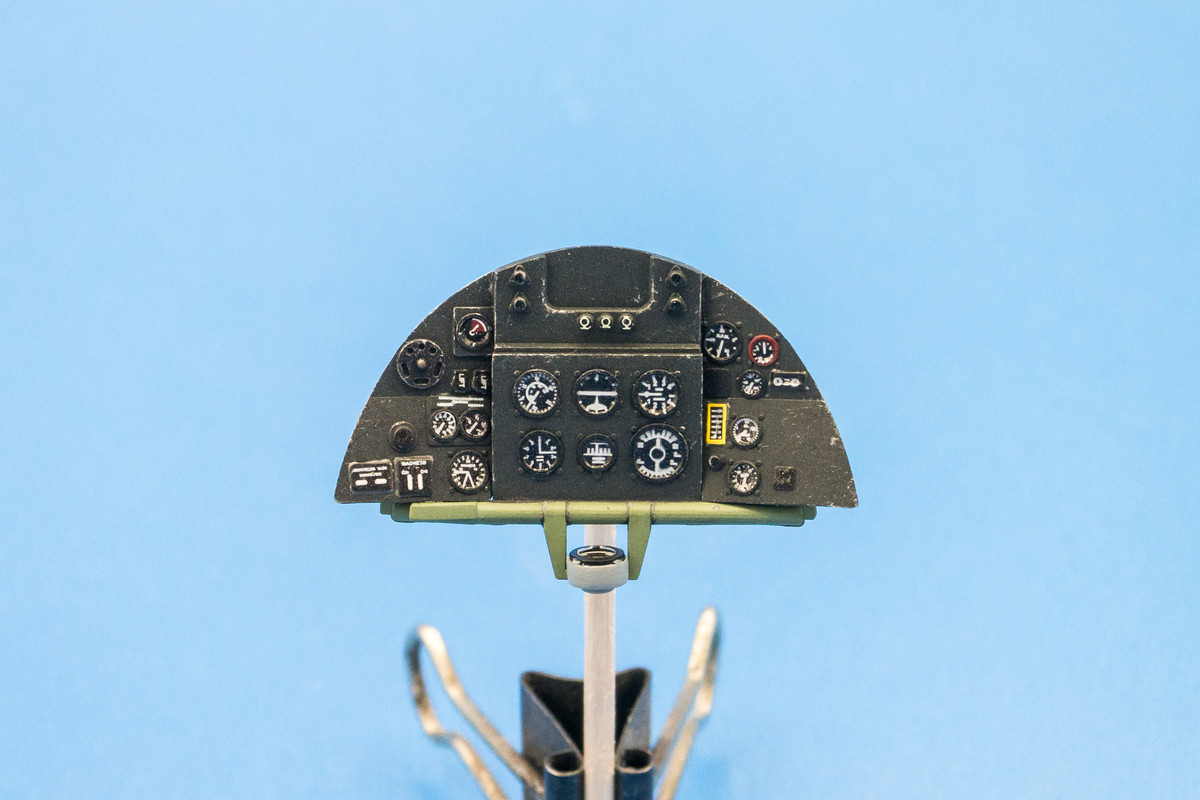
I've added some weathering to the instrument panel: light dry-brushing of silver on the edges and brown wash on the green cross bar.

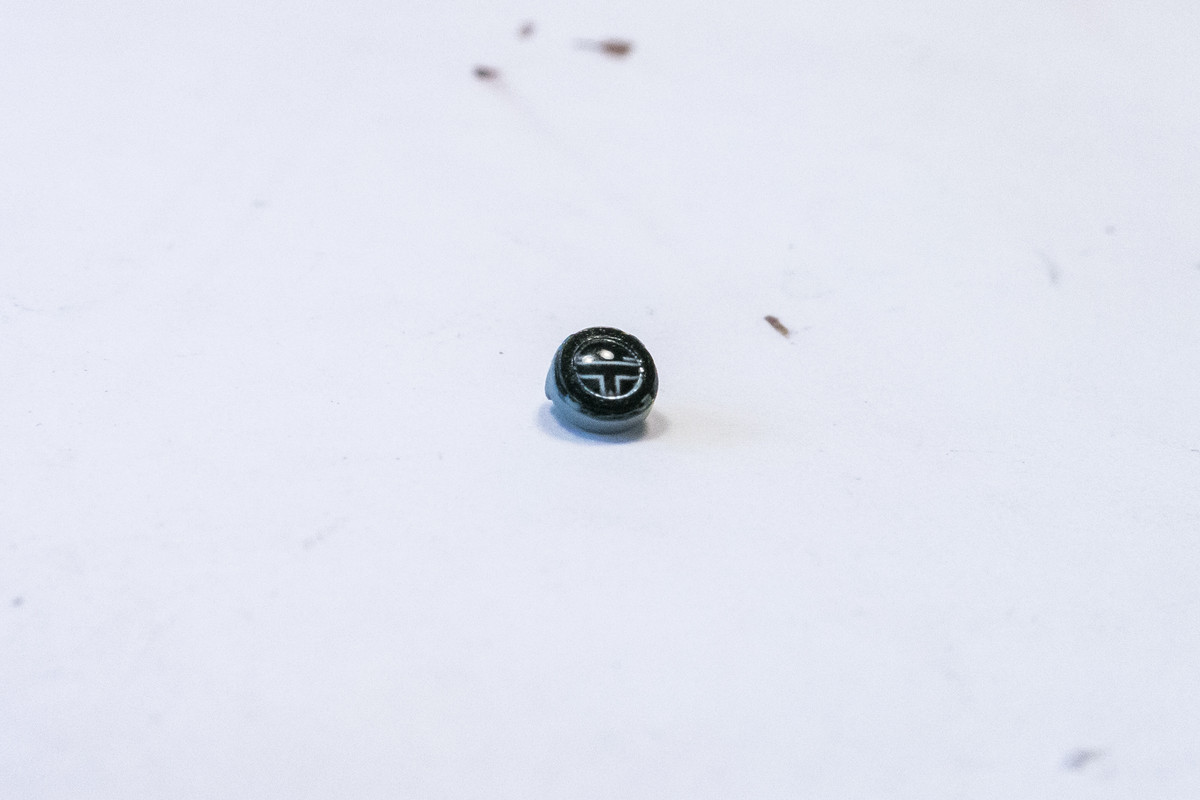
The compass has been painted and decaled. Topped off with a drop of clear UV epoxy to simulate the glass element.
Here is the completed instrument panel.
Re: 1/32 Special Hobby Hawker Tempest Mk V
Posted: Wed Feb 24, 2021 3:34 pm
by Paul
That looks real nice John. When you get to the wings there is some info that you might need so hit me up and I will be able to explain more in detail.
Re: 1/32 Special Hobby Hawker Tempest Mk V
Posted: Wed Feb 24, 2021 3:51 pm
by jkim
Gotcha! I know there are some errors in the instructions regarding the wheel well assembly. And that the fuselage width may force the wings into an incorrect anhedral position without trimming of the cockpit and wheel well parts. And those inserts for the wing leading edge don't look very fun. Just based on online builds that I've referenced.
Re: 1/32 Special Hobby Hawker Tempest Mk V
Posted: Wed Feb 24, 2021 3:59 pm
by Floki
Did a great job on that panel!
Re: 1/32 Special Hobby Hawker Tempest Mk V
Posted: Sun Feb 28, 2021 12:14 am
by jkim
Thanks Clint! The cockpit has a lot of nice details so I'm looking forward to working on it more.