Page 8 of 17

Re: Maddog Manufacturing Now Open for 2022!

Posted: Mon May 23, 2022 7:37 am
by LyleW
Quit the in in progress inventory. Let’s get er done!

Re: Maddog Manufacturing Now Open for 2022!

Posted: Tue May 24, 2022 1:42 pm
by Duke Maddog
Thank you Blacksheep! Yeah, I've been wanting one of those Ducks for awhile, but never had a kit of one till now.

Thank you Medic! I look forward to seeing yours when you get it.

Thank you Lyle! Doing my best!

Re: Maddog Manufacturing Now Open for 2022!

Posted: Wed May 25, 2022 10:36 am
by Stuart
Great stuff as always Mark!

I'm liking those Russkie MBTs, they look like fun little kits!

Re: Maddog Manufacturing Now Open for 2022!

Posted: Wed May 25, 2022 11:49 am
by Duke Maddog
Thank you Stuart! They are fun kits, but these T-64's are so similar, I'm having a tough time keeping them sorted; especially since they are all essentially the same kit with additional parts for the different versions... and the instructions don't quite make it clear what goes on what. The nice thing is, I have enough spare parts to make a whole new model if I want!

Stay tuned, more to come!

Re: Maddog Manufacturing Now Open for 2022!

Posted: Fri May 27, 2022 7:04 pm
by Duke Maddog
I've been trying to keep busy, so there's more to show in this latest tour. Thank you for coming in, all aboard the trams and we'll get started....


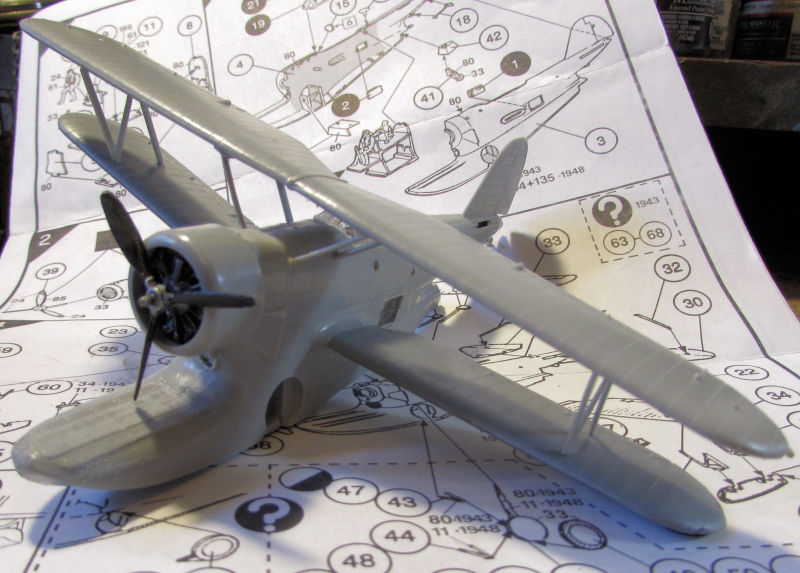
Once again, the Hangar is the first stop. We got a bit of progress done on a number of aircraft. First, the Grumman Duck got it's wings on:

Image


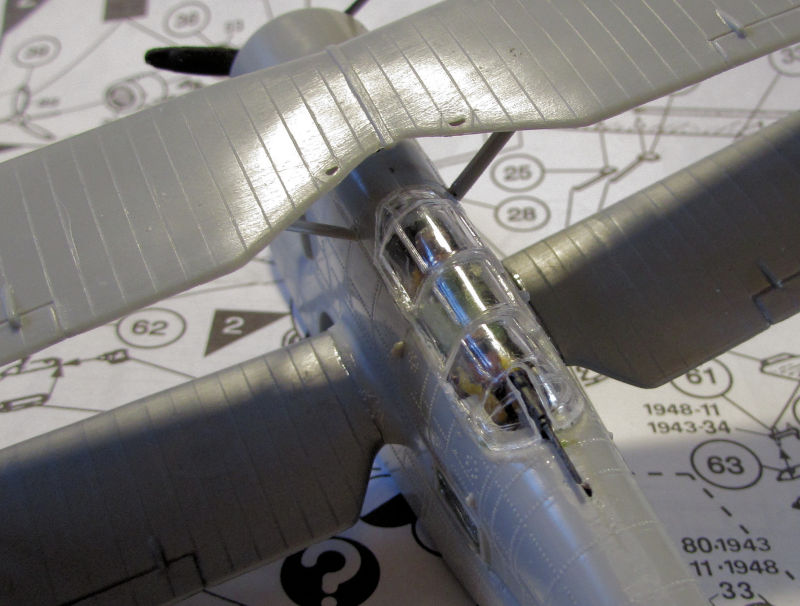
I had also added the canopy first since trying to get that on with the upper wing in place might have been quite difficult:

Image


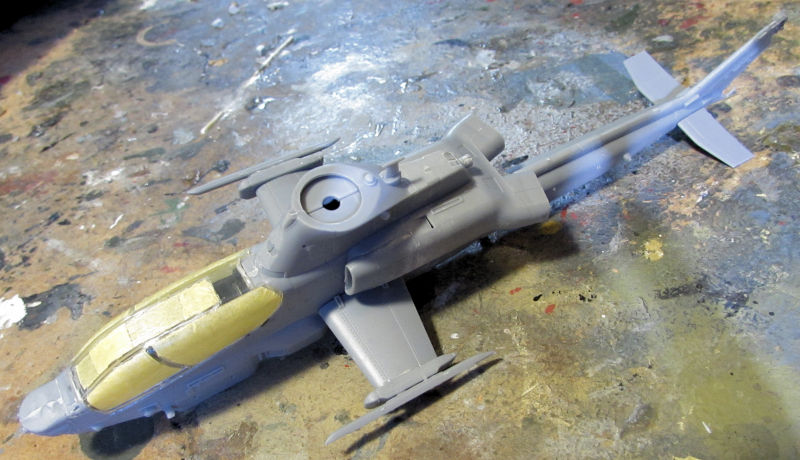
Next up, we got the canopy masked and installed on the AH-1Z:

Image


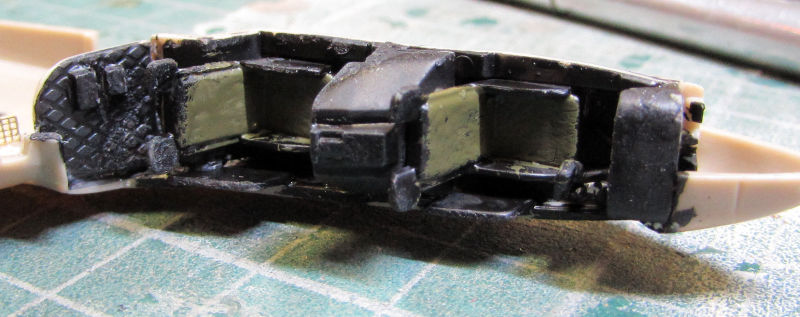
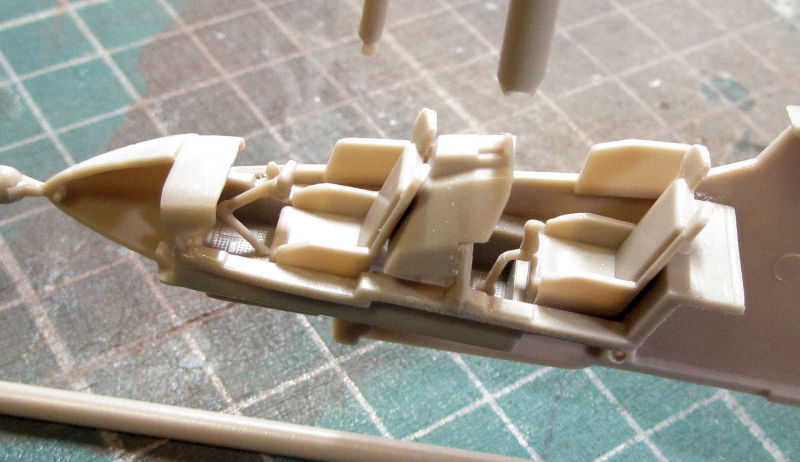
While that was drying, we also worked on two more AH-1's, this time two -G models. The late one from AZModel was first since it seemed to be the easiest to do. We started with the cockpit of course, gluing it straight into the one side of the fuselage:

Image


This got painted later:


Image


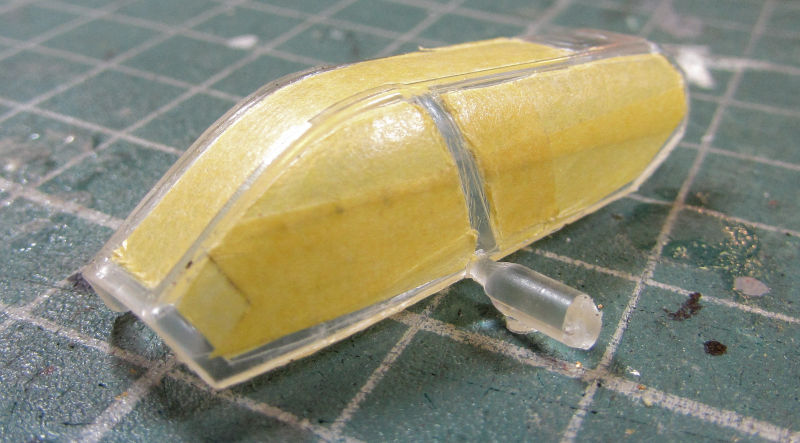
While that was drying we masked off the canopy for painting:

Image


Then the fuselage went together after the P/E parts were installed inside:
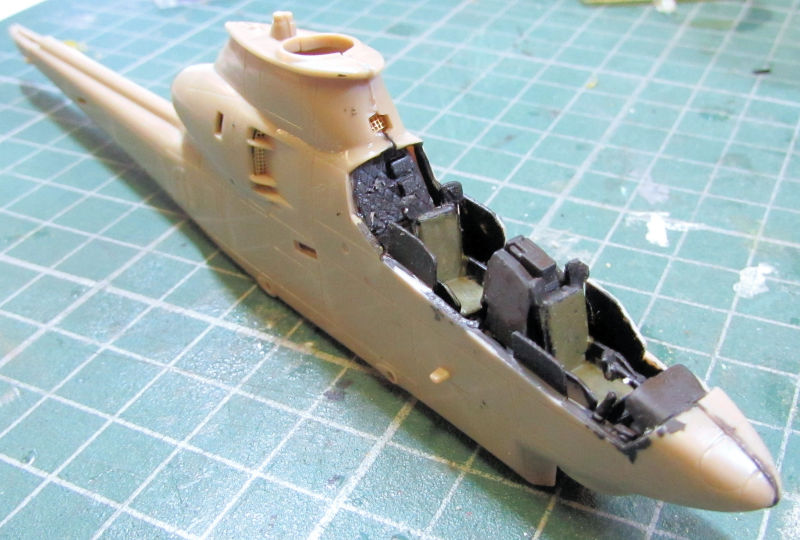

Image


The canopy, wings, tail, and other detail parts were then installed:
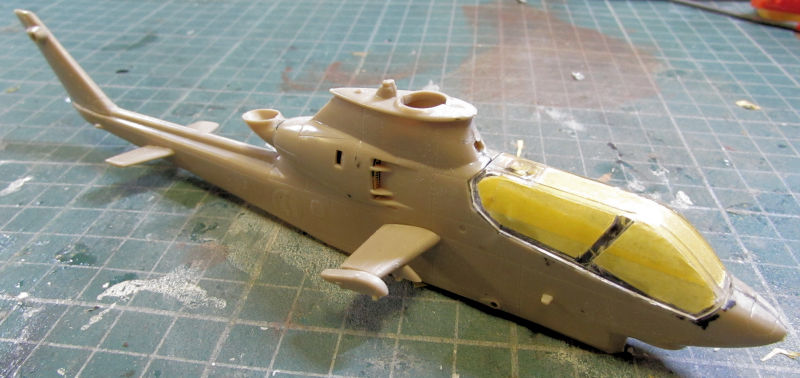

Image


While waiting for that to dry, we started on the AH-1G Early from Special Hobby. Of course, we got the cockpit assembled:
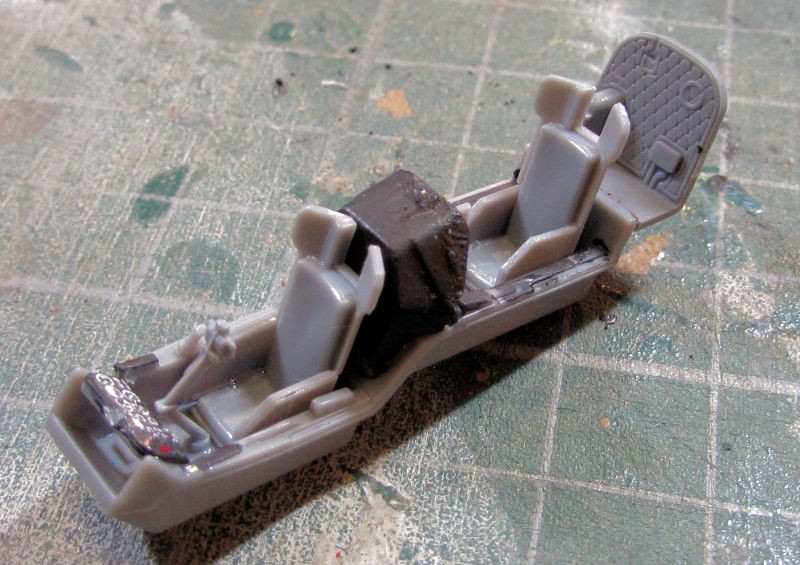

Image


The decals for the instrument panels looked great so we added them to the instrument panels:
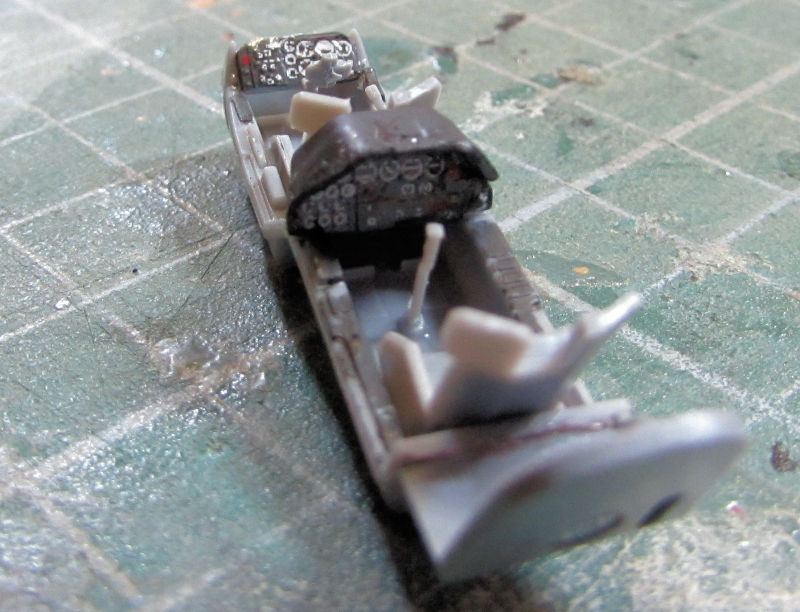

Image


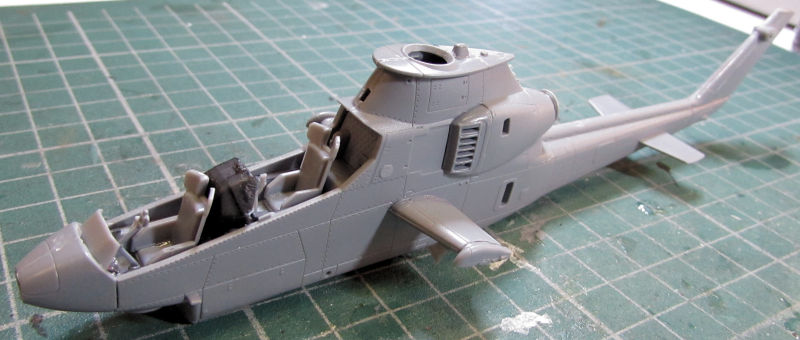
Then all the other parts: wings, tail, tail feathers, engine inlet covers, exhaust and a myriad of other things went on this after the fuselage was closed up:

Image


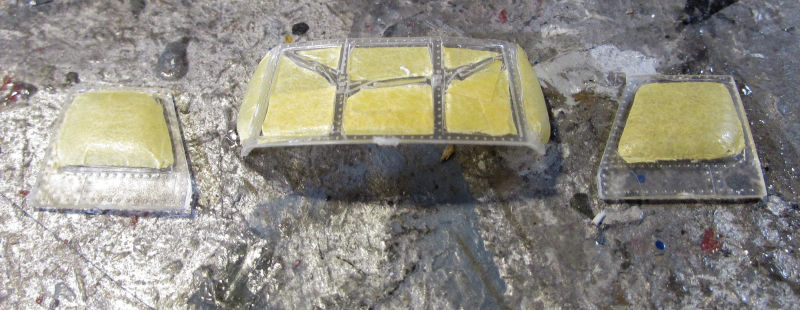
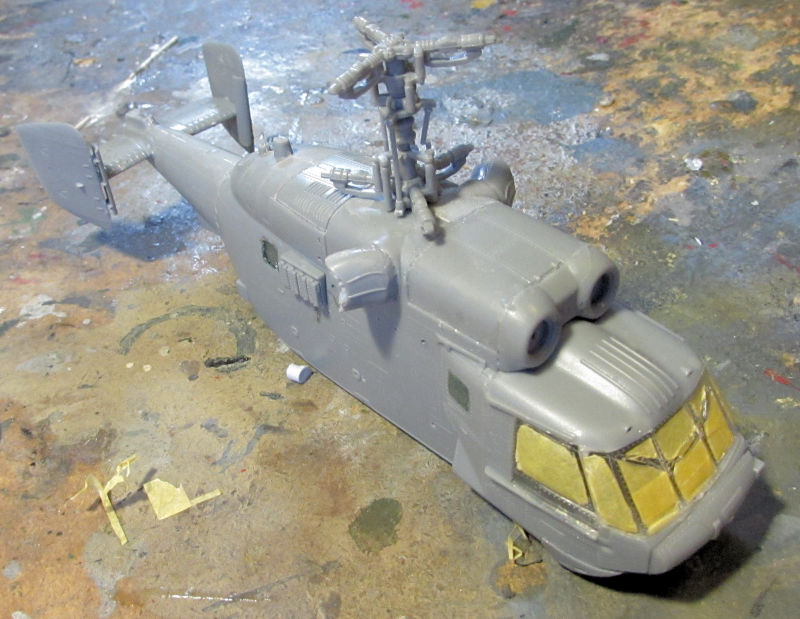
The last one we got working on was the Russian Ka-29 which had been giving me fits! The previous time we closed the fuselage and added some of the other parts; the interior rotor mount broke away and we needed to tear the whole thing apart and repair it before moving forward. Hey, it's a Russian helicopter right? While that was drying, we masked off the canopy clear parts:

Image


After that, we were able to re-close this up and add all the parts that had to be removed before. Then to feel like I made some progress on it, we added the clear parts as well:

Image


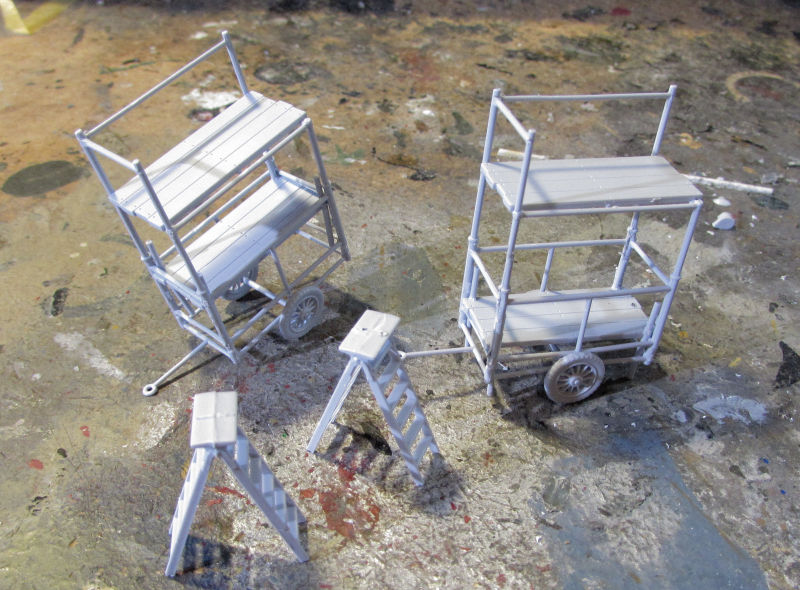
Finally, another Forum friend sent me the extra airfield accessories he didn't want, so we got these built to help with future projects:

Image


Finally that completes the tour of the Hangar, now on to the Shipyards.


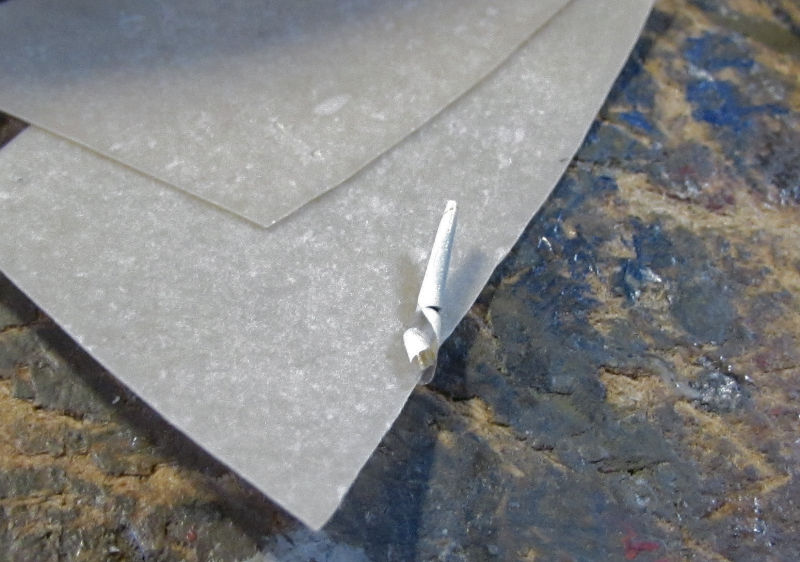
The first thing we tried was to get the decals on the RAF Rescue Launch. The main problem there was that the decals were so old, they curled right up once loose from the backing paper. Here's one of the roundels showing what they all did:

Image


That one even tore while I was trying to remove it from the tweezers. The rest remained intact fortunately. How do you fix something like that? Well, I 'painted' on some of the latest iteration of Future and then we placed the decal on the patch of Future. Using a soft brush, we slowly unrolled the decal, pressing it flat on the Future. The Future was just sticky enough to hold it, and as it dried, I continued to brush the edges so they would stay down. Here is the results:
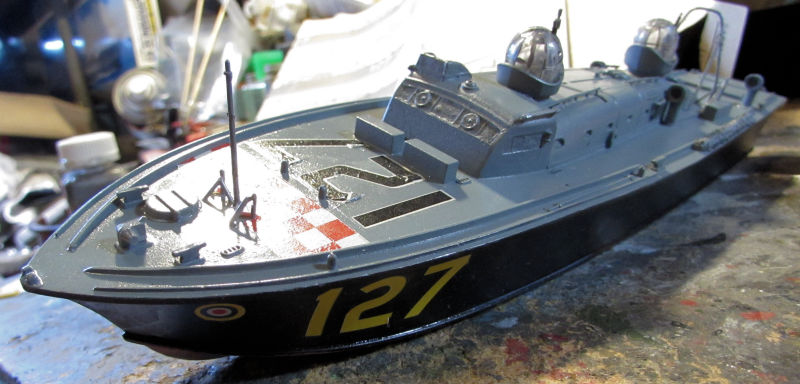

Image


That shot shows the roundel from above. The only decals I had any issues with were the deck decals. The checkerboard ones didn't fit so I cut slits to work around the posts on deck. I also cut parts on the number decal that were settled over raised detail. I then pressed down on the raised detail to try and get it to conform as best I could. I'm happy enough with these. They look far better than I expected for such ancient decals!


Here's a shot of the stern number:
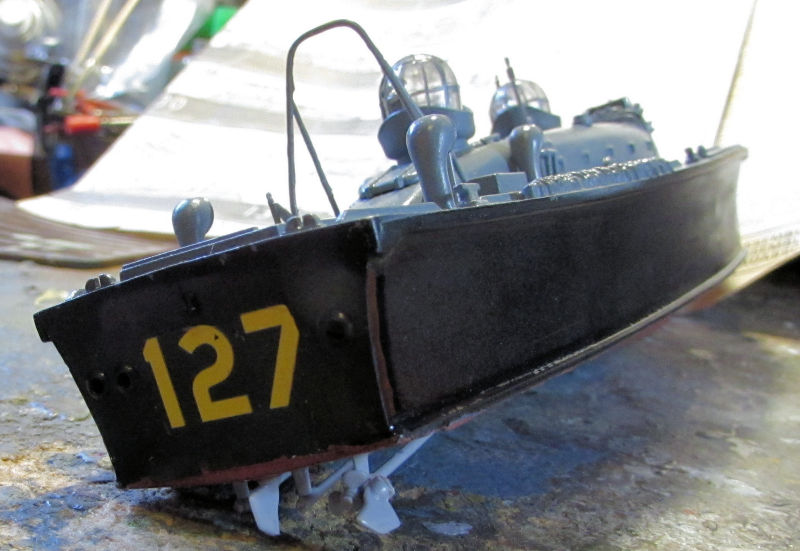

Image


And a shot of the other side, with a better look at the deck markings:
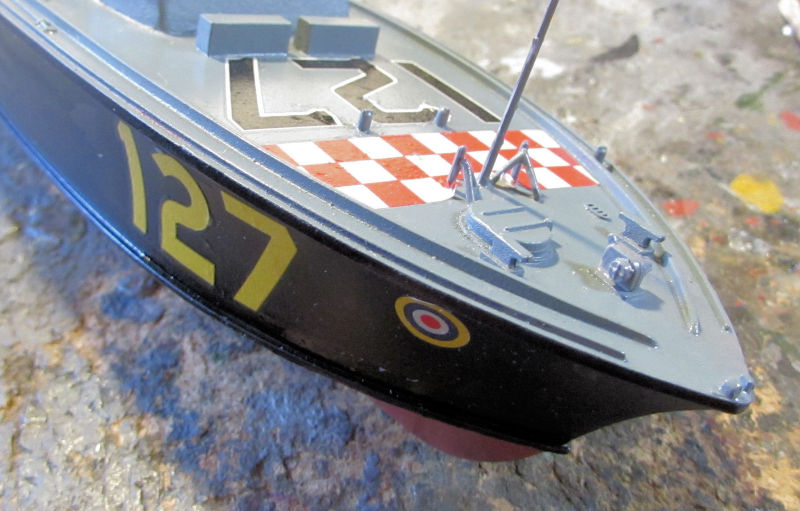

Image


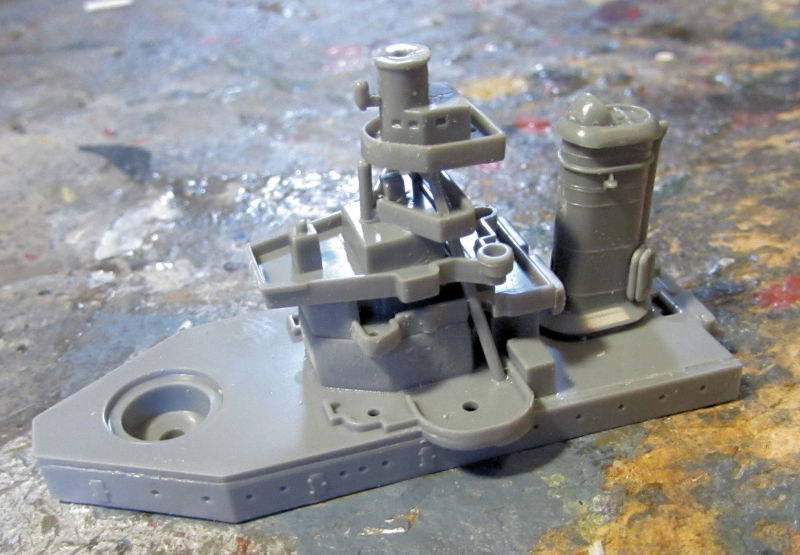
Okay, enough of that. I wanted to start a more simple model and actually do some construction so we laid the keel for the USS Indianapolis. Once that was done, we started on the main superstructure holding the bridge since that part could be assembled without having to fasten it down to the hull:

Image


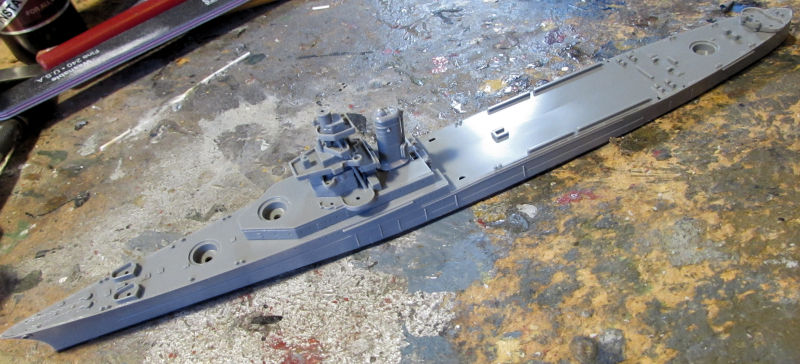
Later while that was drying, we built up the hull and main decks. The bridge sub-assembly was dry fit on it to see how it fits:

Image


That is all from the Shipyards, now on to the Motor Pool...


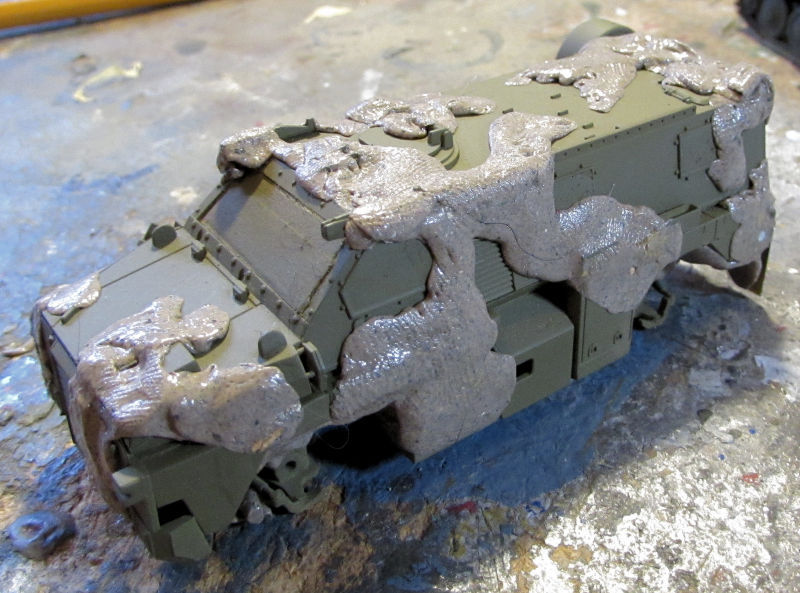
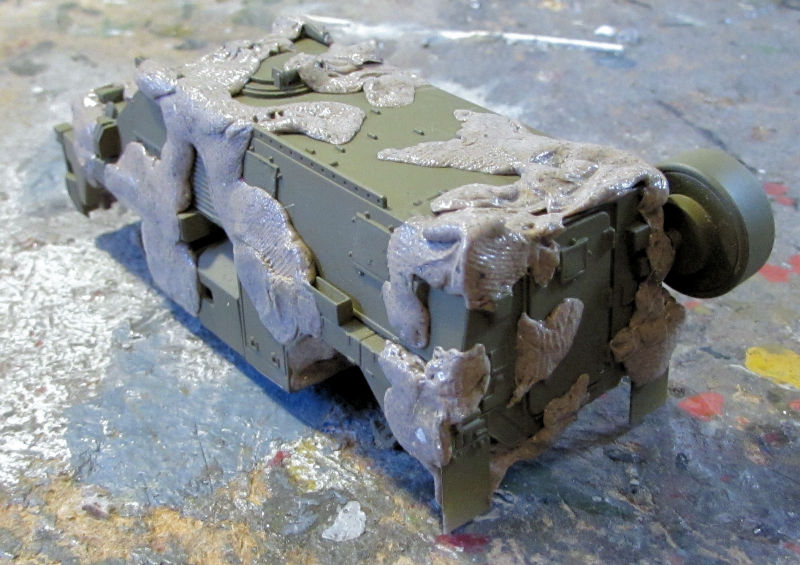
Not too much was done here, but it seemed like a lot since it took awhile. First, the Australian Bushmaster was masked off with the Silly Putty so the first color could be sprayed on once the paint booth is fired up:
Image


Image


Next we started on the upper hull of the T-62 with ERA armor on it:
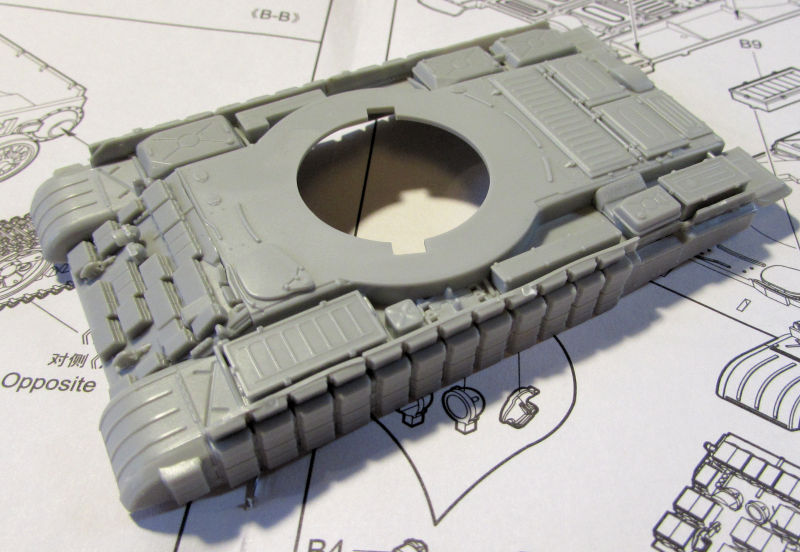

Image


Quite simple, but the Rolls Royce was calling so we got started on that one, chassis being the beginning:
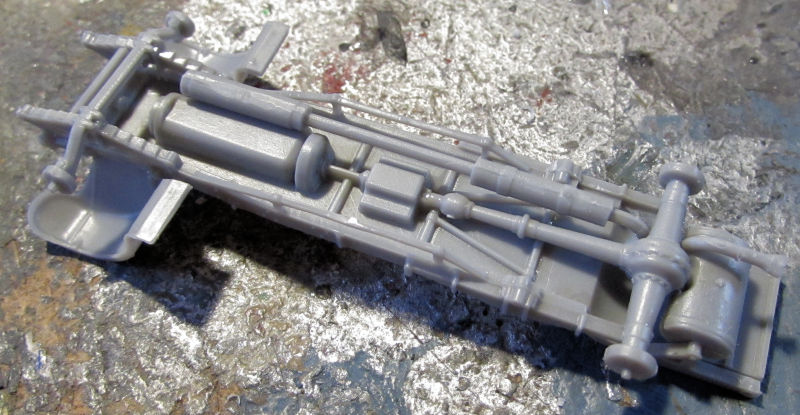

Image


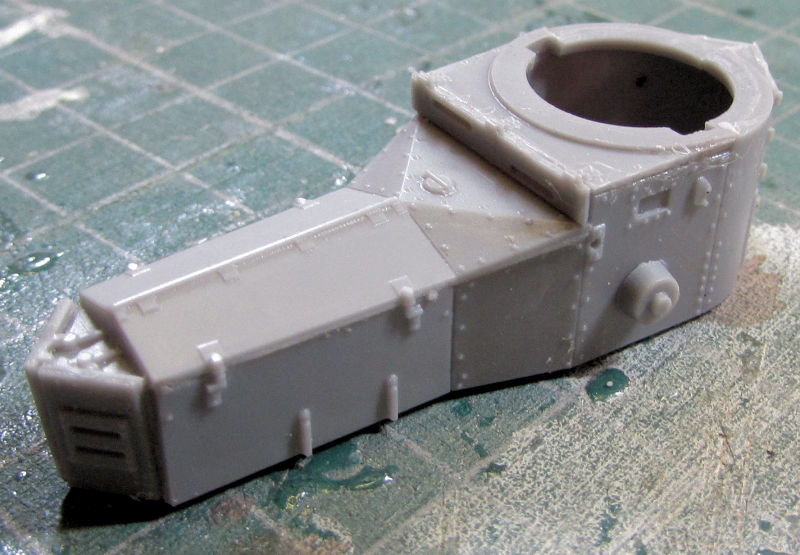
Then of course, the main hull:


Image


Followed by the cargo(?) area in back:
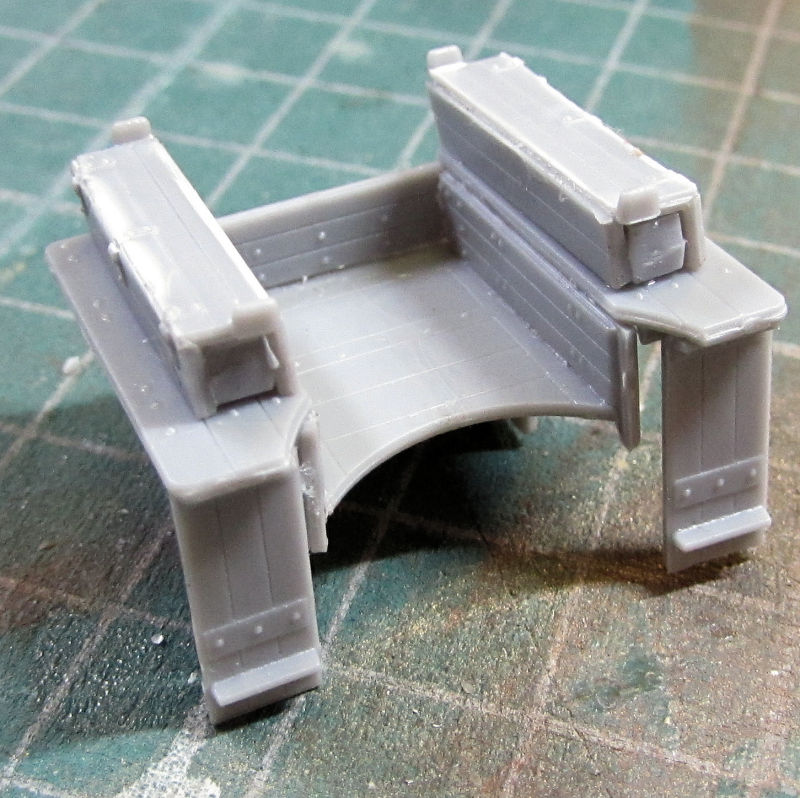

Image


And finally the turret which was surprisingly difficult to get lined up properly:
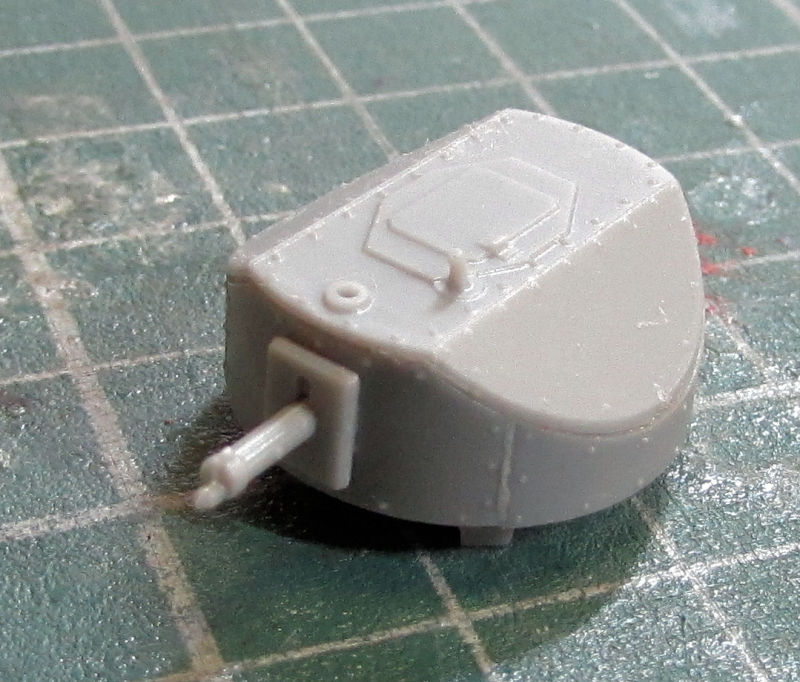

Image


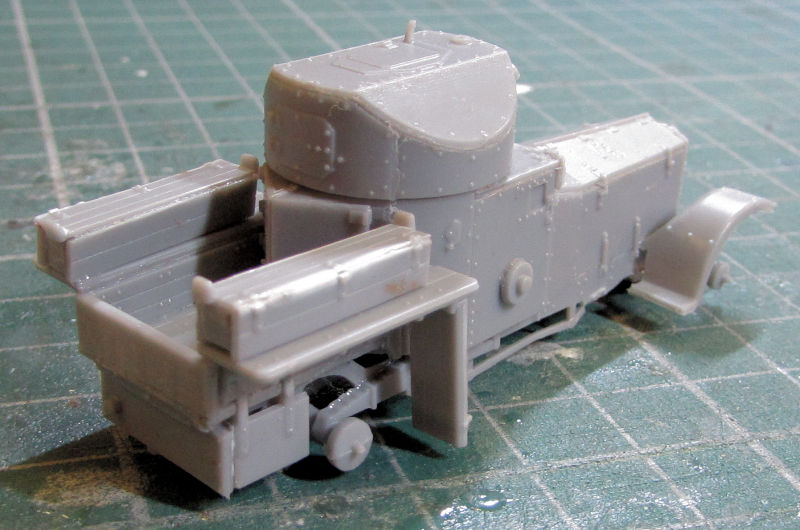
And we'll close this tour with the mock up of this attractive little armored car:
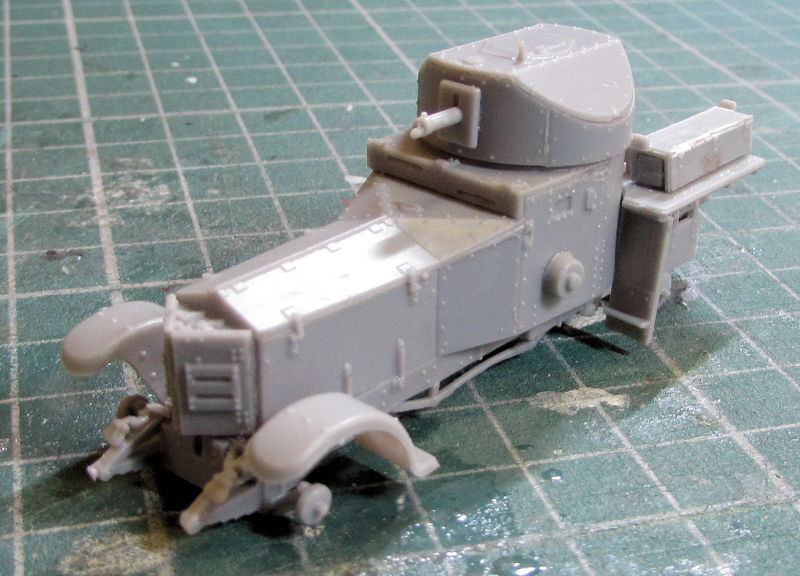

Image


Image


Thank you all for stopping in and taking the tour. Comments are always welcome.

Re: Maddog Manufacturing Now Open for 2022!

Posted: Fri May 27, 2022 7:15 pm
by BlackSheep214
:shoutout: :shoutout: :shoutout: :shoutout: :shoutout:

Re: Maddog Manufacturing Now Open for 2022!

Posted: Fri May 27, 2022 10:13 pm
by Stikpusher
Nice batch here Mark. The Duck is coming along great! I can’t wait to see how that one turns out. And then we get to USS Indianapolis…. she holds a star crossed place in US Navy annals… I’m looking forward to seeing her done. :hmm:

Re: Maddog Manufacturing Now Open for 2022!

Posted: Tue May 31, 2022 11:27 am
by Medicman71
Very cool builds Mark!

Re: Maddog Manufacturing Now Open for 2022!

Posted: Wed Jun 01, 2022 5:20 pm
by Duke Maddog
Thank you Blacksheep!

Thank you Carlos! I do like the Duck, and I'm glad to get it further along. The instructions didn't tell me I needed such a dihedral on the lower wings to get the struts to actually touch. Once I got them 'bent' upwards, everything fit well. However, it looks like the Duck will be bypassed once again until I can find the horizontal stabilizers. For some reason, they disappeared out of the box. I should look for the original kit I started and see if that one has some spares.

Your description of the Indianapolis' service record is one of the reasons I wanted her in my Navy.

Thank you Mike! MY apologies for the late reply. I've been so crazy busy lately dealing with a myriad of things.

Gonna try to get my 12 hour build posted. Stay tuned.

Re: Maddog Manufacturing Now Open for 2022!

Posted: Thu Jun 02, 2022 2:51 pm
by Duke Maddog
Okay, now we are ready for the next tour of the plant. The trams have been cleaned and maintained and are now ready for boarding. This will be a bit of a short tour this time as the crew in the Shipyards took some time off.

All aboard!

Here in the Hangar we got the first color shot on the top of the Zulu Cobra:
Image

It is a bit hard to see, but I assure you it is there. After that dried, we masked off the top color to prepare for the next color:
Image

The Marine Harrier also got the first color shot on the top:
Image

This one will have three colors on it, so when it dried we also masked off the top for the second grey:
Image

That was all that got done in the Hangar; yeah, it has been a slim week time wise. Here in the Motor Pool, we were able to get even more done, mostly because we were able to fire up the spray booth.

First was the Australian Bushmaster which got the second color:
Image

Image

Once that dried, we got that one covered for the third color:
Image

That should be done with painting fairly soon...

We also shot some paint on the Swedish Assault Gun. However, due to the fact that there was no paint schematic included in the instructions; we had to freehand this and guess where the colors went based on the few views seen on the box. First came the green basecoat:
Image

Followed by the second color, brown:
Image

... and then the third color, black. I used a lightened black for this one:
Image

Once all that was dry, we glossed it for the decals:
Image

Only to find that the decals (and photo-etch gun muzzle among others) have gone on walkabout. When I track them down, this little thing will be finished!

Next we also shot some color on the Rolls Royce. This one was done in a British desert tan because I like the big roundel on the top of the turret on this scheme:
Image

After that, the three Russian tanks got their green basecoat:

The T-64 Mod 1981:
Image

The T-64AV:
Image

...and the T-72 Rogatka:
Image

And now that completes this short tour of Maddog Manufacturing. Thank you all for coming in, comments are welcome.