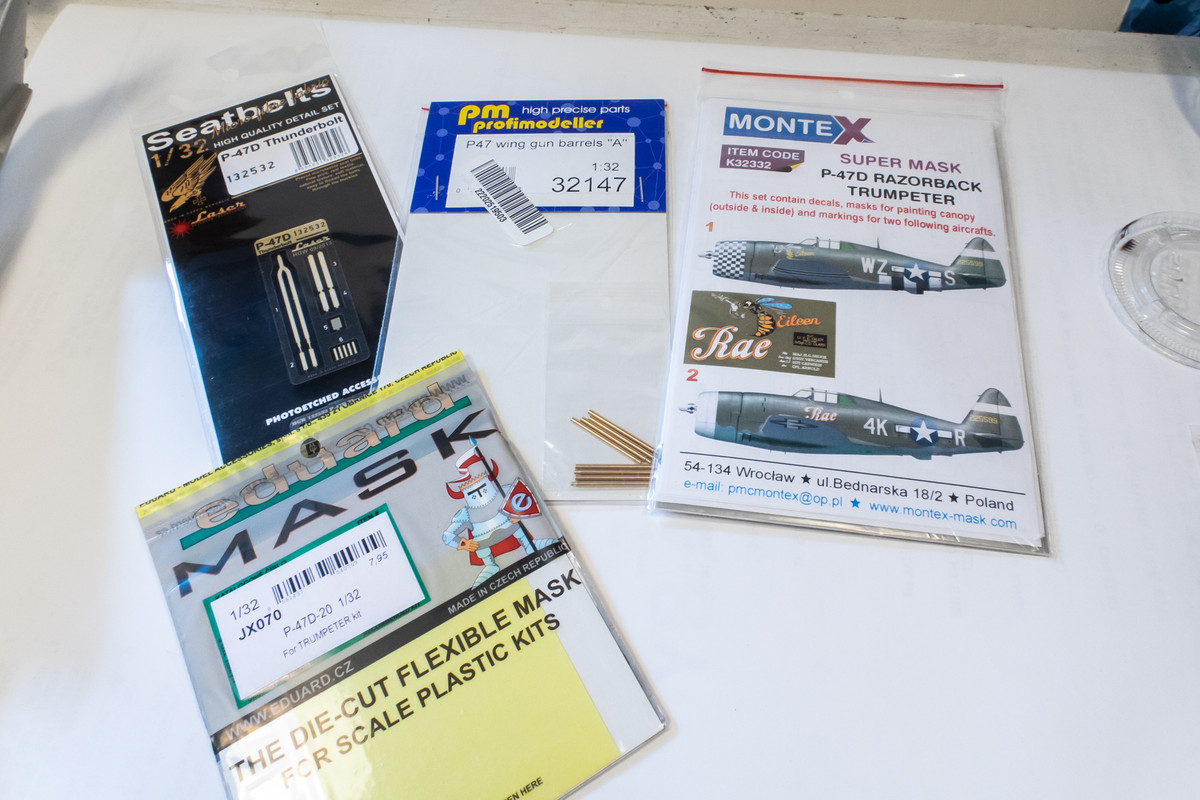
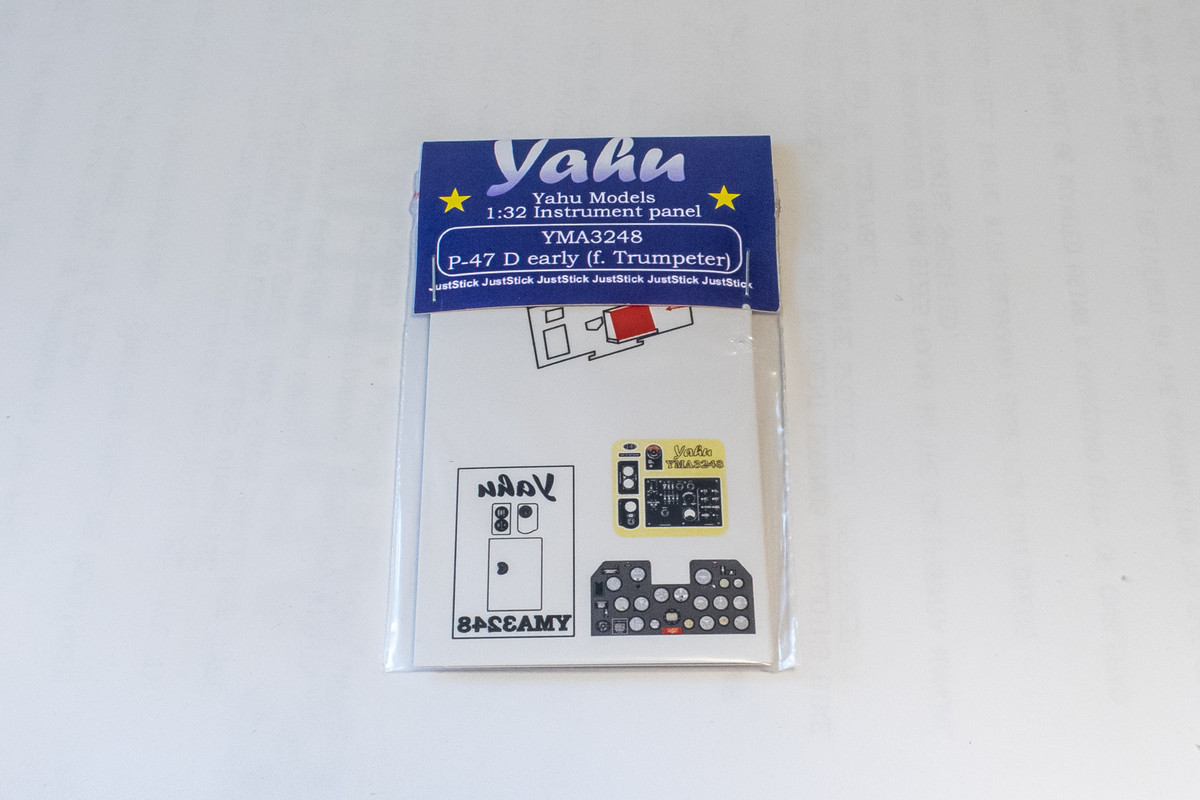
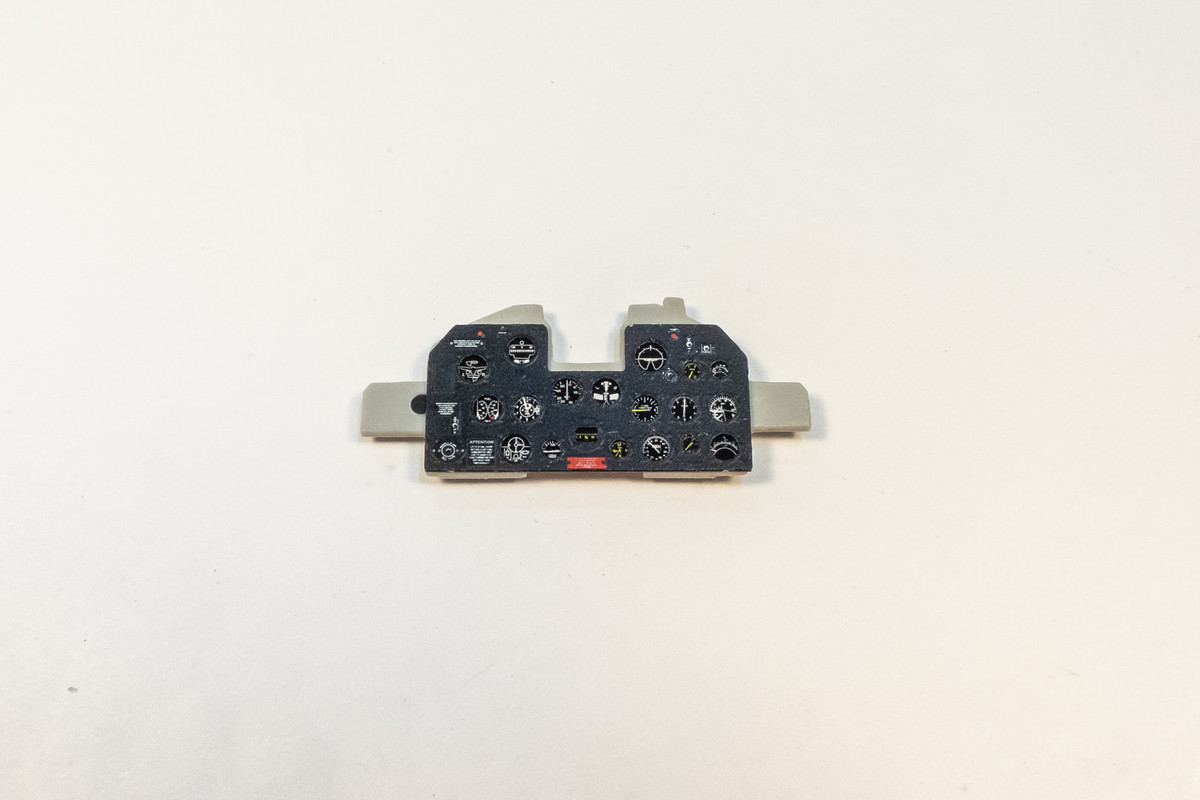
The last piece of AM arrived at my door today... the Yahu instrument panel.
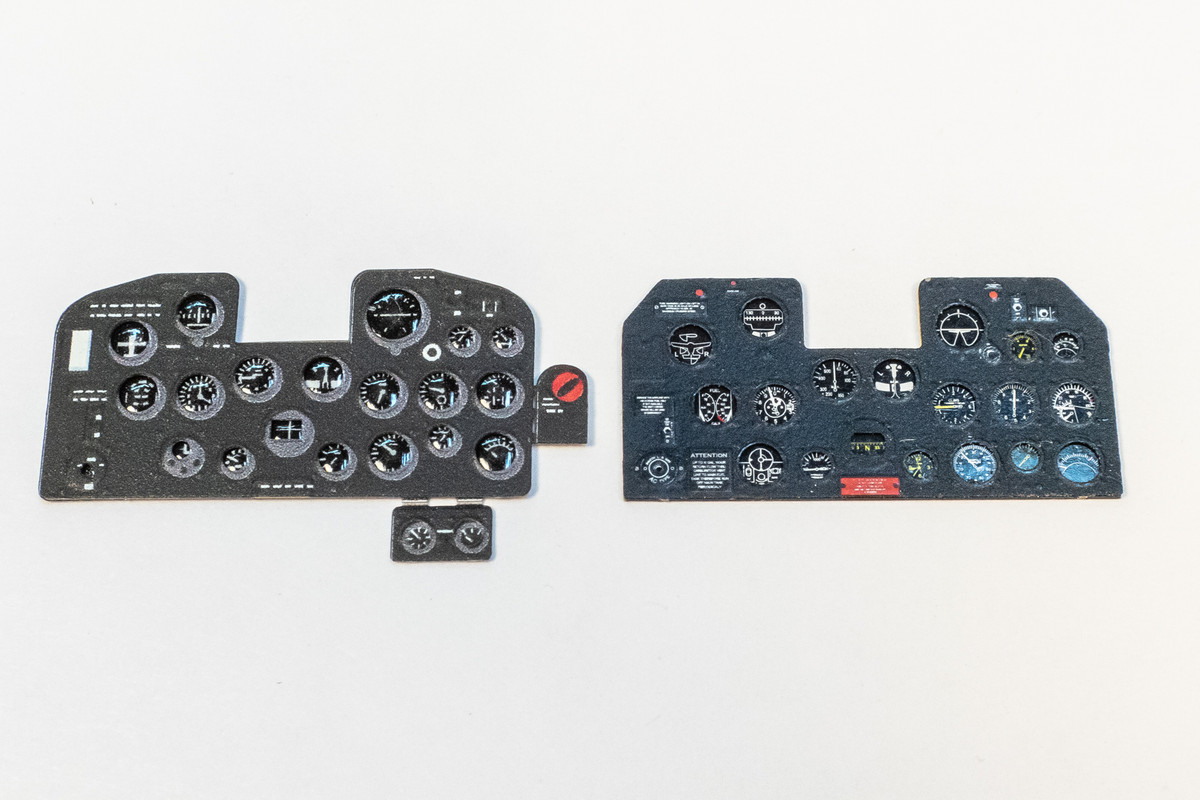
Comparing the Yahu and Eduard ... Yahu has better resolution but the Eduard panel treated with a flat coat is surprisingly smoother than the Yahu panel. If the Yahu panel was not pre-assembled, I would shoot it with a flat coat. I guess I could still do that if I were to mask each individual instrument gauge but I'm not that crazy.
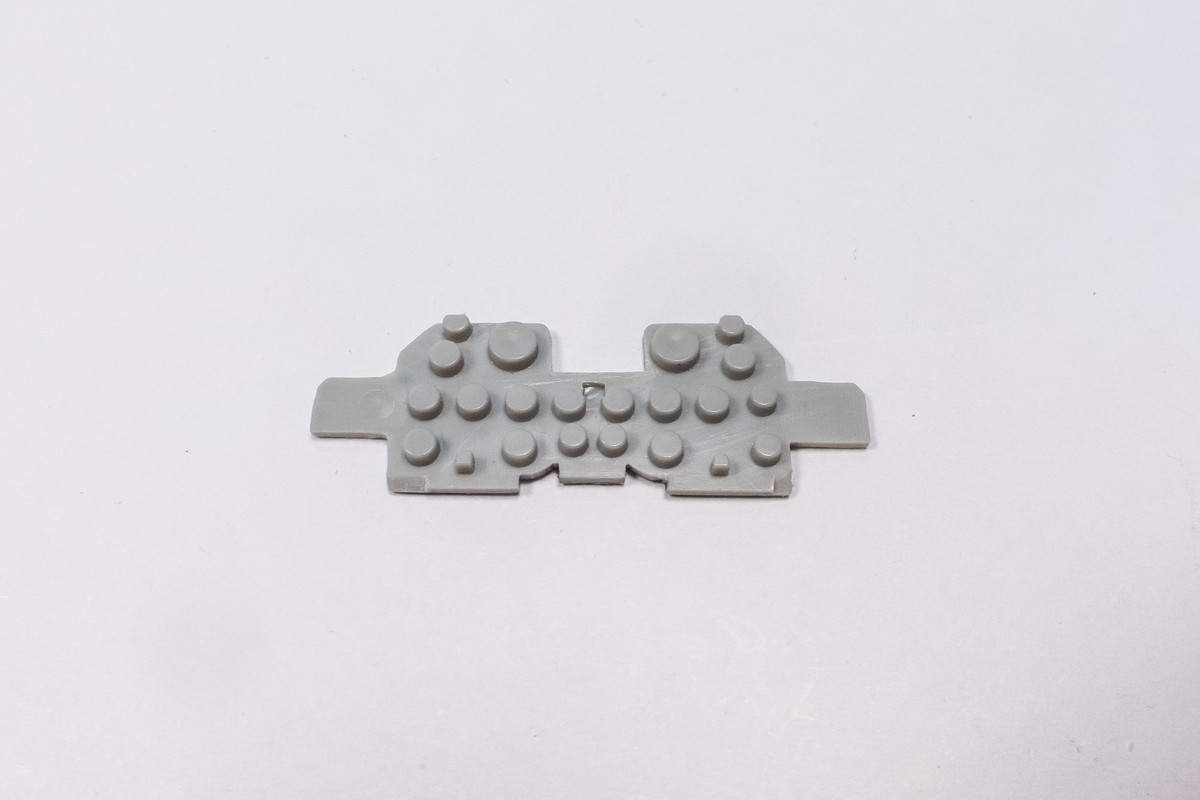
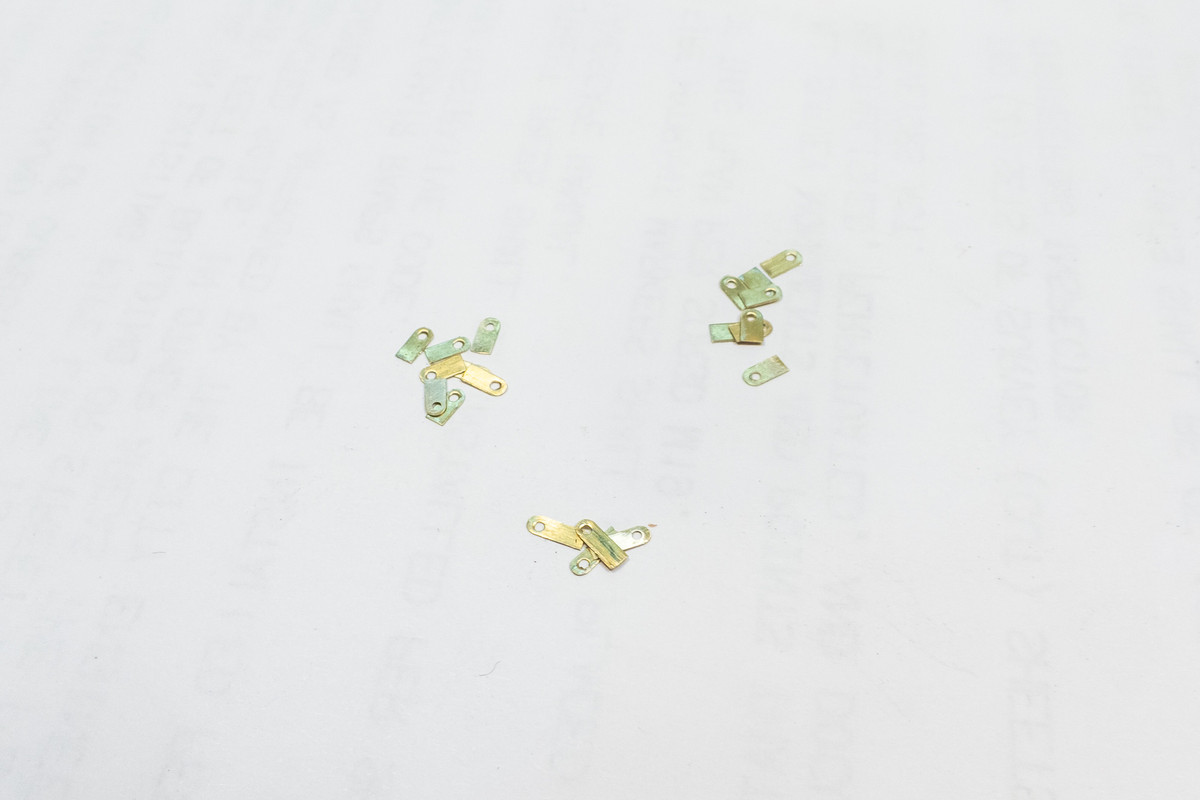
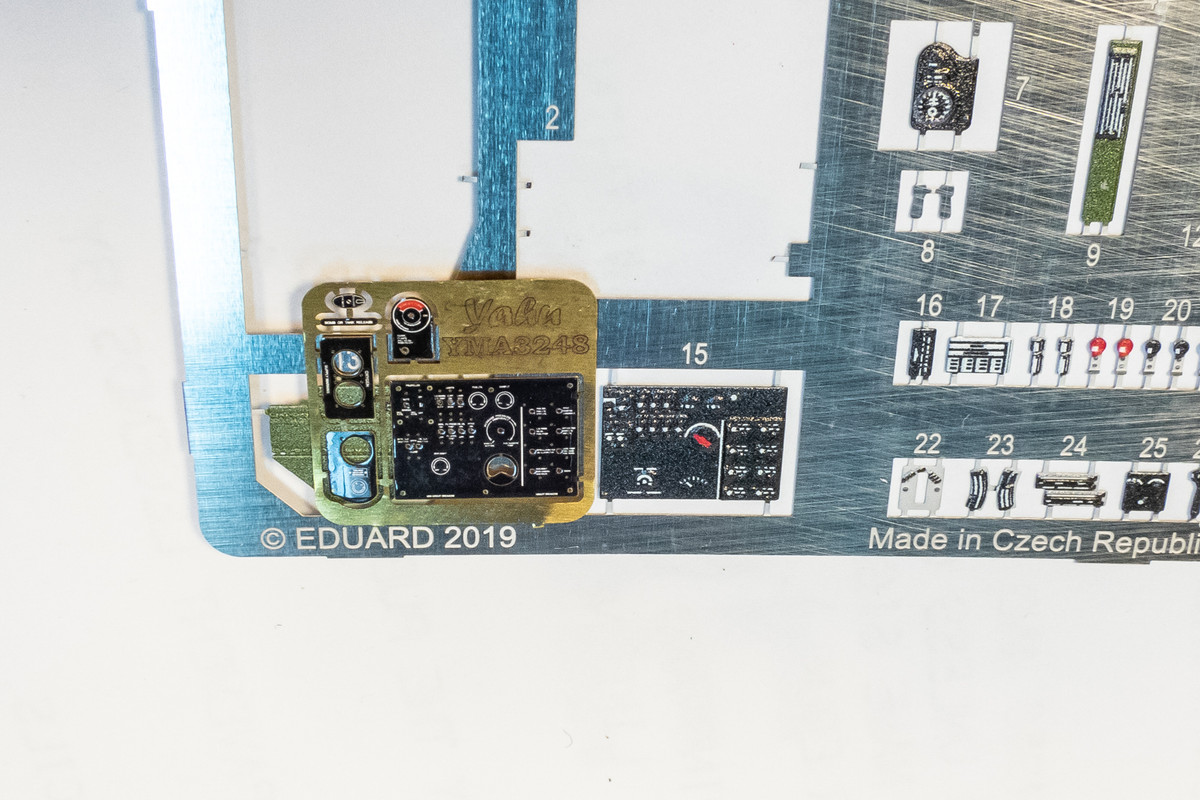
The Yahu set also comes with a main circuit panel and some smaller instruments. The finish on this fret is super glossy. Interestingly, the switch and toggle positions have tiny holes, which lead you to think that you COULD pose some tiny switches there... hmmm.
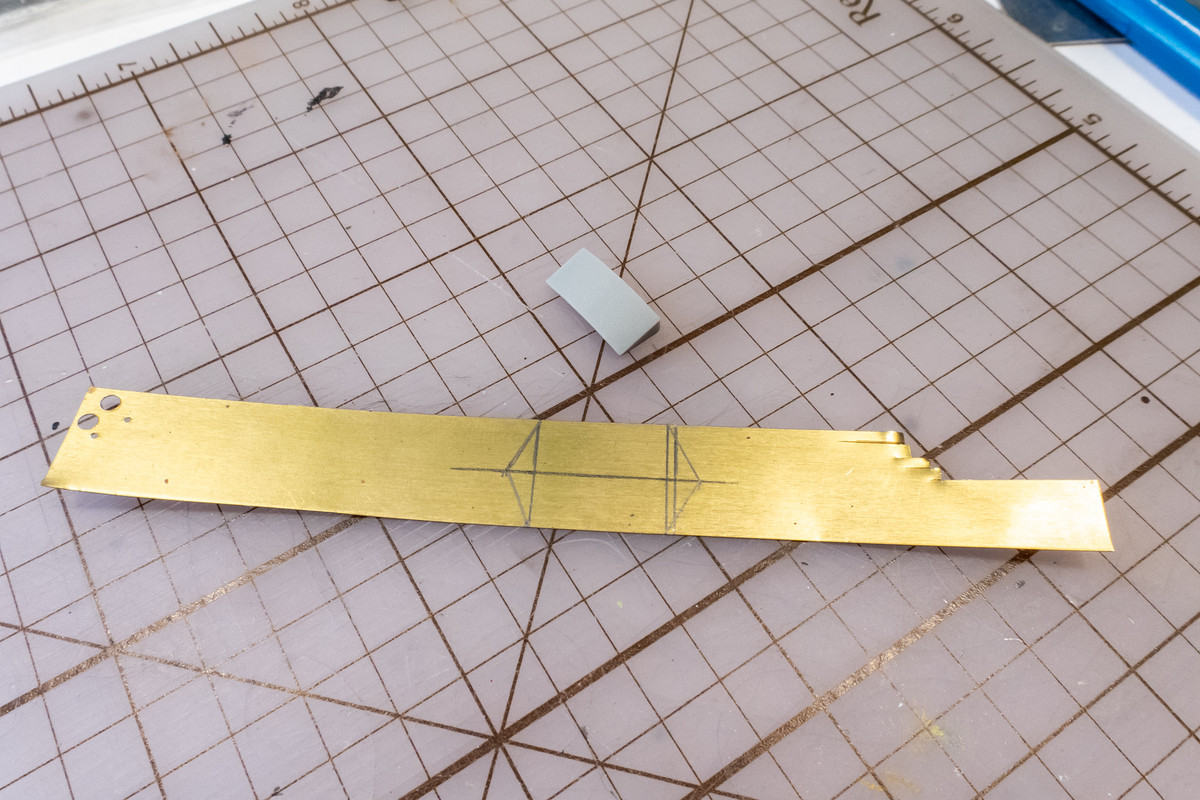
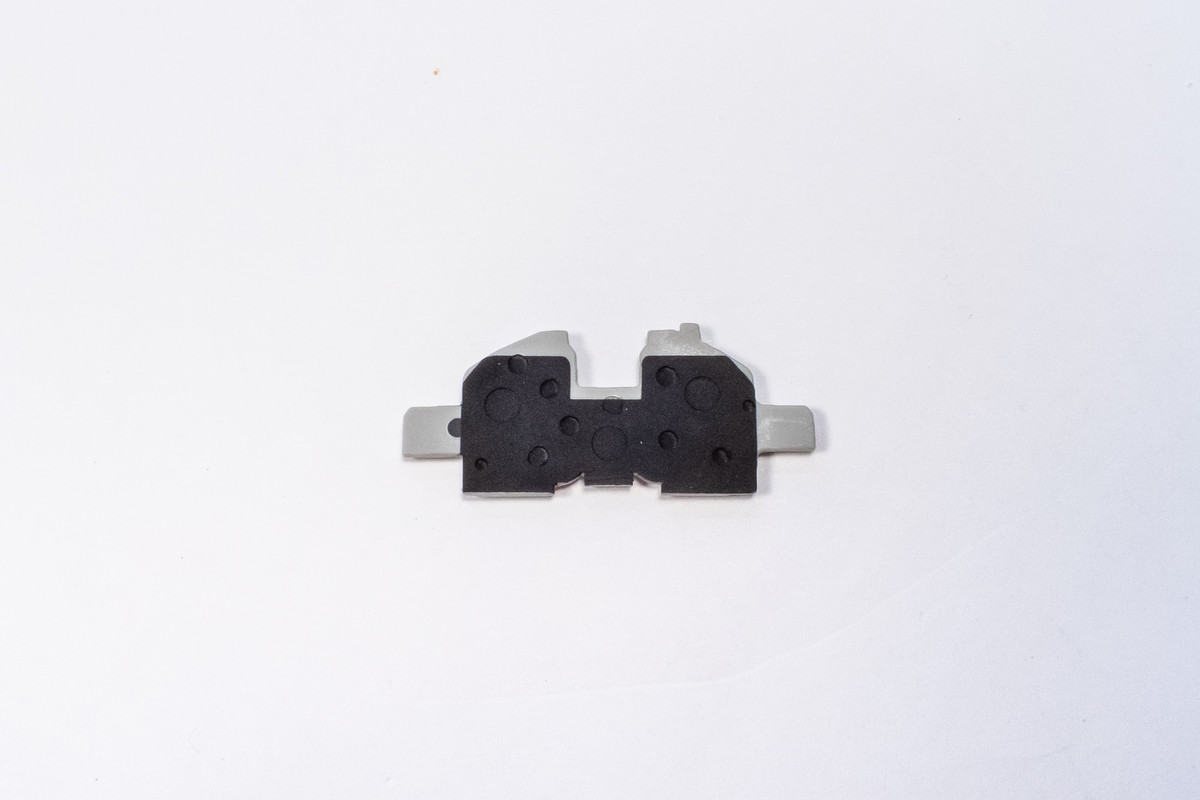
The instrument panel backing part has some extra plastic along the top edge, which I'm going to get rid of.
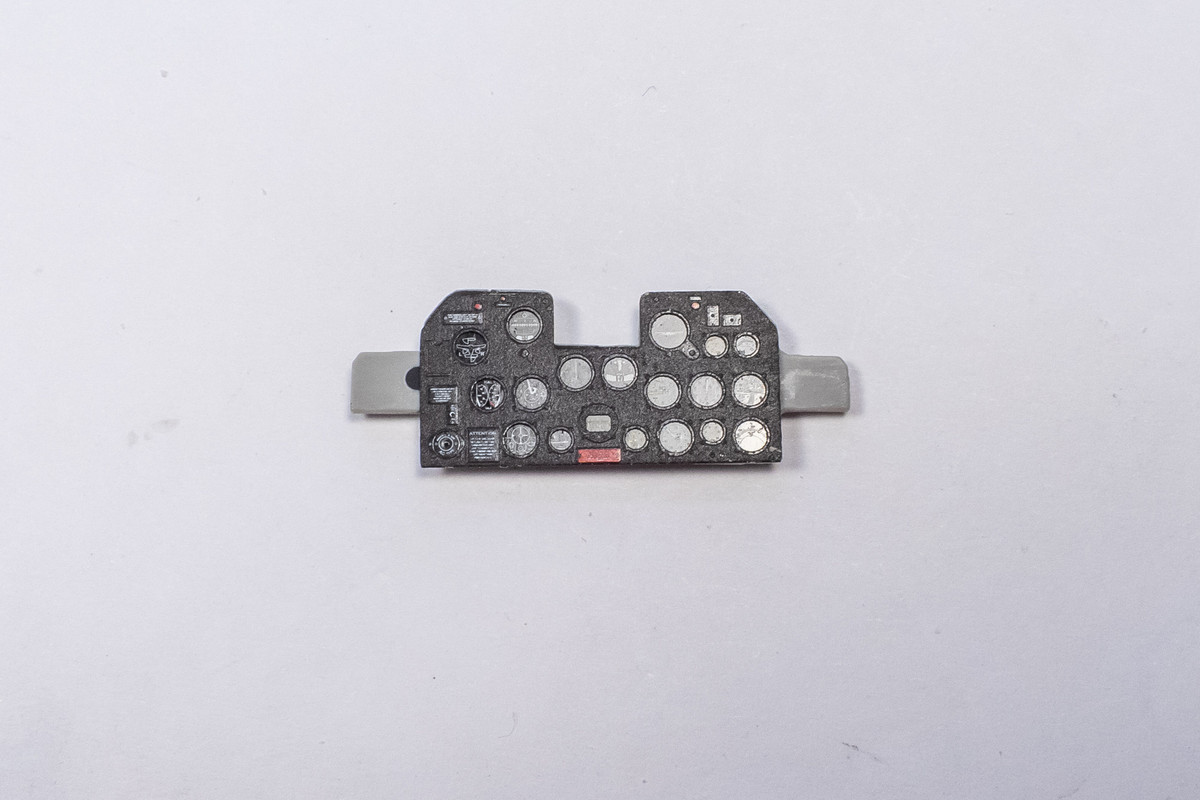
I scanned the Yahu instrument panel and cut a mask for it. The outline of the Yahu panel was painted in black to serve as a guide in the trimming process.
After trimming, the top edge of the backing part matches the Yahu panel.

The main point of this exercise is my desire to get rid of the obvious join between the PE and plastic parts. After the IP is completed, this top edge will be sealed with CA glue, sanded and painted.
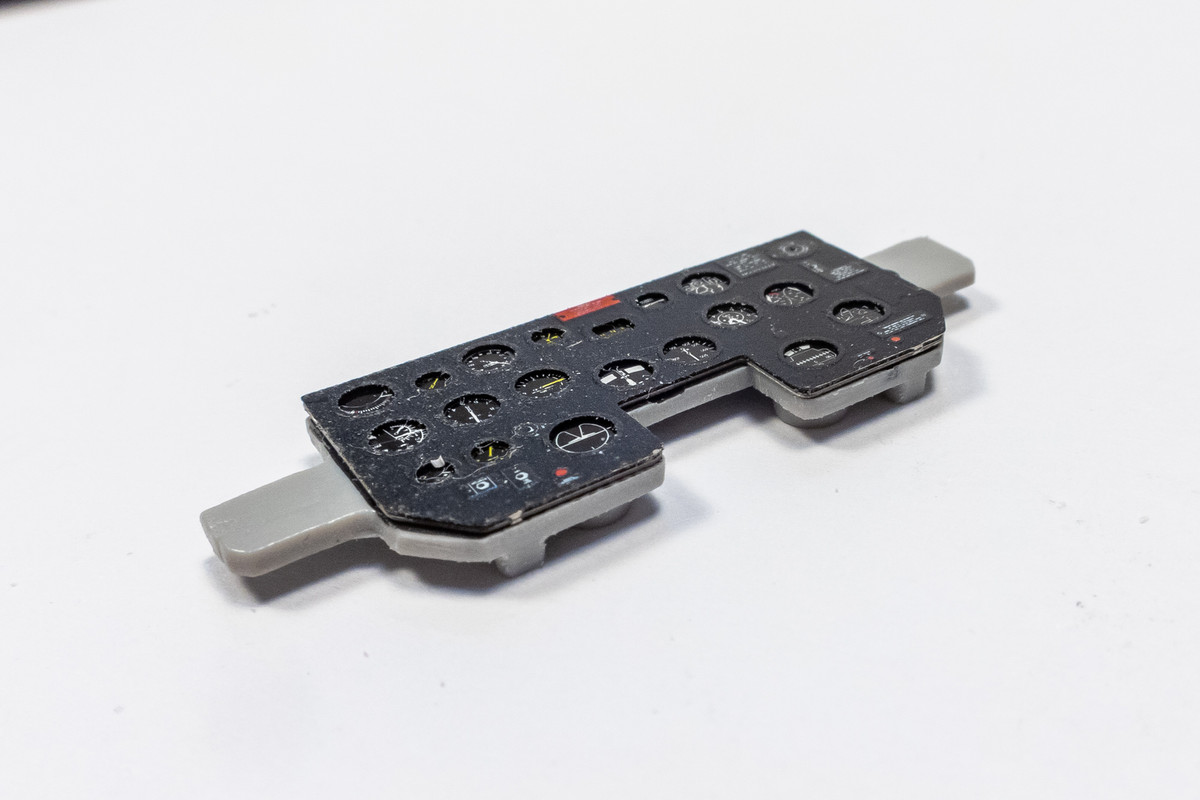
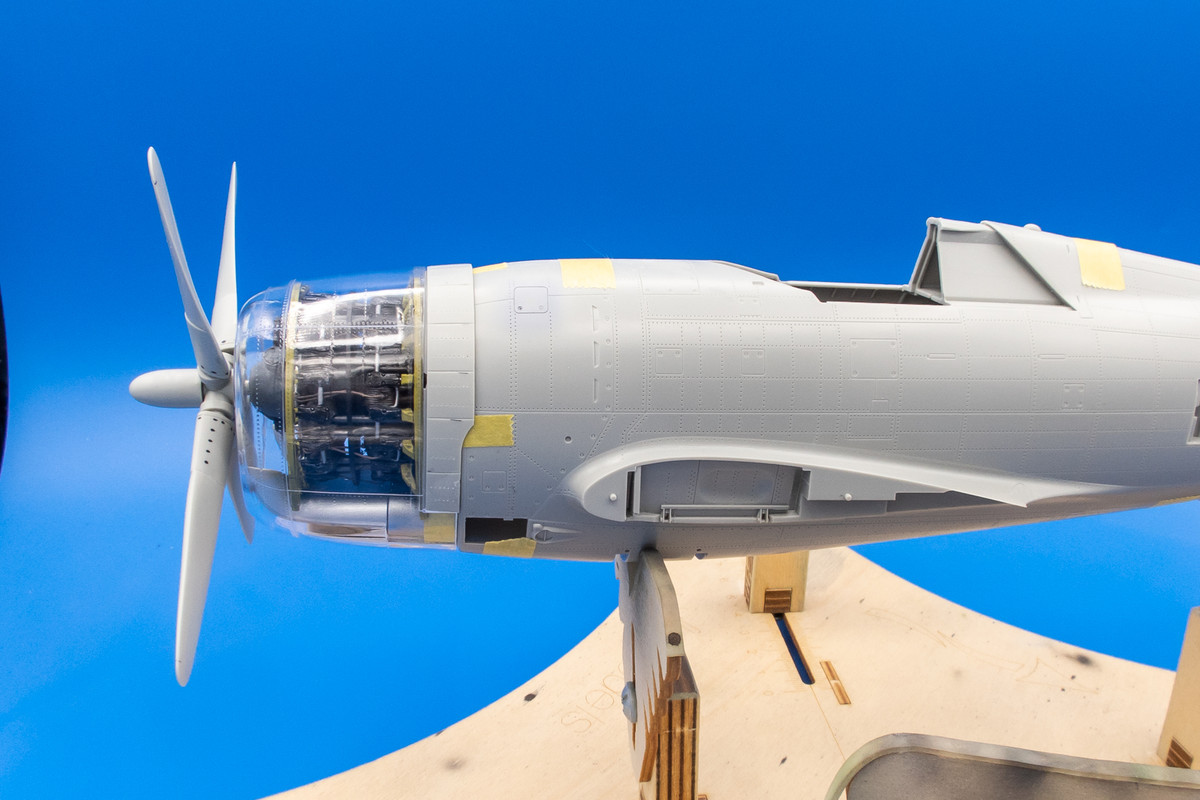
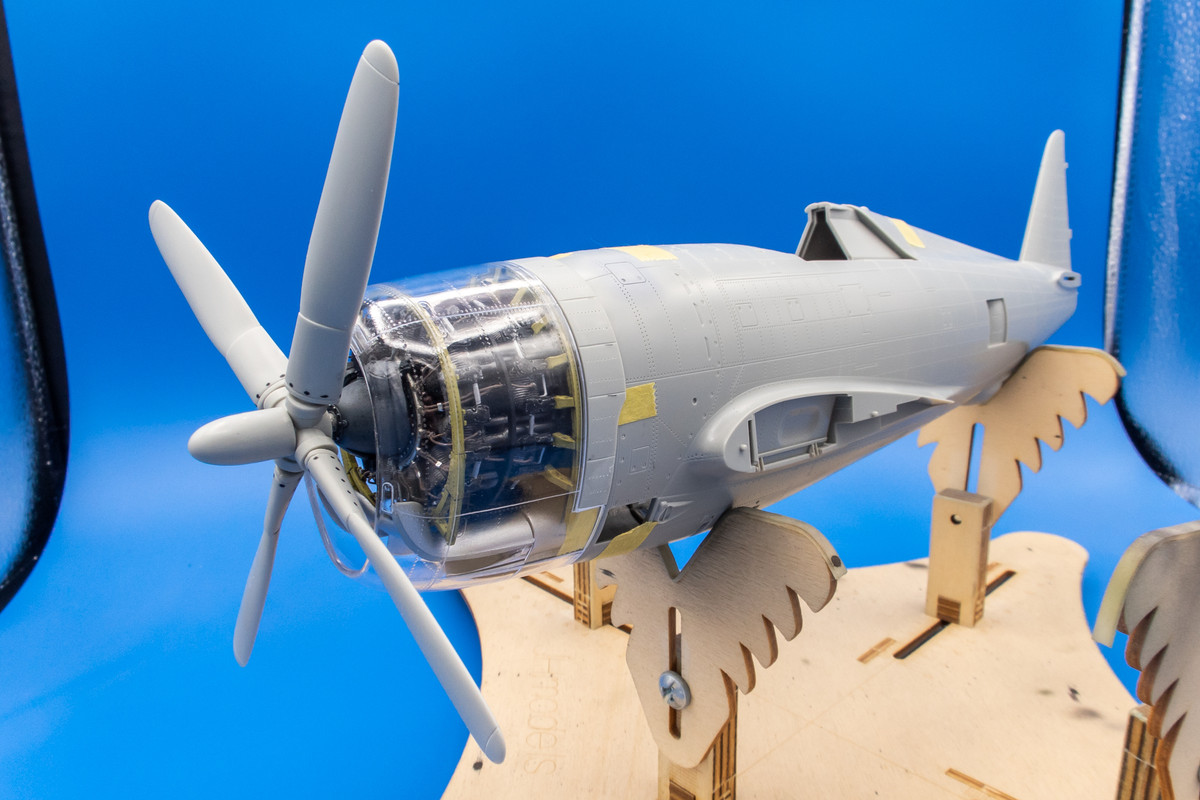
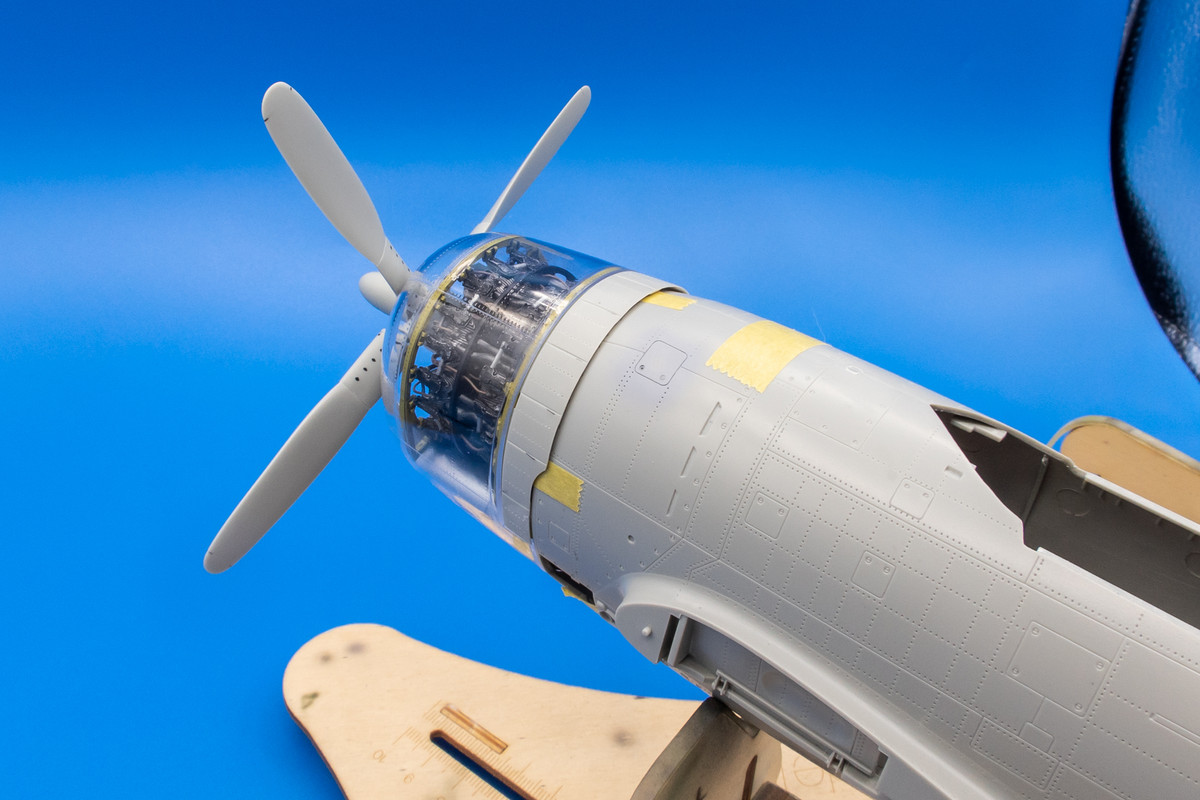
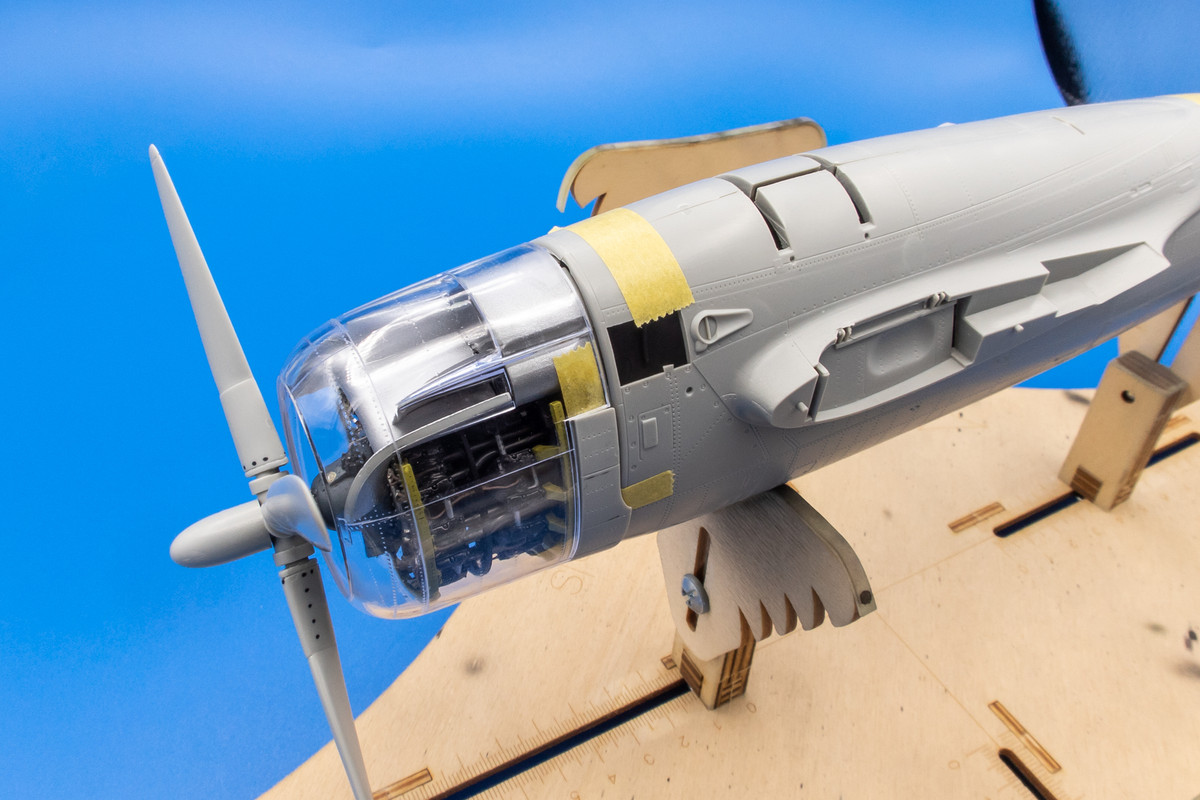
But there is still work to do on the IP including the back.