Monogram De Havilland Mosquito FB VI-Silver wings!
- Gary Brantley
- Elite Member
- Posts: 2738
- Joined: Tue Apr 08, 2014 9:40 pm
- Location: Cameron, Texas
Re: Monogram De Havilland Mosquito FB VI
Thanks for the suggestions, my friends! Carlos, that's probably as close as I will get to the other set.
I may just give that a try, thanks for the tip! 
- Stikpusher
- Moderator
- Posts: 21180
- Joined: Sat Apr 05, 2014 8:37 pm
- Location: Ceti Alpha 5
Re: Monogram De Havilland Mosquito FB VI
You're welcome Gary. Those Carpena decals are good quality. I used them on my Mirage 2000 build many years ago. Have a few more of their sets for other types in my stash.
"Surely I have made my meaning plain? I intend to avenge myself upon you, Admiral. I have deprived your ship of power, and when I swing 'round, I intend to deprive you of your life."
FLSM
FLSM
- Gary Brantley
- Elite Member
- Posts: 2738
- Joined: Tue Apr 08, 2014 9:40 pm
- Location: Cameron, Texas
Re: Monogram De Havilland Mosquito FB VI
They're a done deal! Thanks again! 
Re: Monogram De Havilland Mosquito FB VI
Glad you were able to find decals for the Israeli bird!
John aka JKim
-----------<><

-----------<><

- Gary Brantley
- Elite Member
- Posts: 2738
- Joined: Tue Apr 08, 2014 9:40 pm
- Location: Cameron, Texas
Re: Monogram De Havilland Mosquito FB VI
Thanks, John! Me too!
I've got the FB nose section attached today; It needed some filler on both vertical sides but that wasn't surprising given the ancient age of the kit. Also, worked on the wing top to bottom fit getting ready to sew them up soon.
- Gary Brantley
- Elite Member
- Posts: 2738
- Joined: Tue Apr 08, 2014 9:40 pm
- Location: Cameron, Texas
Re: Monogram De Havilland Mosquito FB VI
Time for a little update! I've been attacking that Mossie in fits and starts but I finally have made progress. The horizontal stabilizers/tailplanes are both on and their fit to the fuselage was as one might expect-bad. I worked on both for a long time just to get them as close as you see here:
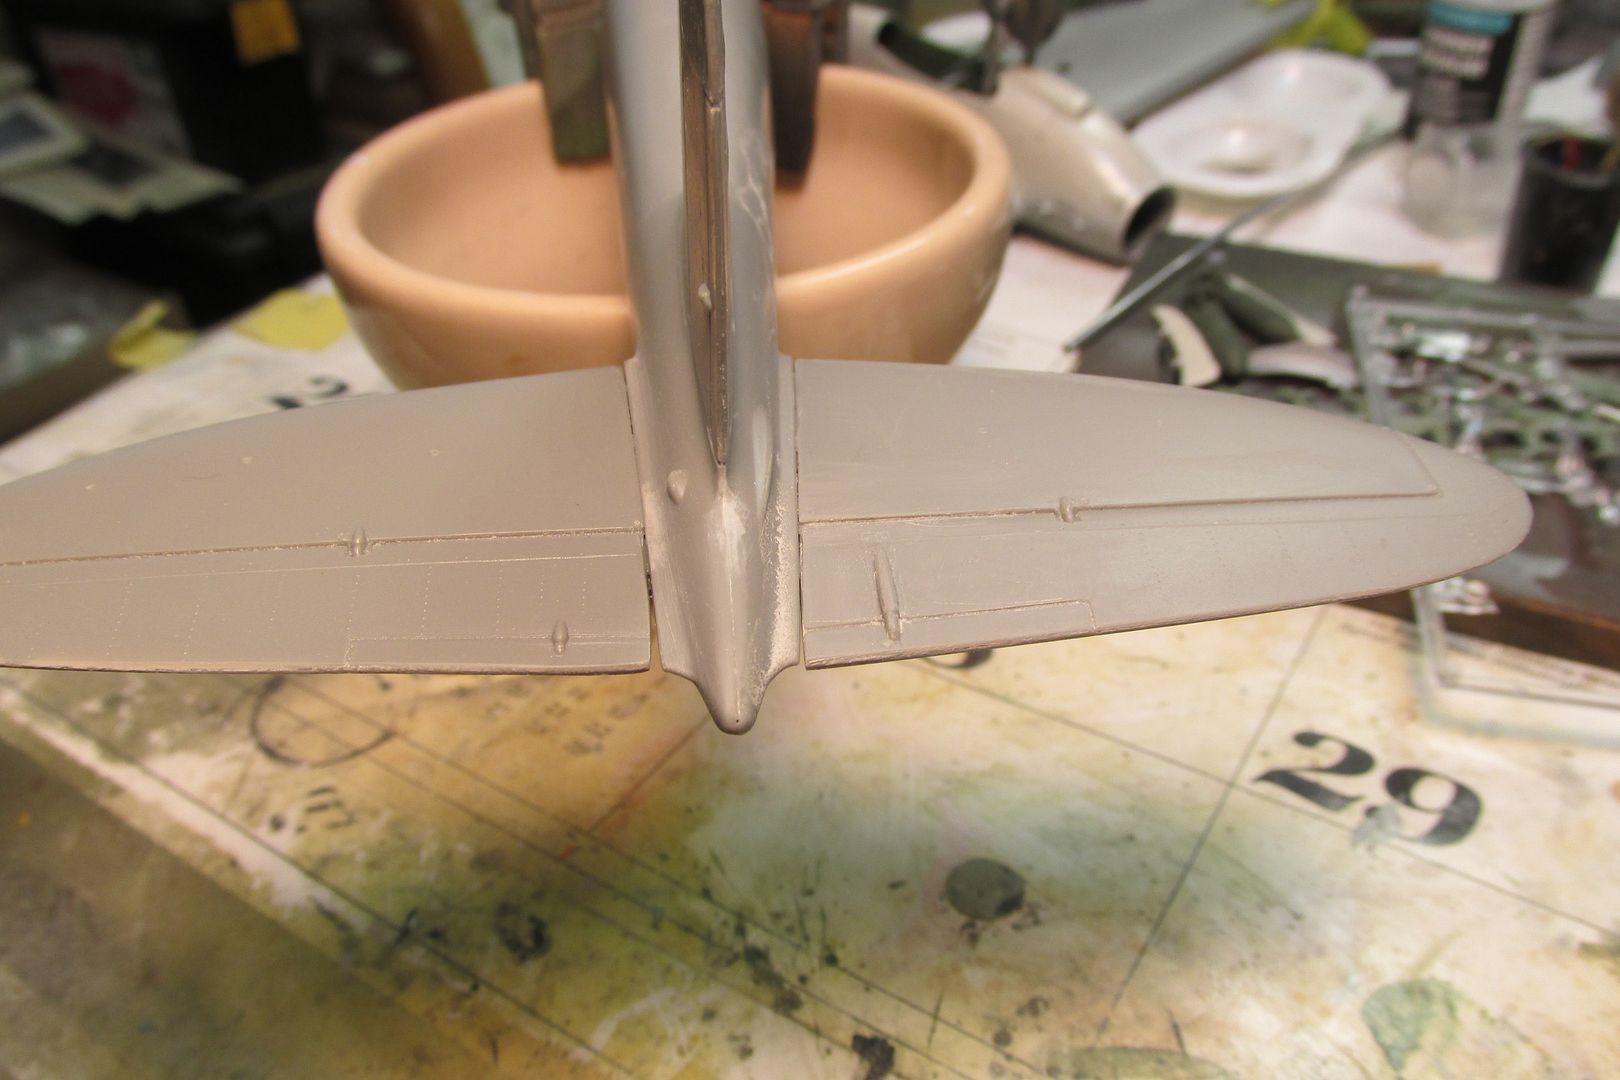
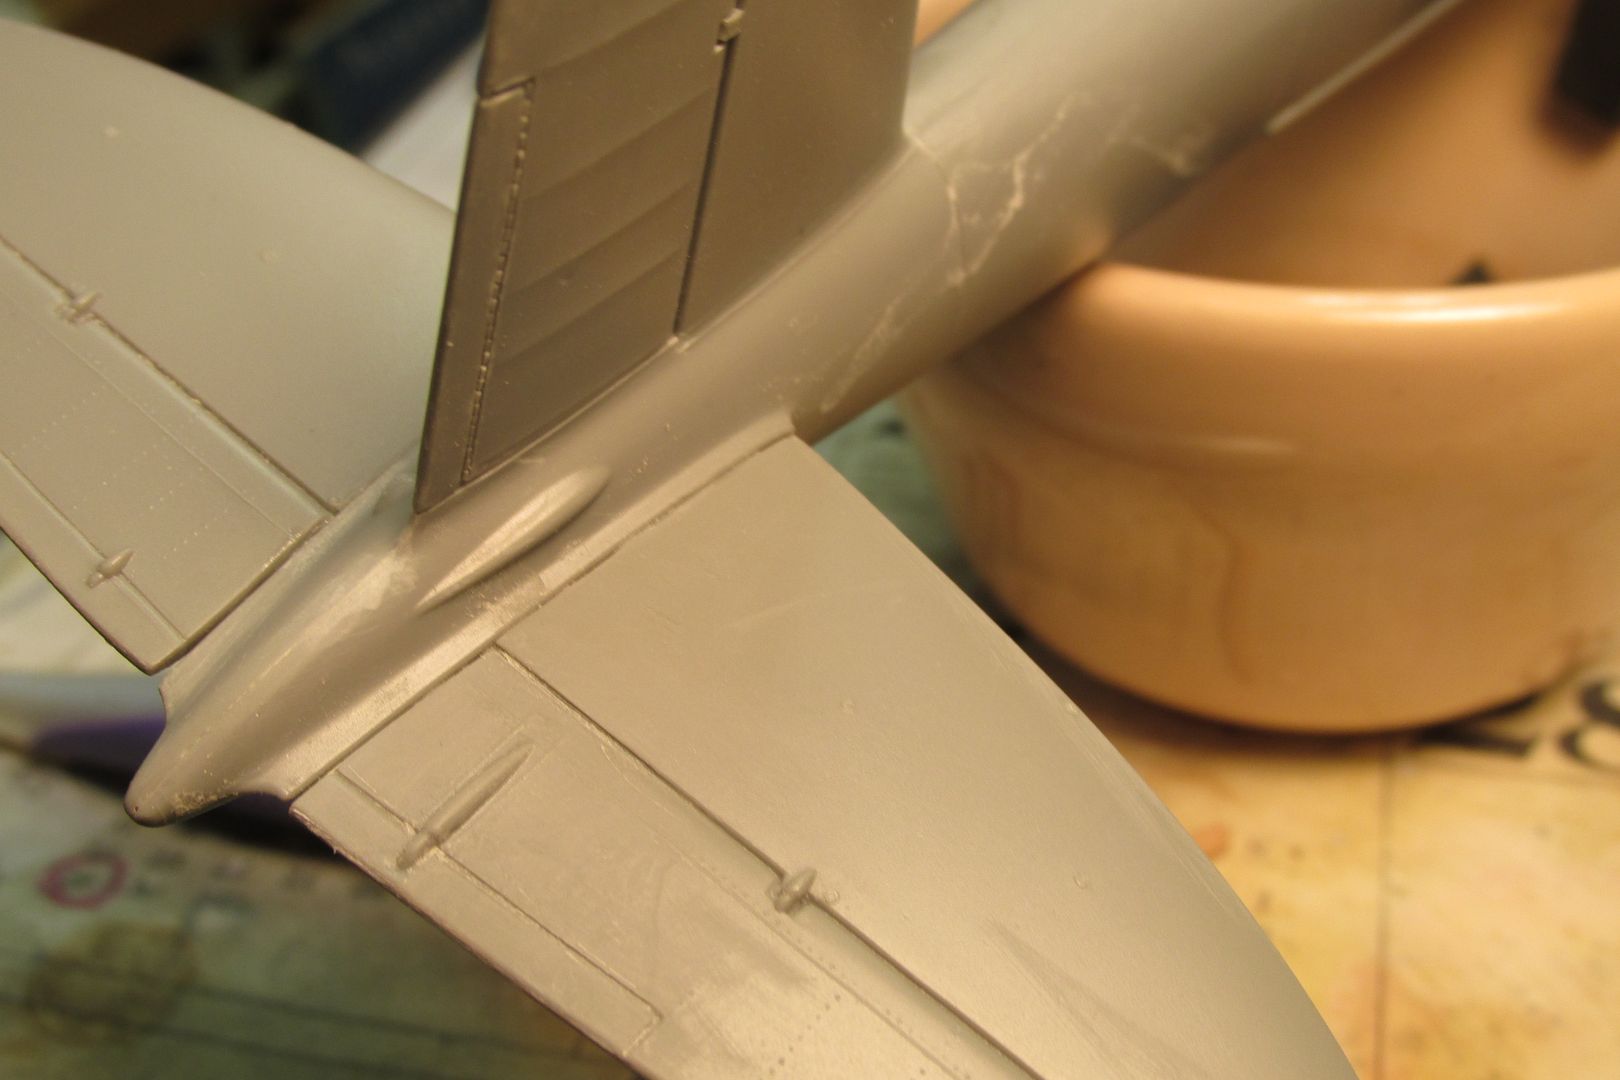
This morning, I worked on those gaps with some Mr. Surfacer 500. My jar is getting fairly old and it's really getting gummy. I'll need to replace it with something fresher soon. I applied the much-thinned filler with a brush and after a few minutes, I wiped it clean with Paint Leveling Thinner moistened cotton buds. I still need a tiny bit of sanding at the leading edge to fuselage joint.
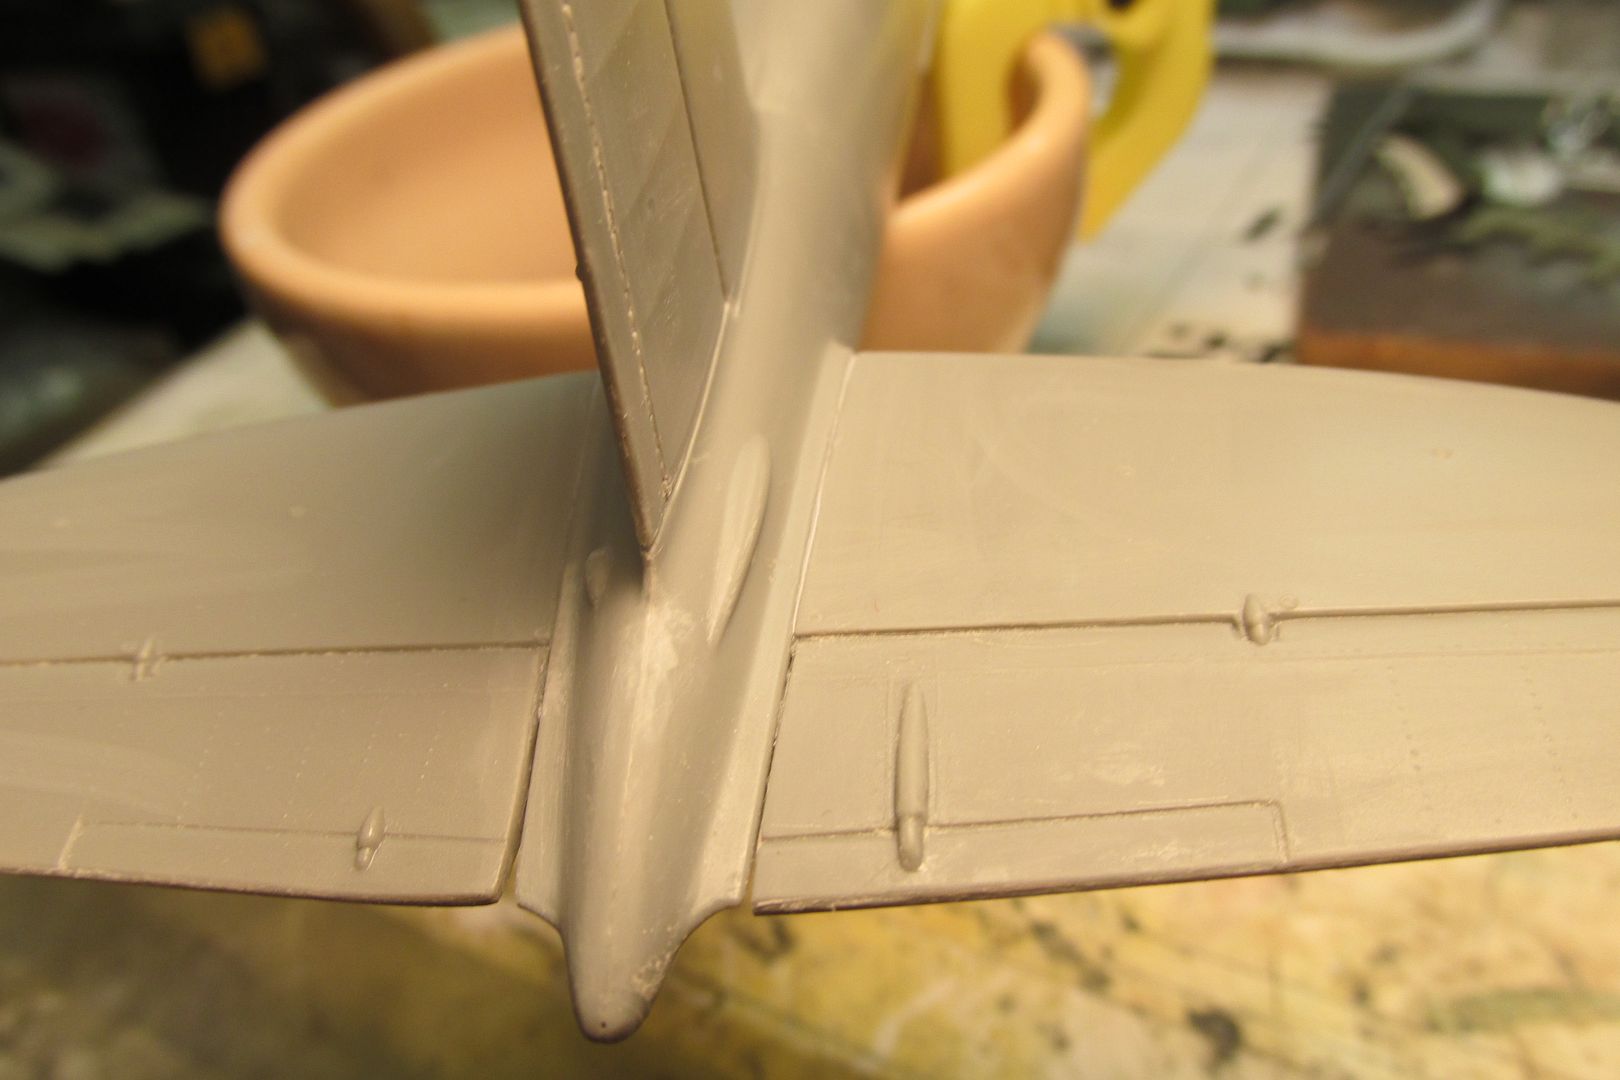
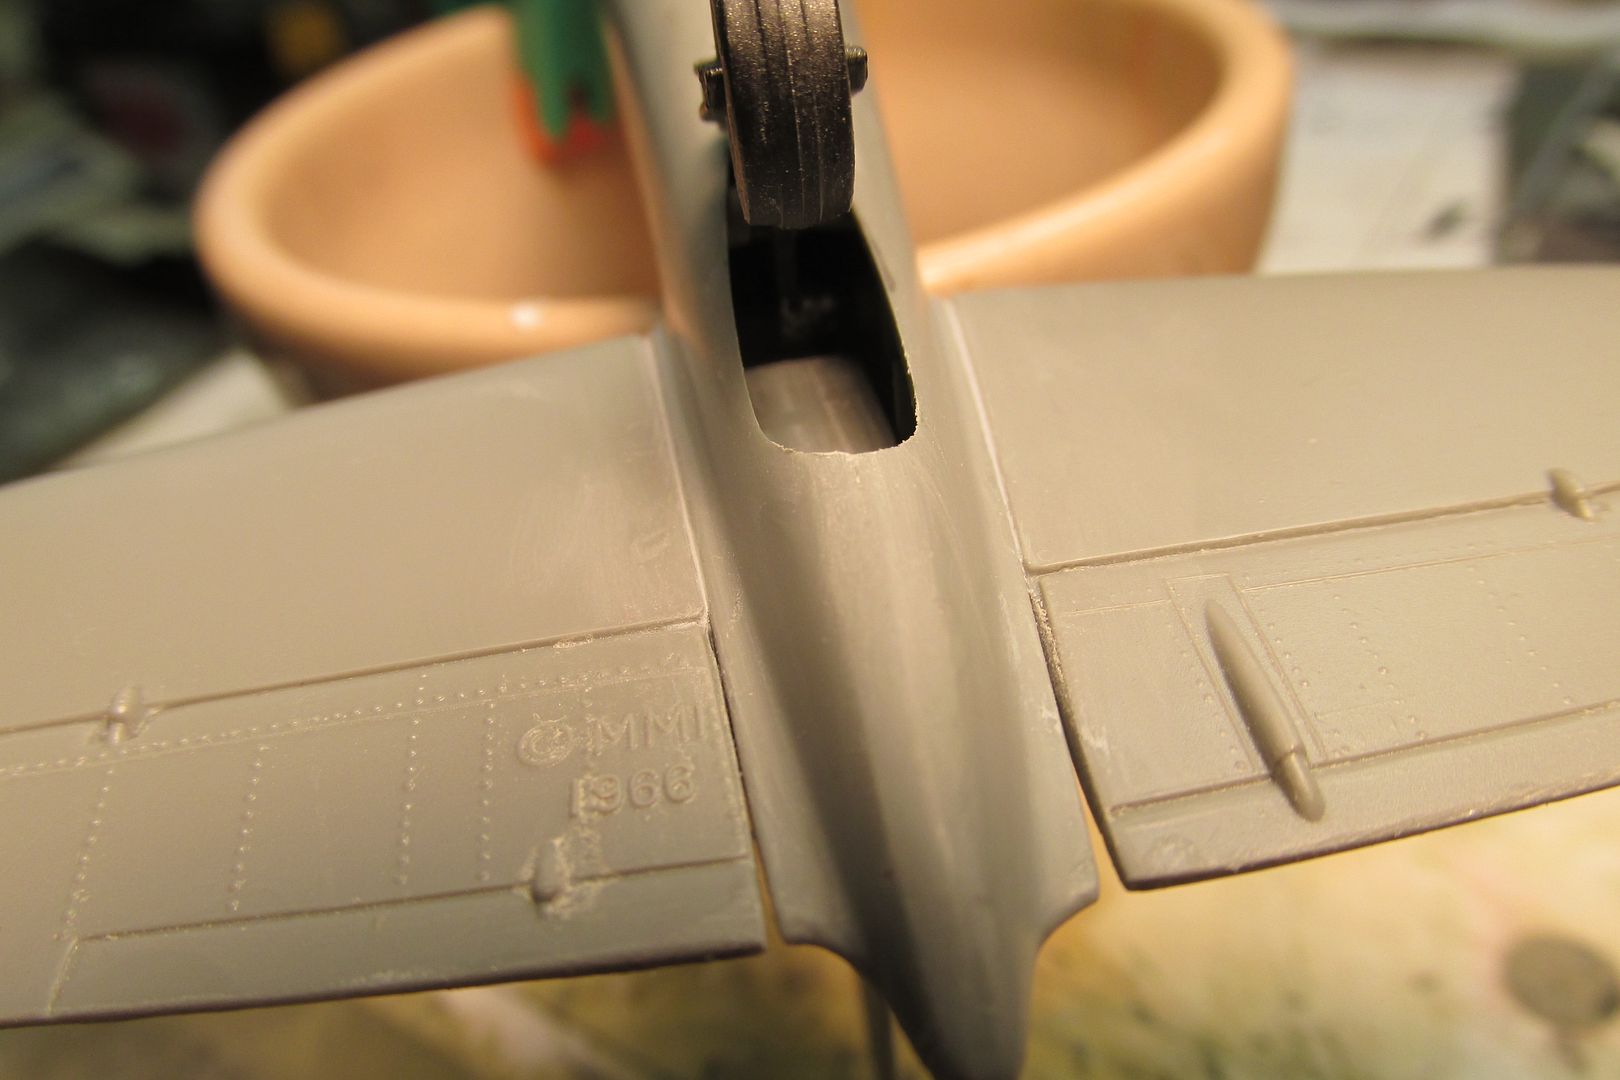
note the date on the lower, starboard stabilizer; usually I sand those off but on this old icon, I thought it would be a good tribute to its age!

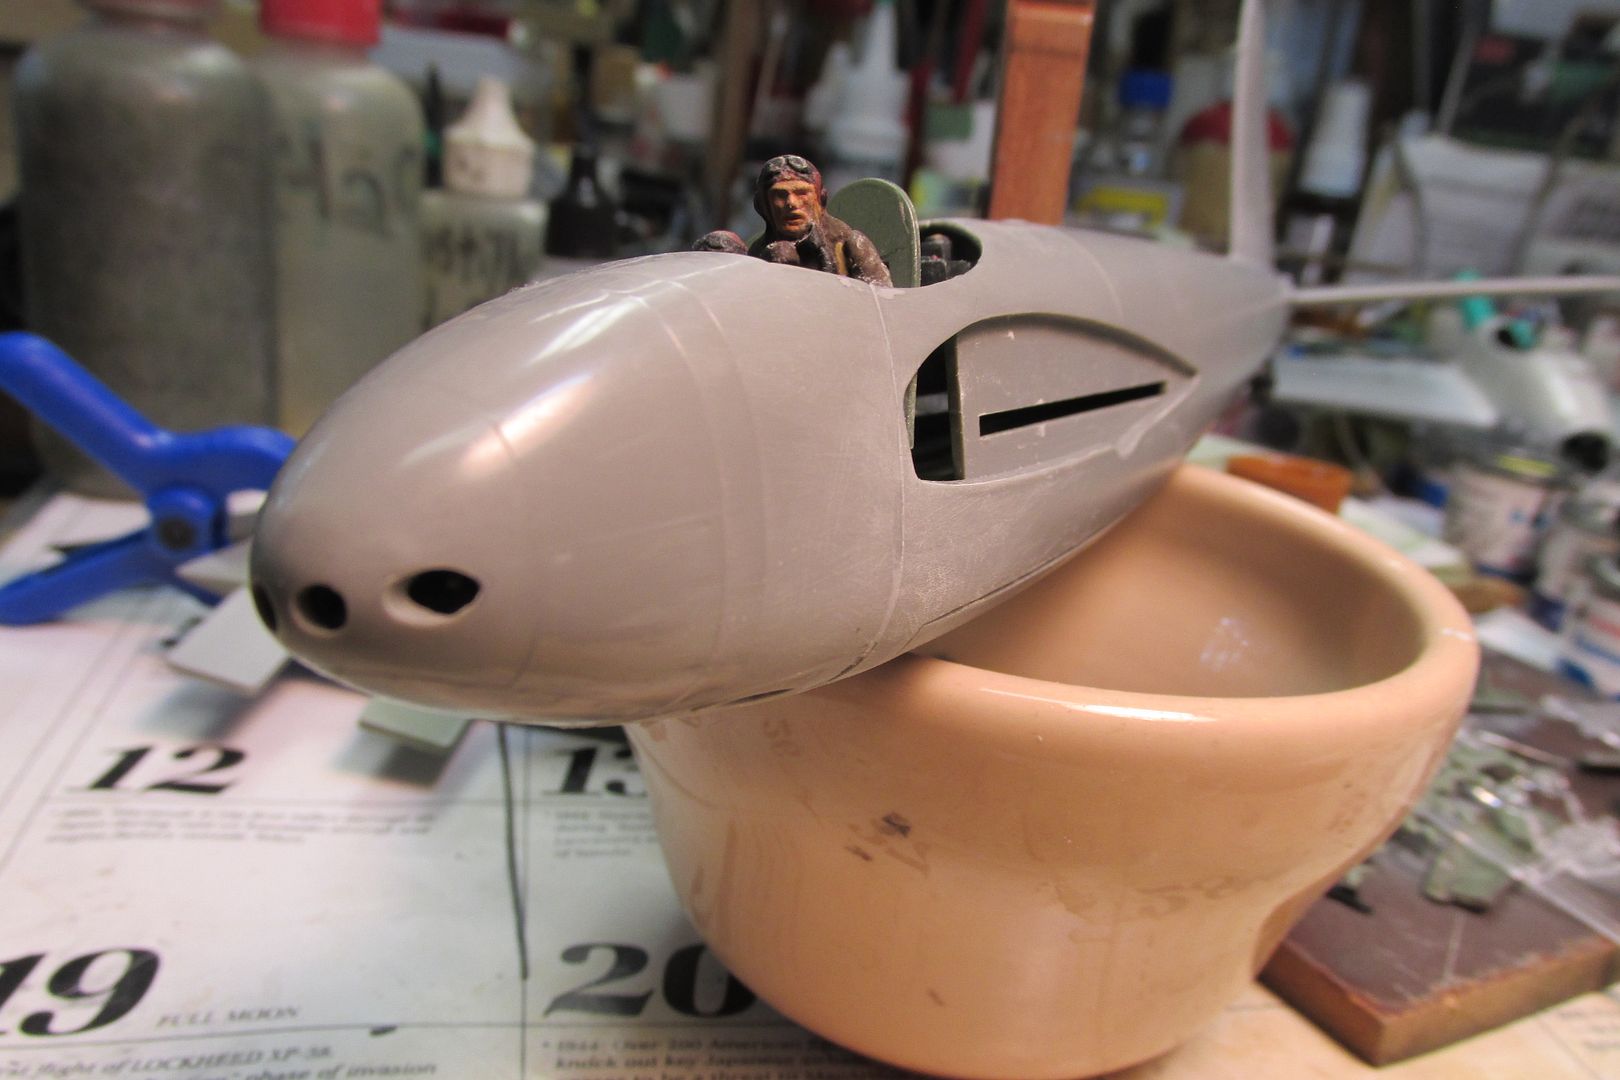
I used the same filler for the joint where the fighter-bomber nosecap meets the fuselage. The fit wasn't terrible, just regular old Monogram bad. After much sanding, both side look and feel okay; I won't know more until it gets some primer. It's well that this isn't a NMF or even silver-dope bird because I suspect it would be tough getting a perfect, smooth surface.
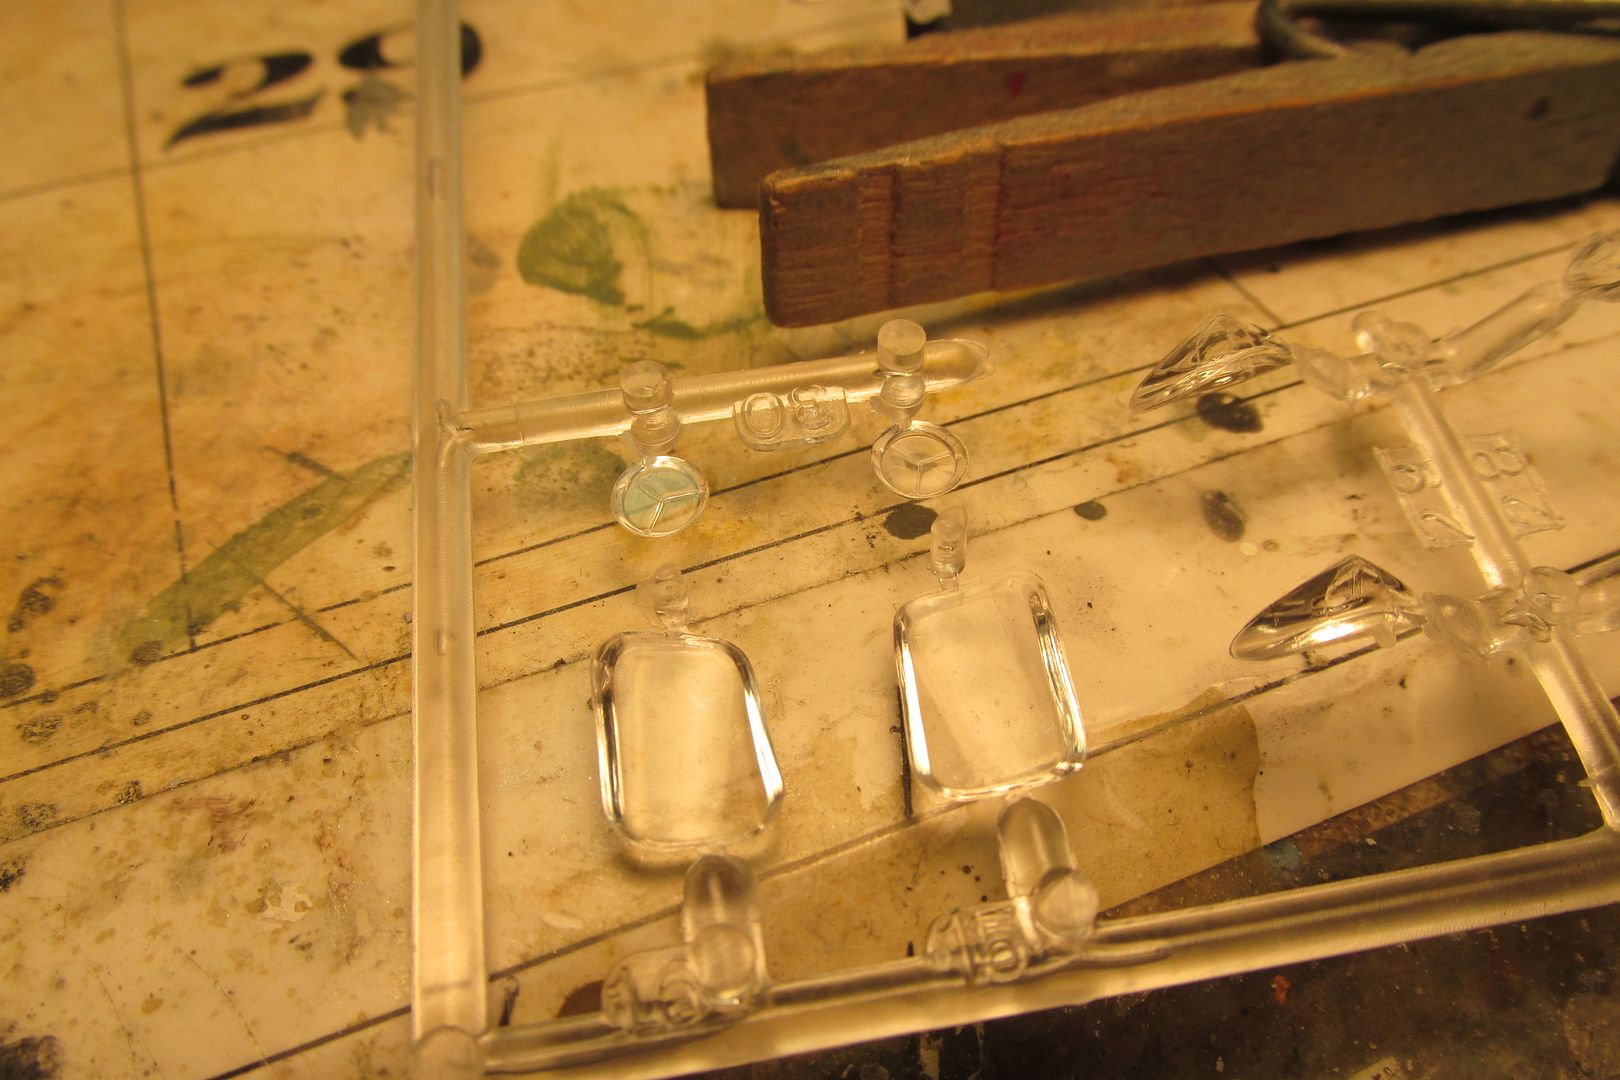
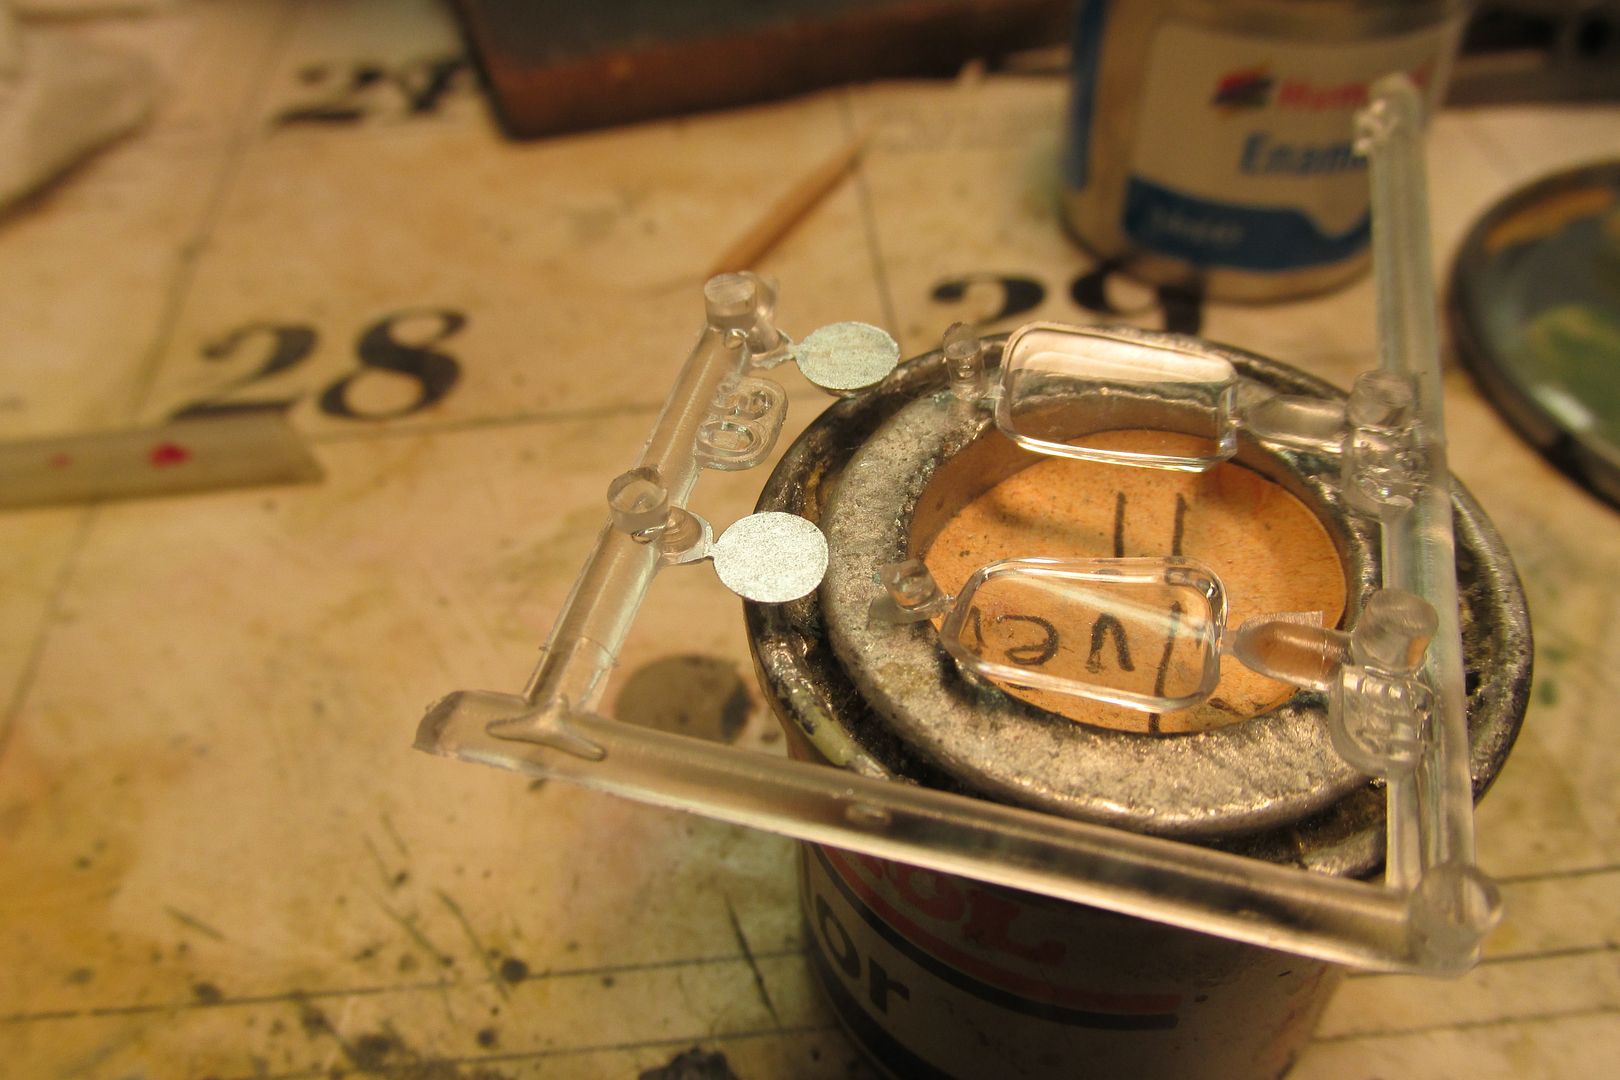
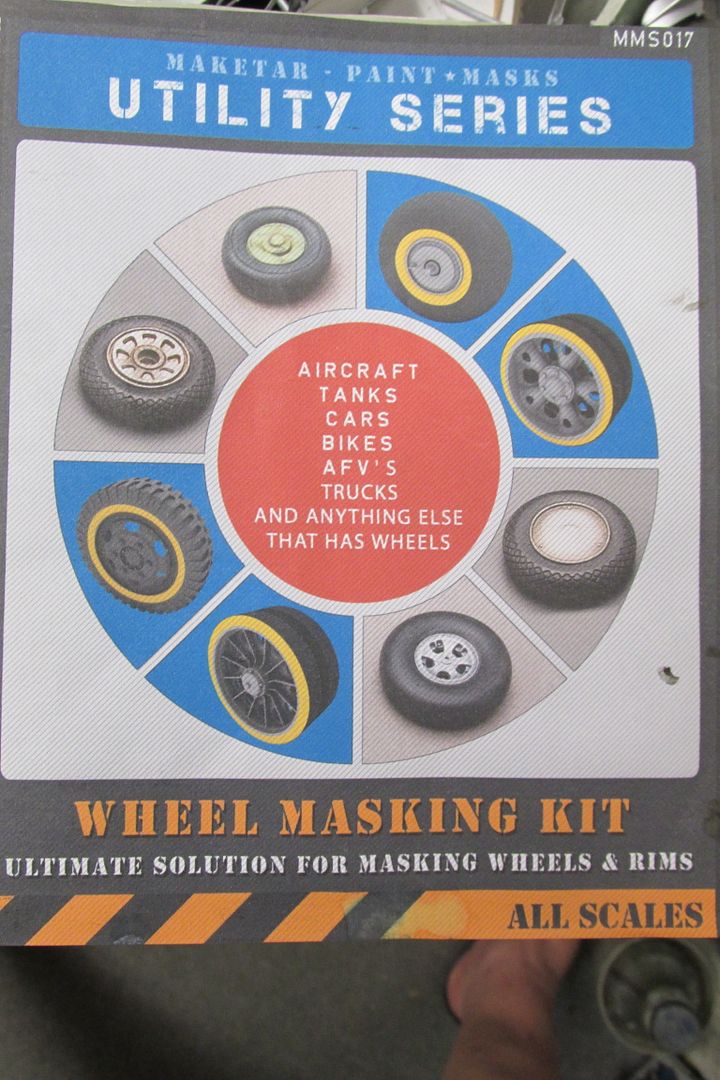
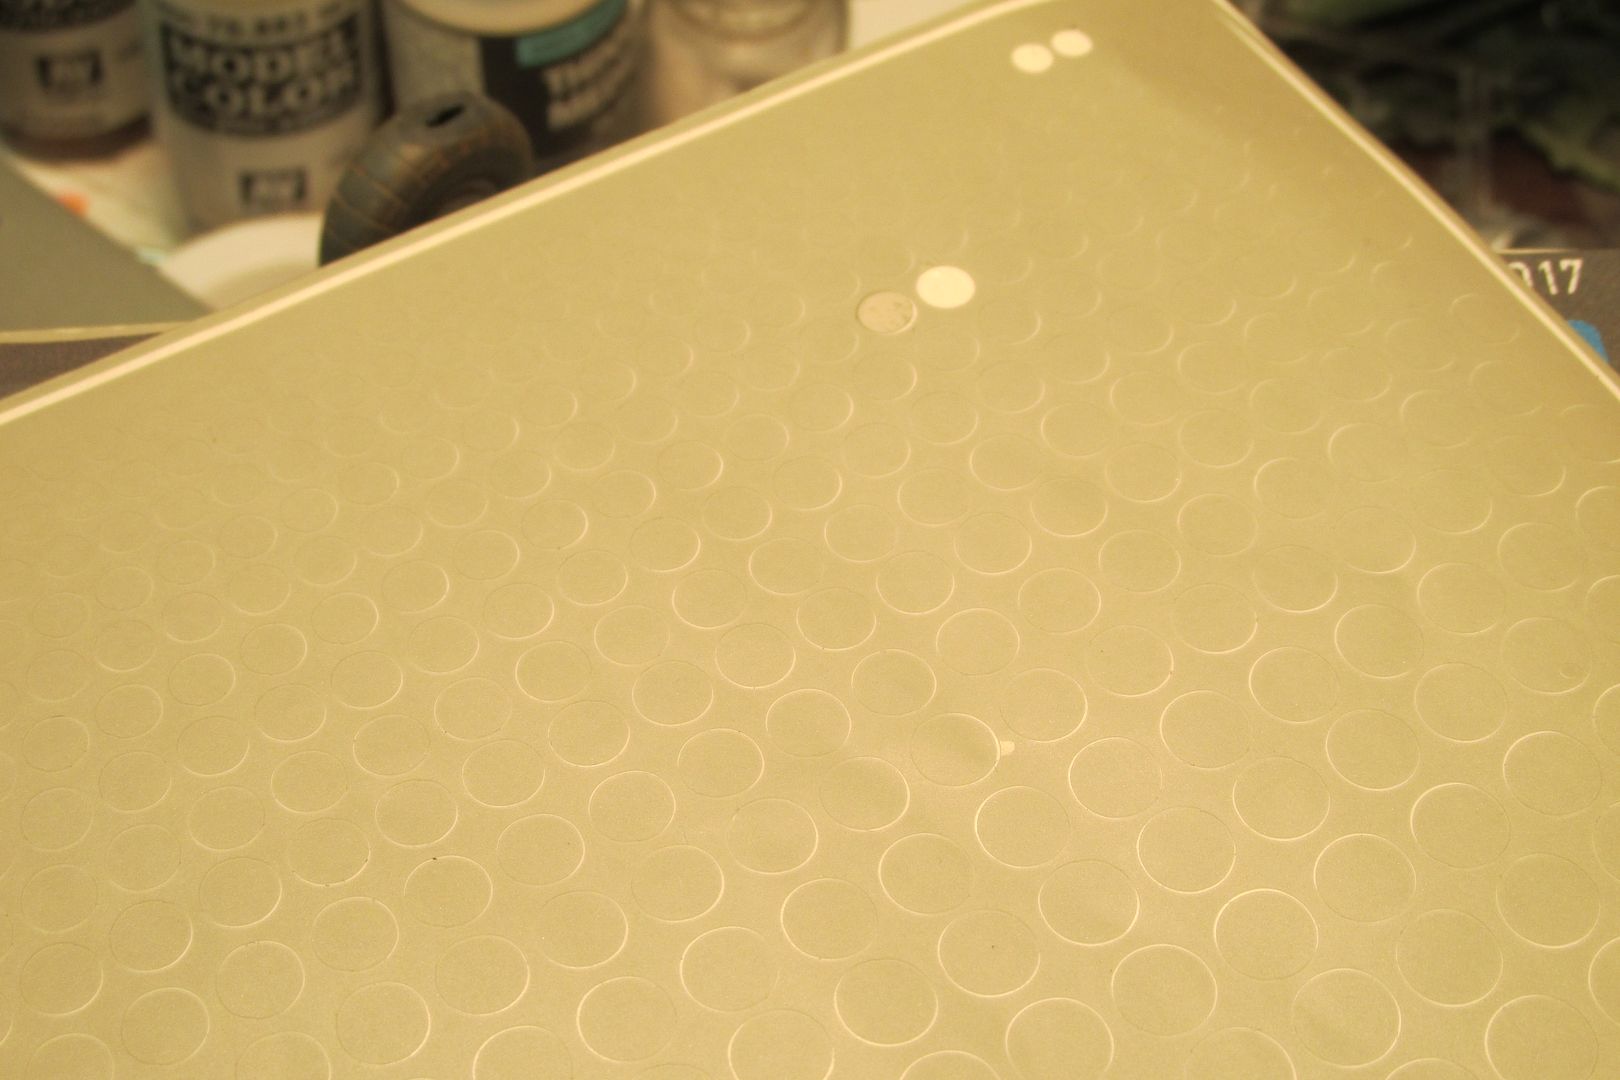
The underwing landing lights are designed to be installed from the inside. I decided to paint their backsides silver and then mask them off from the outside for painting. I cheated and brushed them with Humbrol Silver #11. That's always been my "go to" paint for landing gear oleos and anything else that needed to be a bright silver. I have a newer tin of the #11 that isn't silver at all, but a very pale gray. Obviously, something was left out of that batch! Fortunately, my very old tin of the stuff was still viable although really thick by now. Several years ago, I bought a wheel masking set from Maketar. And so far, I've never found a scale model airplane wheel that they fit. But, one of the small masks is a perfect fit for the landing light lens.
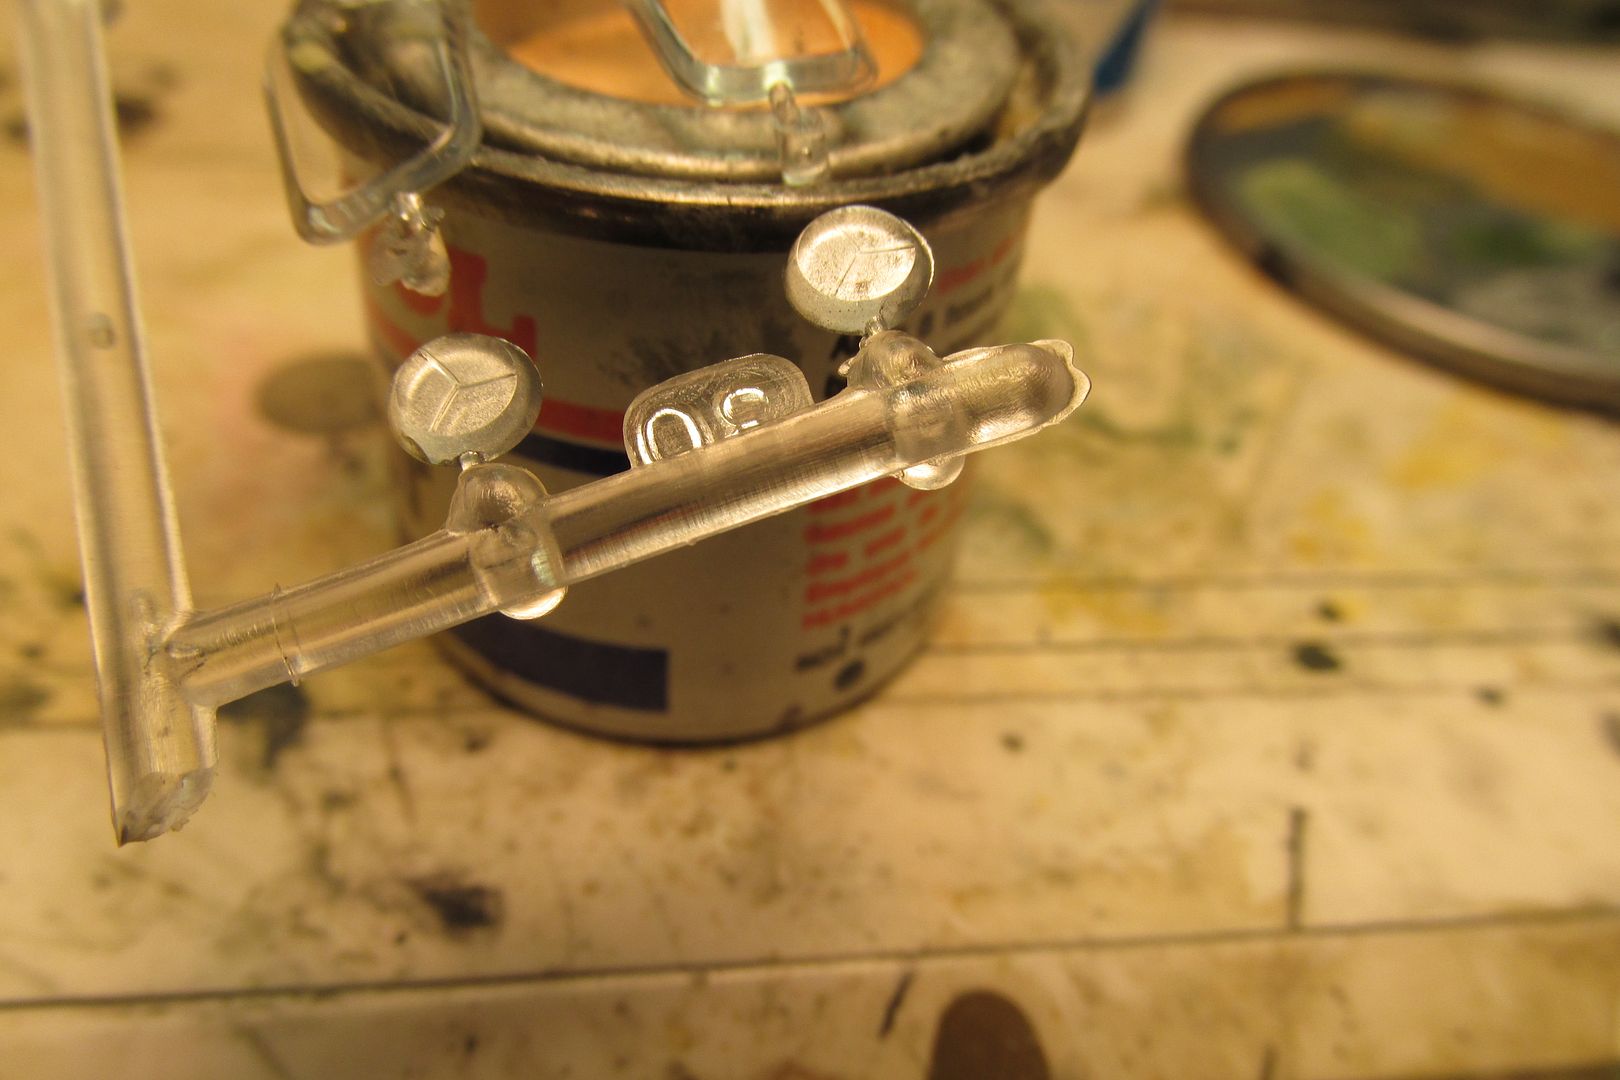
And the outer view of the lens:
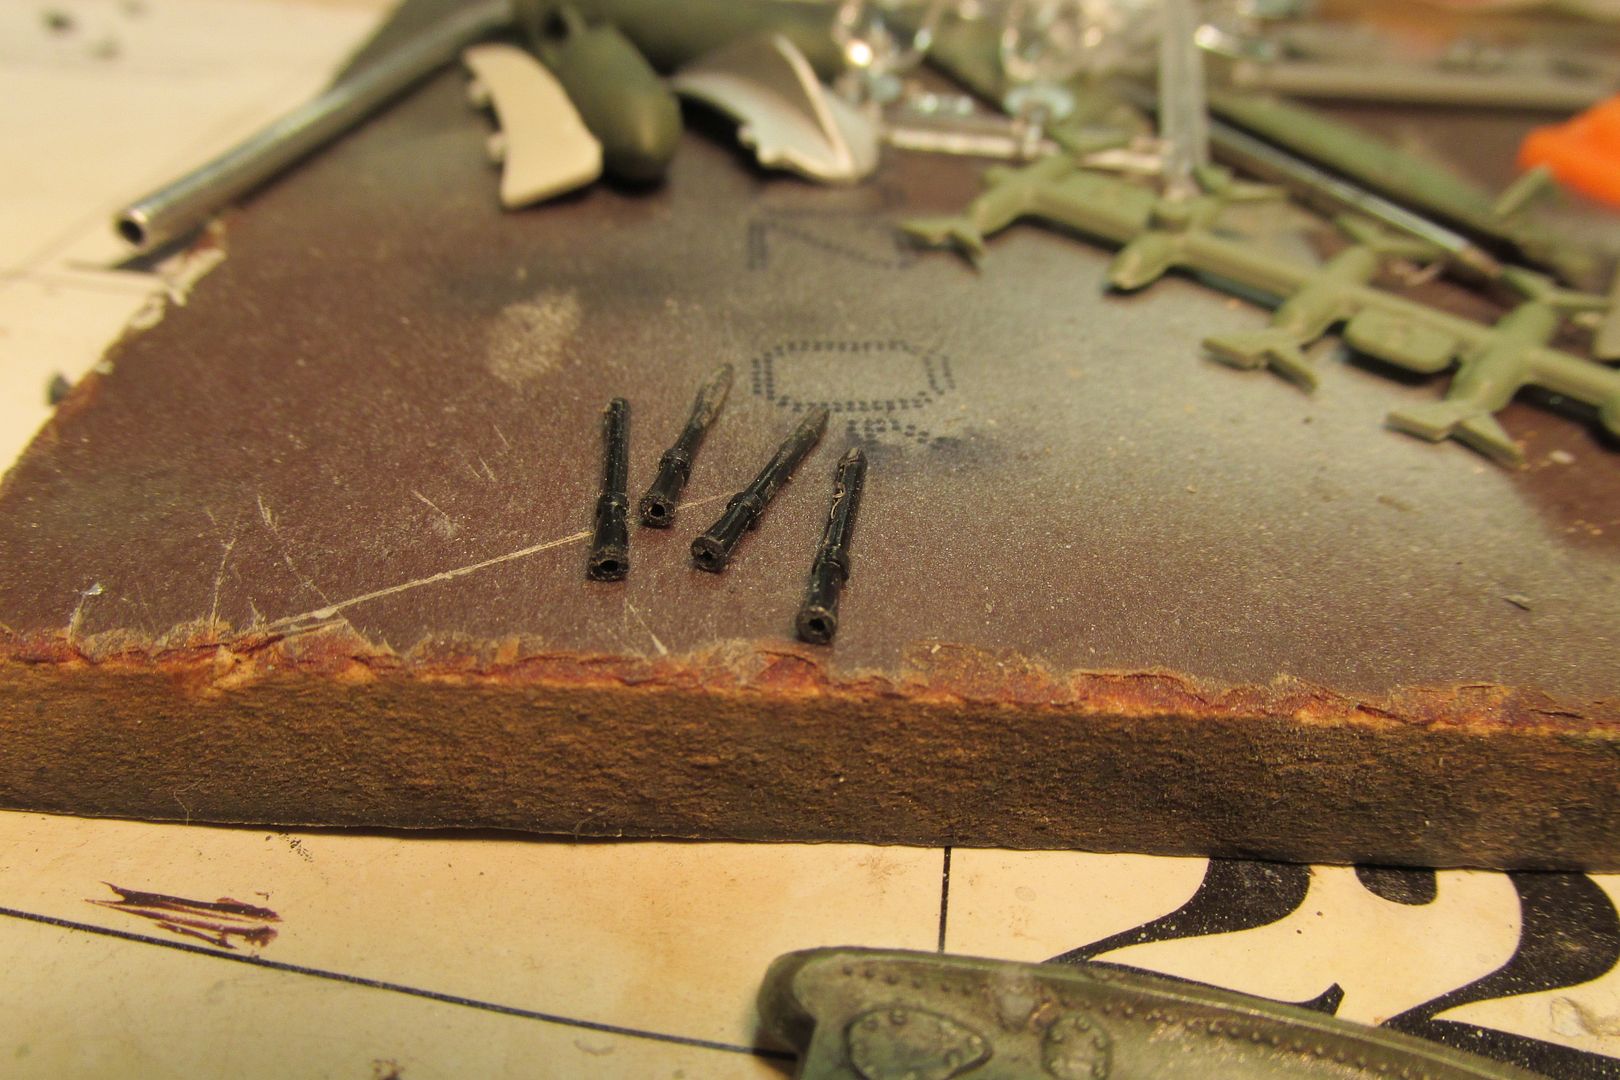
I also finally got around to drilling out the ends of the nose machine guns. They still need a lil' cleanup before painting them:
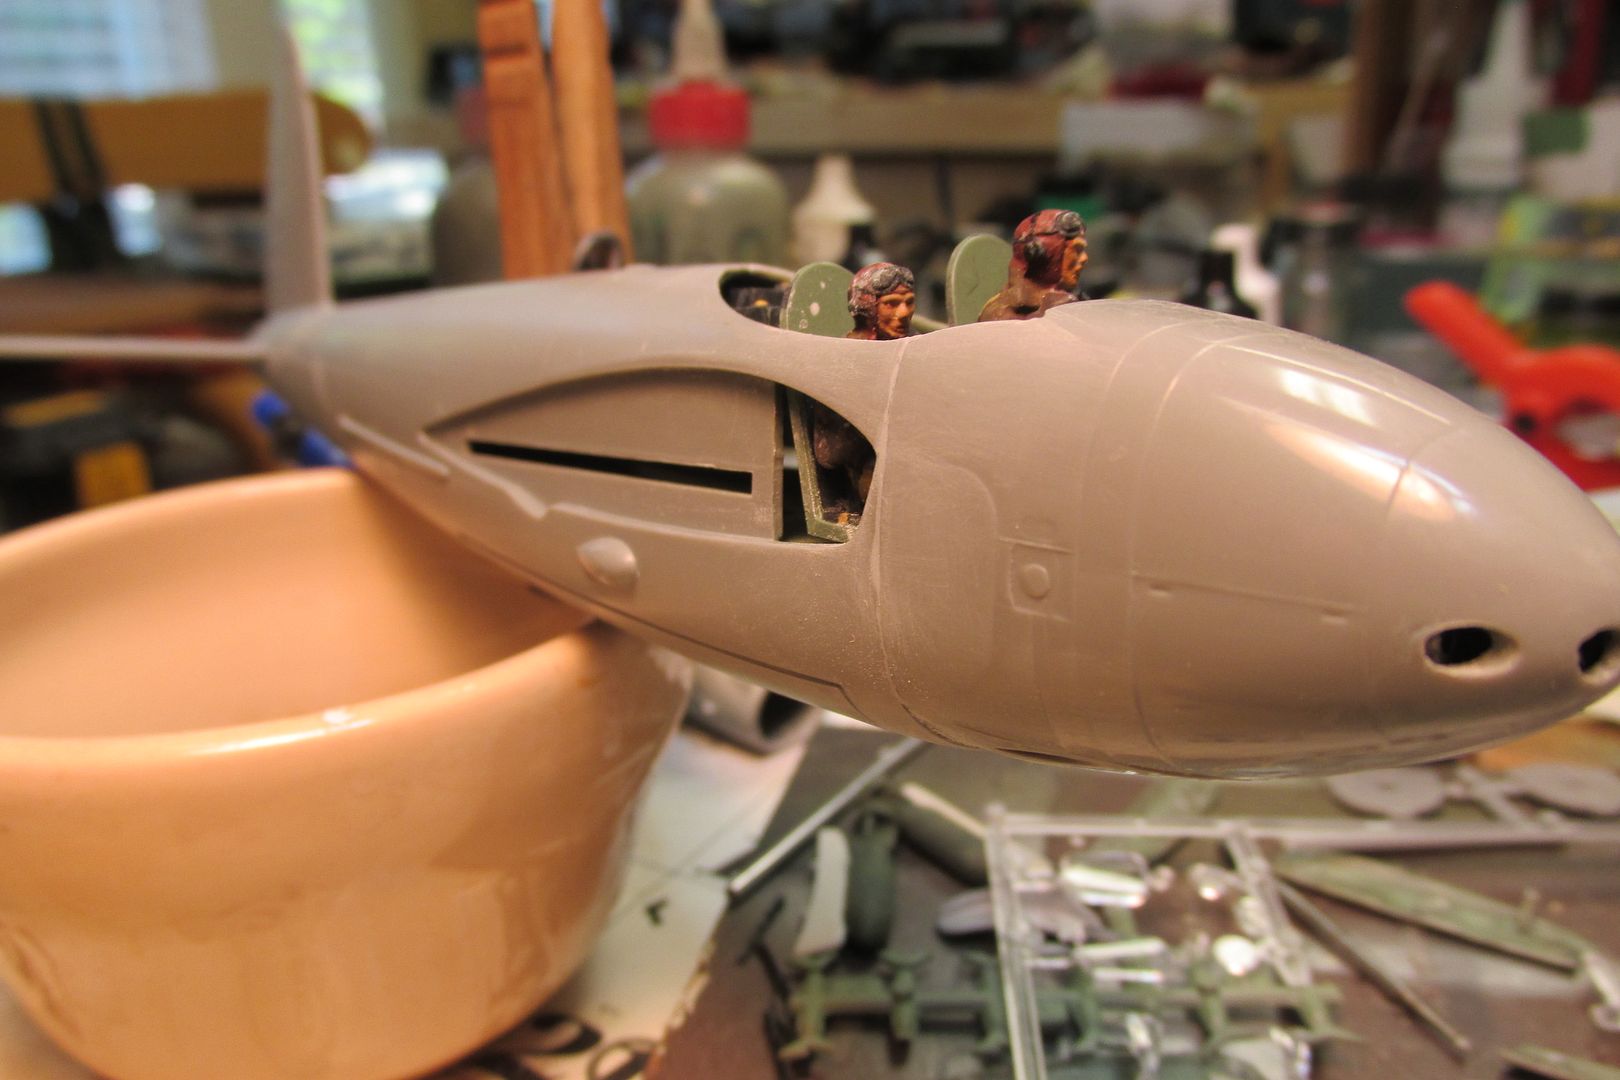
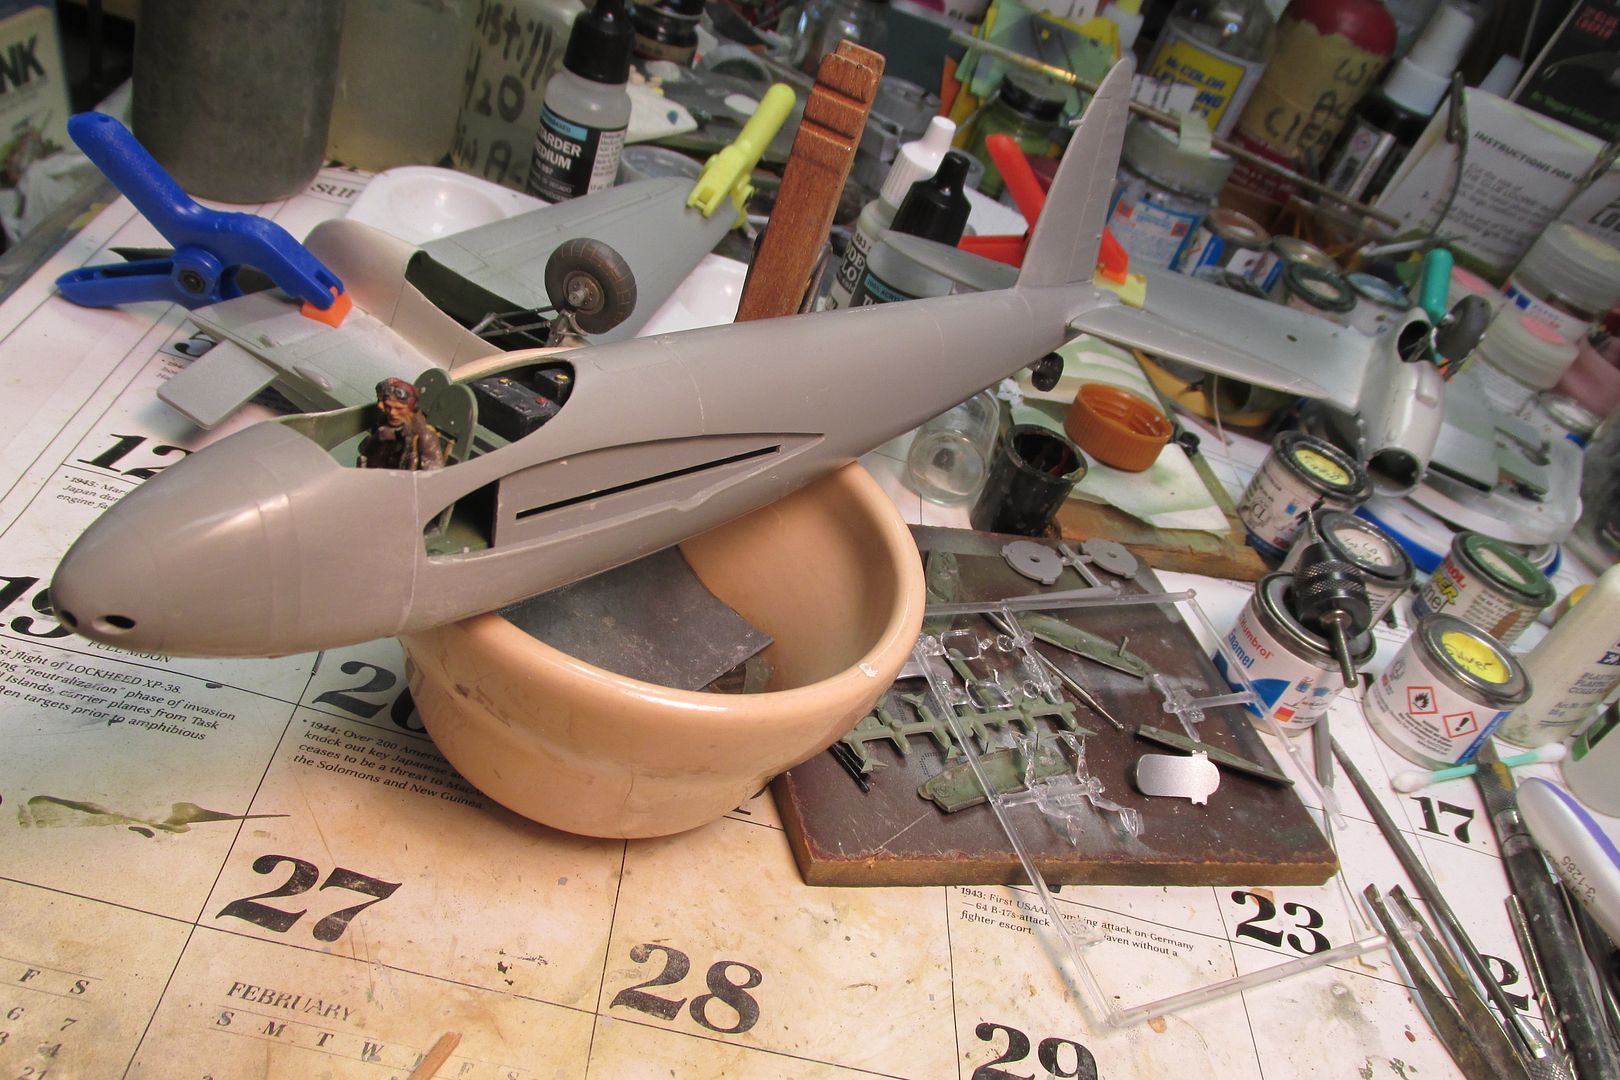
I'm ready now to close up the wing halves and get them ready to attach to the fuselage. That will be the next, "big" step. I plan to use the bomber version's canopy to mask the cockpit for painting. The pilot fell out during the photo shoot and both figures needed a bit of touch up paint. The pilot is now back aboard and that's where she stands now.
Without her wings, the aircraft has a definite "Flight of the Phoenix" vibe going!
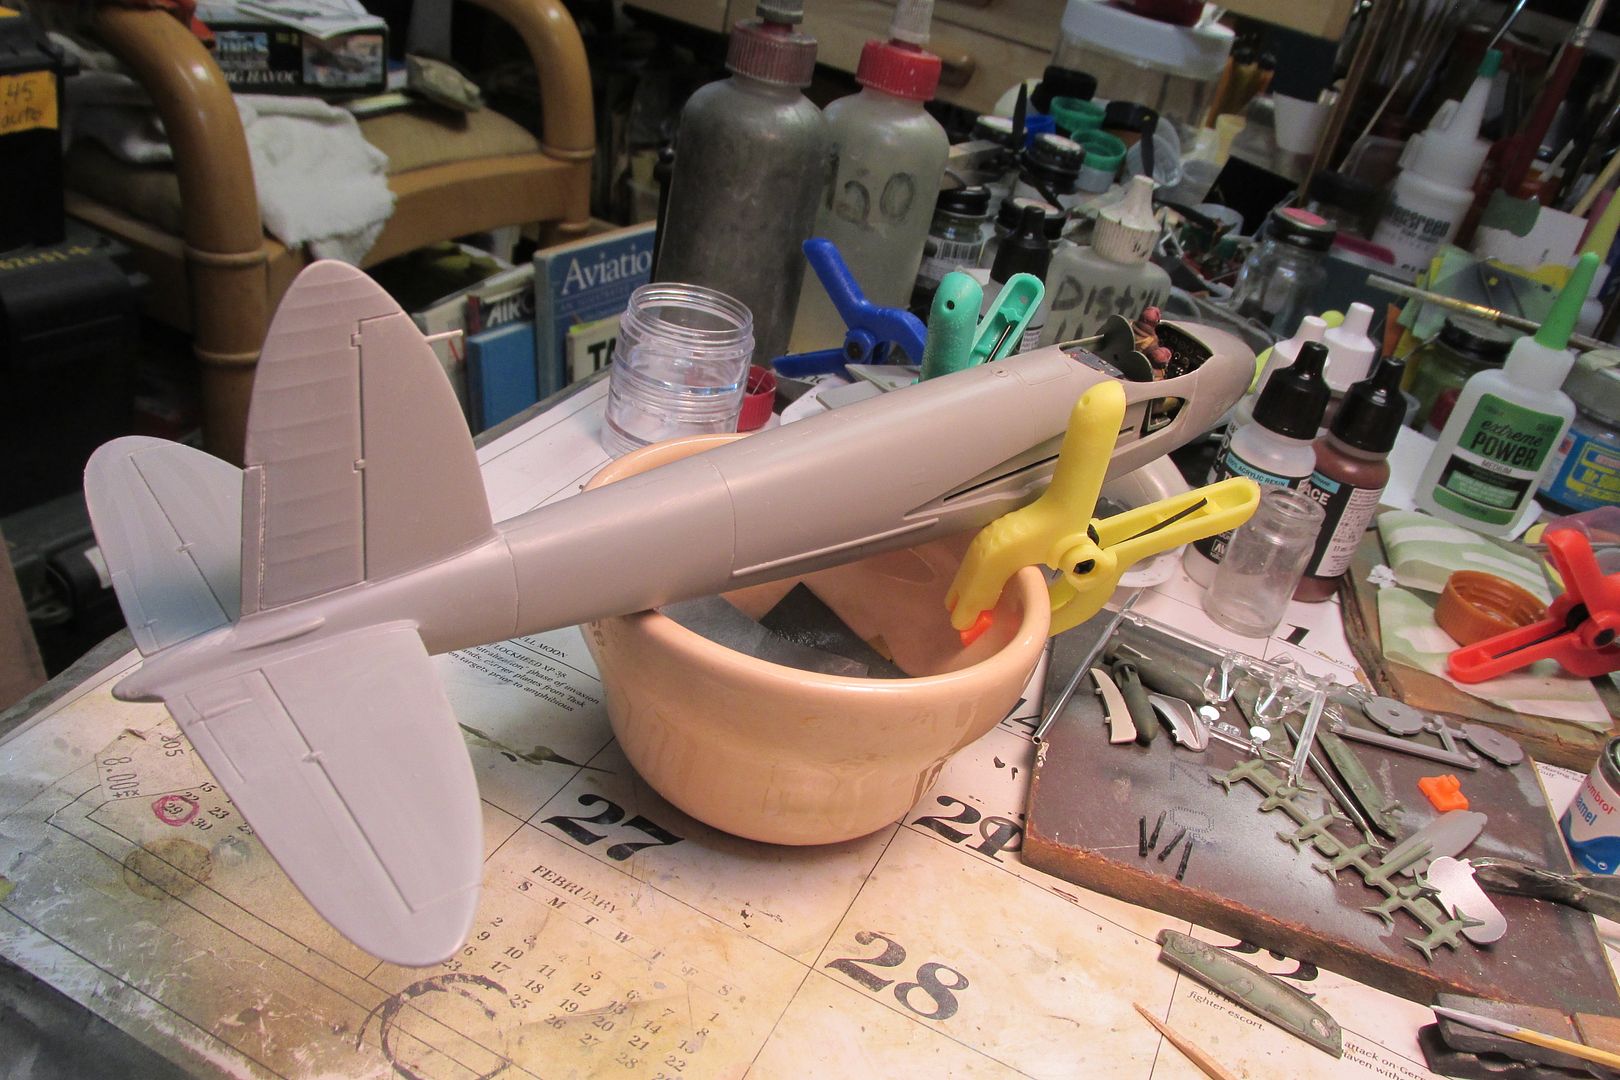
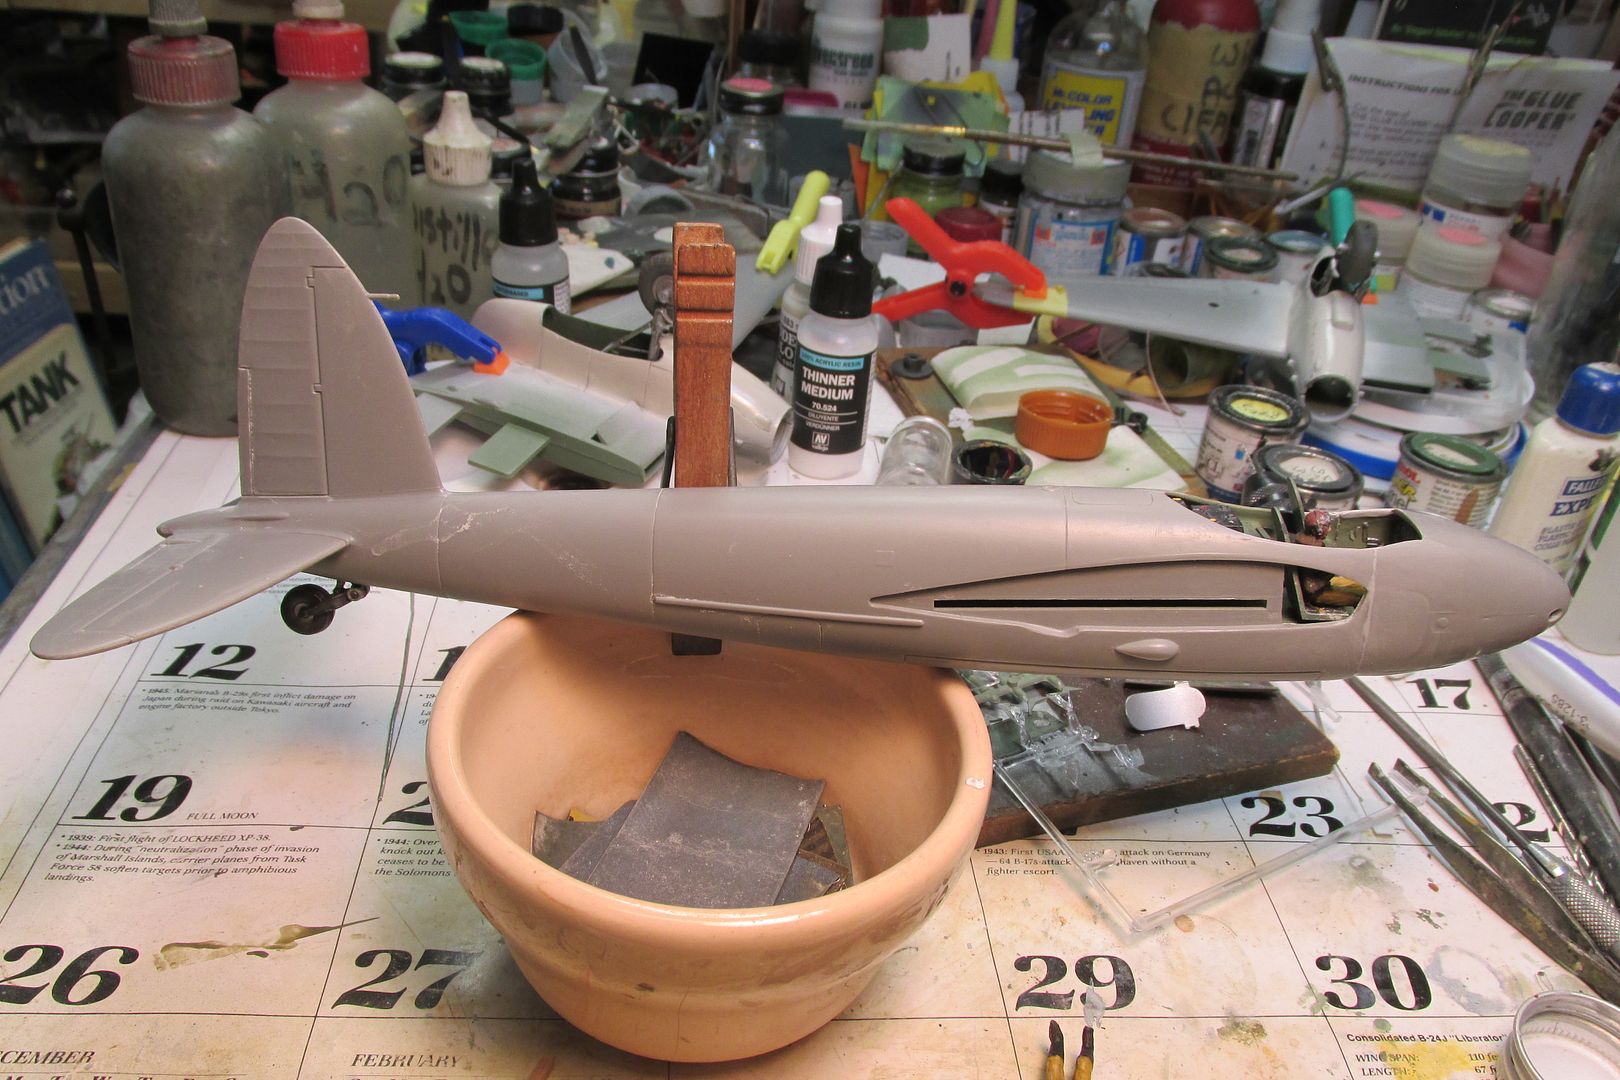
Okey dokey, that's all I've done thus far. Thanks for your interest and for stopping in!
This morning, I worked on those gaps with some Mr. Surfacer 500. My jar is getting fairly old and it's really getting gummy. I'll need to replace it with something fresher soon. I applied the much-thinned filler with a brush and after a few minutes, I wiped it clean with Paint Leveling Thinner moistened cotton buds. I still need a tiny bit of sanding at the leading edge to fuselage joint.
note the date on the lower, starboard stabilizer; usually I sand those off but on this old icon, I thought it would be a good tribute to its age!
I used the same filler for the joint where the fighter-bomber nosecap meets the fuselage. The fit wasn't terrible, just regular old Monogram bad. After much sanding, both side look and feel okay; I won't know more until it gets some primer. It's well that this isn't a NMF or even silver-dope bird because I suspect it would be tough getting a perfect, smooth surface.
The underwing landing lights are designed to be installed from the inside. I decided to paint their backsides silver and then mask them off from the outside for painting. I cheated and brushed them with Humbrol Silver #11. That's always been my "go to" paint for landing gear oleos and anything else that needed to be a bright silver. I have a newer tin of the #11 that isn't silver at all, but a very pale gray. Obviously, something was left out of that batch! Fortunately, my very old tin of the stuff was still viable although really thick by now. Several years ago, I bought a wheel masking set from Maketar. And so far, I've never found a scale model airplane wheel that they fit. But, one of the small masks is a perfect fit for the landing light lens.
And the outer view of the lens:
I also finally got around to drilling out the ends of the nose machine guns. They still need a lil' cleanup before painting them:
I'm ready now to close up the wing halves and get them ready to attach to the fuselage. That will be the next, "big" step. I plan to use the bomber version's canopy to mask the cockpit for painting. The pilot fell out during the photo shoot and both figures needed a bit of touch up paint. The pilot is now back aboard and that's where she stands now.
Without her wings, the aircraft has a definite "Flight of the Phoenix" vibe going!
Okey dokey, that's all I've done thus far. Thanks for your interest and for stopping in!
- Gary Brantley
- Elite Member
- Posts: 2738
- Joined: Tue Apr 08, 2014 9:40 pm
- Location: Cameron, Texas
Re: Monogram De Havilland Mosquito FB VI-Change of plans!
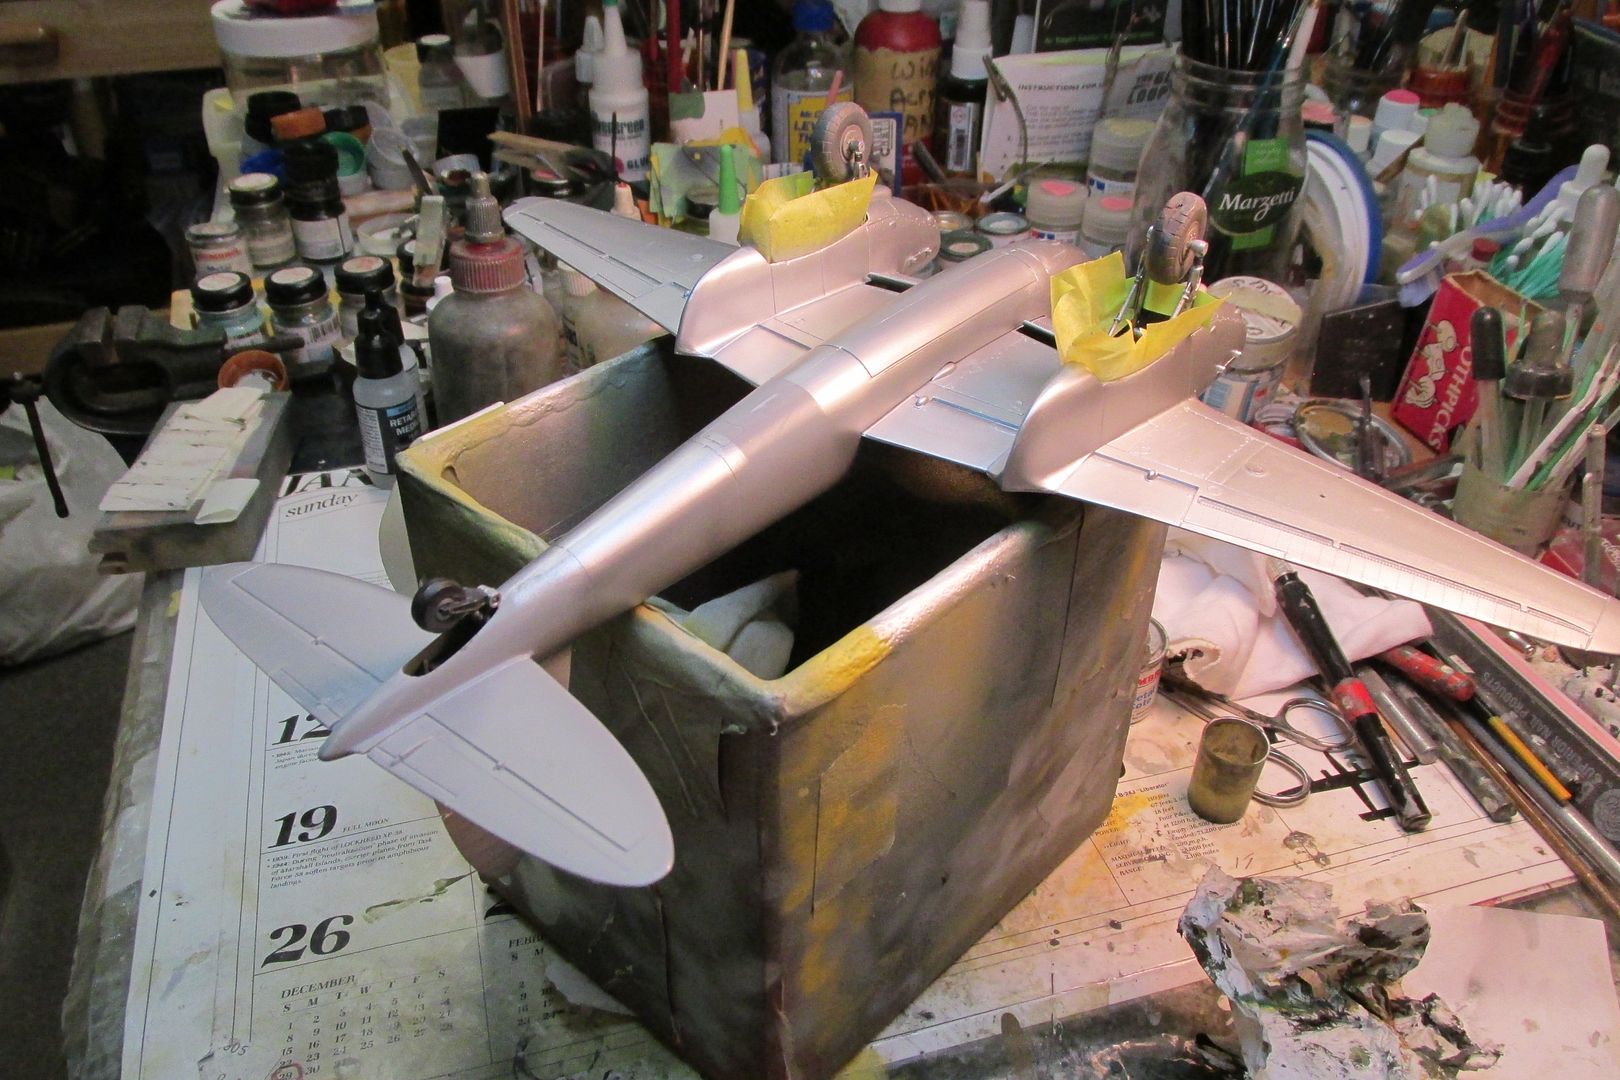
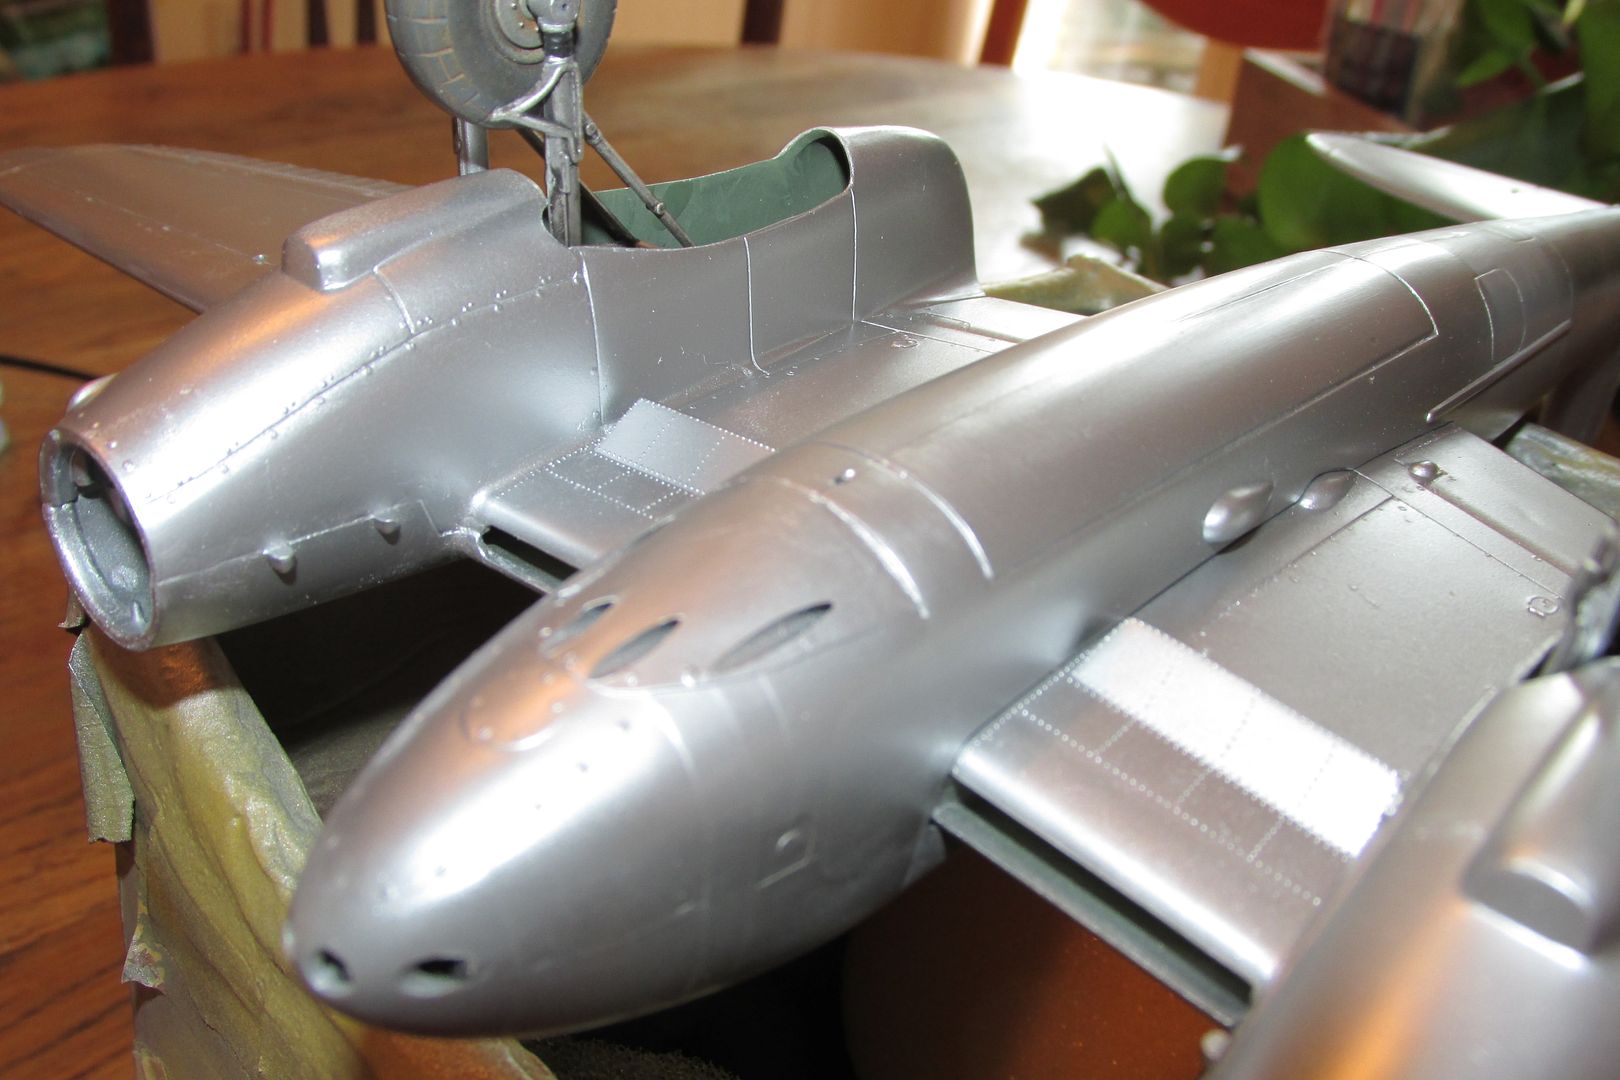
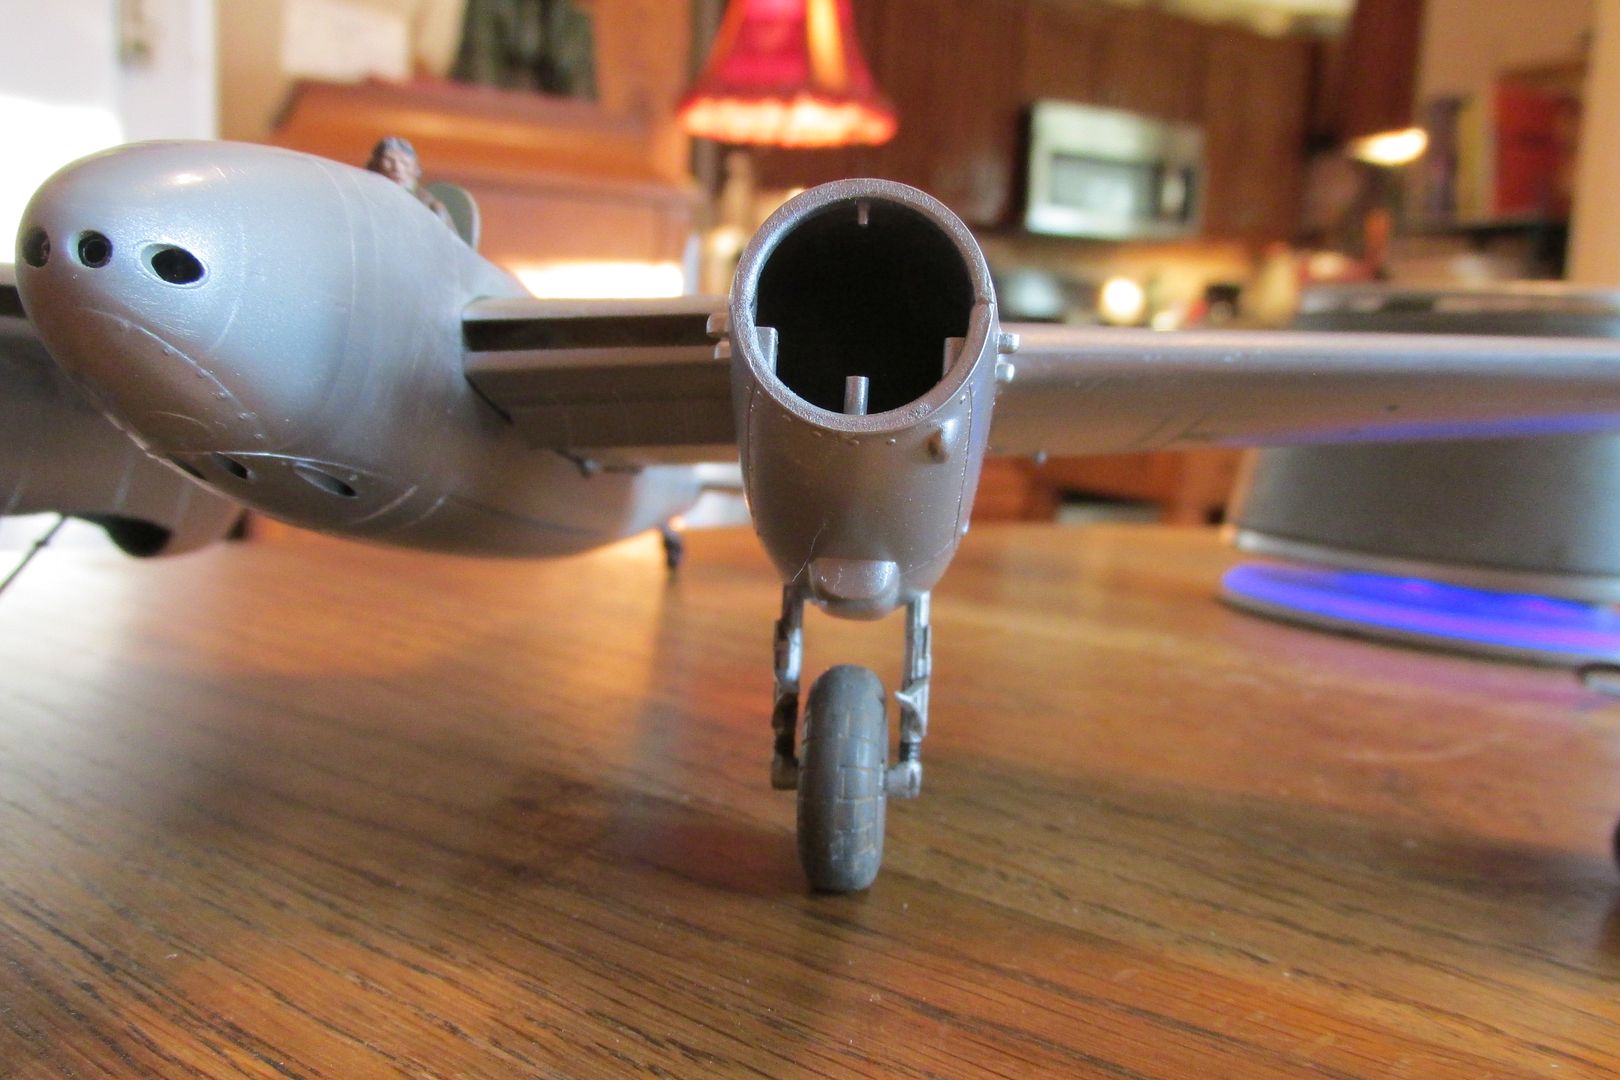
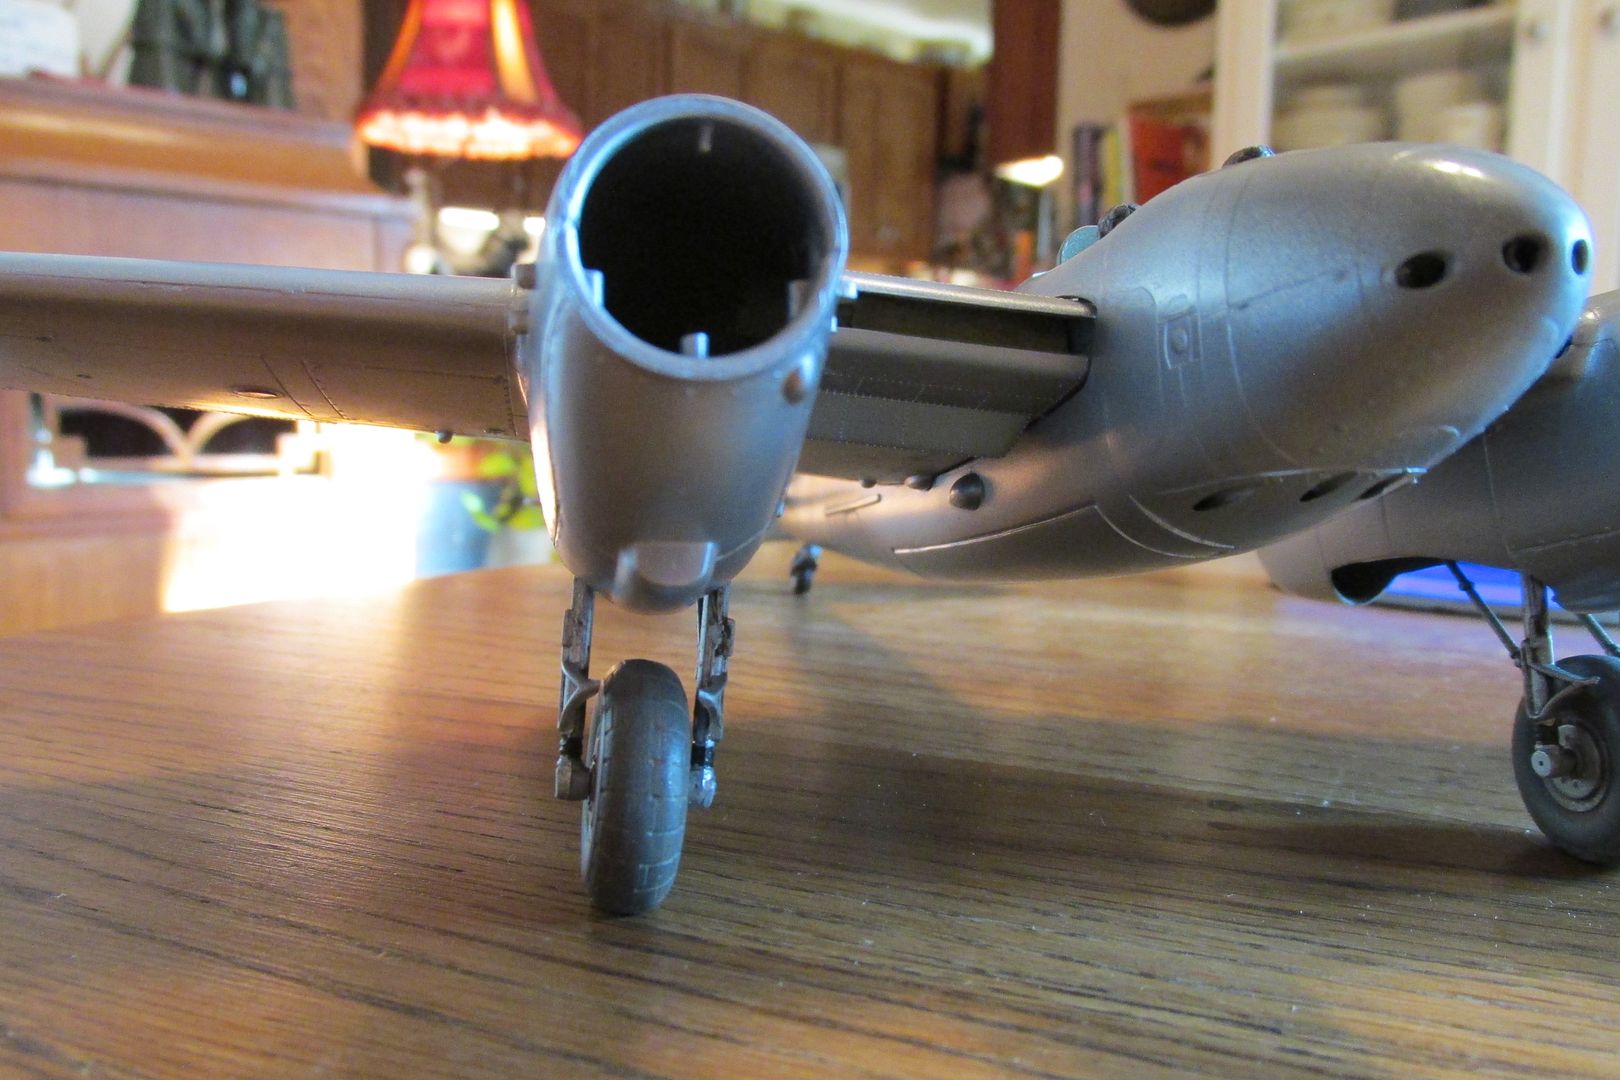
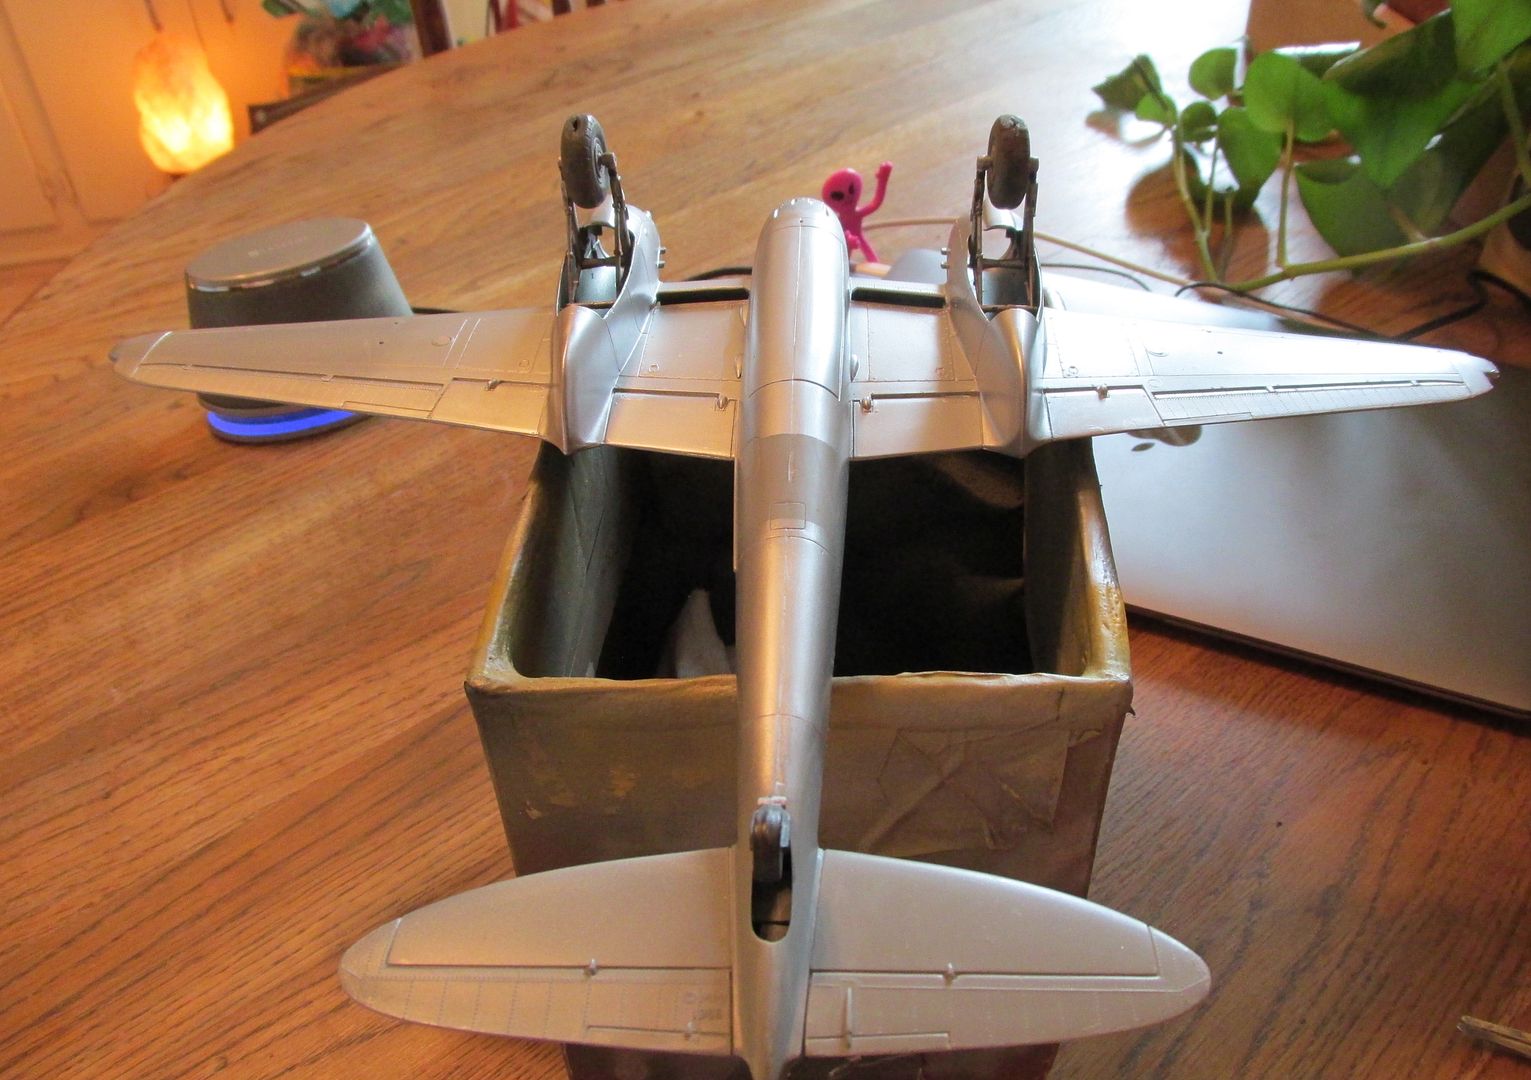
Here's an update, and a change in plans. Since the last entry, I got the wings assembled and cleaned up somewhat and then last evening, I decided to glue them on. I was dreading that step but kudos to some long-ago Monogram designer, they went in beautifully with absolutely no drama! I used Faller plastic cement and you can hold her by one wing now. The way they plugged into the fuselage also kept the dihedral even.
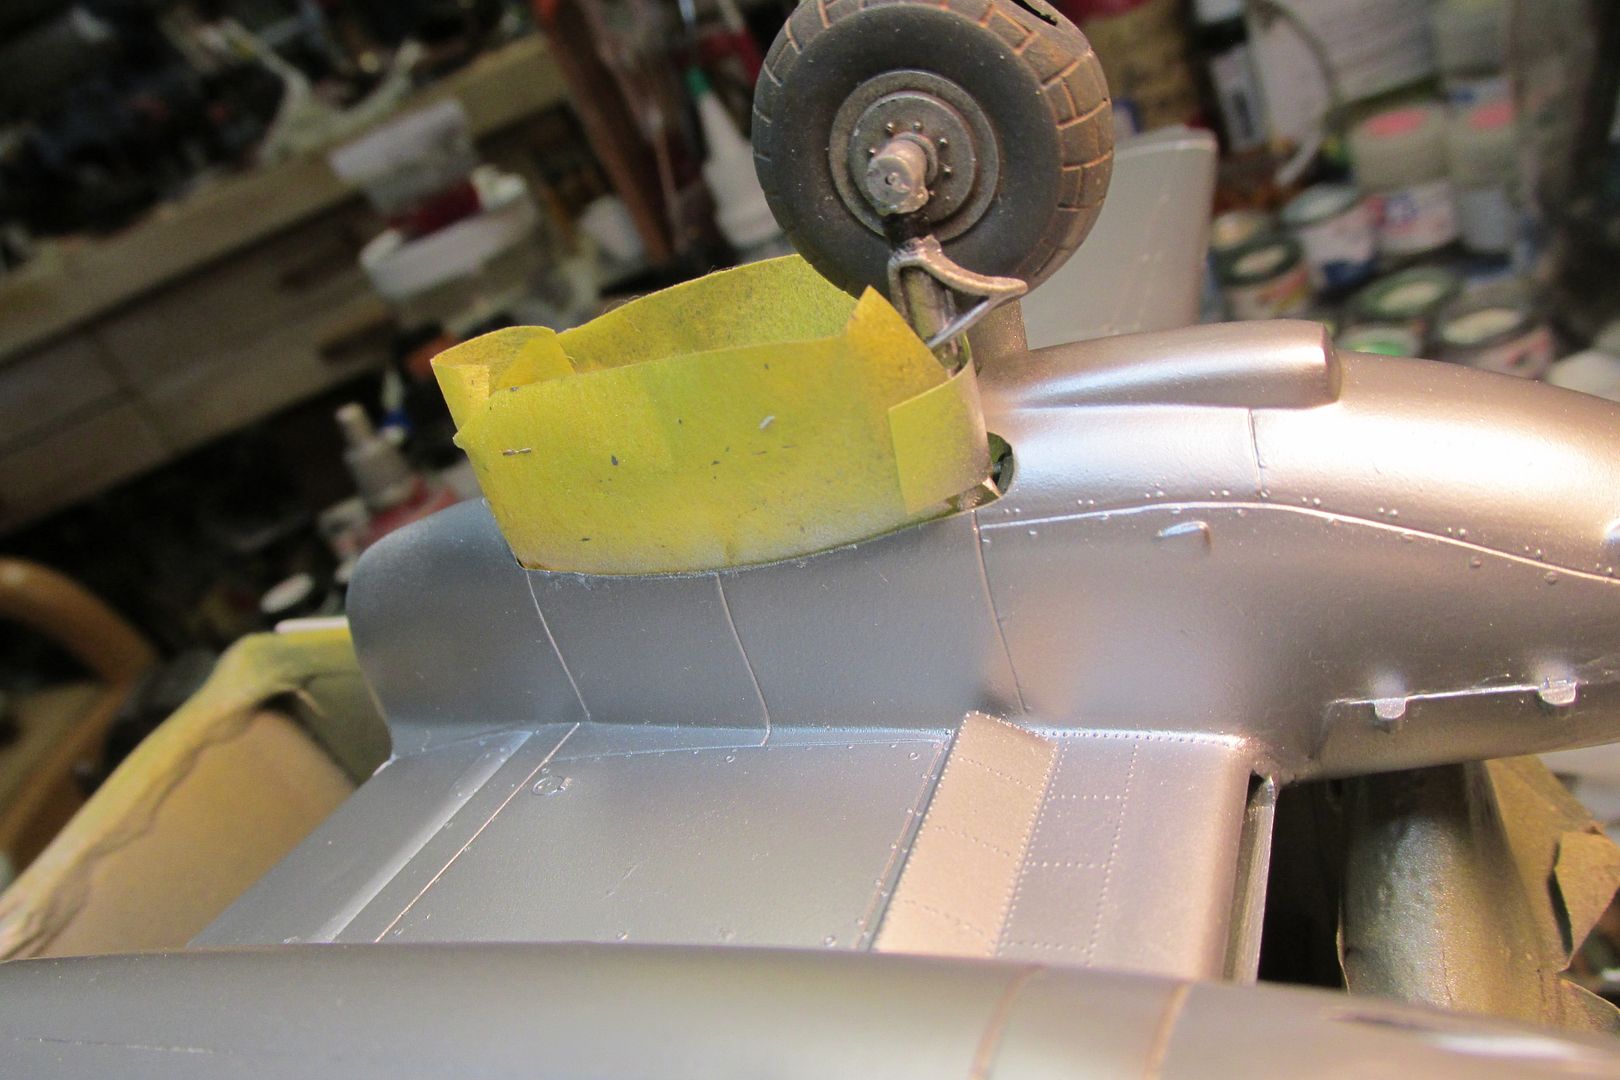
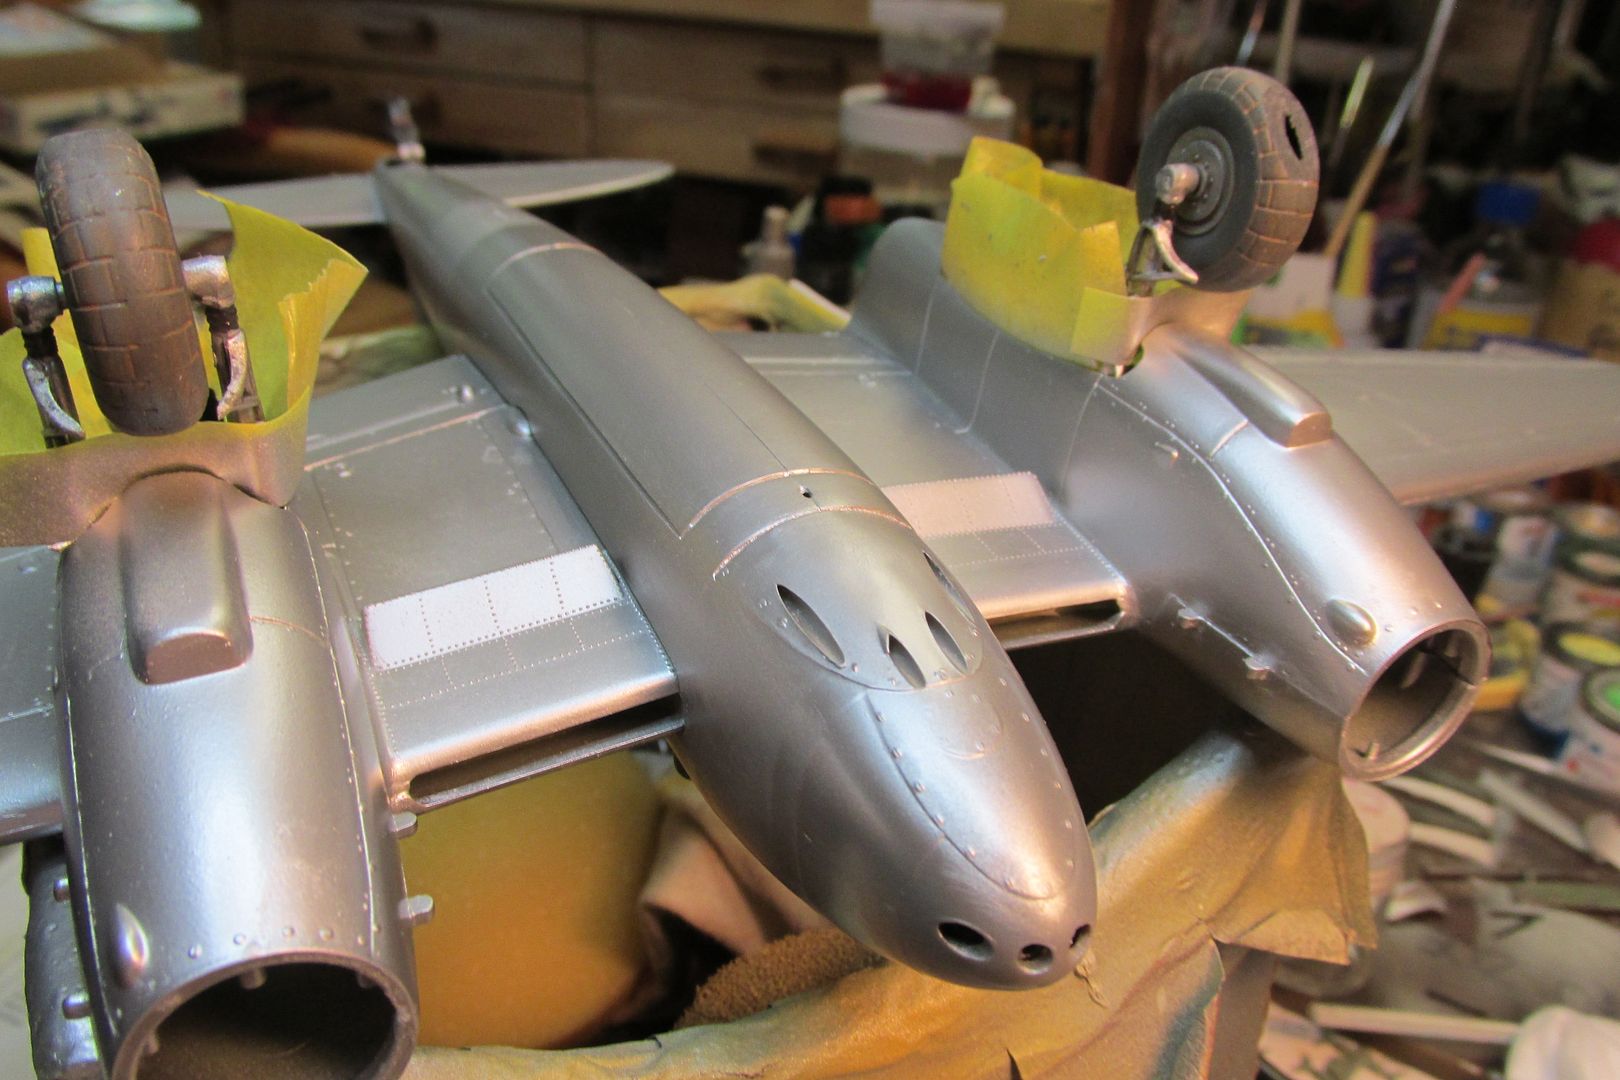
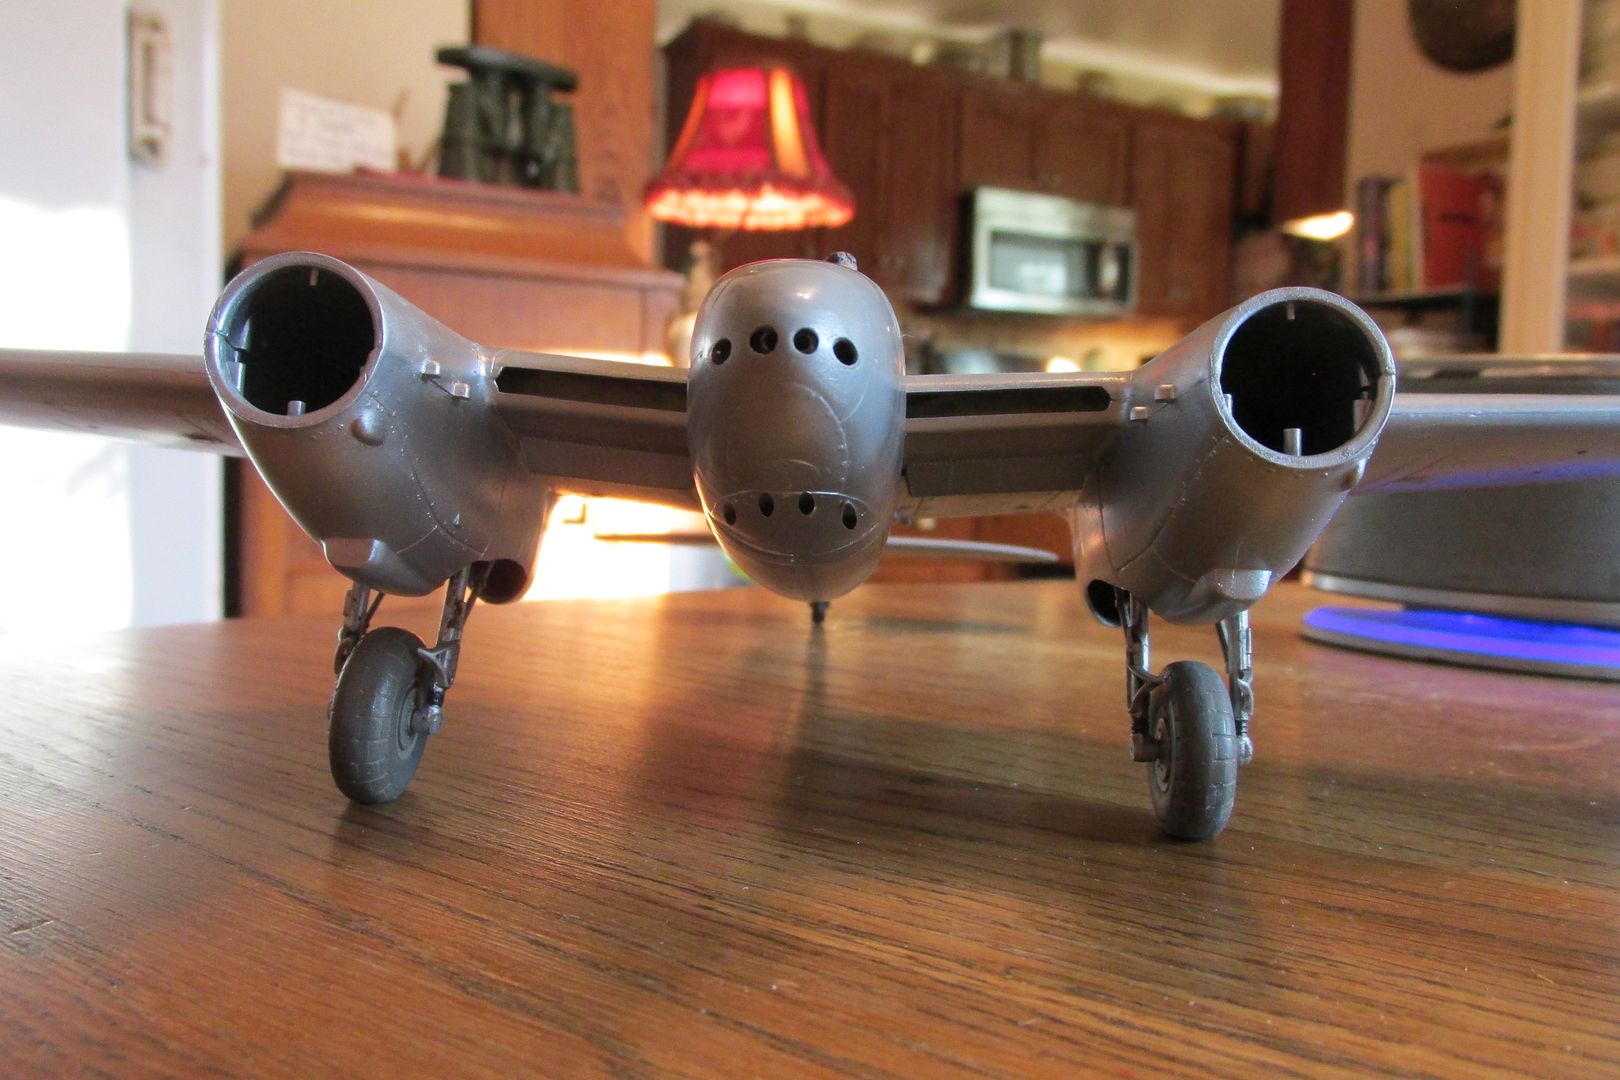
I decided to change the lower color from pale gray color to a much more likely in reality silver-doped finish. I believe that all the IAF FB MK VI planes were painted in the doped finish after acquiring them from France. They were almost worn out by then and they were a maintenance problem in Israeli service. Since I had the main gear in place, I had to mask around them and the gear bay opening. I experimented with small strips of paper threaded around the curved forward part of the gear bay, and since both sides went pretty good, I went ahead and masked the rest and decided to give her a shot of silver.


I used Humbrol MetalCote Polished Aluminum for the silver dope finish and really should've cleaned up the model better before spraying, but what the hell! Onward through the fog! The real doped finishes were probably uneven too!


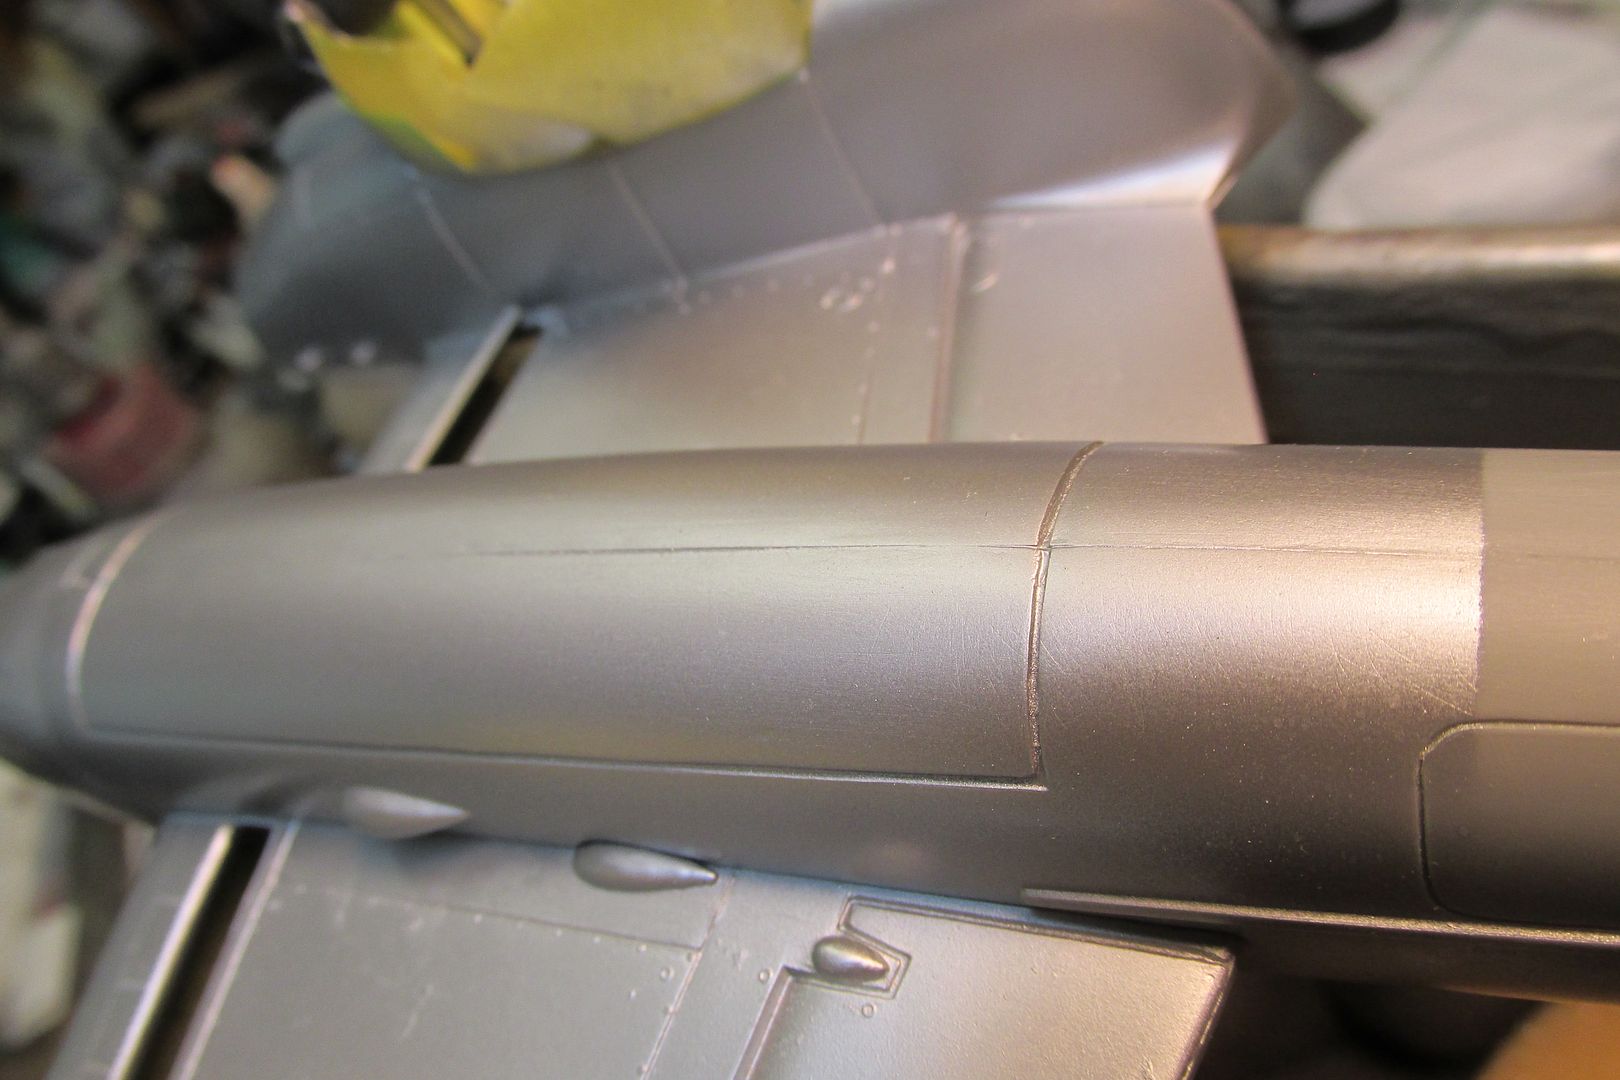
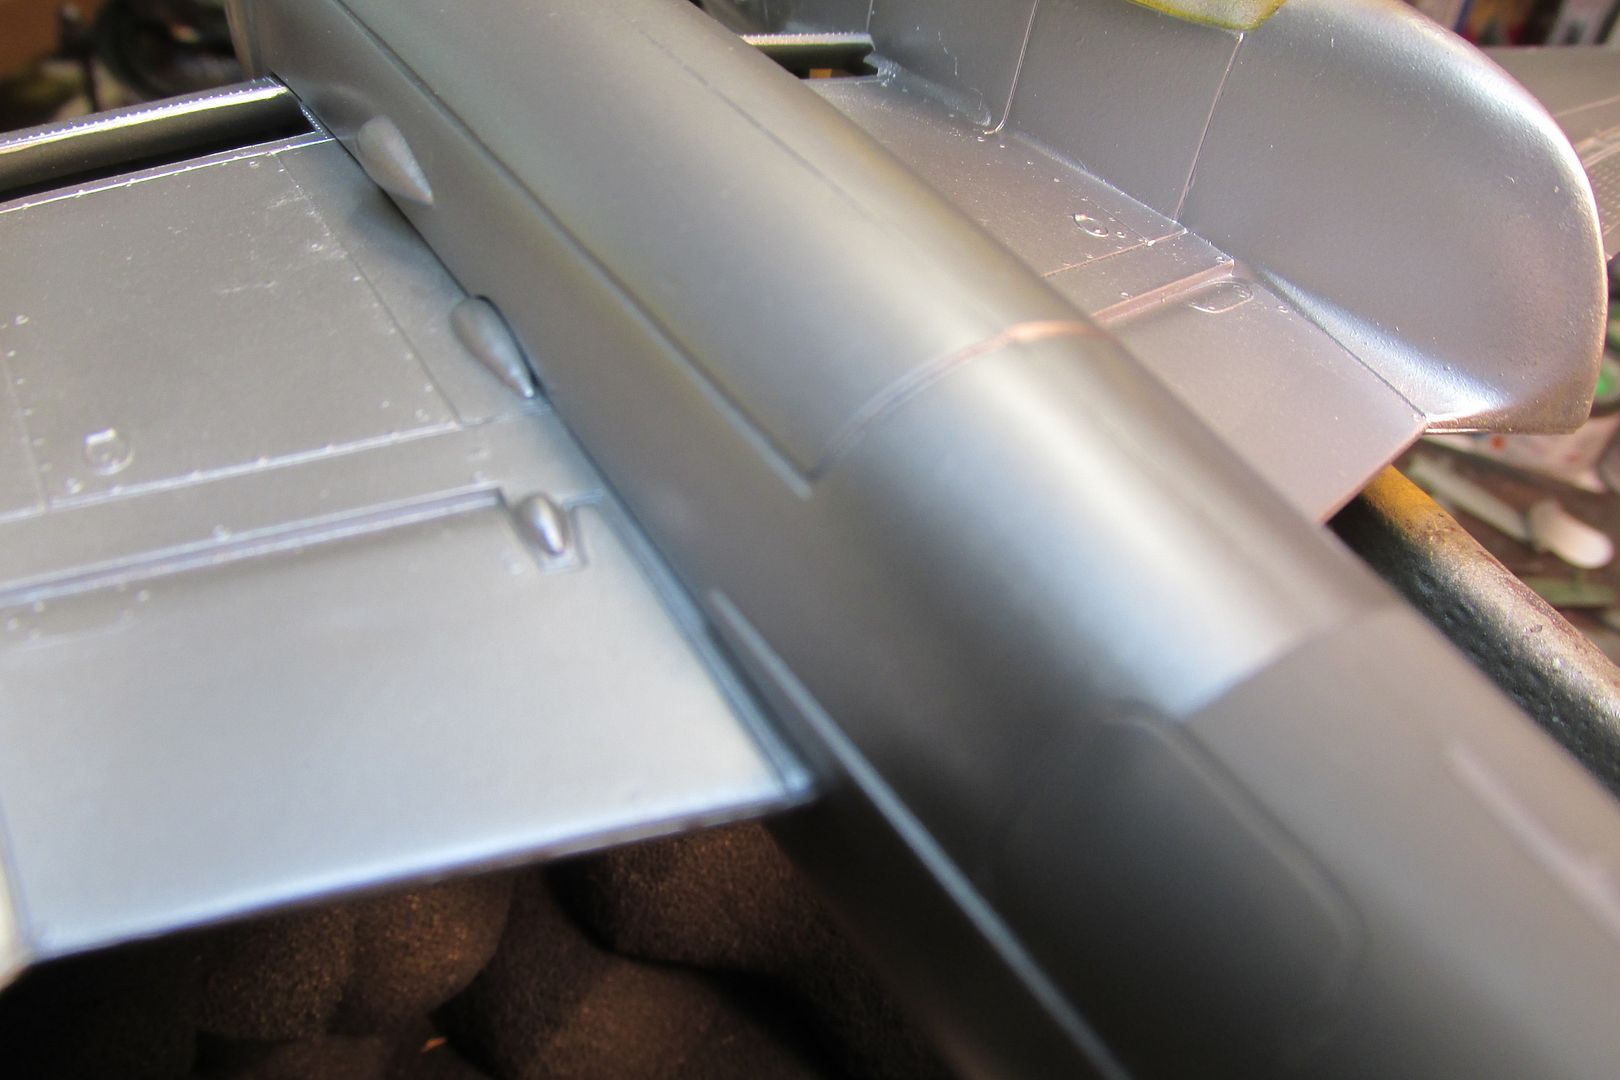
The Humbrol covered the Vallejo paint and primer just fine. It's a little rough in places and of course, that silver revealed a bunch of errant seams that will need attention. The wing to nacelle joins seem particularly bad and I might use some CA there.


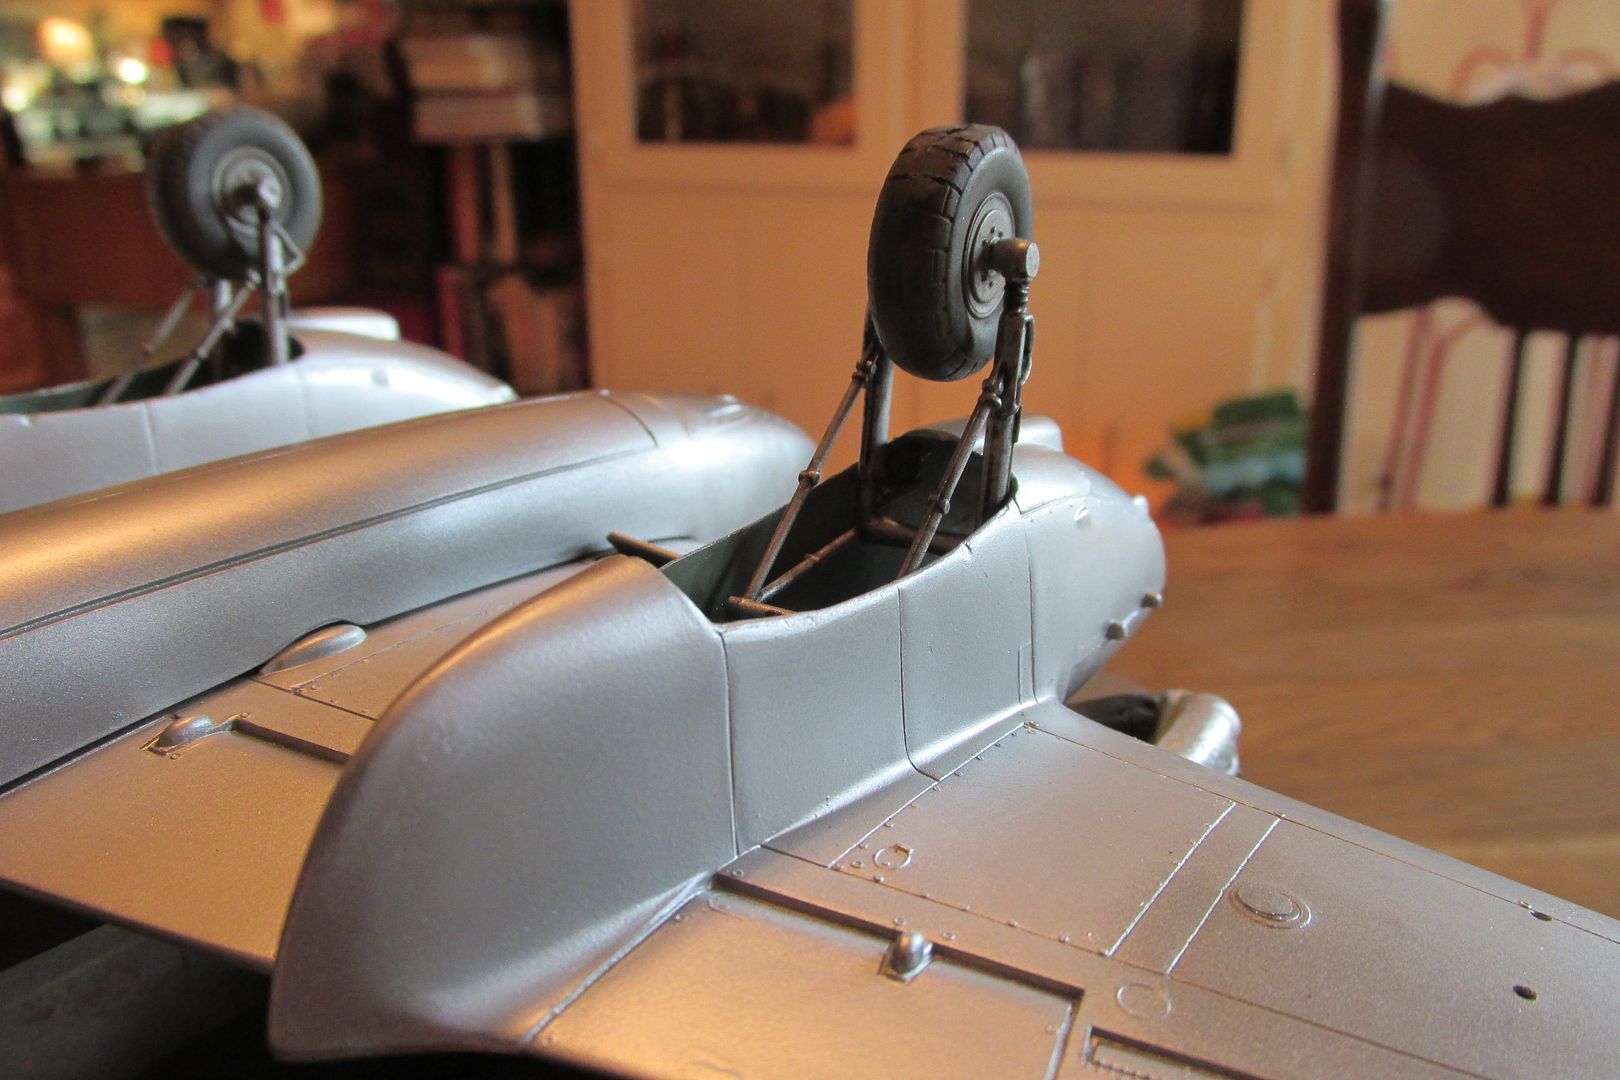
I am disappointed that the starboard main gear has a slight tilt, made worse by the uneven "flat" part of the tire. Those kit tires turned out to be some misshapen, out-of-round junk. I'm going to try and sand that tire a bit more level and hopefully, when it's sitting straight and flat on a flat surface, I'll fix it in place with a lil' liquid glue.


While I had some paint in the cup, I sprayed quite a bit of the belly but wasn't quite ready to cover it all. The seam down the belly looks atrocious but the real Mossies had one too so I'm turning a blind eye to that mess. Both nacelles need some more sanding and shaping and I'll address those pesky seams too before the next update.


This build is turning into a clunker of a model, I'm afraid. Maybe it's my age, maybe it's the kit's age, I dunno, but I'm not too happy about this one...yet. Hopefully, one o' these days, it'll look okay in the display, but it ain't one to be too proud of. If anyone's reading this, thanks for your interest.
I decided to change the lower color from pale gray color to a much more likely in reality silver-doped finish. I believe that all the IAF FB MK VI planes were painted in the doped finish after acquiring them from France. They were almost worn out by then and they were a maintenance problem in Israeli service. Since I had the main gear in place, I had to mask around them and the gear bay opening. I experimented with small strips of paper threaded around the curved forward part of the gear bay, and since both sides went pretty good, I went ahead and masked the rest and decided to give her a shot of silver.
I used Humbrol MetalCote Polished Aluminum for the silver dope finish and really should've cleaned up the model better before spraying, but what the hell! Onward through the fog! The real doped finishes were probably uneven too!
The Humbrol covered the Vallejo paint and primer just fine. It's a little rough in places and of course, that silver revealed a bunch of errant seams that will need attention. The wing to nacelle joins seem particularly bad and I might use some CA there.
I am disappointed that the starboard main gear has a slight tilt, made worse by the uneven "flat" part of the tire. Those kit tires turned out to be some misshapen, out-of-round junk. I'm going to try and sand that tire a bit more level and hopefully, when it's sitting straight and flat on a flat surface, I'll fix it in place with a lil' liquid glue.
While I had some paint in the cup, I sprayed quite a bit of the belly but wasn't quite ready to cover it all. The seam down the belly looks atrocious but the real Mossies had one too so I'm turning a blind eye to that mess. Both nacelles need some more sanding and shaping and I'll address those pesky seams too before the next update.
This build is turning into a clunker of a model, I'm afraid. Maybe it's my age, maybe it's the kit's age, I dunno, but I'm not too happy about this one...yet. Hopefully, one o' these days, it'll look okay in the display, but it ain't one to be too proud of. If anyone's reading this, thanks for your interest.
Last edited by Gary Brantley on Thu Sep 21, 2023 7:10 am, edited 1 time in total.
- Stikpusher
- Moderator
- Posts: 21180
- Joined: Sat Apr 05, 2014 8:37 pm
- Location: Ceti Alpha 5
Re: Monogram De Havilland Mosquito FB VI-Change of plans!
Gary, silver paint is indeed merciless for highlighting any and all flaws on plastic. You think you have something taken care of, and boom, no such luck. Anyways, just keep in mind the vintage of the kit. do the best that you can with what you have and you really should be ok there.
I agree that there is a strong likelihood of a silver finish, due to the age and timeframe of the aircraft. Although since the Israelis bothered to paint the topsides into their then current topside colors, they very well may have repainted the undersides as well.
You know that I'll be watching this one through to the finish line.
I agree that there is a strong likelihood of a silver finish, due to the age and timeframe of the aircraft. Although since the Israelis bothered to paint the topsides into their then current topside colors, they very well may have repainted the undersides as well.
You know that I'll be watching this one through to the finish line.
"Surely I have made my meaning plain? I intend to avenge myself upon you, Admiral. I have deprived your ship of power, and when I swing 'round, I intend to deprive you of your life."
FLSM
FLSM
- tempestjohnny
- Elite Member
- Posts: 3804
- Joined: Sat Oct 15, 2016 4:51 am
- Location: Naples. FL
Re: Monogram De Havilland Mosquito FB VI-Change of plans!
Yeah what he said
- Gary Brantley
- Elite Member
- Posts: 2738
- Joined: Tue Apr 08, 2014 9:40 pm
- Location: Cameron, Texas
Re: Monogram De Havilland Mosquito FB VI-Change of plans!
Thanks Carlos and TJ! I'm glad you guys had a look at the progress thus far. She's a bit of a rough ol' cob, but I'm pressing on full steam ahead. I'll address those seams and get the rest of the underside ready for dope. I just realized last night that I have to mask my bombs and paint the two pylons in silver too. And I really should get started masking that canopy as well. Quite a bit left to do at this stage!
On other fronts, my Hasegawa F4U-5N "Soccer War" Corsair came in yesterday, a project to build Honduran Capt. Fernando Soto's Corsair in which he shot down three El Salvadoran warbirds, two Mustangs and another Corsair back in 1969. I've got a set of Aztec decals commemorating that war on the way from old Mexico...by pack burros apparently!
I've also got an old Monogram P-51D kit in the stash that may get to wear something from my "Macho Mustang" Aztec Decals set. There are lots of cool, unusual schemes for Latin American ponies in that set!
Thanks again for commenting Carlos and TJ!
It gets kinda lonely out here in the boondocks!
https://www.youtube.com/watch?v=dWw9-iygCfM
On other fronts, my Hasegawa F4U-5N "Soccer War" Corsair came in yesterday, a project to build Honduran Capt. Fernando Soto's Corsair in which he shot down three El Salvadoran warbirds, two Mustangs and another Corsair back in 1969. I've got a set of Aztec decals commemorating that war on the way from old Mexico...by pack burros apparently!
I've also got an old Monogram P-51D kit in the stash that may get to wear something from my "Macho Mustang" Aztec Decals set. There are lots of cool, unusual schemes for Latin American ponies in that set!
Thanks again for commenting Carlos and TJ!
It gets kinda lonely out here in the boondocks!
https://www.youtube.com/watch?v=dWw9-iygCfM