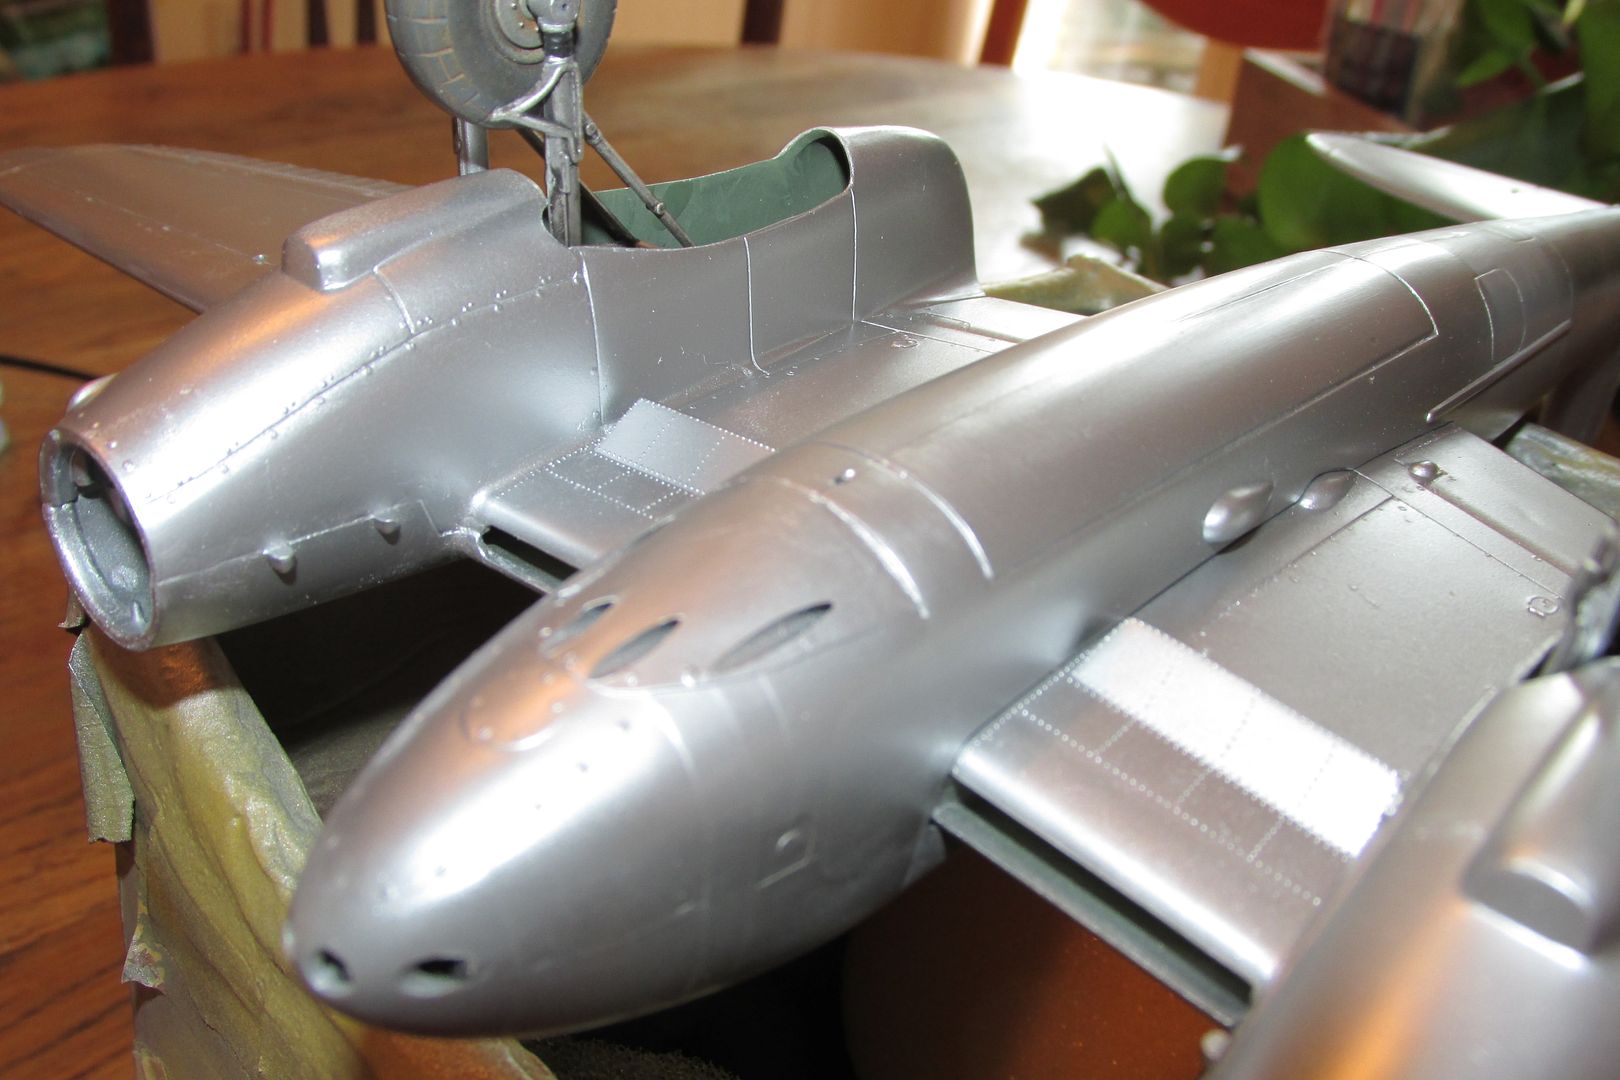
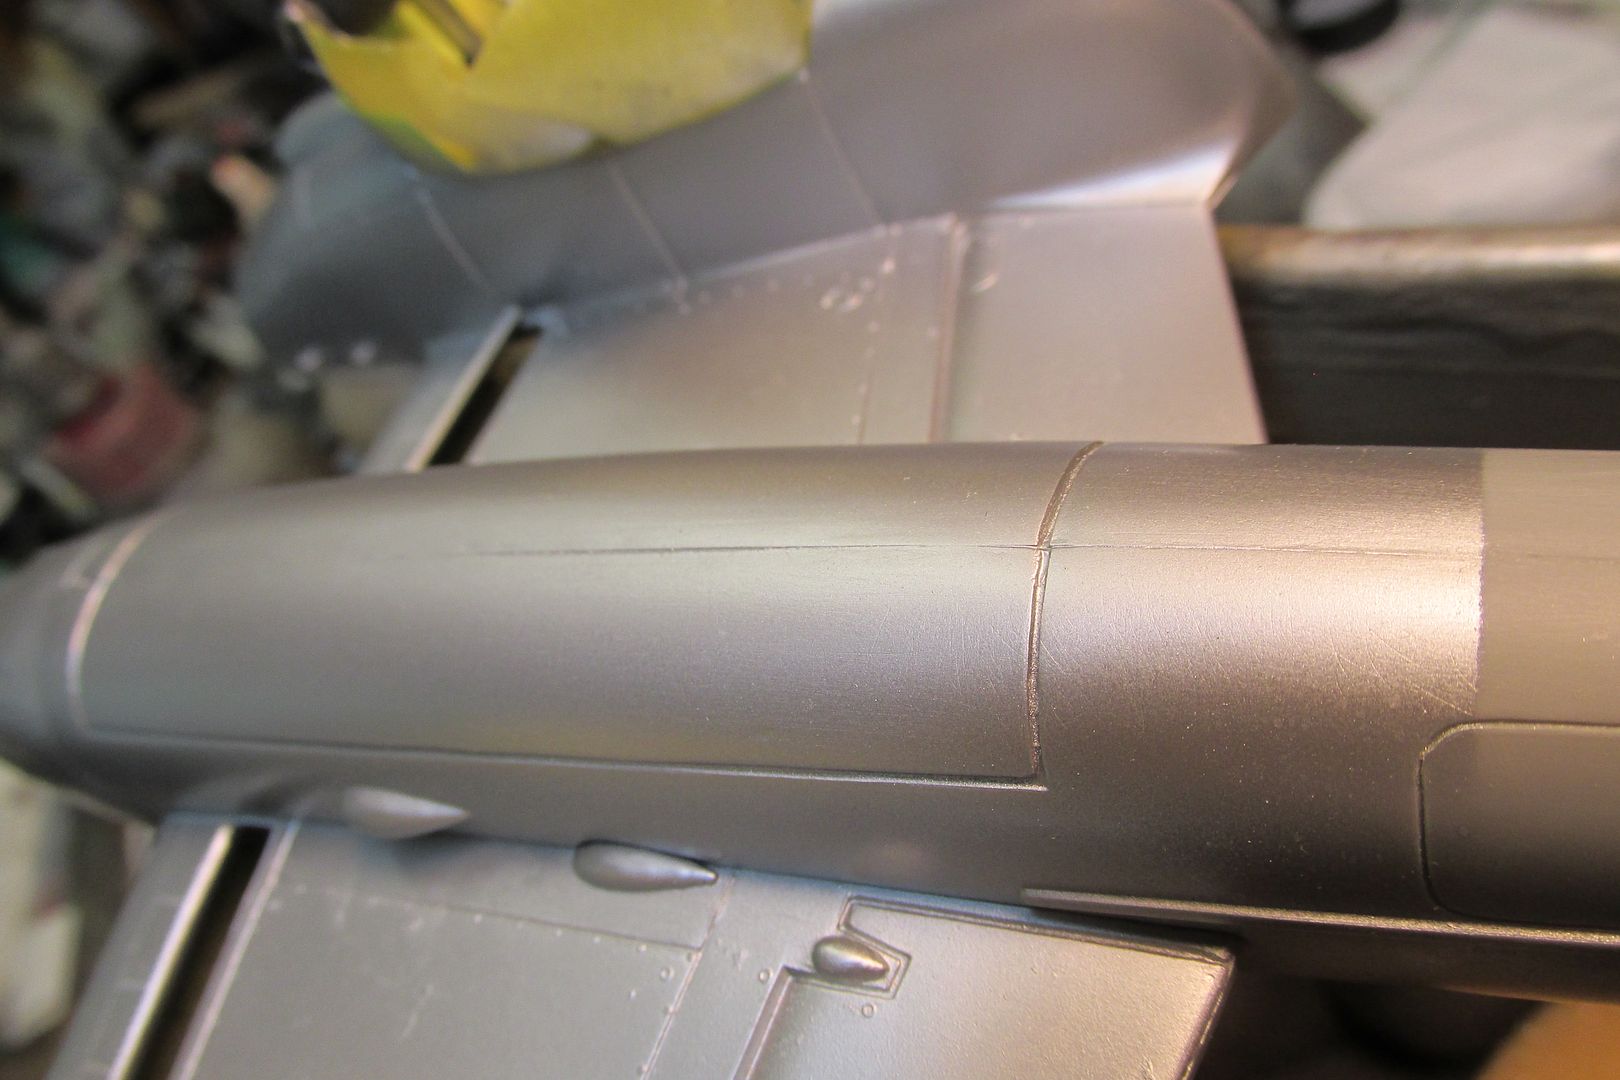
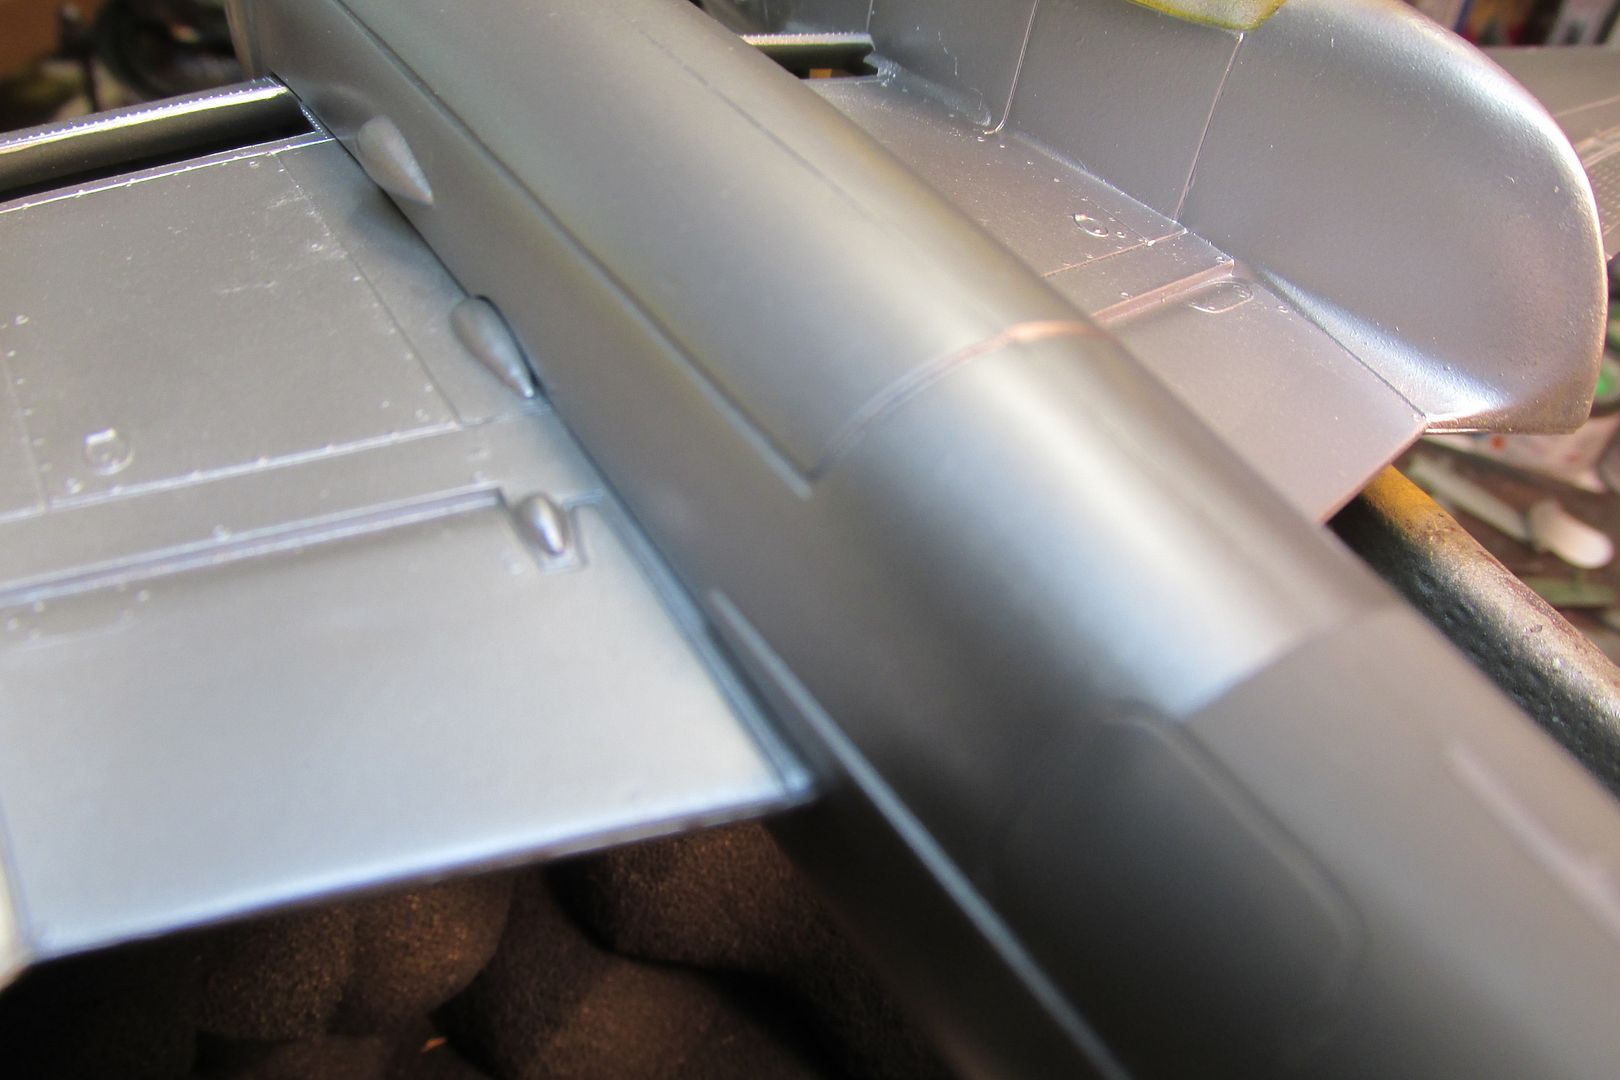
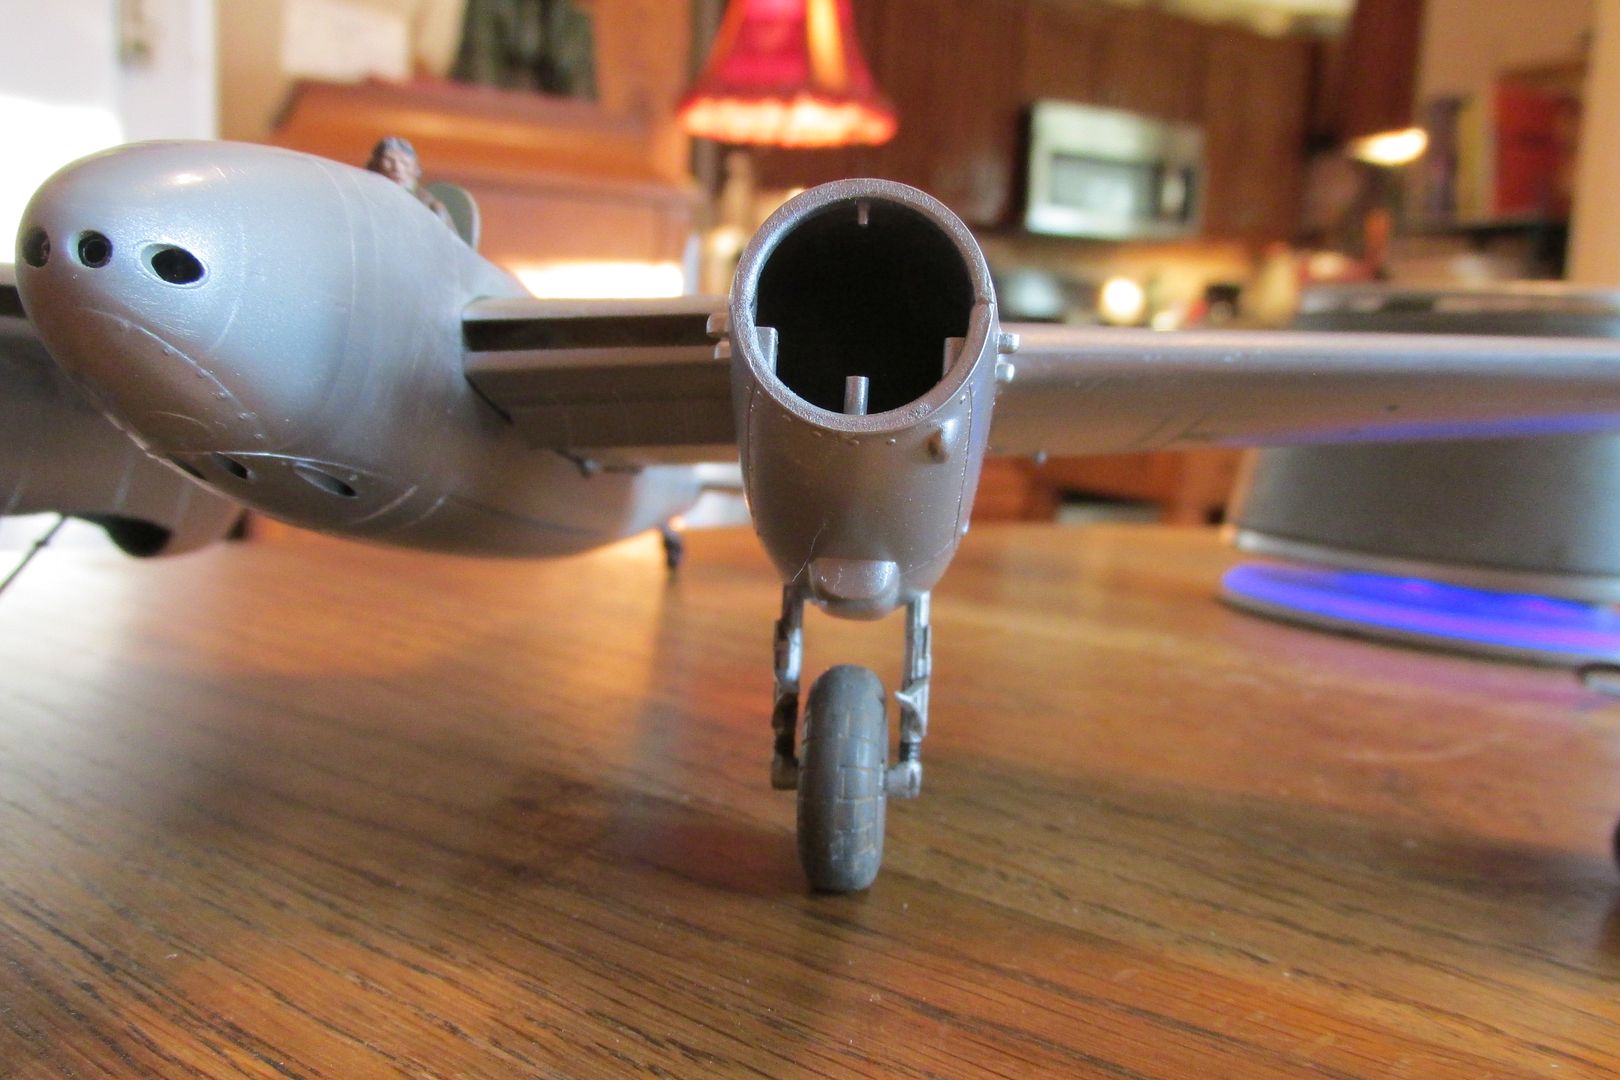
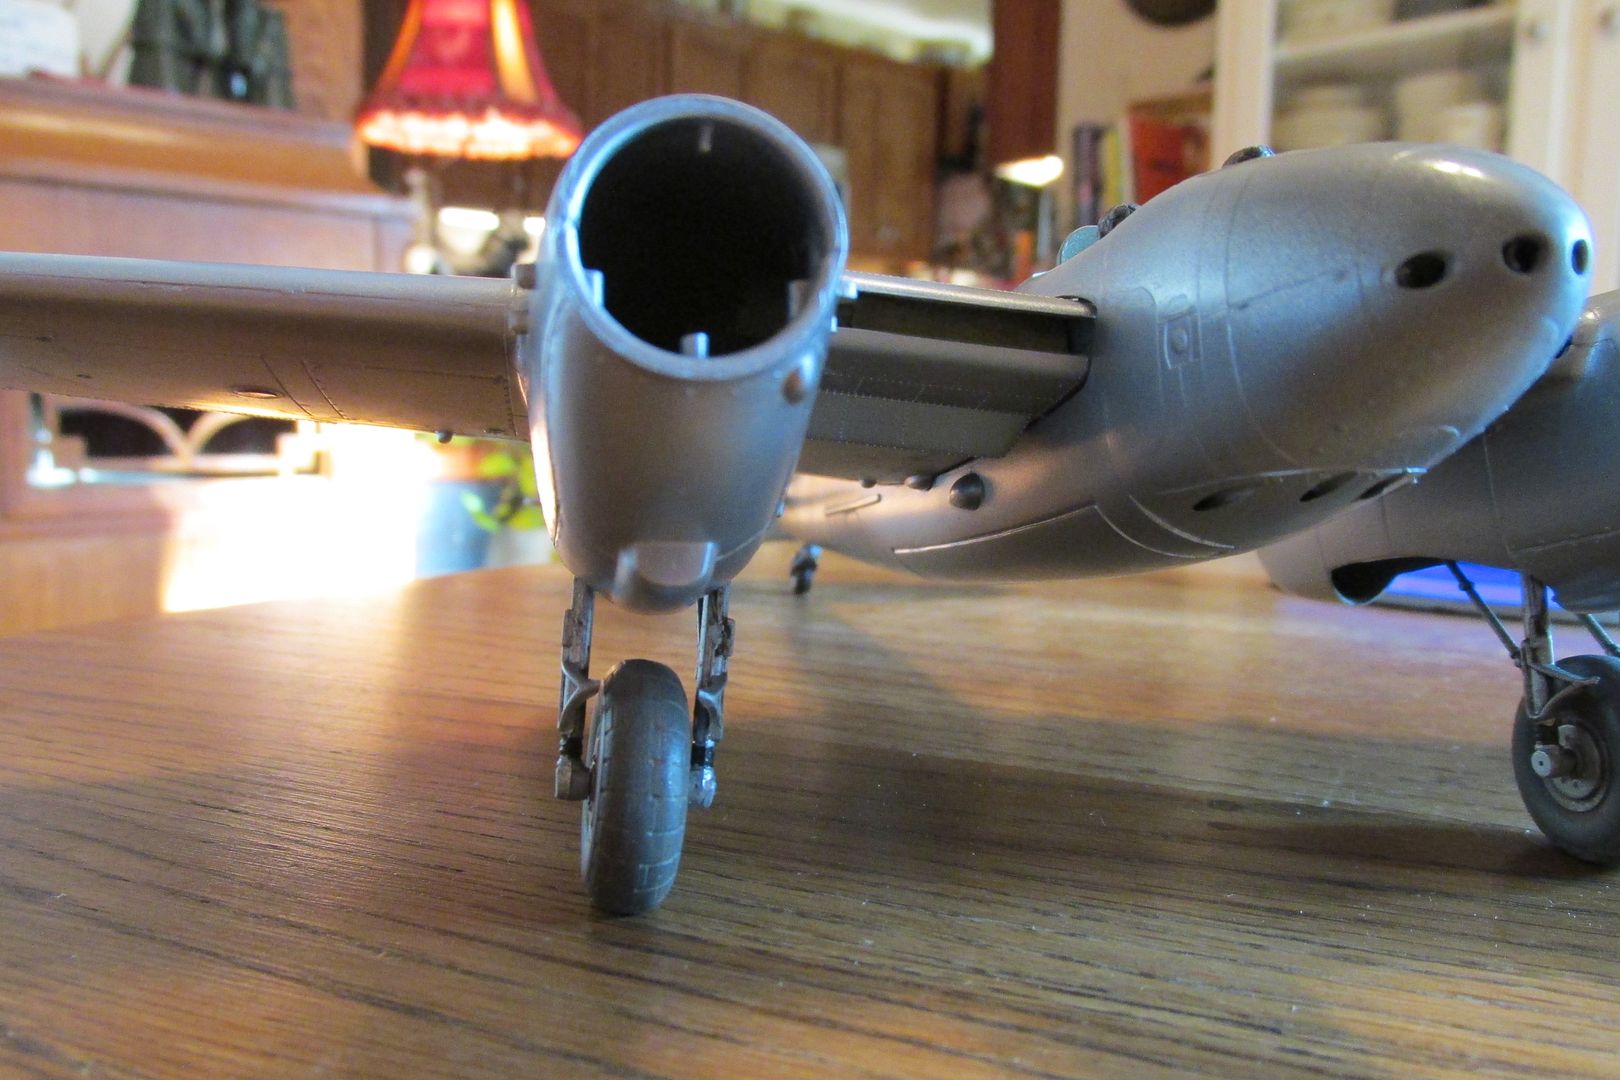
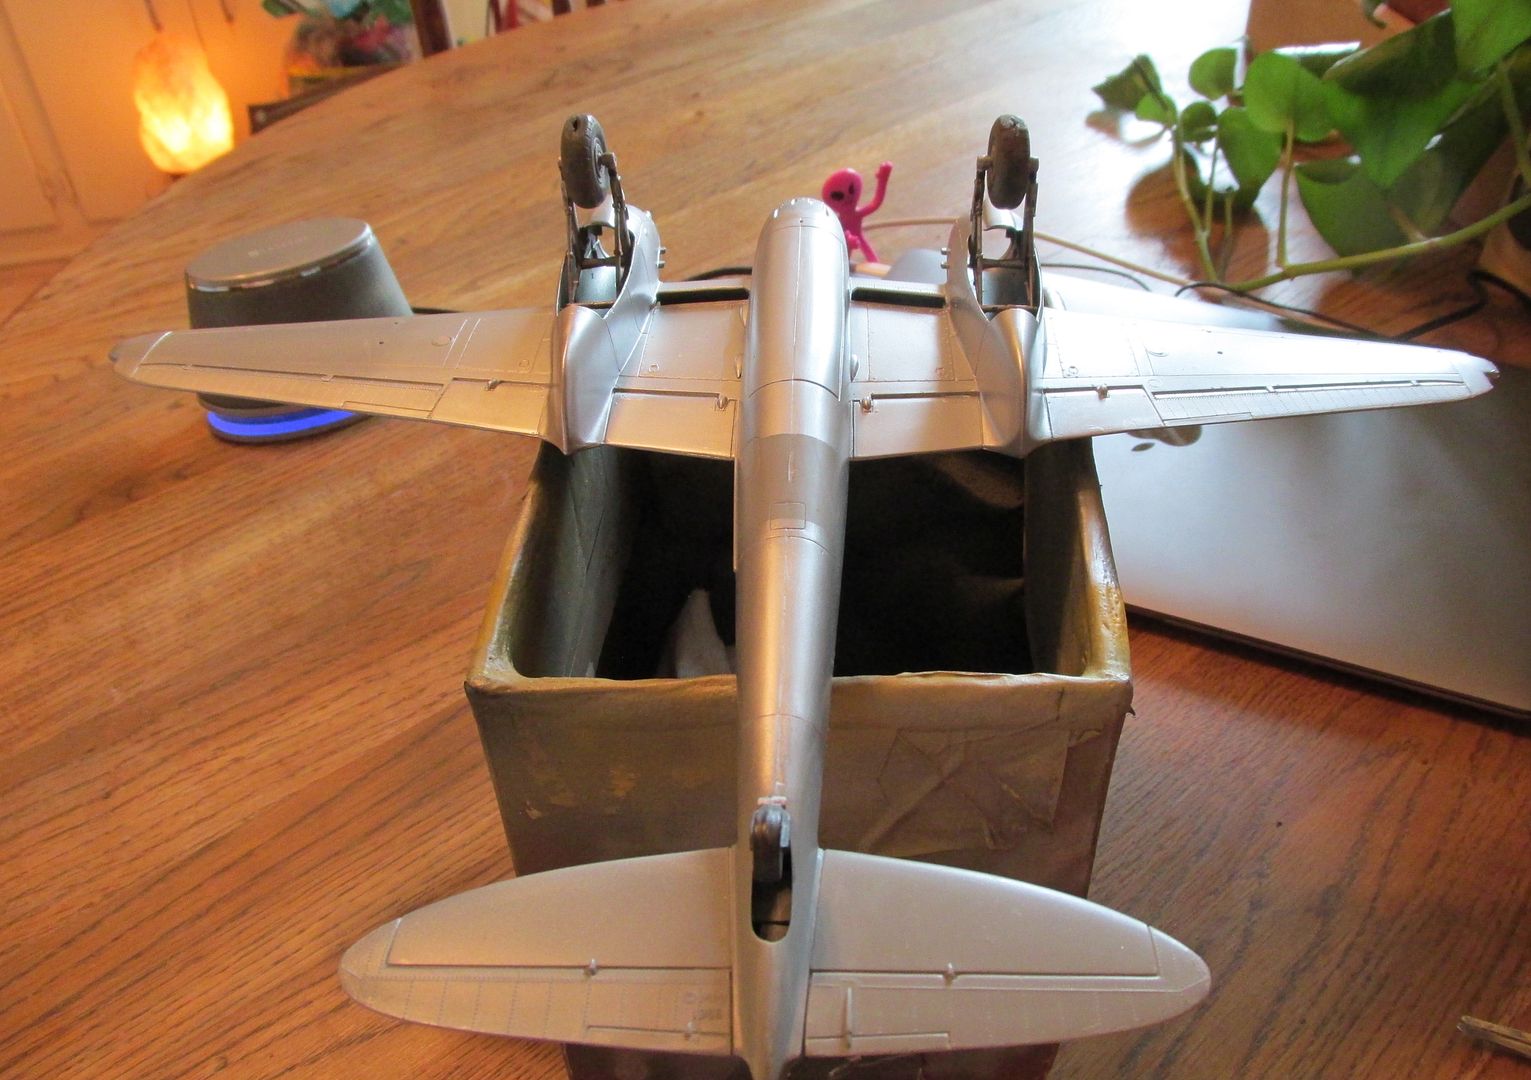
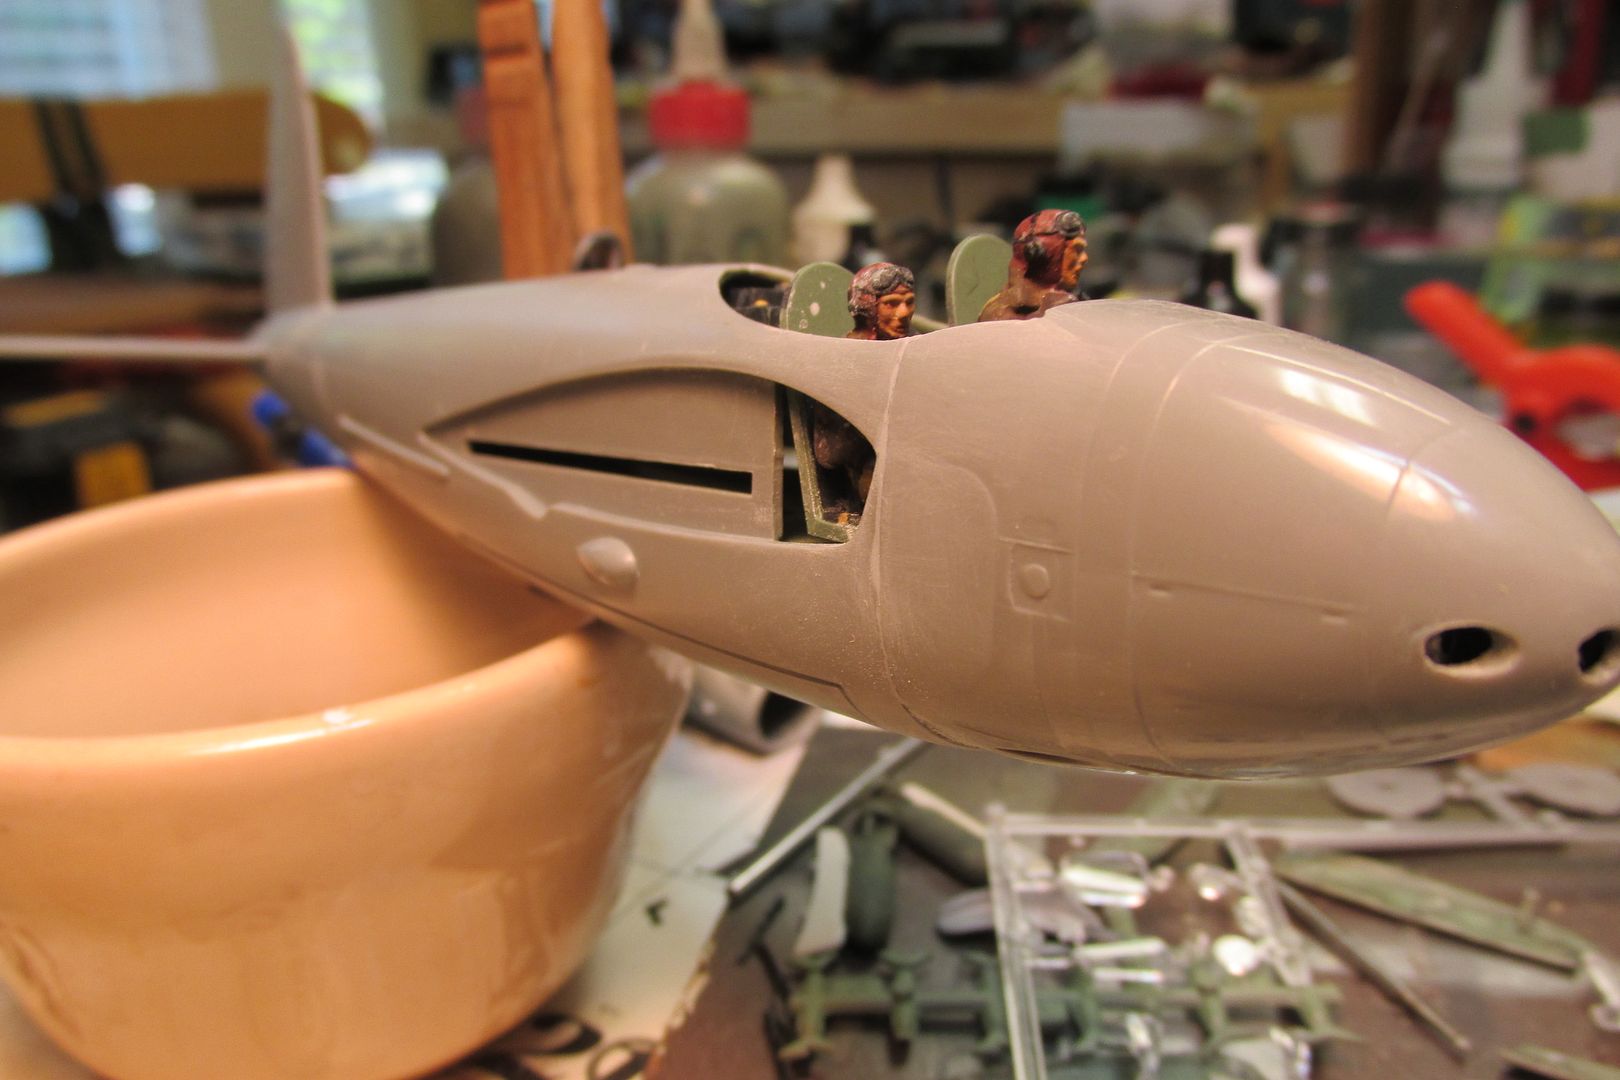
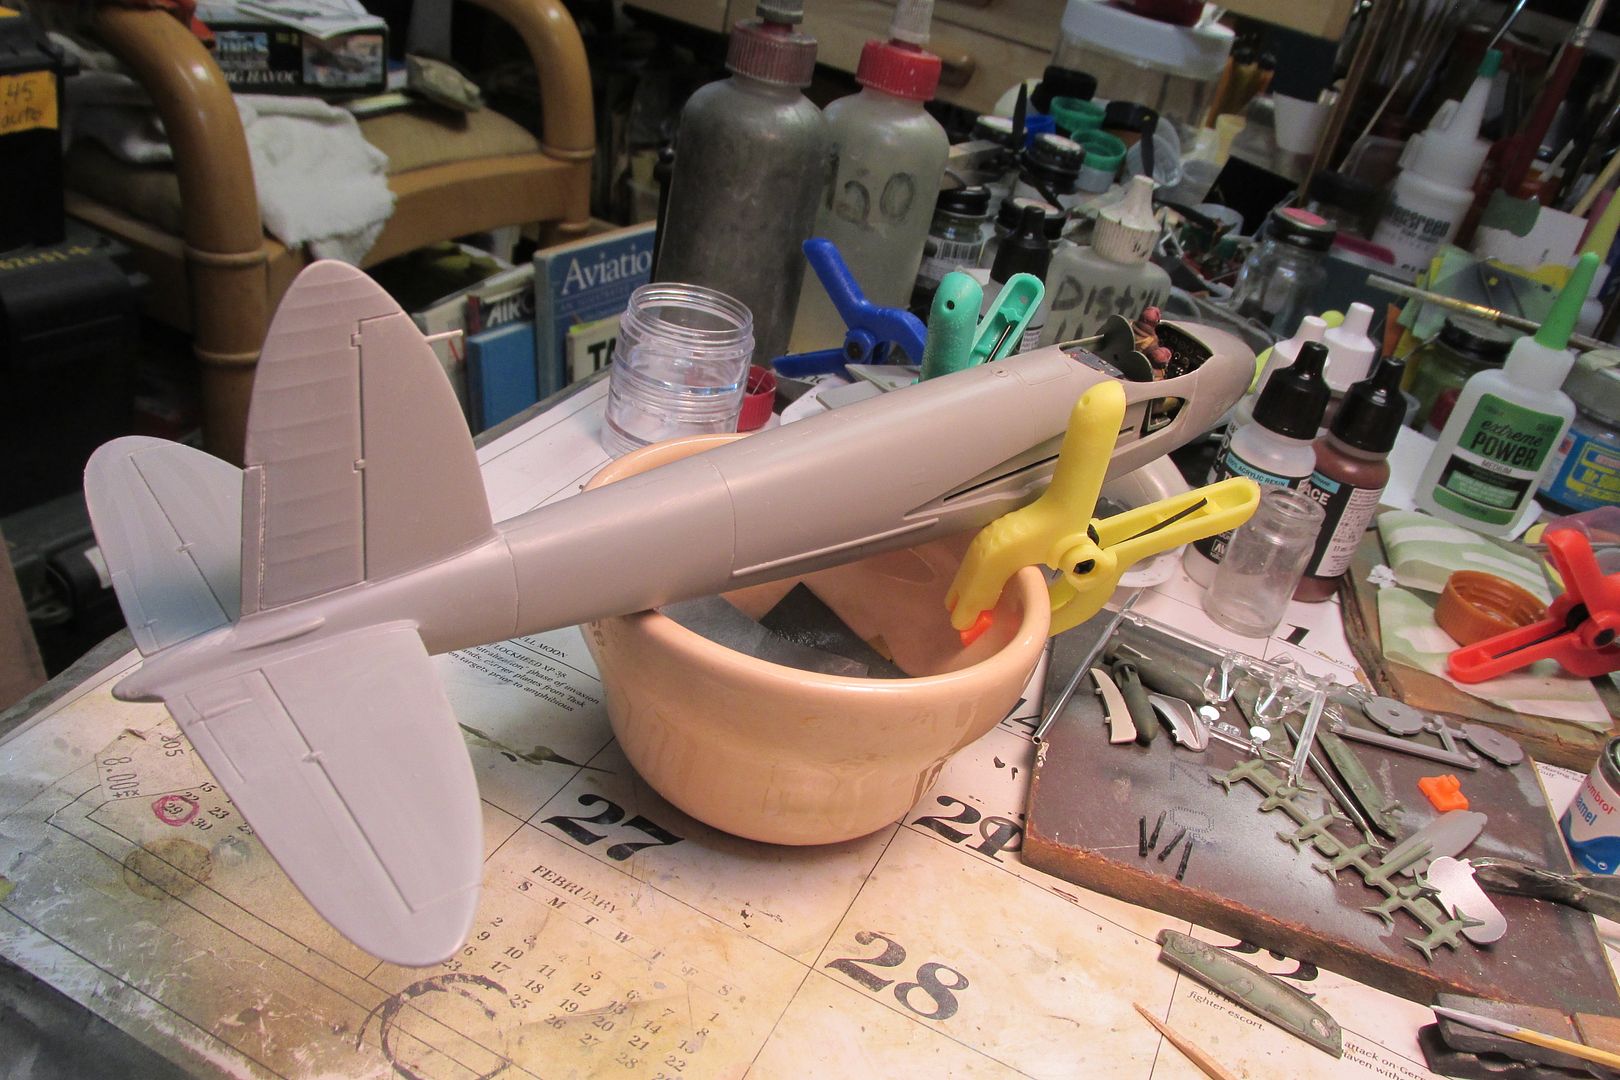
Time for a little update! I've been attacking that Mossie in fits and starts but I finally have made progress. The horizontal stabilizers/tailplanes are both on and their fit to the fuselage was as one might expect-bad. I worked on both for a long time just to get them as close as you see here:
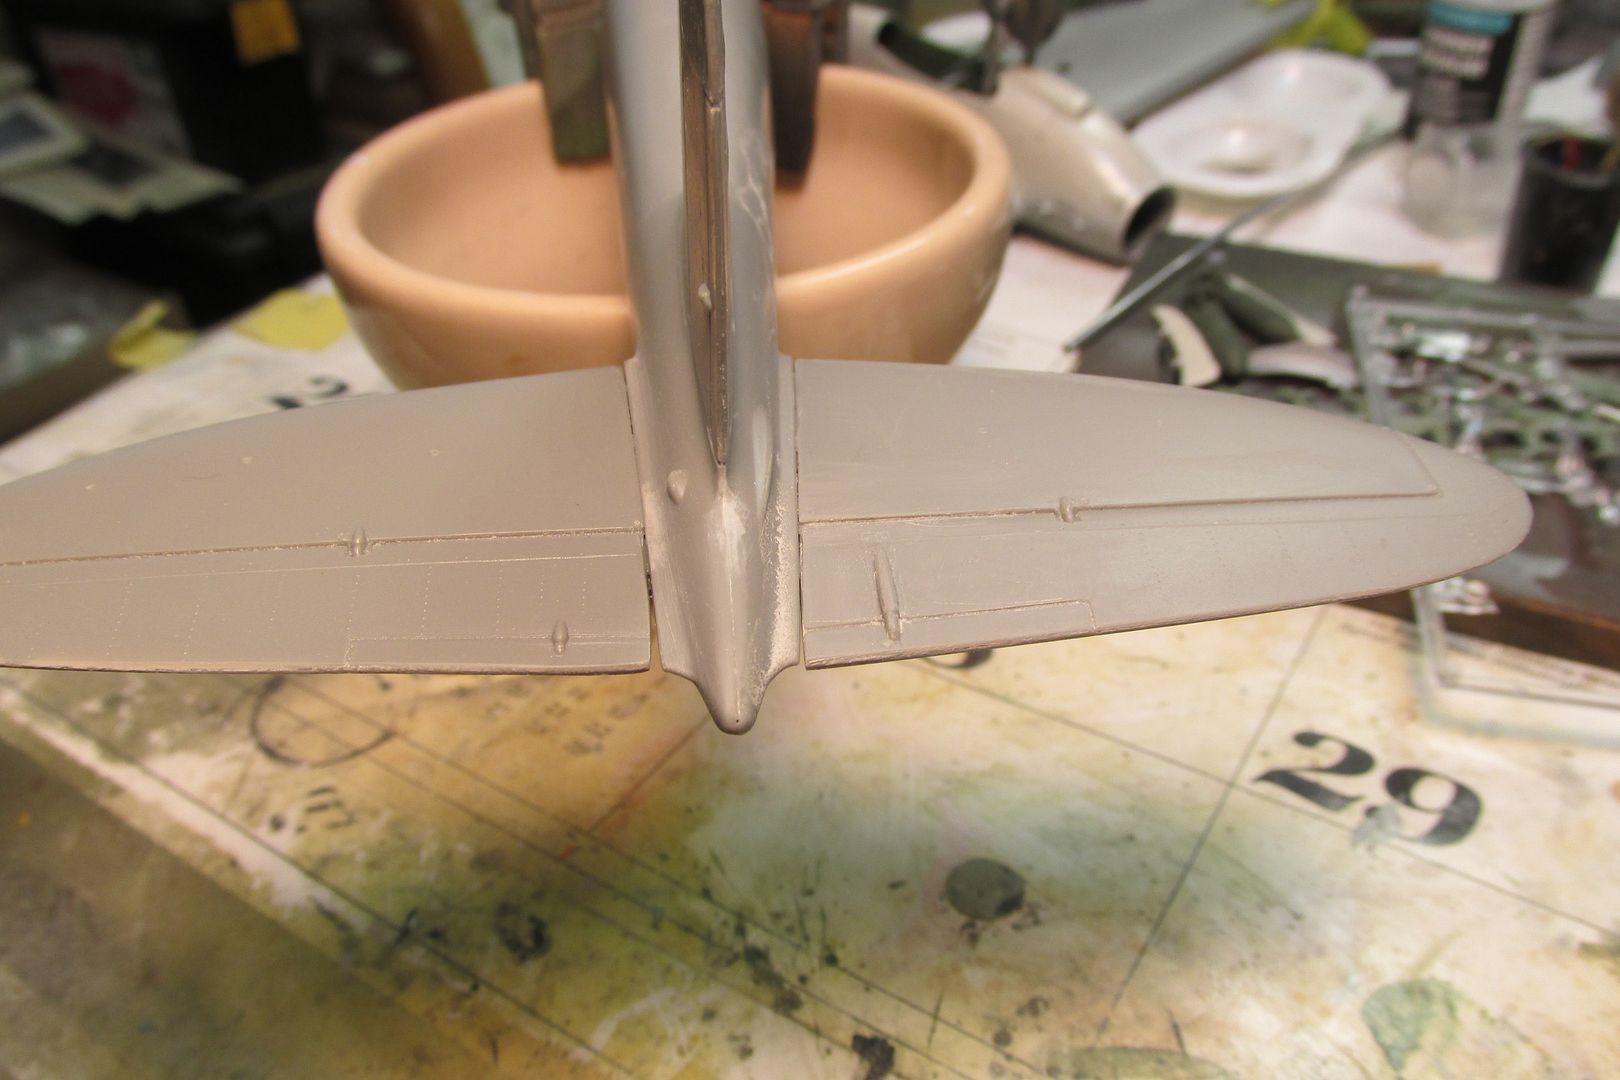
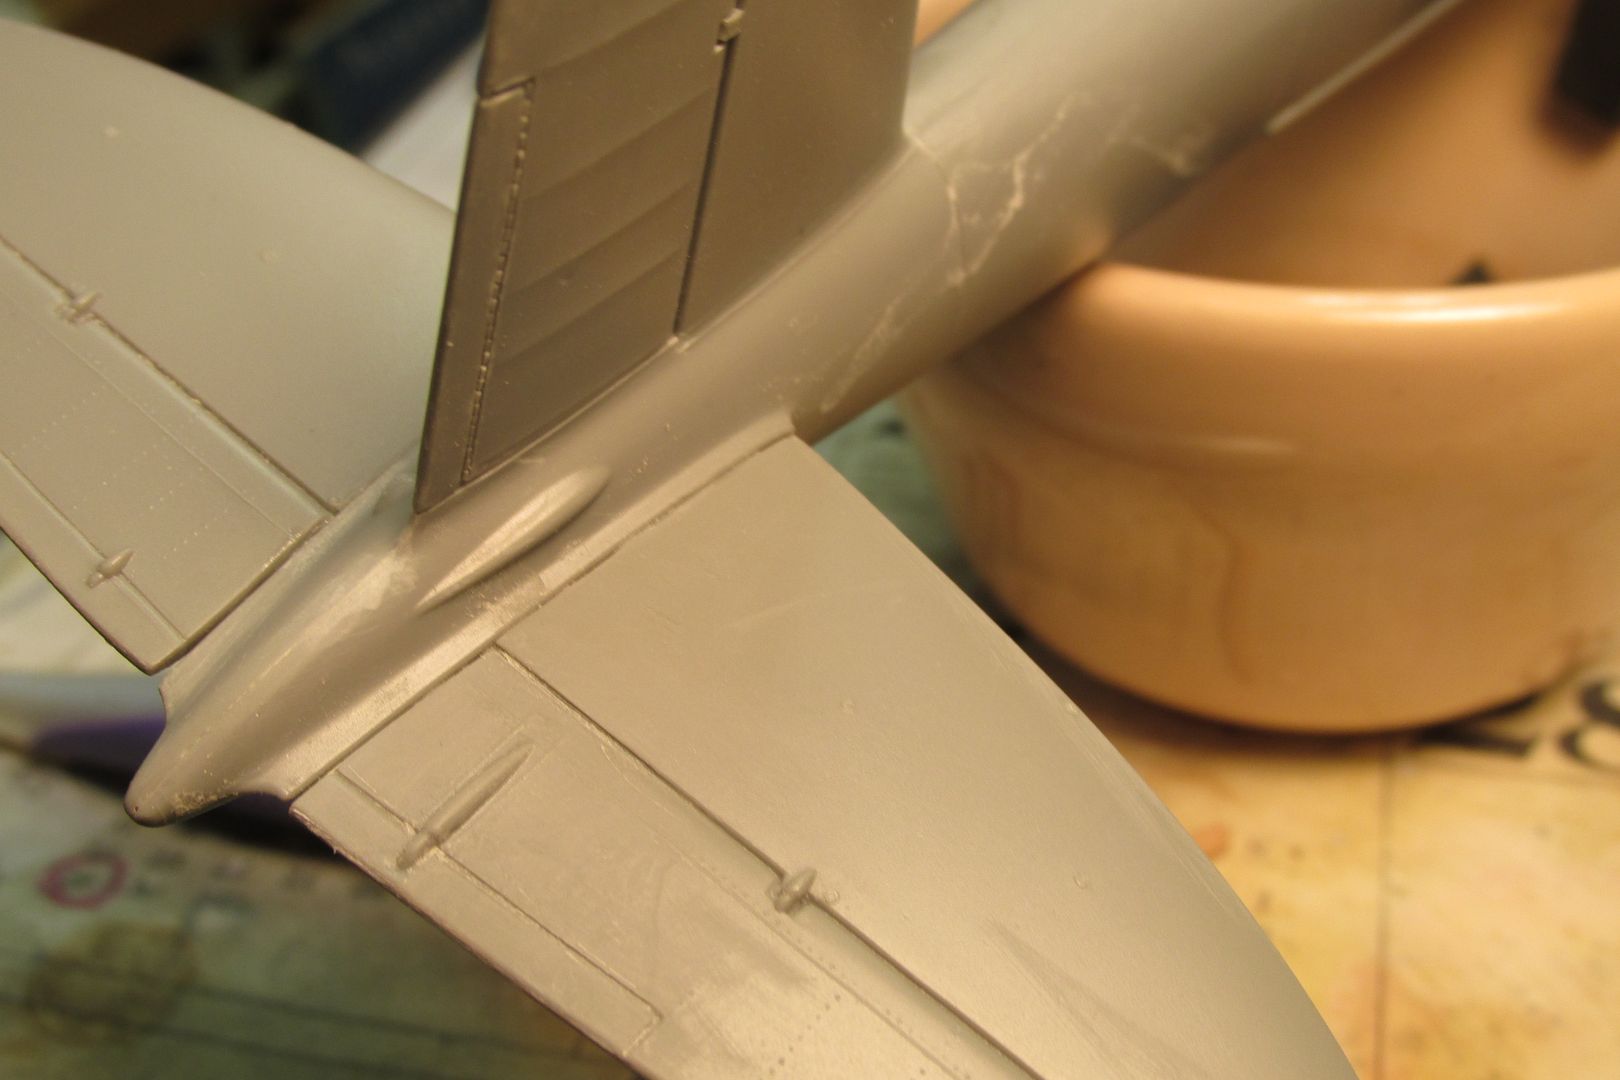
This morning, I worked on those gaps with some Mr. Surfacer 500. My jar is getting fairly old and it's really getting gummy. I'll need to replace it with something fresher soon. I applied the much-thinned filler with a brush and after a few minutes, I wiped it clean with Paint Leveling Thinner moistened cotton buds. I still need a tiny bit of sanding at the leading edge to fuselage joint.
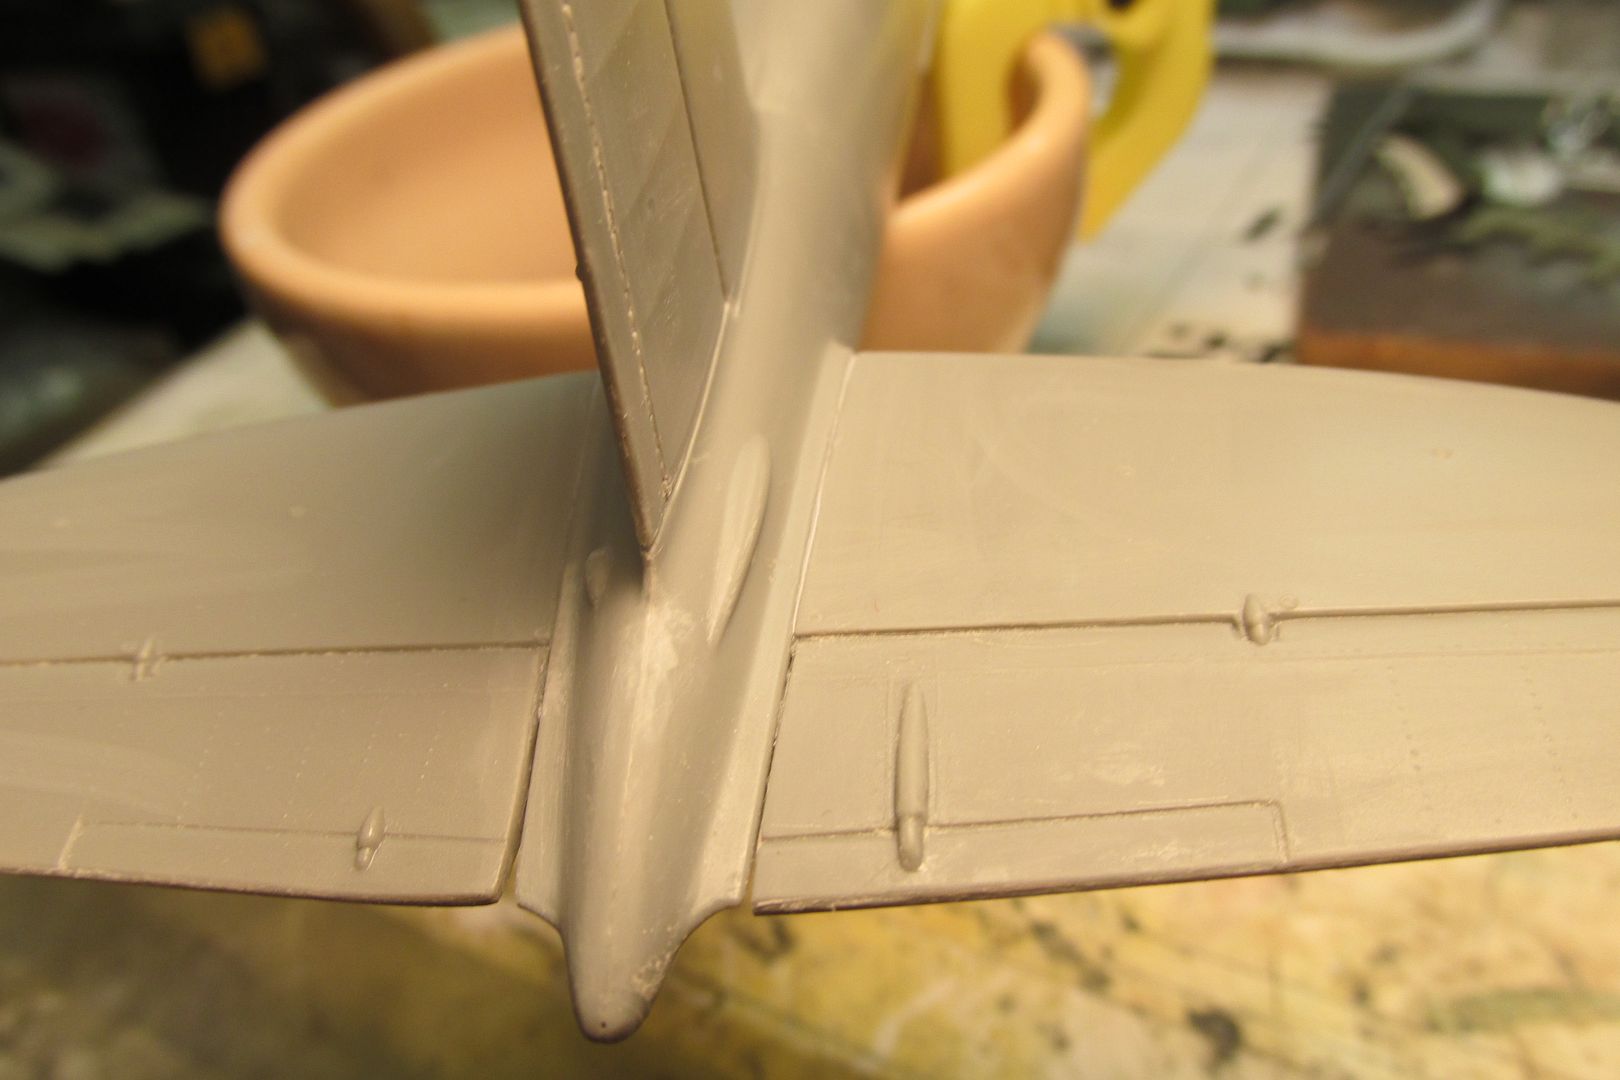
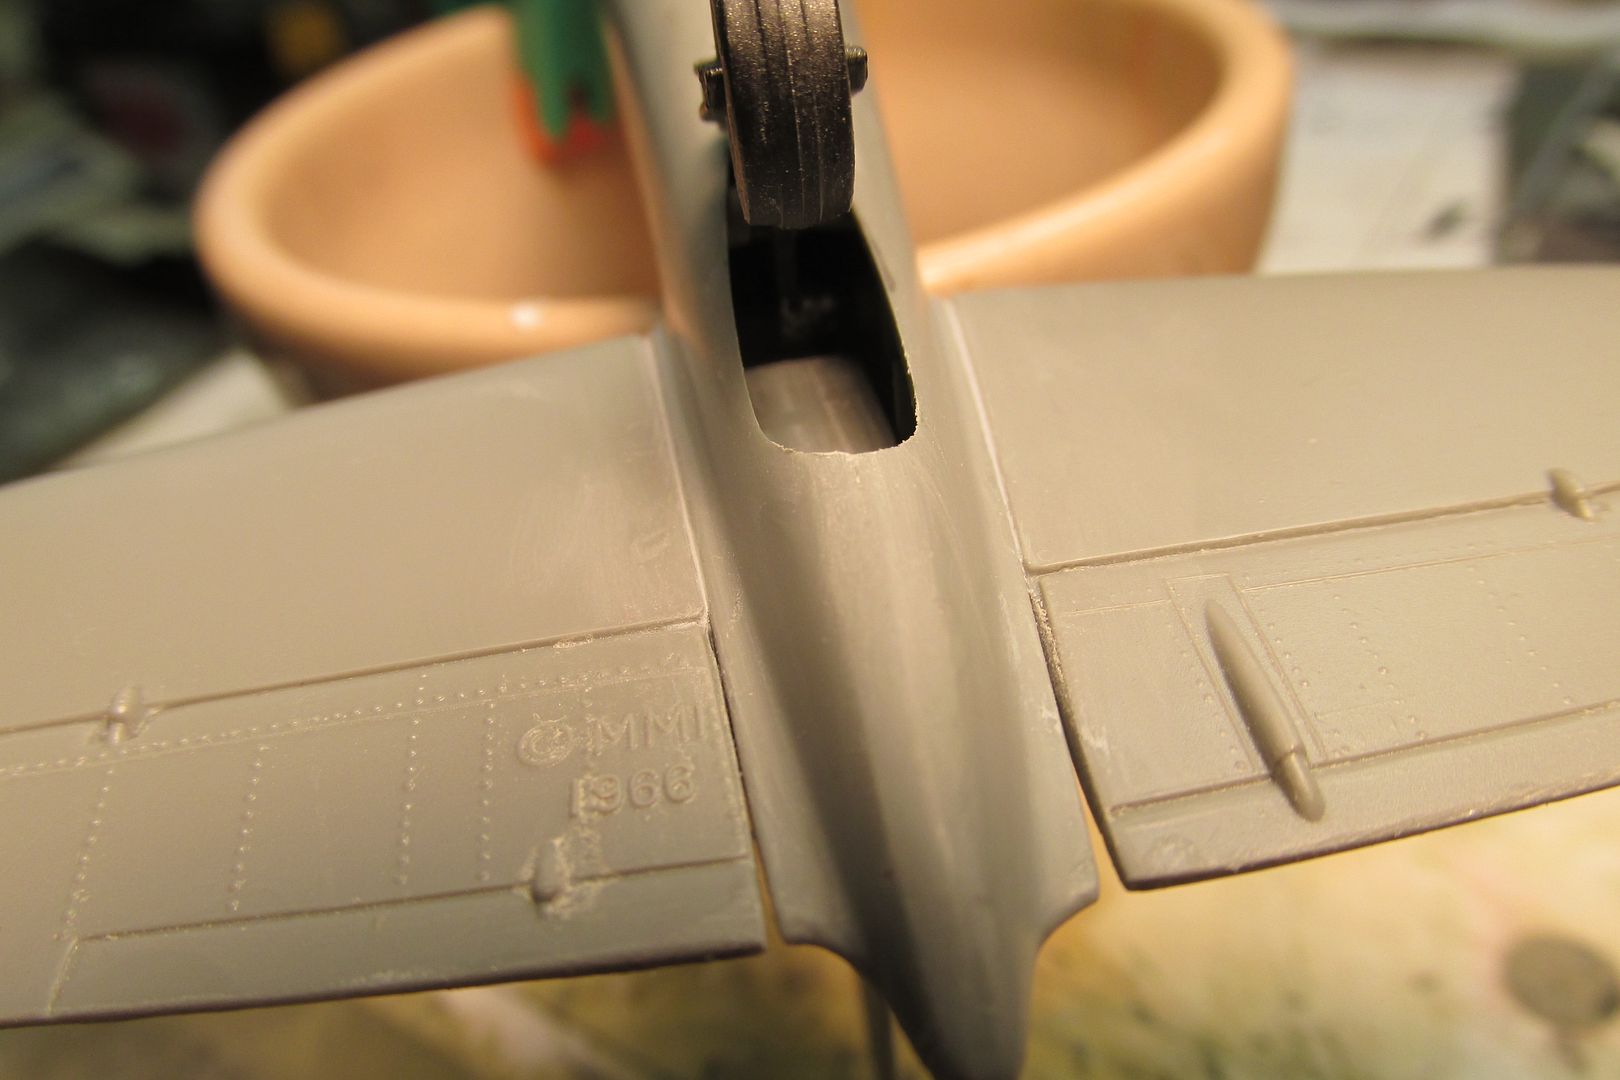
note the date on the lower, starboard stabilizer; usually I sand those off but on this old icon, I thought it would be a good tribute to its age!

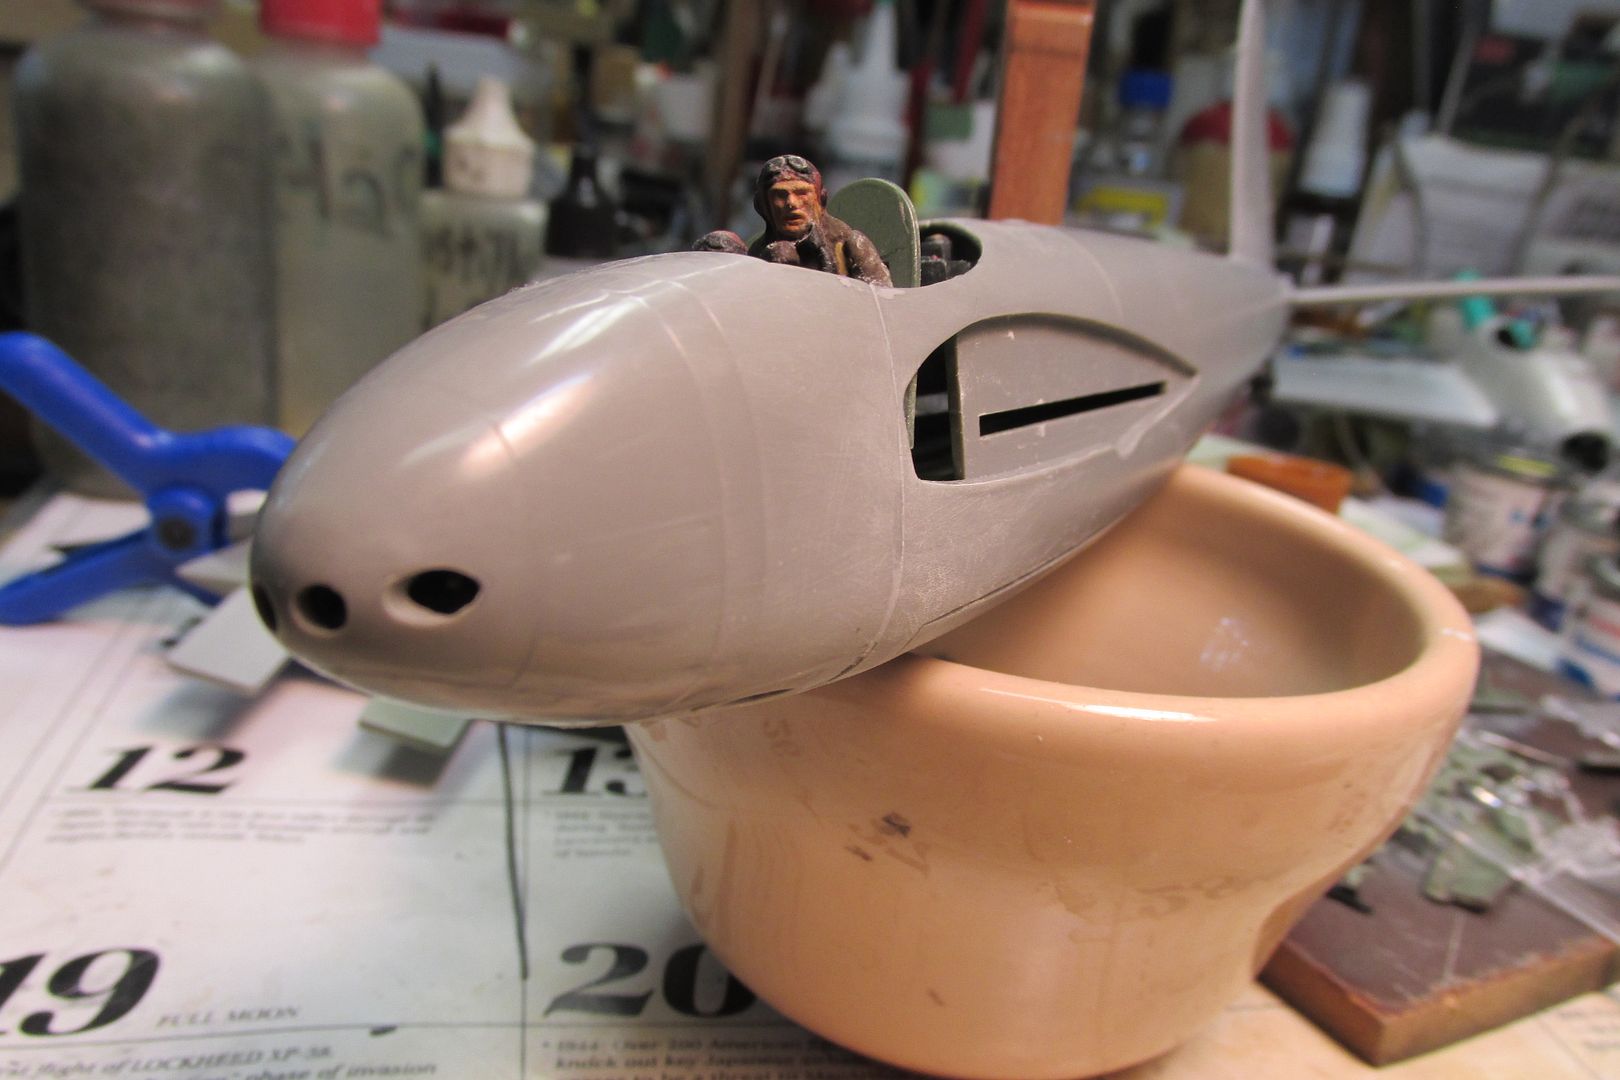
I used the same filler for the joint where the fighter-bomber nosecap meets the fuselage. The fit wasn't terrible, just regular
old Monogram
bad. After much sanding, both side look and feel okay; I won't know more until it gets some primer. It's well that this isn't a NMF or even silver-dope bird because I suspect it would be tough getting a perfect, smooth surface.
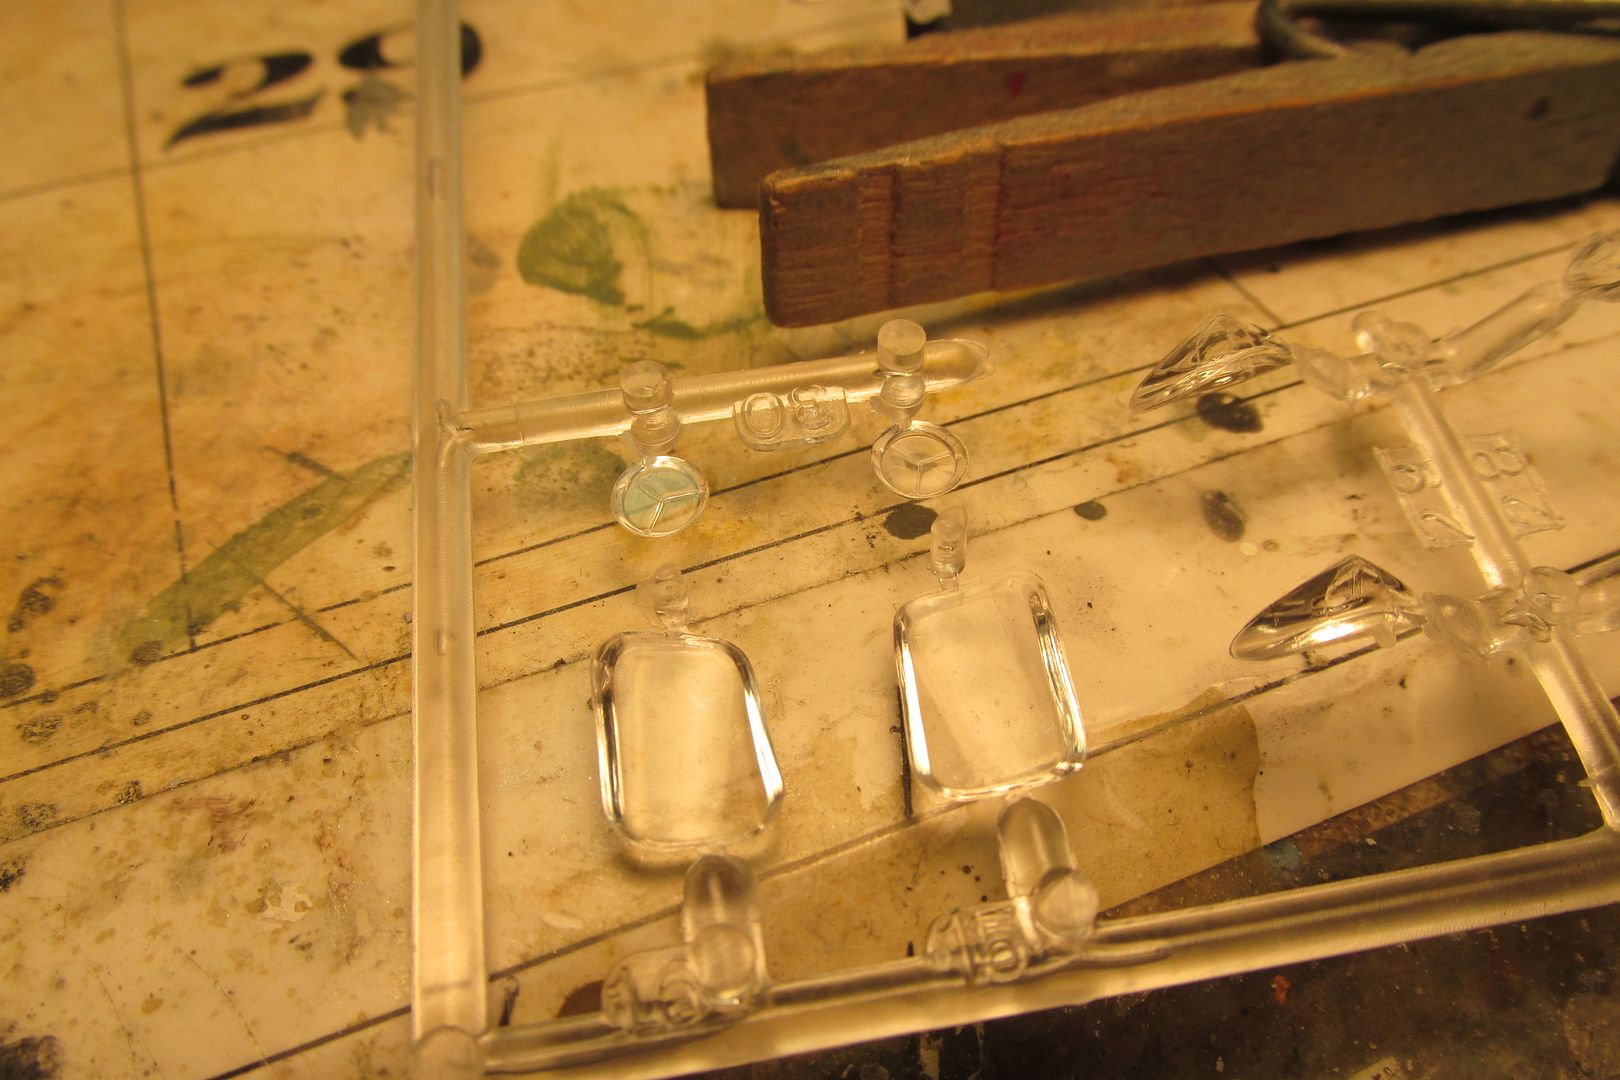
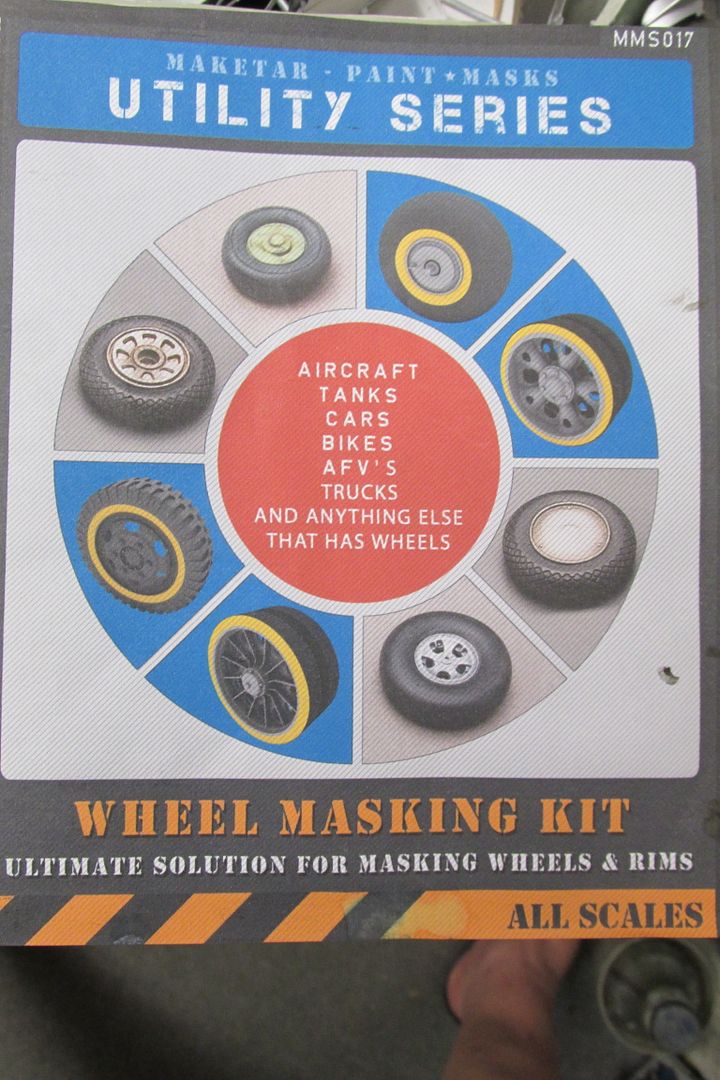
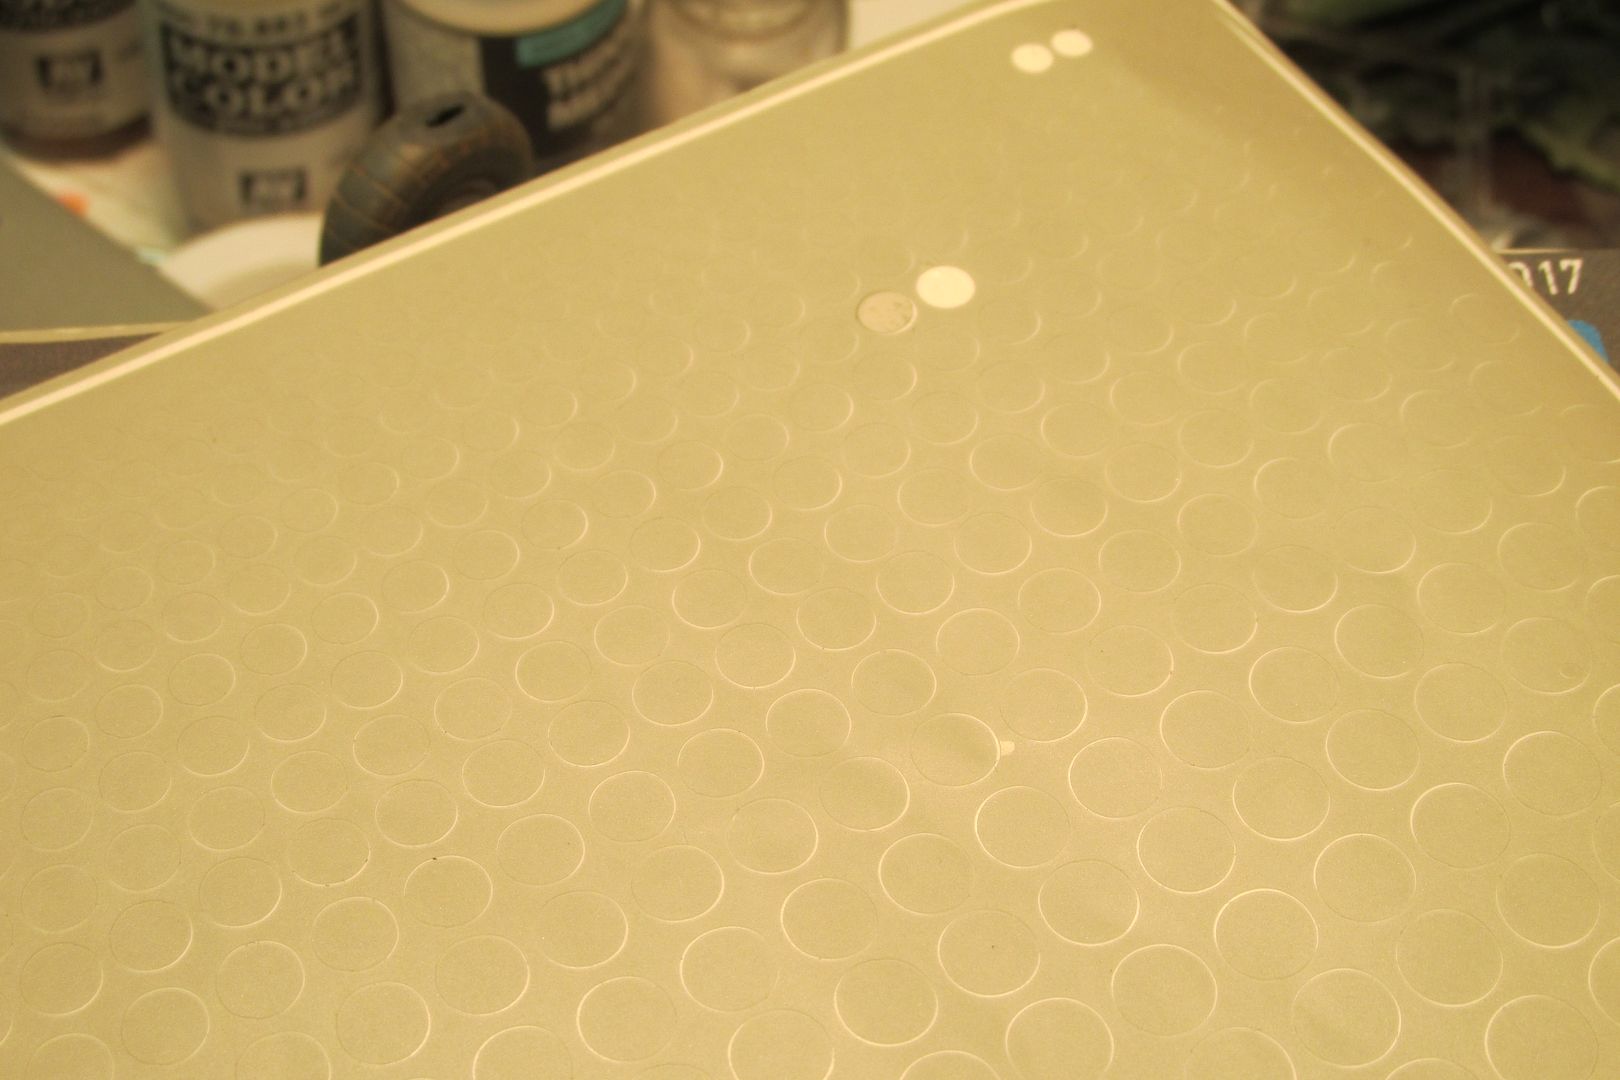
The underwing landing lights are designed to be installed from the inside. I decided to paint their backsides silver and then mask them off from the outside for painting. I cheated and brushed them with Humbrol Silver #11. That's always been my "go to" paint for landing gear oleos and anything else that needed to be a bright silver. I have a newer tin of the #11 that isn't silver at all, but a very pale gray. Obviously, something was left out of that batch! Fortunately, my very old tin of the stuff was still viable although really thick by now. Several years ago, I bought a wheel masking set from Maketar. And so far, I've never found a scale model airplane wheel that they fit. But, one of the small masks is a perfect fit for the landing light lens.
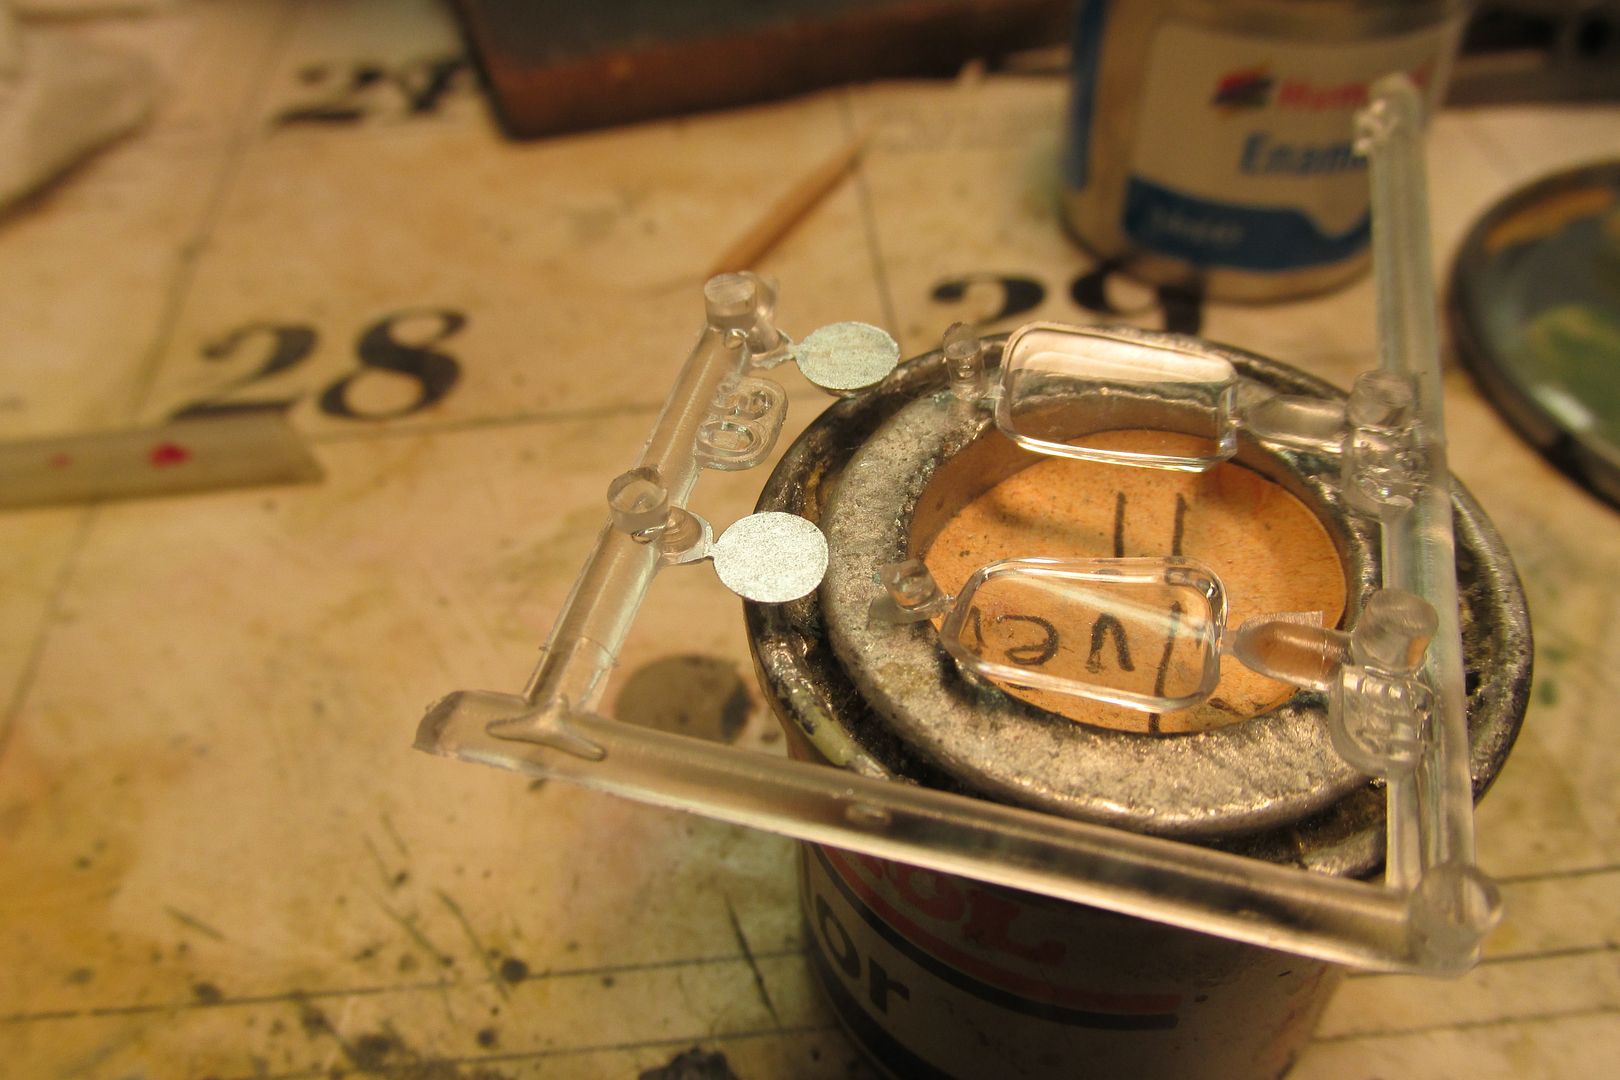
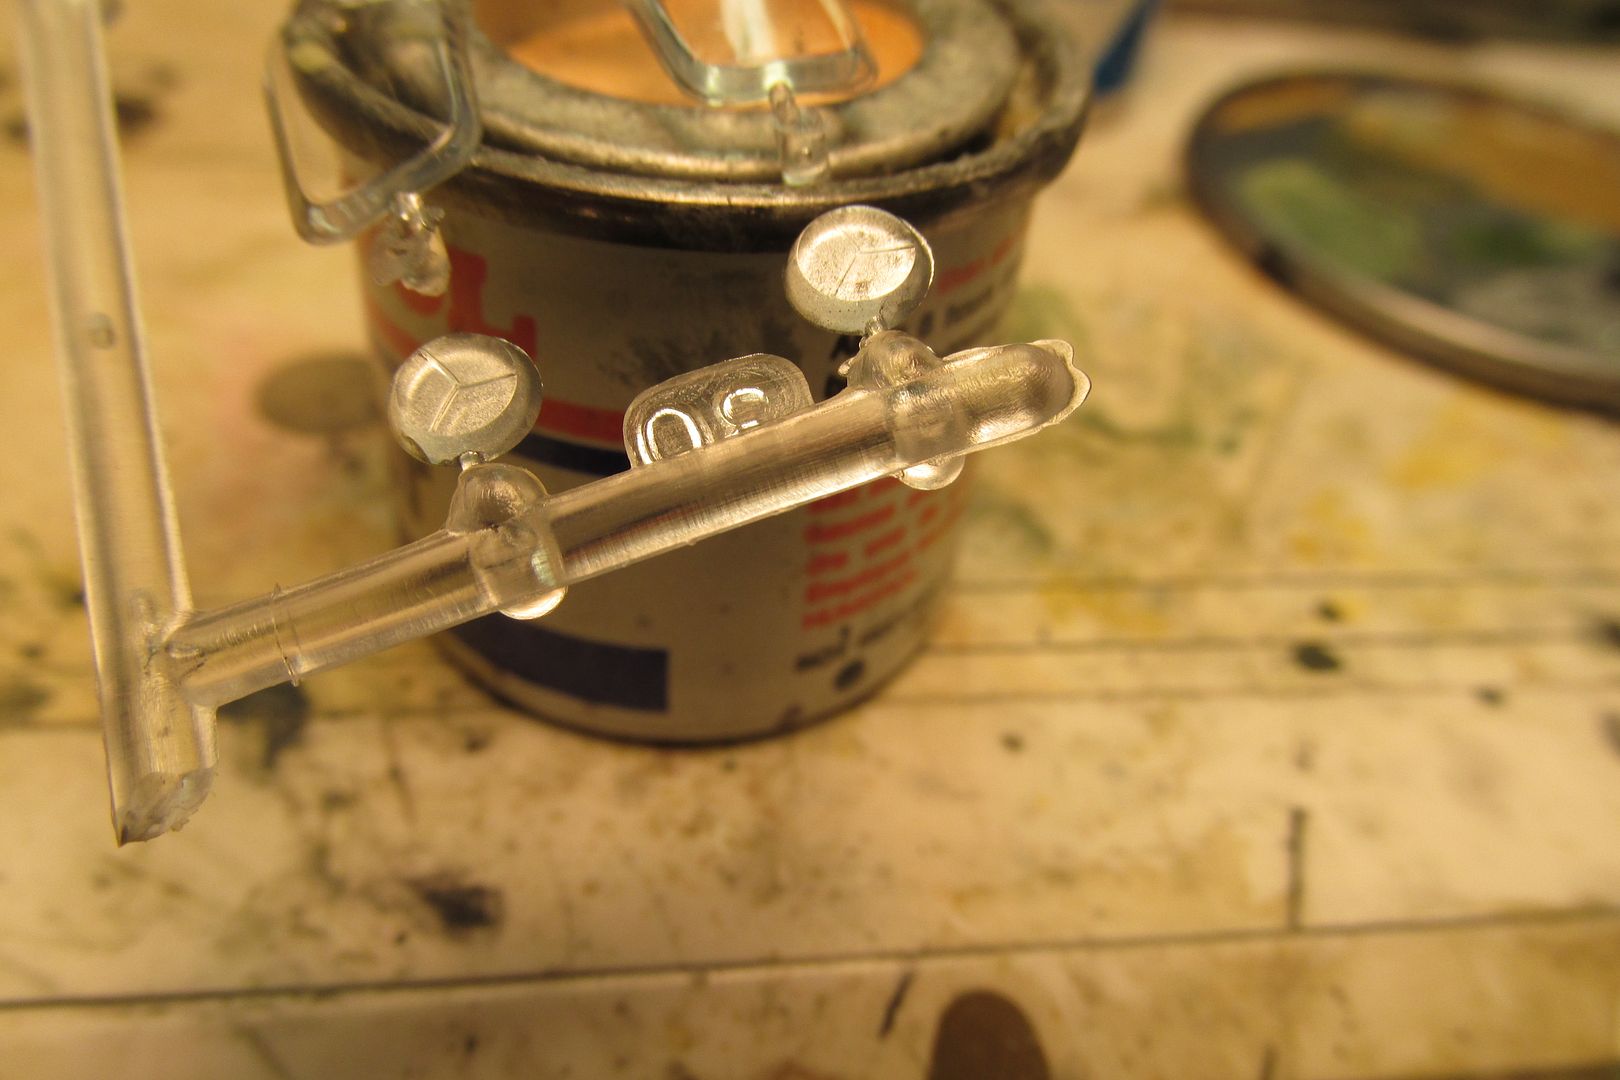
And the outer view of the lens:
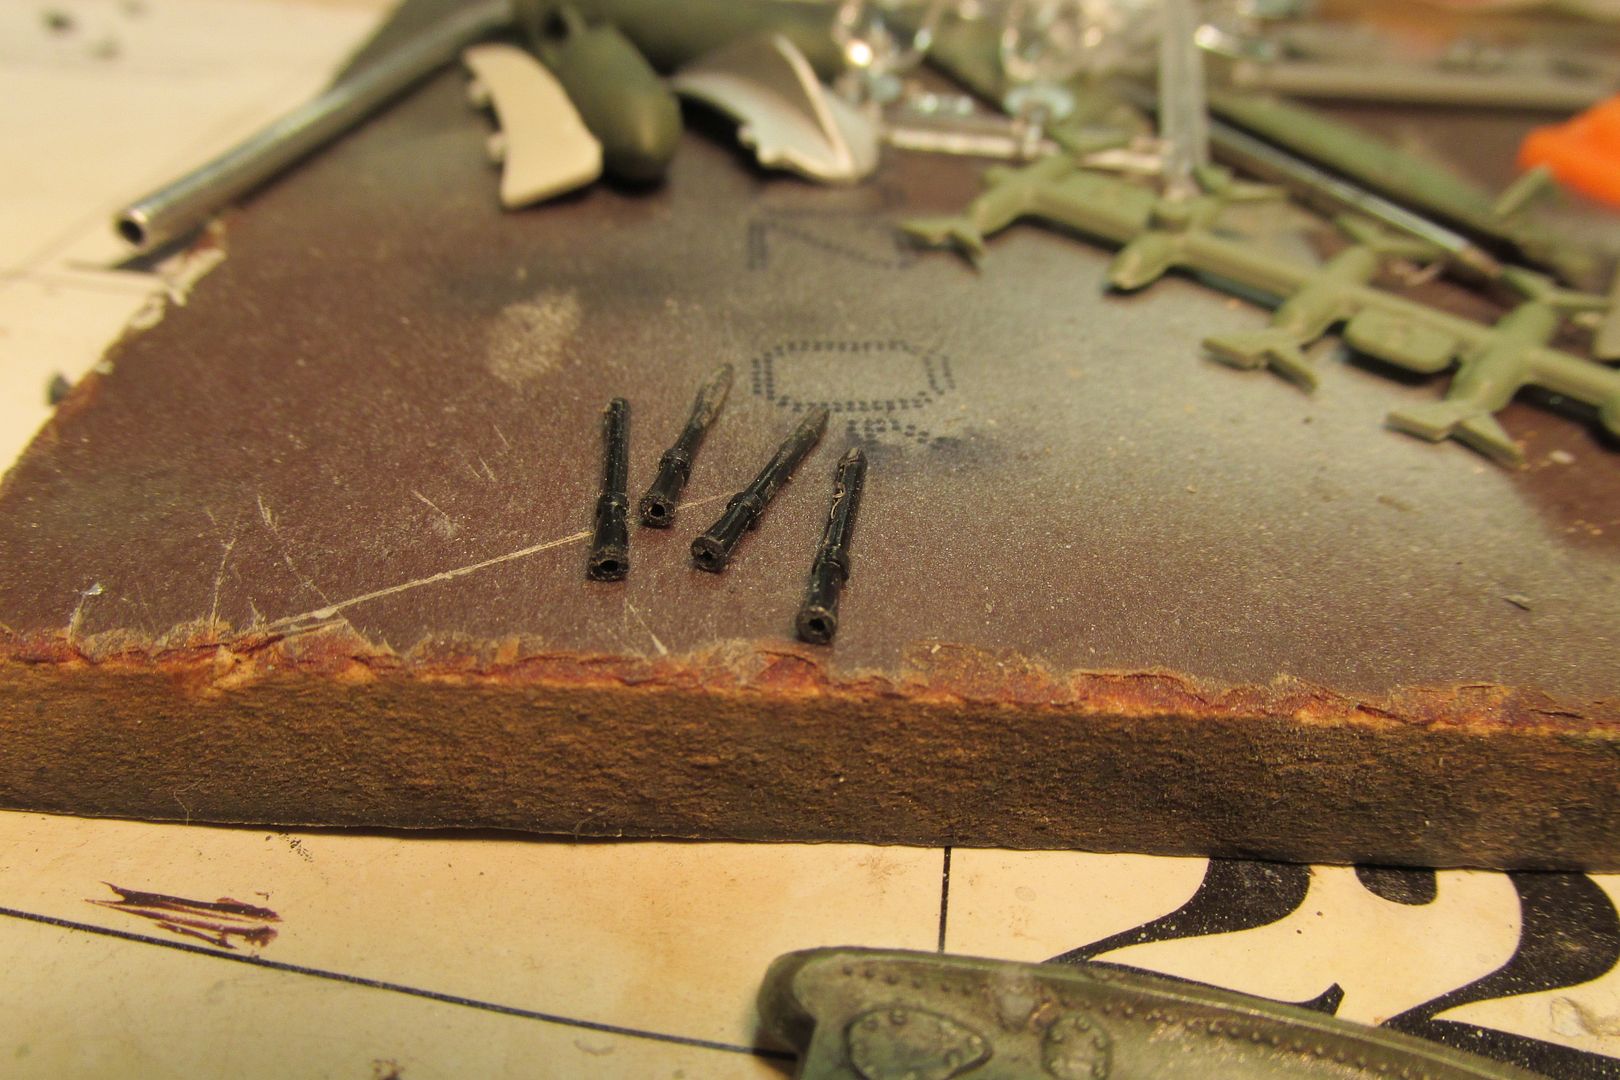
I also finally got around to drilling out the ends of the nose machine guns. They still need a lil' cleanup before painting them:
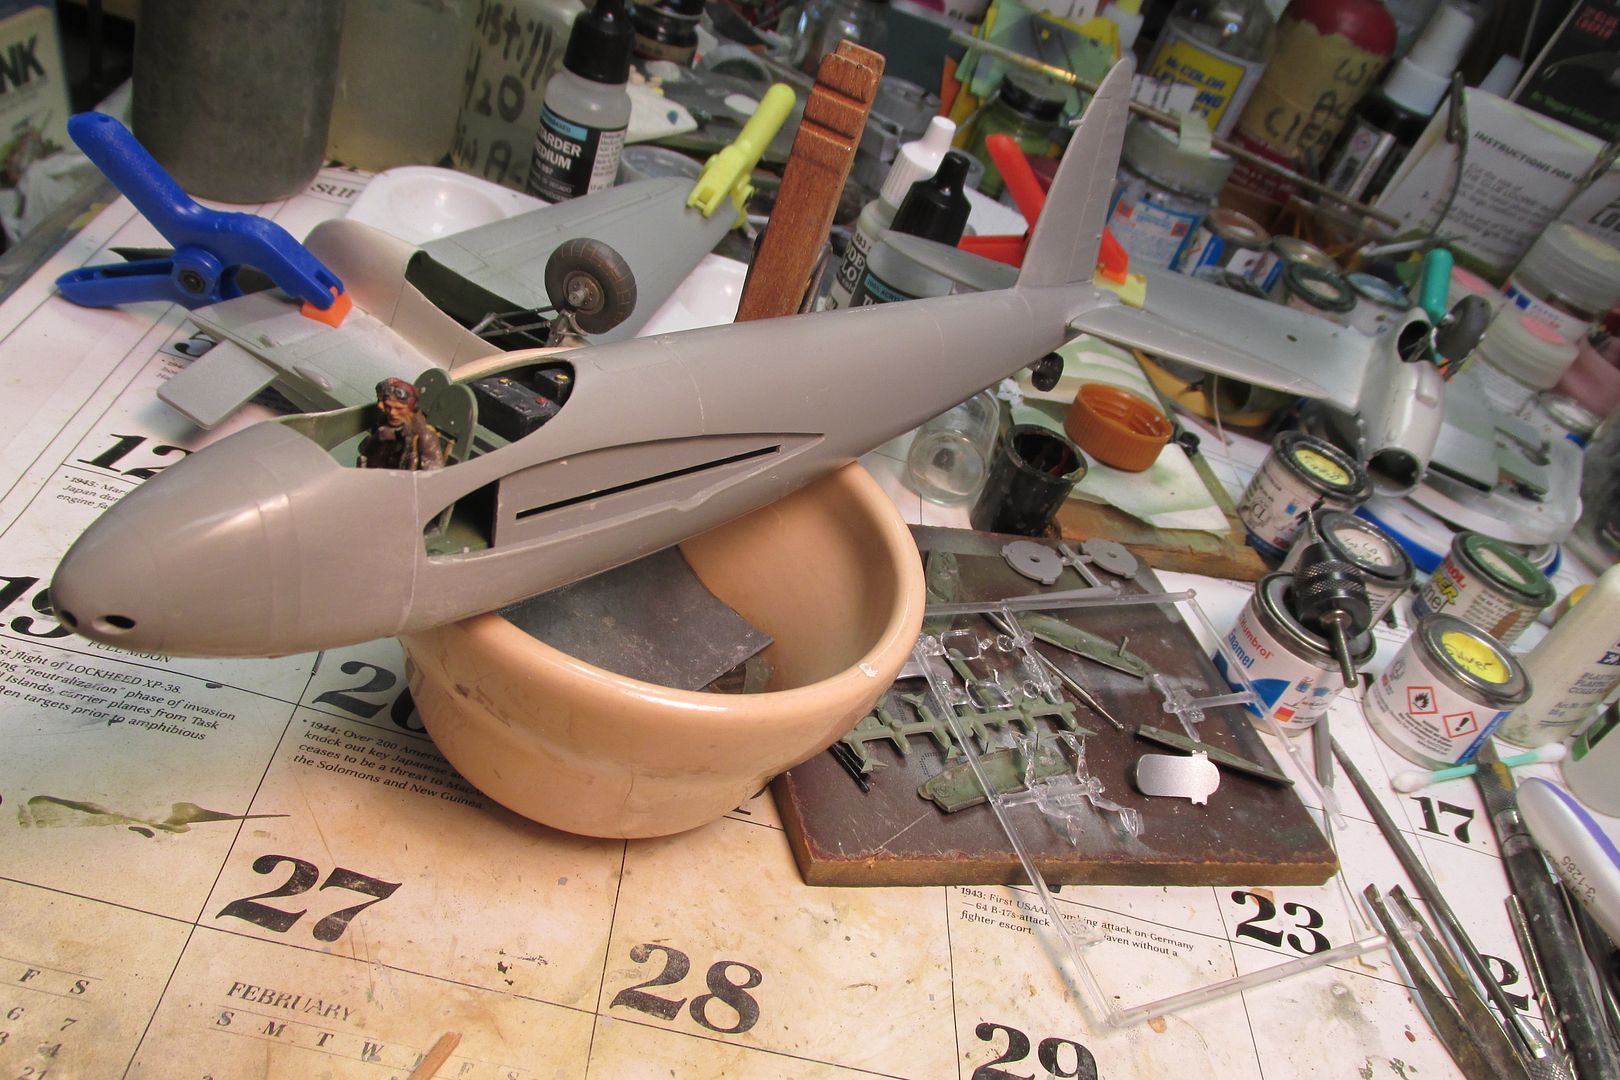
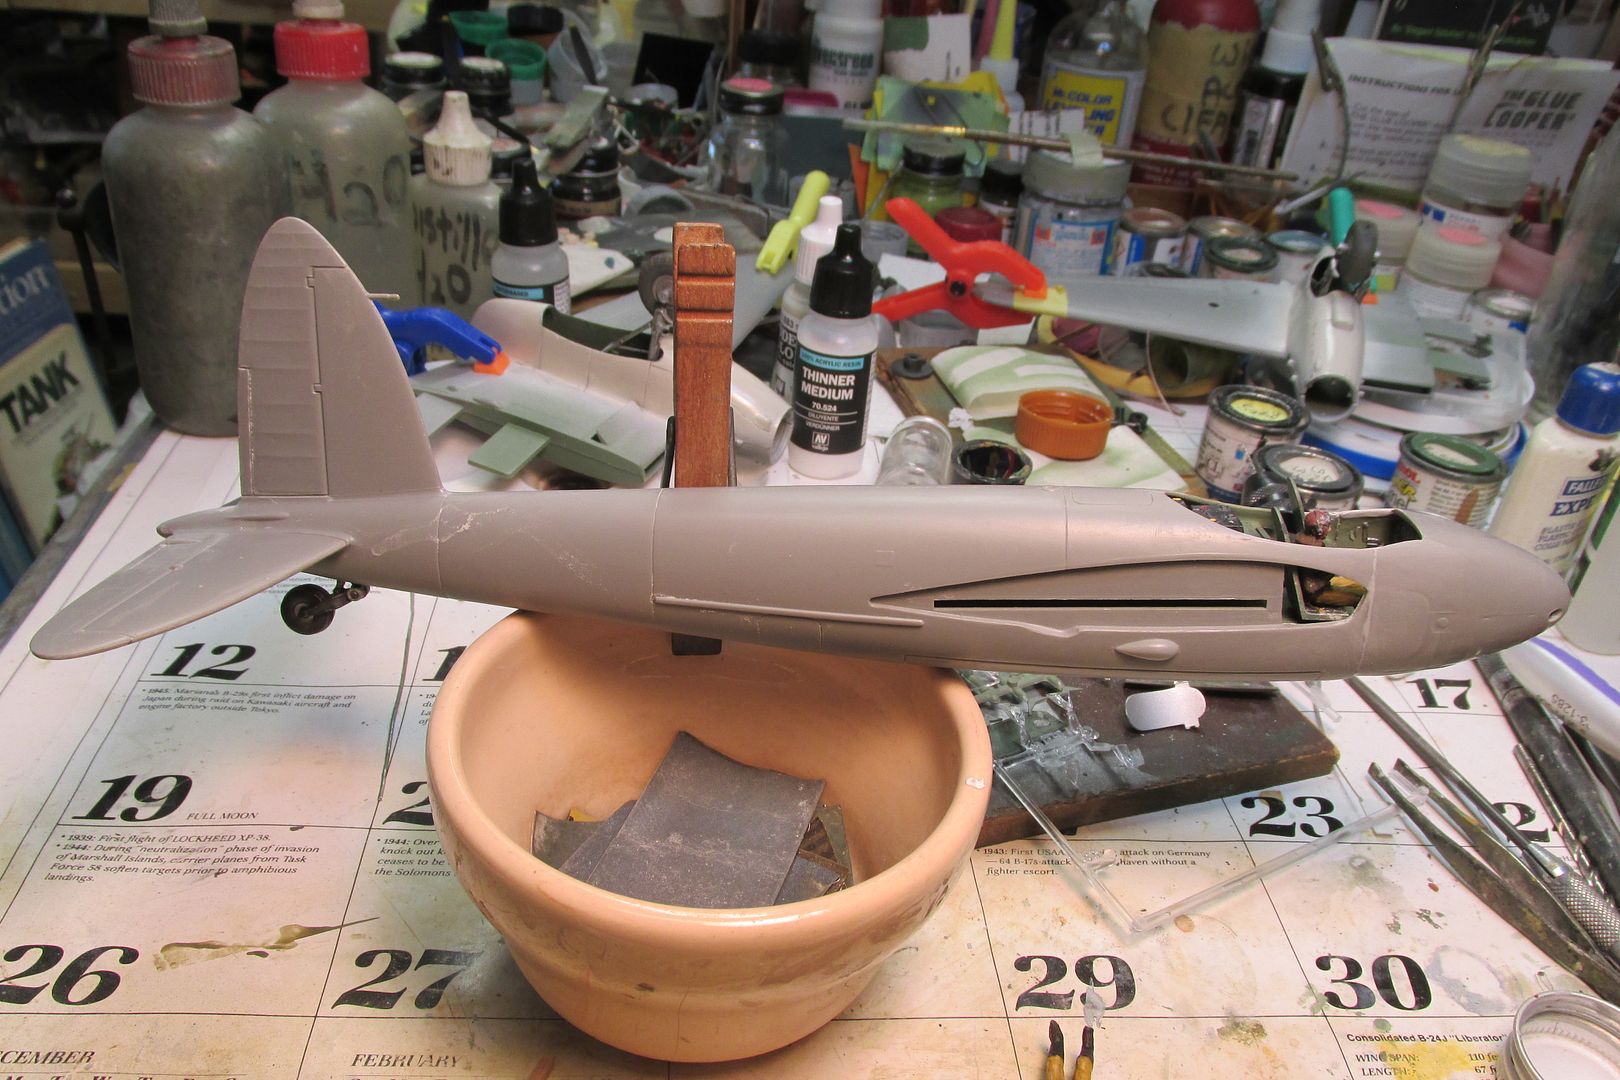
I'm ready now to close up the wing halves and get them ready to attach to the fuselage. That will be the next, "big" step. I plan to use the bomber version's canopy to mask the cockpit for painting. The pilot fell out during the photo shoot and both figures needed a bit of touch up paint. The pilot is now back aboard and that's where she stands now.
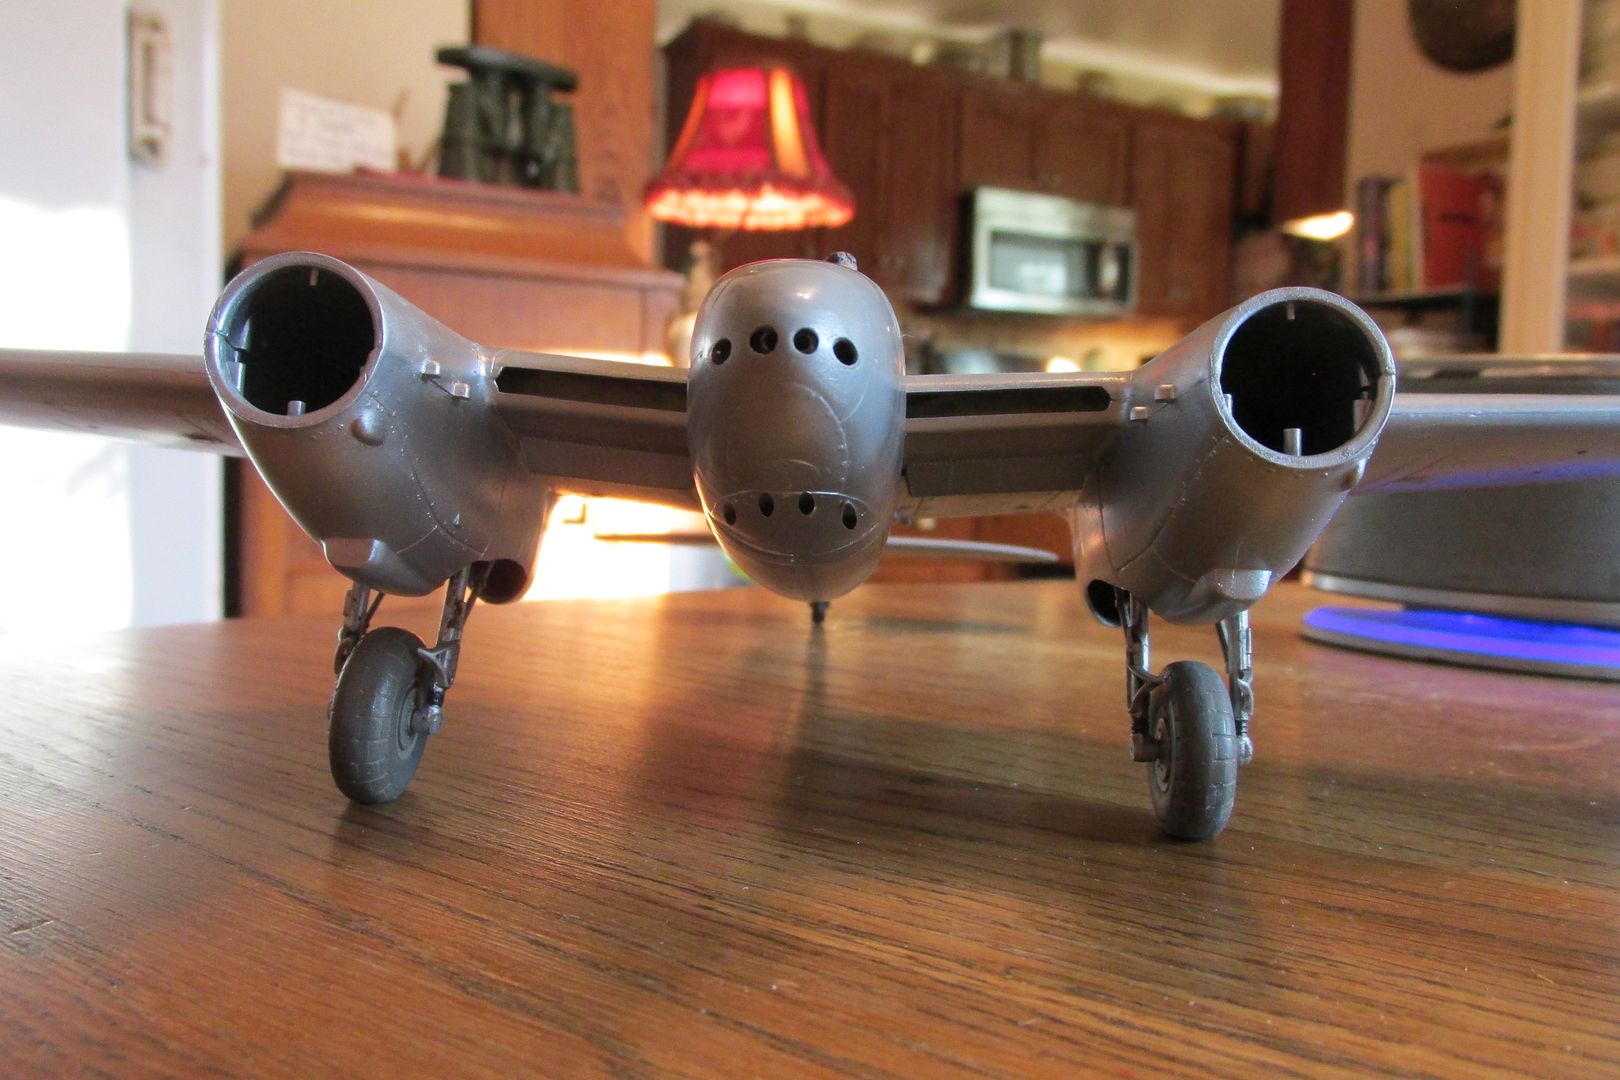
Without her wings, the aircraft has a definite "Flight of the Phoenix" vibe going!
Okey dokey, that's all I've done thus far. Thanks for your interest and for stopping in!