Re: Russian fighter project
Posted: Thu Apr 16, 2026 10:04 am
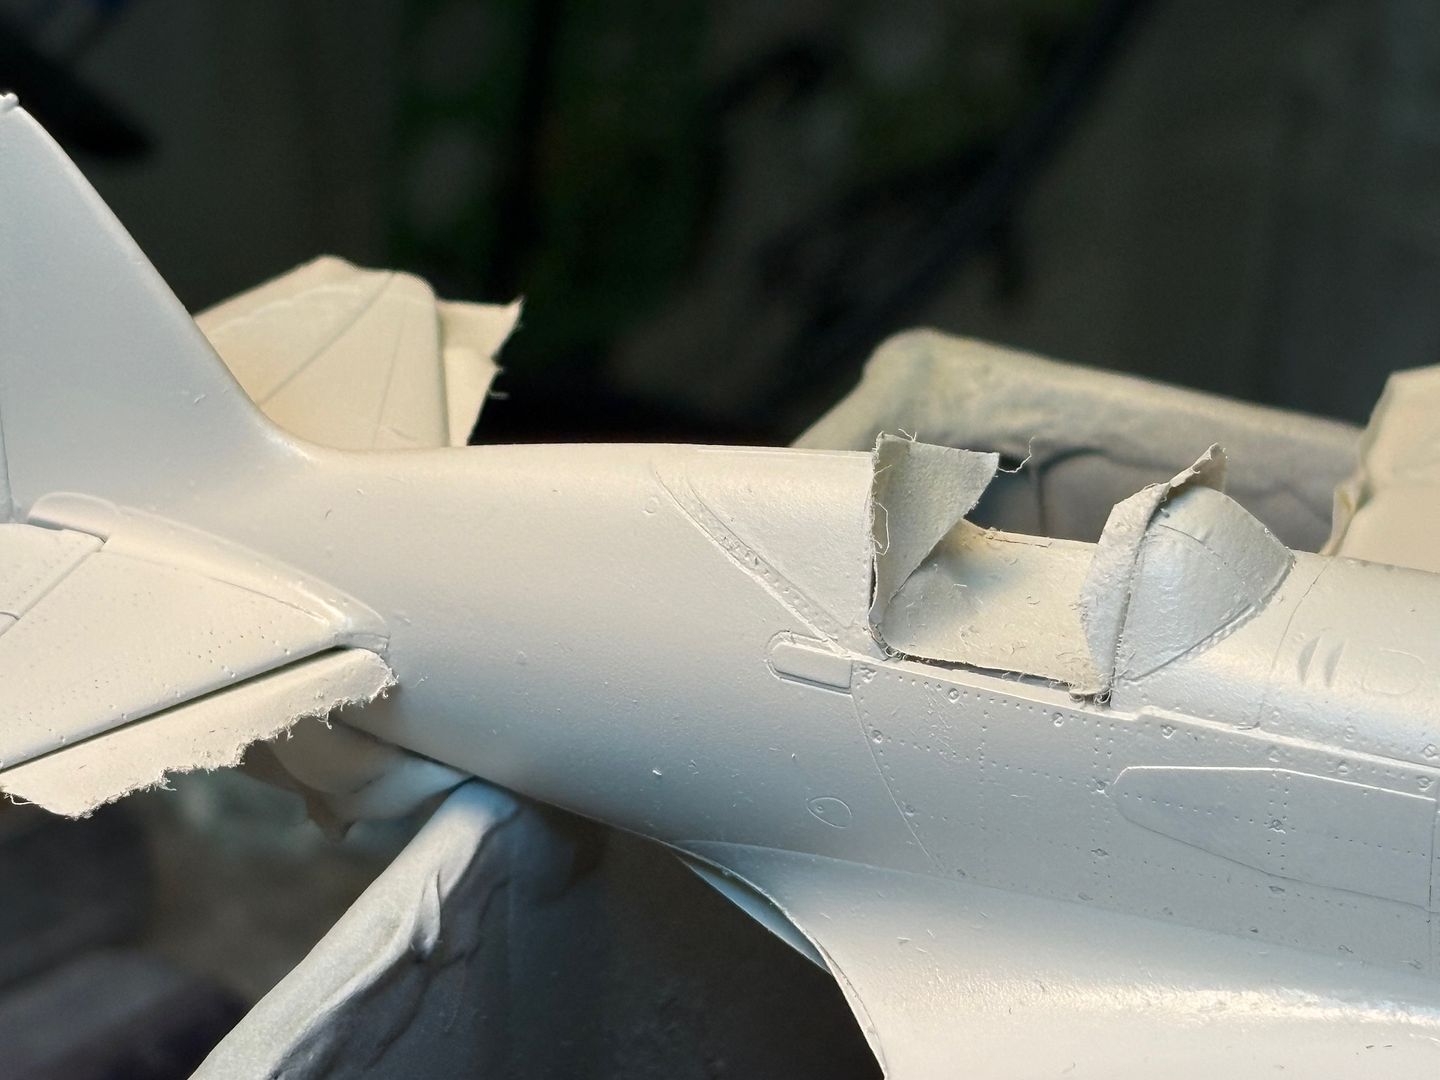
Well, it's been a long time since the last update but I finally do have a bit of progress to report, and show. After sitting untouched for many months, I did restart this little project. The first order of business was getting the canopy masked for the MiG-3. With that accomplished, I glued the windscreen and rear section to the airframe and got her ready for painting.
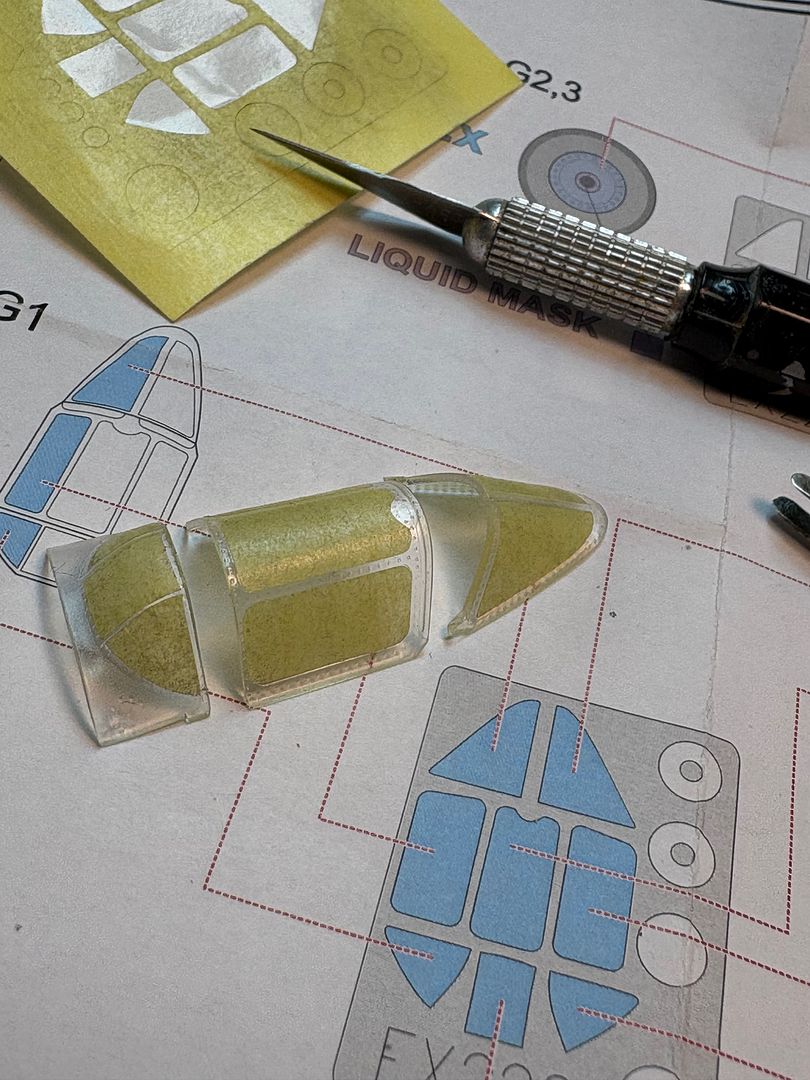
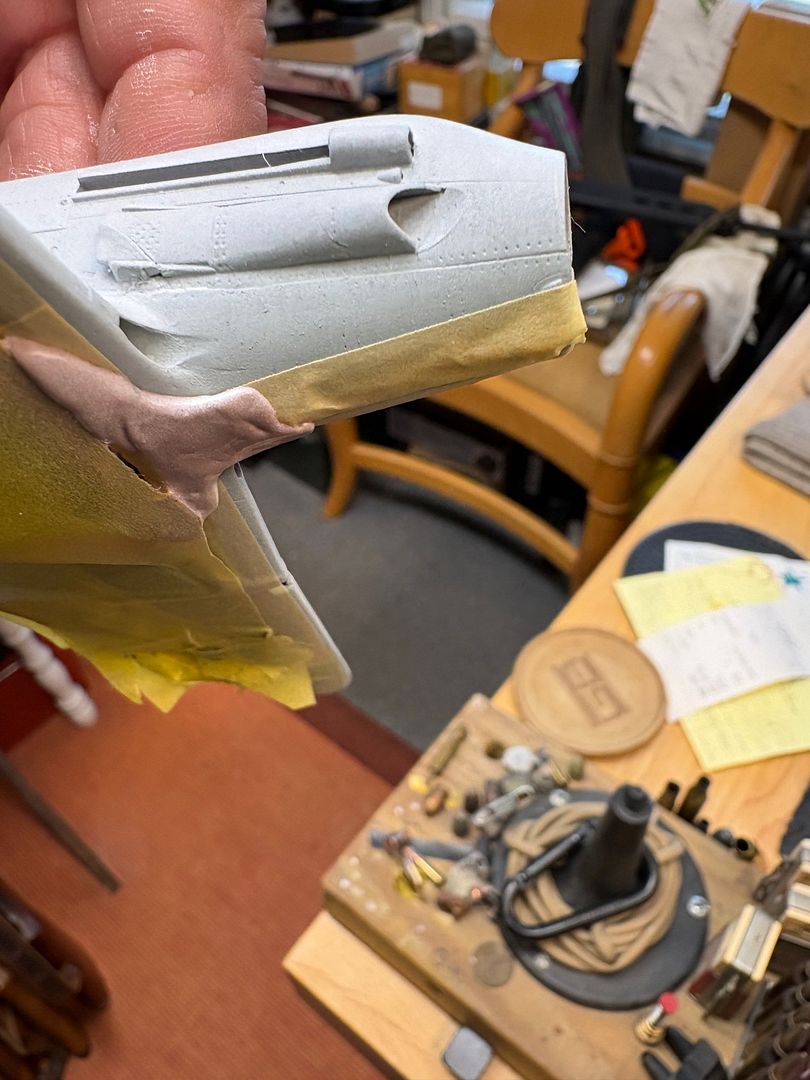
The gray primer on with the canopy parts:
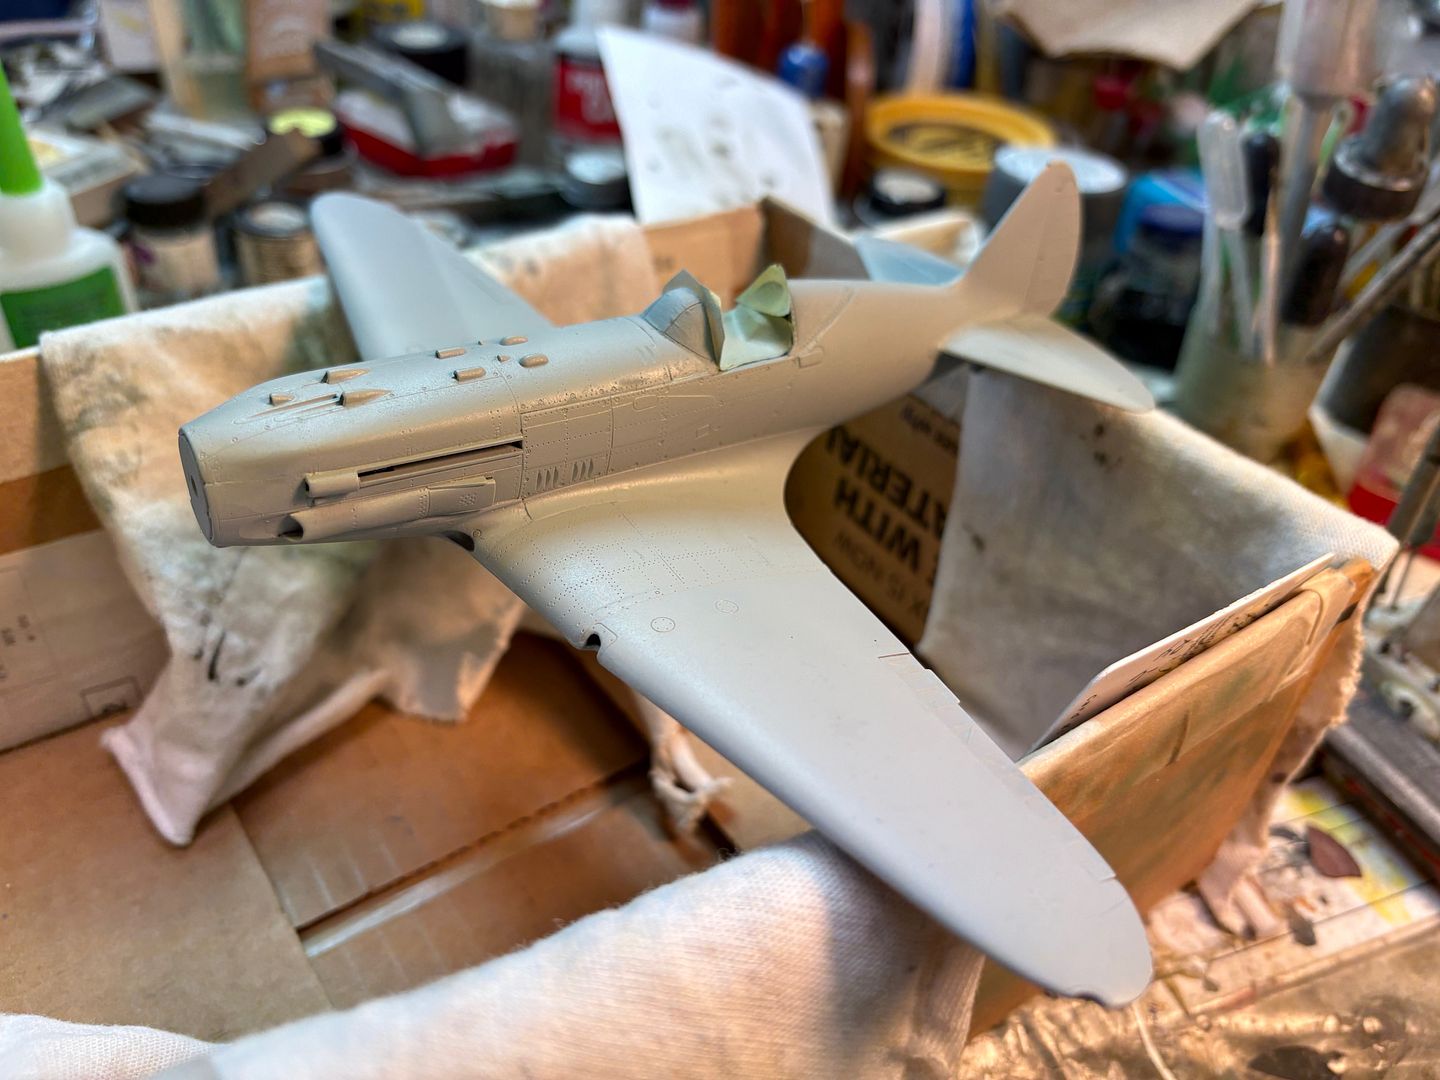
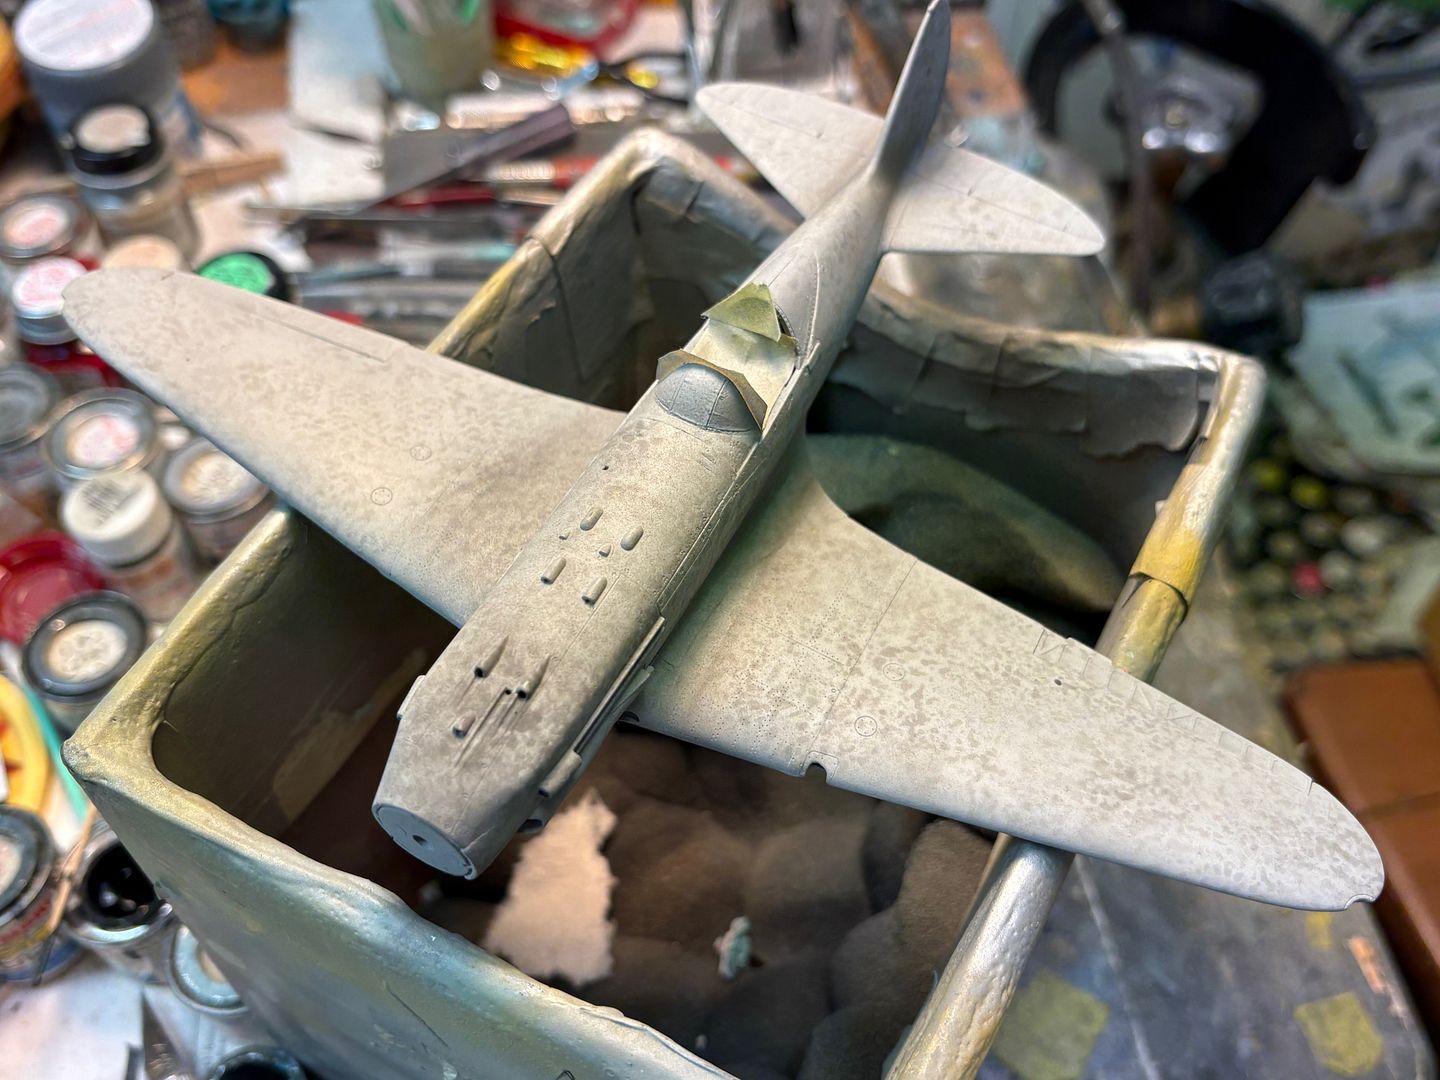
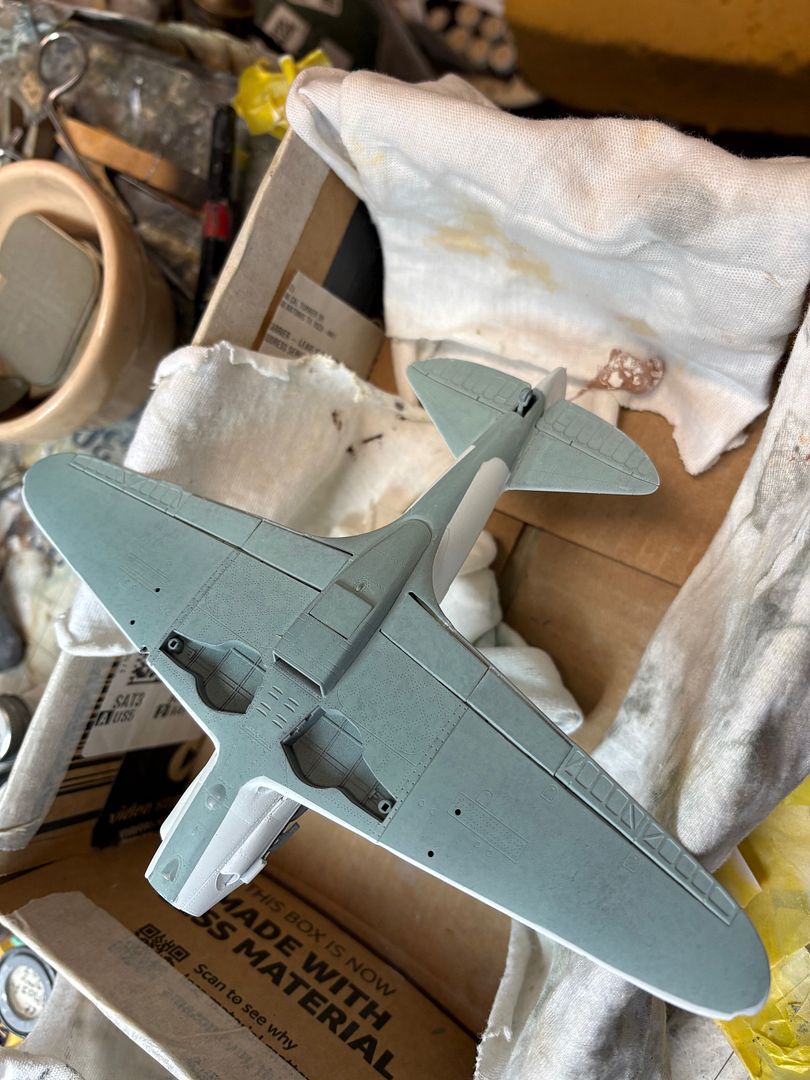
I had plans to do a heavily weathered version of the MiG and thought some pre-shading would work well. I had thought I would show the original Russian primer showing through in places and that the white would be heavily stained and worn. And I planned on using Vallejo acrylic for the top white and that would be easier to chip. To provide a primer for the acrylic paint, I decided to paint the entire plane with MM enamel in light gray. Then, I used some Uschi splatter masks to pre-shade with a darker gray.
Then, I decided that no, I didn't want that look at all. I decided to go with a photo of freshly built MiG-3s, delivered to their unit. The new planes were almost pristine and barely stained.
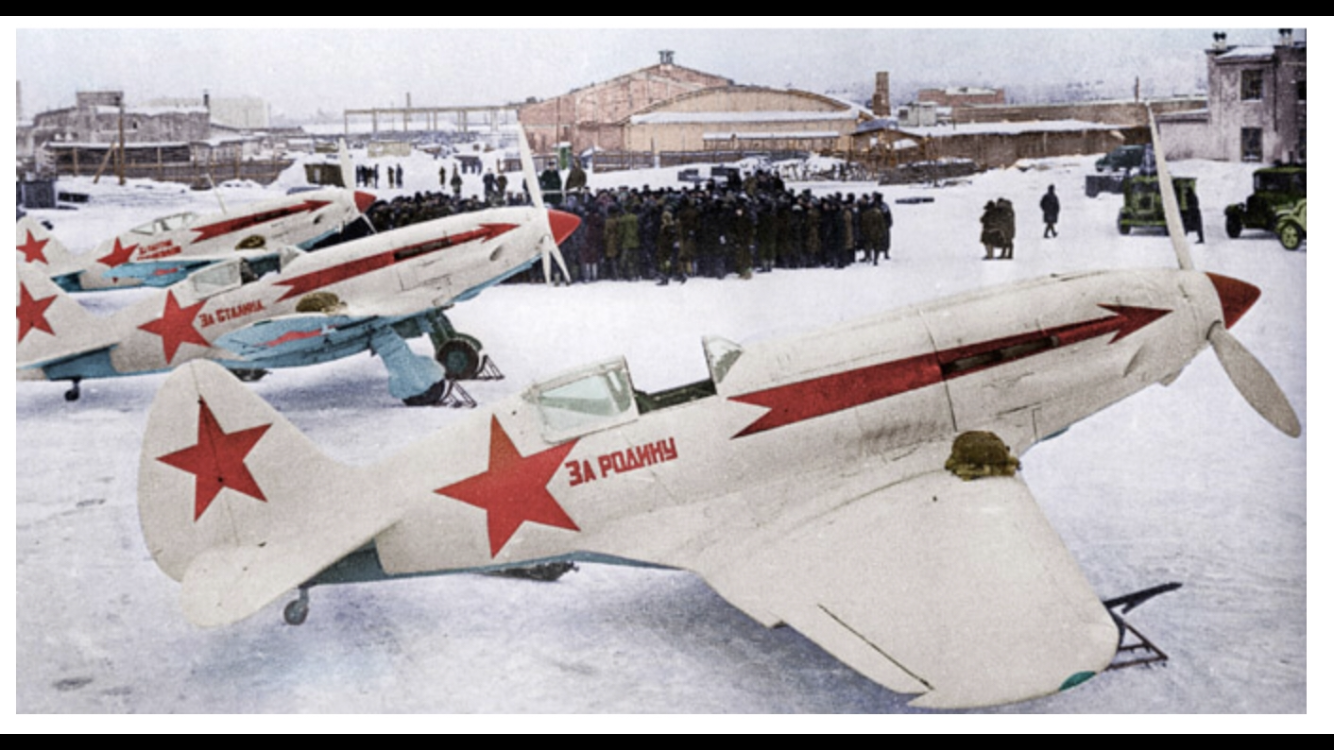
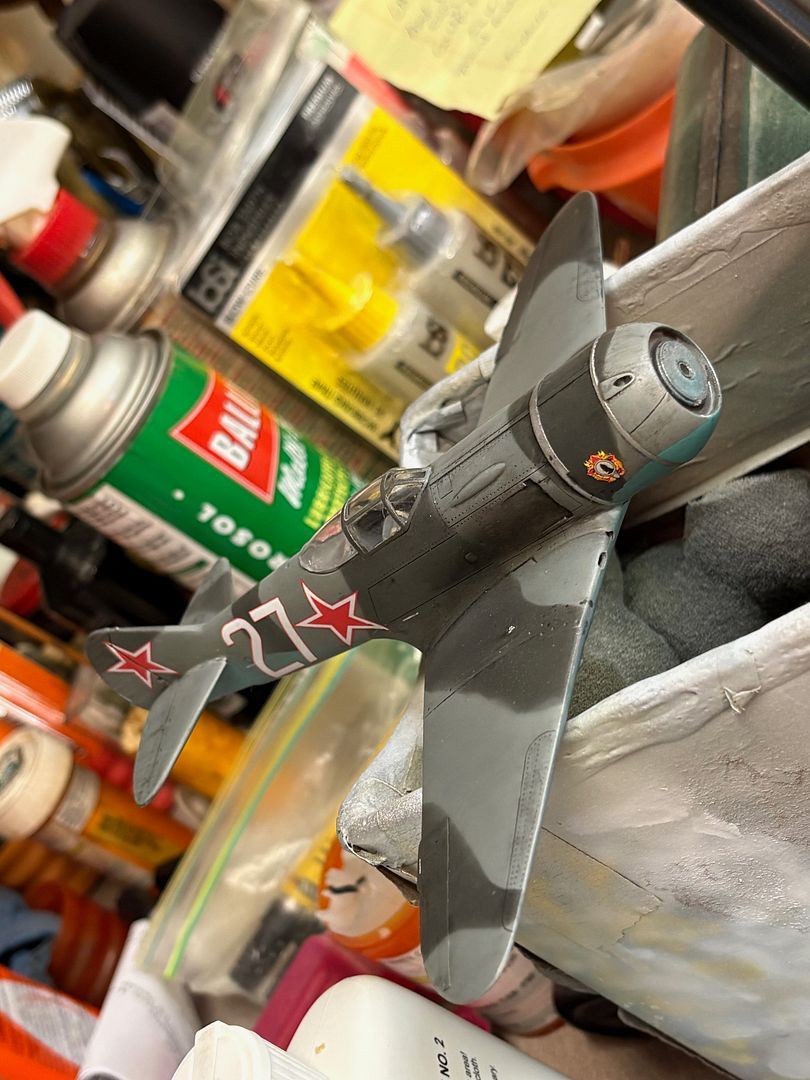
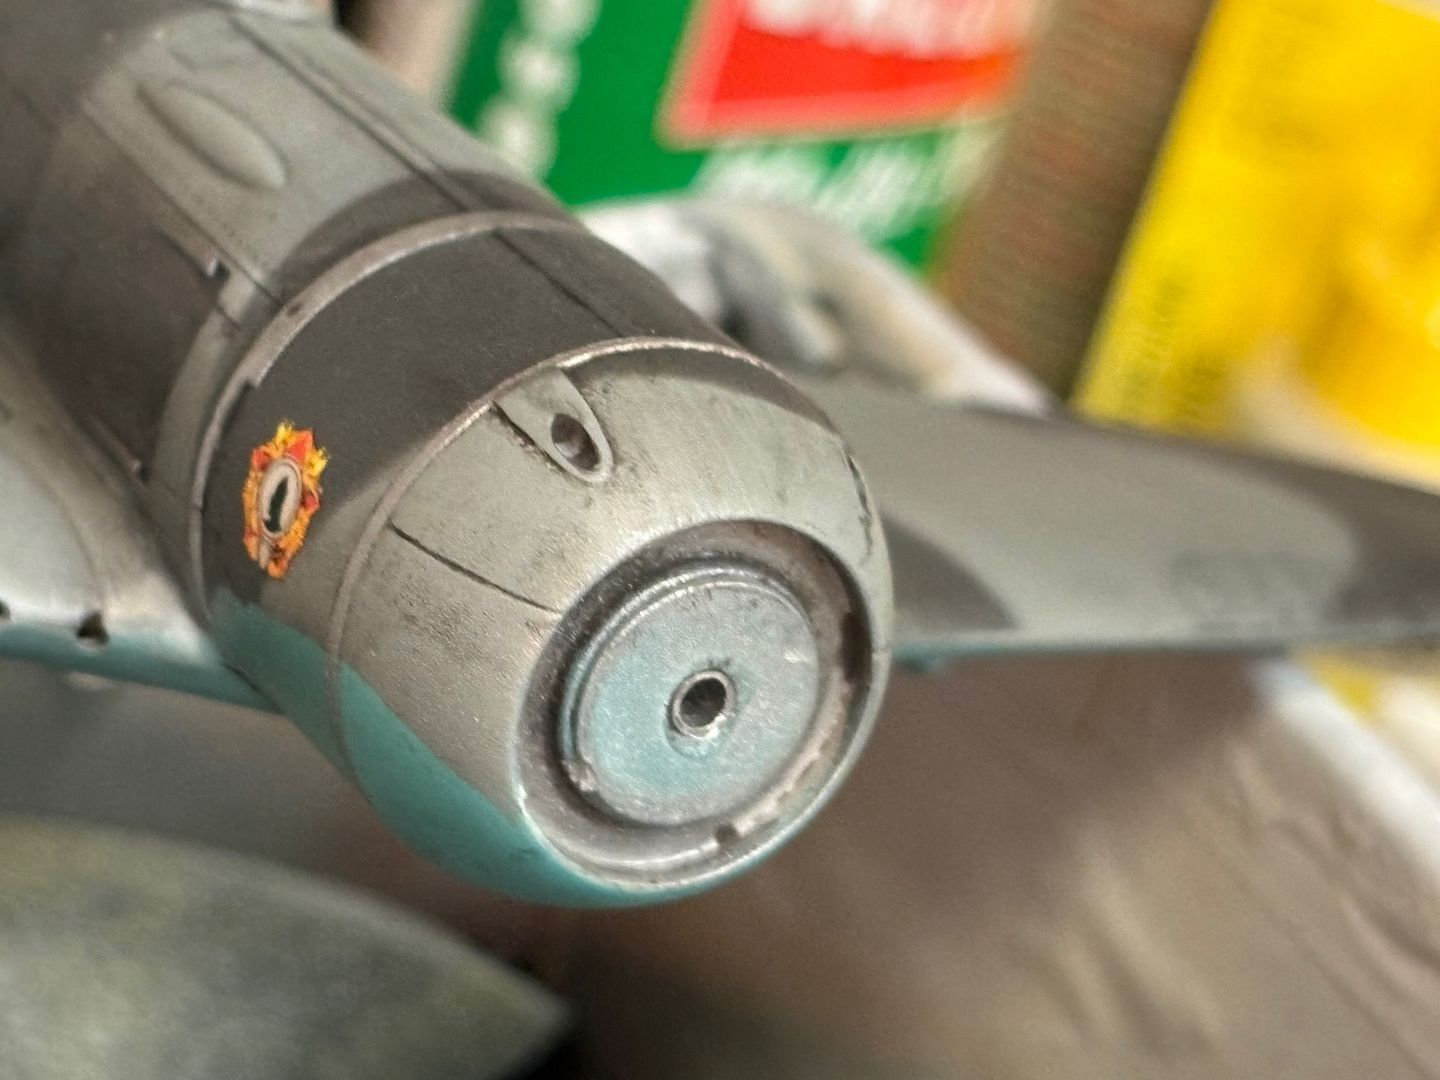
So, that then became my target. My chosen scheme with the patriotic slogan, "For the Bolshevik Party" is the third, rear-most aircraft in that photo. It was taken on February 23, 1942 at the Moscow's Aircraft Repair Plant No. 1. And now I had to cover all that pre-shading with white.
And that became a problem. I started with really thin Vallejo, and began layering it on. After a while I stopped and thought okay. Cleaned up and then saw that the airplane still looked gray, almost a pale blue, even. So, on went more Vallejo. Still too gray. Okay, let's change to enamel and try Testors flat white. Through the spraying cycle we go and then...nope, that plane is still gray! Arrrgghhhh!! Well, not to be deterred at this point, I gunned up some Testors gloss white enamel and had a go. Finally, it began to turn white!
I took photos of the paint shade at each point of the journey but I don't see the need to show them here. Suffice to say they did not look white.
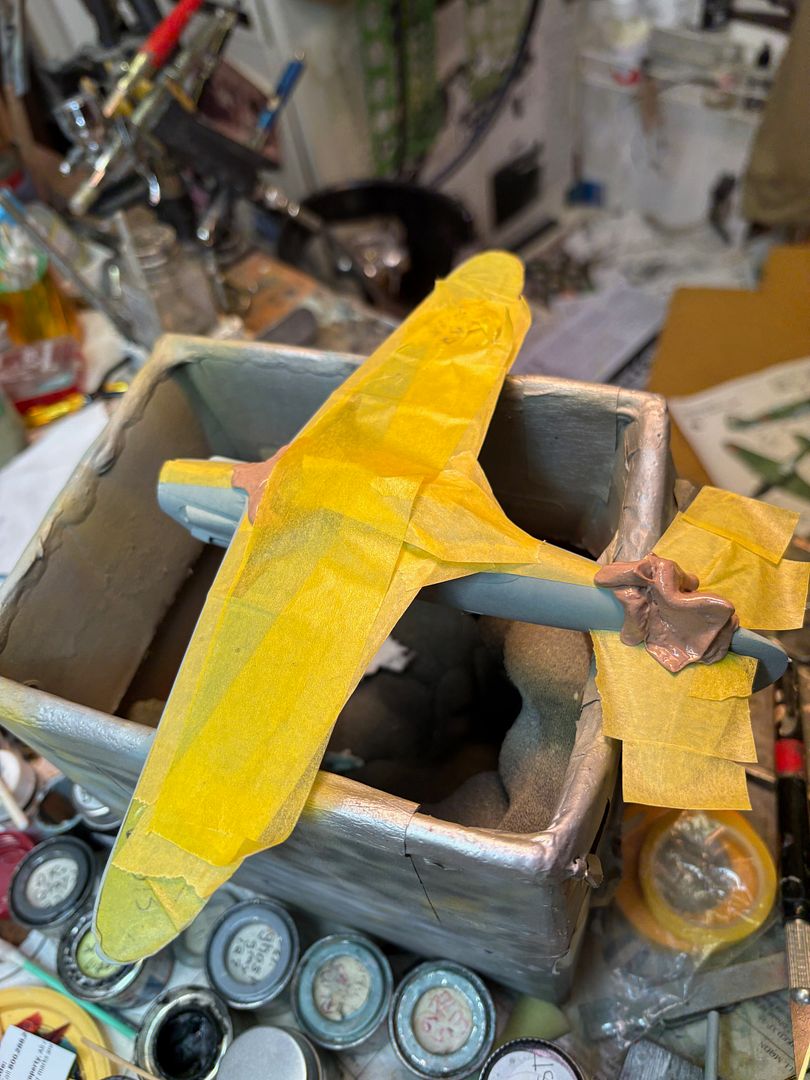
The white gloss enamel:
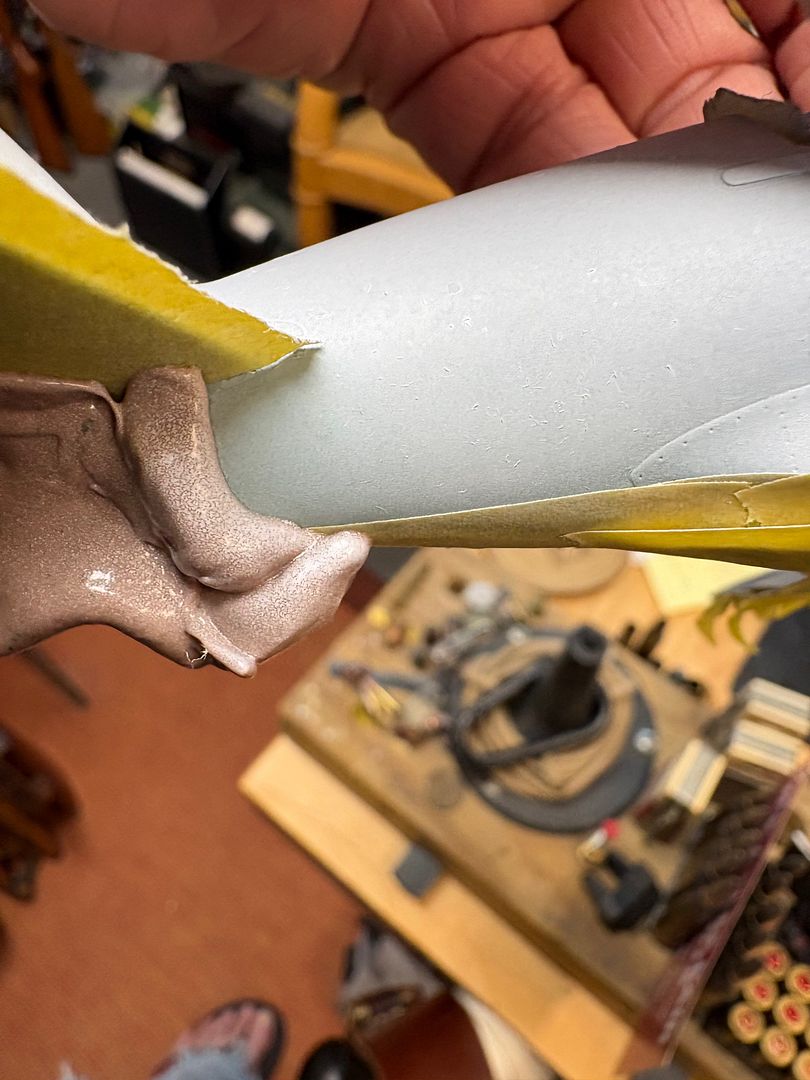
Masking for the white over the blue underside:
I was finally satisfied with the shade and suddenly had an epiphany. Hey, since it's already glossy, I don't need a gloss clear coat! I started polishing the white enamel and that worked out okay so I since there were only two decals on the underwings, I tried polishing that paint too. It was flat enamel but it had gone down very smoothly so I gave it a try too. Success! No clear gloss would be needed at all!
The decaying went pretty well. Those long red arrows were somewhat difficult to apply and I didn't get them perfectly aligned on both sides. I didn't try to duplicate the correct stars (in color or placement) because really, at this point authenticity had gone out the window! (my white MiG is really just apparently Trumpeter's "idea" of how the actual "For the Bolshevik Party" aircraft appeared. They got the red arrow along the fuselage wrong, got the fuselage and rudder stars wrong and oddly enough since they also make a late version MiG-3, they've assigned this famous scheme to an early version MiG-3 when the actual plane was among the very last of the type built! So much for authenticity on this build.  )
)
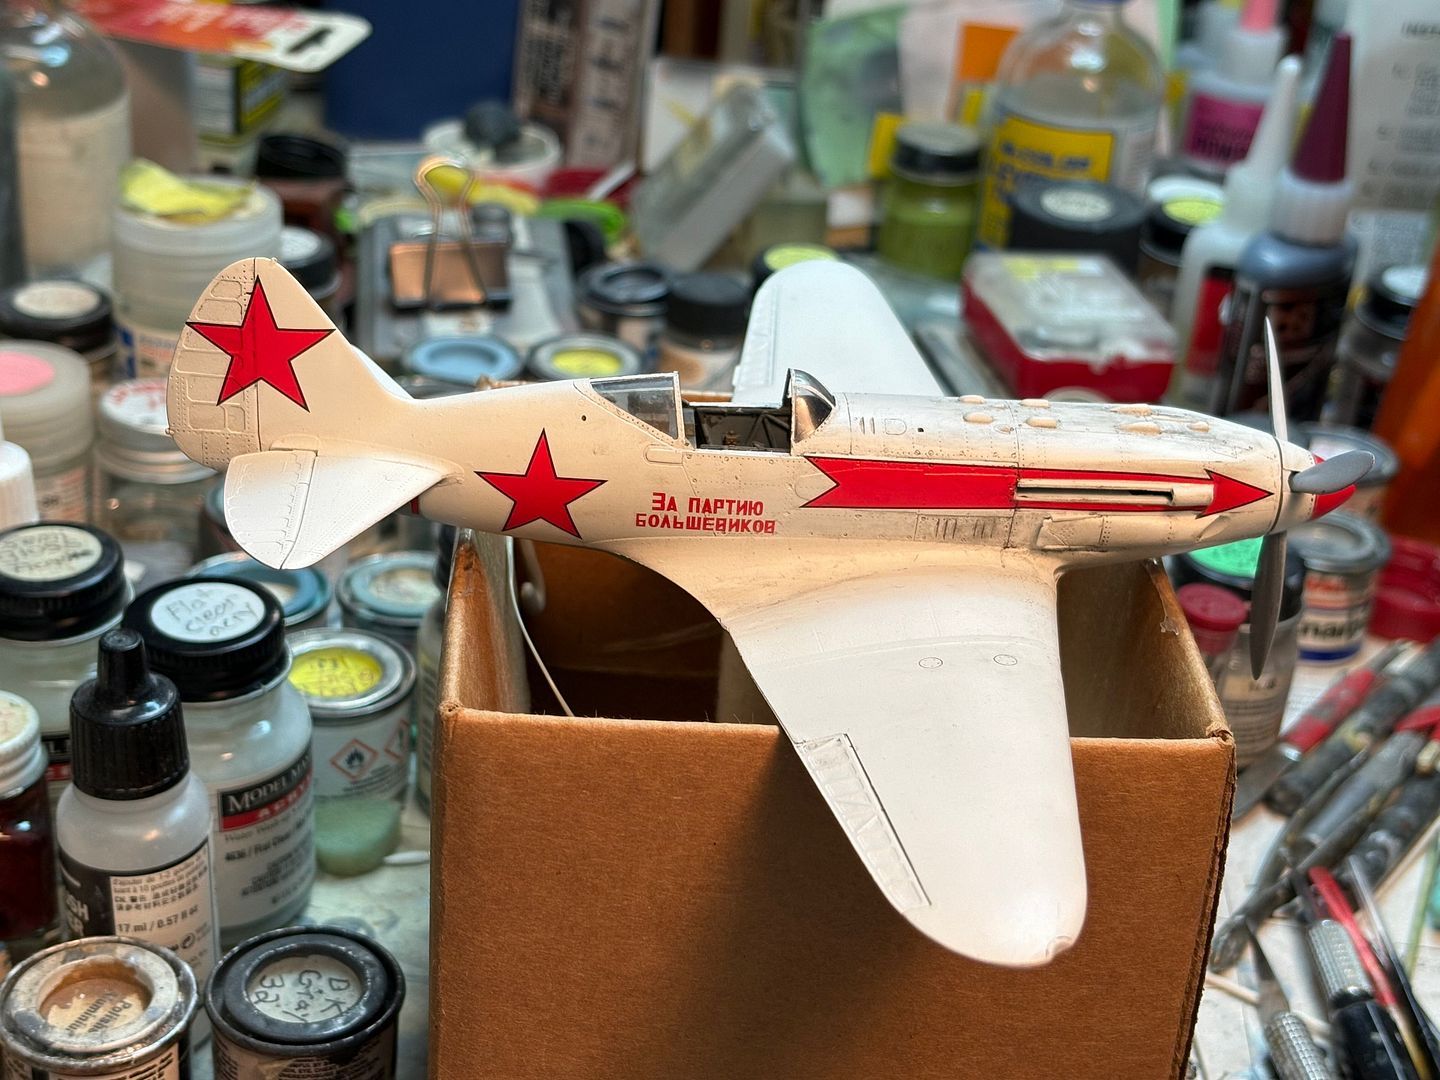
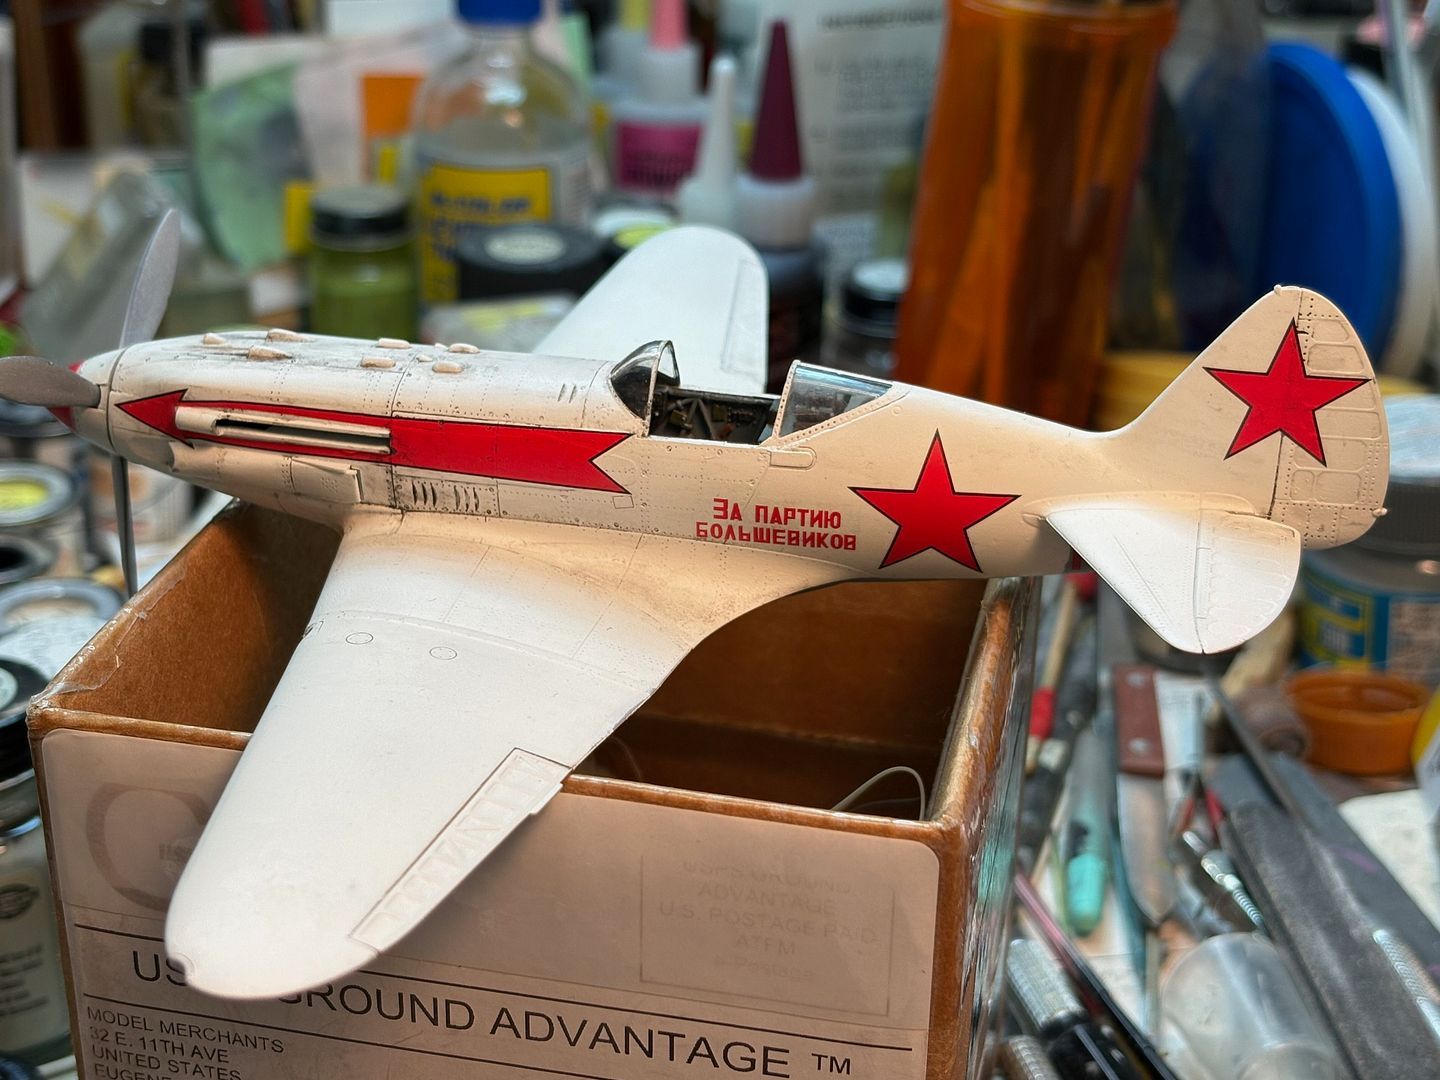
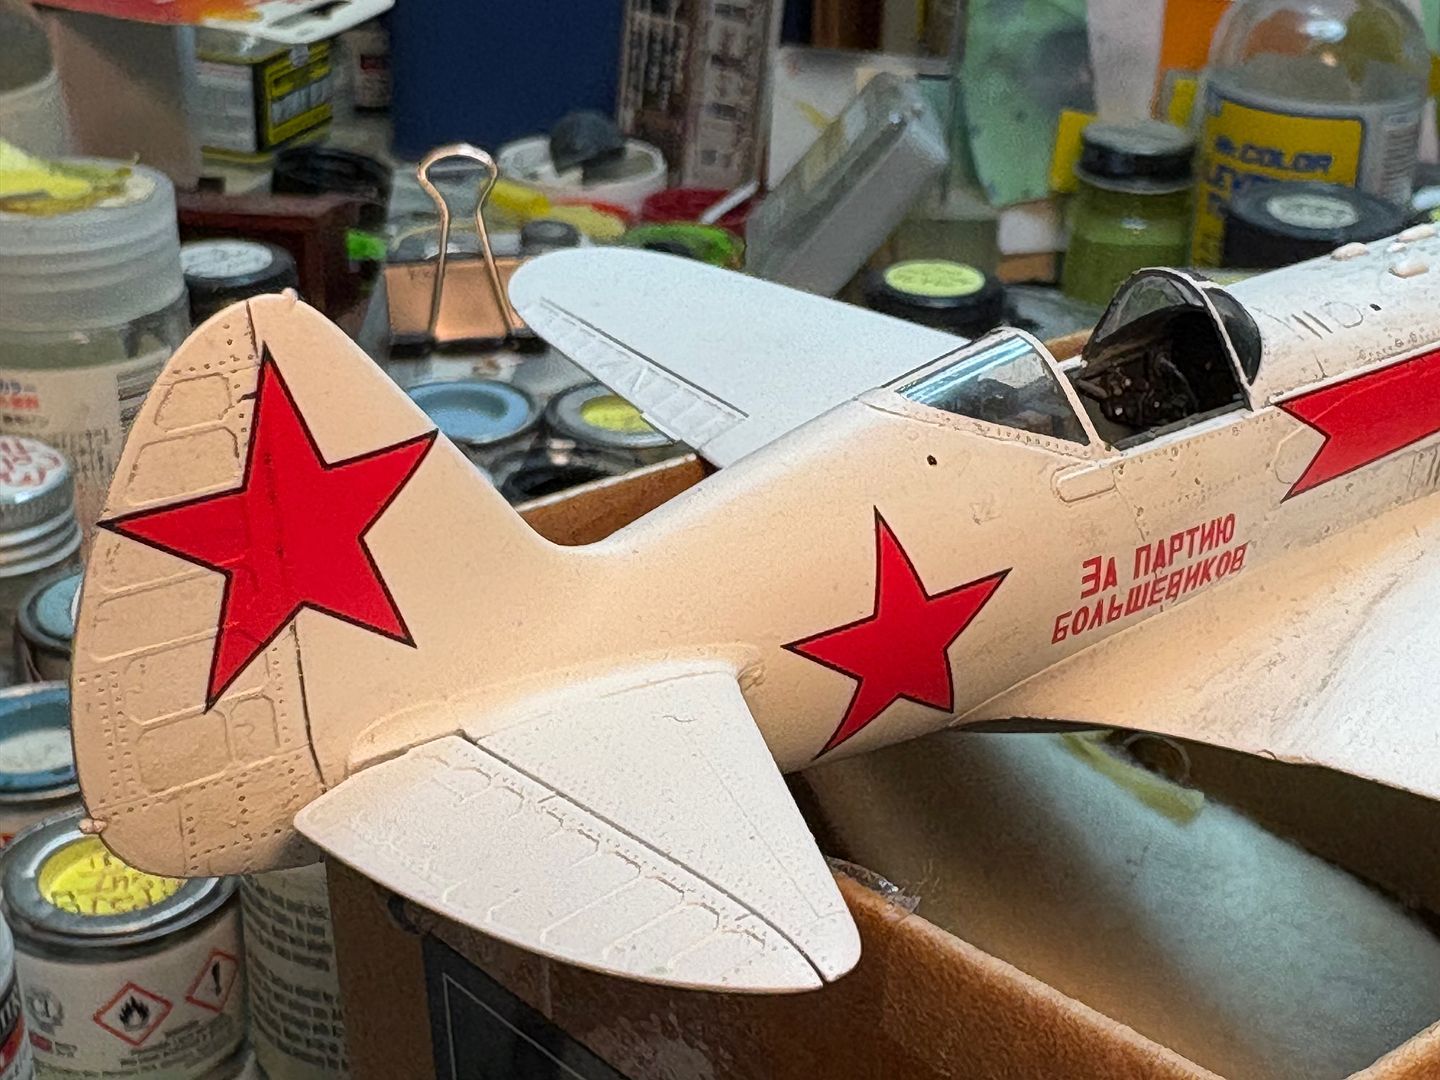
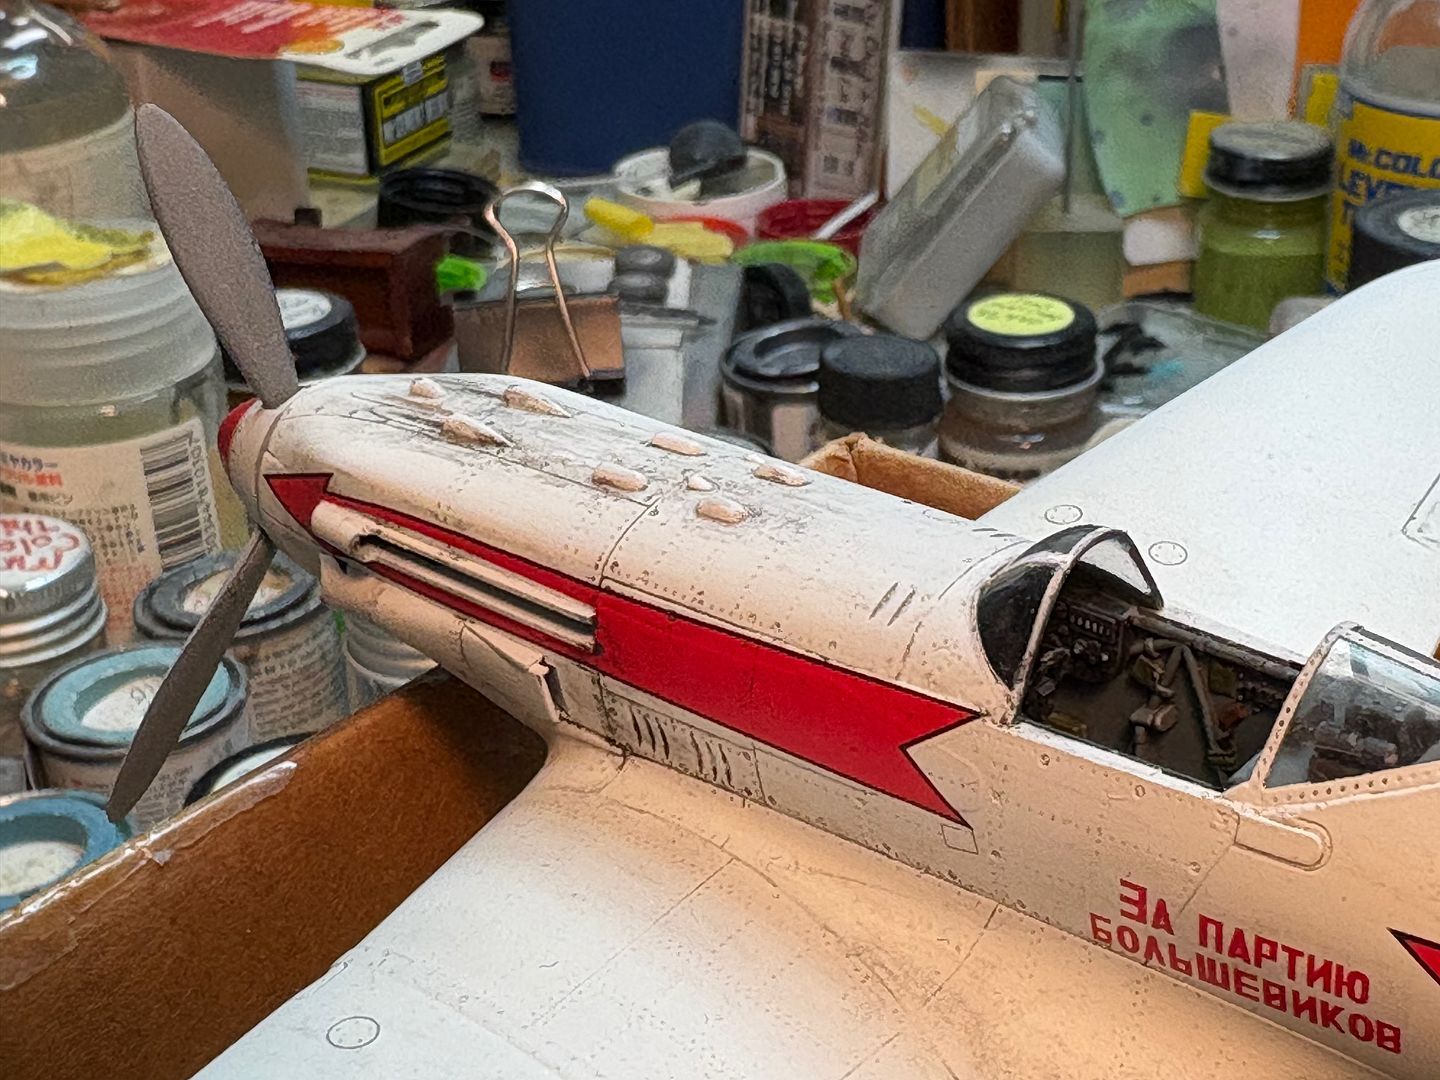
My target photo had minimal staining and I tried to duplicate it to some degree. I'd venture that my version has seen a few more days for action but still remains very clean. I haven't added the exhausts yet but they will provide just a bit of exhaust staining.
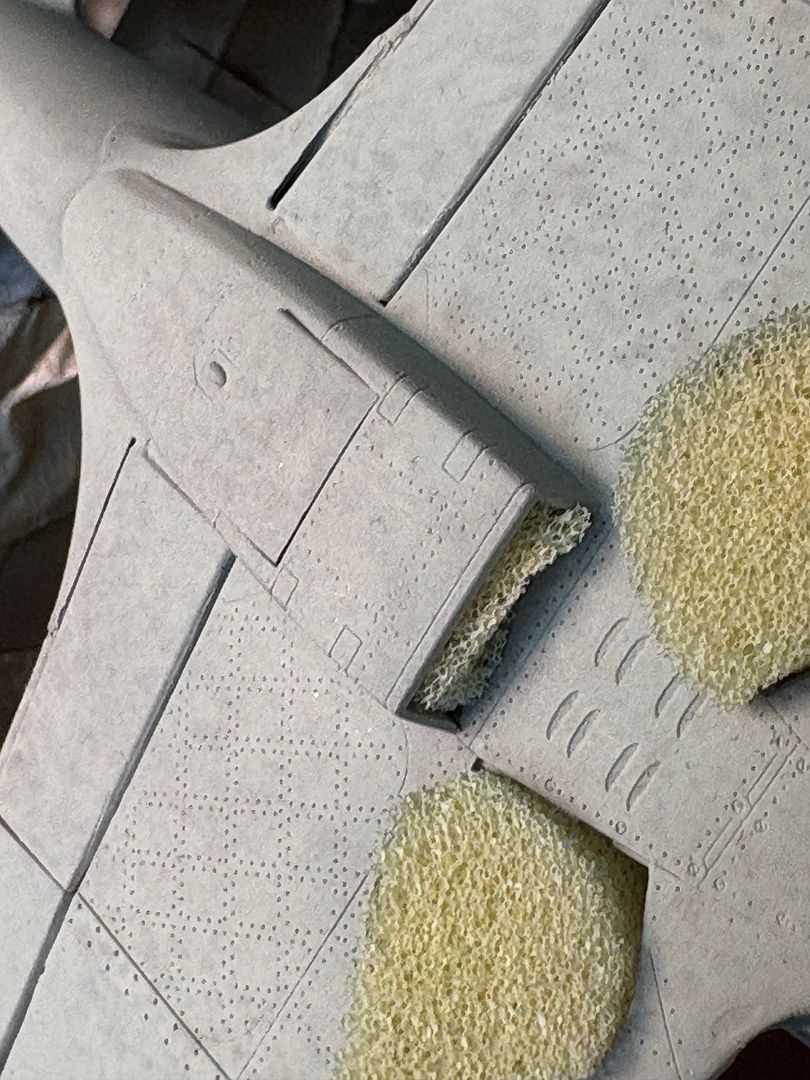
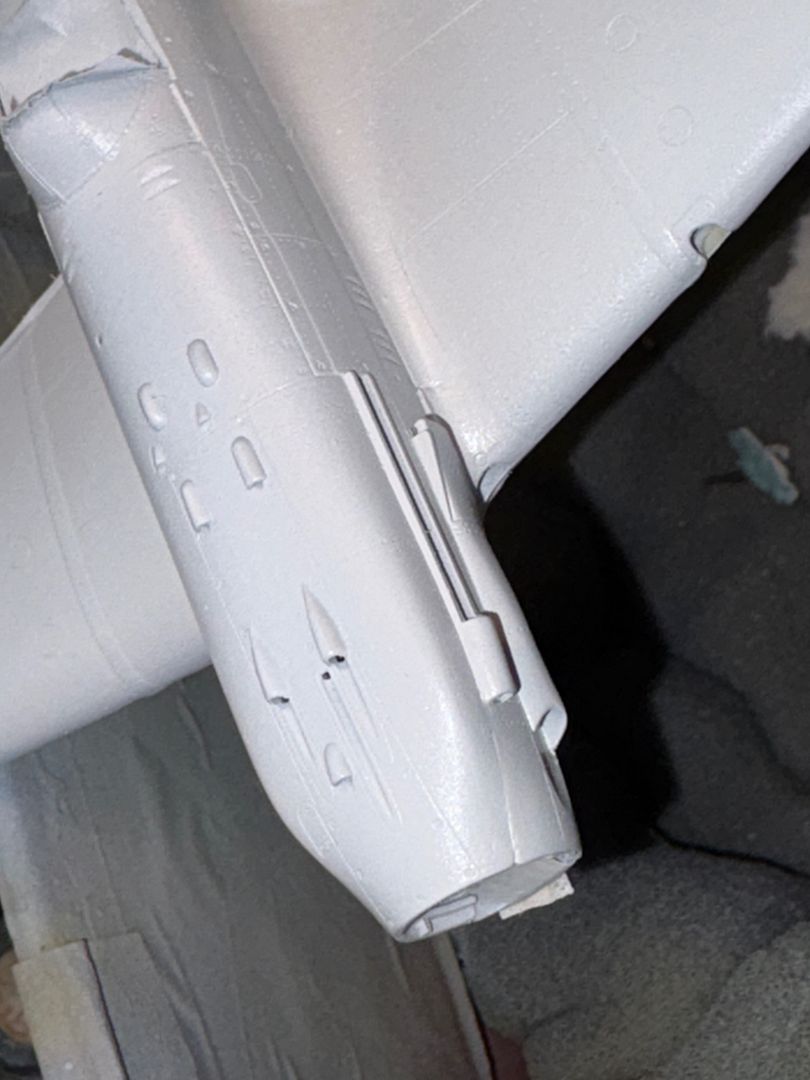
The Hobbycraft La-7 is also ready for final assembly. I believe all the sub-assemblies and fiddly bits for both planes are now done and final assembly can commence. I rigged the MiG prop so that it turns freely. I've found that that helps when accidentally bumping the prop, letting it move instead of breaking. So, I did similarly with the Lavochkin, installing a piece of aluminum tubing into the engine cowling that the plastic prop shaft neatly slides into. It will work as long as it's not overused!
Sitting at my work table, I realized that both are ready to assemble. That's a dangerous point for me as I tend to rush now, wanting to see it finished and done. It's also the point where much trepidation sets in because I hate attaching landing gear and radio aerials! Hopefully the aerials on these will go okay although both are rather extensive. I haven't decided on where or how to photograph the white MiG yet. That's a new challenge for ol' Squire Brantley! Thanks for looking in and hopefully before too much longer, I'll have some finished pics to share!
The gray primer on with the canopy parts:
I had plans to do a heavily weathered version of the MiG and thought some pre-shading would work well. I had thought I would show the original Russian primer showing through in places and that the white would be heavily stained and worn. And I planned on using Vallejo acrylic for the top white and that would be easier to chip. To provide a primer for the acrylic paint, I decided to paint the entire plane with MM enamel in light gray. Then, I used some Uschi splatter masks to pre-shade with a darker gray.
Then, I decided that no, I didn't want that look at all.
So, that then became my target. My chosen scheme with the patriotic slogan, "For the Bolshevik Party" is the third, rear-most aircraft in that photo. It was taken on February 23, 1942 at the Moscow's Aircraft Repair Plant No. 1. And now I had to cover all that pre-shading with white.
And that became a problem. I started with really thin Vallejo, and began layering it on. After a while I stopped and thought okay. Cleaned up and then saw that the airplane still looked gray, almost a pale blue, even. So, on went more Vallejo. Still too gray. Okay, let's change to enamel and try Testors flat white. Through the spraying cycle we go and then...nope, that plane is still gray! Arrrgghhhh!!
I took photos of the paint shade at each point of the journey but I don't see the need to show them here. Suffice to say they did not look white.
The white gloss enamel:
Masking for the white over the blue underside:
I was finally satisfied with the shade and suddenly had an epiphany. Hey, since it's already glossy, I don't need a gloss clear coat! I started polishing the white enamel and that worked out okay so I since there were only two decals on the underwings, I tried polishing that paint too. It was flat enamel but it had gone down very smoothly so I gave it a try too. Success! No clear gloss would be needed at all!
The decaying went pretty well. Those long red arrows were somewhat difficult to apply and I didn't get them perfectly aligned on both sides. I didn't try to duplicate the correct stars (in color or placement) because really, at this point authenticity had gone out the window! (my white MiG is really just apparently Trumpeter's "idea" of how the actual "For the Bolshevik Party" aircraft appeared. They got the red arrow along the fuselage wrong, got the fuselage and rudder stars wrong and oddly enough since they also make a late version MiG-3, they've assigned this famous scheme to an early version MiG-3 when the actual plane was among the very last of the type built!
My target photo had minimal staining and I tried to duplicate it to some degree. I'd venture that my version has seen a few more days for action but still remains very clean. I haven't added the exhausts yet but they will provide just a bit of exhaust staining.
The Hobbycraft La-7 is also ready for final assembly. I believe all the sub-assemblies and fiddly bits for both planes are now done and final assembly can commence. I rigged the MiG prop so that it turns freely. I've found that that helps when accidentally bumping the prop, letting it move instead of breaking. So, I did similarly with the Lavochkin, installing a piece of aluminum tubing into the engine cowling that the plastic prop shaft neatly slides into. It will work as long as it's not overused!
Sitting at my work table, I realized that both are ready to assemble. That's a dangerous point for me as I tend to rush now, wanting to see it finished and done. It's also the point where much trepidation sets in because I hate attaching landing gear and radio aerials! Hopefully the aerials on these will go okay although both are rather extensive. I haven't decided on where or how to photograph the white MiG yet. That's a new challenge for ol' Squire Brantley!
 I sure appreciate that, and yes, they do need a pill for that condition!
  Yes, I've always admired the MiG-3; it just has those race horse good looks! I'm always surprised by how small the Soviet WWII fighters were in comparison to most other single-engine planes of that era. It is rather nice to not be weathering these all to hell!
  I'm glad to have them both so close to finished. A really motivated model builder would have them both completely done in a couple hours; a procrastinator like myself might take two or three days to get'er done.
  That's why it take me a year to build a weekend kit!