Page 75 of 85
Re: 1:48 Tamiya Corsair
Posted: Sun May 05, 2019 9:23 am
by BorgR3mc0
Milliputty? I am not that good with that stuff. Everybody says you can get it flat with wet finger but that never happened when it tried. Got any tips?
Re: 1:48 Tamiya Corsair
Posted: Sun May 05, 2019 9:40 am
by LyleW
BorgR3mc0 wrote:Milliputty? I am not that good with that stuff. Everybody says you can get it flat with wet finger but that never happened when it tried. Got any tips?
Right there with you on this.....I've had poor results when I've tried to use it. It has to be something I'm doing.
Re: 1:48 Tamiya Corsair
Posted: Sun May 05, 2019 11:30 am
by KennyX
Ill be happy to help.
I came to Milliput because I didn’t like the consistency of Tamiya and Mr. Hobby putty. It was too liquid for my taste, and when it dried it always seemed to shrink on me.
Milliput, on the other hand, starts quite solid and stiff and I can adjust the liquidity and malleability of it by adding water while I work with it. I like that a lot.
So what I do is, I add a little water whilst kneading it, to make it the consistency of pizza dough. And when I fill the hole, I make sure to use just a little too much. Not too, too much. Just enough to where the filled-Hole isn’t quite level with the surface. I’ll let that sit a while and harden, and then carefully plane it down by wet sanding it, and then polishing it with microfiber pads. Sometimes I do have to re-fill the area, but that’s okay. I’ve had good results so far this way.
Re: 1:48 Tamiya Corsair
Posted: Sun May 05, 2019 11:58 am
by LyleW
Kenny, thanks for the tips. I’ll have to give that a try.
Re: 1:48 Tamiya Corsair
Posted: Mon May 06, 2019 9:50 am
by jkim
Great to see a re-boot on this build, Kenny! There are so many similarities between this one and Tamiya's 1/32 Corsairs so I'm sure it'll be helpful when you tackle the big boy.
One of the great things about Milliput is that in its uncured form, it is water-soluble.
Upon application, it has the texture of thick clay.
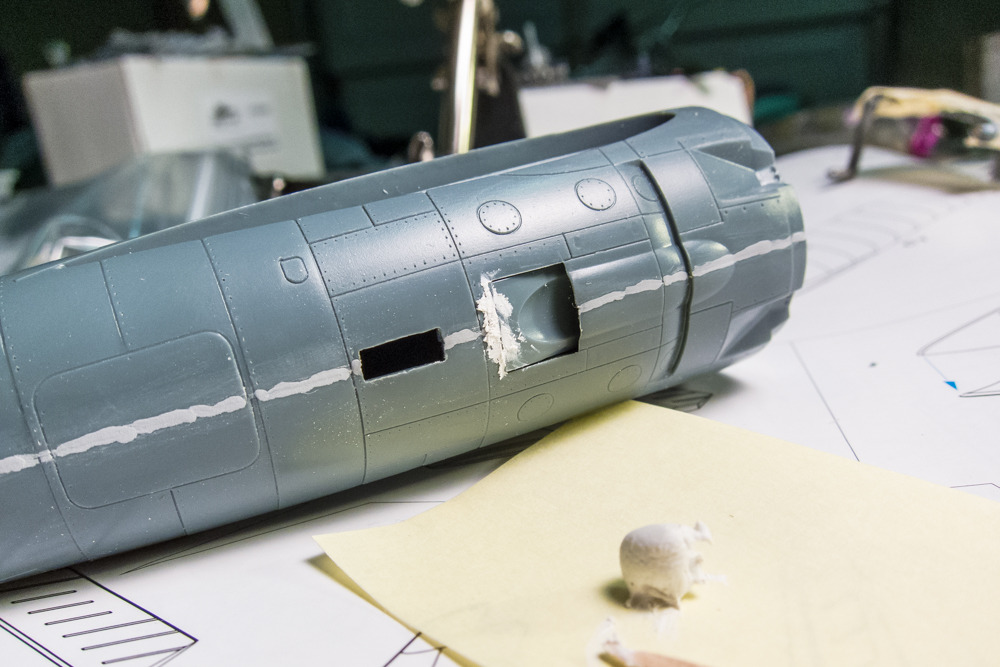
Using a wet finger, you can cut and shape the putty.
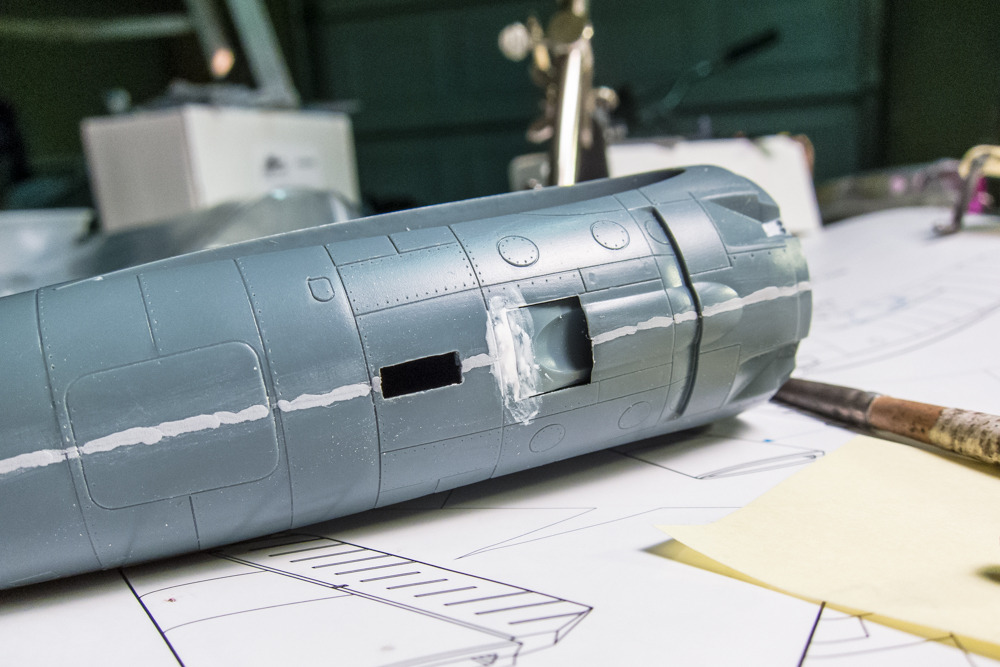
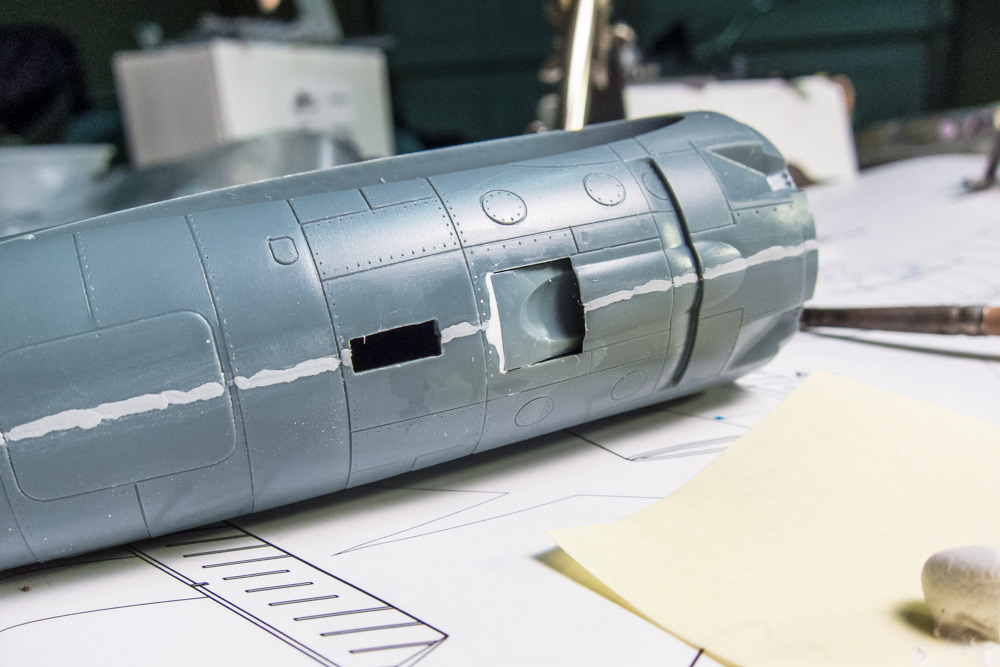
If I am filling a seam, I use a moist paper towel to wipe of the putty until only the putty in the seam remains.
Re: 1:48 Tamiya Corsair
Posted: Mon May 06, 2019 5:01 pm
by BlackSheep214
Hmmm... I might have to try me some Milliput
Re: 1:48 Tamiya Corsair
Posted: Wed May 08, 2019 3:00 am
by KSaarni
I like Milliput also!
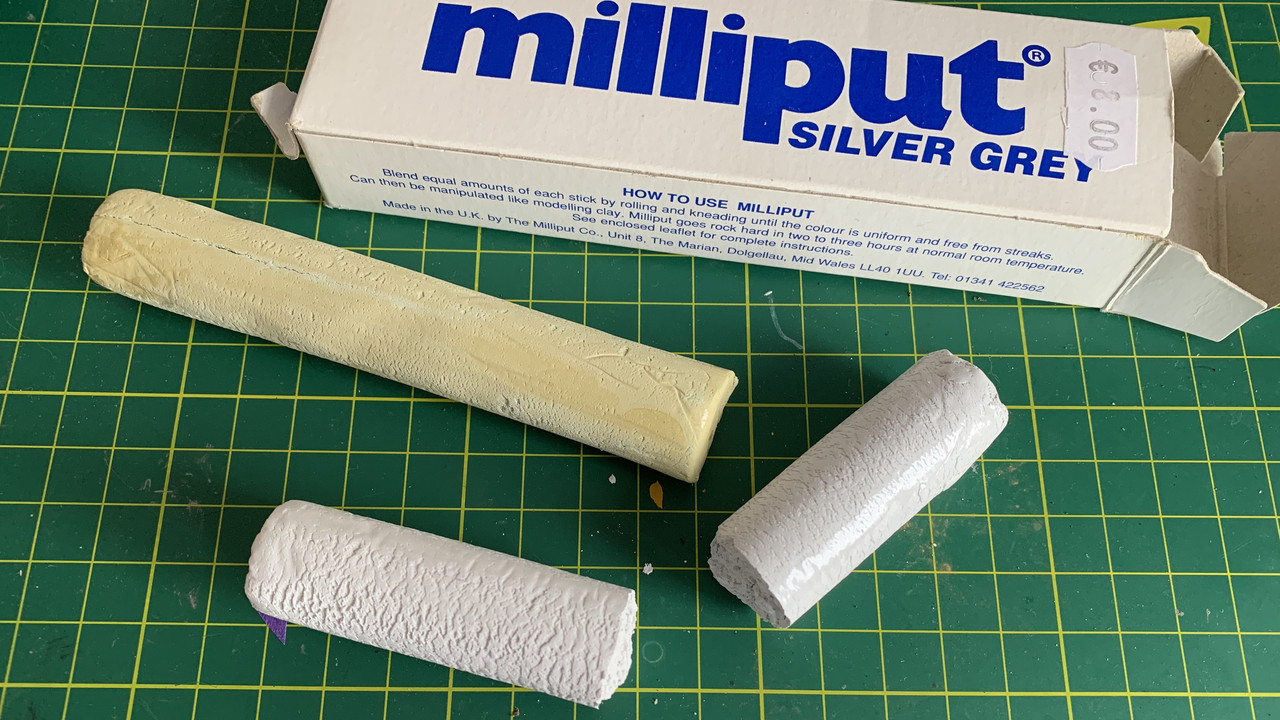
However, seems my Milliput is "done", hard as stone...


- Kari
Re: 1:48 Tamiya Corsair
Posted: Wed May 08, 2019 7:32 am
by LyleW
Mine did that, too. Just got a replacement yesterday.
Re: 1:48 Tamiya Corsair
Posted: Thu May 09, 2019 8:36 am
by Stuart
It kind of reminds me of perfect plastic putty in a lot of ways.
Great looking Corsair build Kenny!
Re: 1:48 Tamiya Corsair
Posted: Fri May 10, 2019 1:00 pm
by KennyX
I started painting BIG HOG today!
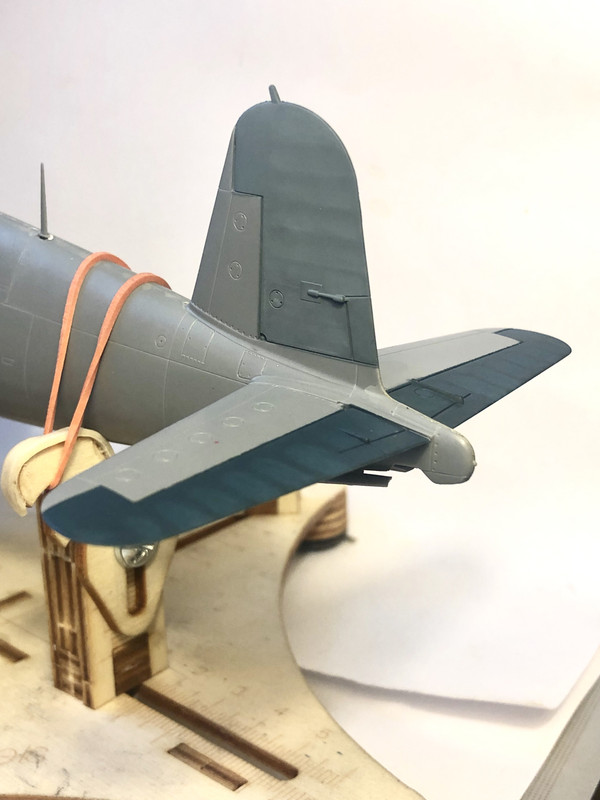
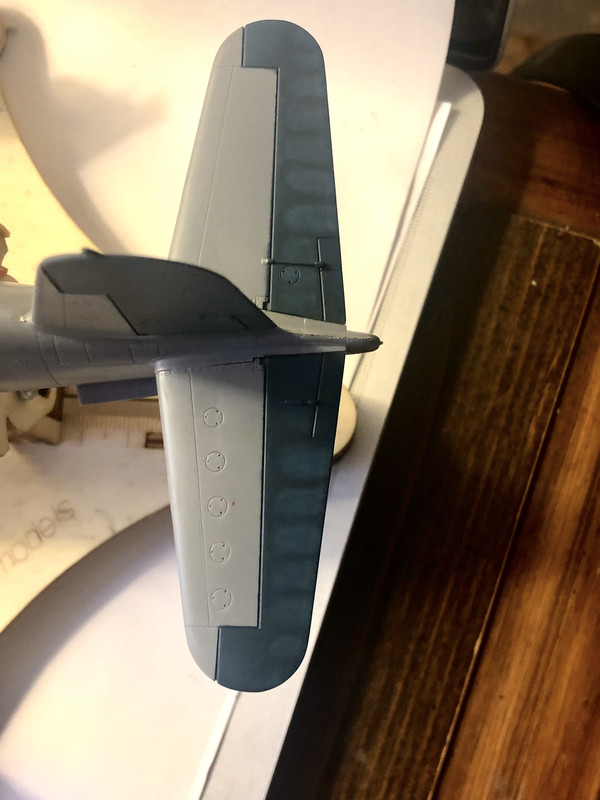
(
in the past I’ve been unhappy with the lack of detail in my painting of surfaces like this. I sought to rectify that with this project and I am happy with these results.)
I did this project differently than I have done other aircraft. 98% of the parts are already installed. That was a carryover from last time- I disliked gluing the undercarriage pieces on there after I’d done all that weathering work. Something about doing it that way didn’t jibe with me. I just don’t like getting glue near paintwork if I can help it. So I built it all, save for attaching the wheels and the covers on the struts, and installing the tail wheel.
Furthermore, I’m painting this one differently. I’m starting off by priming any “fabric” surface with Mr. Surfacer 1500 and black base painting them with slightly lightened mixes of the colors I’m using. Later they’ll be masked, and the rest of the airframe will be primed with Tamiya AS-12, my new bare metal and chipping base of choice (big thanks again to Mr. John Kim for that recommendation). After that, I intend to apply the Zinc Chromate with a sponge in the areas I intend to chip. Those areas will be subsequently be polished so they’re smooth. Then sealed. Then the paint will be applied, and chipped differently than before. I’ll be going more for an abrasion-type of look, again, a suggestion from John. I’ll be using my microfiber pads for that.
Anyhow that’s the plan and here we are. I have a long-standing history of HATRED for that NAVY Blue/Gloss Sea Blue color, especially when sprayed over black. But I am very happy with how that blue came out here. That alone took me an hour to paint. Just careful mottled coats, then mottled coats with a lightened shade, then a series of soft, careful blend coats with the original mix, heavily thinned. I’d stop for a while, literally watch the paint dry and start to set up, then reapply until the whole effect was just a hair or two above “barely perceptible”. The subsequent clear coats will handle tamping it down the rest of the way.