Thanks guys! I hope everyone is having a relaxing weekend!
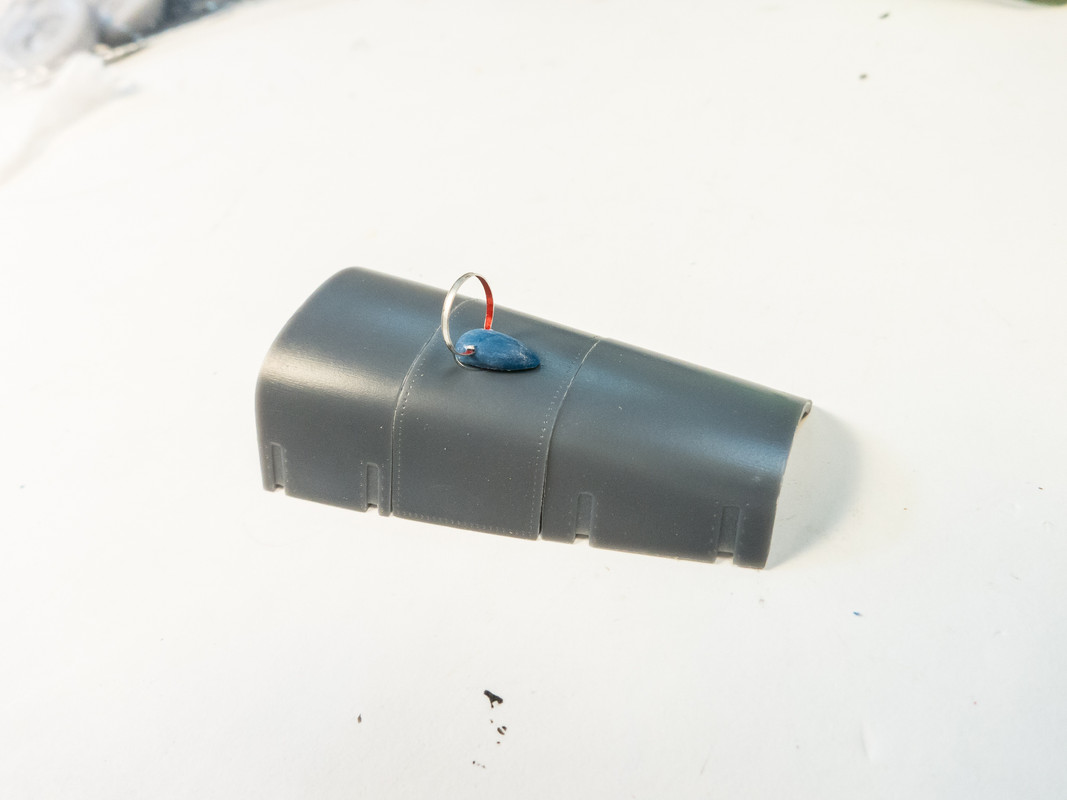
mostrich wrote:Nicely molded rocket motor. Can't wait to see what you'll do with it.
speedgraflex wrote:Wonderful! I was so hoping you would build the rocket engine, at least as much as needed for the exhaust. Great work shaping the brass, too!!!
Sorry to disappoint but THAT is the extent of the work that I'll be doing on the motor since it will not be seen.

I've elected to paint these hidden features in the past but I've decided, as a mojo-building project, that I'd cut out as much unnecessary work as possible.
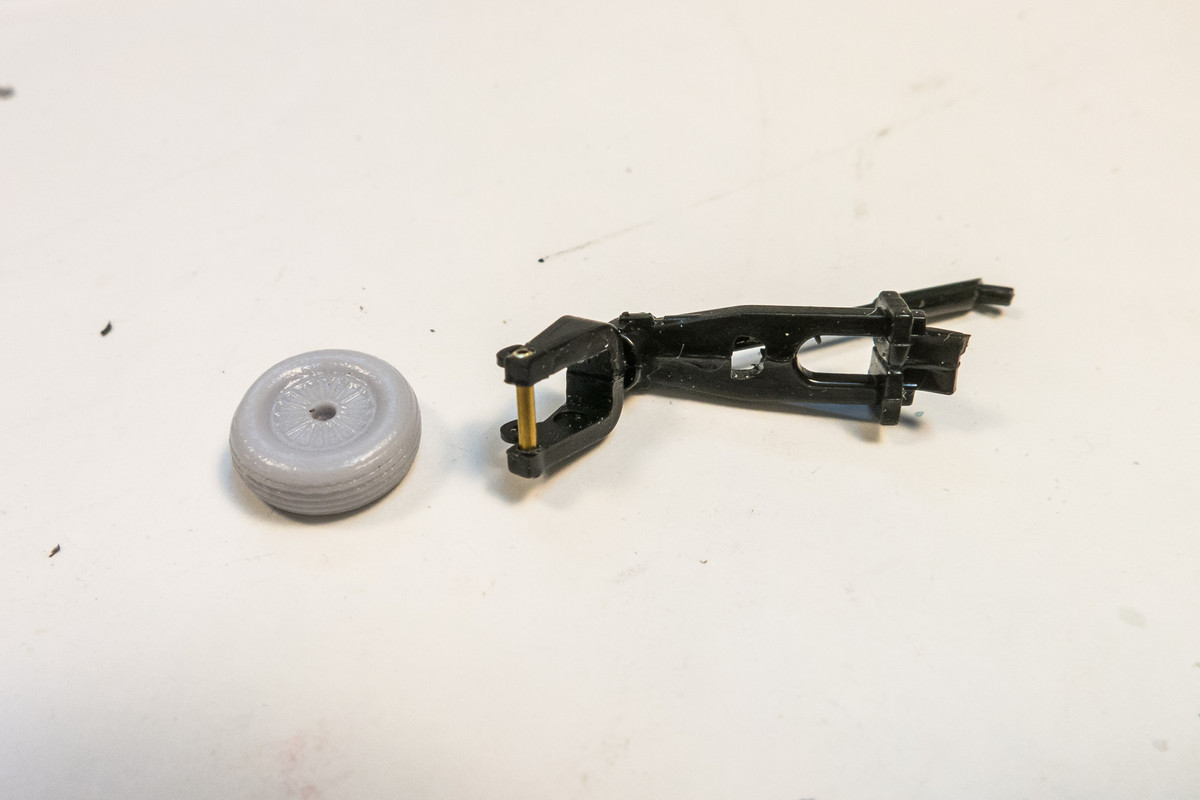
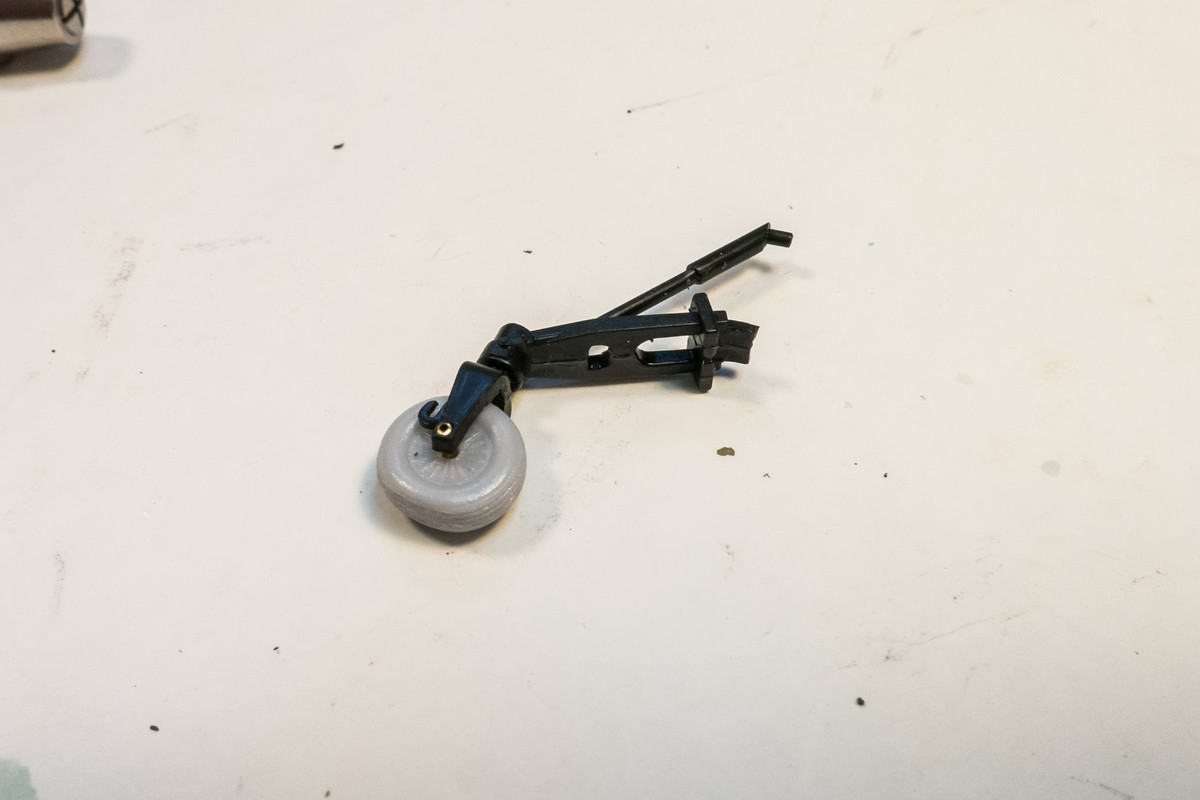
Looking at the resin wheels from DEF Models, I noticed that the wheel axles are a magnitude thicker than the holes in the wheels. I've had bad experiences trying to enlarge existing holes so I thought I'd go a different route this time.
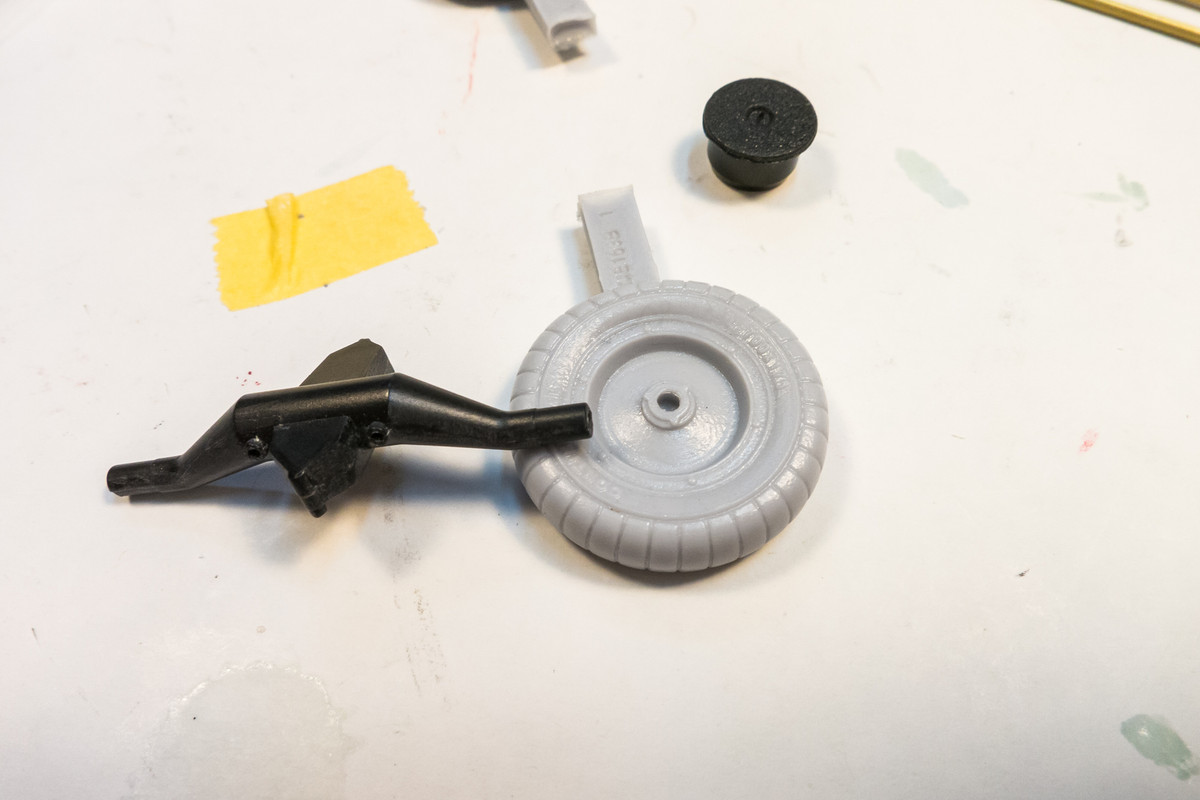
I cut off the thick axles and replaced them with smaller diameter sections of brass tubing.
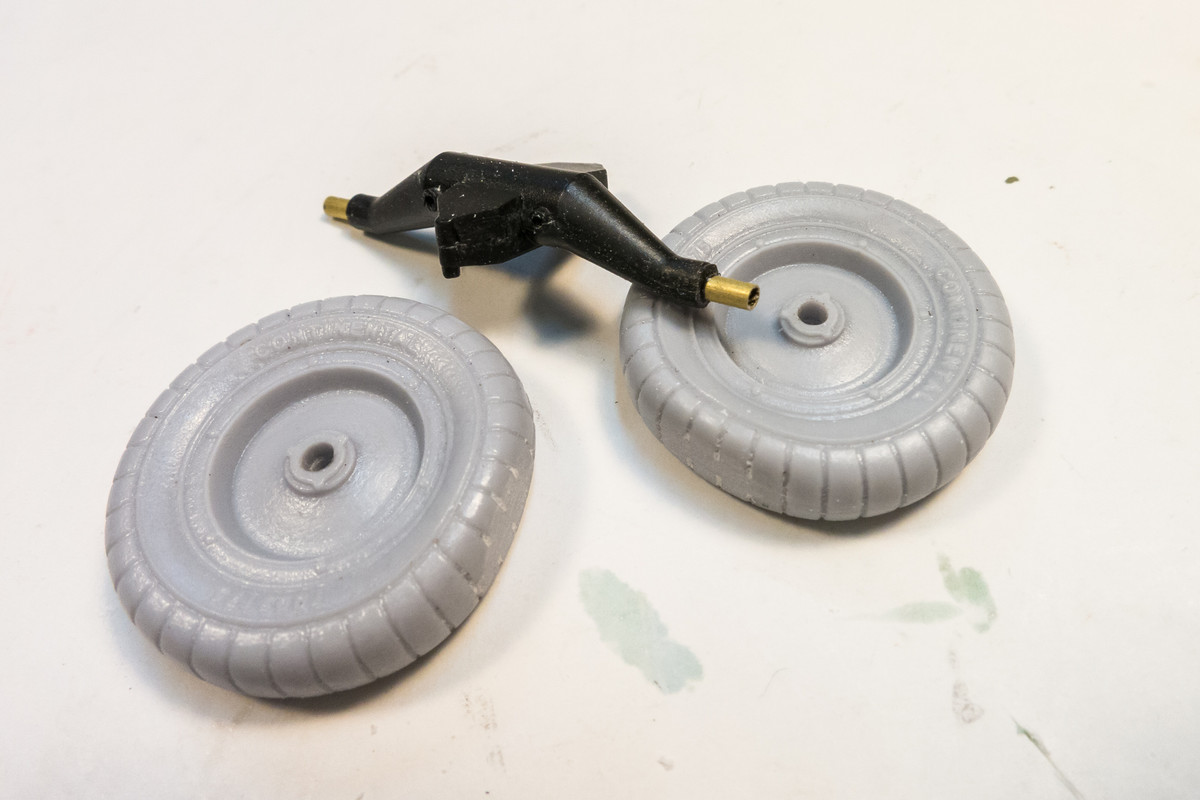
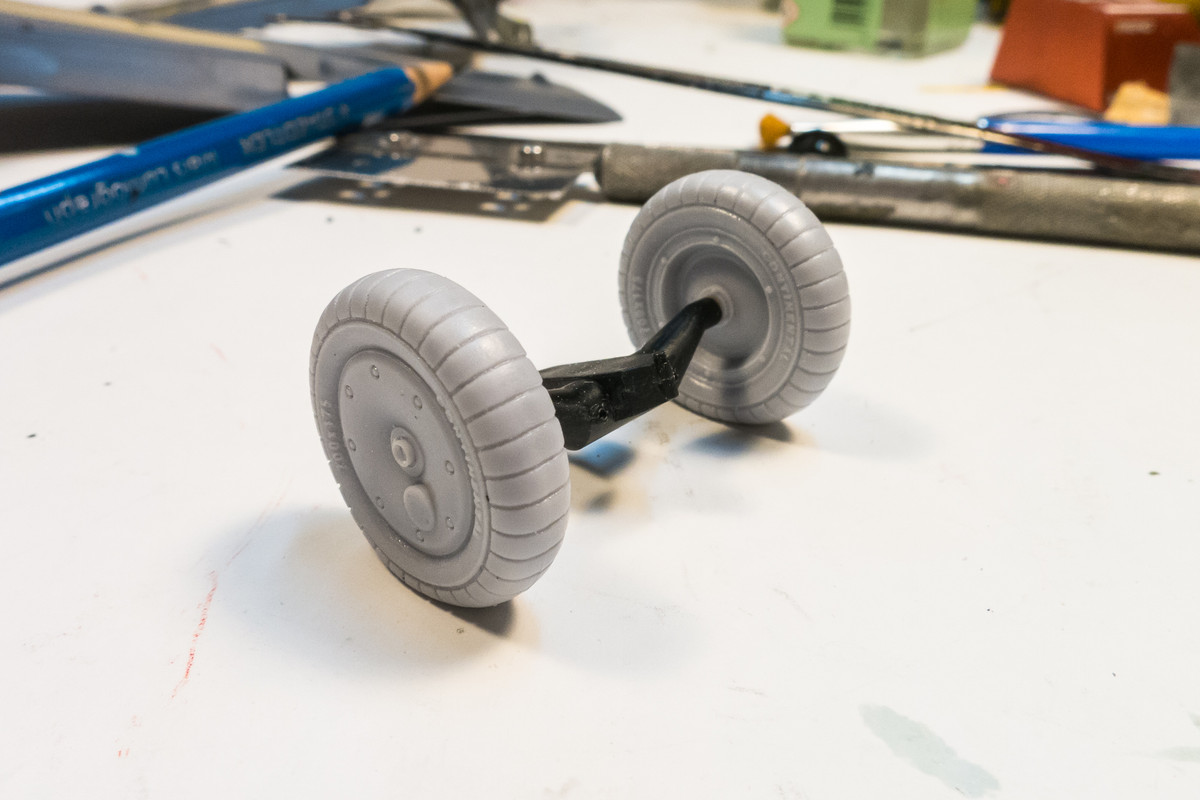
The tail wheel was similarly modified. The mounting pins molded into each side of the tail strut were cut off and a hole drilled through to accept a new axle made of brass tube. This will allow me to paint the strut and wheel separately.
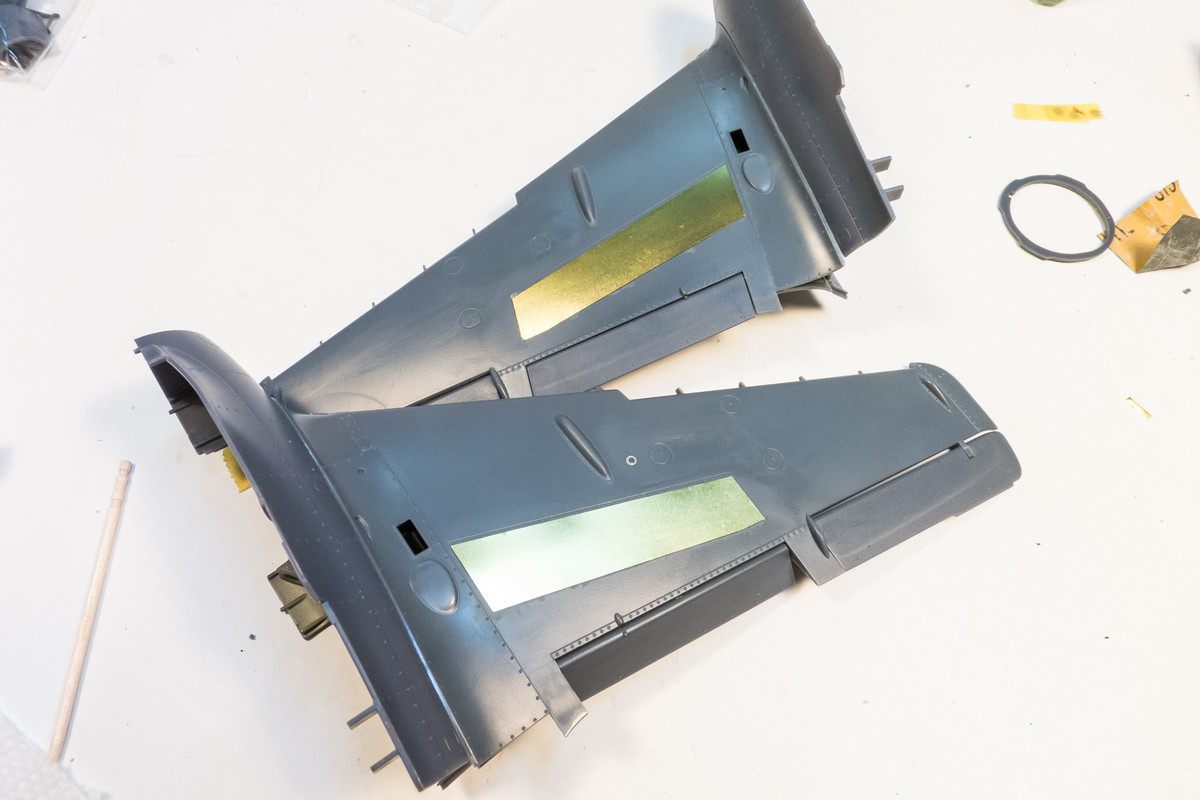
Moving onto the wing/fuselage halves... I've decided to glue in the flaps, which come as part of the kit-supplied brass fret.
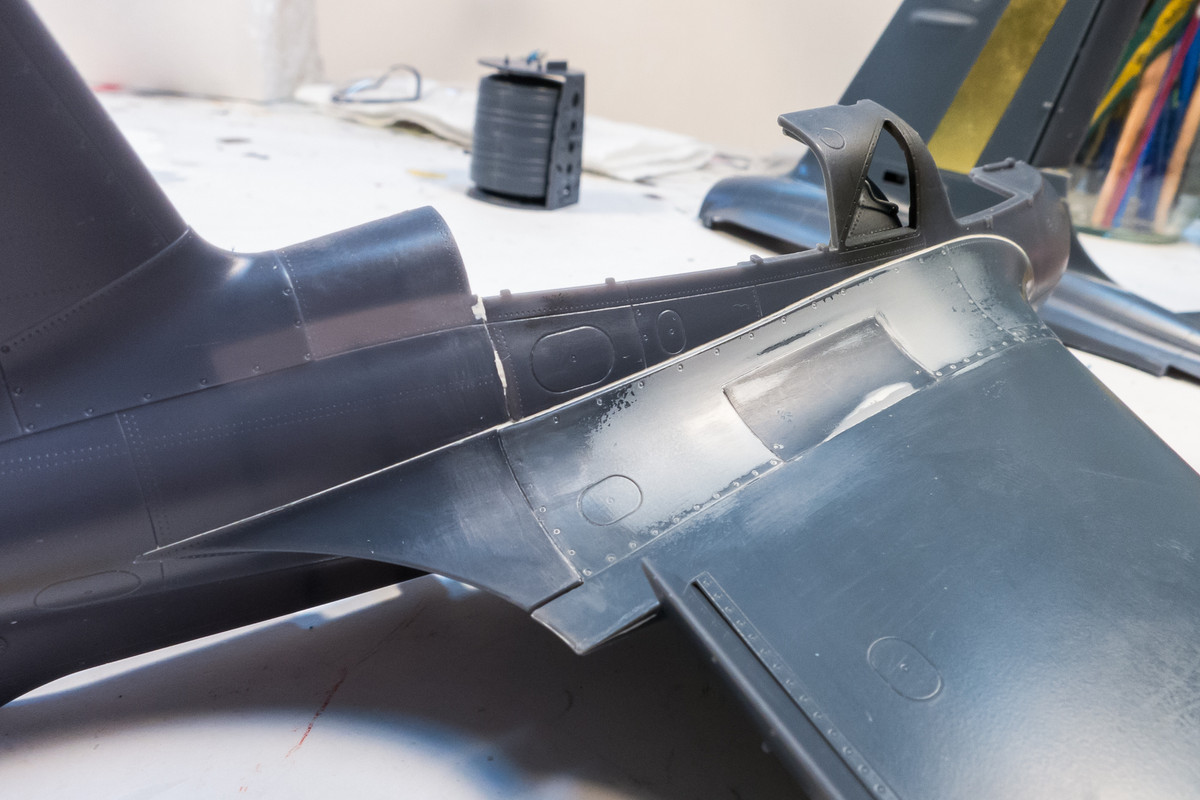
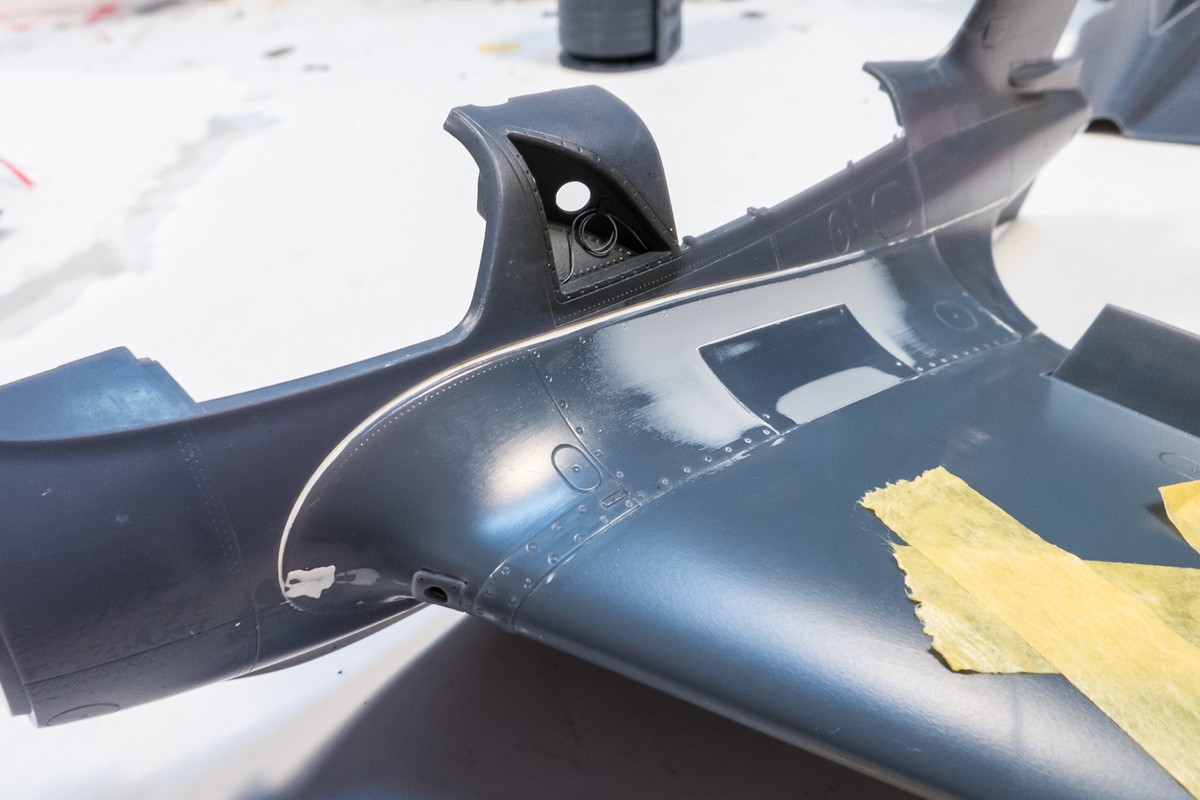
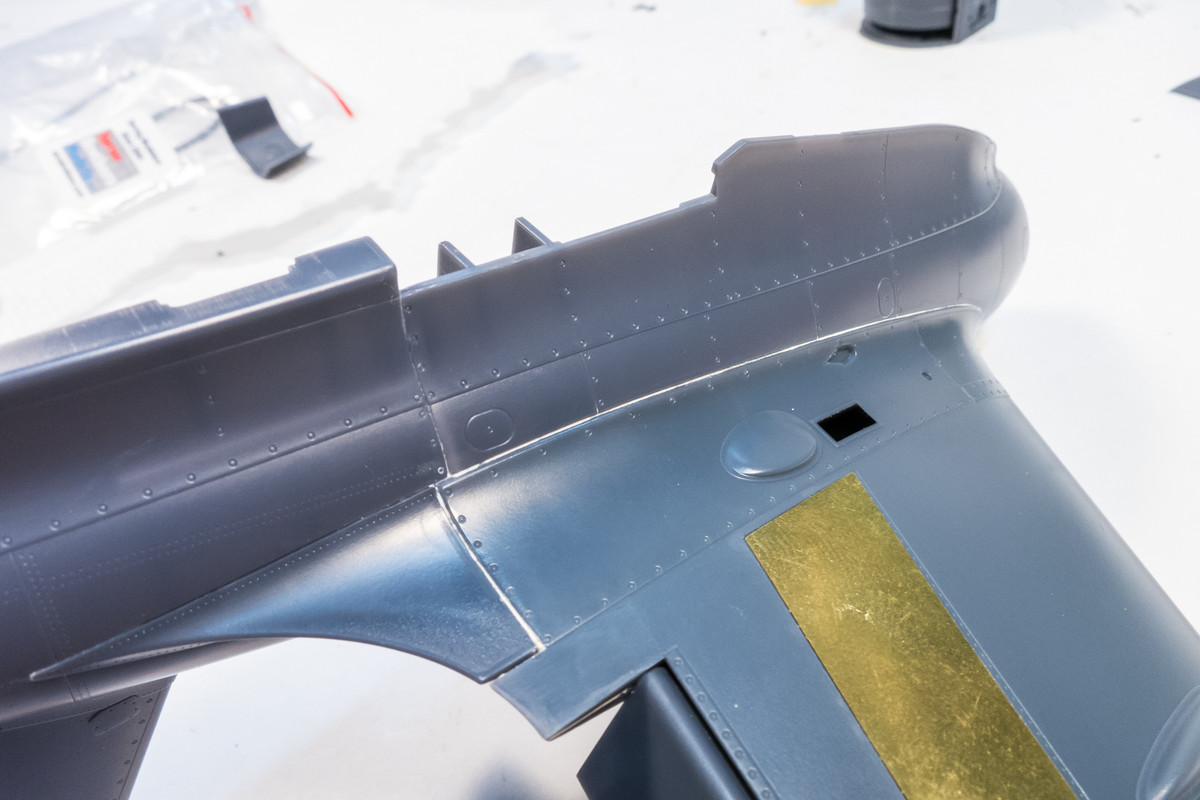
As I've mentioned before, this model is going to be built closed up with no open panels. The kit is designed to have a removable tail section to show off the rocket motor and the kit's construction order is dictated by that feature. However, my deviation gives me flexibility in how I order the build. I've already elected to glue the wings into the fuselage halves to ensure the best possible fit. To this end, I've decided to go ahead and glue in the rear fuselage halves as well. The ability to apply finger pressure from both the outside and inside makes getting a nice tight fit much easier.

A plastic tab and a short piece of stretched sprue are fused into place on the interior side to strengthen the bond. I'm going to let this fully dry before I attempt to glue the joints on the upper side.
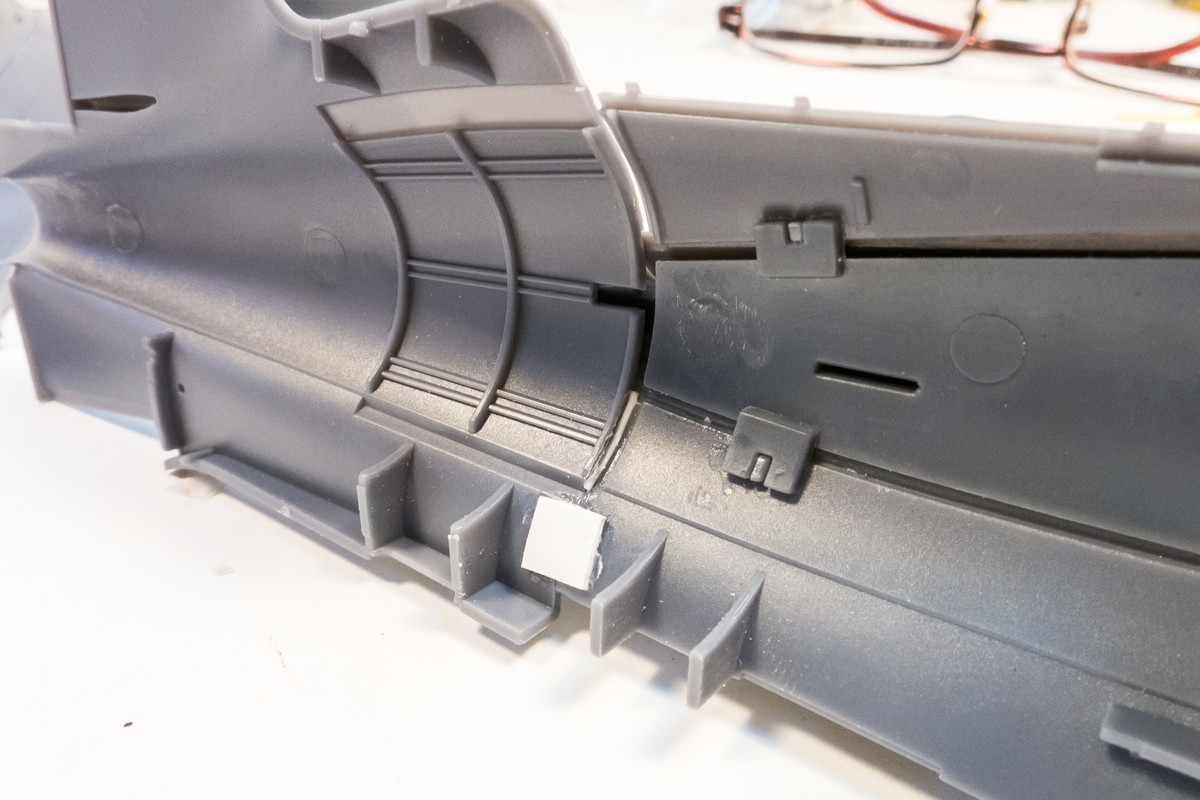
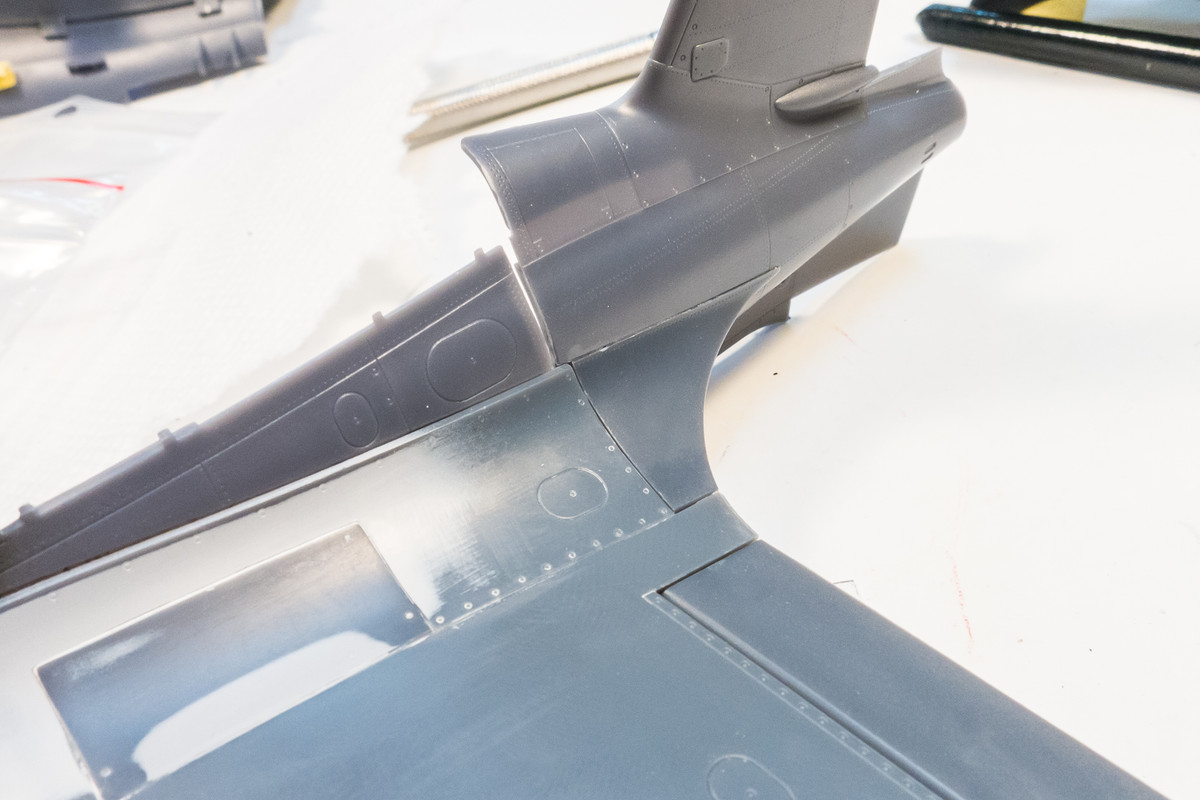
Without glue, you can see the resultant gaps on the upper side. These can be easily closed with light finger pressure.
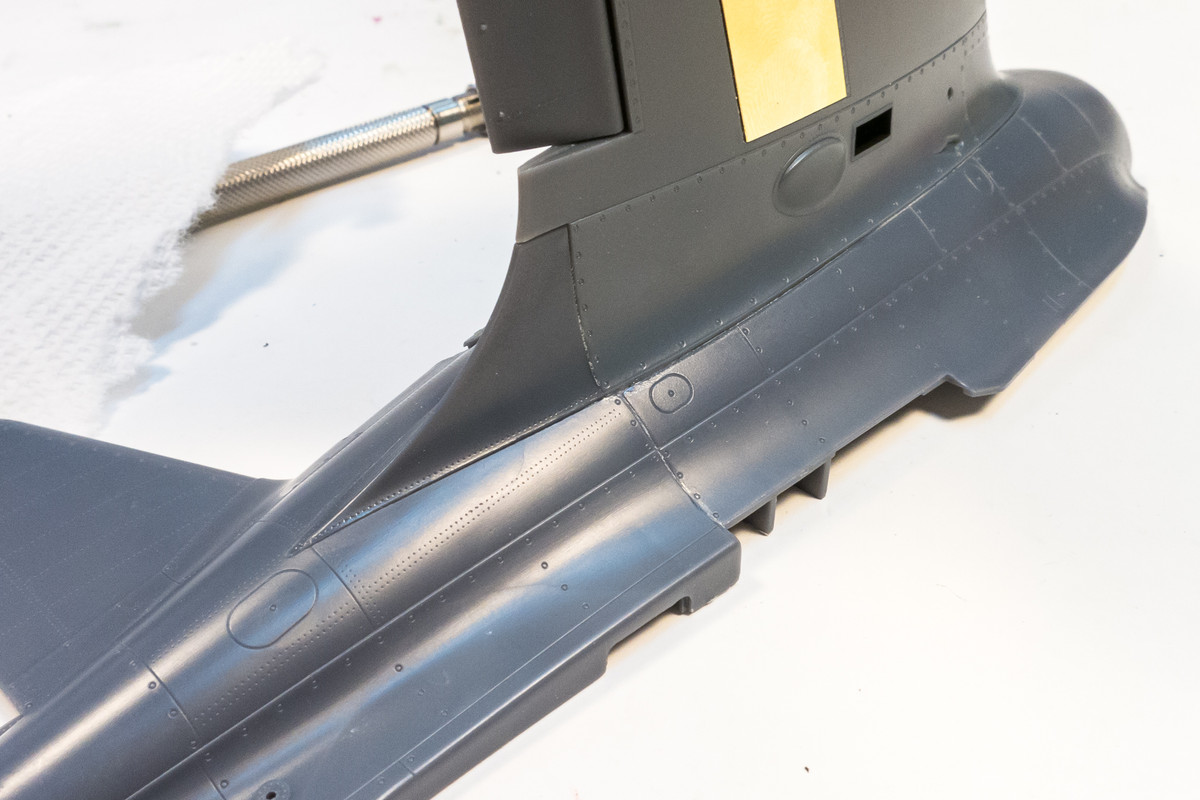
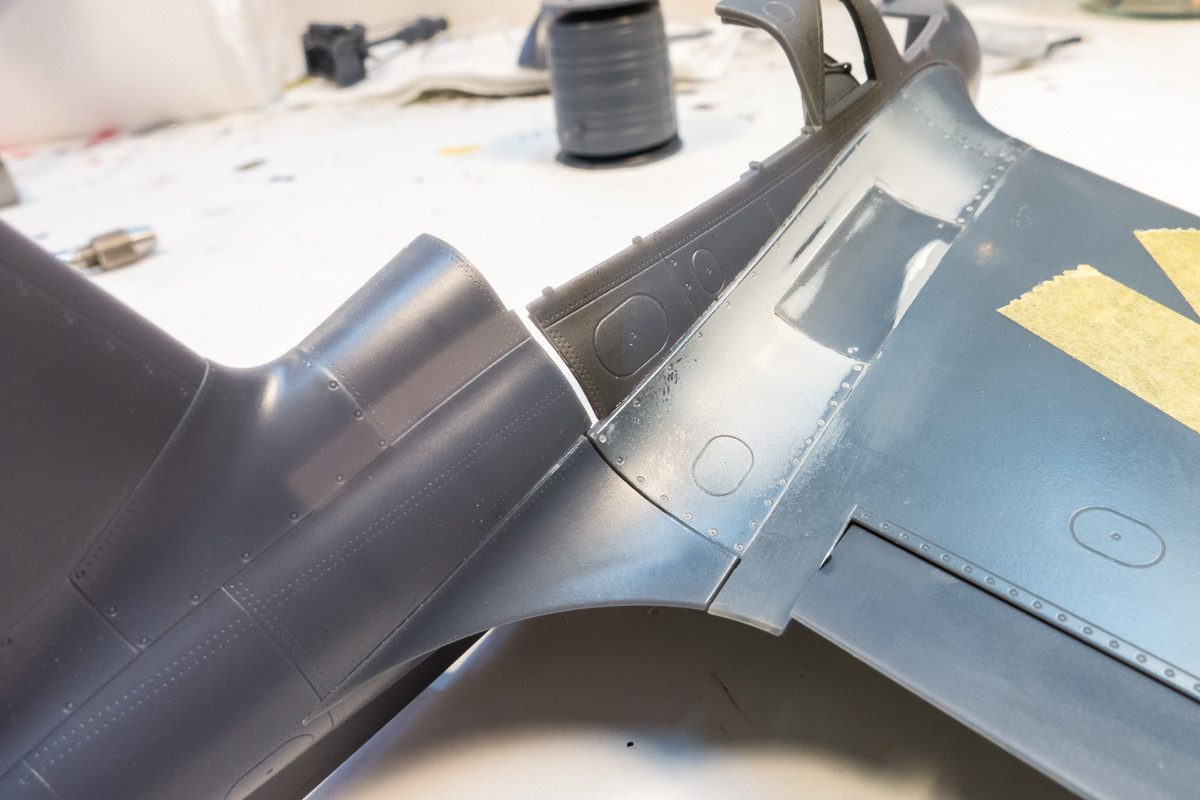
Same deal with the other side.
 Thanks.