Once again it is time for another tour of the plant. This will be a long one, but quick as there is not going to be too much narration here. So without further ado, lets board the trams!
Starting in the Hangar again, we managed to get some paint down on my three Cobras. Before painting, we managed to put together the five-part canopy on the AH-1G Early:
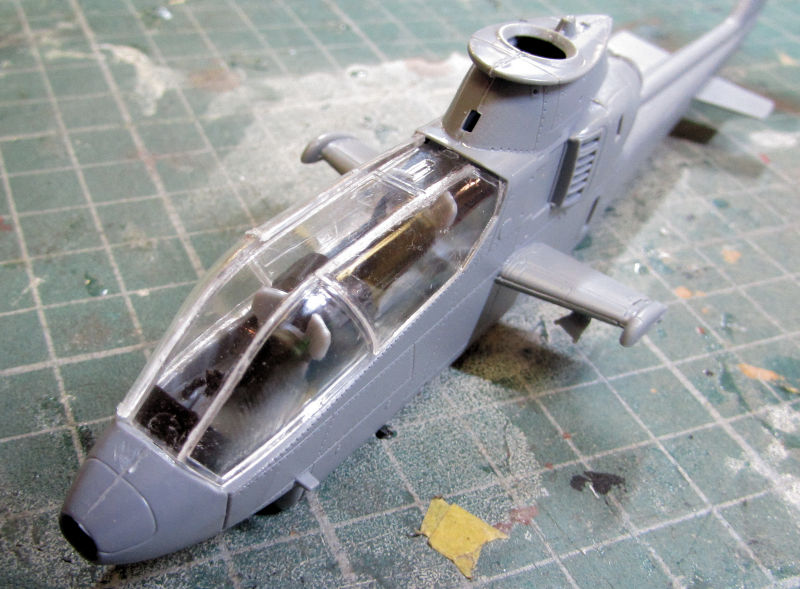
That was then masked off like the -Late Cobra so we could shoot paint on both at the same time:
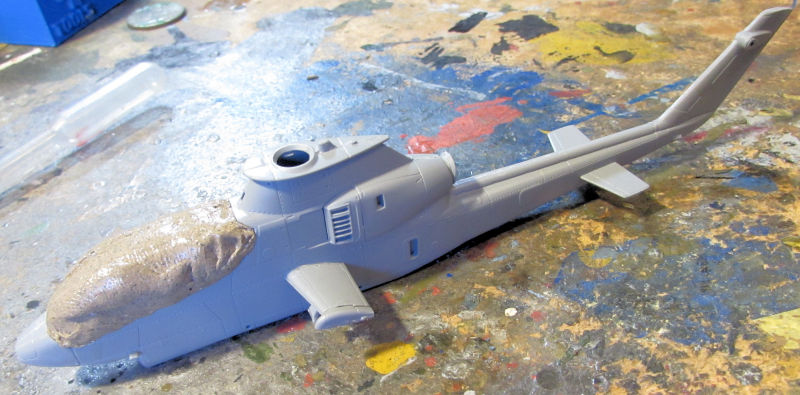
Then it was shot with a base coat of OD Green:
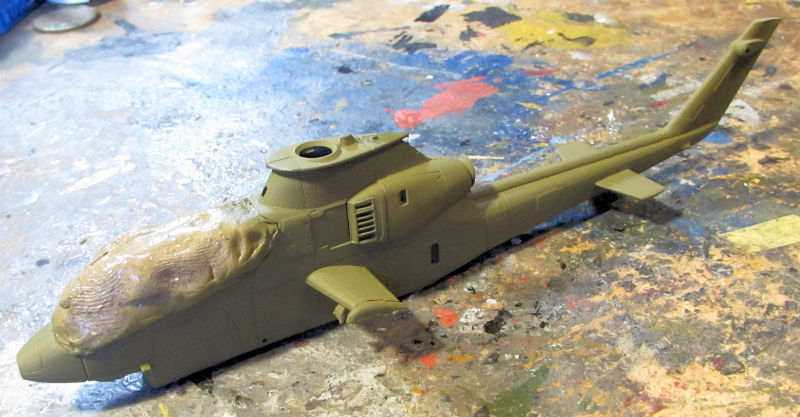
Since I shot that one, and the -Late was already masked and ready to go, it also got a base coat of OD Green:
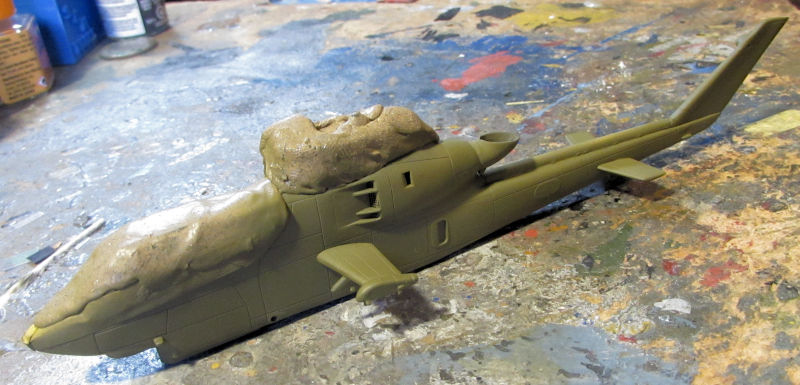
We might just clear coat these and add the decals right away before adding all the breakable parts on these. Meanwhile, the masking came off the AH-1 Zulu and on close inspection, we realized on the left side, the upper color did not come down far enough on the engine nacelle to match the right side. So the left side was re-masked and sprayed again, setting this issue right:
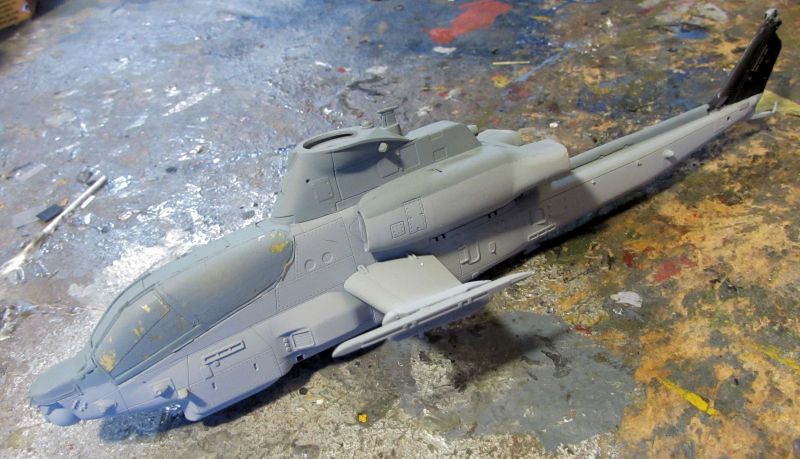
That completes the Hangar part of the tour, time to visit the Motor Pool...
This again, will be quite fast. So much of the work is repetitive on multiple models but since all are different; I'm showing all the work.
To start, the Australian Bushmaster was given a coat of gloss, and then the decals were applied:
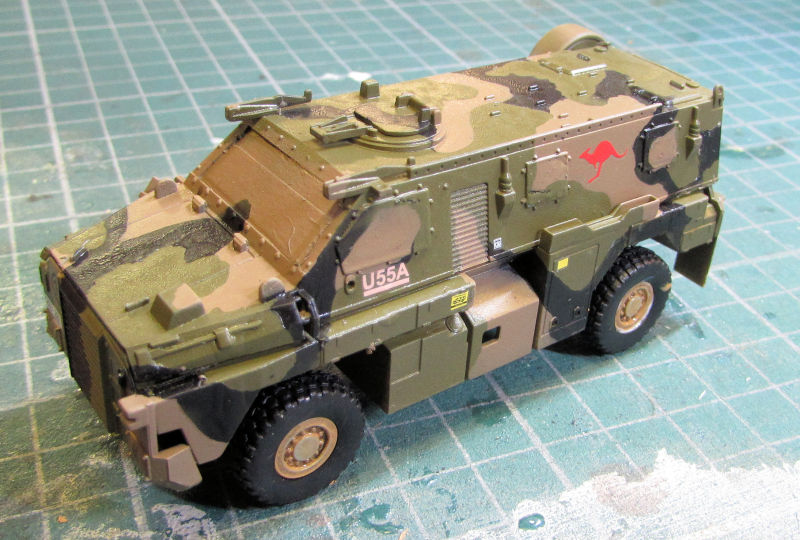
Later it was dullcoated for mask removal, weathering and final detail parts:
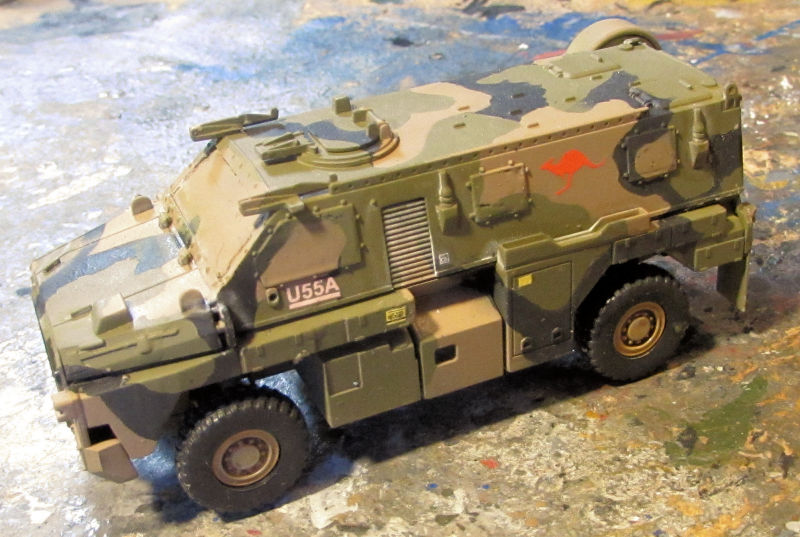
The next time this will be seen is when my Australian Army takes delivery of the finished vehicle.
Now on to the next bunch.....
I'll start with this first one that I had purchased for my birthday. It is the Trumpeter T-62 with ERA. The upper hull was worked on first, getting all the stowage boxes and other parts installed:
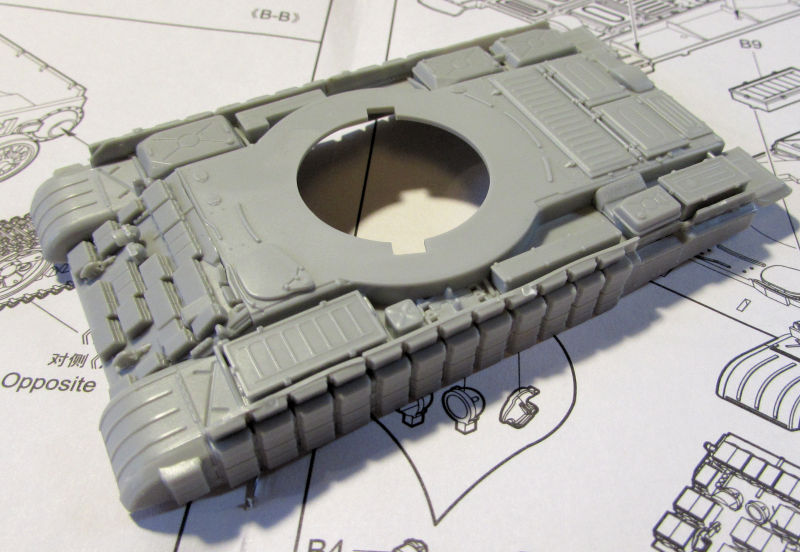
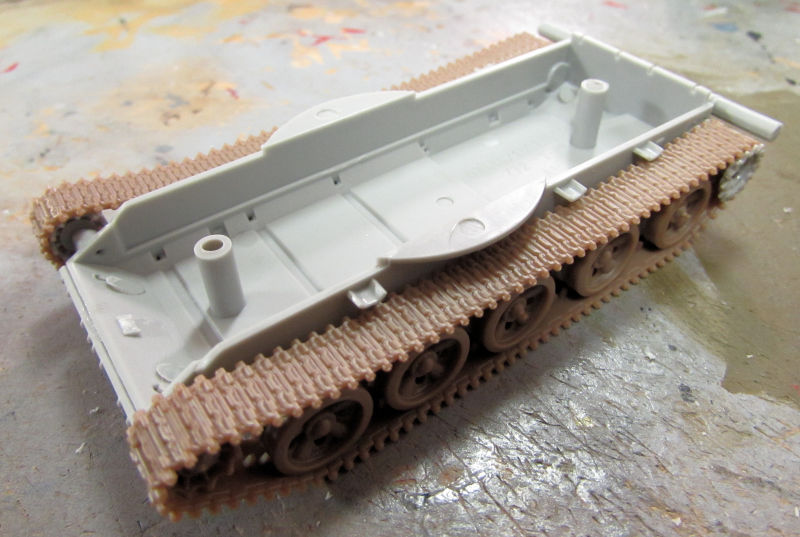
Next was the lower hull. This was easy as the whole outside wheels and tracks were alll one piece:
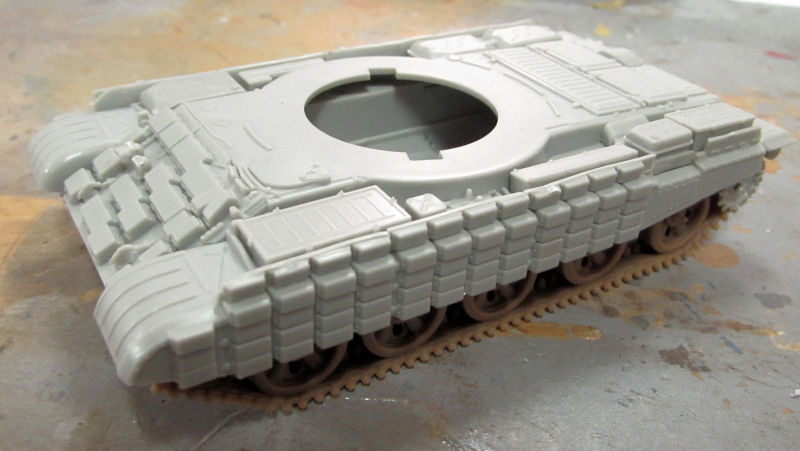
Upper and lower hulls assembled:
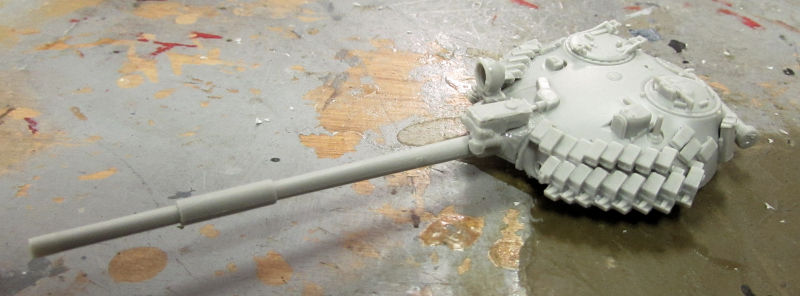
After that was the turret:
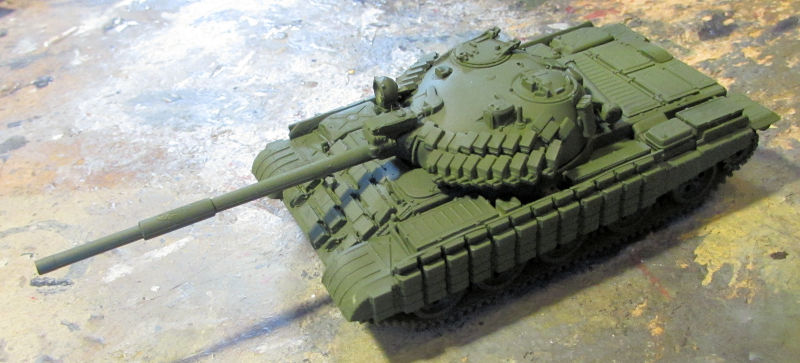
Finally the whole thing was painted up:
Moving on from there, we worked on the T-64 Mod 1981. Tracks were installed, then painted with a base coat of flat black:
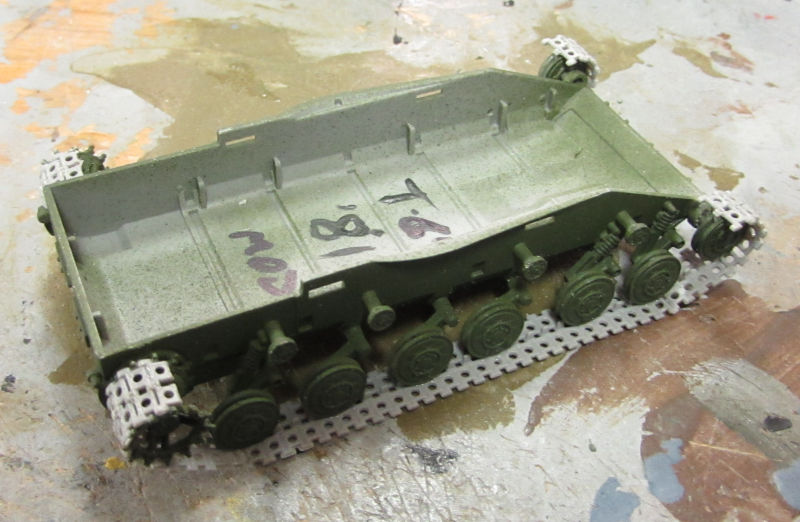
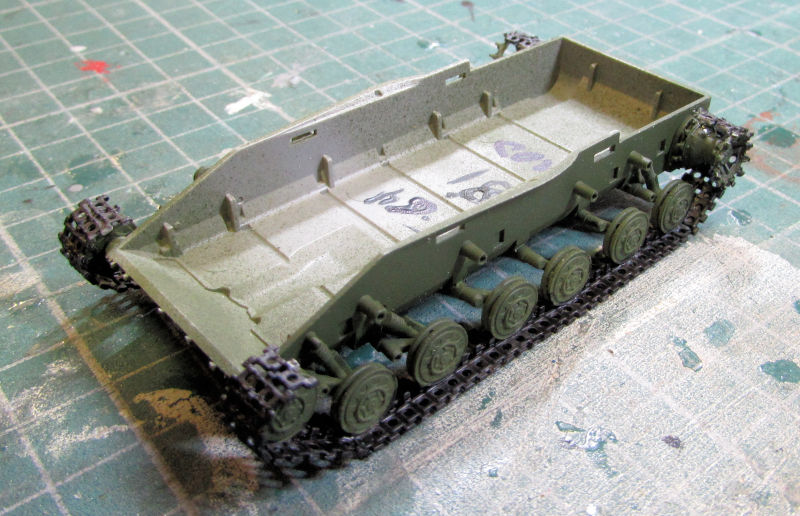
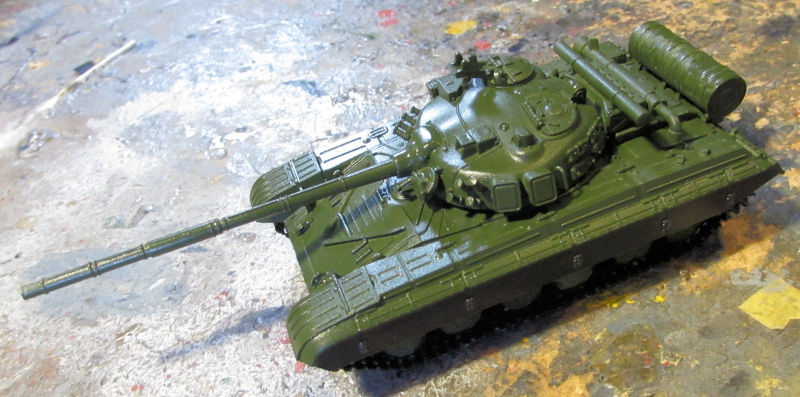
Everything put together and clearcoated for decals:
The next T-64 is the AV version. Again, tracks installed and painted black:
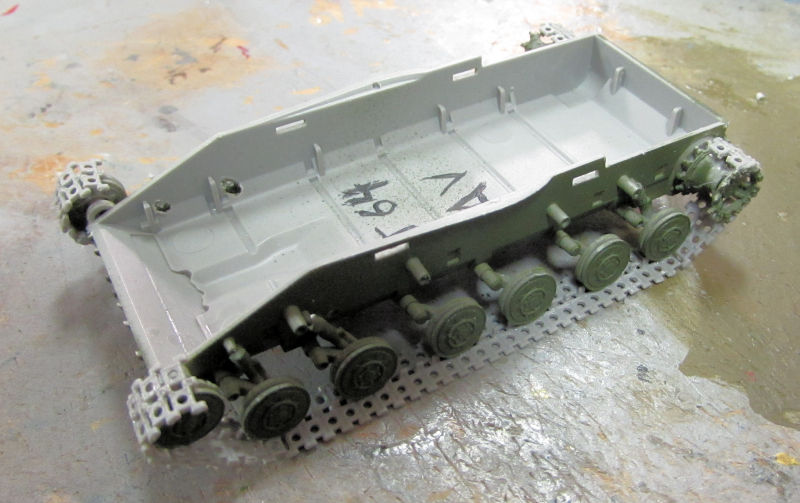
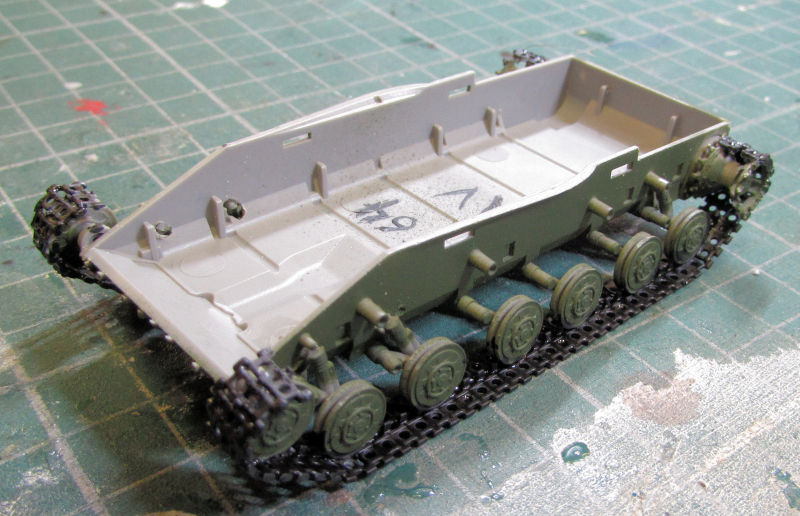
Then before we could put the hulls together, we had to add some photo-etch skirts to the upper hull fenders. These were attached with Gator;s Grip Glue as is all the photo-etch that we added to the rest of the models. Some photo-etch was also added to the engine deck and the turret on this one:
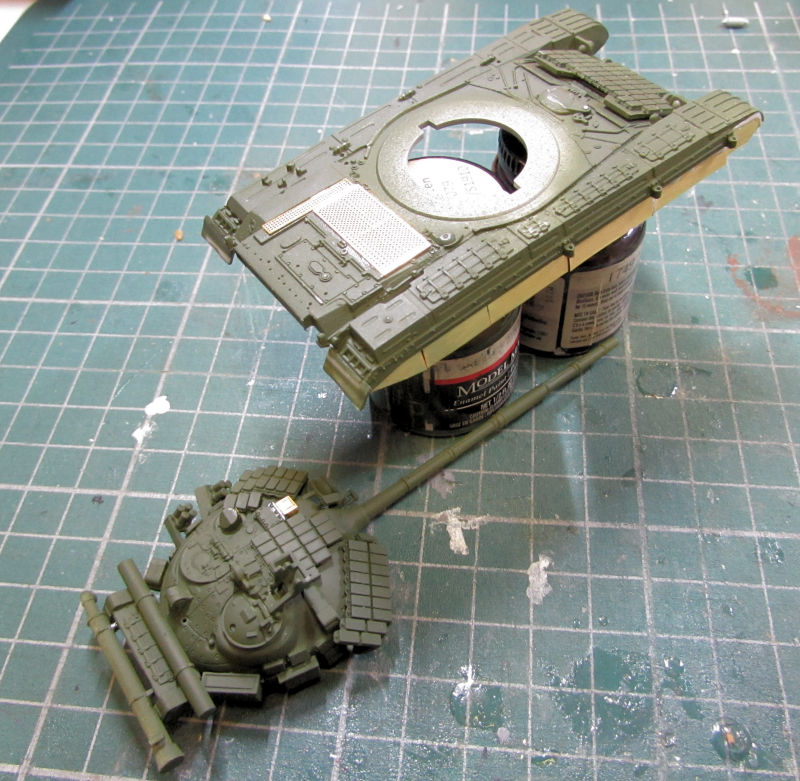
Additional photo-etch was needed on the front of the upper hull:
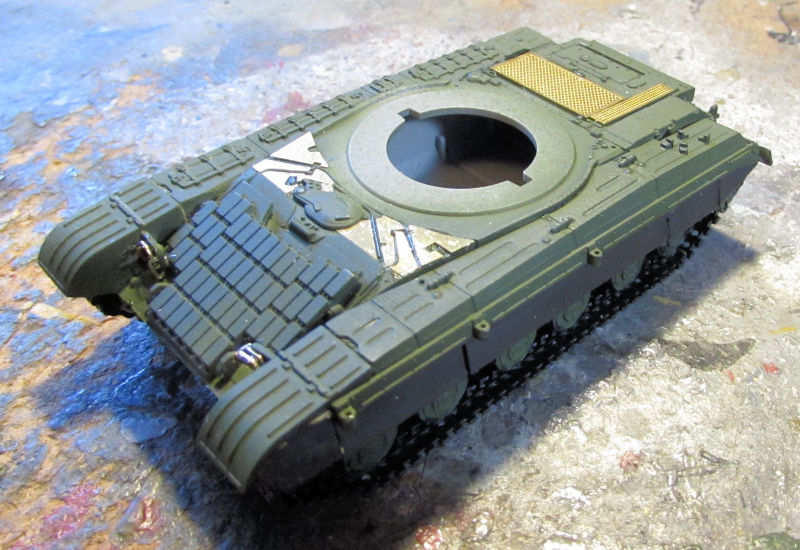
Then this version calls for hanging skirts of ERA to the side of the tank.....using photo-etch hooks. I'd done this once before and swore "never again!". But here I am, doing it again:
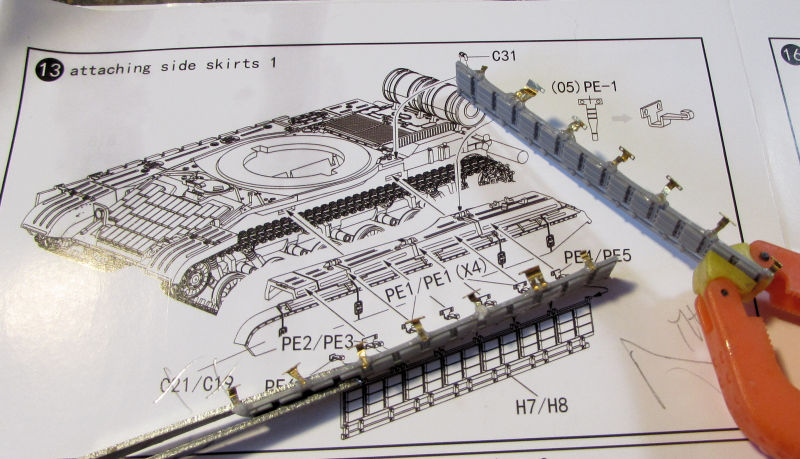
You can see in the upper right of the diagram how these little tiny bits needed to be folded. At least two broke from unavoidable excessive folding. After that ordeal, I wanted to see that this was all worth it so here is the glamour shot before those skirts go on:
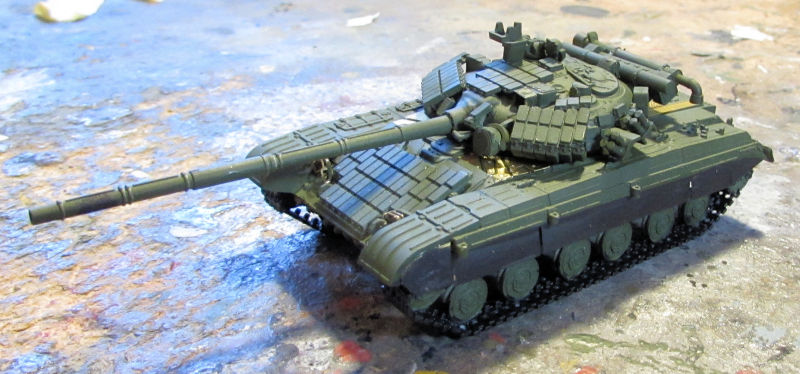
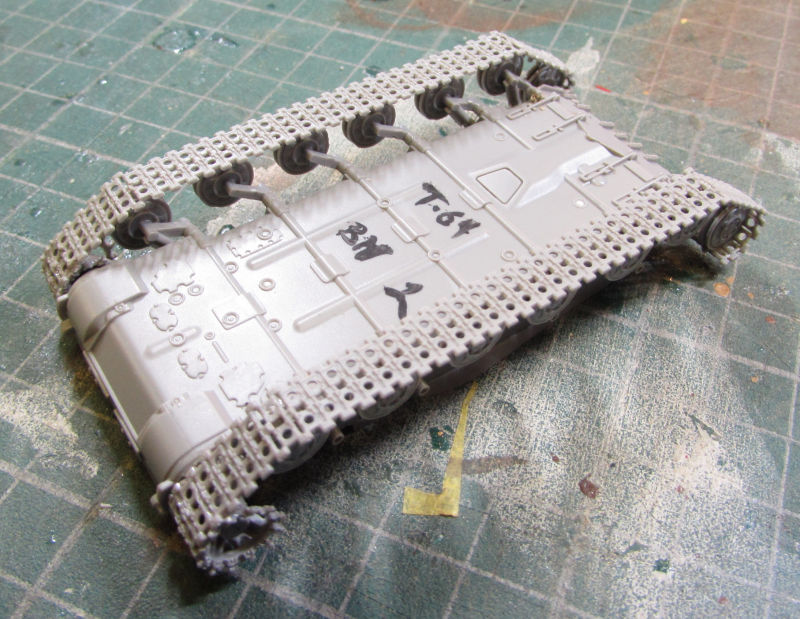
Moving on, we worked some more on the T-64 BM-2, starting again with the tracks:
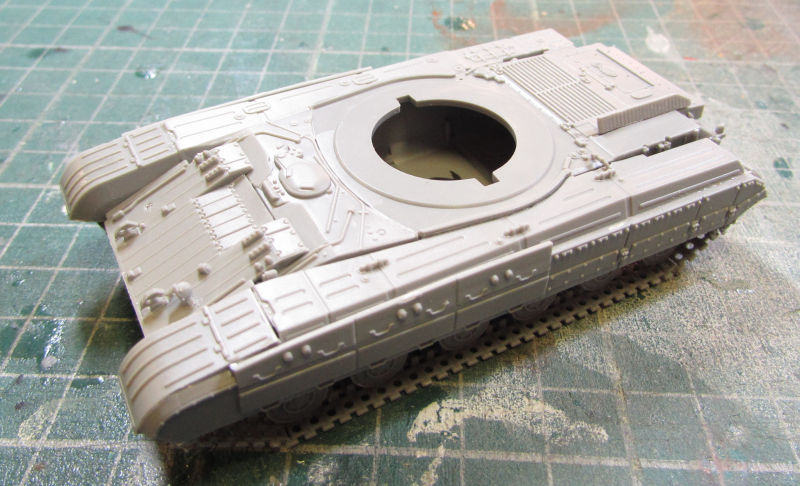
Upper hull was worked on as well with side skirts added and then fastened down to the lower hull:
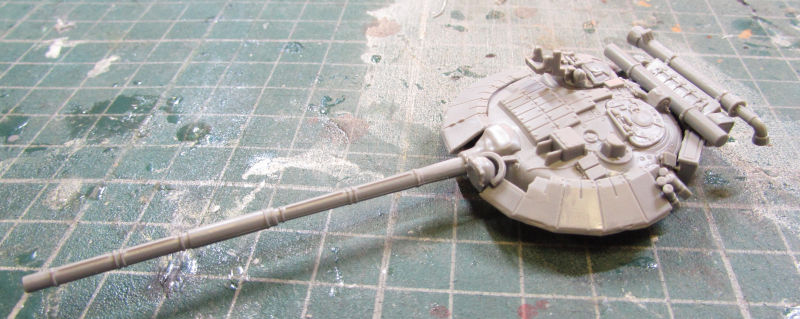
Turret was then started. Yes it is going to get the same type of flaps that are on the T-72:
The glamour shot of this one as well:
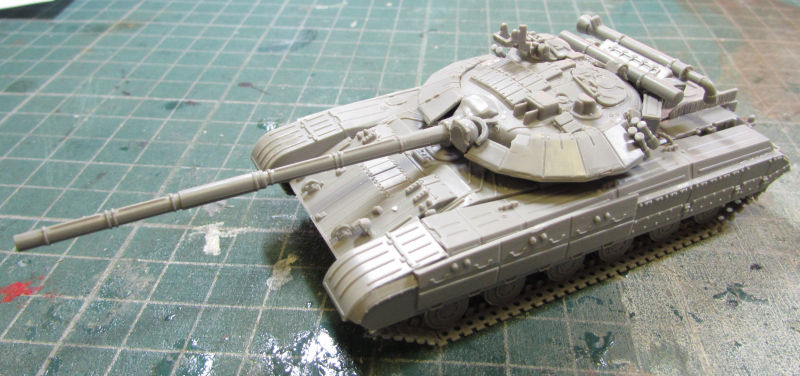
Speaking of the T-72, this one also got the tracks installed and painted:
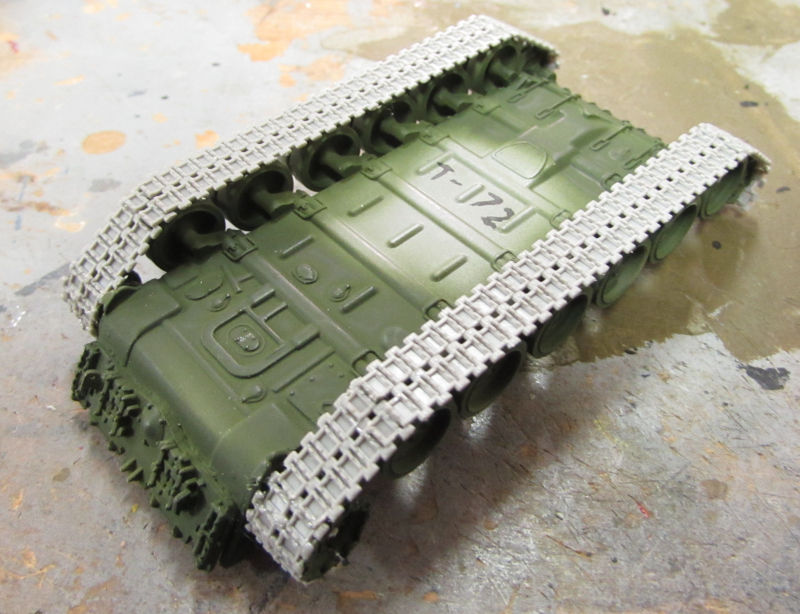
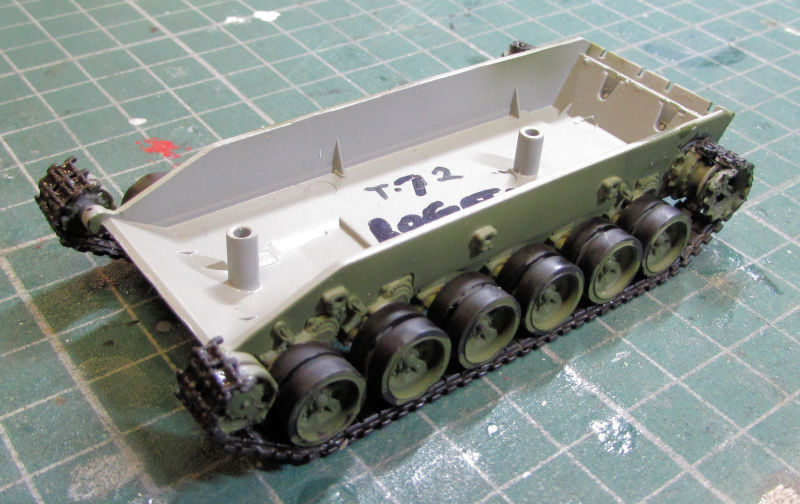
Basecoat painted, and then the flaps because I wanted to see them black. Fuel tanks also added to the back:
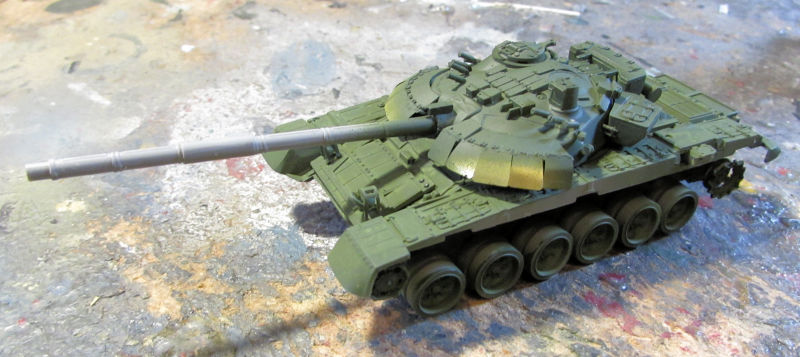
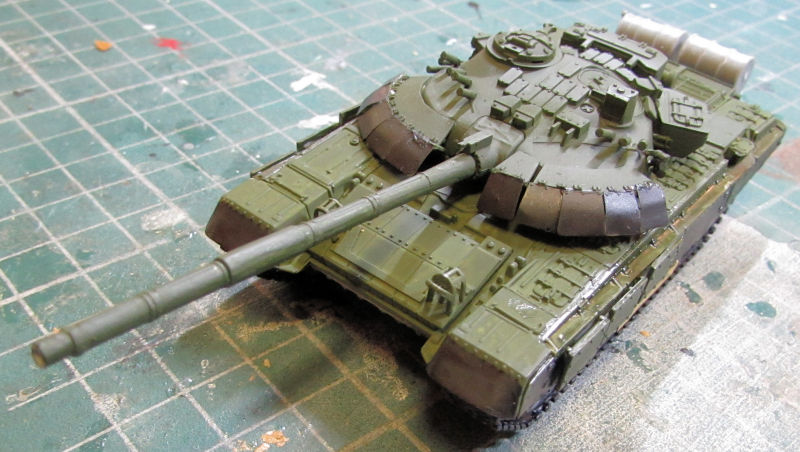
Clearcoated for decals:
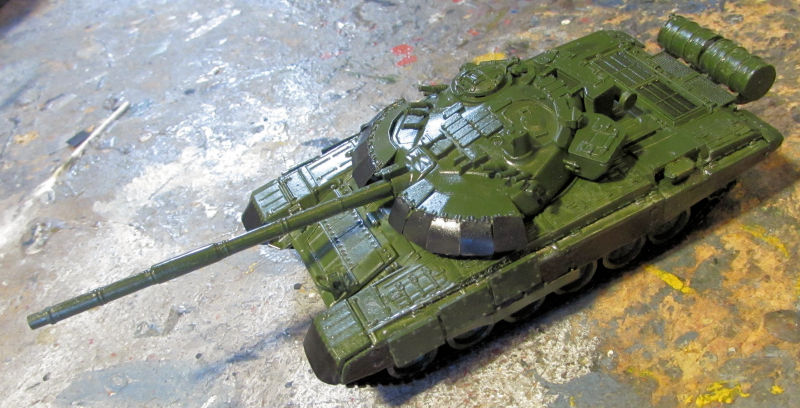
Finally the last (so far) of these Russian tanks, the T-80BV. This tank was the load for my MAZ 534 tank transporter that I set aside to build 'someday'. Someday came and the turret; as with all Modelcollect Russian tank kits, was started first:
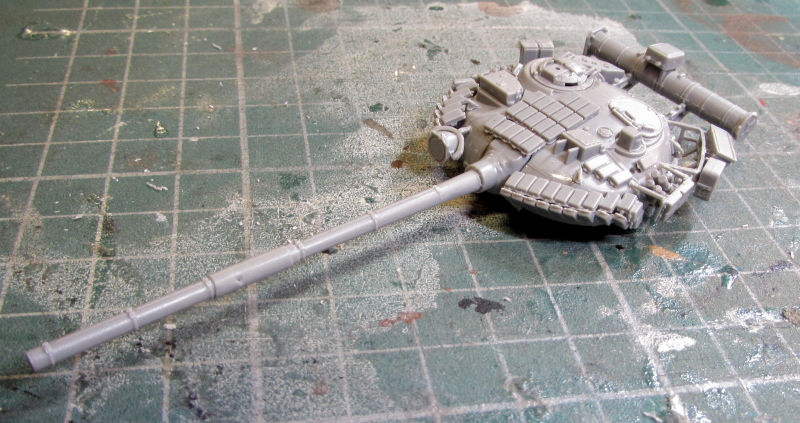
This turret was a difficult build in that the instructions did not say how to install everything on the very back of this turret. I had to refer to pics for that, trying to match what I saw with the parts available.
Next the upper and lower hulls were fastened together and the suspension was installed:
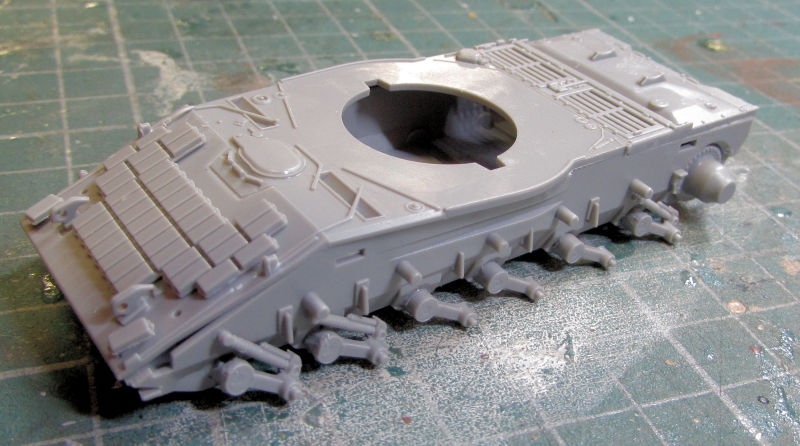
Dry fitting the turret showed an excellent fit with nothing snagging the hull:
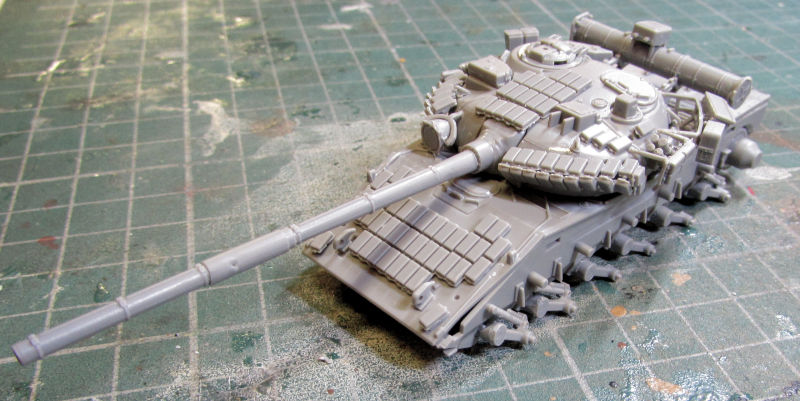
Final glamour shot after the fenders and several other detail parts were added:
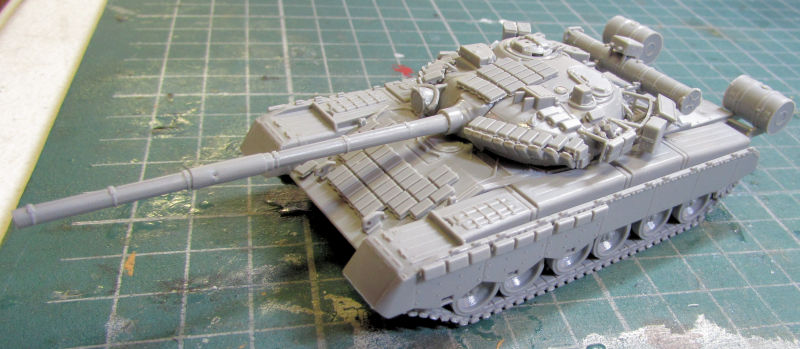
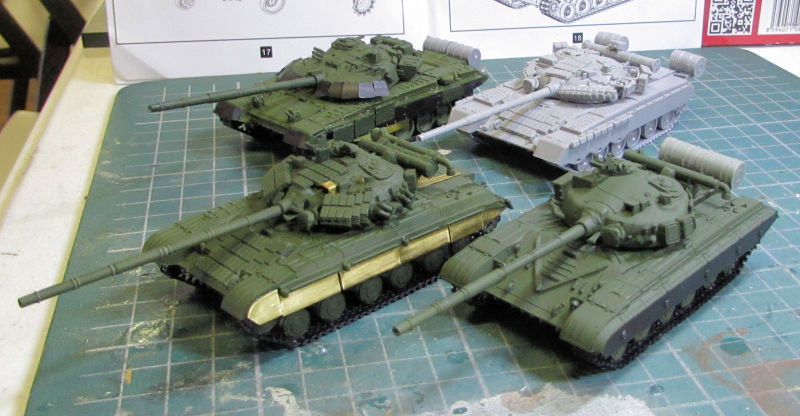
This was the total work I did on these tanks during Hobby Day:
Once I got home, I was able to paint, clearcoat and decal these and one other. Here they all are after their decals went on:
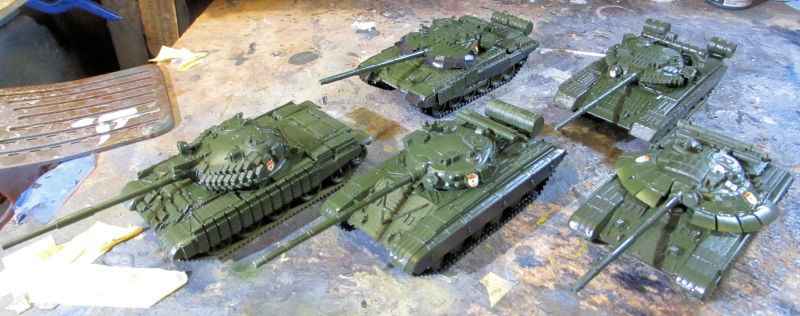
Front left to right: T-62, T-64 Mod 1981, T-64BM2,
Back let to right: T-72 Rogatka, T-80BV
And that completes this latest tour of Maddog Manufacturing. Time to work on something different now, at least for a couple days. Then I can come back and finish these Russian Tanks.
Thanks for taking the tour, comments are welcome.

