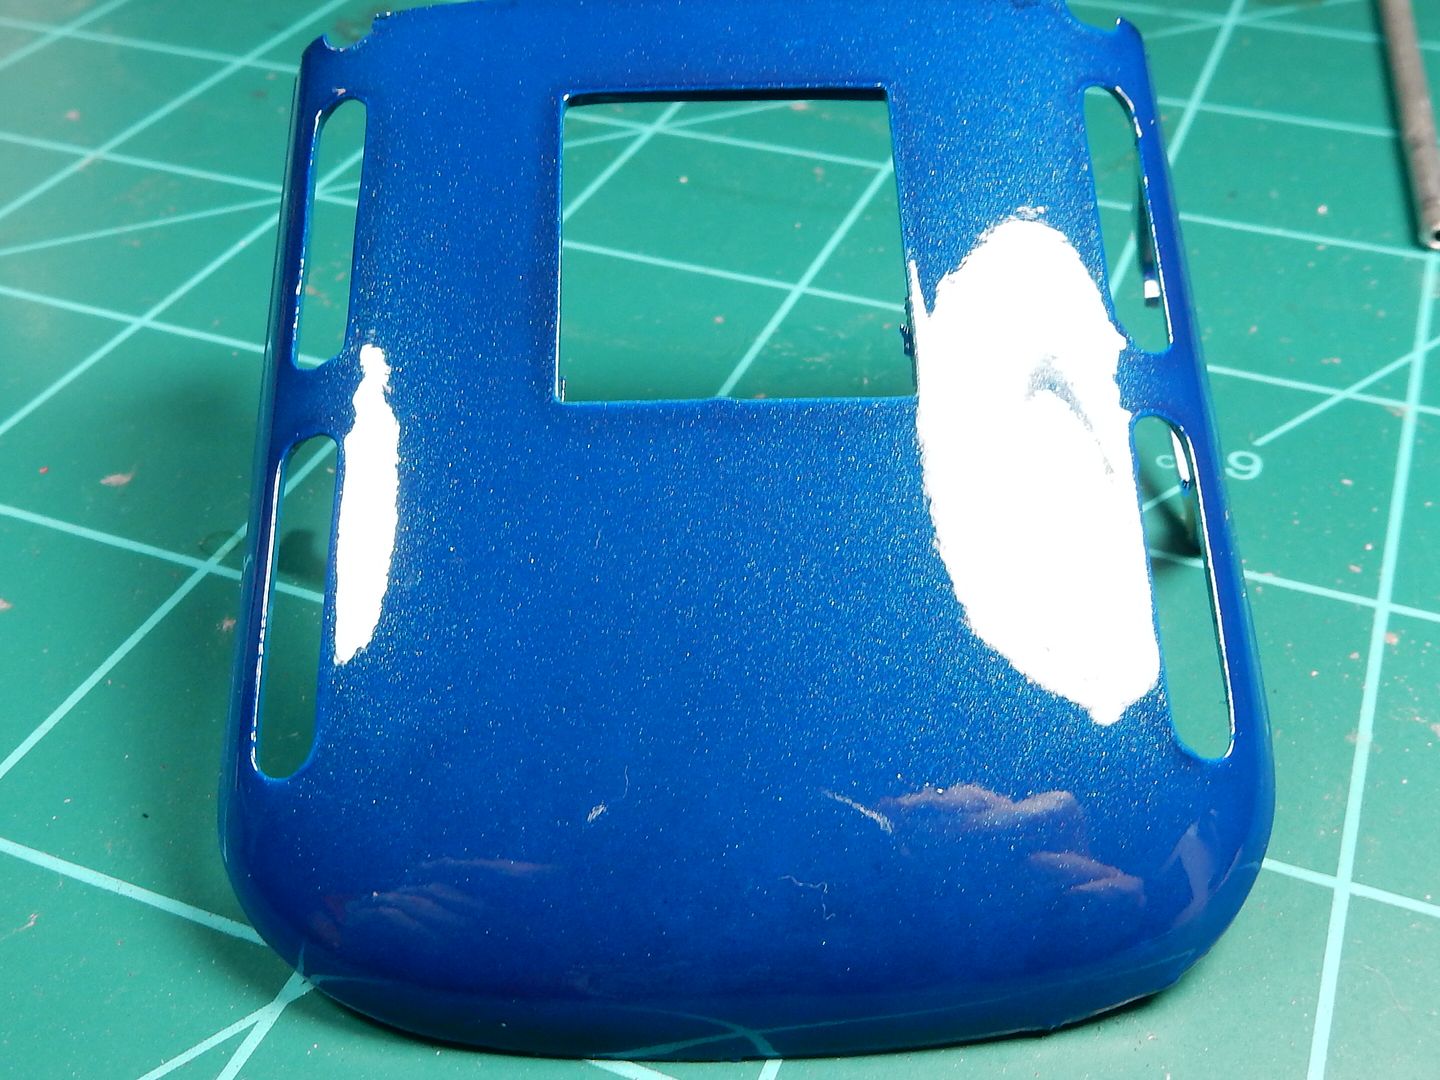
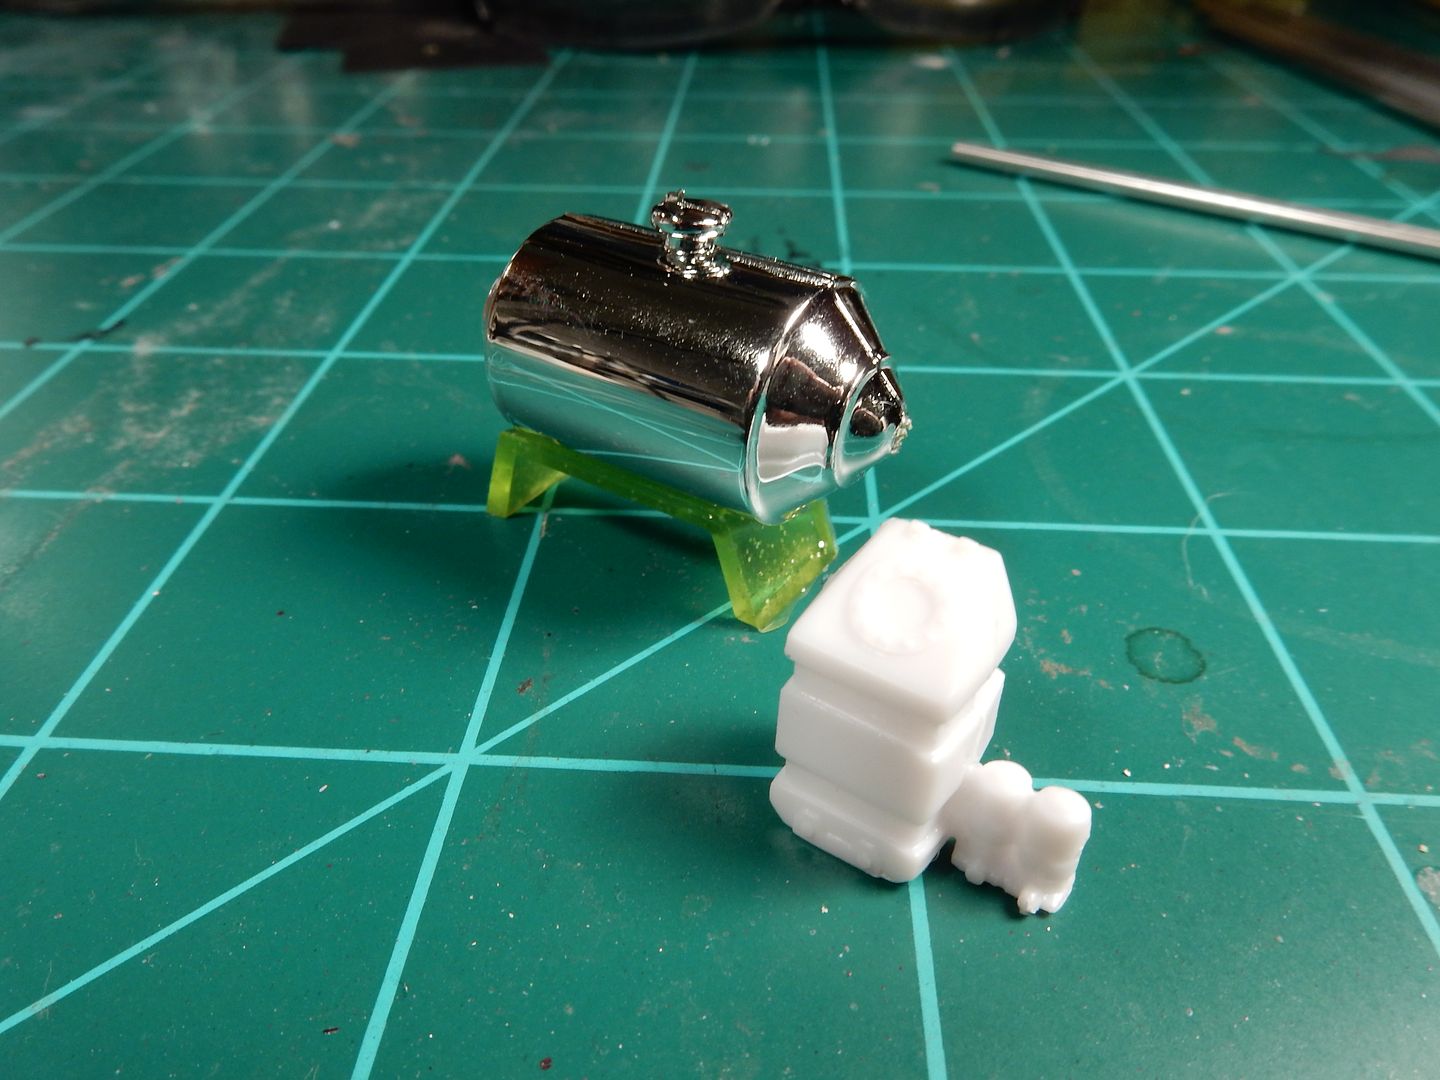
Okeedokee folks. I left off with the OOB engine with no timing cover, water pump....nothin'. Man did
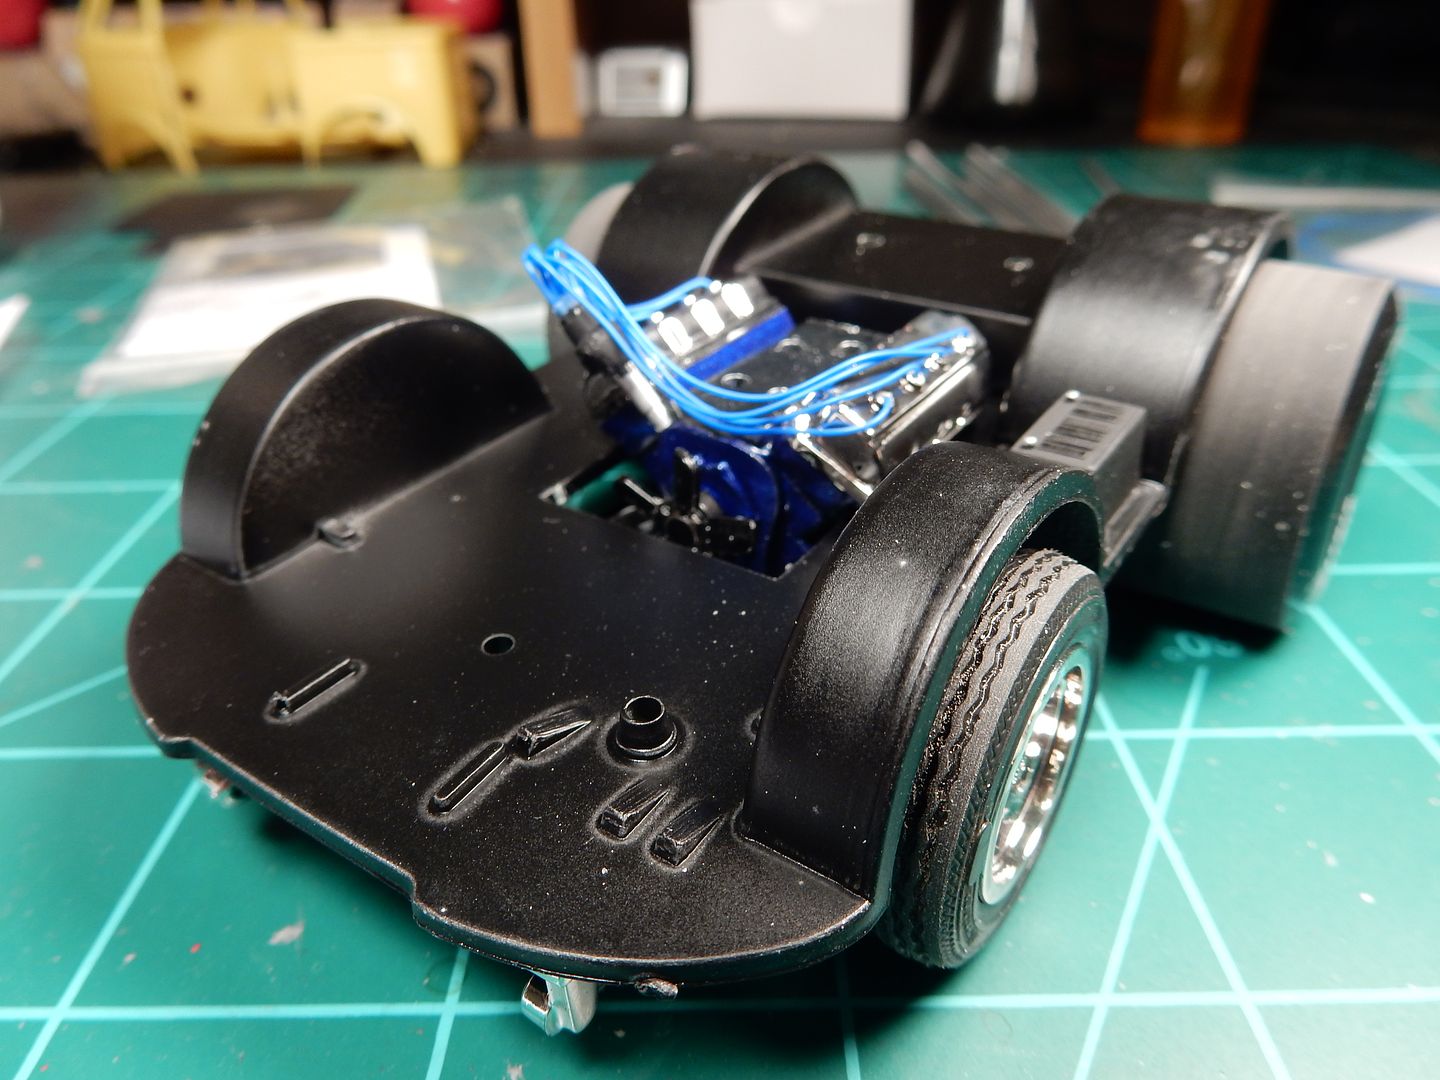
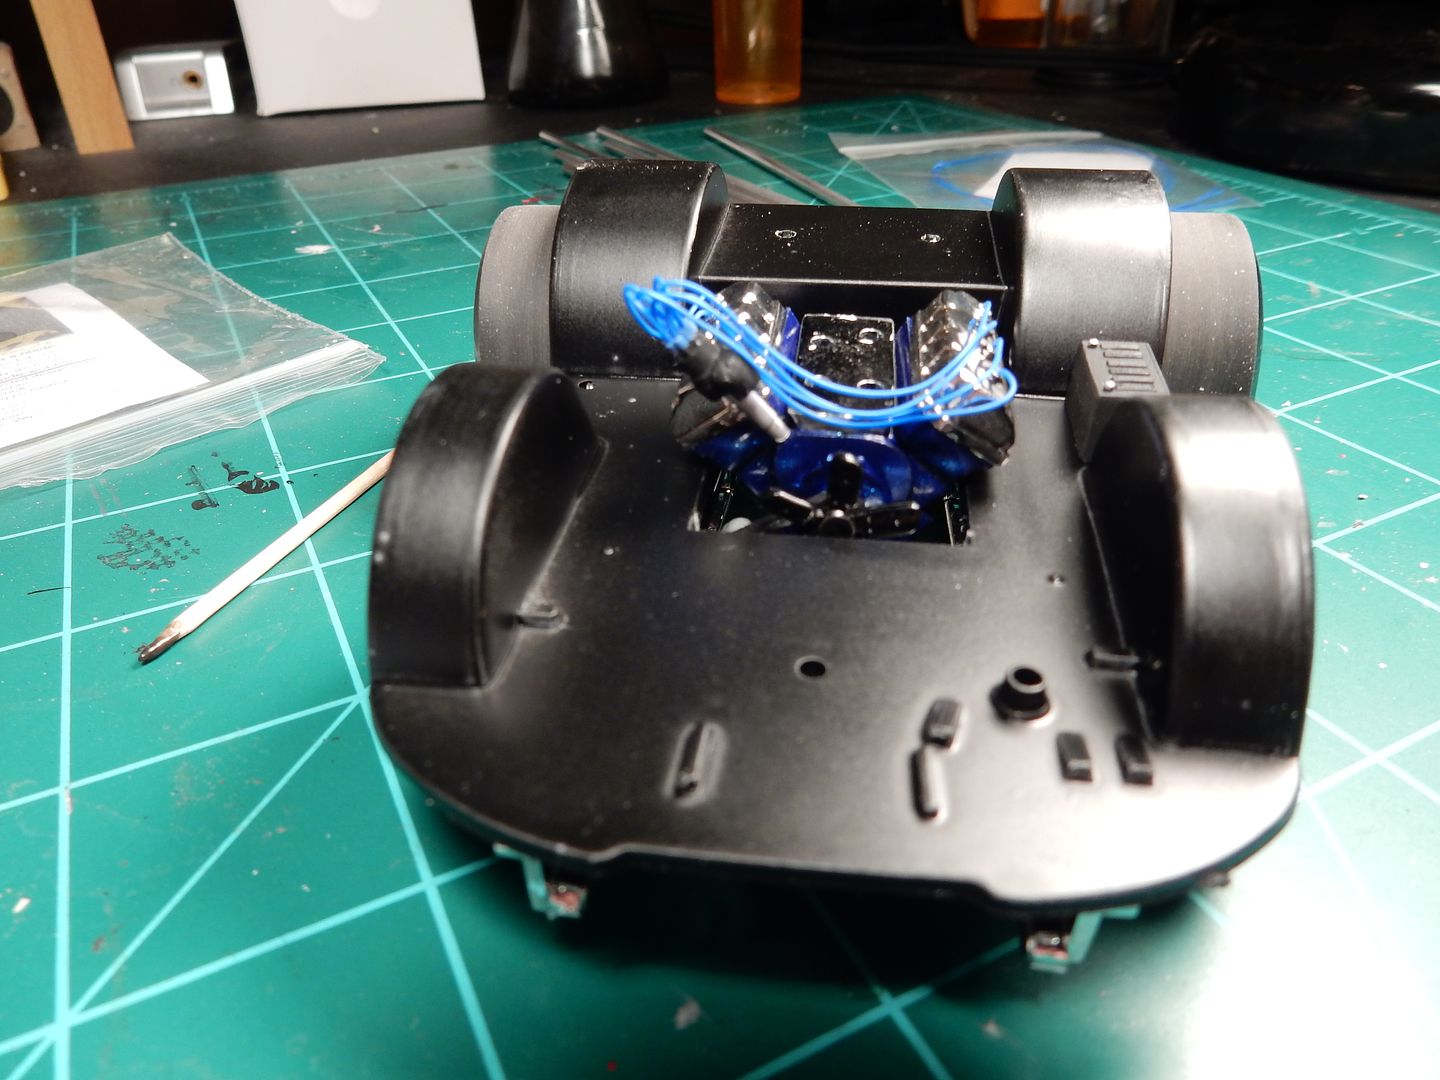
that look blank! I was initially going with a Hemi that I built as a kid and then backed out of that one just because of all the mods I would have to do to get it looking right and fitting. So I took the timing cover and water pump from that engine and put over onto this engine first of all. Secondly, I couldn't leave the engine with now ignition system given all this effort I'm going through to "enhance" things a bit so I added some wire's from Lex's after drilling out the distributor cap and going through the usual process of installing wires into the cap and routing and all.
A before shot:
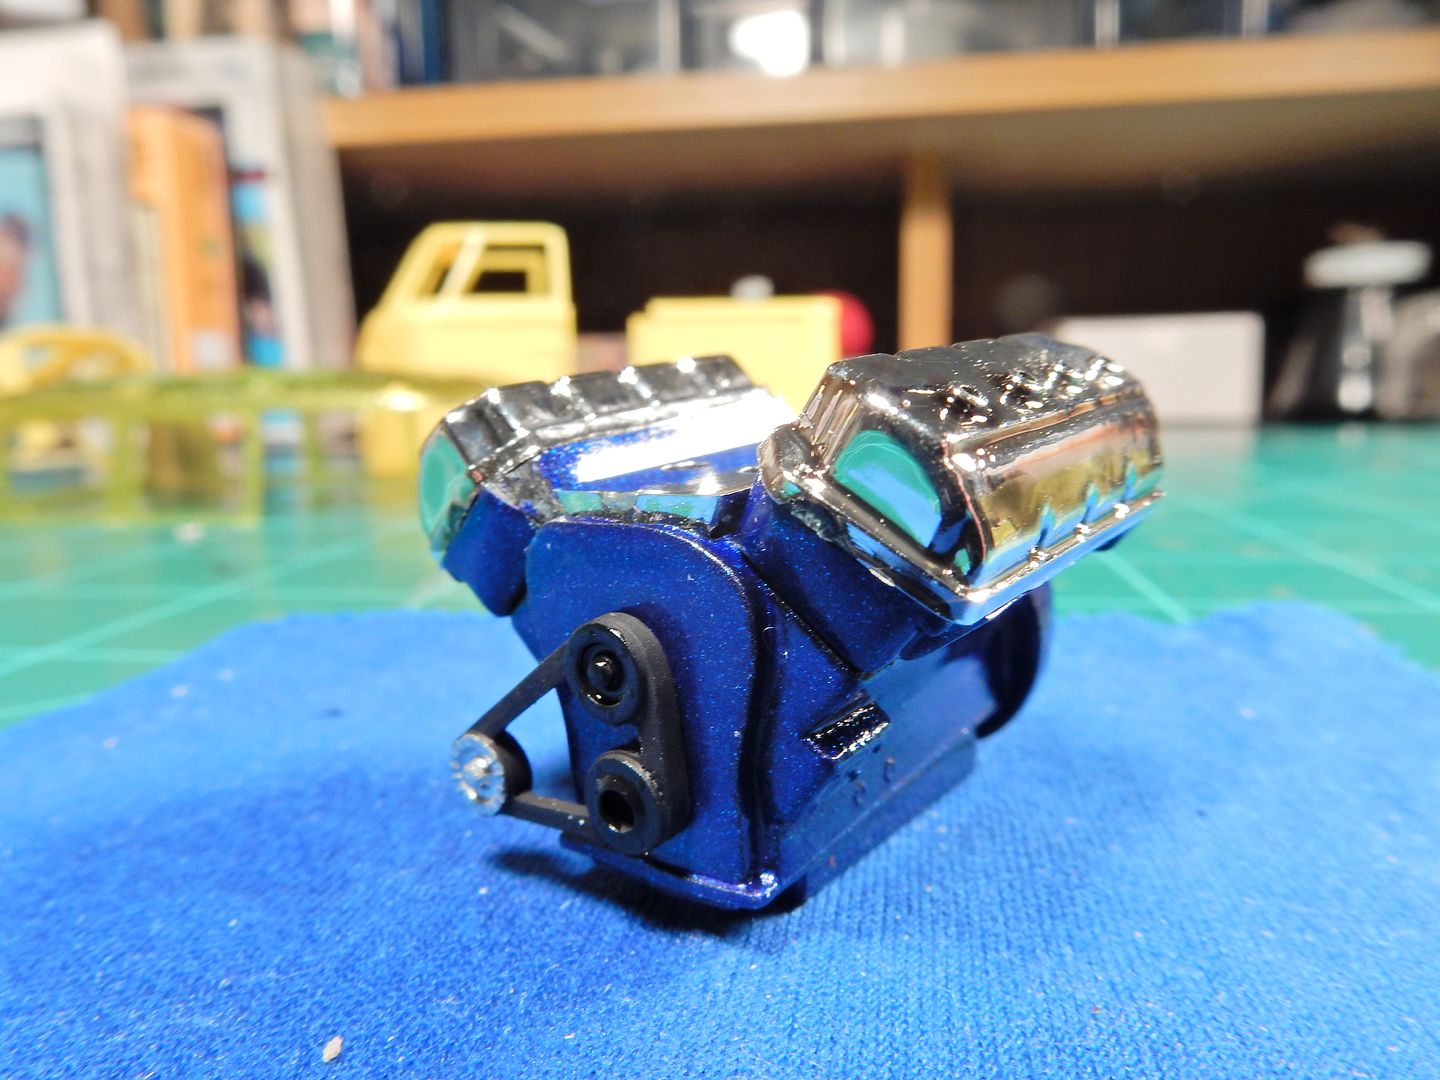
and the current progress with the L/H OOB injector stack test fitted and the timing cover now in place:
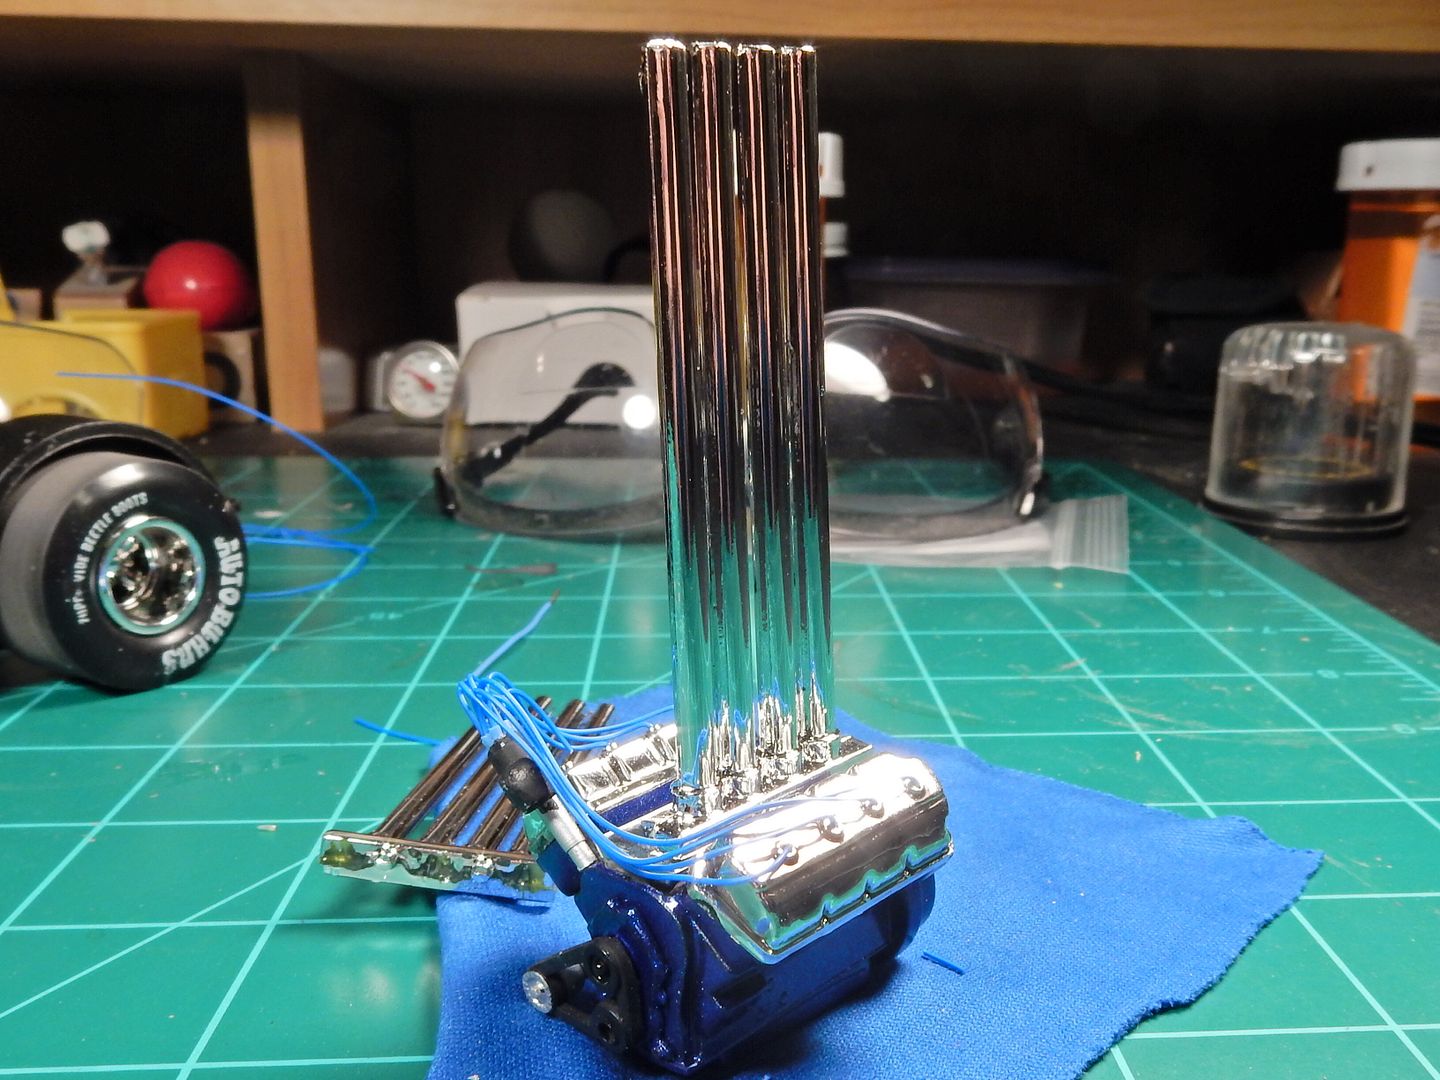
Lastly, speaking of injector stacks, while I like the idea of those on this kit I
strongly dislike all the seam lines and flash associated with the parts that AMT used. From a distance they look great and the stacks are at
least not molded together but close up they are a complete
disaster that would require total reworking to straighten out!
Let's zoom in a little closer....
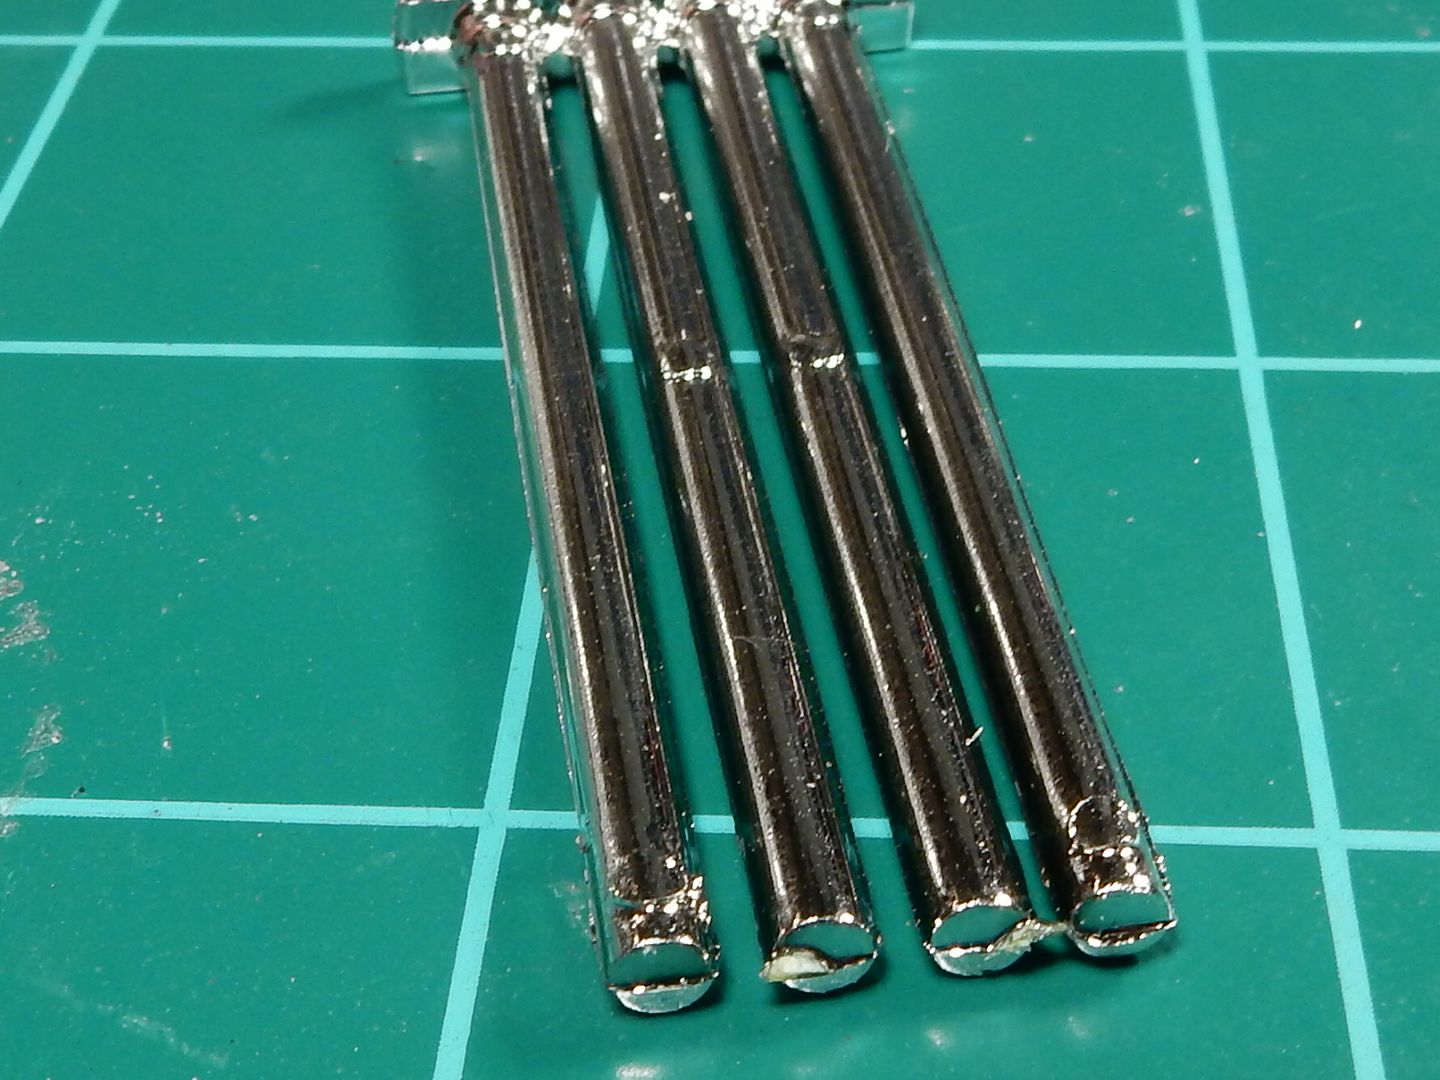
So I'll start fixing that by cutting off the stacks from the bases....
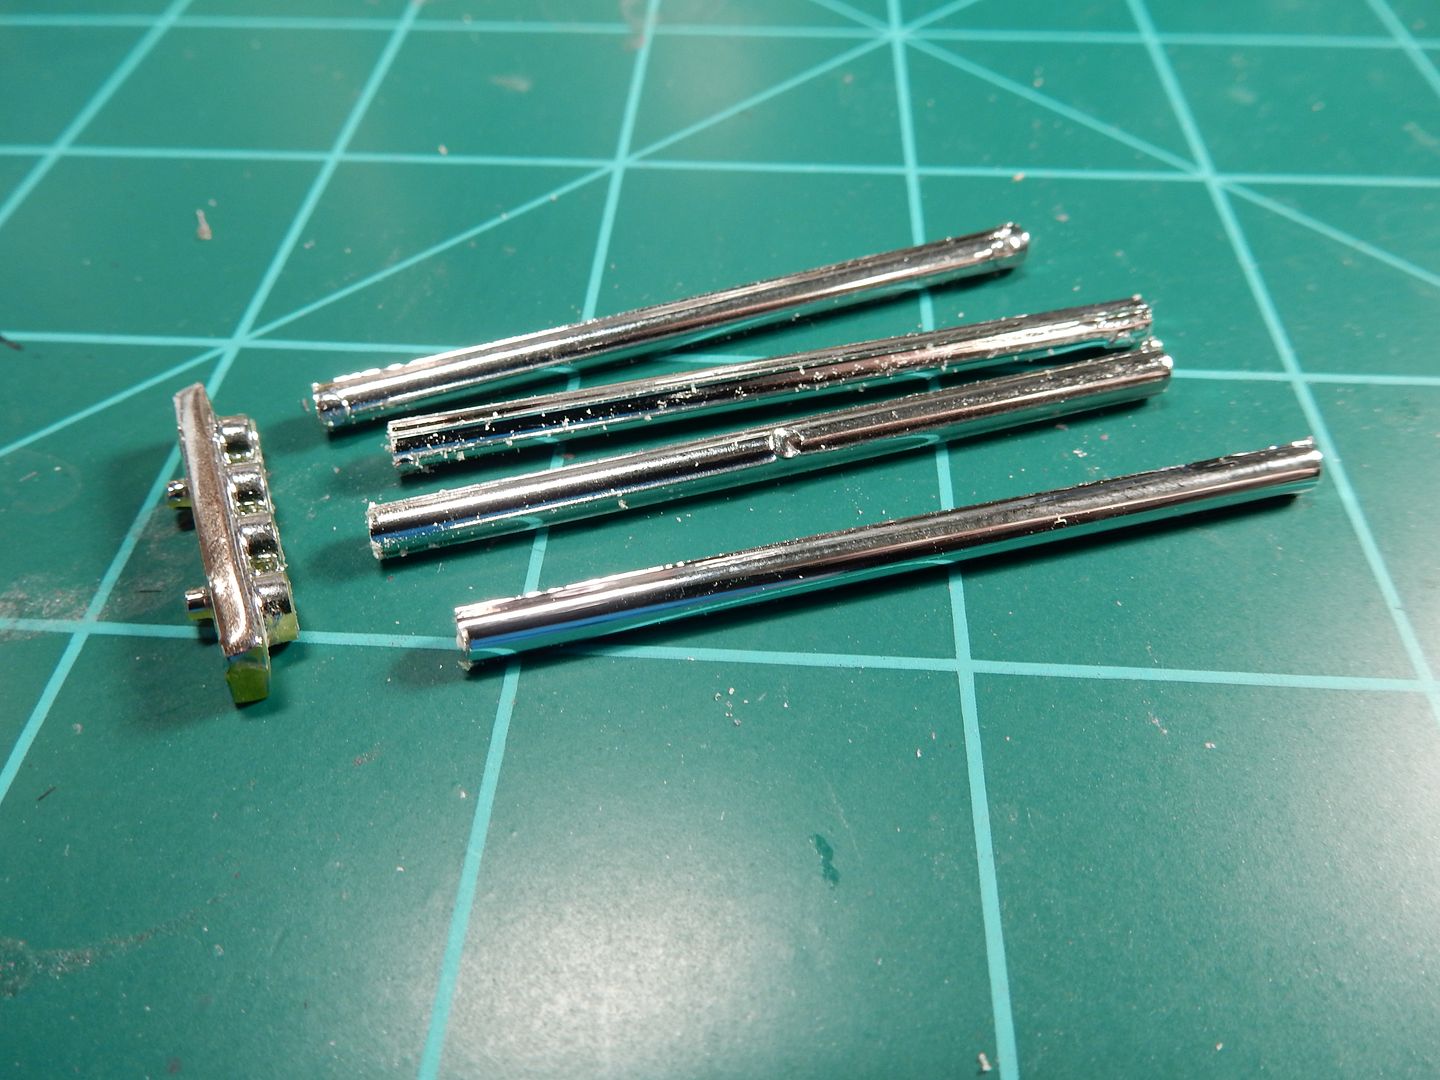
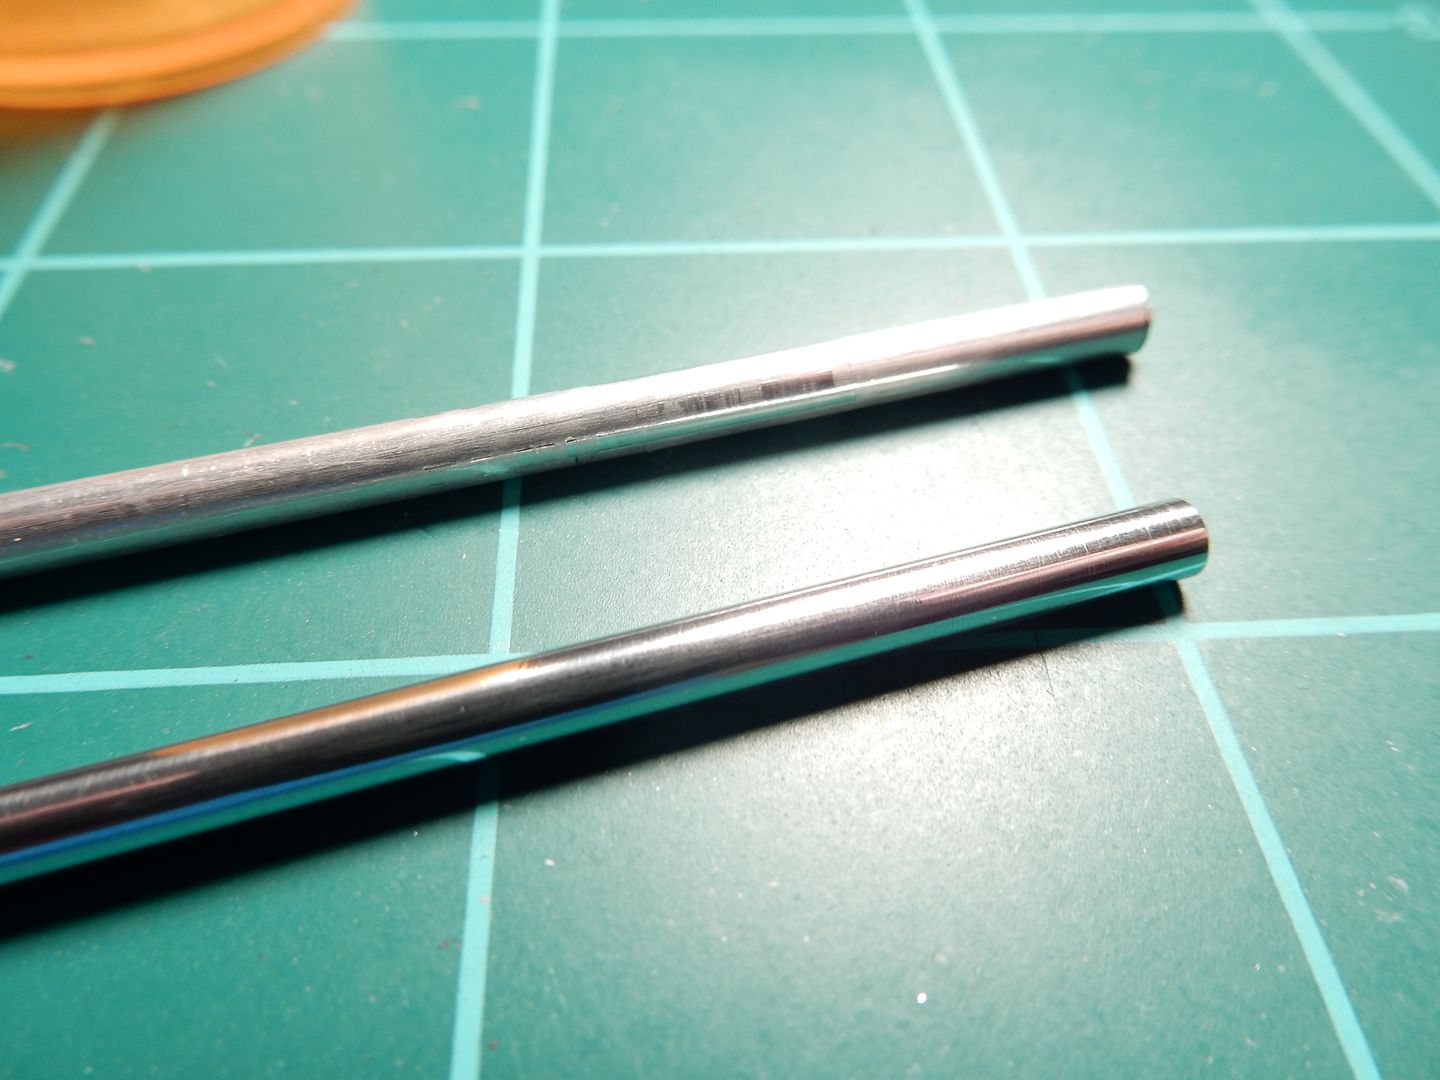
Here's what I'm going to use instead. I picked up some aluminum tube from HL and will cut each stalk in half, chuck it up in a drill and spin it up in the steel wool there beside the stalk here to start a base for the shining process and then switch over to spinning it up in a polishing cloth with some Mothers Aluminum polish to "polish" things off. Sorry...............couldn't help the pun.

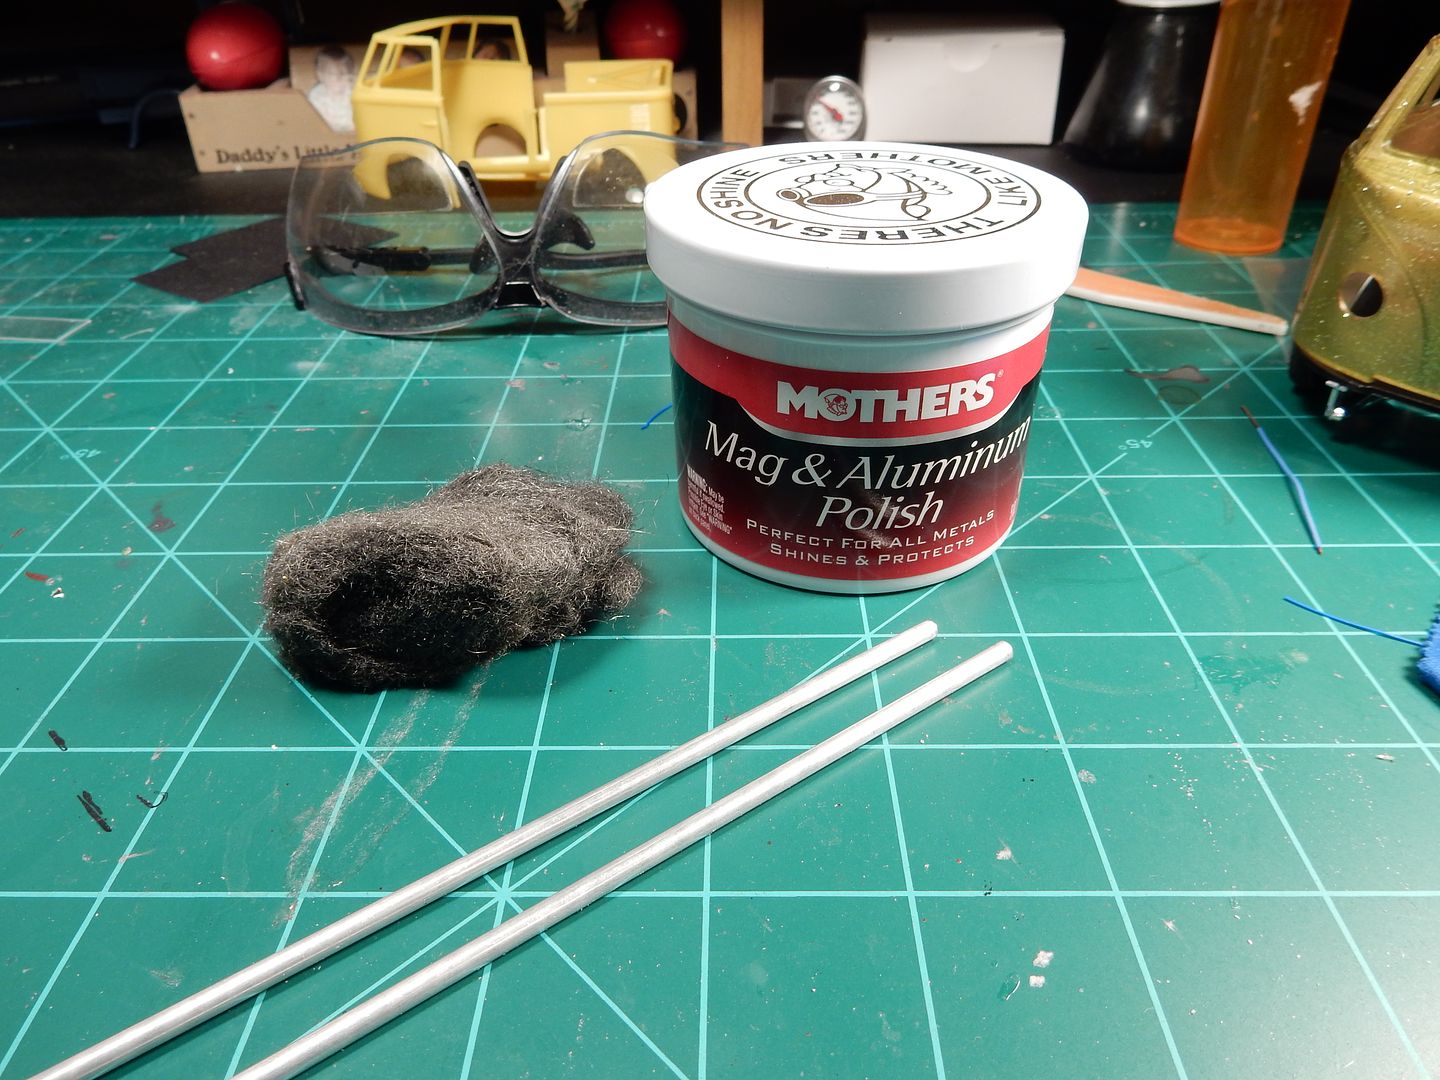
I needed locators in which to create a strong adhesion and to help line everything up so I chose some smaller diameter brass rod that slips right into the aluminum rod perfectly.
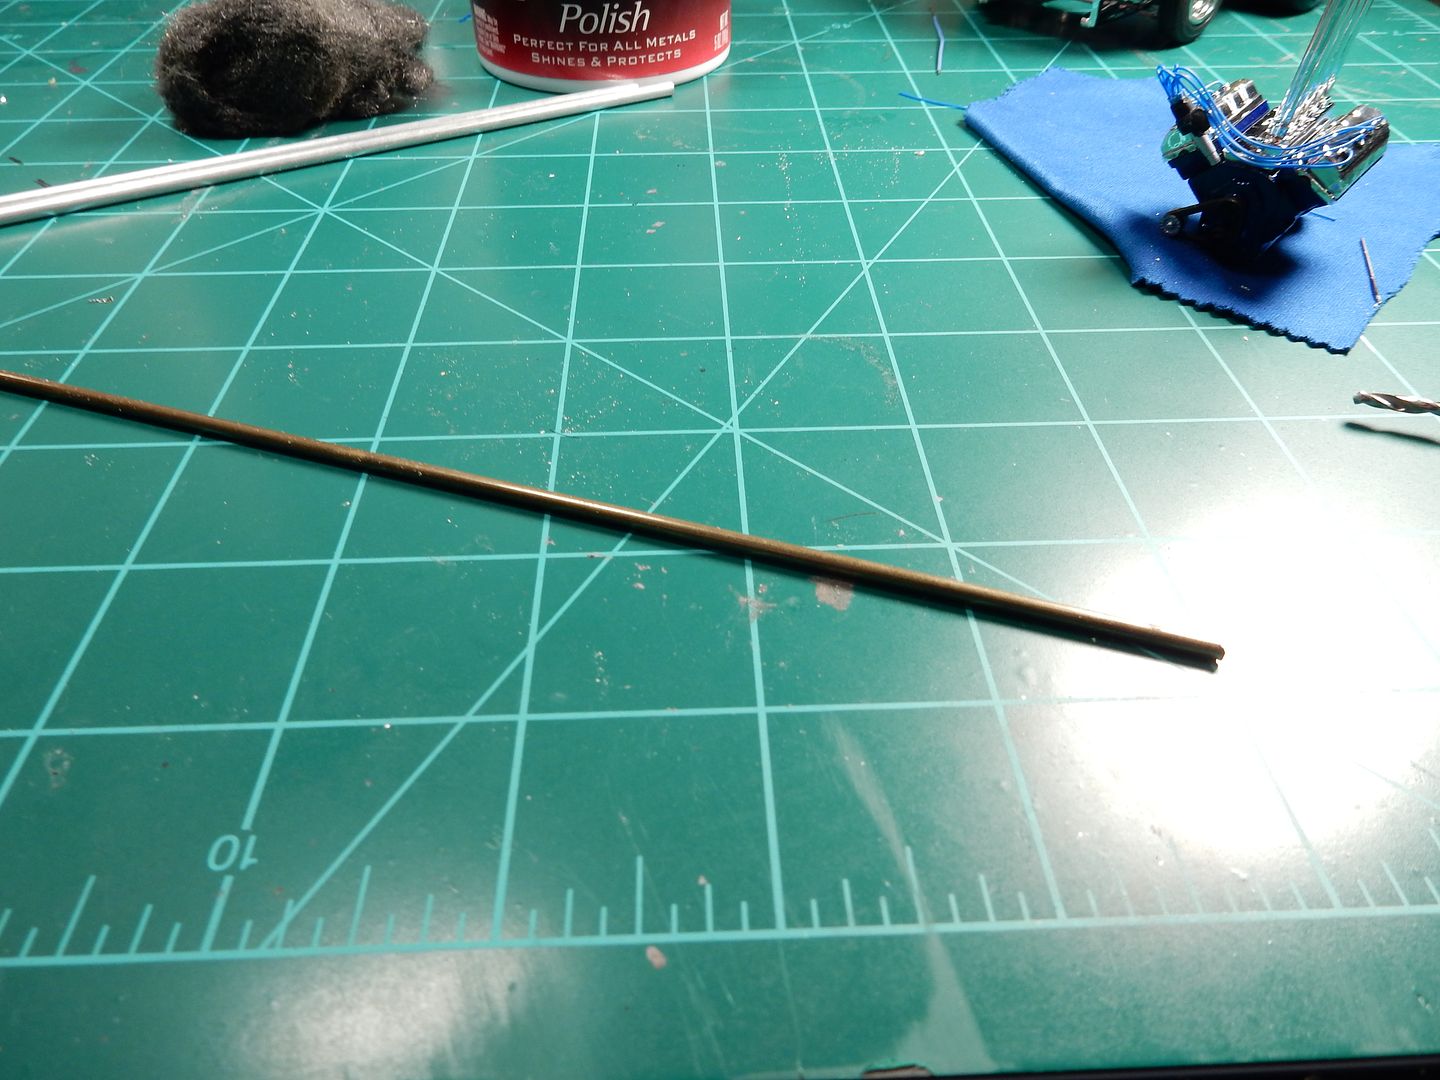
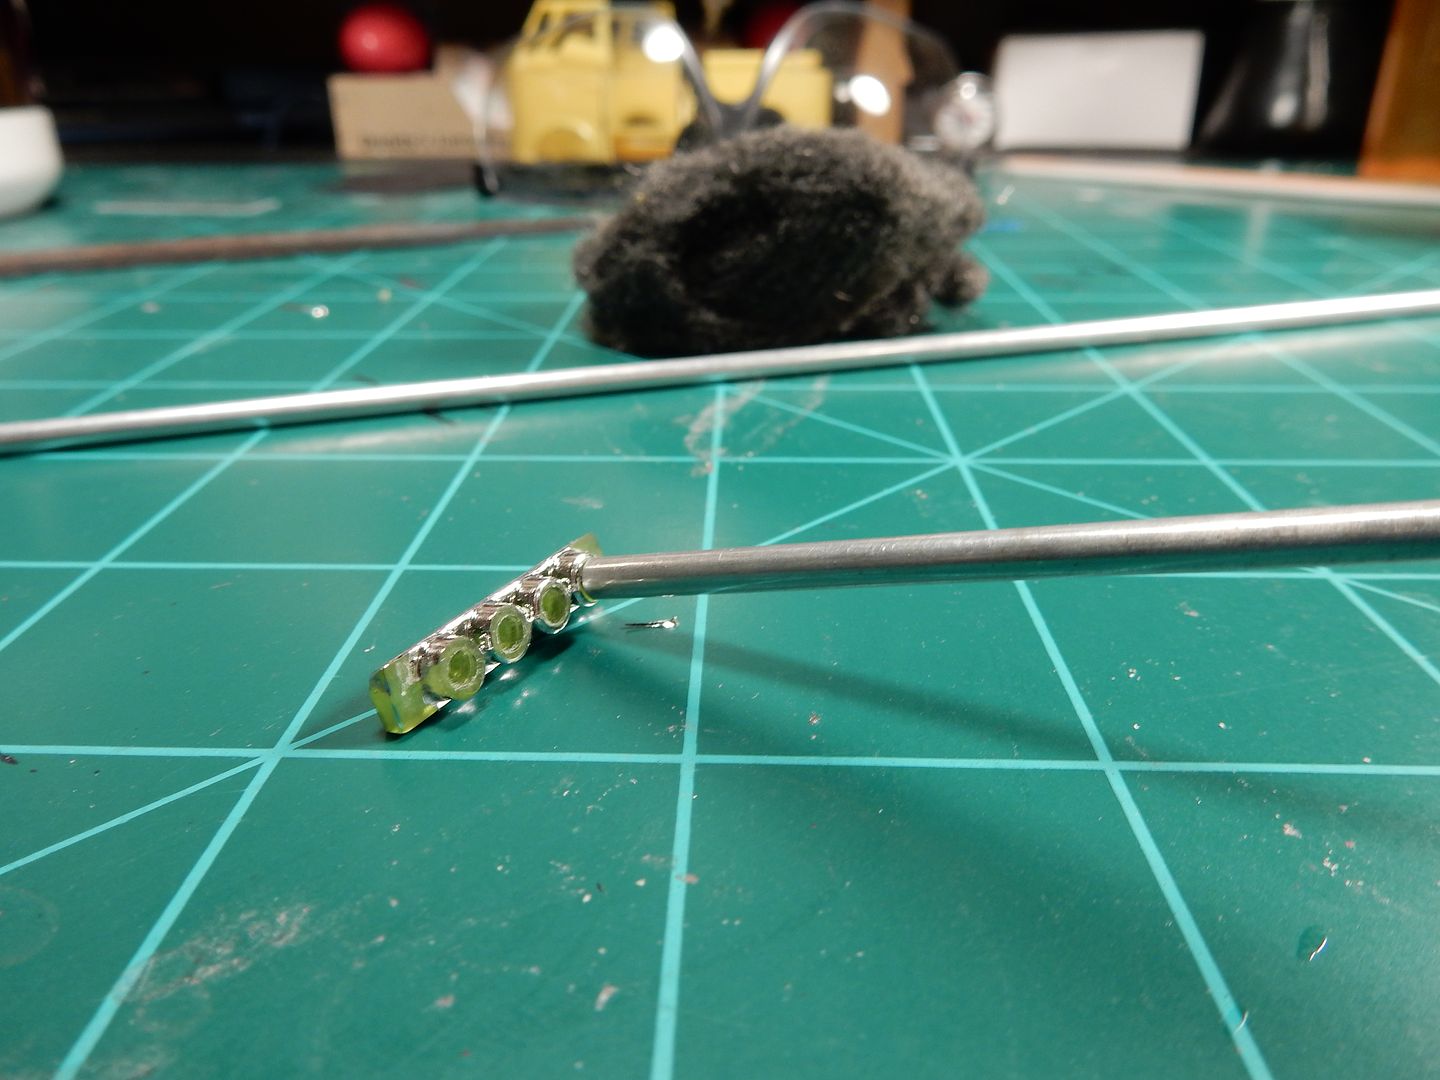
and in one photo I'll illustrate the process. I drilled into the injector stack base at each outlet to create a pilot hole for the brass rod which fits snugly inside each hole, then will slip the aluminum rod over the short lengths of brass rod like so.............
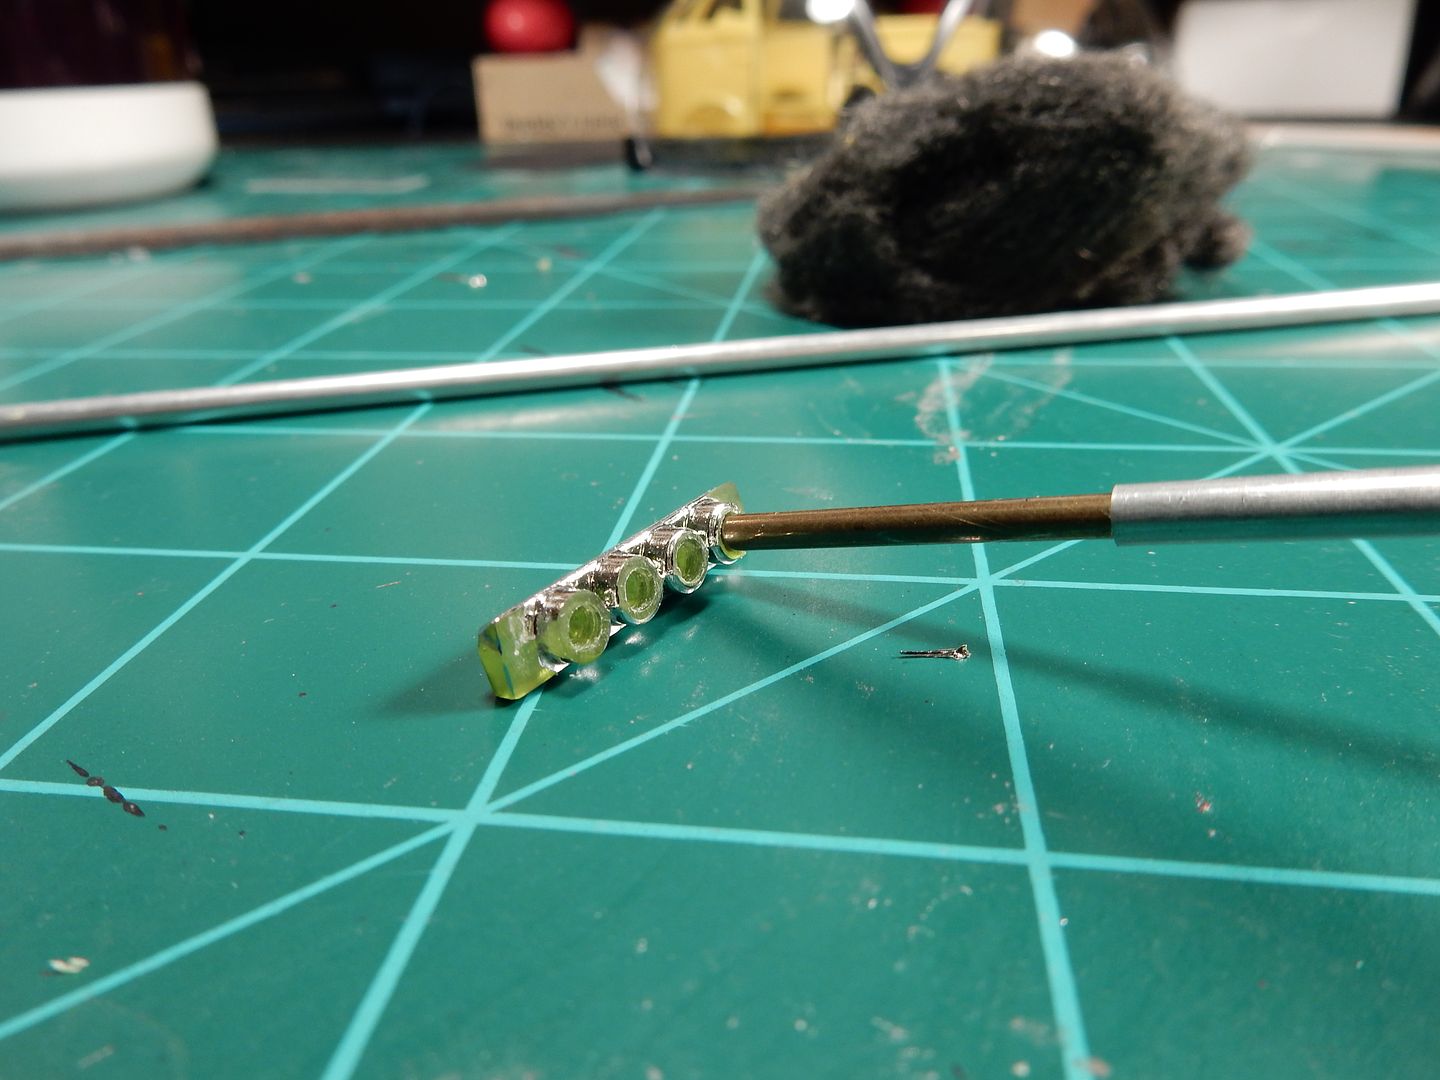
and then slid it on down to it's "home" position like so..............and do 7 more like that and I'll be home free with a lot better looking stacks than I started out with.
I've shined up two using the procedure outlined above so far. The top one is untouched and the bottom one is after 10 minutes of polishing with the wool first then the Mothers.