Page 10 of 16
Re: Trumpeter 1/32 Me262A-1 Yellow 3
Posted: Fri Feb 22, 2019 1:36 am
by jkim
Re: Trumpeter 1/32 Me262A-1 Yellow 3
Posted: Fri Feb 22, 2019 2:08 am
by speedgraflex
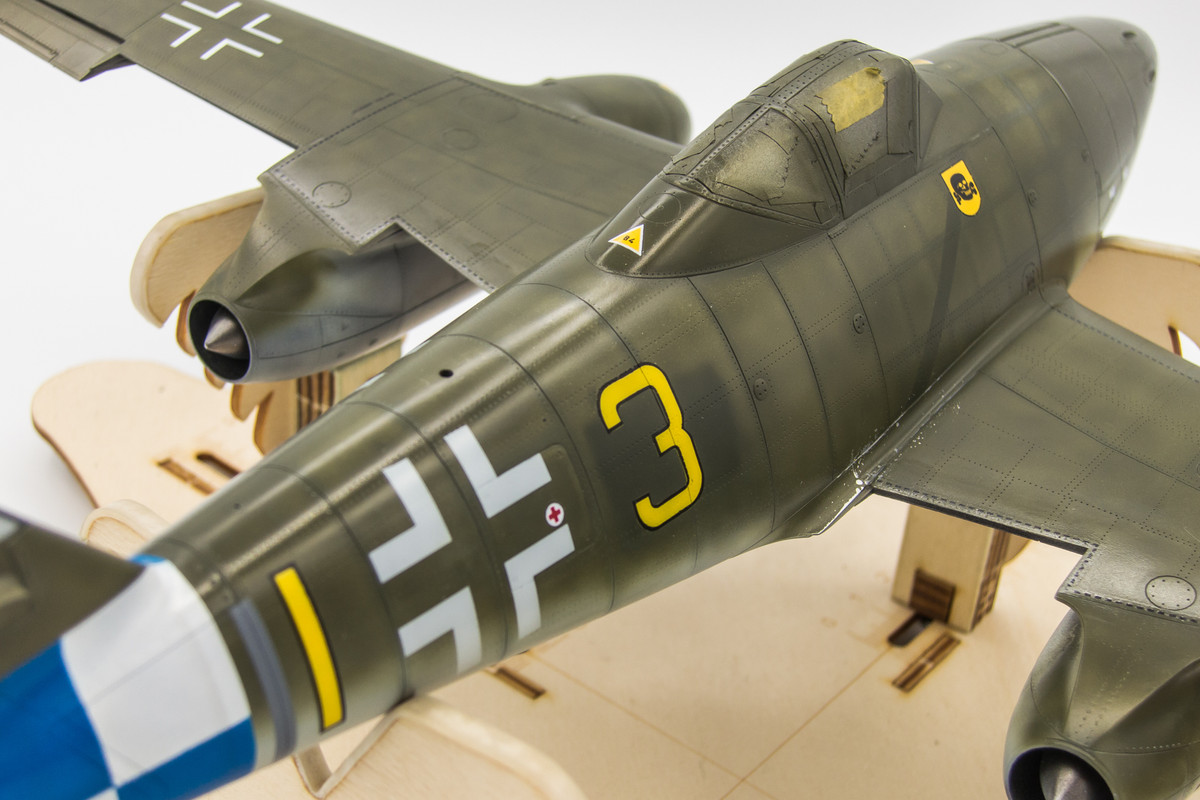
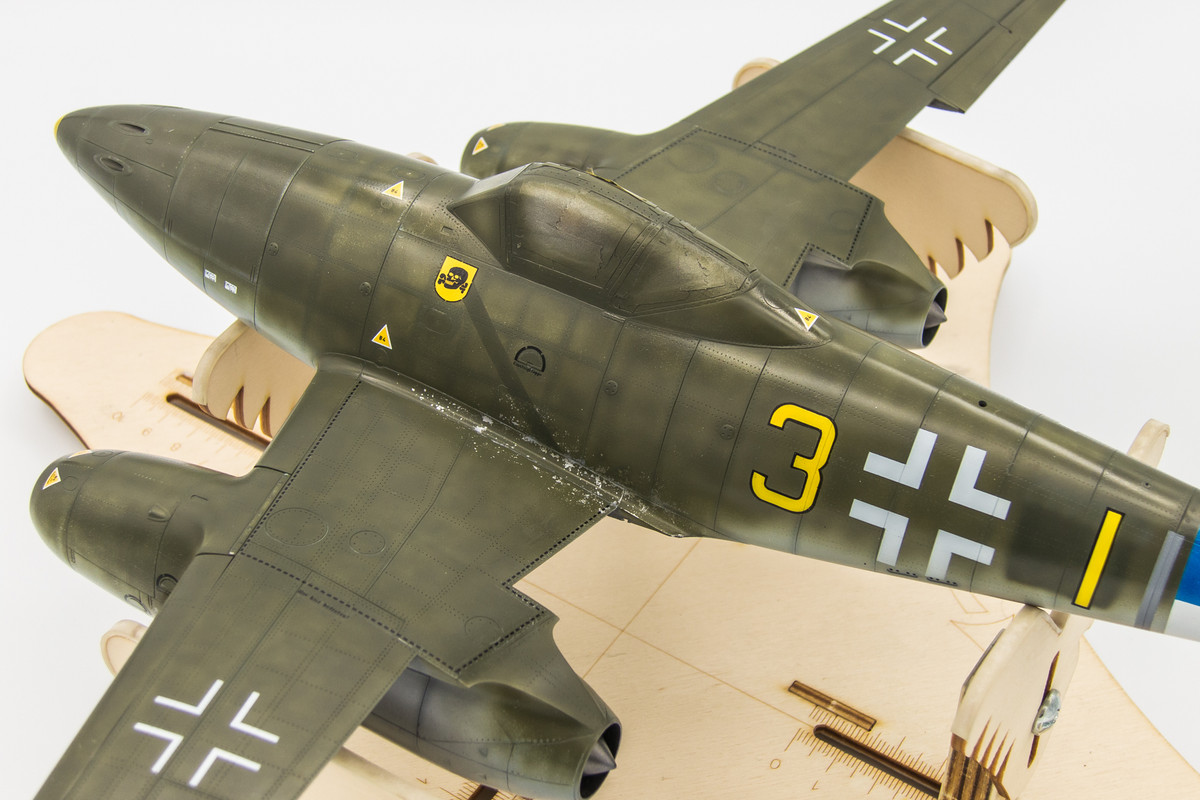
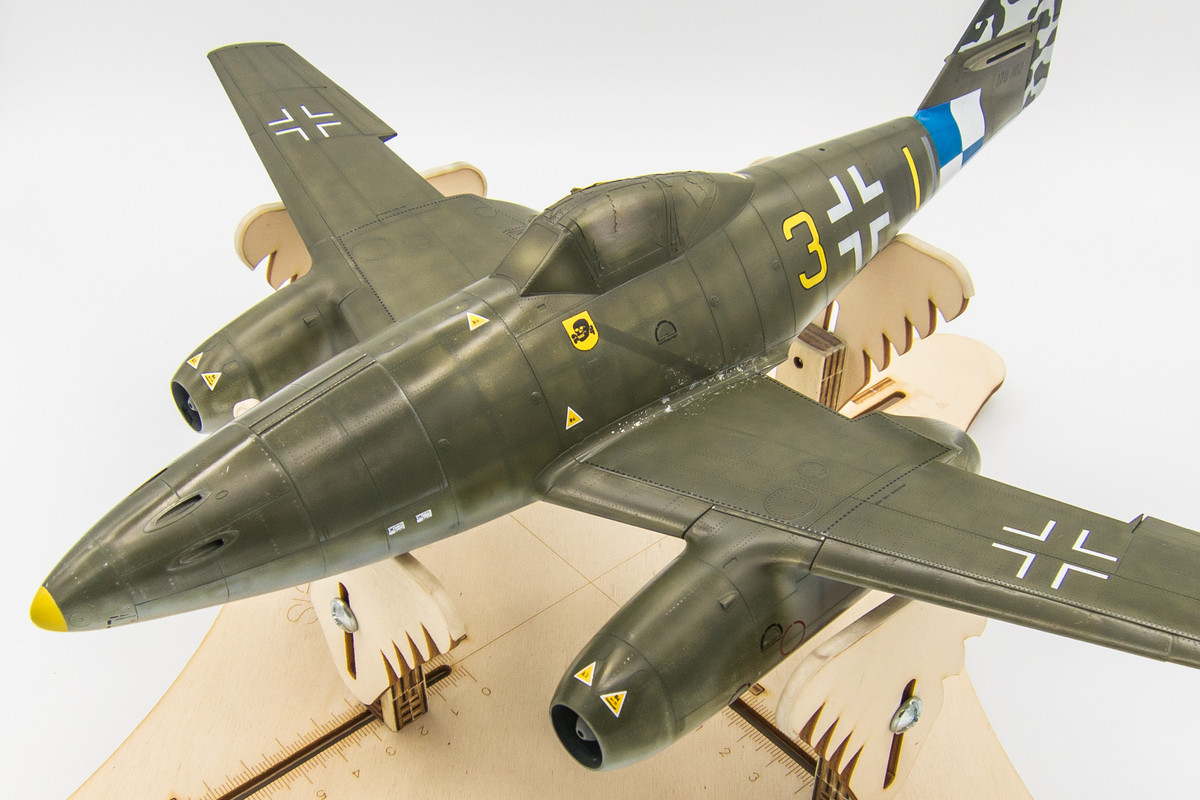
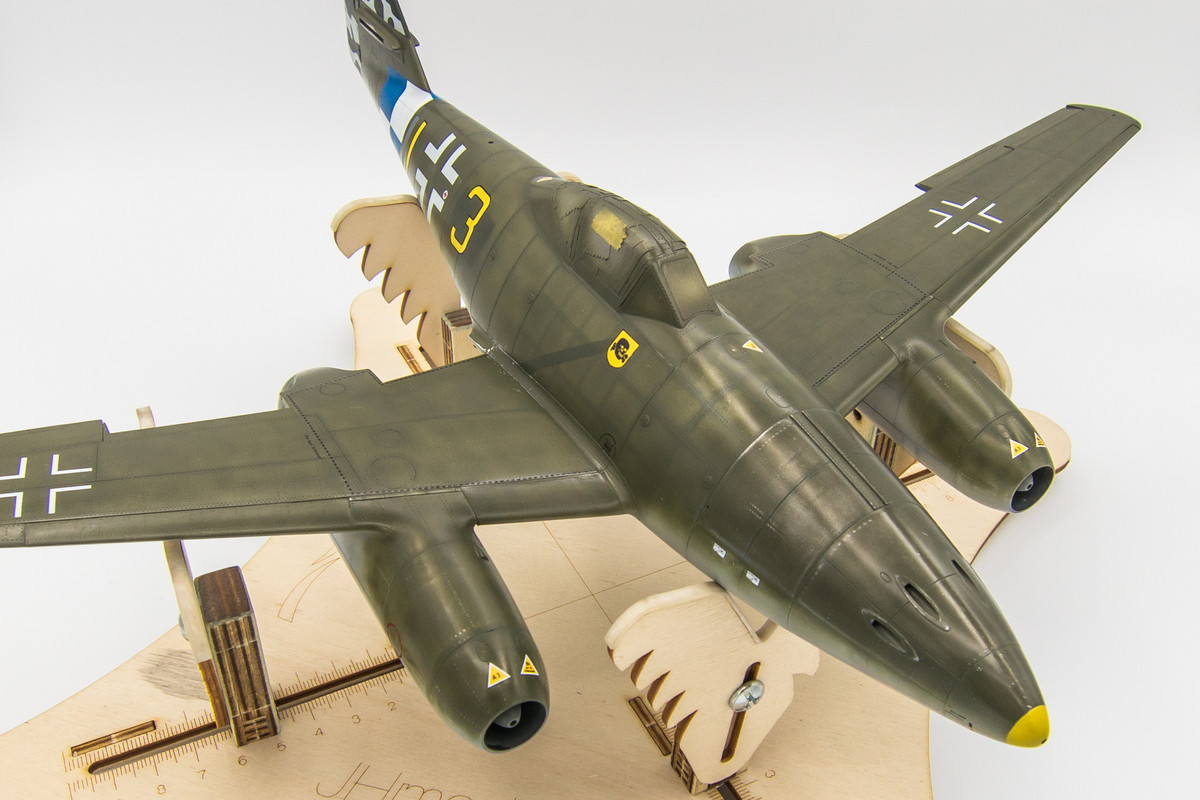
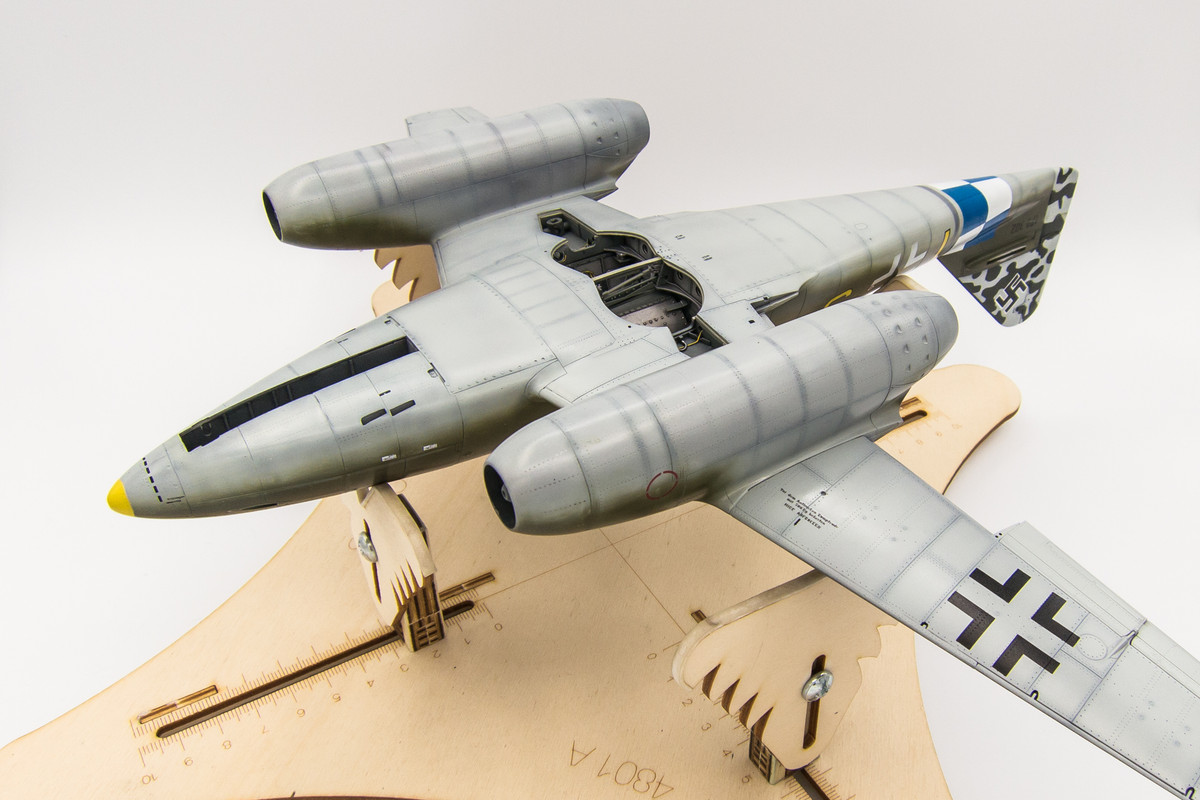
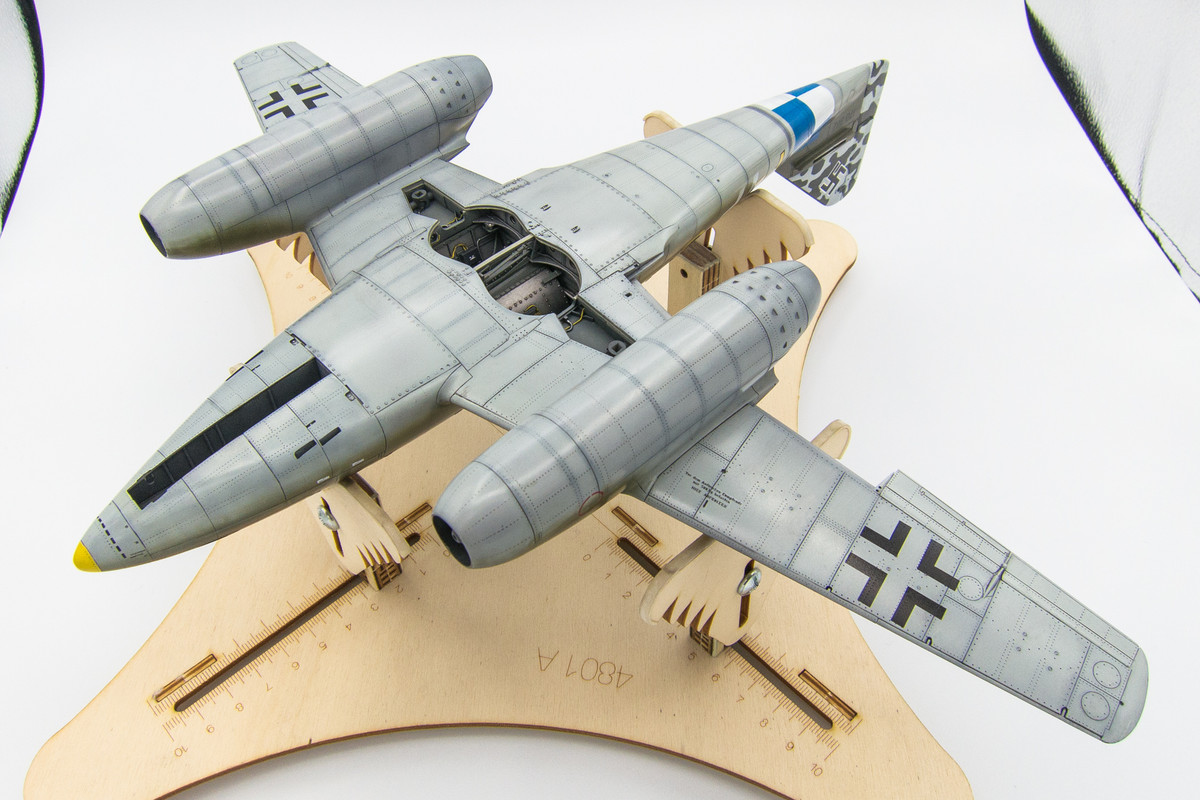
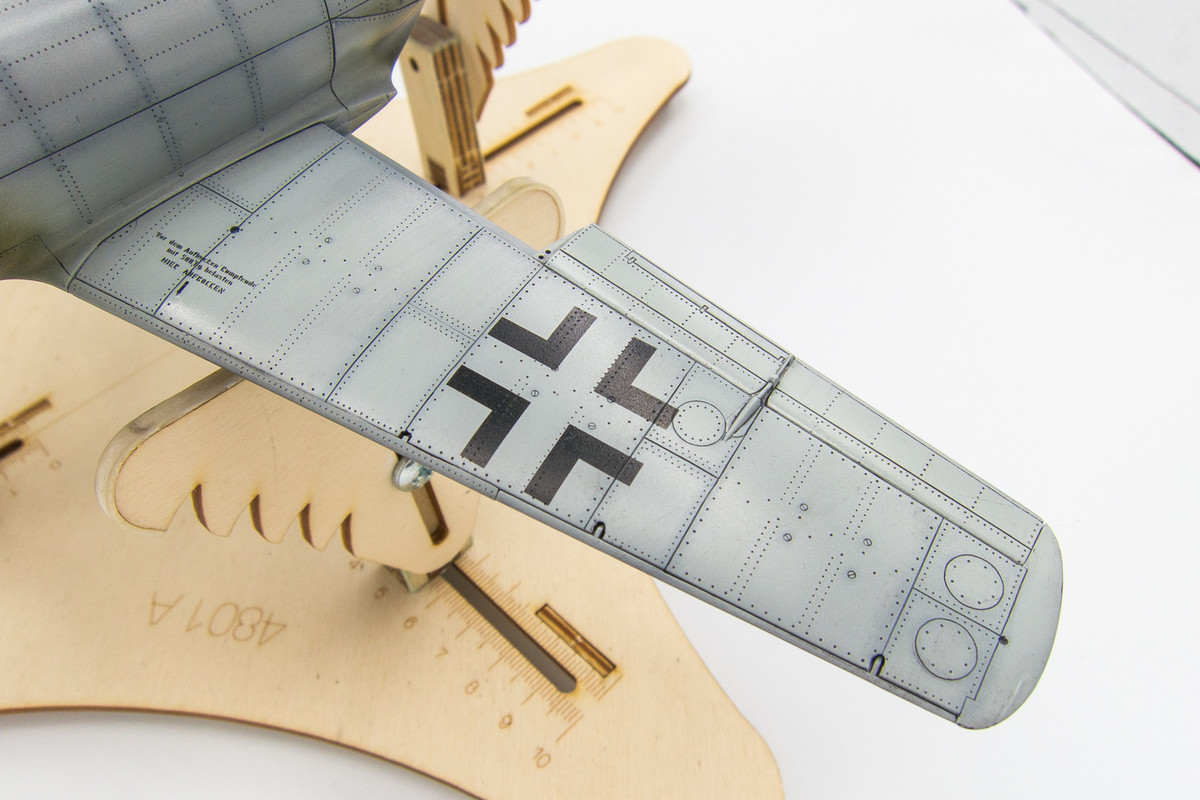
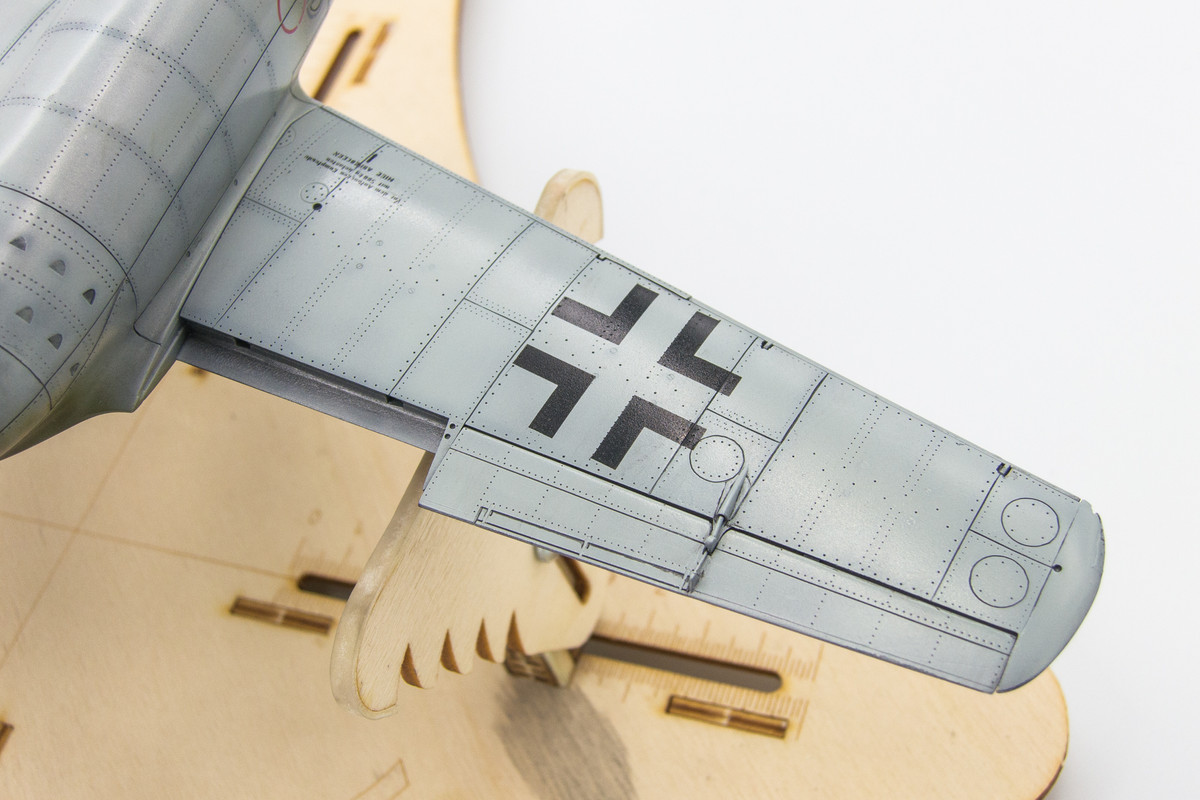
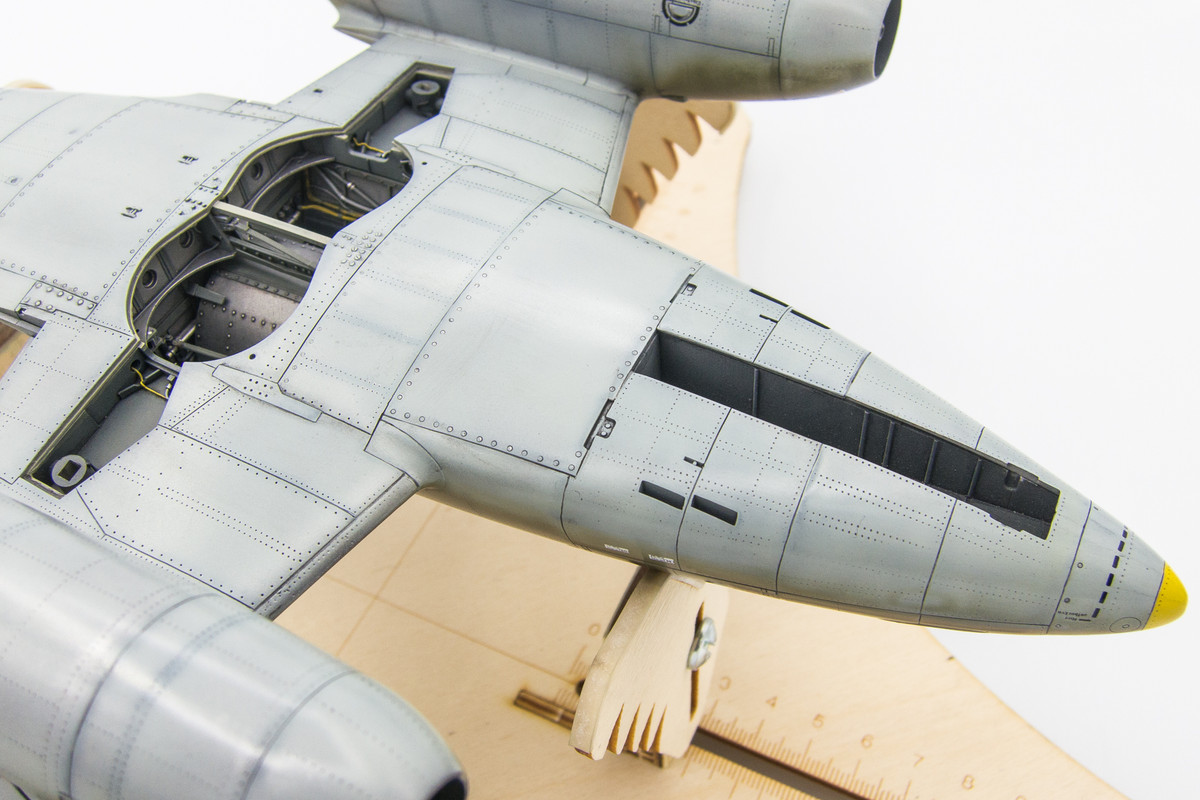
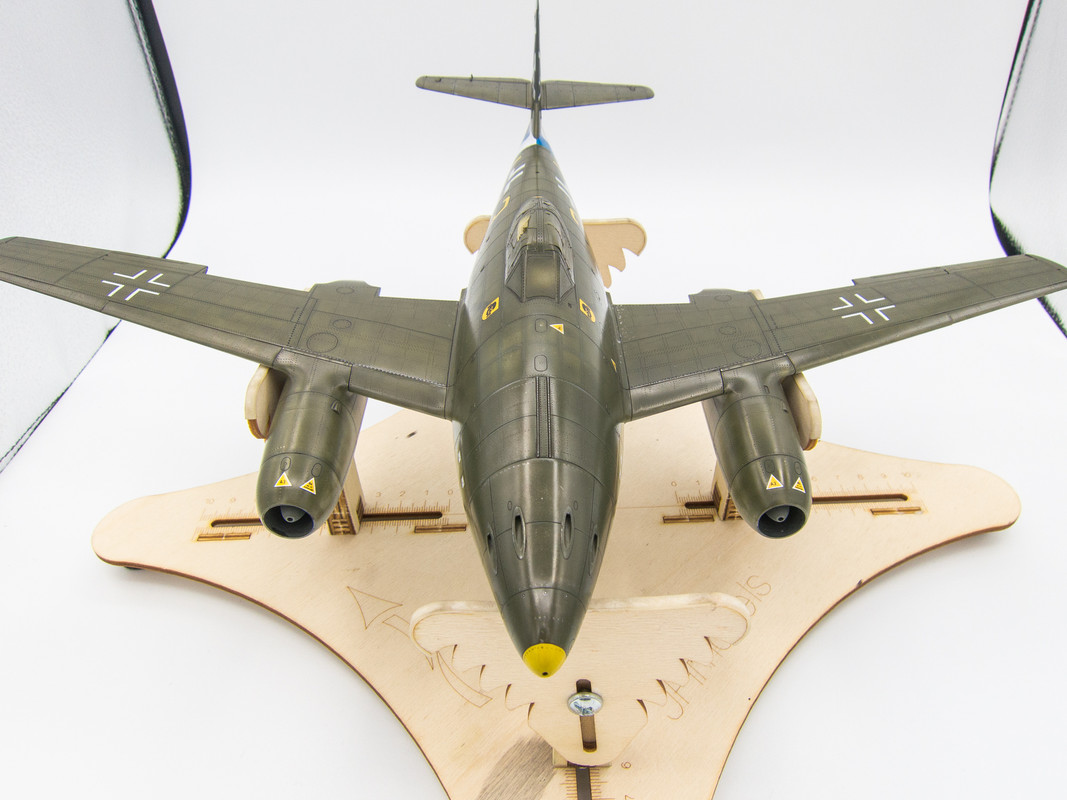
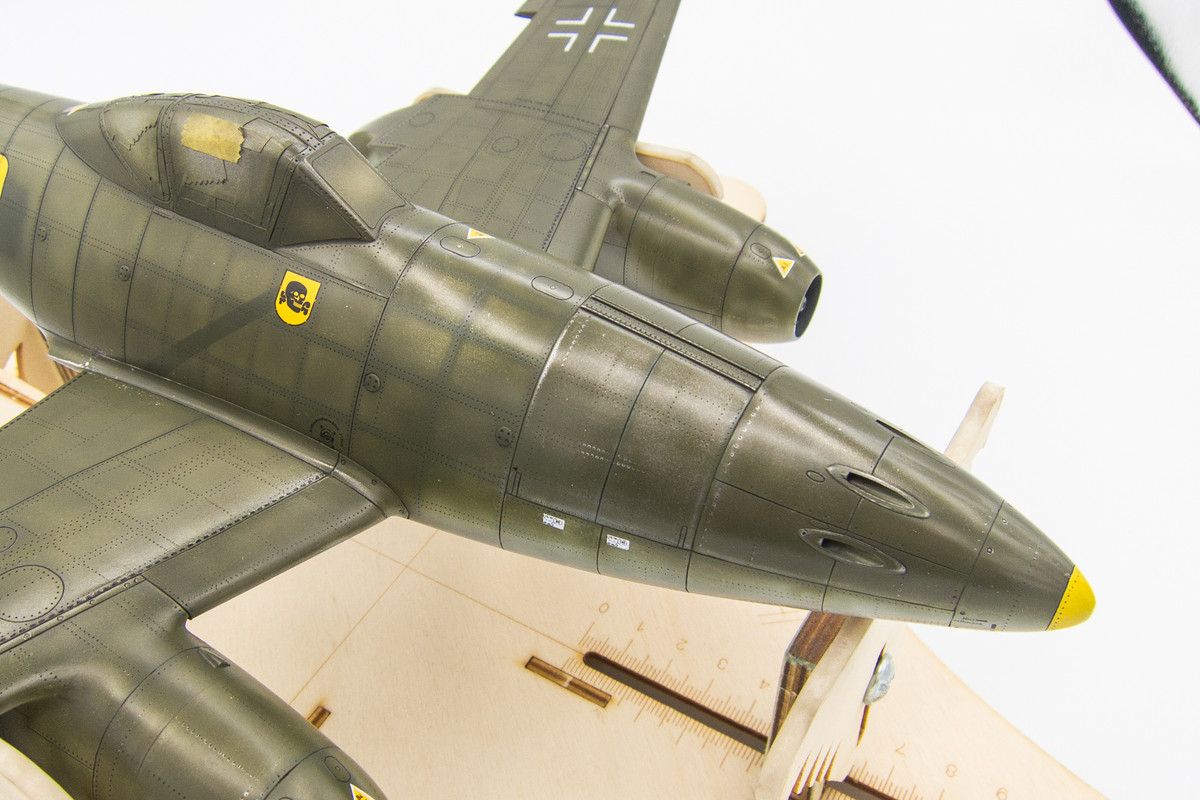
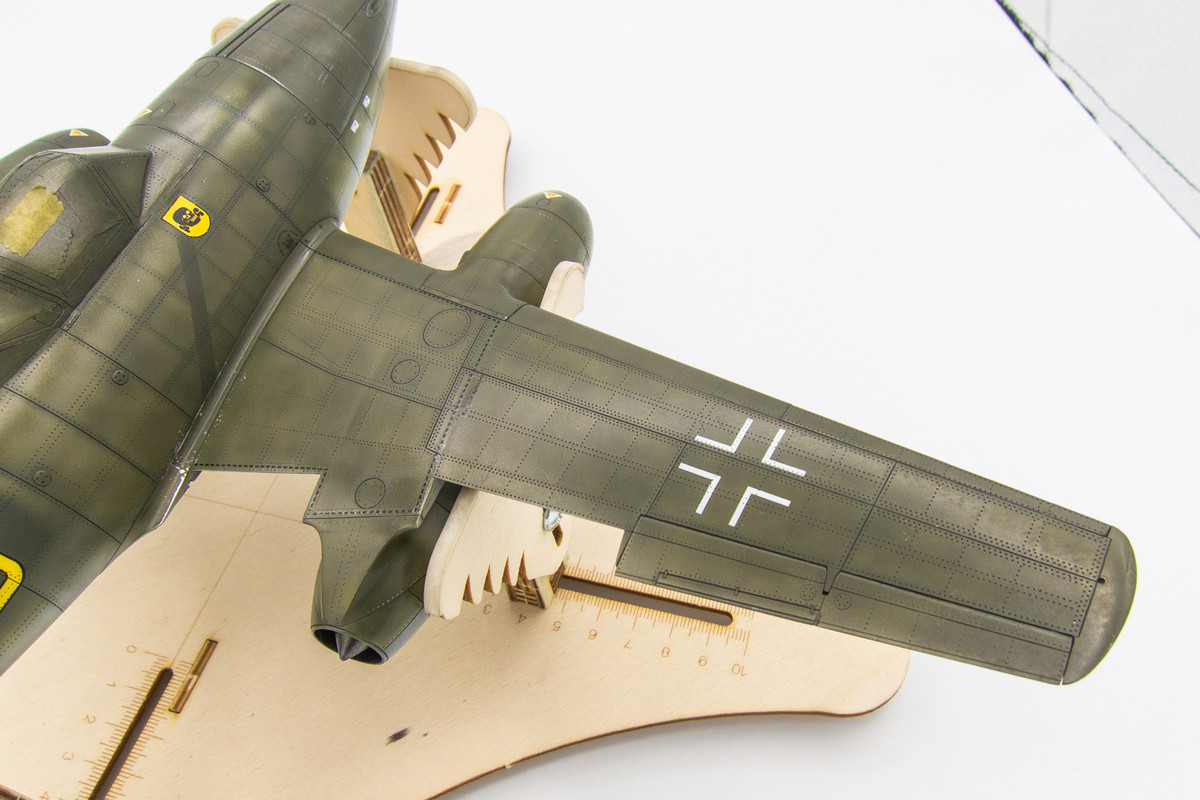
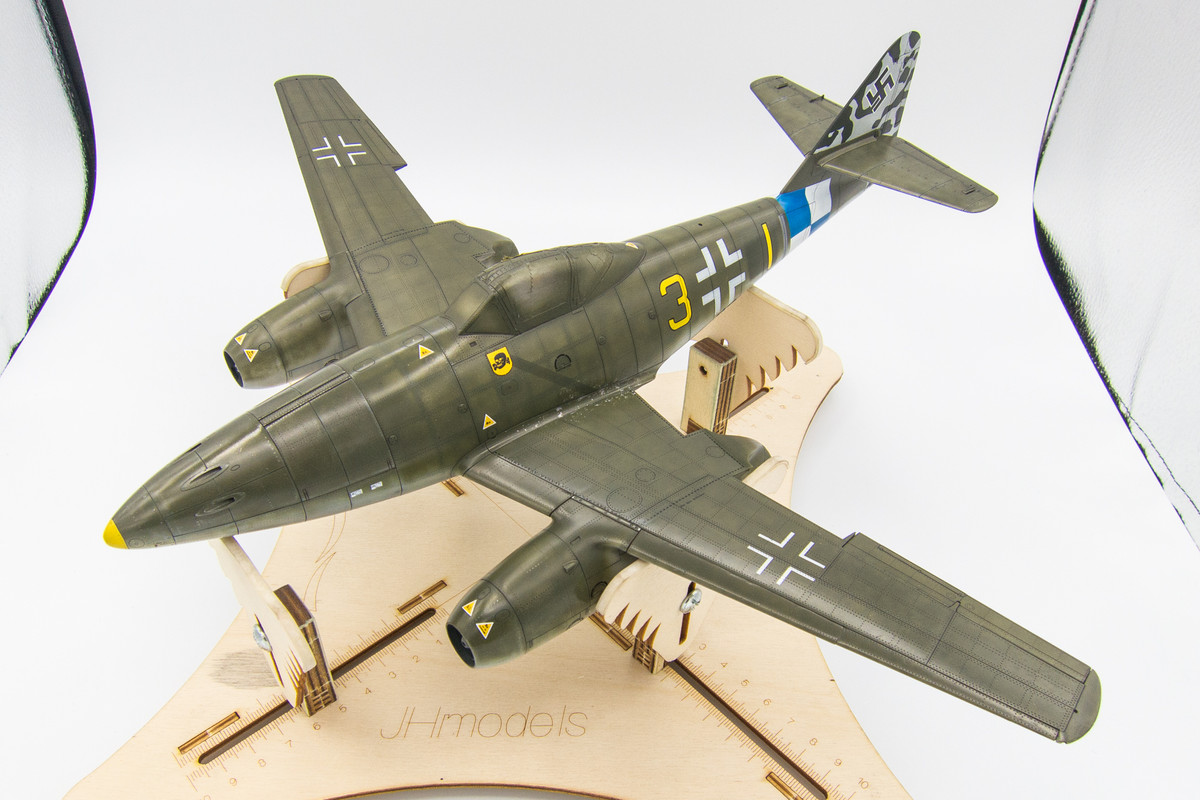
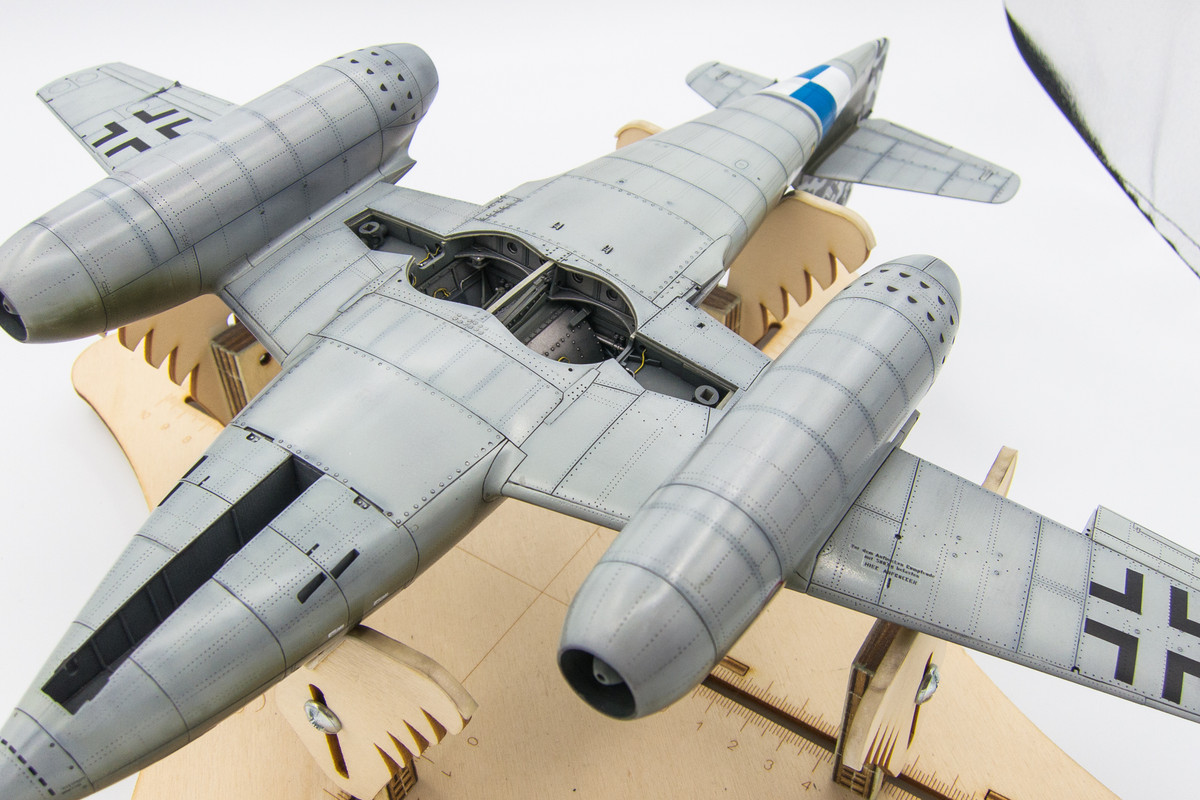
John, What will be your plan for weathering this aircraft? I mean, this looks utterly amazing as is. I don't write that lightly at all. Utterly... amazing. Congratulations!
Re: Trumpeter 1/32 Me262A-1 Yellow 3
Posted: Fri Feb 22, 2019 2:17 am
by Floki
Can't wait to see how you weather this, a lot of photos of these late war show them pretty banged up.
Re: Trumpeter 1/32 Me262A-1 Yellow 3
Posted: Fri Feb 22, 2019 2:55 am
by jkim
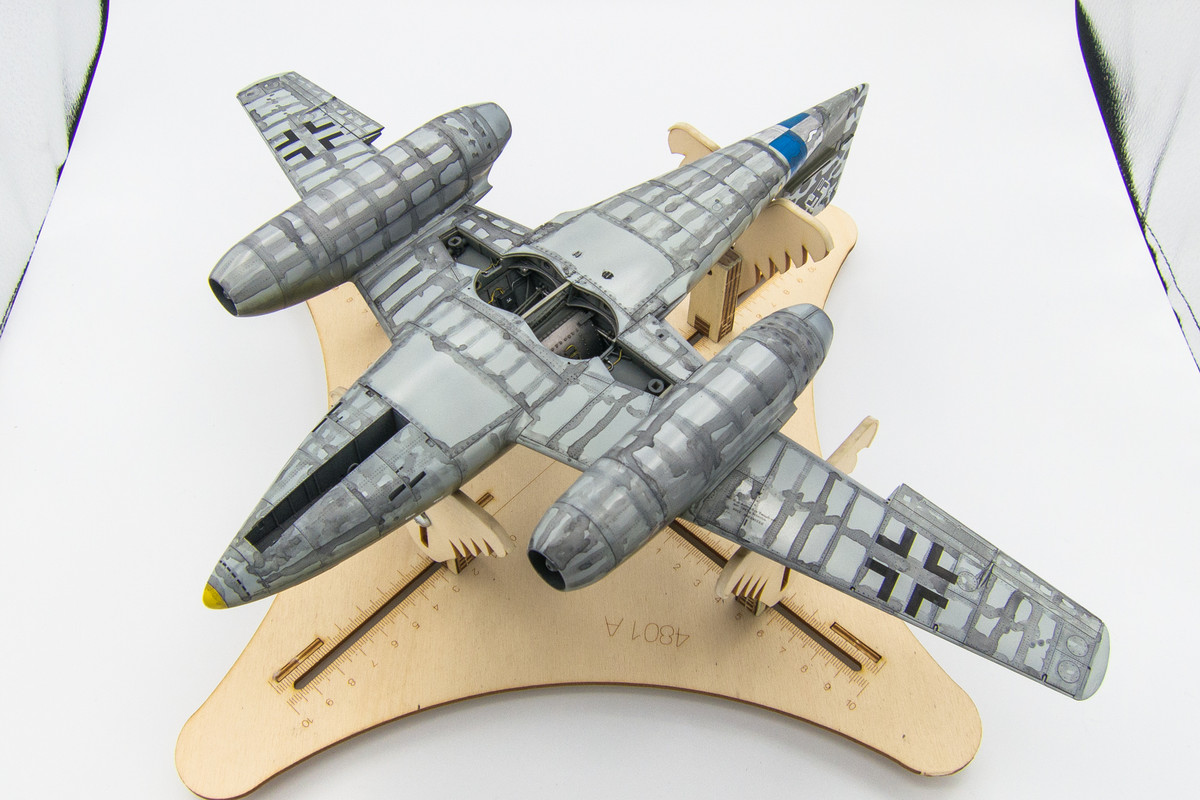
I’m fairly certain of what I’m going to do up top... salt fading, some chipping and fluid stains with either airbrush or oils or wet pastels. The bottom... not too sure but definitely some post shading with browns and greys and chipping. It all starts with a pastel wash.
Re: Trumpeter 1/32 Me262A-1 Yellow 3
Posted: Fri Feb 22, 2019 3:02 am
by mostrich
I go with Bruce here:
A-M-A-Z-I-N-G!
Re: Trumpeter 1/32 Me262A-1 Yellow 3
Posted: Fri Feb 22, 2019 9:23 am
by LyleW
mostrich wrote:I go with Bruce here:
A-M-A-Z-I-N-G!
Yep...nothing to add but WOWSER!!
Re: Trumpeter 1/32 Me262A-1 Yellow 3
Posted: Fri Feb 22, 2019 3:33 pm
by jkim
Re: Trumpeter 1/32 Me262A-1 Yellow 3
Posted: Fri Feb 22, 2019 3:51 pm
by speedgraflex
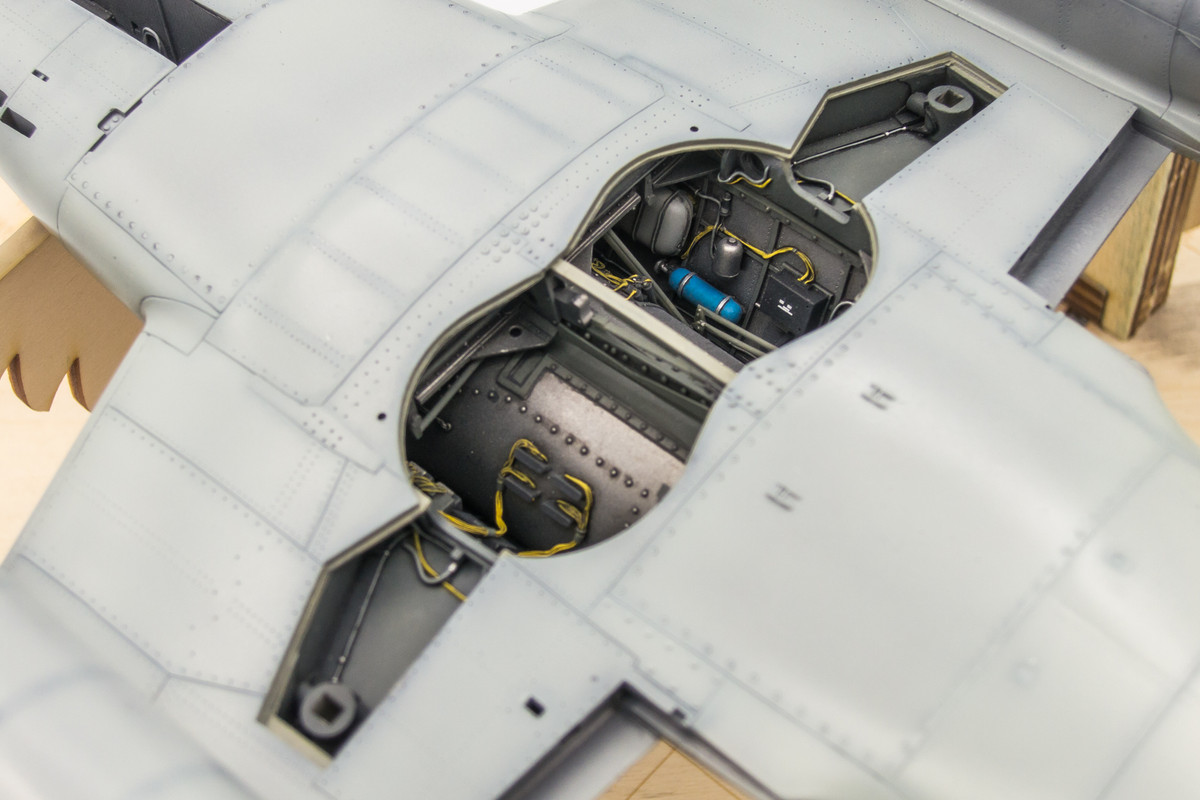
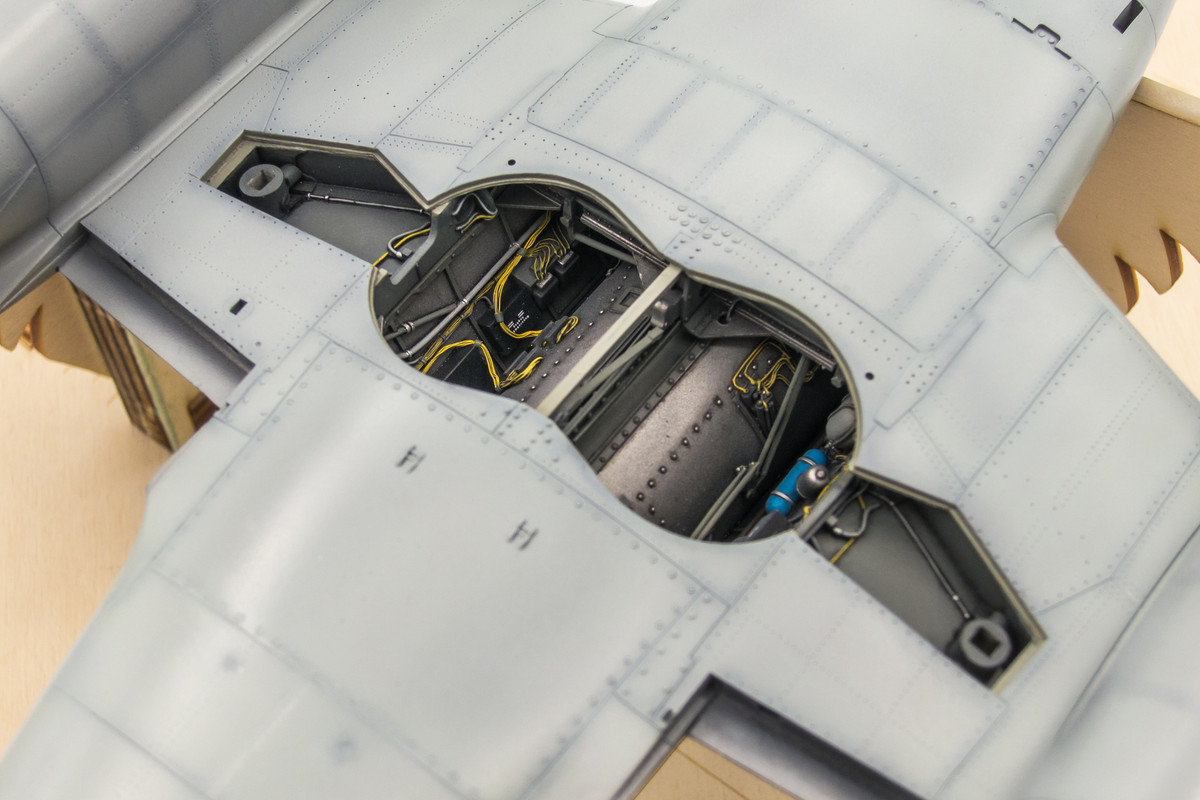
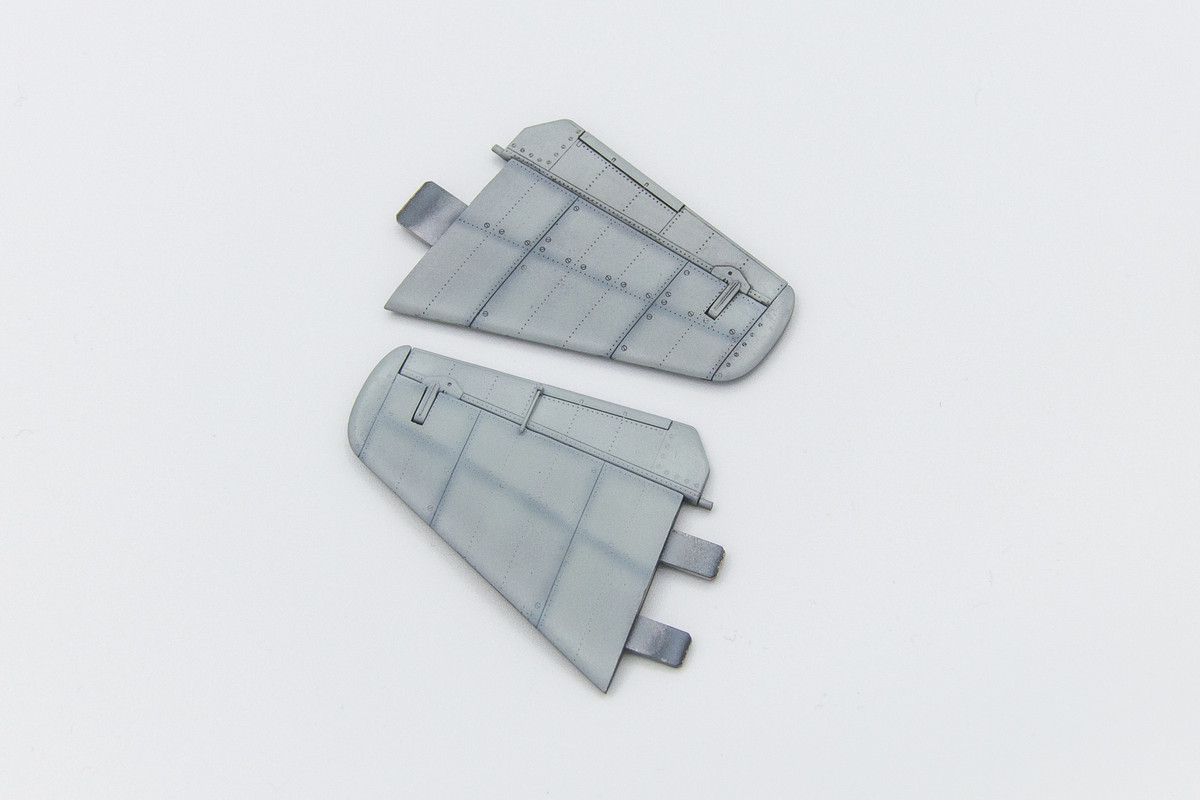
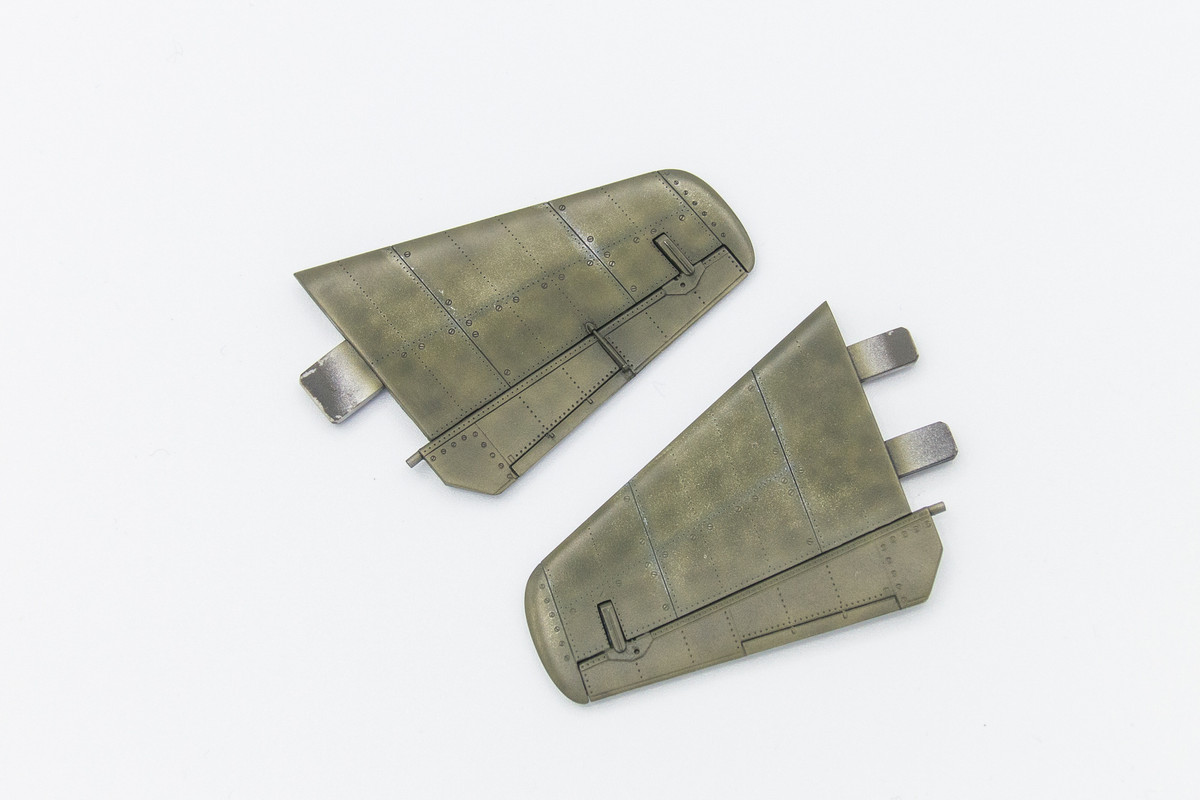
Well! TGIF, John! I sincerely appreciate your rationale for shading the paneling and rivets—with the photos as evidence to support your reasoning, I was convinced! Plus, the ramifications of using your lightbox are clear as the photos you just posted. I was going to find a rather old LUMIX which belonged to my parents (their travel camera) which has a Macro mode. You’re pulling my initial photography workflow decision in a different direction. I do need to experiment with a better night work option although bouncing light is still very much my area. Soft fill without the diffusion layers. A steady hand, or a tripod support. A slow shutter. The lowest ISO.
Re: Trumpeter 1/32 Me262A-1 Yellow 3
Posted: Fri Feb 22, 2019 5:47 pm
by Medicman71
Wow!! Just incredible work!
Re: Trumpeter 1/32 Me262A-1 Yellow 3
Posted: Fri Feb 22, 2019 6:20 pm
by Floki
Medicman71 wrote:Wow!! Just incredible work!
Indeed very incredible work.