Despite it being a very difficult two weeks, I did manage to get some progress done., Miraculously, I even found a few missing parts! More on that later....
Right now, let's tour the Aircraft Hanger and see what's been happening there.
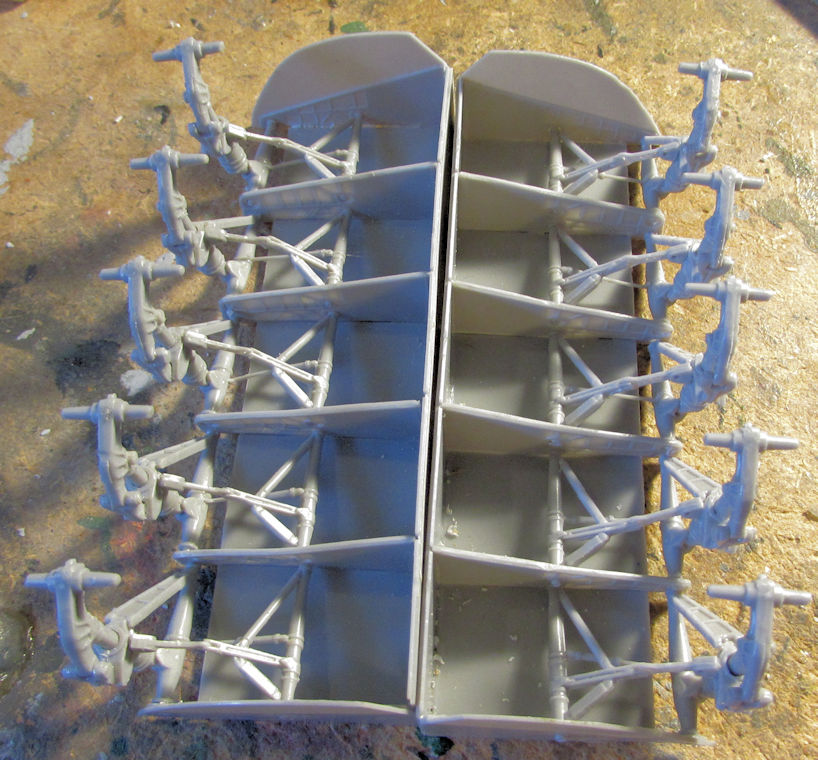
First off, I finally managed to finish all the main landing gear struts for the An-124. Man was that an ordeal:
And here is the first of the missing parts I found. It's been lost so long, I forgot it was missing! This is the last engine nacelle for the Japanese Shinmeiwa that had been missing for so long. Once I found it, I installed it right away; no need to give it a chance to escape again:
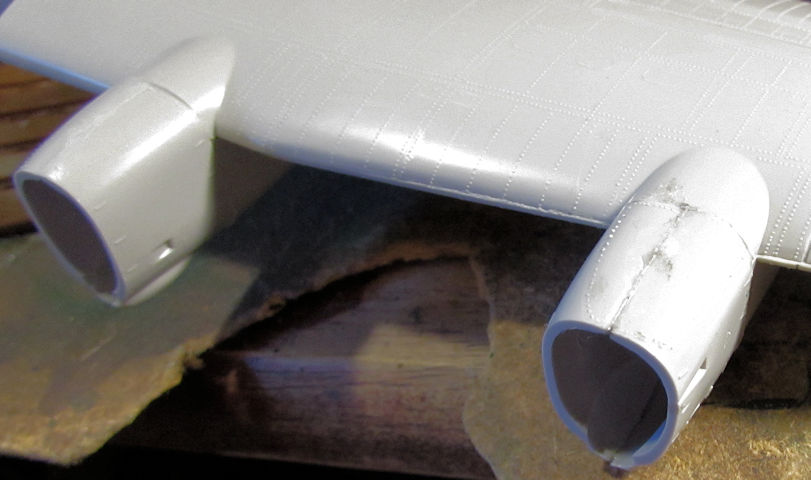
It's the one on the right. I did have a tough time getting that to line up properly and fit right. Man, the parts on this Shinmeiwa are all just refusing to fit!
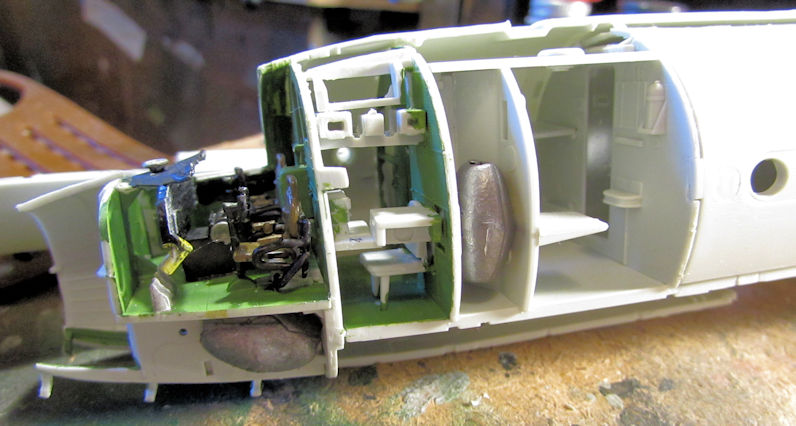
Moving on, I wanted to get caught up on the C-54 since it's been neglected for so long. The first thing I did was to get the interior installed on one side of the outer fuselage. Take a last look at that interior detail; you ain't ever gonna see that again:
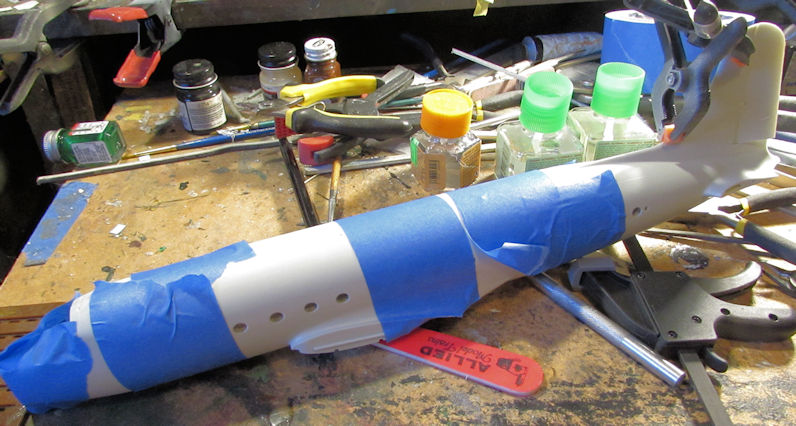
Next I closed it up. It took a lot of tape and some clamps to get it to line up. Even after that I did have a few tiny steps to sand smooth:
Later I removed everything and was pretty happy with the way this closed up:
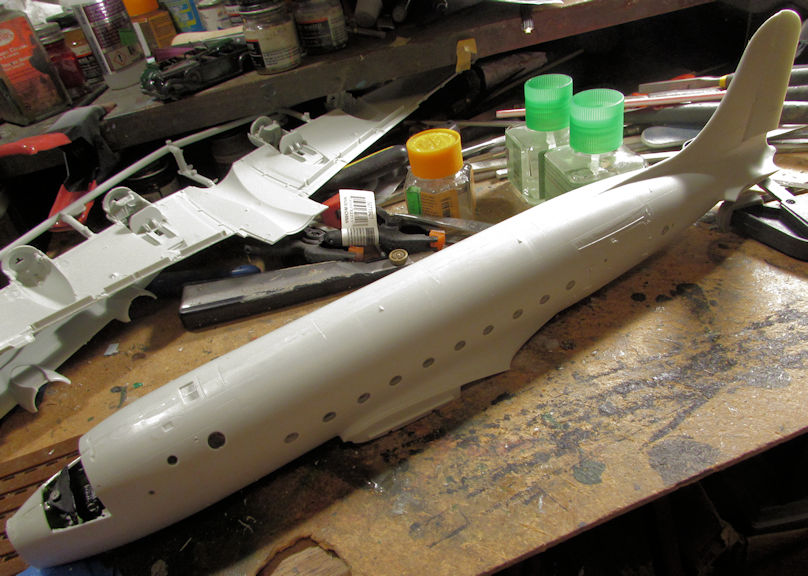
After that I deepened a few of the panel lines and added some Mr. Surfacer 500 to the most egregious areas and let it dry. While that was drying, I decided to mask the canopy before installing it on the fuselage:
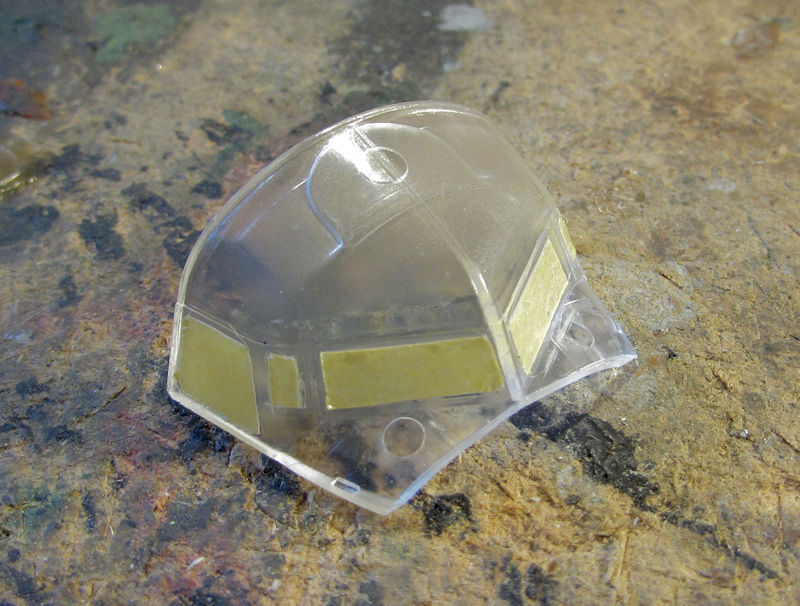
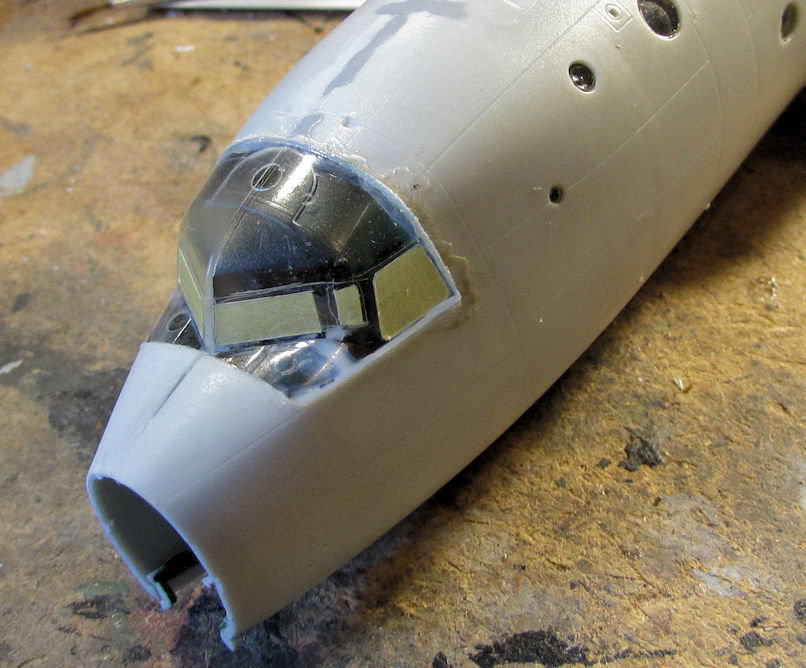
I used my trusty Tamiya tape for that. Then after everything else was dry on the fuselage; I installed the canopy. It was tough as that thing did not want to stay in place for some reason:
Time to let that dry and moved on to the wings. Wow, what an amazing amount of work is going into these! First, I installed all the engine firewalls in all four nacelles and side walls for the main landing gear bays. There's five or six parts in both of these:
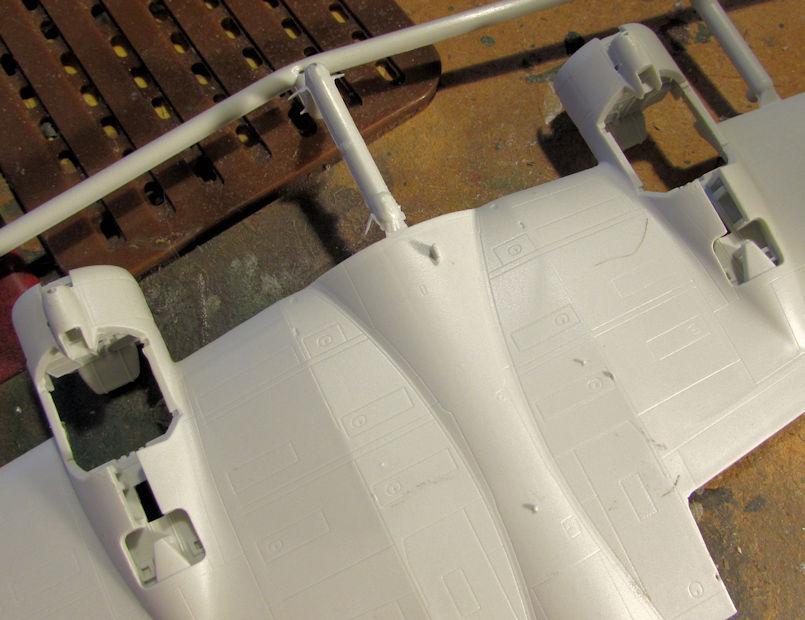
Here's a shot from the other side:
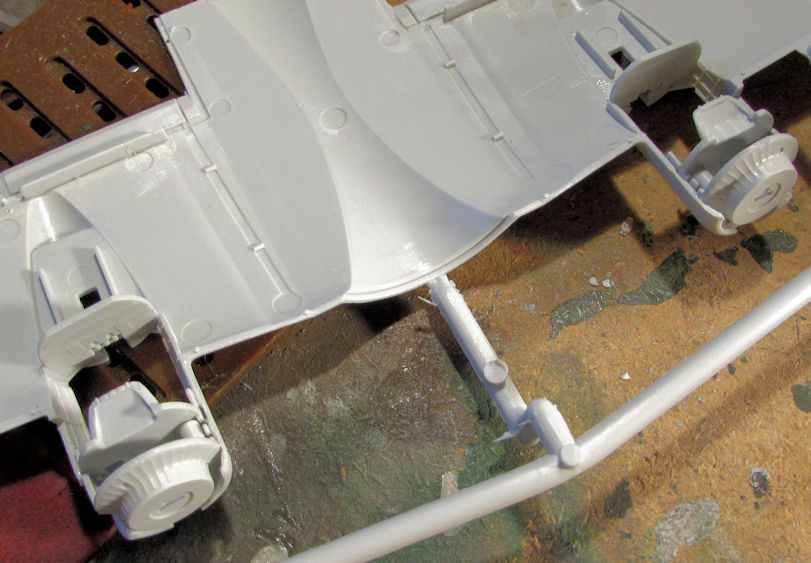
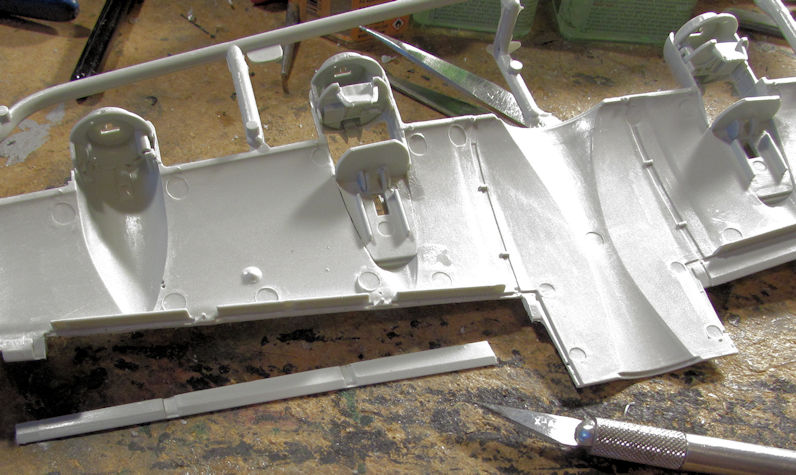
Now, because I plan on posing this with the landing gear down, I had to cut these sections out so I can depict these particular flaps as lowered:
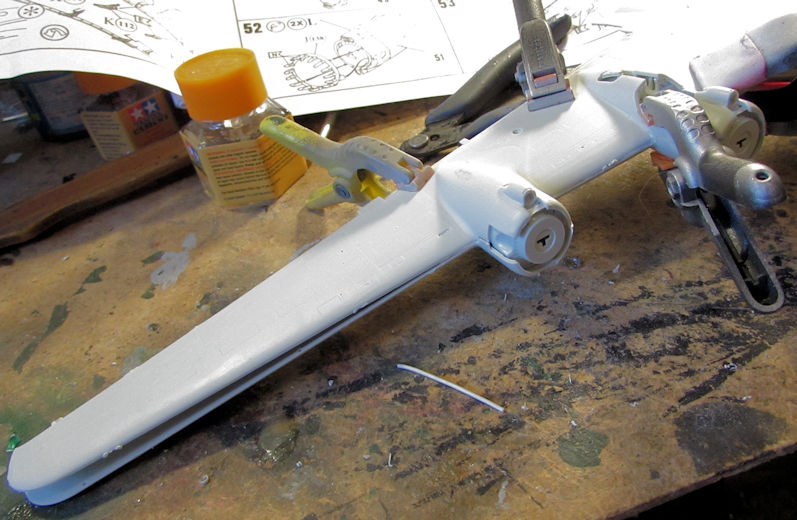
Later I added the top wing to the whole assembly. I had to start by gluing it around the nacelles and the end closest to the fuselage since the top wing was so warped. More clamps in use:
Later, when that is all dry I will close up the ends of the wings. They'll be easier to clean up on that end. As it is, I'll be doing a lot of sanding and cleaning up on the inner ends of these wings anyway. Here's a shot of both top wings in place:
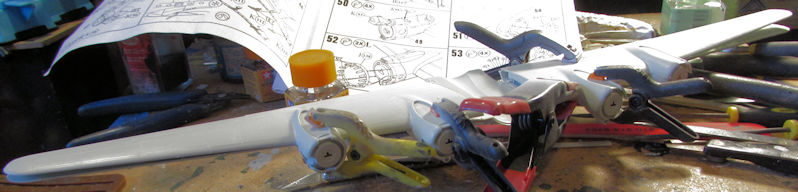
Darn thing almost looks like an X-wing!
Moving on....
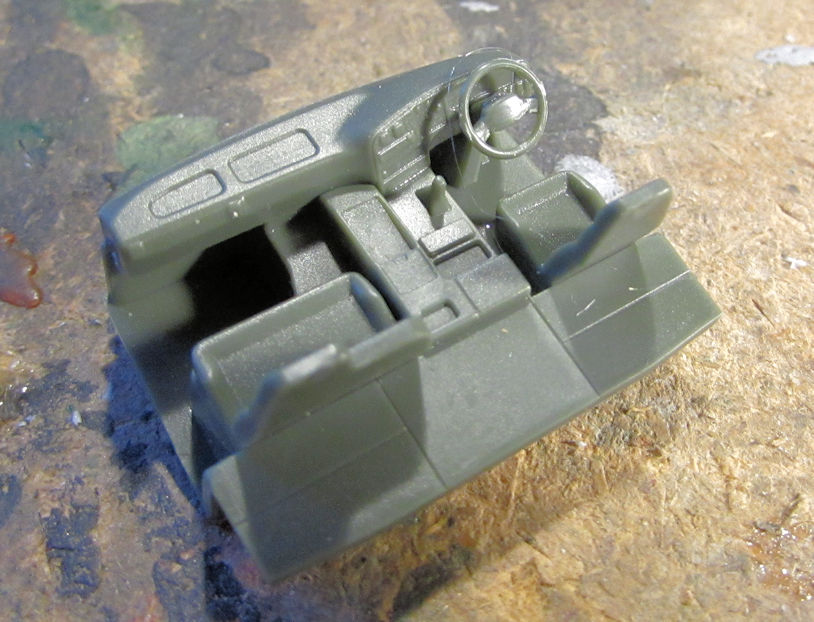
Here is my latest progress on my armor and vehicles, starting with the finding of the missing piece that I needed for the Japanese tank transporter. While cleaning up and looking for something else, I found the tiny steering wheel for the truck and promptly installed it:
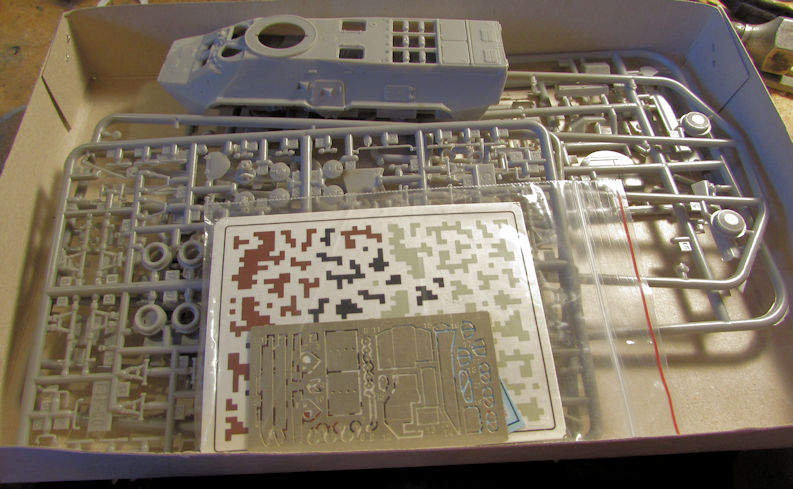
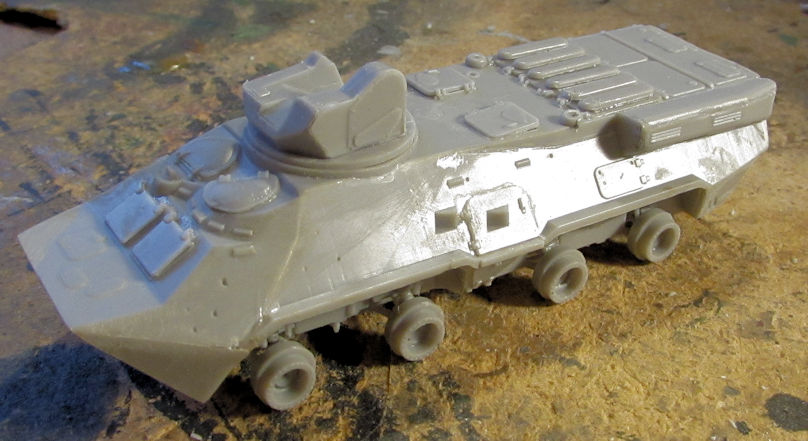
Moving on, I also found a shelf queen that I'd almost forgotten about. This is the Ukrainian BTR-3K that I started some time ago (last year?)
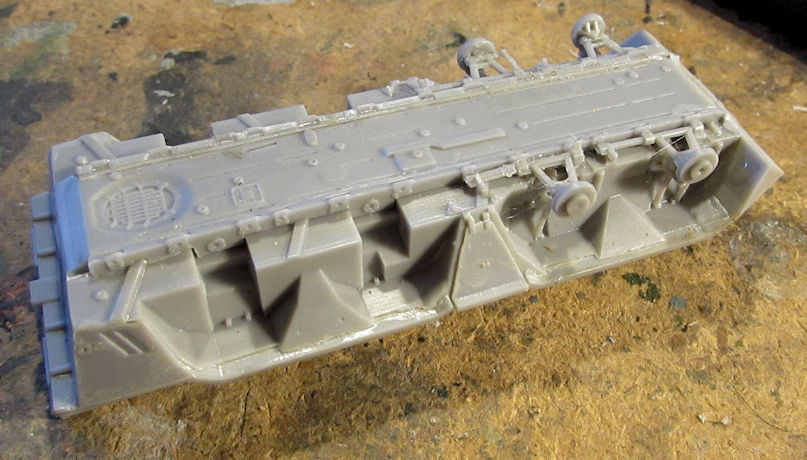
It was time to move forward. After perusing the instruction sheet for some length of time, I finally figured out how to start the suspension and running gear. This got me halfway:
Later I was able to finish up the rest of it:
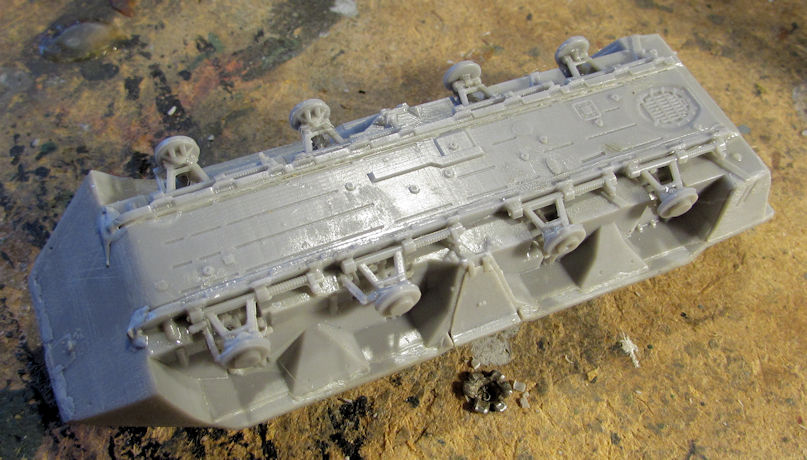
After lining those up, I set that aside to dry and started on the interesting turret. This whole thing is remote controlled:
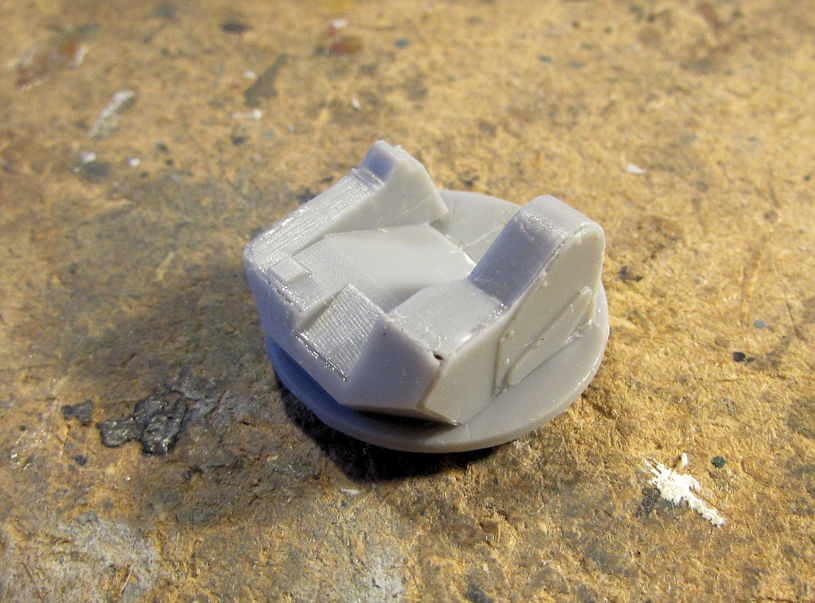
That was more difficult than I imagined it would be getting that together, then again; the instructions didn't help much. I decided to stop there on that and went back to the hull. I finished that off by adding all but the most delicate, breakable parts to it. Here you can see it with the base turret added:
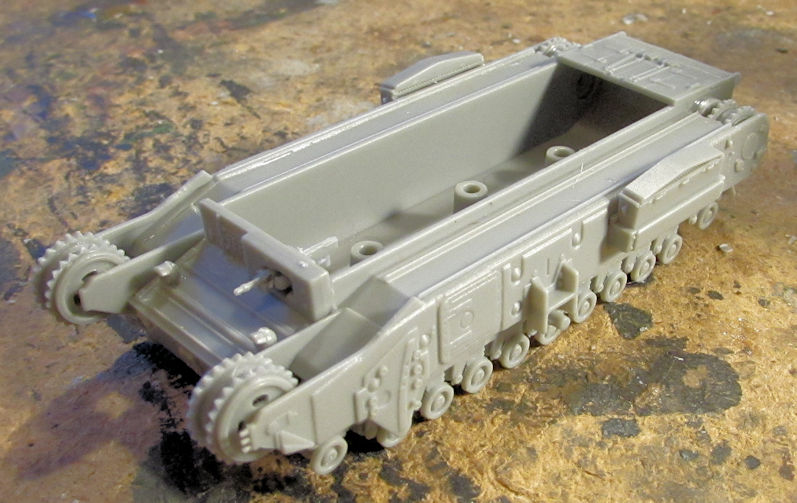
Again, while searching for something else, I found the turret to the Churchill Mk IV AVRE that had gone missing. Time to pull that out to get it caught up to the Mk III. I started with the lower hull and the running gear:
Later I dry-fit the upper hull and turret to see how they look and fit:
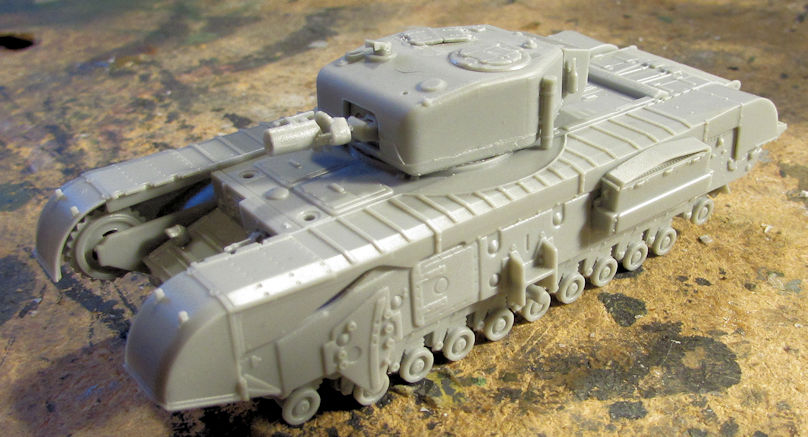
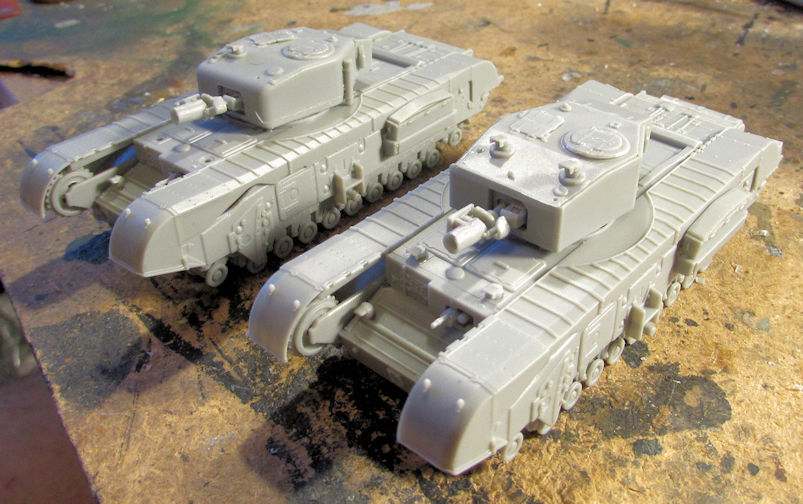
Add the tracks and some more detail parts and this will be ready for paint. Both of these are now caught up to each other:
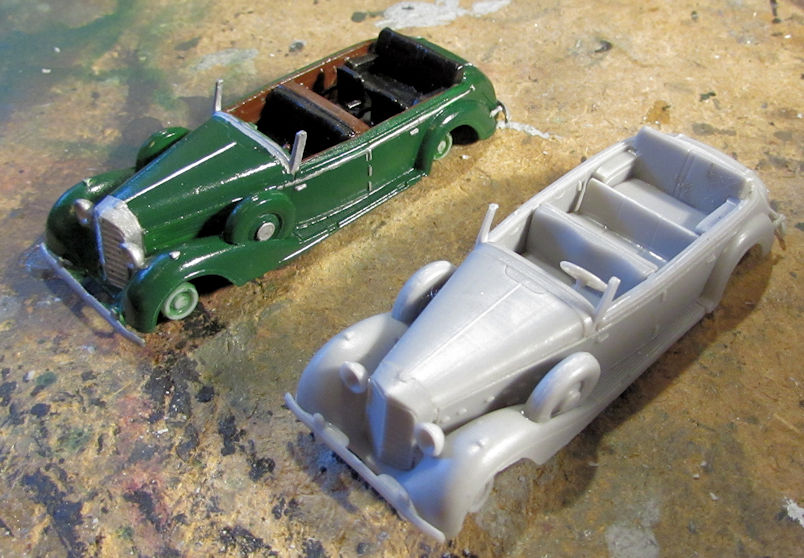
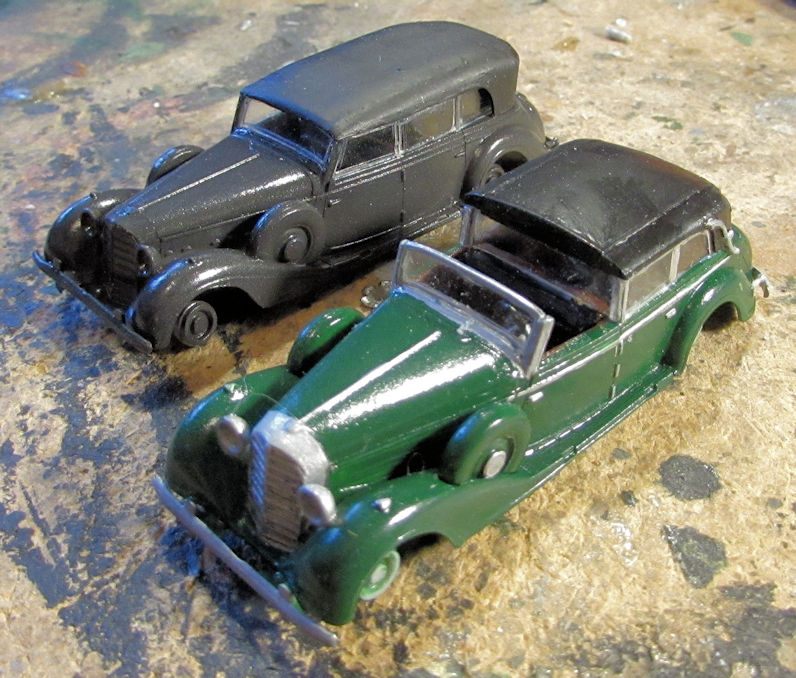
I've also been working on two German touring cars. One was almost done so I needed to get the other one moving along, as you can see here:
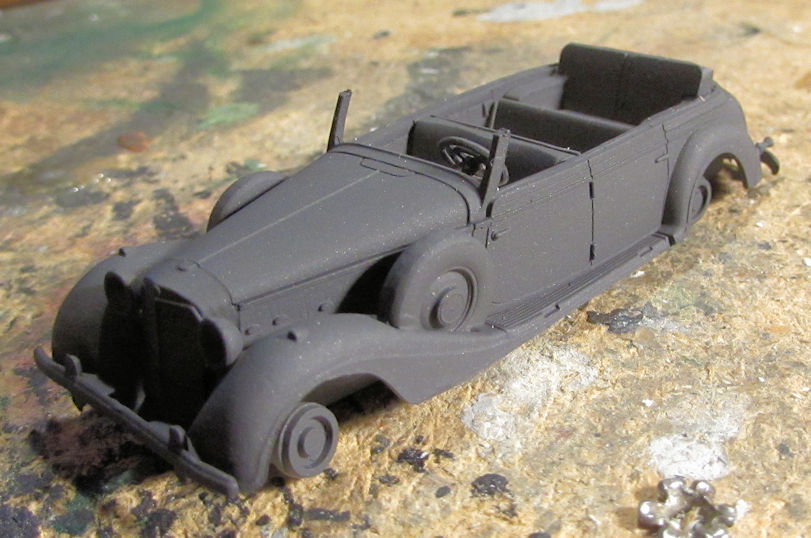
First I shot a basic black over it. This is the Wal-Mart 96-cent spraycan of flat black:
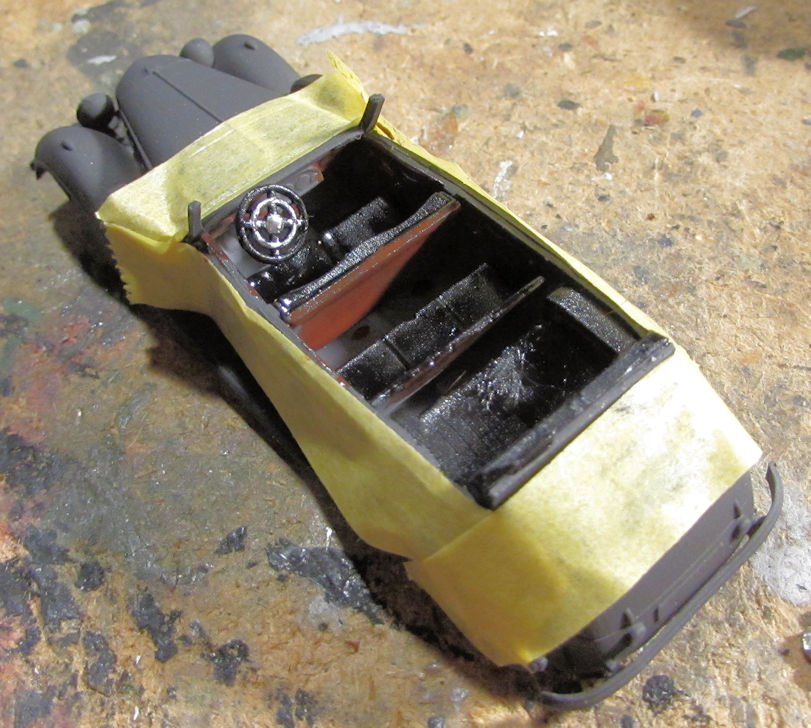
Next I masked the outside to paint the interior:
This then got a gloss coat:
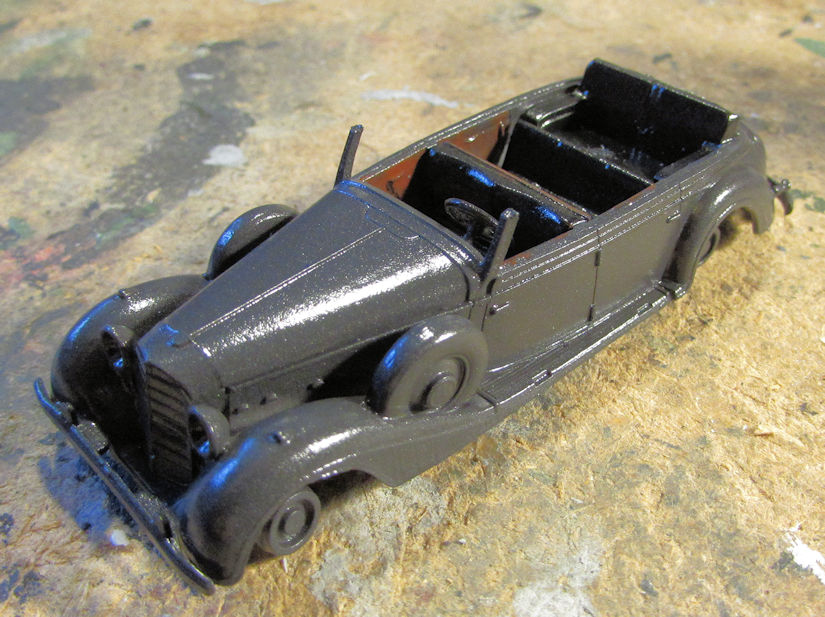
After that dried, I installed the windows:
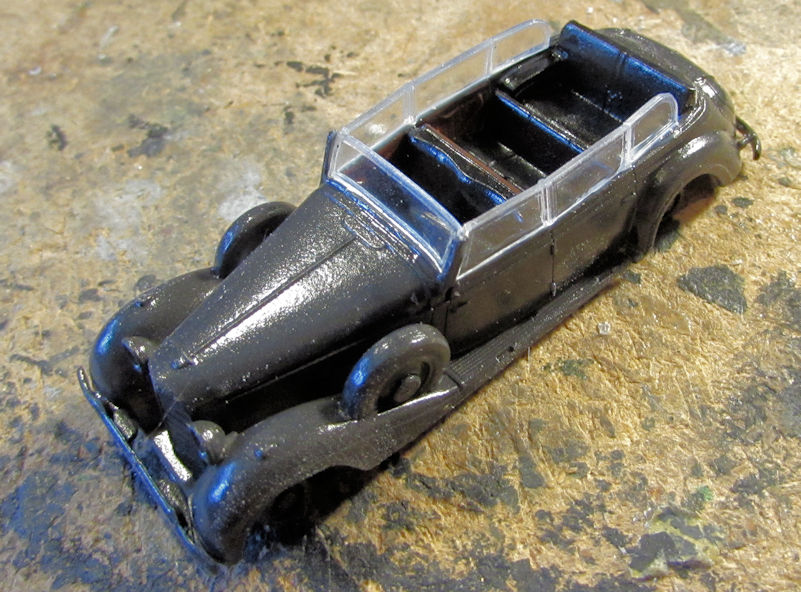
...Followed by the roof:
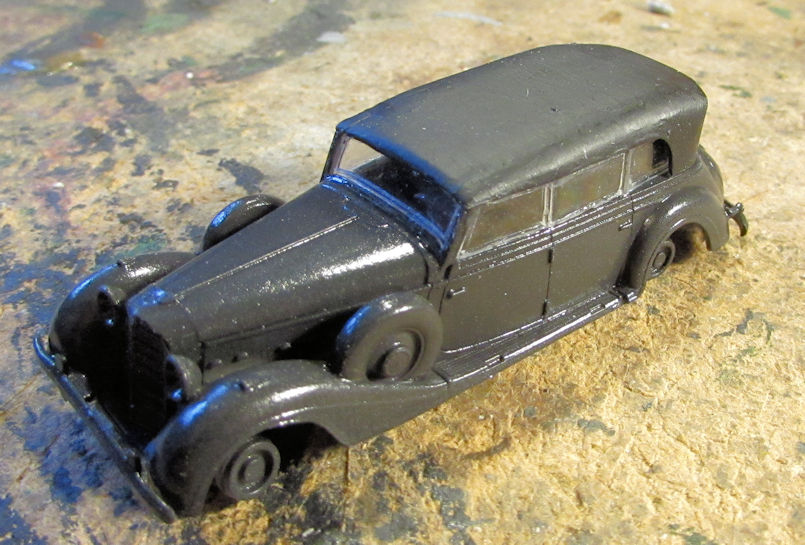
Now all that is needed is some detail parts and detail painting before I can add the decals. So, now I needed to get the other car caught up! I pulled it out and added the windows as well:
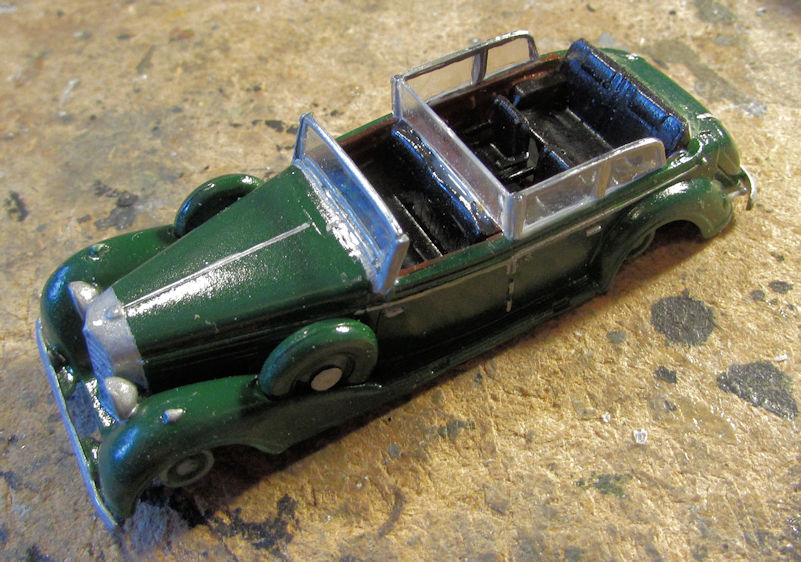
I decided to make this a partial convertible. Here it is with the rear portion of the roof attached:
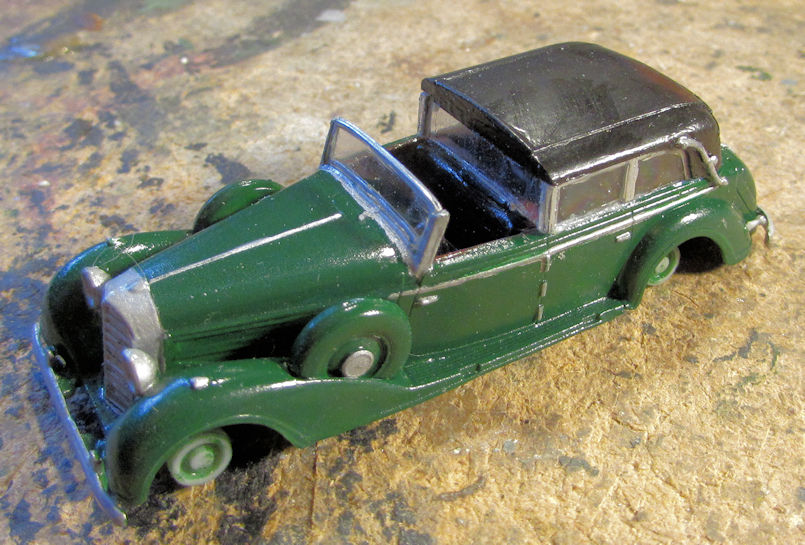
Again, a few more detail parts (and the wheels!) and this will be done. Here you can see both cars almost finished. Shouldn't be too long:
That's all I have for now. Thanks all for looking in, comments are always welcome.


