Page 10 of 34

Re: 1/32 Revell Me262B-1/U1 Nachtjager

Posted: Thu Dec 03, 2020 4:40 pm
by jkim
speedgraflex wrote:Once upon a time when I was studying Schwalbe builds - more so in 1:48 then 1:32 - I came across a builder who had duplicated everything possible within the wheel wells. I felt amazement, truly. I feel as long as the bones are in order, the “spine” is formed correctly, than the aircraft’s flesh will be fine. That was why I thought the bulkhead might be an issue.
I'm definitely NOT a "completist" type. Amazing how much time some people are willing to spend on the smallest of details. I am going to try get the wheel bay to the approximate level as the Aires resin wheel well, which I have experience with and can now use as a reference...
Image

speedgraflex wrote:I love the color modulations in the cockpit. The blue-gray, the light apple-green for the interior paneling and all the bright red, blue and yellow gauges are wonderful.
Some of that was unintentional. The little sub-panels on the decal sheet were depicted in a shade of RLM 66 that didn't quite match my shade but made for a useful contrast.

Re: 1/32 Revell Me262B-1/U1 Nachtjager

Posted: Thu Dec 03, 2020 4:50 pm
by KennyX
John,

I’m with you on the “completeness” thing. I just add what I want, taking it as far as I care to with what I’m capable of with my primitive tools. Sometimes I go bananas, other times just an addition here or there. Ultimately I want to achieve a superdetailing effect, but one which is harmonious, like what you achieved in the photo you shared.

Re: 1/32 Revell Me262B-1/U1 Nachtjager

Posted: Fri Dec 04, 2020 7:30 pm
by speedgraflex
I had to look up “completist,” so as much as I like to learn new words, I feel badly if there was the hint of negative implication. In art school, some finished the interiors of their canvases with gesso. Yes, this is obsessive behavior, but it also is a form of consideration: what lies beneath being worthy of the same care as what exists on top. In many ways, this is something to admire. All the best.

Re: 1/32 Revell Me262B-1/U1 Nachtjager

Posted: Fri Dec 04, 2020 8:34 pm
by jkim
KennyX wrote:John,

I’m with you on the “completeness” thing. I just add what I want, taking it as far as I care to with what I’m capable of with my primitive tools. Sometimes I go bananas, other times just an addition here or there. Ultimately I want to achieve a superdetailing effect, but one which is harmonious, like what you achieved in the photo you shared.
Very similar, you and I. I have to draw lines between effort and enjoyment and I feel quite comfortable knowing that my line for these small details may fall short of others.
speedgraflex wrote:I had to look up “completist,” so as much as I like to learn new words, I feel badly if there was the hint of negative implication. In art school, some finished the interiors of their canvases with gesso. Yes, this is obsessive behavior, but it also is a form of consideration: what lies beneath being worthy of the same care as what exists on top. In many ways, this is something to admire. All the best.
I take it as neither good nor bad. Just another form of obsession. Most of us here have some obsessive qualities. Unique to the individual. Some shared, some not. When someone told me to look at reference materials to see what the battery box under the seat should look like, I thanked him but never considered doing anything about it. It just didn't register as important in my mind, being totally hidden from view. But I understand the dude that takes the reference materials and decks out that hidden battery.

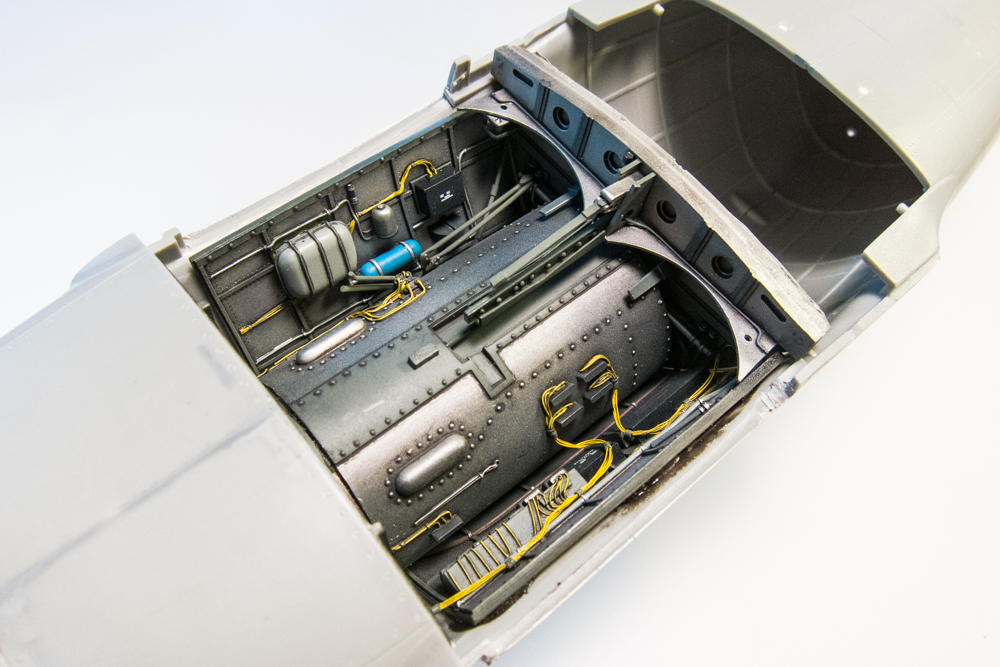
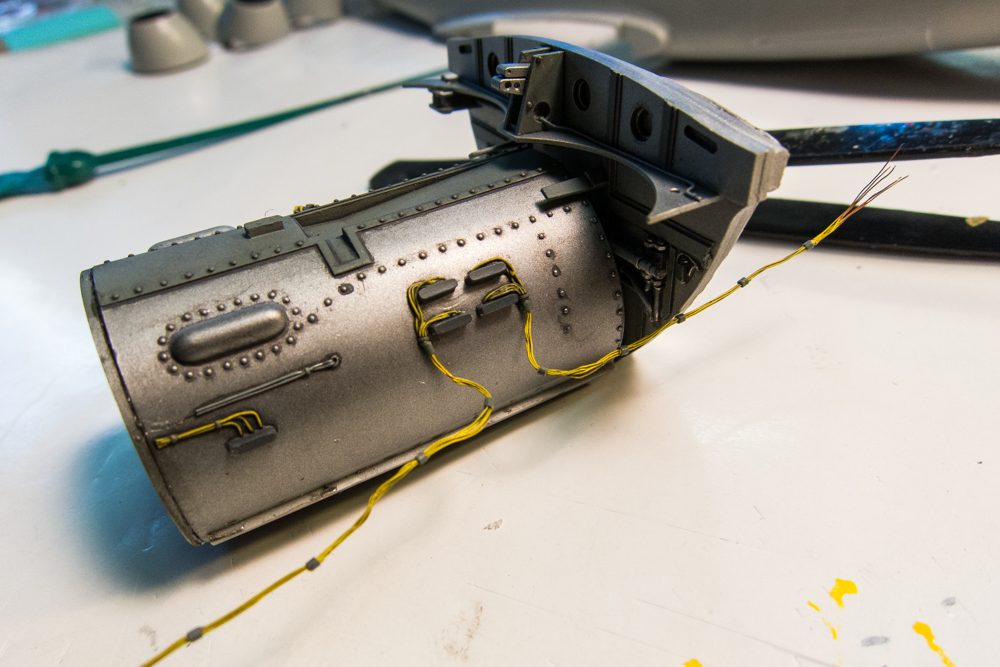
I was playing around with the wiring today. I wanted to replicate Aires approach which was to depict the wiring from the four electrical terminals on the outer tube but terminate it at a wiring harness right next to the terminals. To create the wiring that spans across from the terminals to the outer wall, I could glue my pre-painted wiring bundles at the wiring harness. I was going for this...
Image

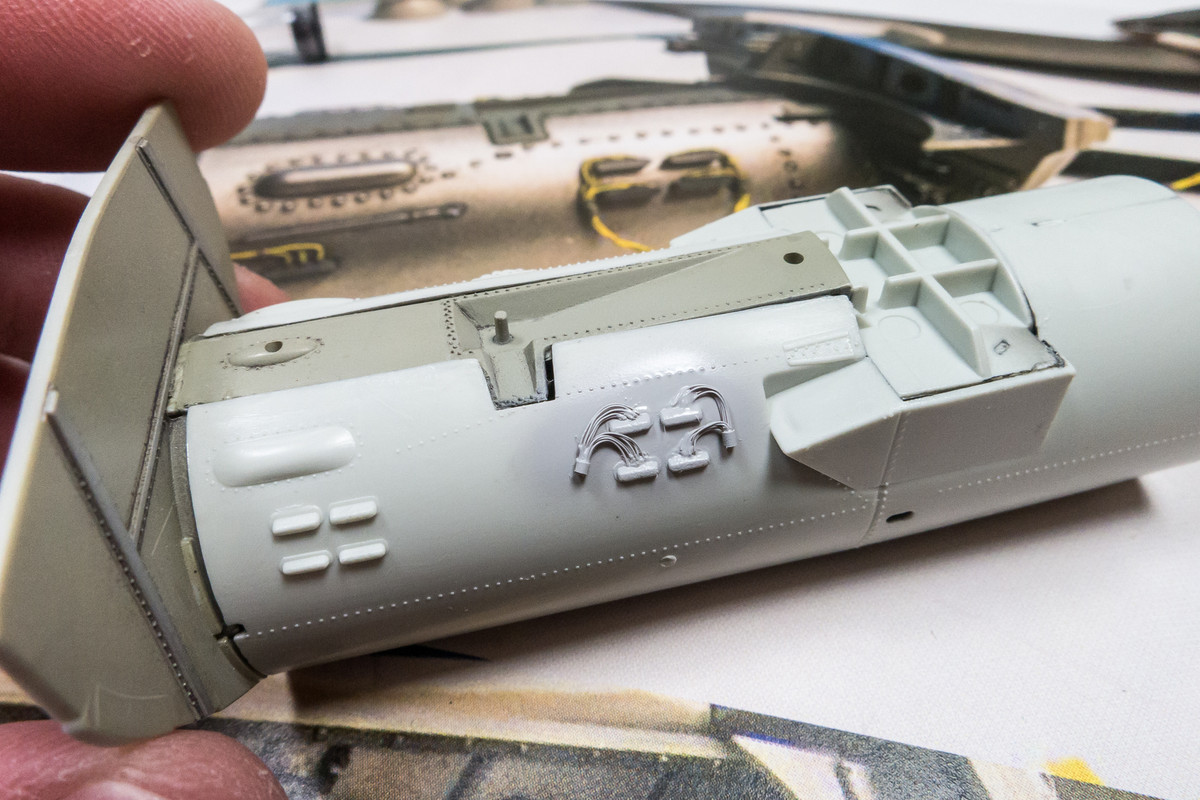
This is what I got. It looked pretty decent until I sprayed that primer on. The electrical terminals are very small and trying to butt up wiring right up to the terminals was too difficult to pull off.
Image

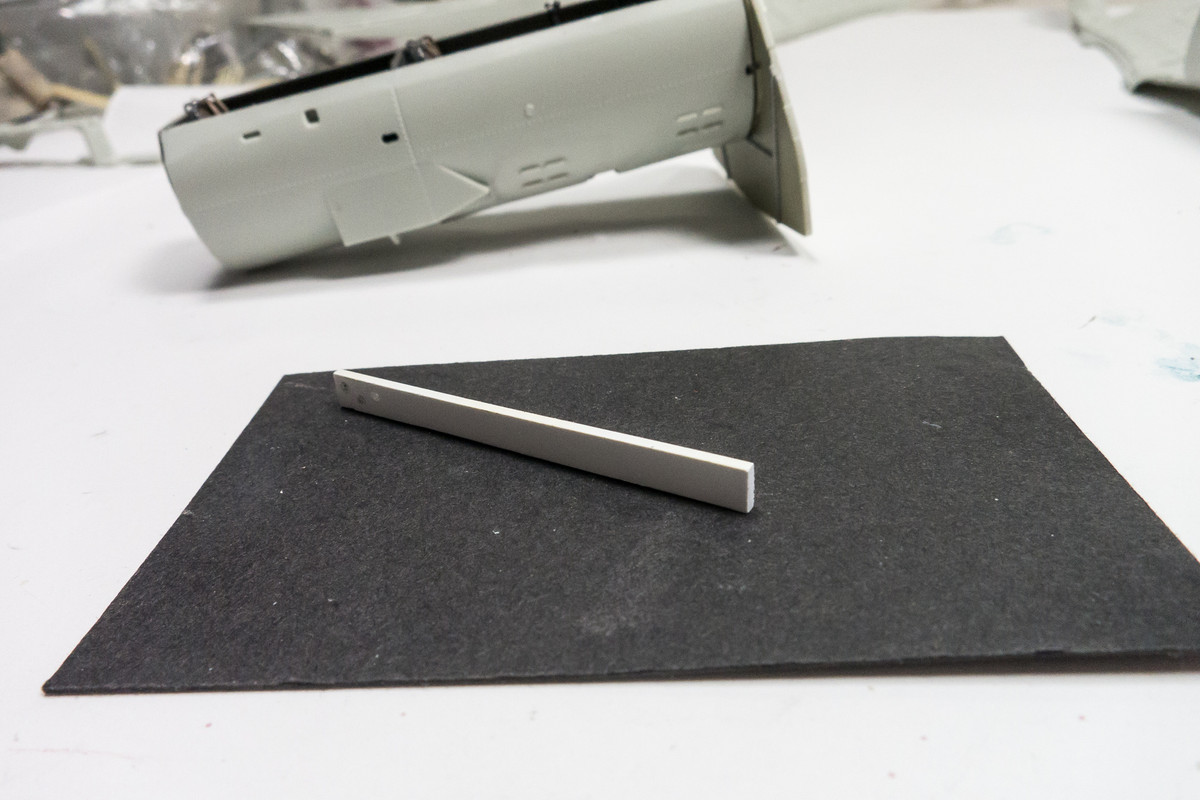
So I had to try a different way. This time, I started with a strip of sheet styrene whose thickness approximated the width of the terminals. I only needed a short length of this but kept it long so it would be easier to handle.
Image

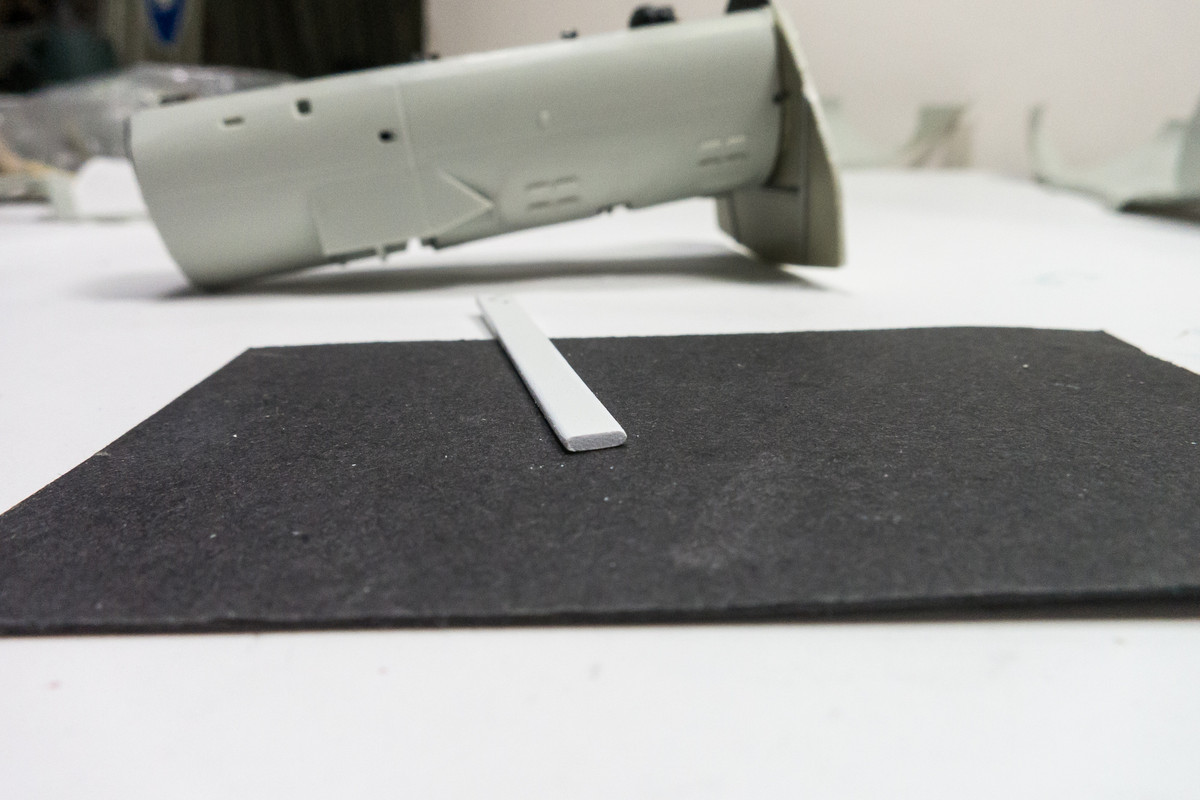
I rounded off the edges of the strip. From the top, you can see that the shape is similar to the terminal.
Image

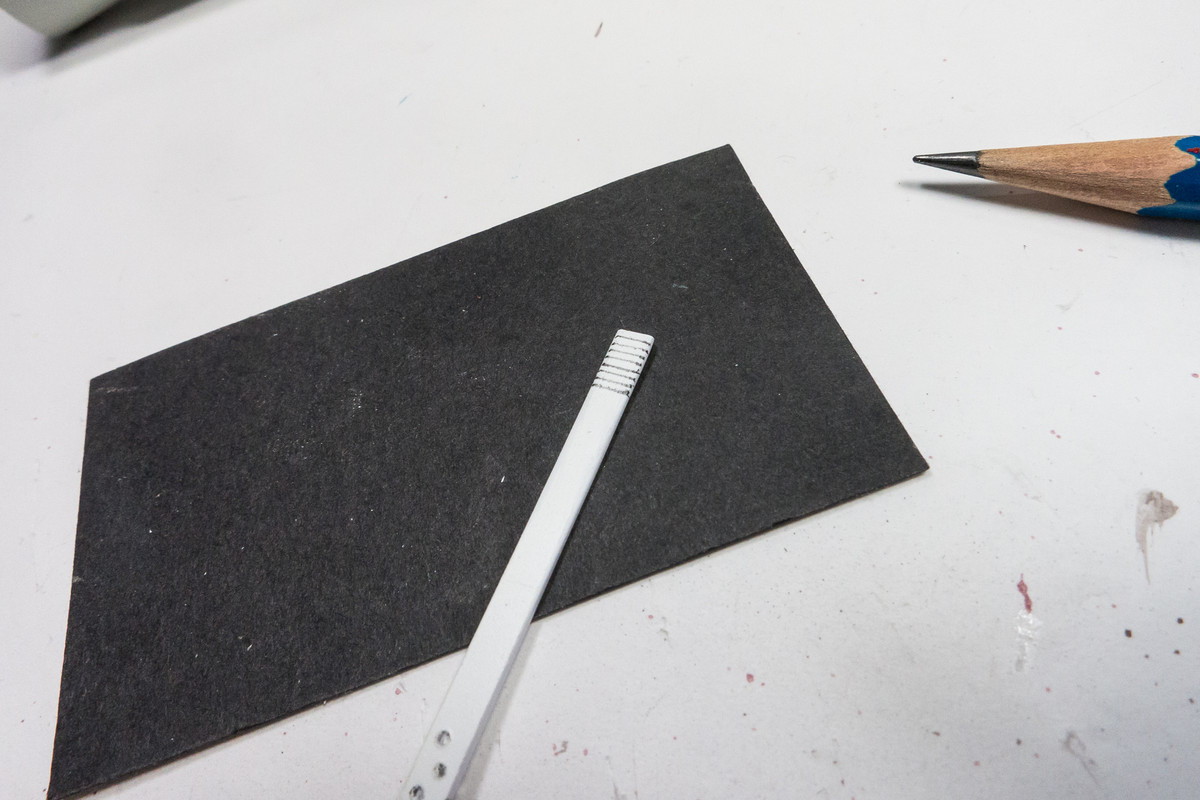
I marked the strip to ensure some uniformity. I need four pieces with a row of drilled holes across each one so eight lines across.
Image

I could fit five holes using my smallest drill bit.
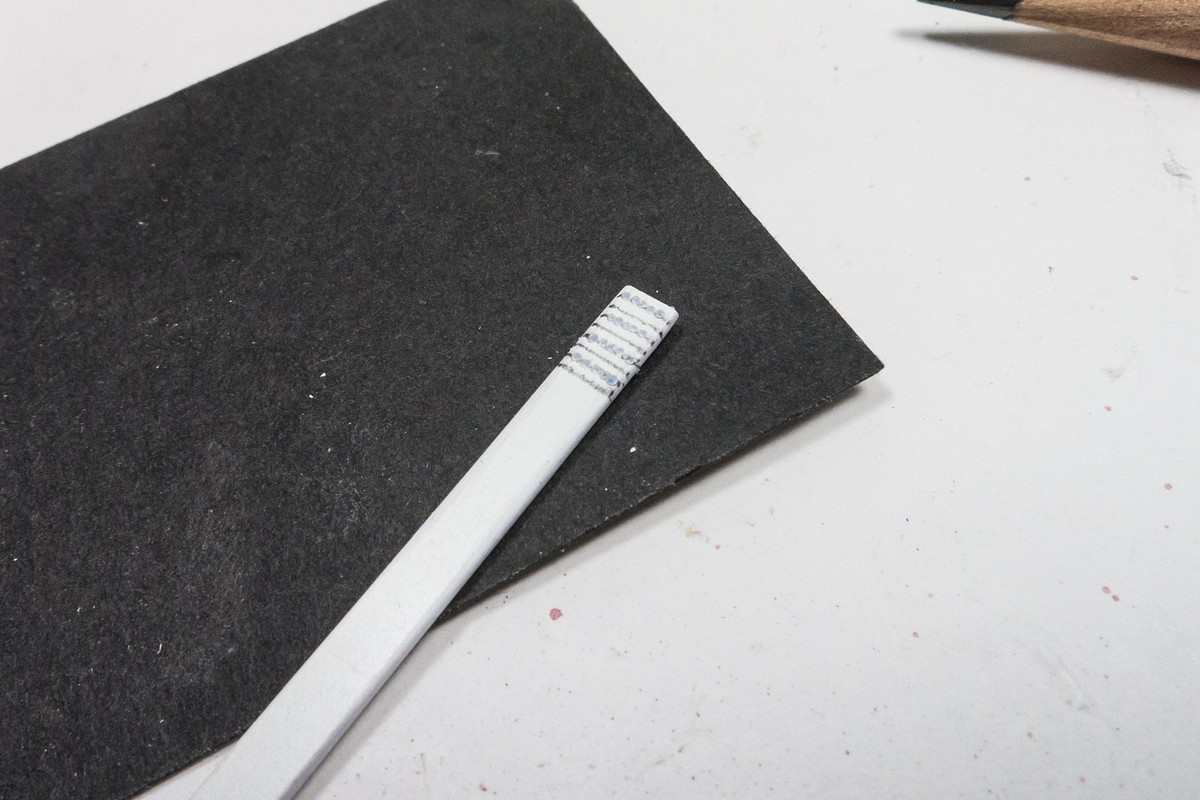
Image

A razor saw was used to cut each piece. Pretty messy but the excess plastic from the sawing and drilling can be cleaned up.
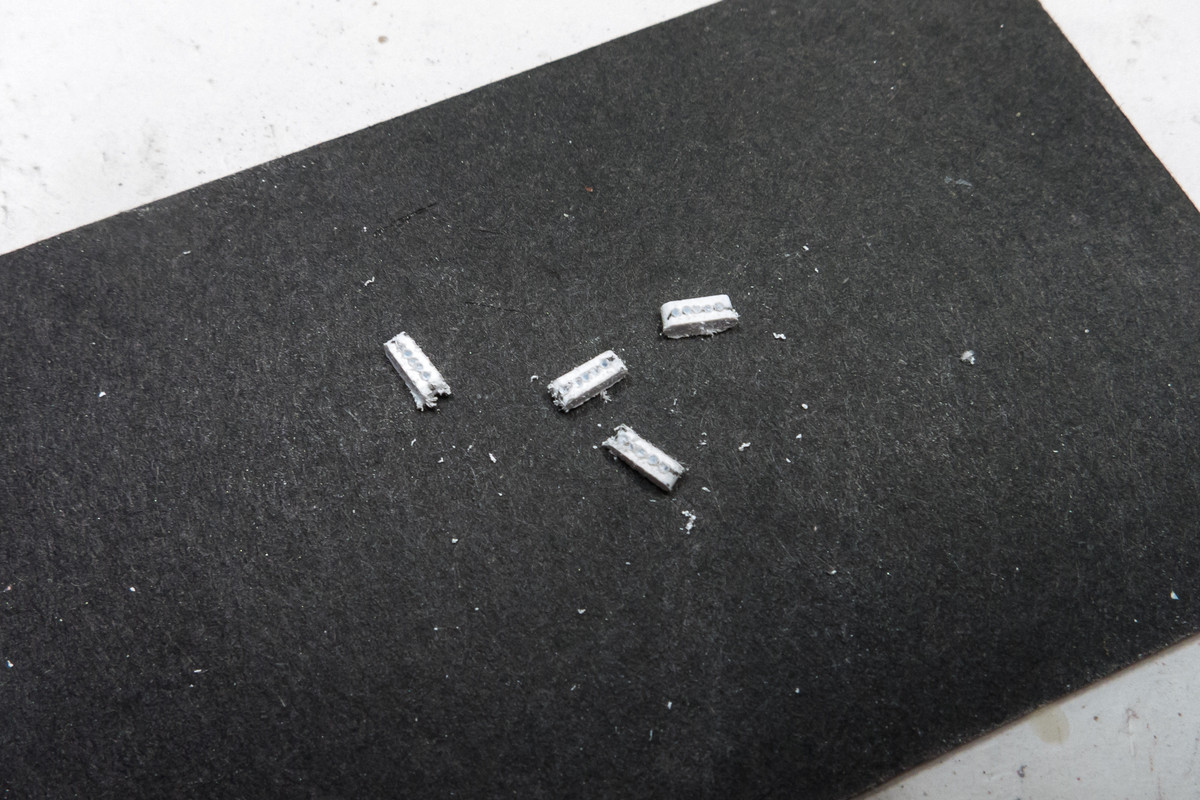
Image

Individual strands copper wire from a spare speaker cable were glued into each of the holes.
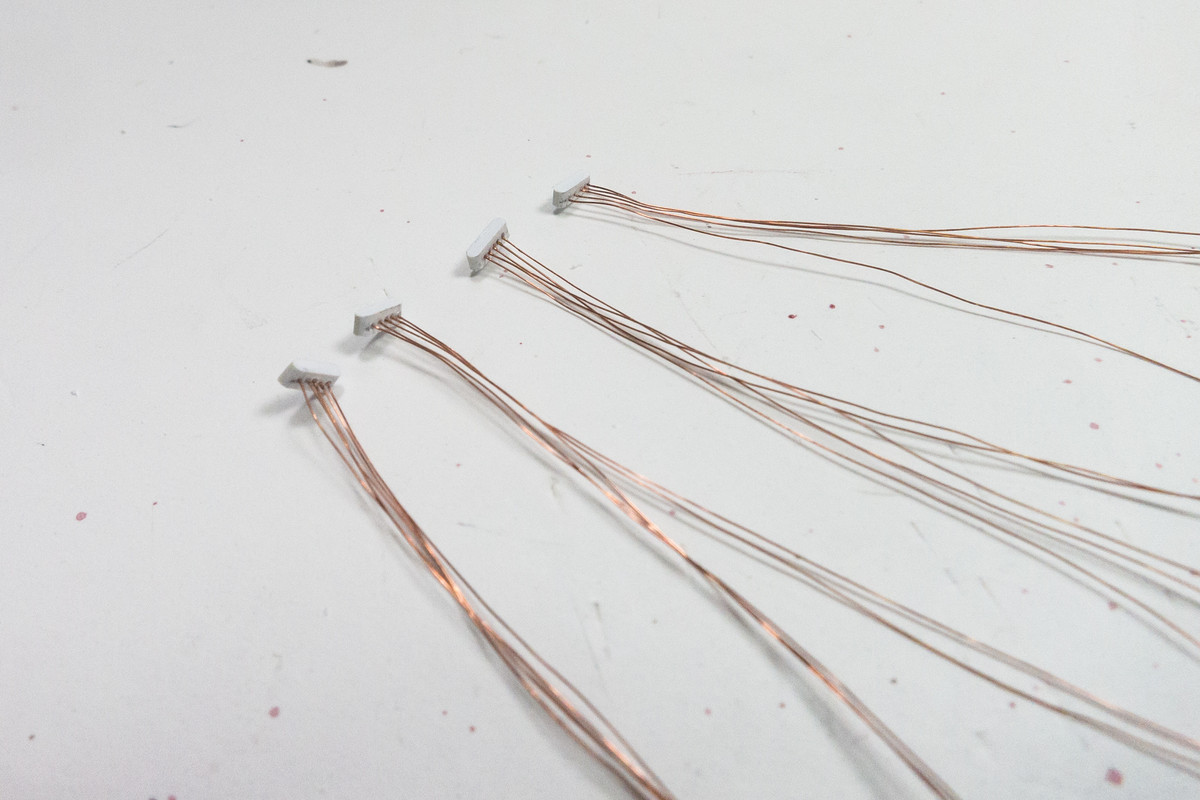
Image

The existing terminals were removed from the outer tube.
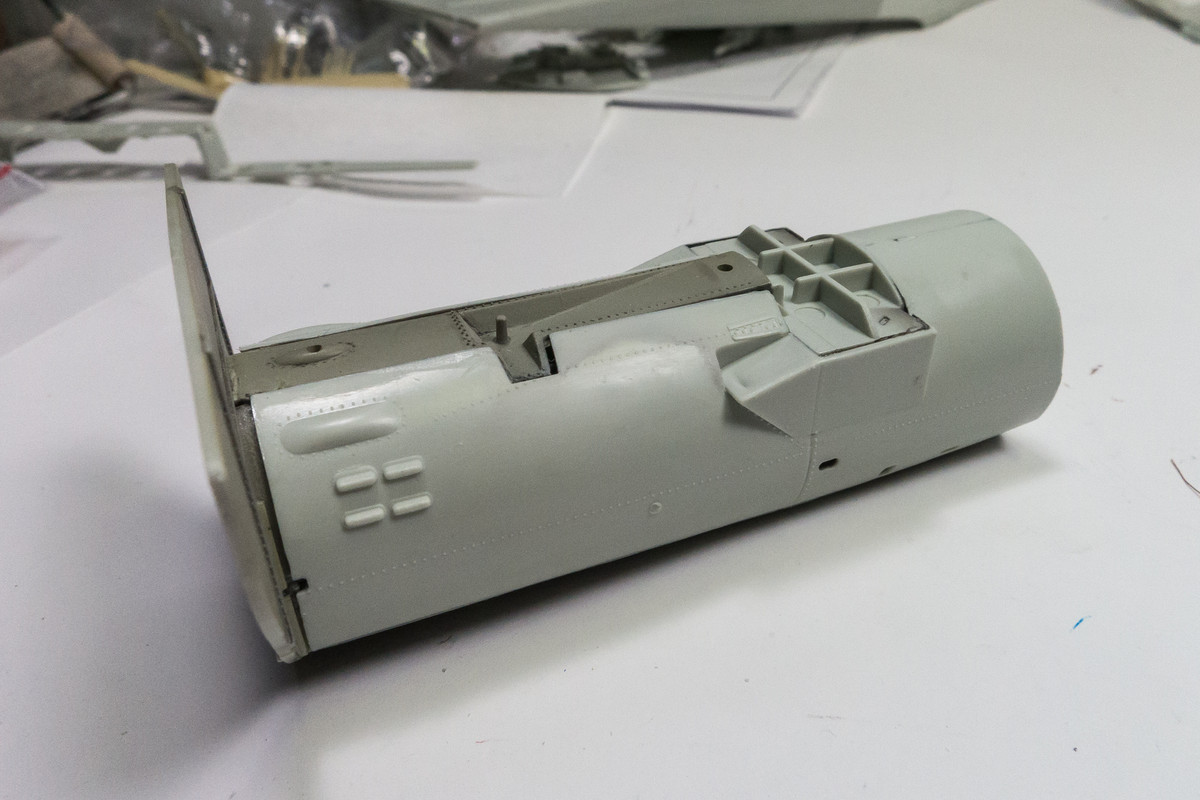
Image

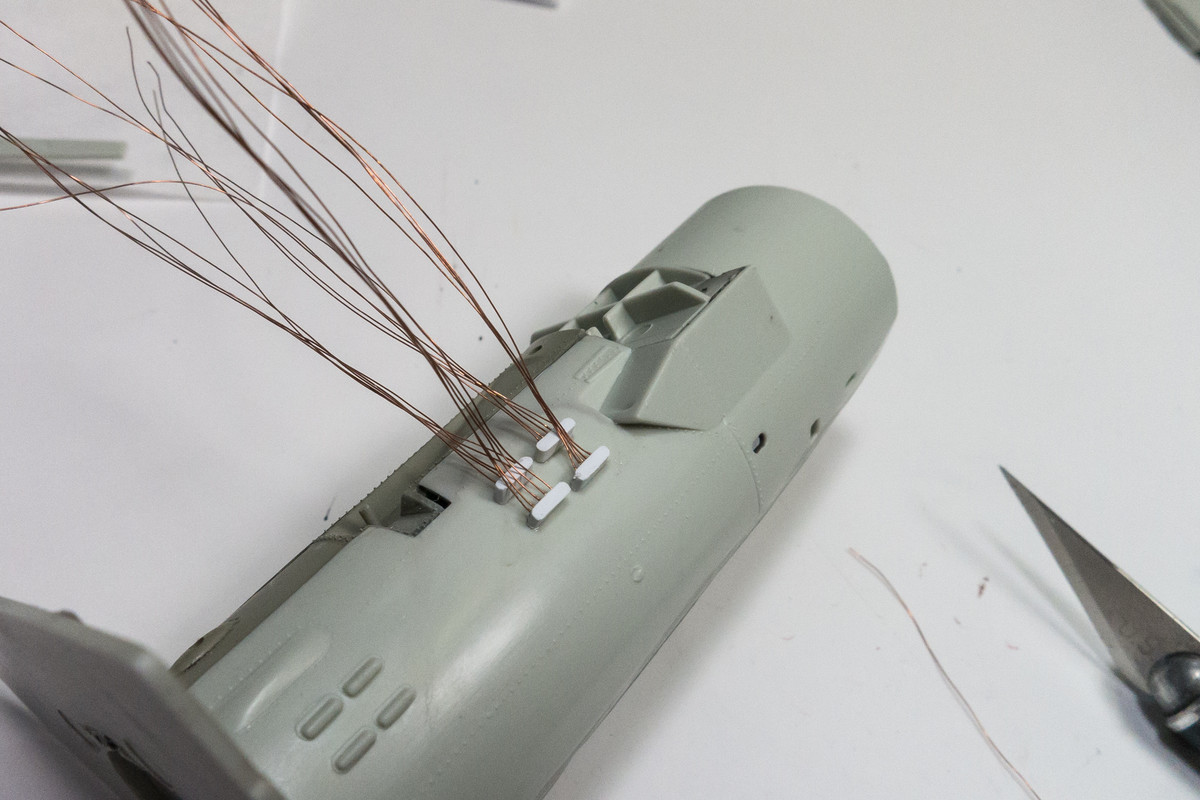
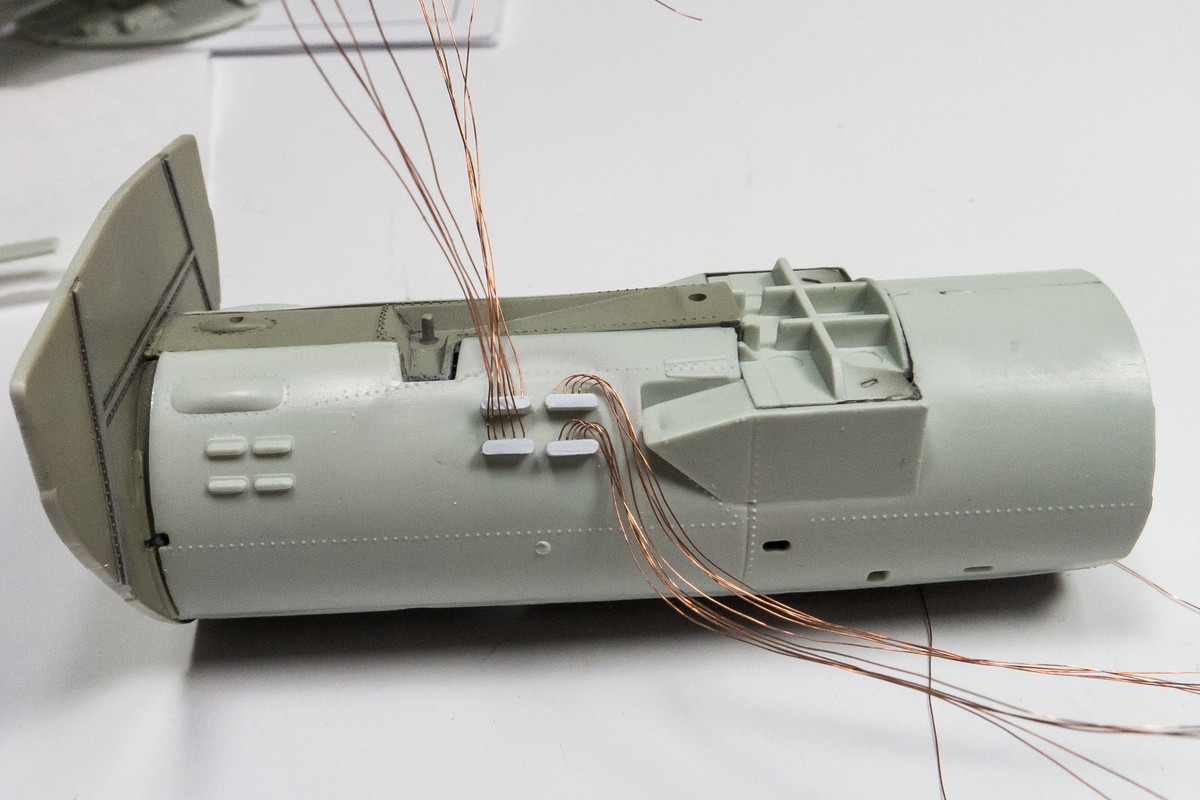
The new terminals are glued into place. To accommodate the wiring, the terminals are larger than the originals but not noticeably so.
Image

Now I have to gently push the wire strands to the proper orientation and then attach wire harnesses around the bundles.
Image

Re: 1/32 Revell Me262B-1/U1 Nachtjager

Posted: Fri Dec 04, 2020 8:48 pm
by Floki
Nice work on the wiring and junction boxes John.

Re: 1/32 Revell Me262B-1/U1 Nachtjager

Posted: Fri Dec 04, 2020 11:02 pm
by Stikpusher
Excellent work on the wiring John! Certainly the best way to approach that! :shoutout:

Re: 1/32 Revell Me262B-1/U1 Nachtjager

Posted: Sat Dec 05, 2020 1:39 am
by jkim
Thanks guys! Sometimes it takes a different approach to get the desired results.

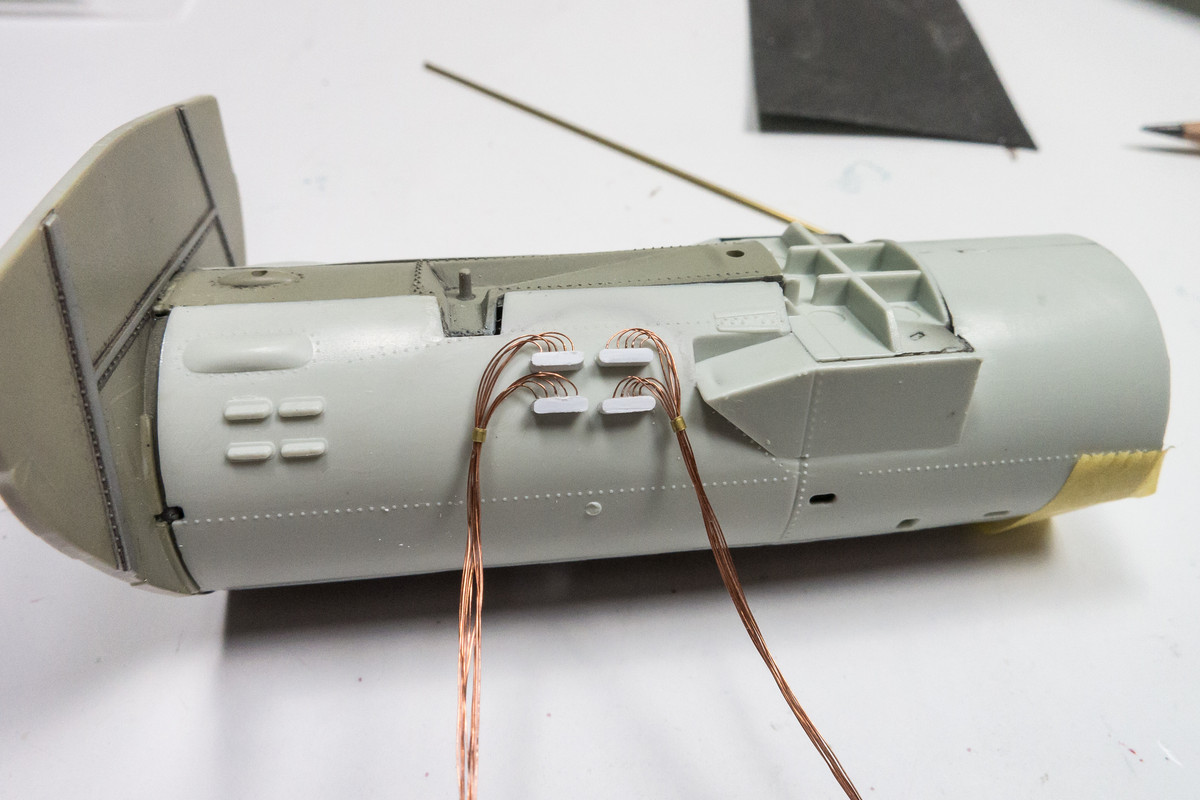
It's hard to wrap tiny strips of aluminum tape to represent the wire ties so I'm using brass tubing. The wiring to the four terminals has been organized and now I'll probably paint this assembly as I can probably spray around the wires.
Image

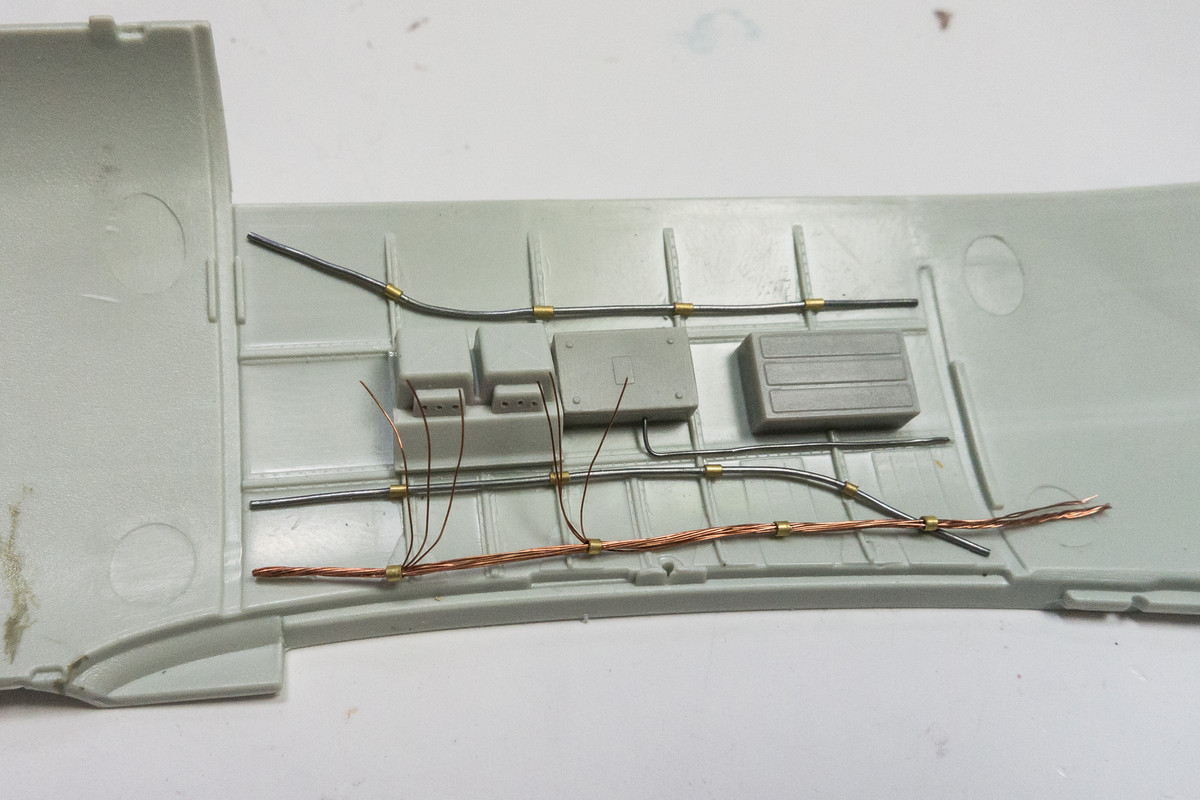
Some details have been added to one of the wheel bay walls. The boxes were pulled from the Trumpeter Me262 kit as I had a lot of interior parts left over due to being replaced by Aires resin. Studying the Aires part as a reference has revealed one of the limitations of resin. All of the detail has to be pressed against a surface. I'm not restricted to doing that so some of the wiring is standing proud of the surface. The wiring bundle has not been attached yet. I'll probably paint the wall and the wiring separately and then attach the wiring afterwards.
Image

Re: 1/32 Revell Me262B-1/U1 Nachtjager

Posted: Sat Dec 05, 2020 3:46 am
by Floki
The brass tube on the wire bundles looks really good. You're right about the resin castings no matter how good the surface details look the wires will always look flat.

Re: 1/32 Revell Me262B-1/U1 Nachtjager

Posted: Sat Dec 05, 2020 3:49 am
by Stuart
Excellent wiring work John, those boxes came out really well.

Re: 1/32 Revell Me262B-1/U1 Nachtjager

Posted: Sat Dec 05, 2020 5:47 pm
by BlackSheep214
:wow: :wow: :wow: Whoa..... :shoutout: :shoutout: :shoutout: