Page 10 of 13
Re: Monogram De Havilland Mosquito FB VI-Change of plans!
Posted: Thu Sep 21, 2023 9:42 am
by Gary Brantley
Stikpusher wrote: ↑Thu Sep 21, 2023 8:50 am
I’m pretty sure that the tail flight control surfaces were doped fabric over the frame work. The rudder certainly was, as this battle damage photo clearly shows,,,
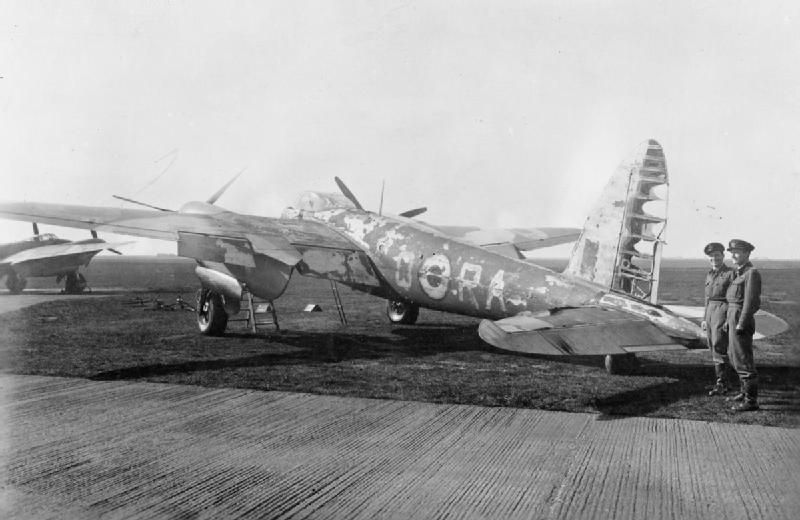
Thanks for that neat pic, Carlos. It shows that Mr. shortcummins might've erred in doing his control surfaces in metal. Your pic sent me into further research and I find claims that the nacelles were also mostly wood. Again, unlike the linked build...

"The wing contained metal-framed and -skinned ailerons, but the flaps were made of wood and were hydraulically controlled. The nacelles were mostly wood, although for strength, the engine mounts were all metal, as were the undercarriage parts.[86] Engine mounts of welded steel tube were added, along with simple landing gear oleos filled with rubber blocks. Wood was used to carry only in-plane loads, with metal fittings used for all triaxially loaded components such as landing gear, engine mounts, control-surface mounting brackets, and the wing-to-fuselage junction.[87] The outer leading wing edge had to be brought 22 in (56 cm) further forward to accommodate this design.[85] The main tail unit was all wood built. The control surfaces, the rudder, and elevator were aluminium-framed and fabric-covered.[86] The total weight of metal castings and forgings used in the aircraft was only 280 lb (130 kg).[88]"
https://en.wikipedia.org/wiki/De_Havill ... o#Variants
Re: Monogram De Havilland Mosquito FB VI-Change of plans!
Posted: Thu Sep 21, 2023 11:08 am
by keavdog
I haven't watched the whole thing yet but there's some great video of the bird here. Might be a good reference for you Gary
https://www.youtube.com/watch?v=rauNQgkOJhU
Re: Monogram De Havilland Mosquito FB VI-Change of plans!
Posted: Fri Sep 22, 2023 7:17 am
by Gary Brantley
Very cool, John! Thanks for that!

It is a
very interesting video, and one thing seems obvious; the nacelles appear to be metal on that plane.
Wouldn't it be fun to work on a project like that?

I would've volunteered to work on the project that produced a handful of Me-262 replicas up in Washington State several years back if the
commute from central Texas hadn't been a
deal breaker. 
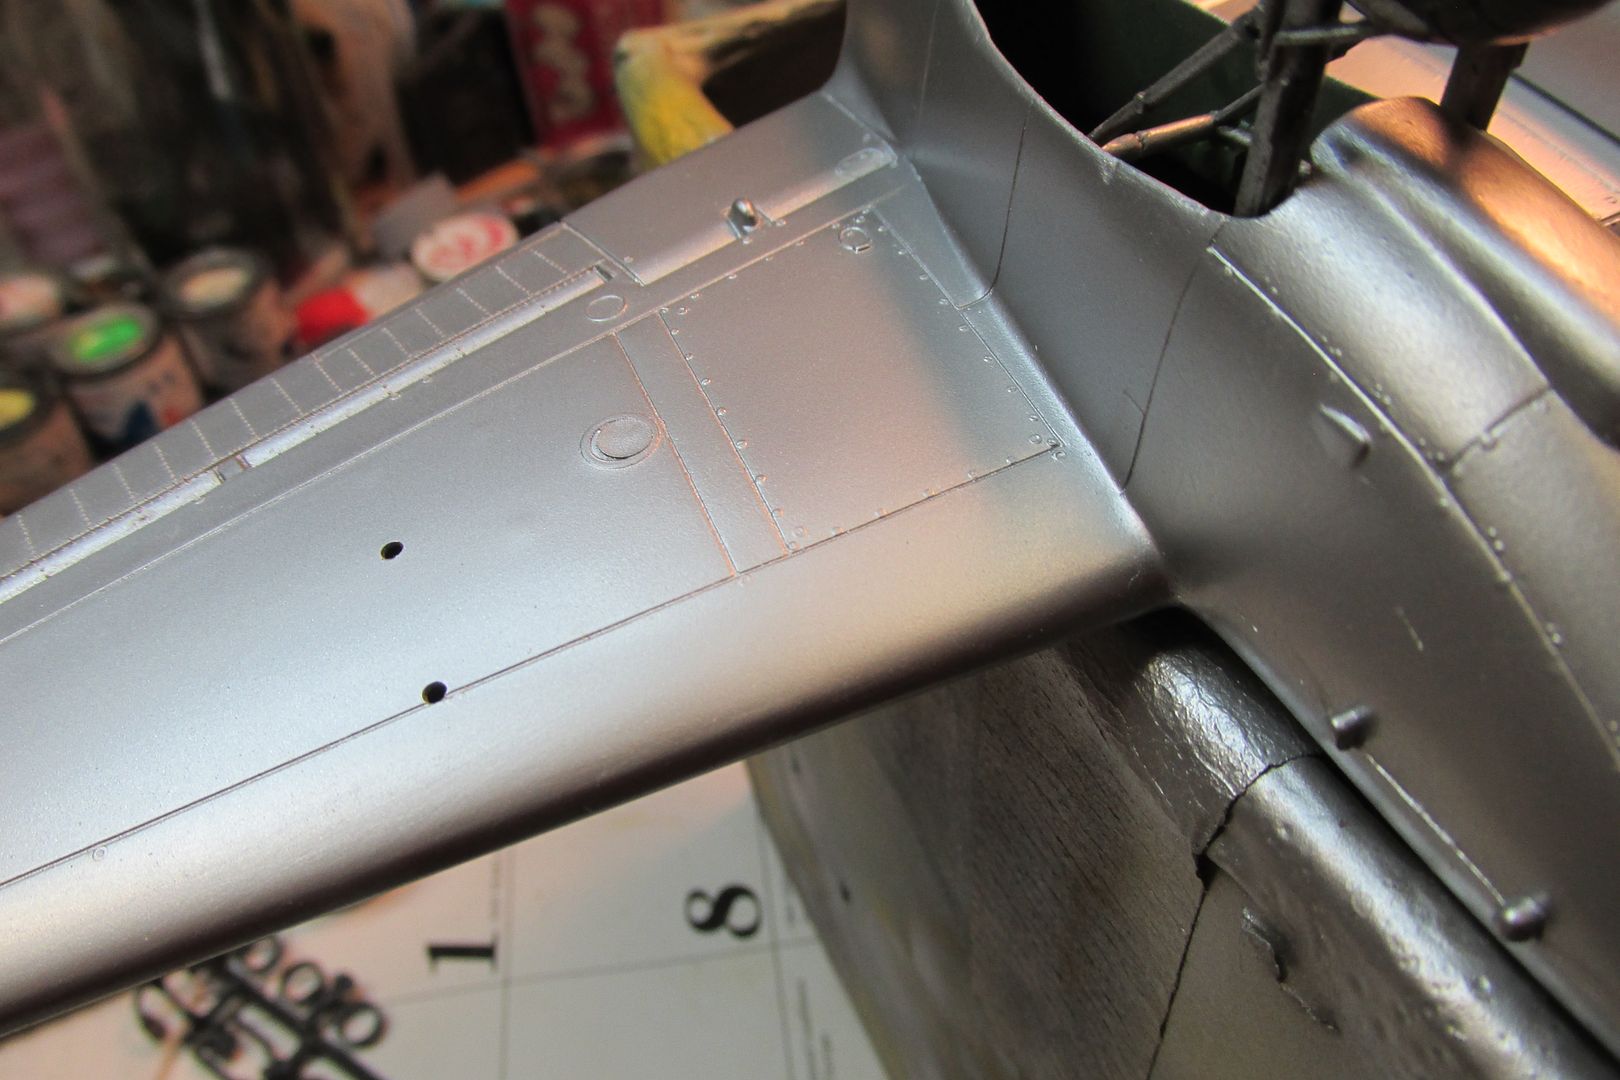
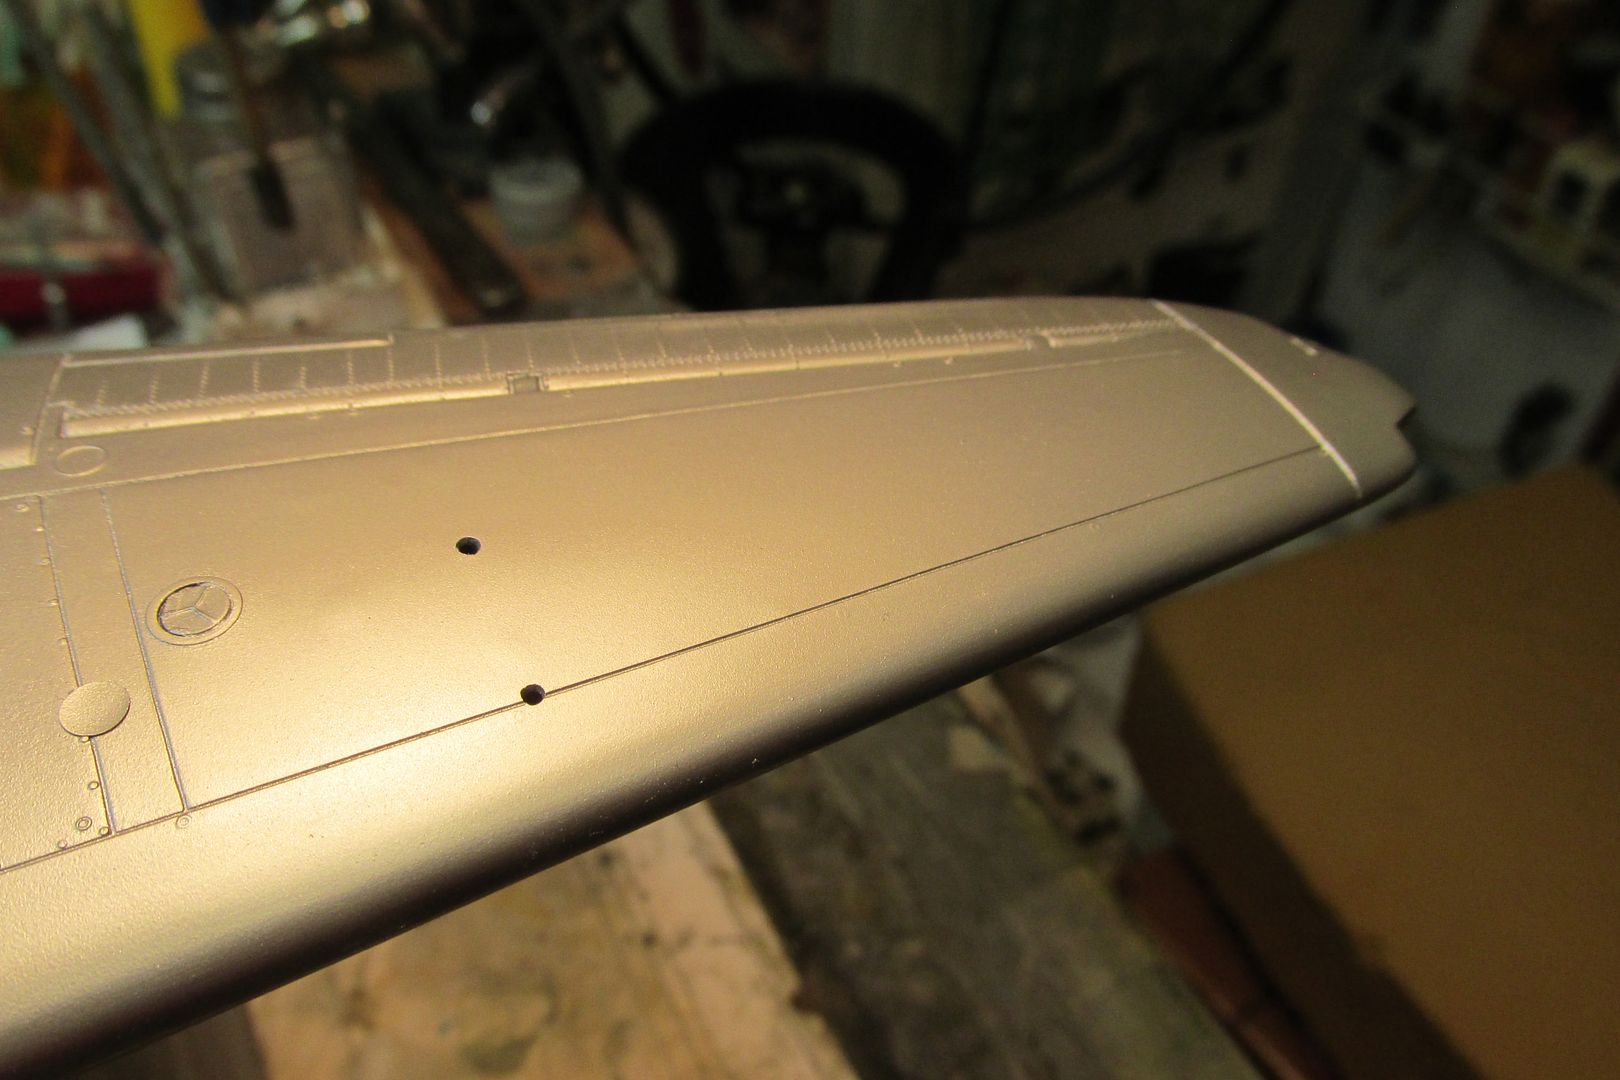
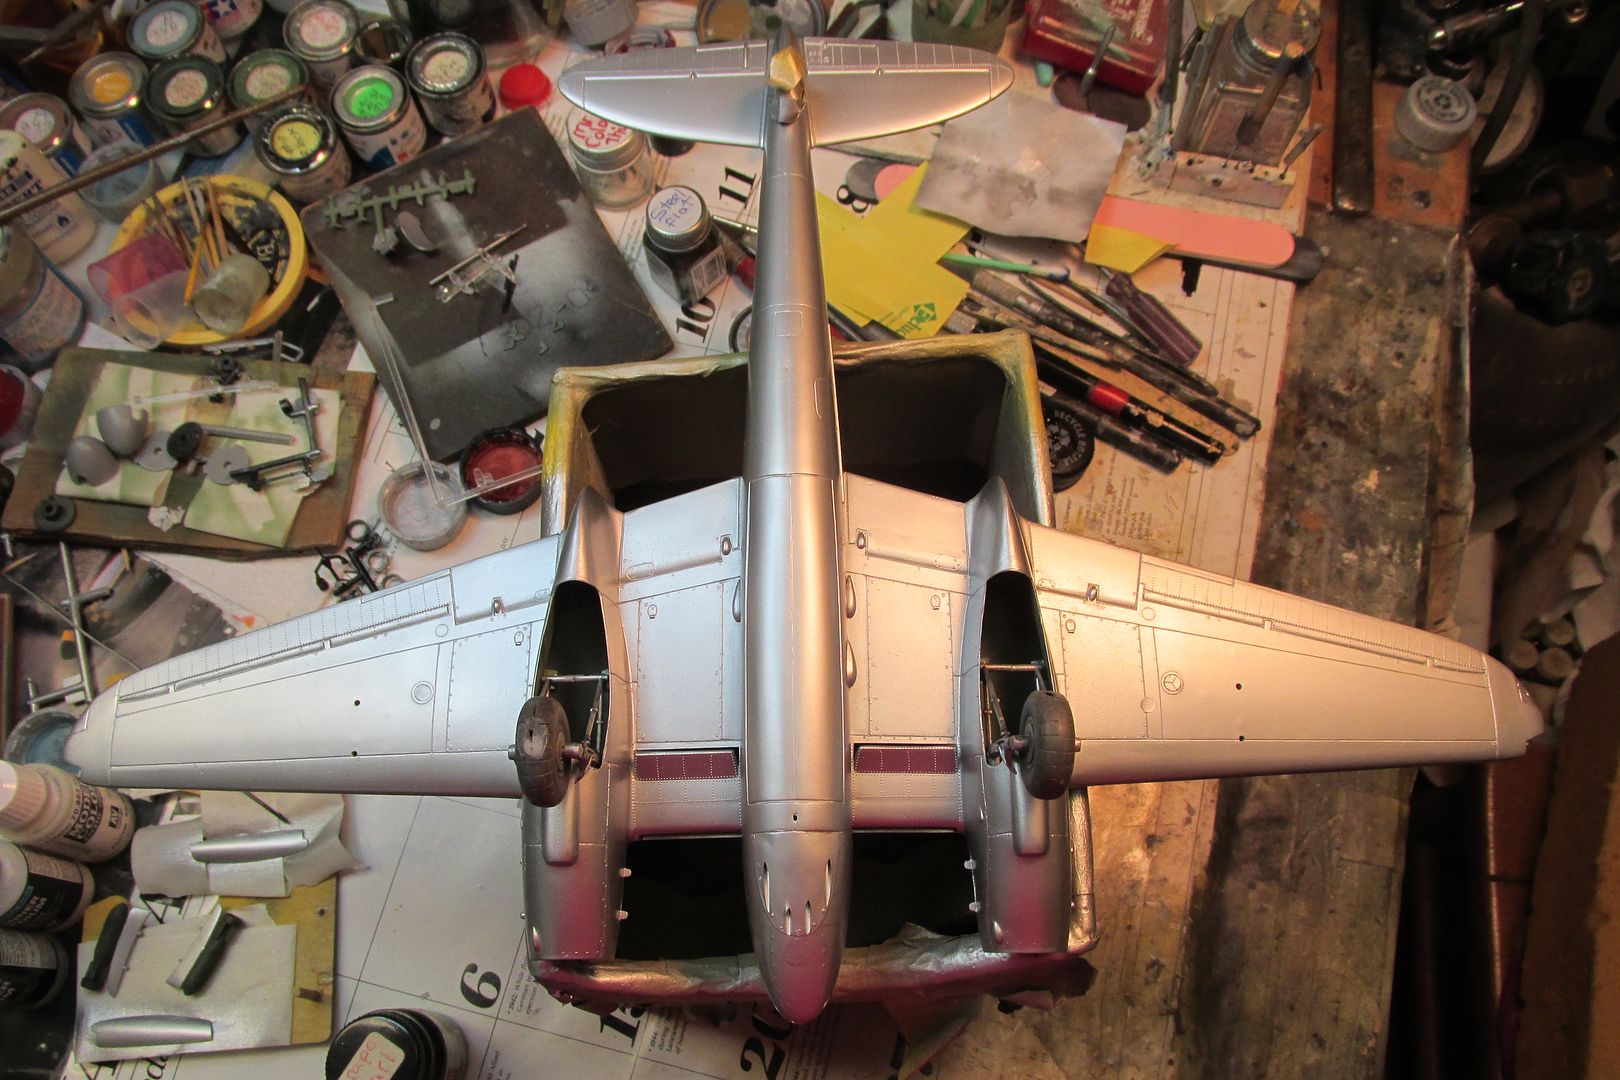
Re: Monogram De Havilland Mosquito FB VI-Silver wings!
Posted: Thu Sep 28, 2023 10:14 am
by Gary Brantley
Re: Monogram De Havilland Mosquito FB VI-Silver wings!
Posted: Thu Sep 28, 2023 10:25 am
by Medicman71
Very nice!
Re: Monogram De Havilland Mosquito FB VI-Silver wings!
Posted: Thu Sep 28, 2023 12:21 pm
by Stikpusher
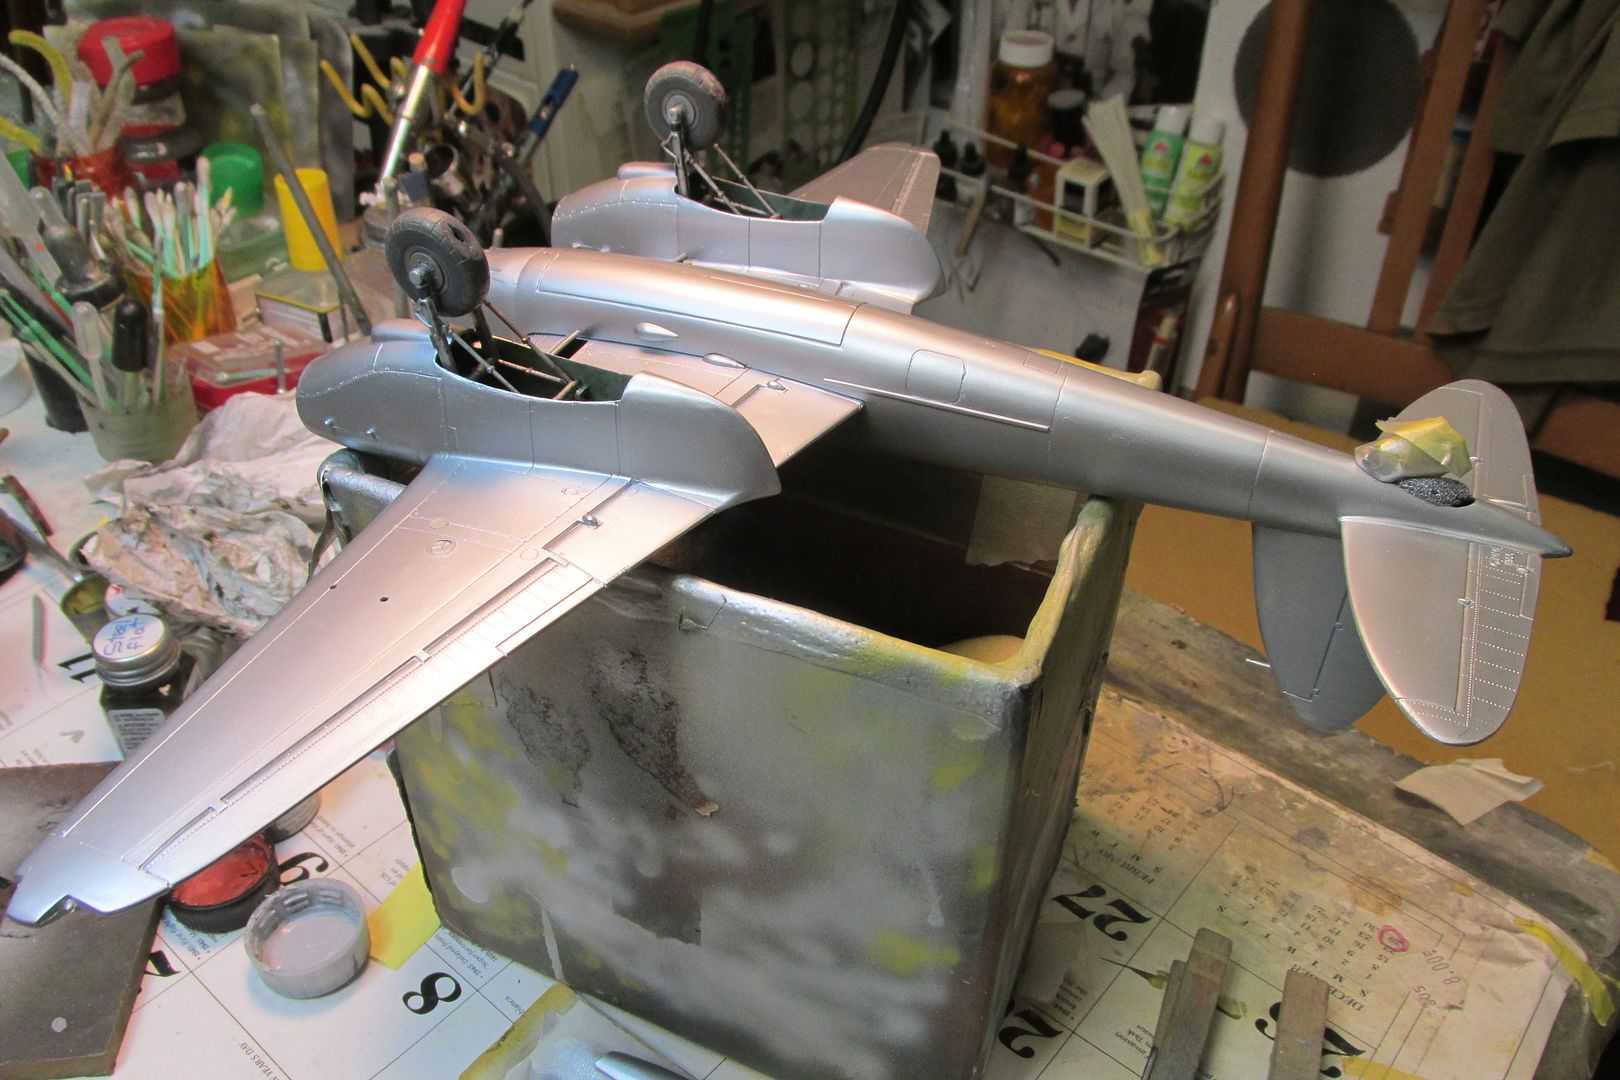
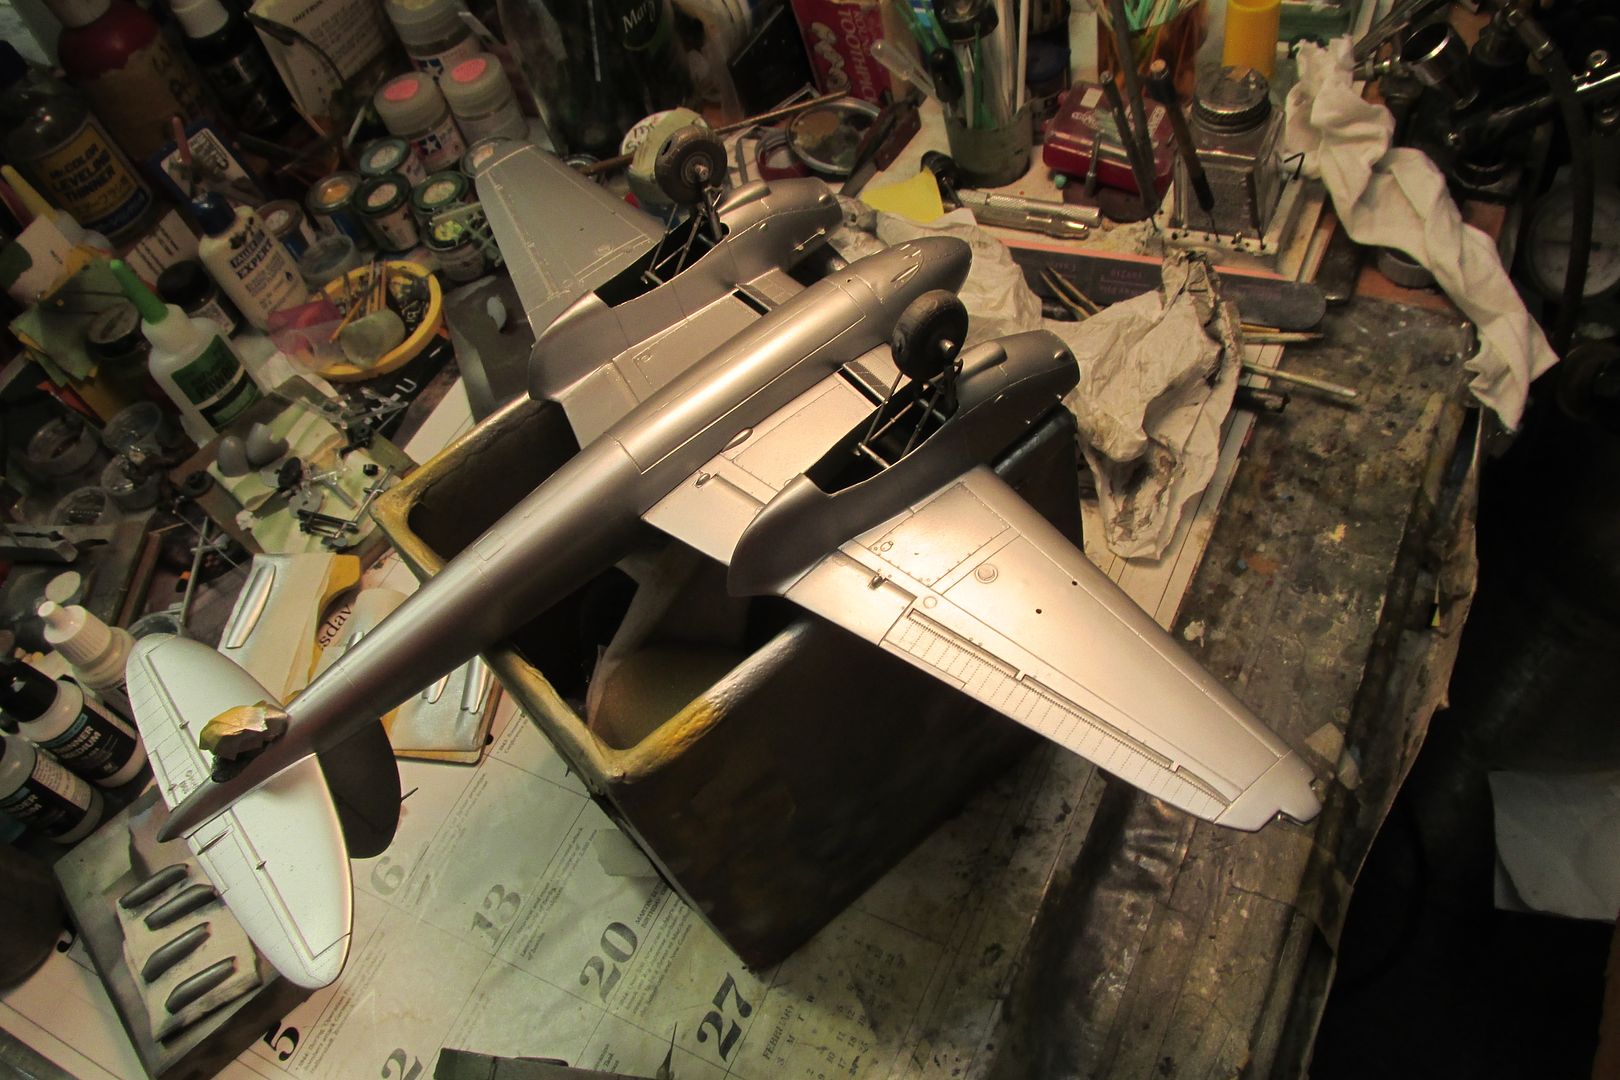
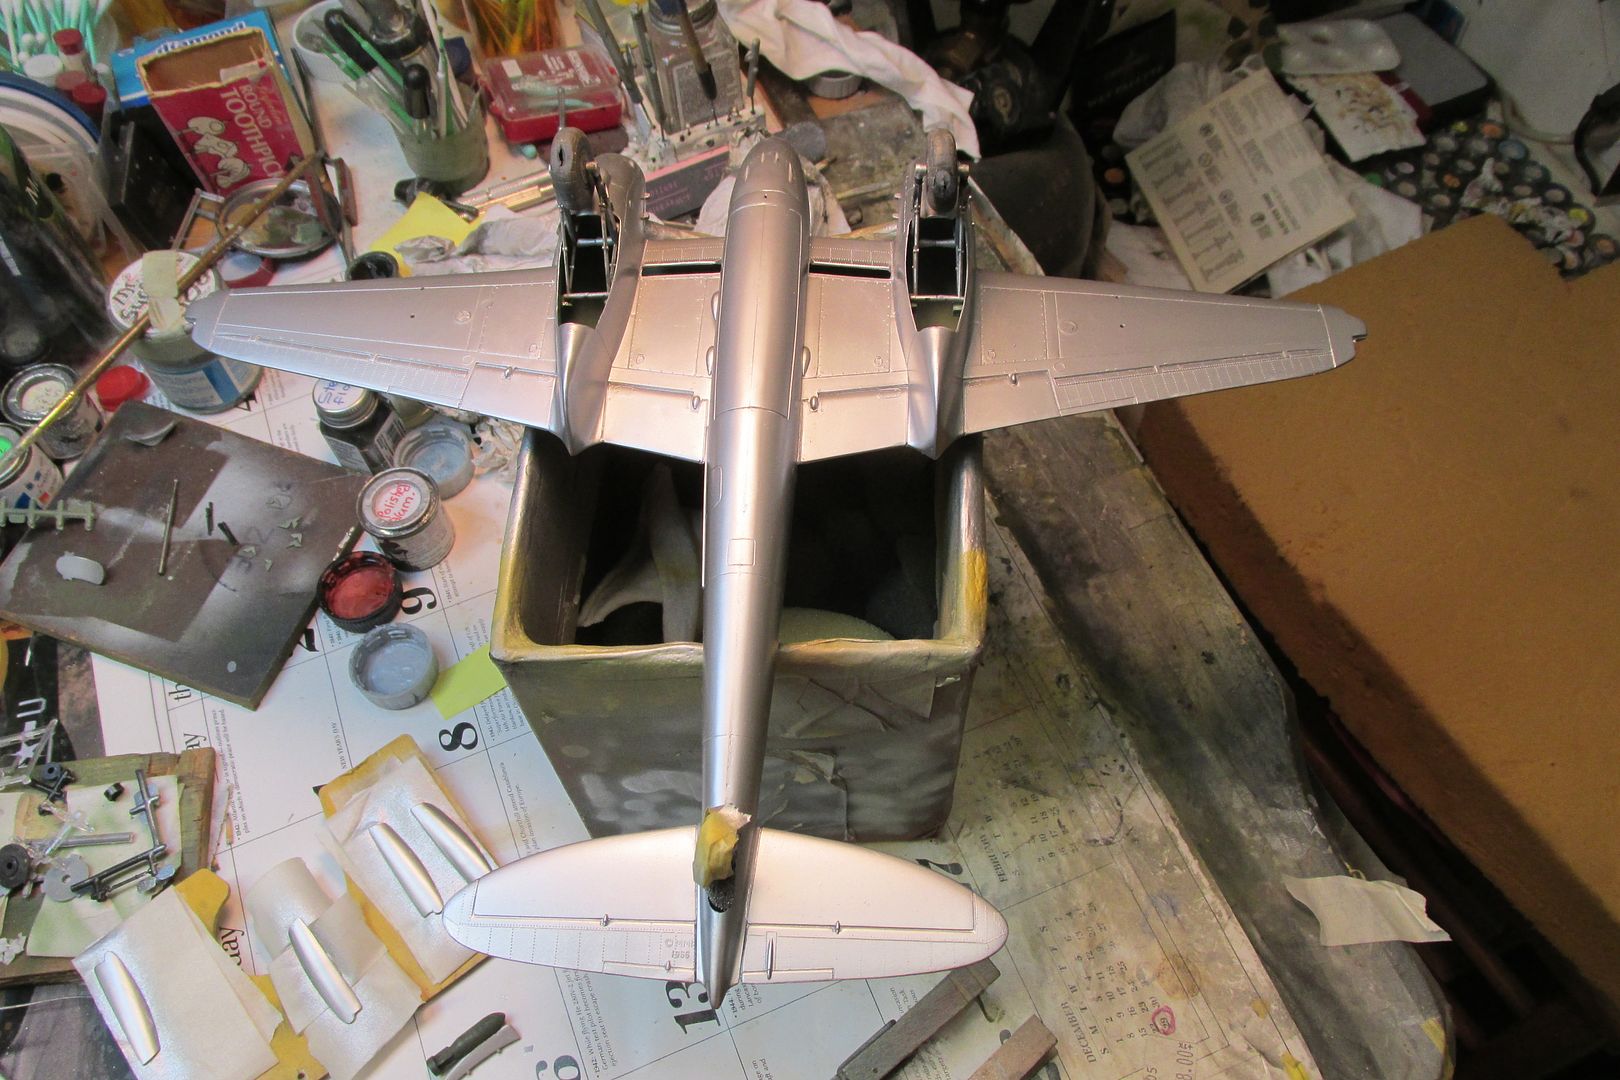
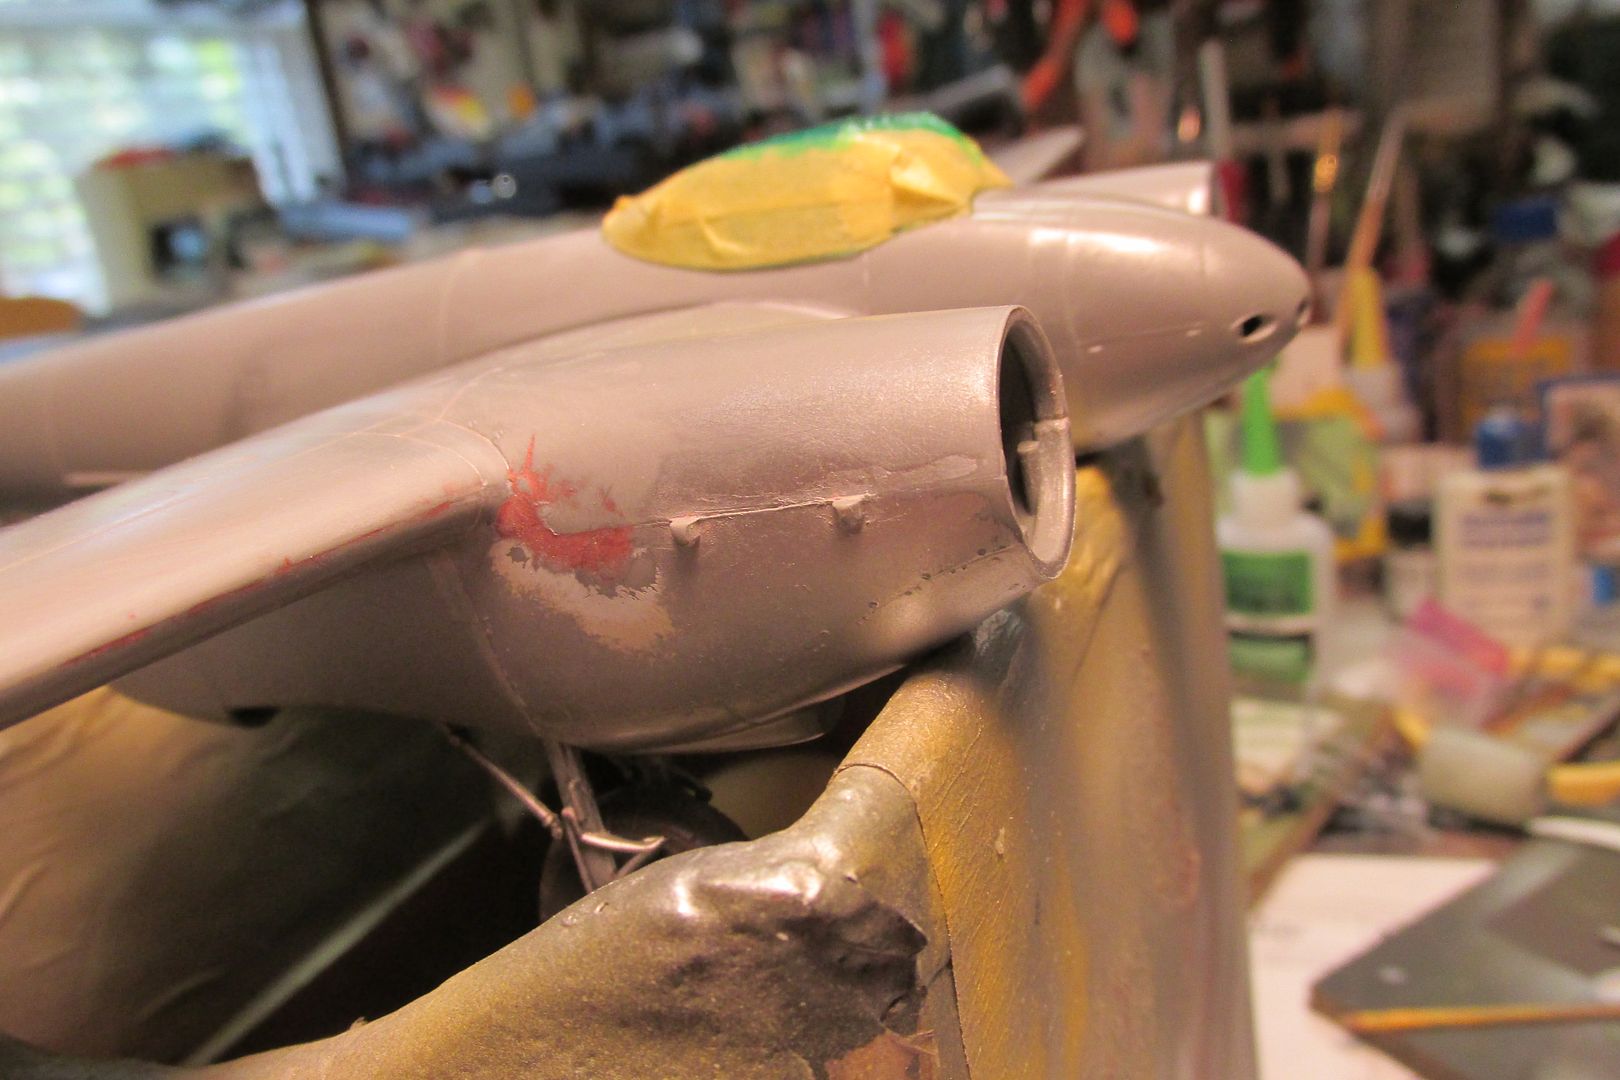
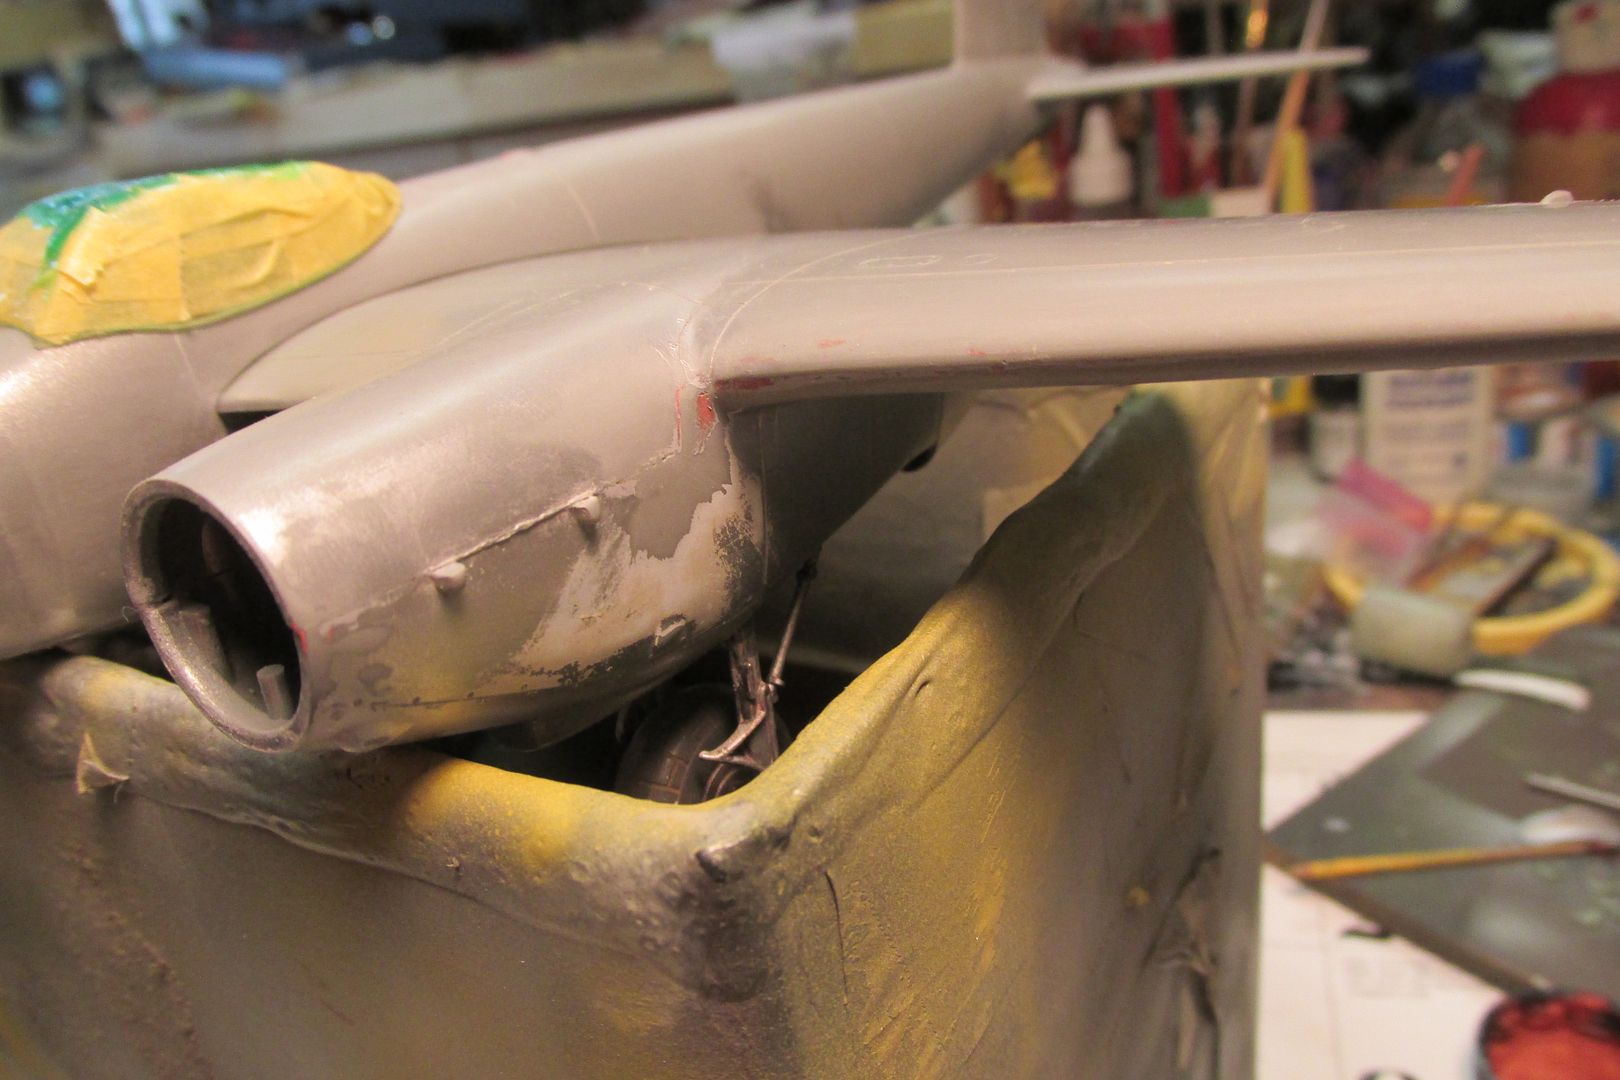
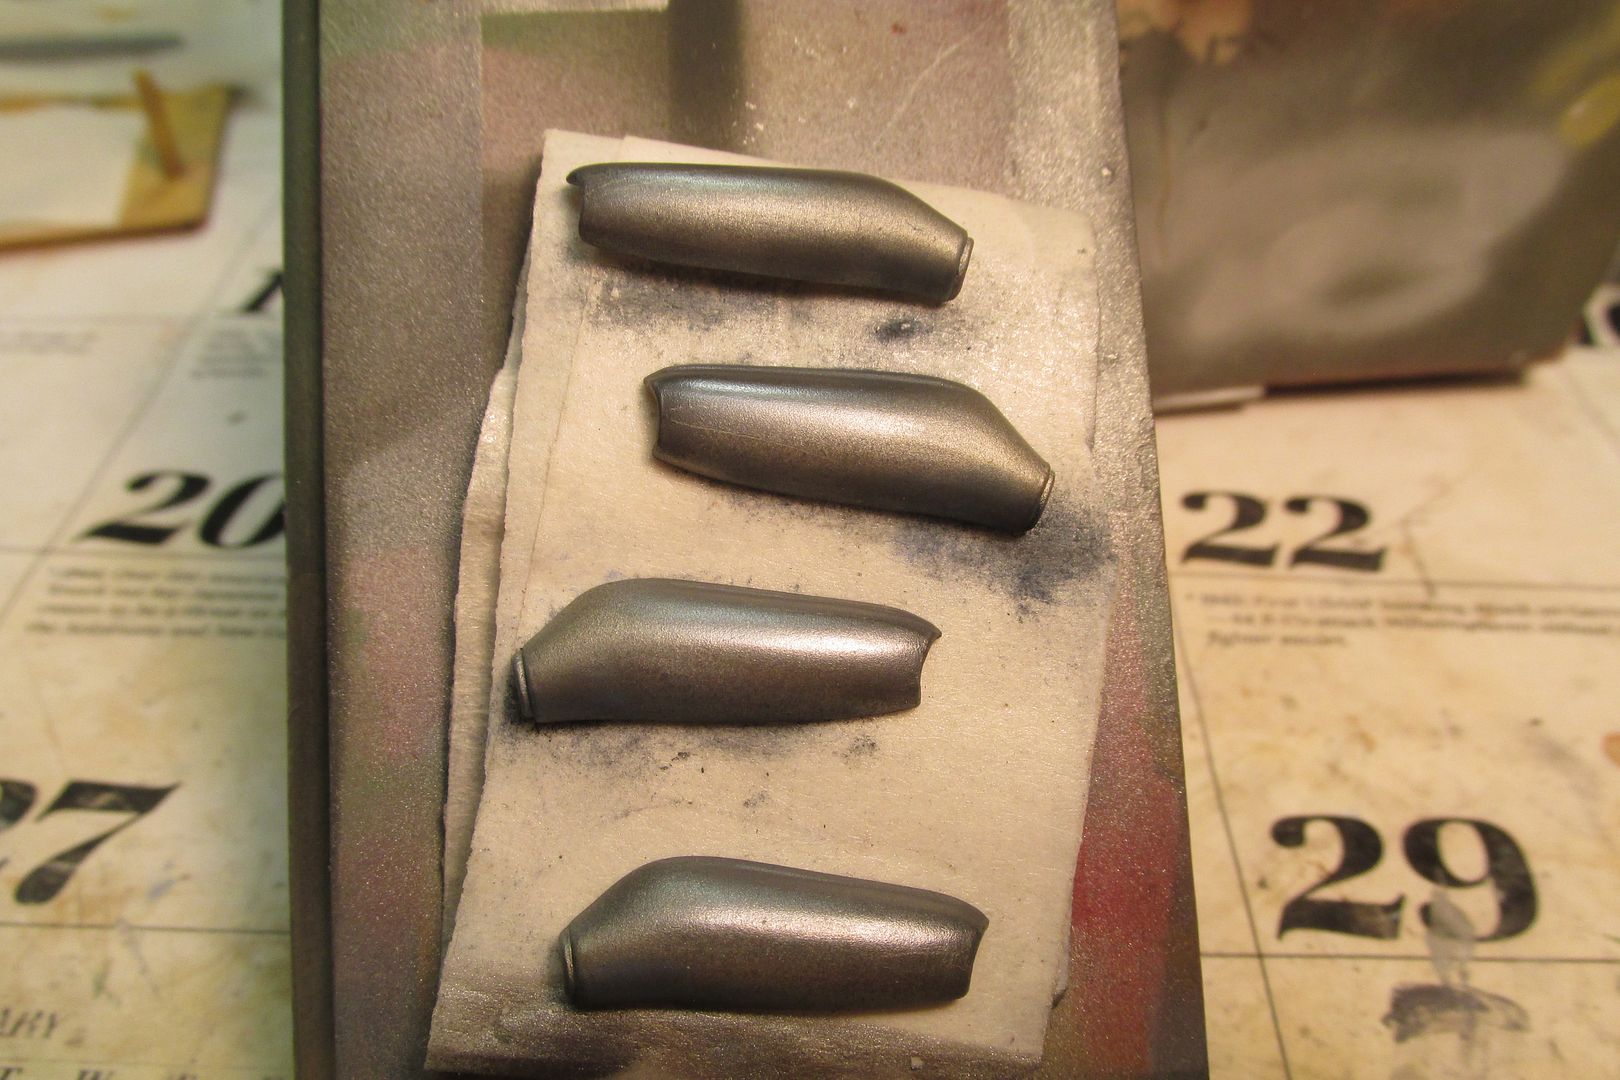
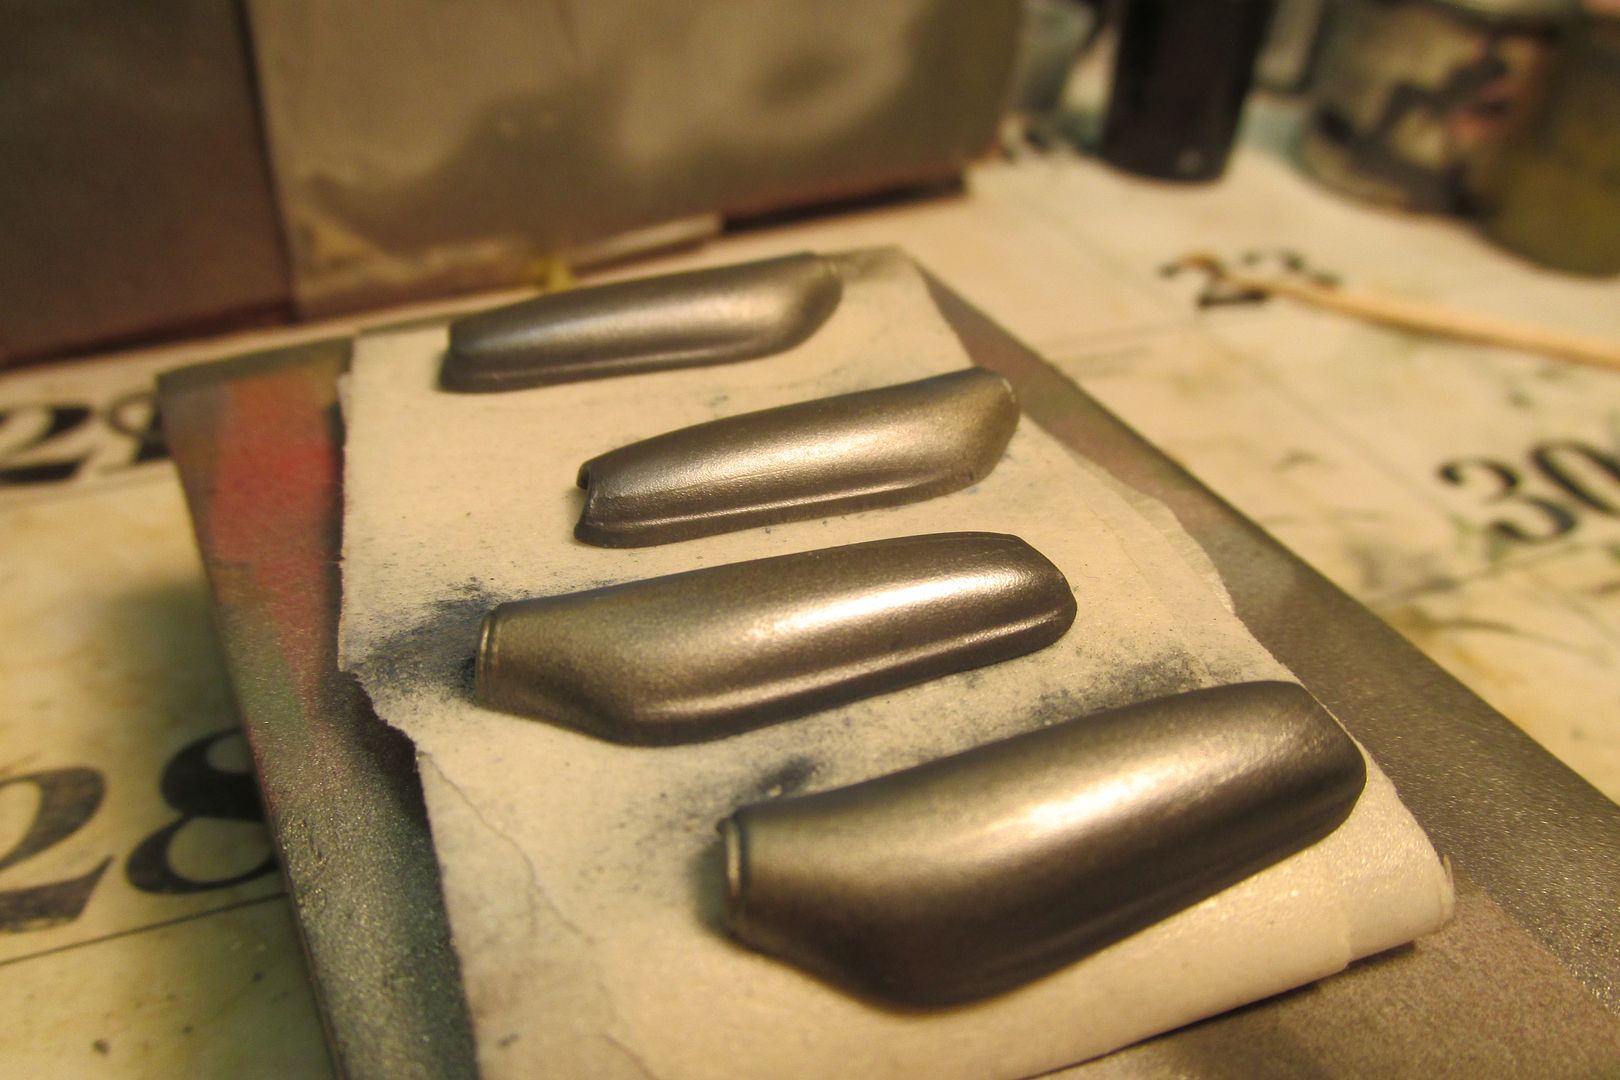
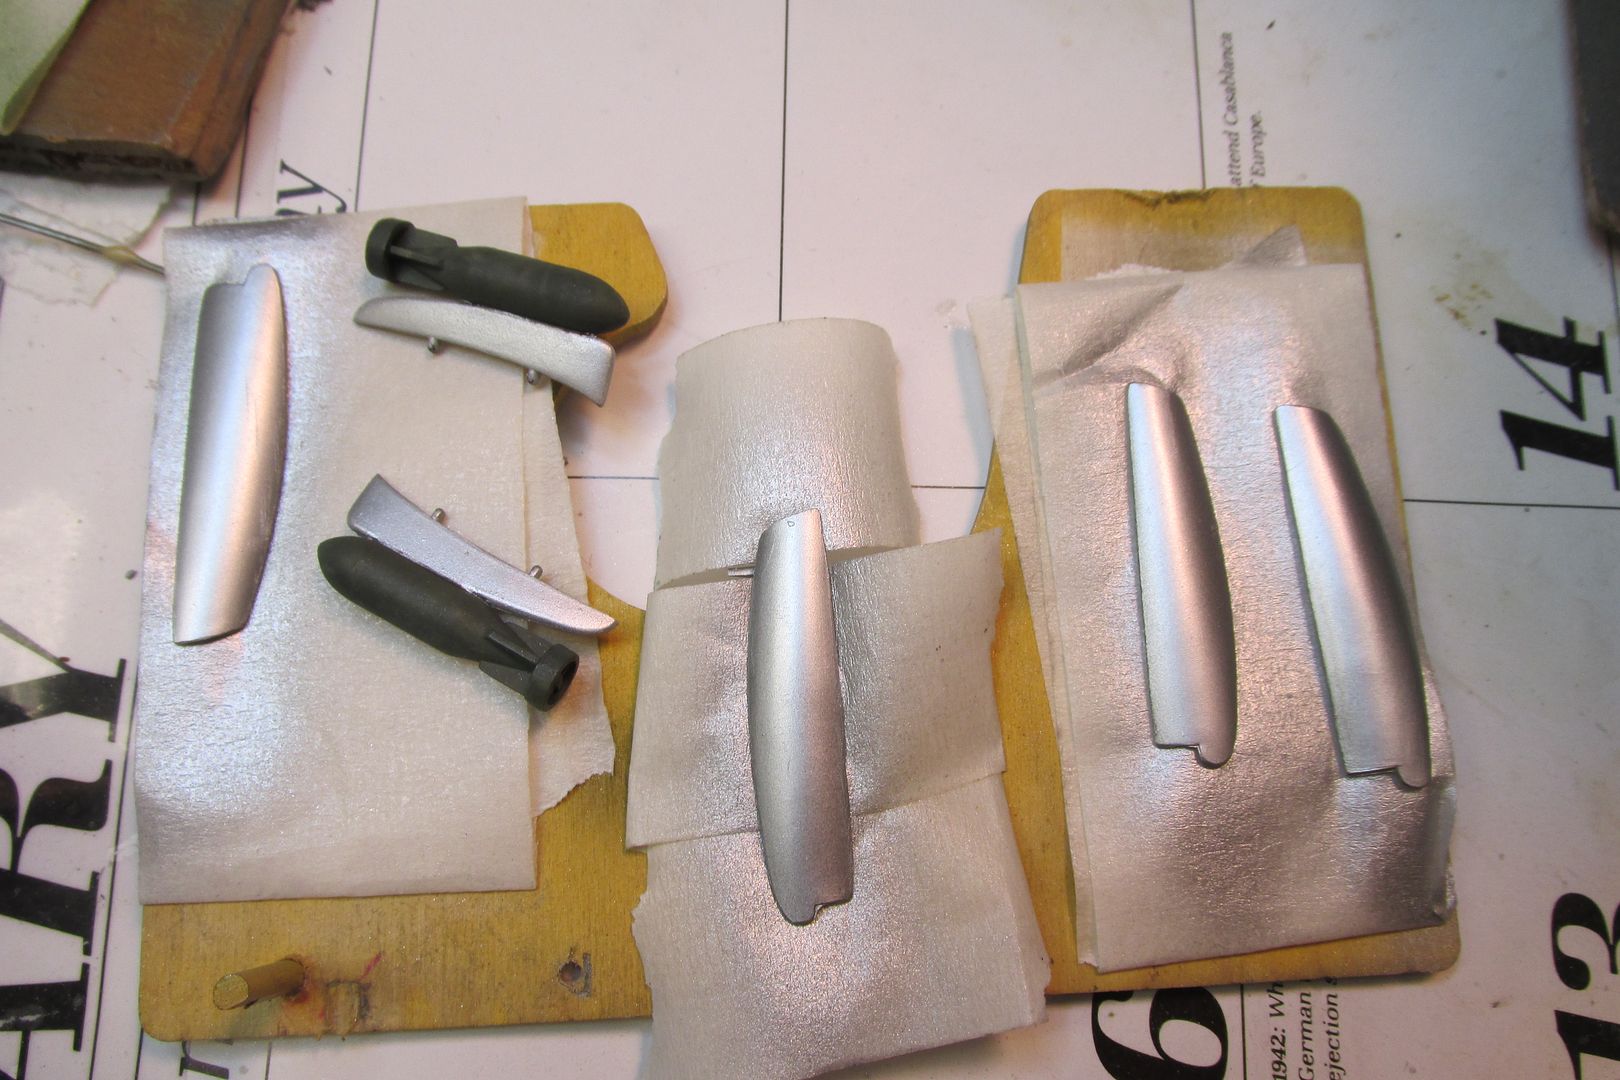
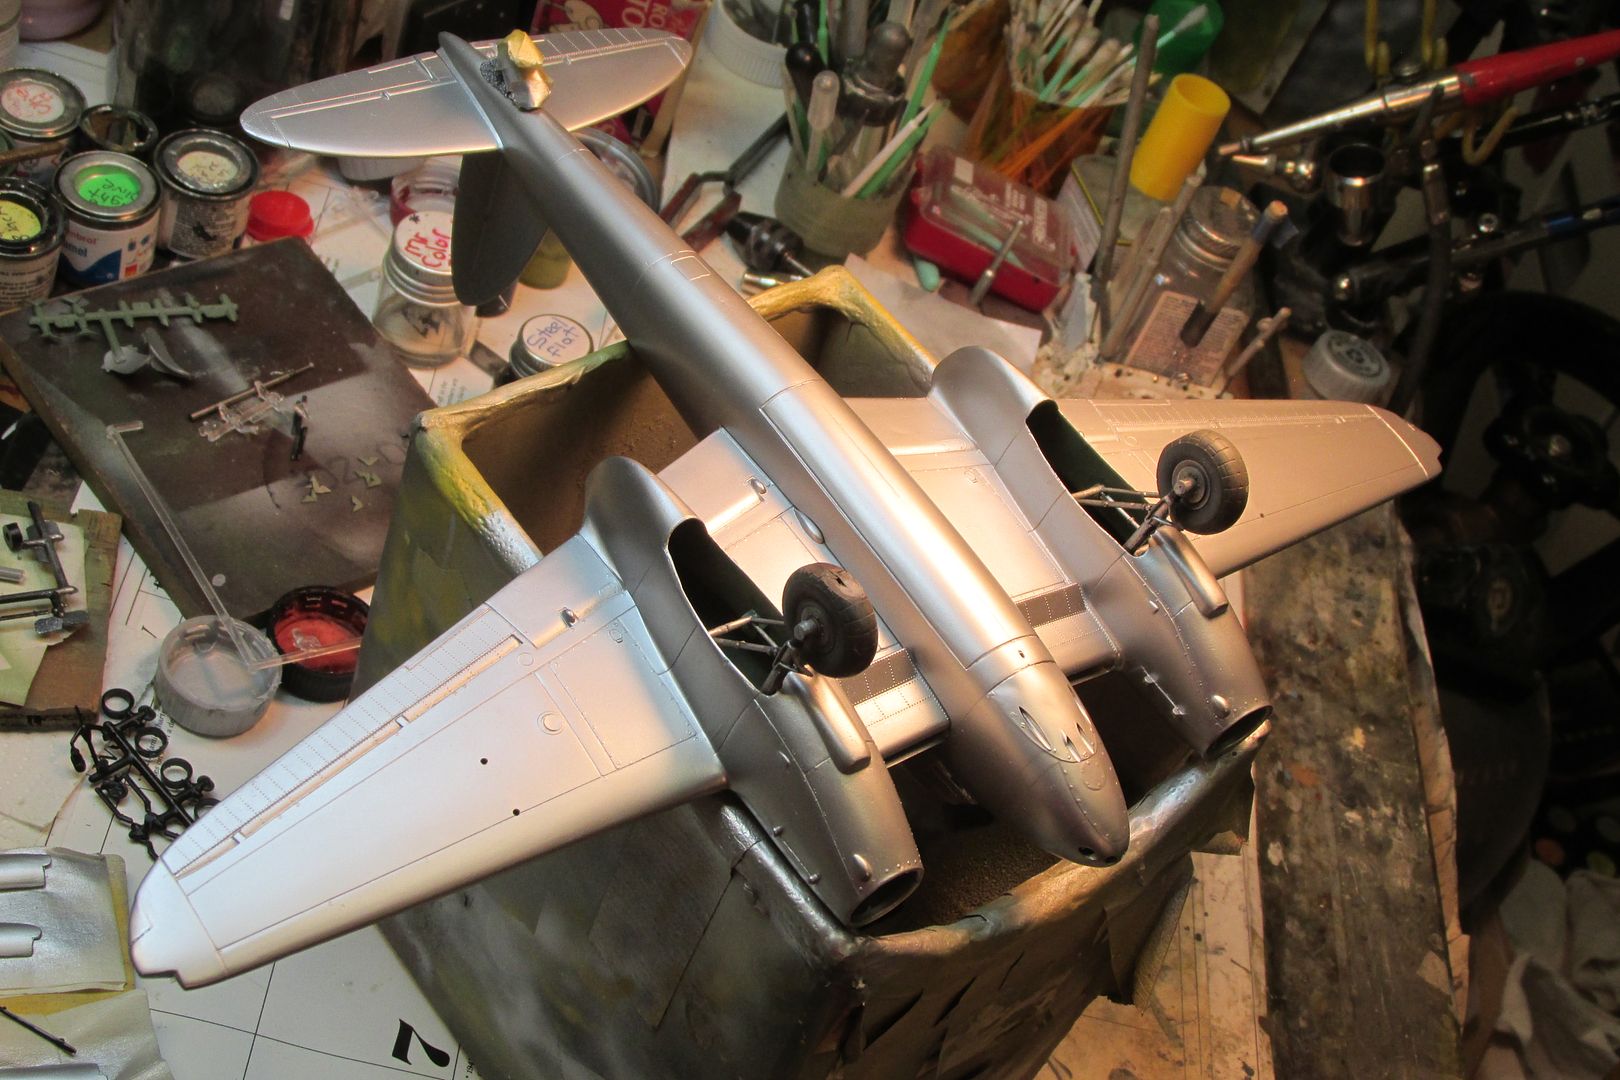
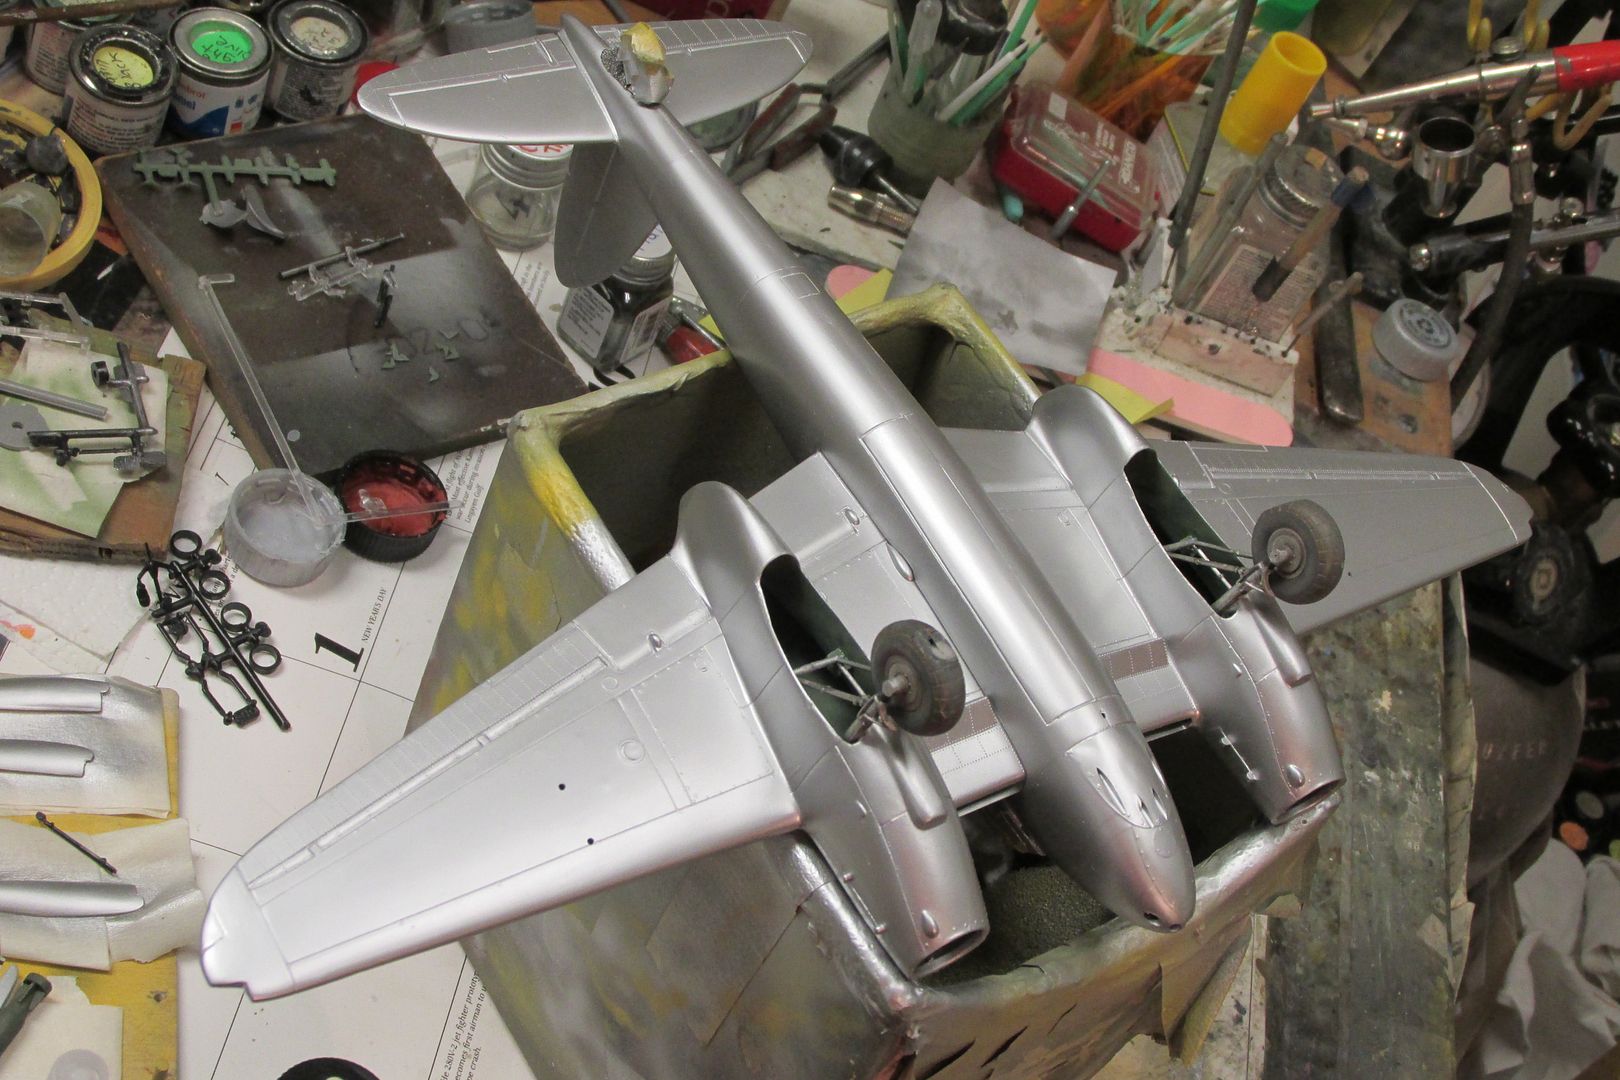
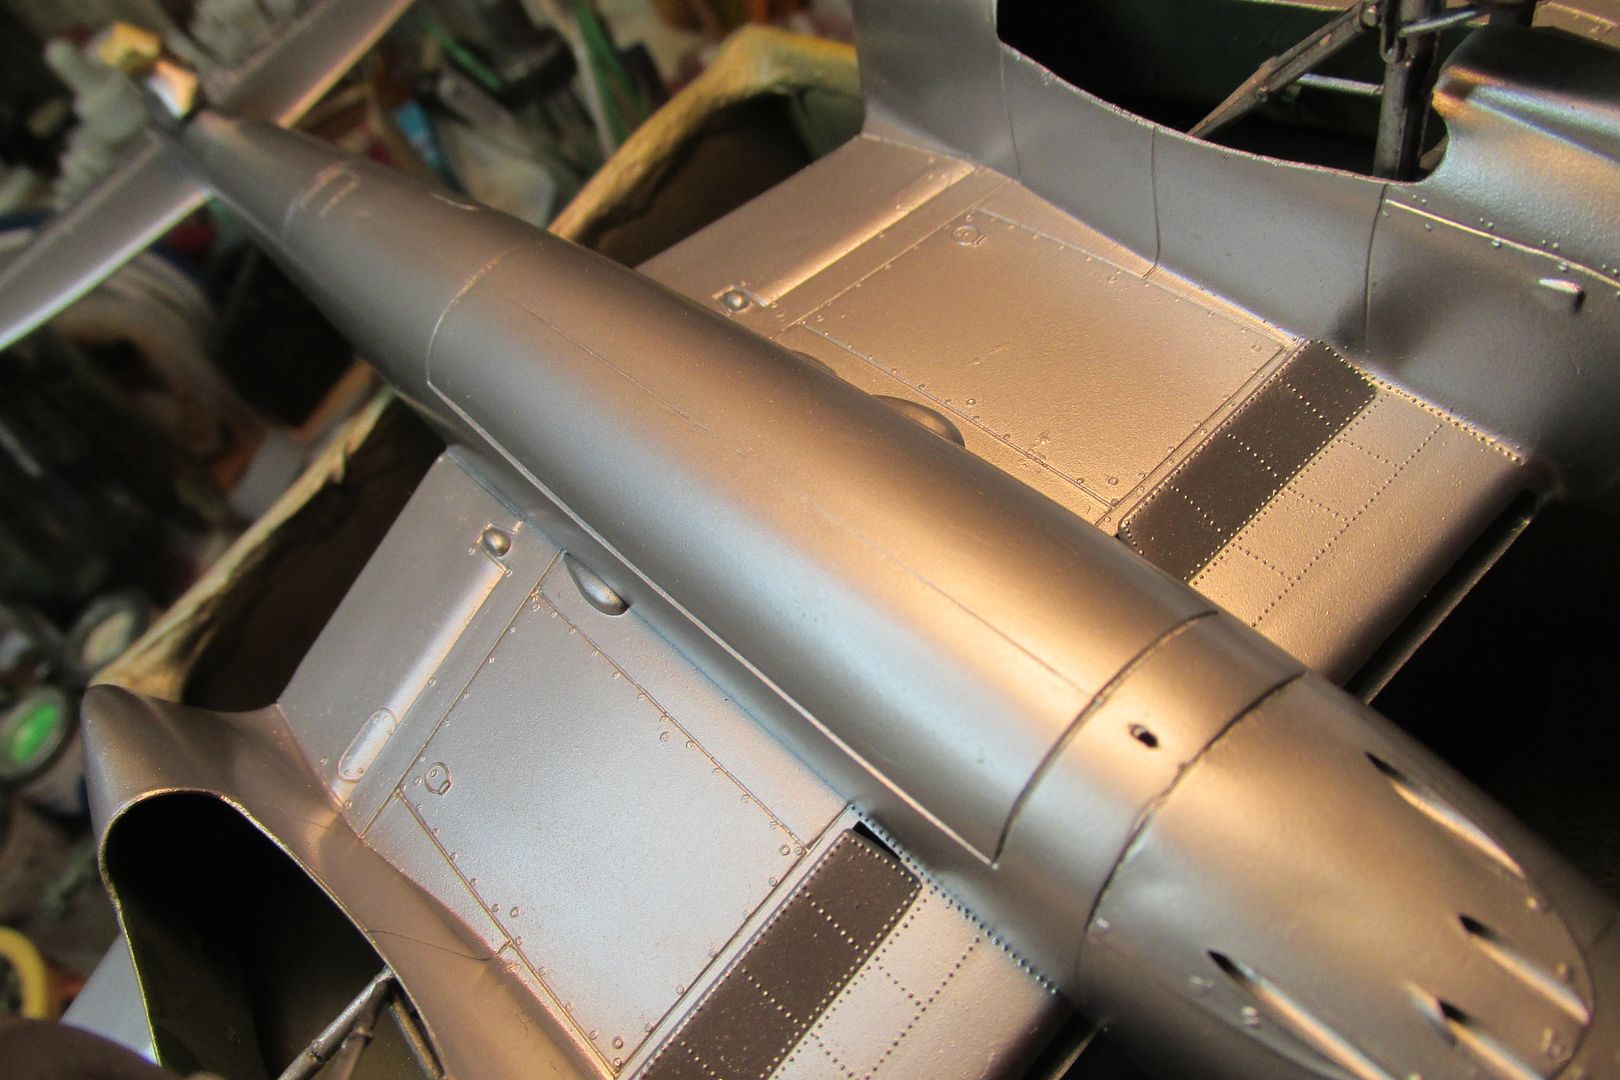
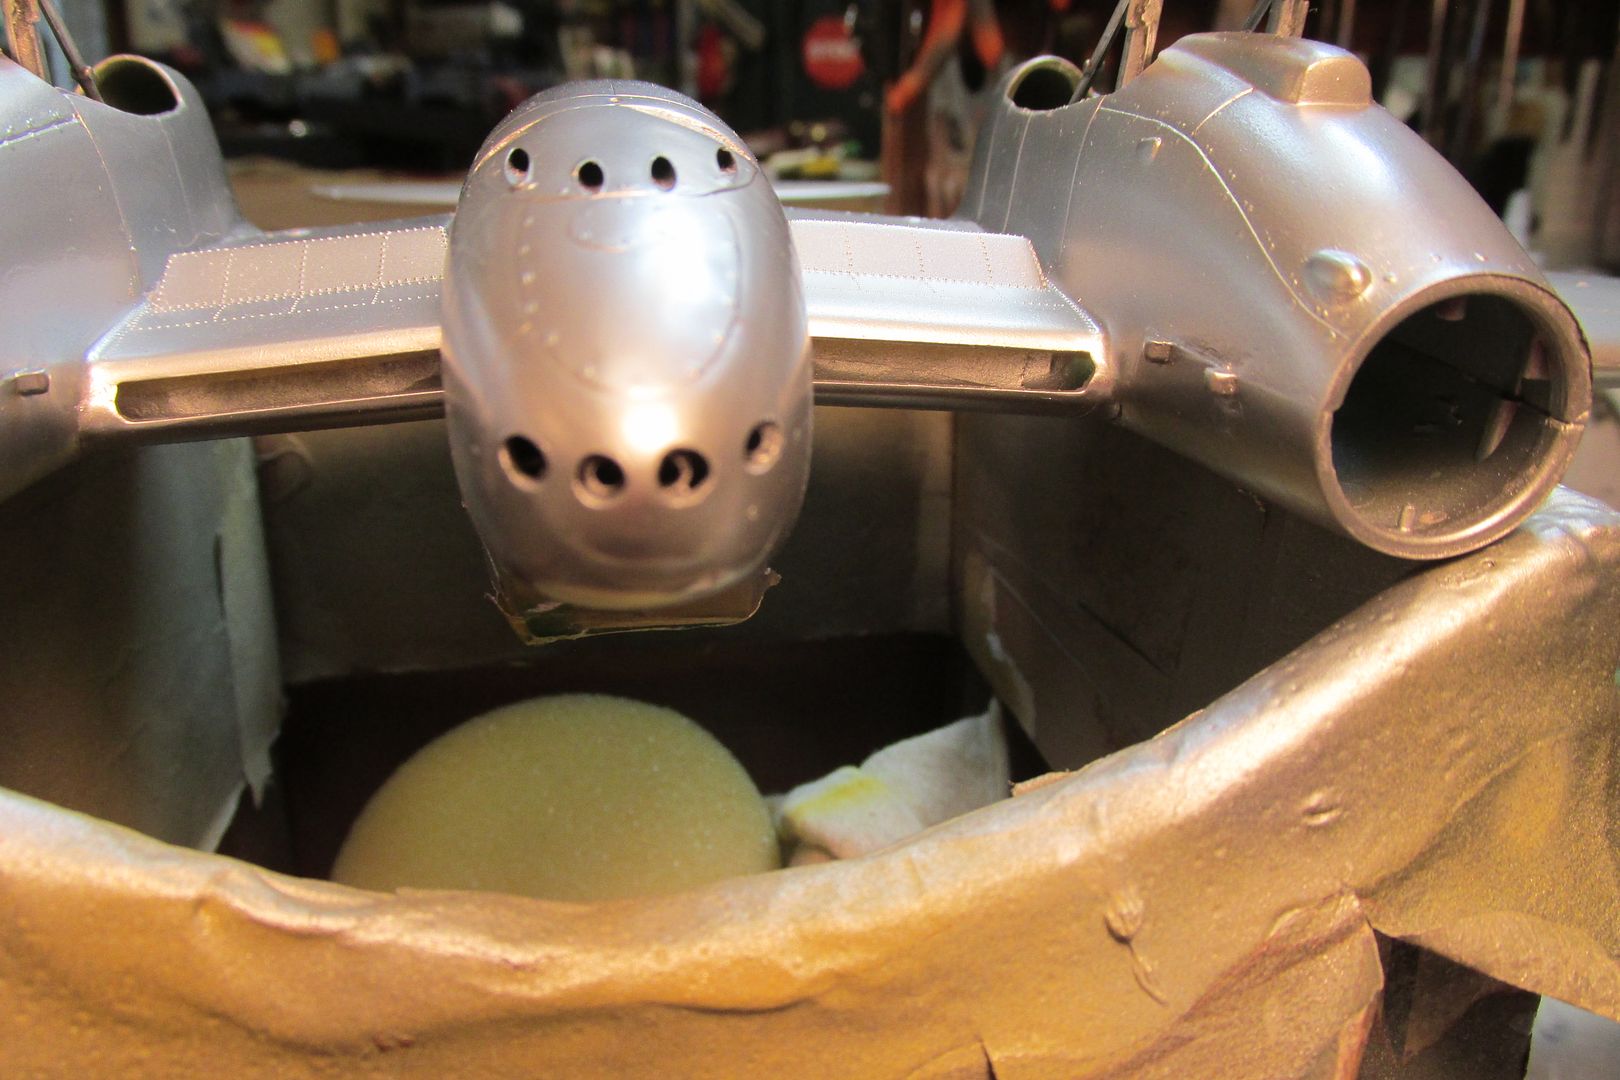
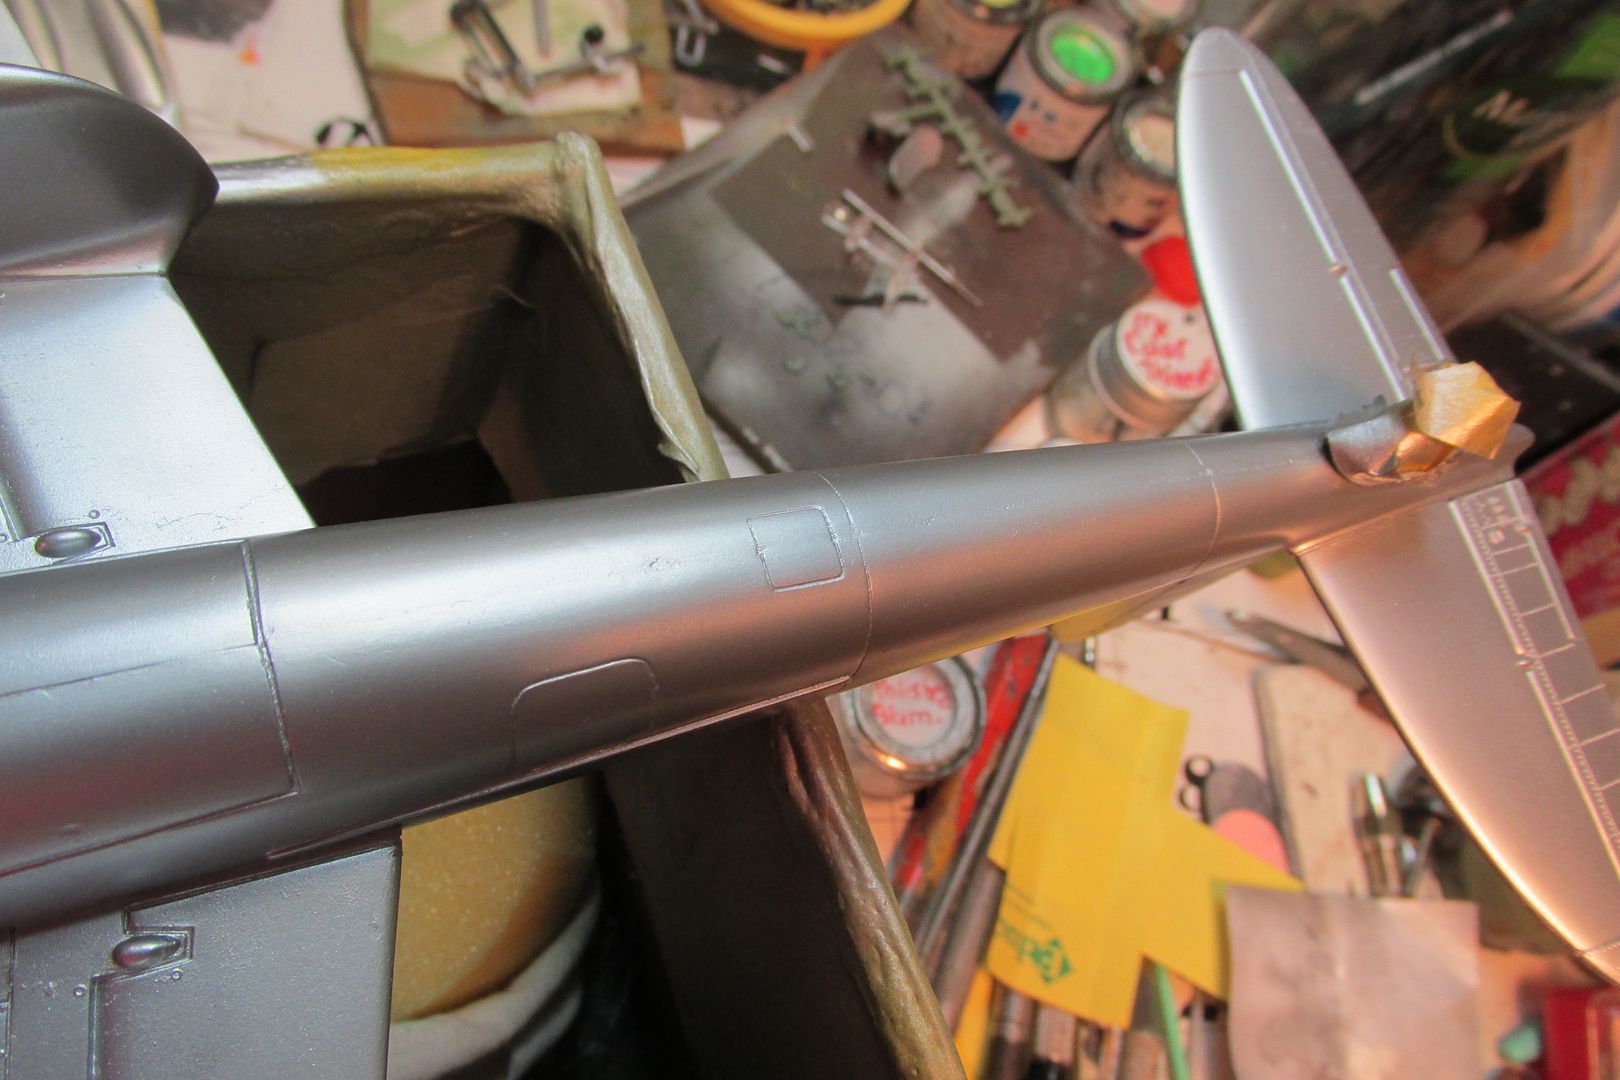
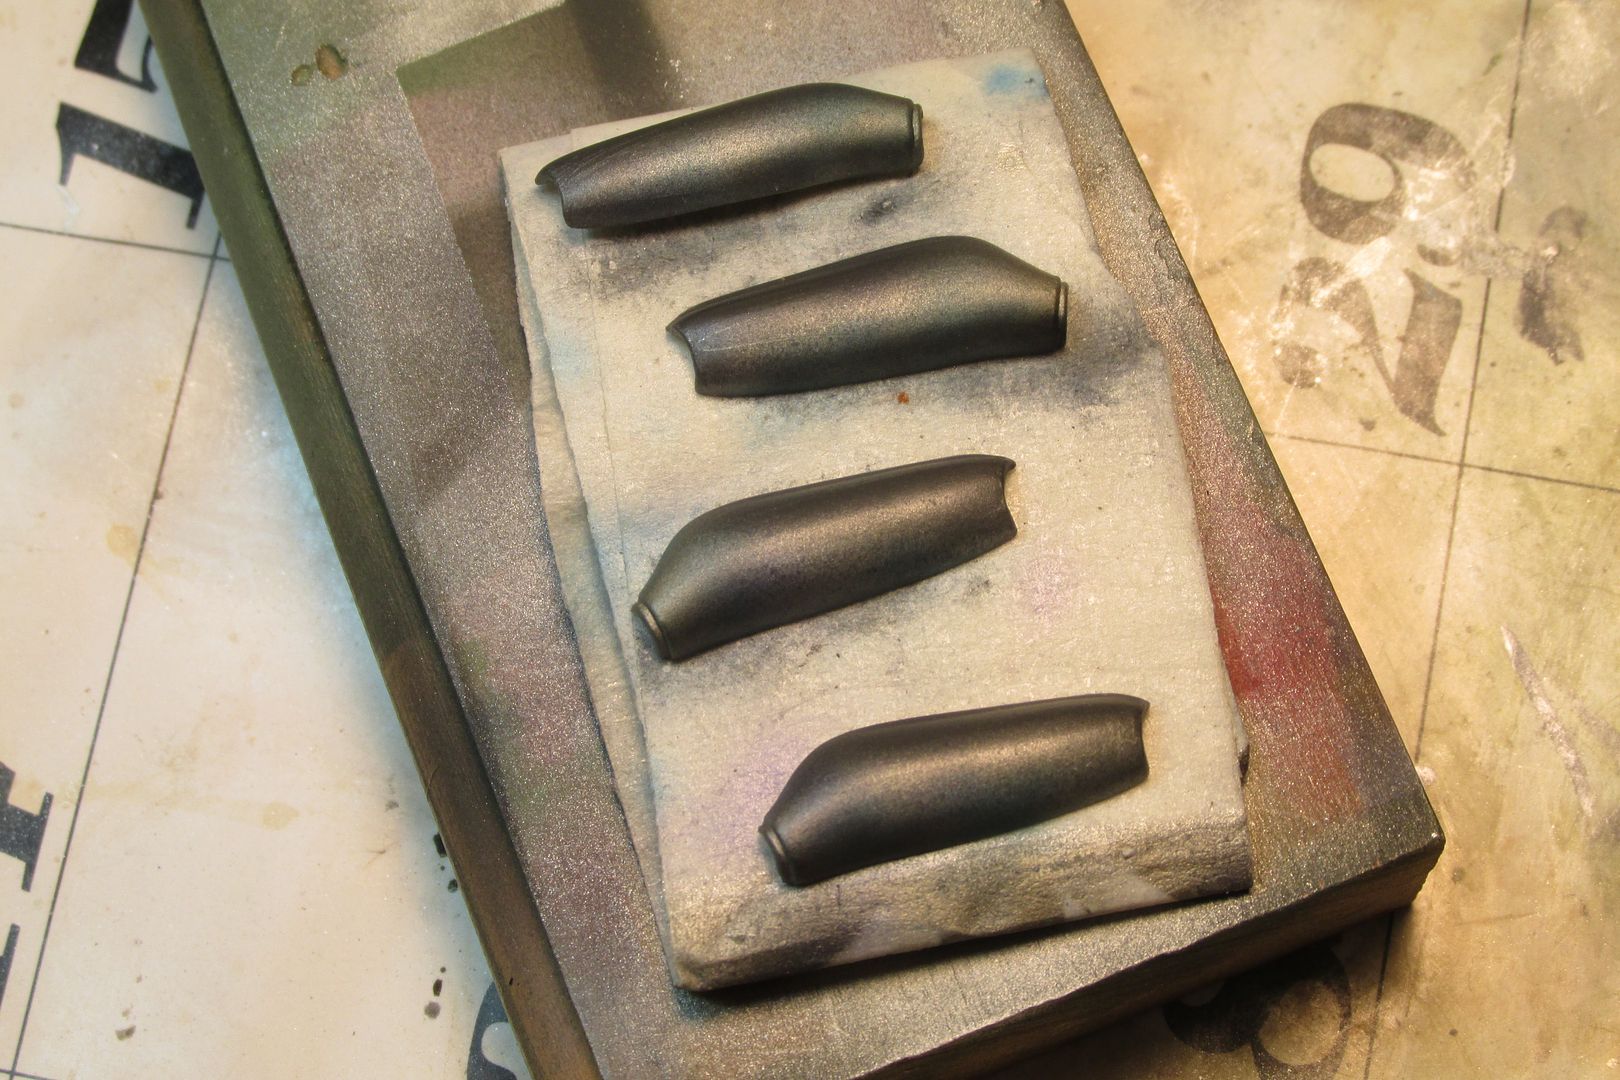
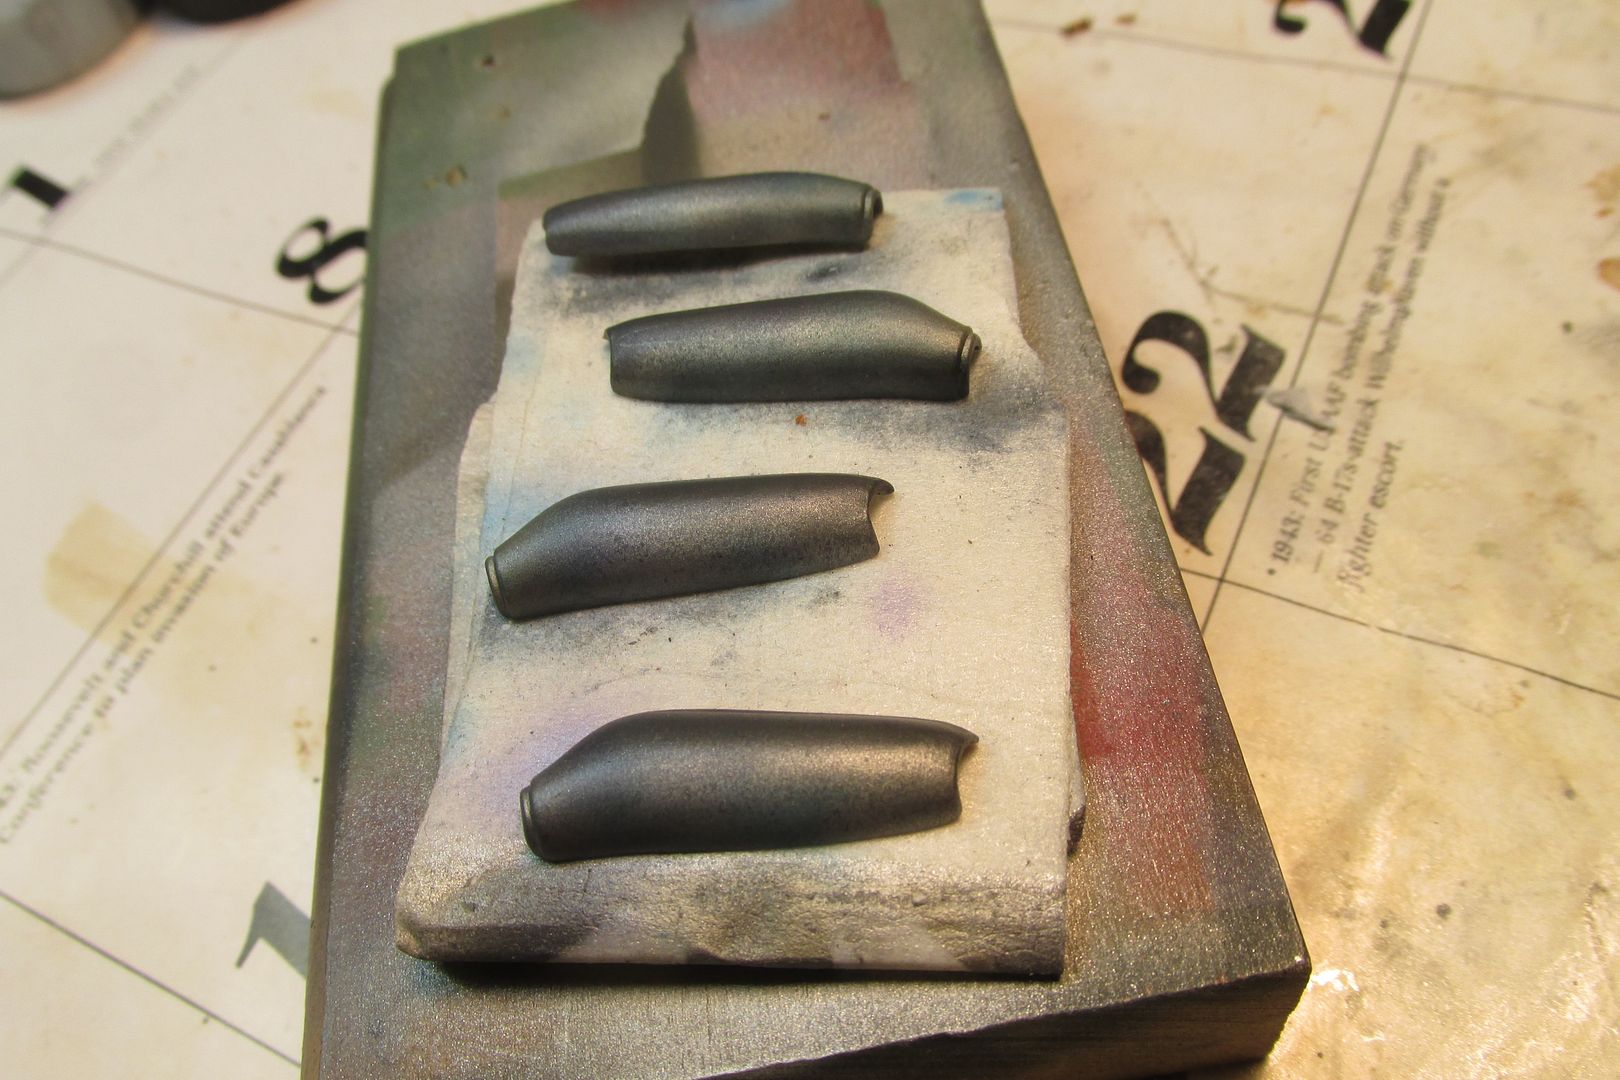
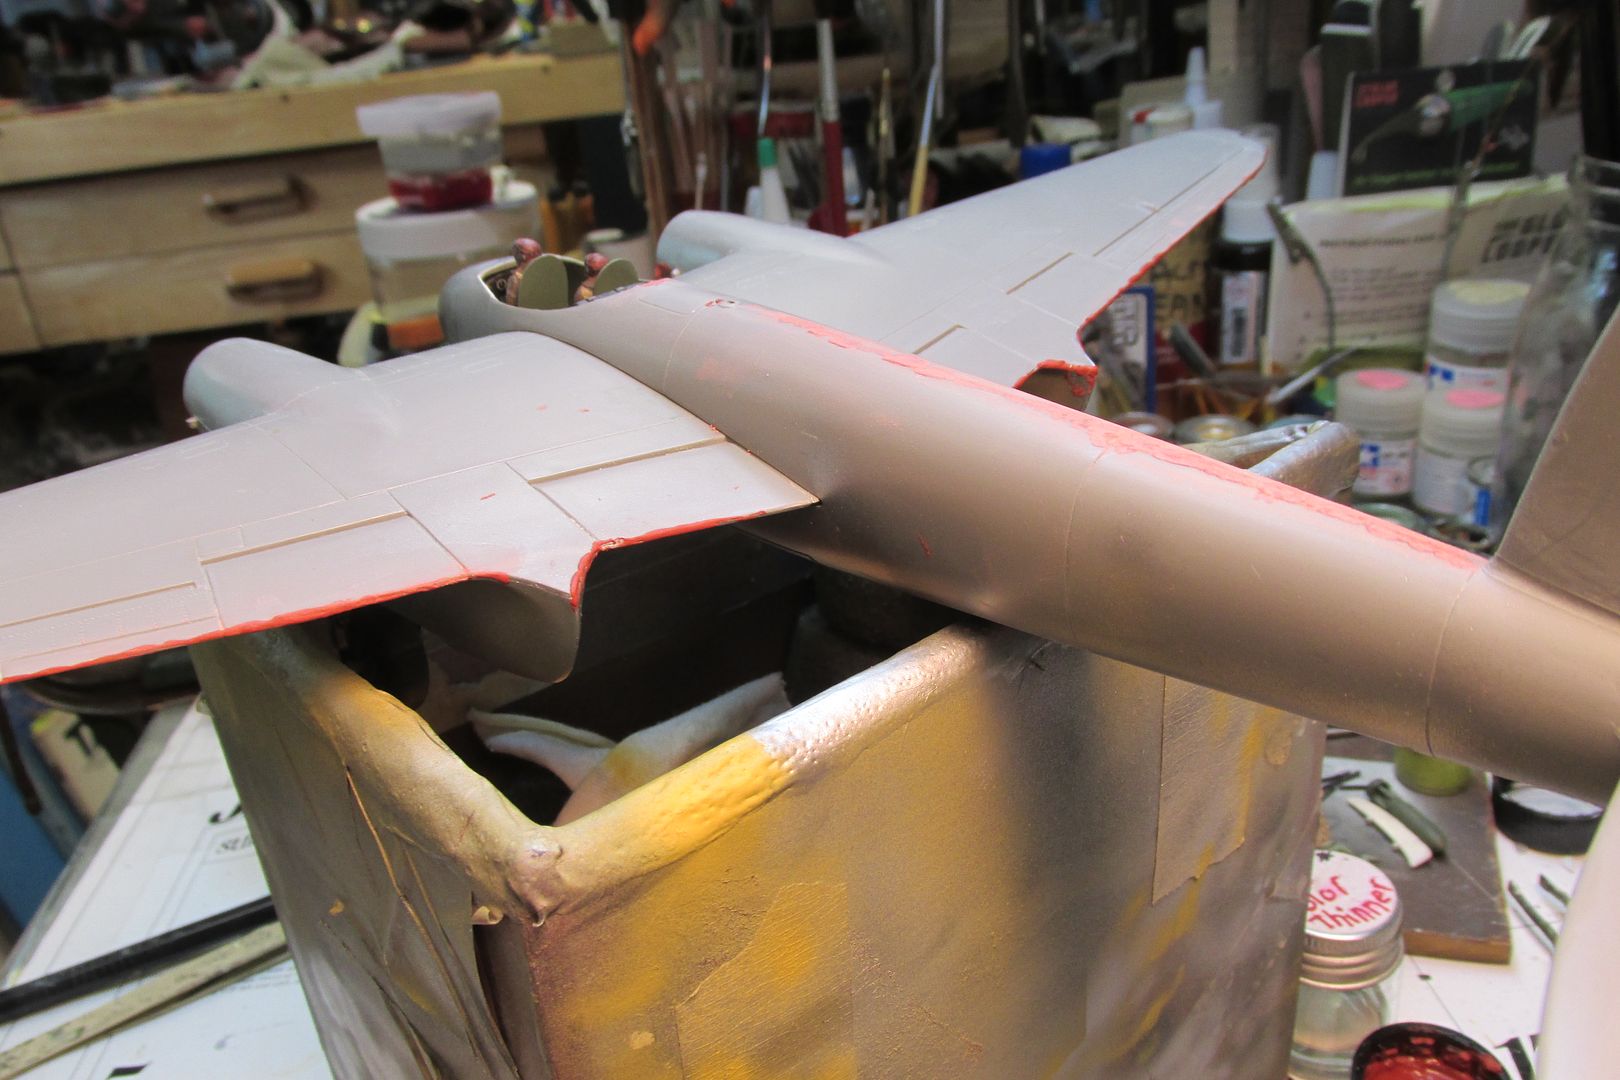
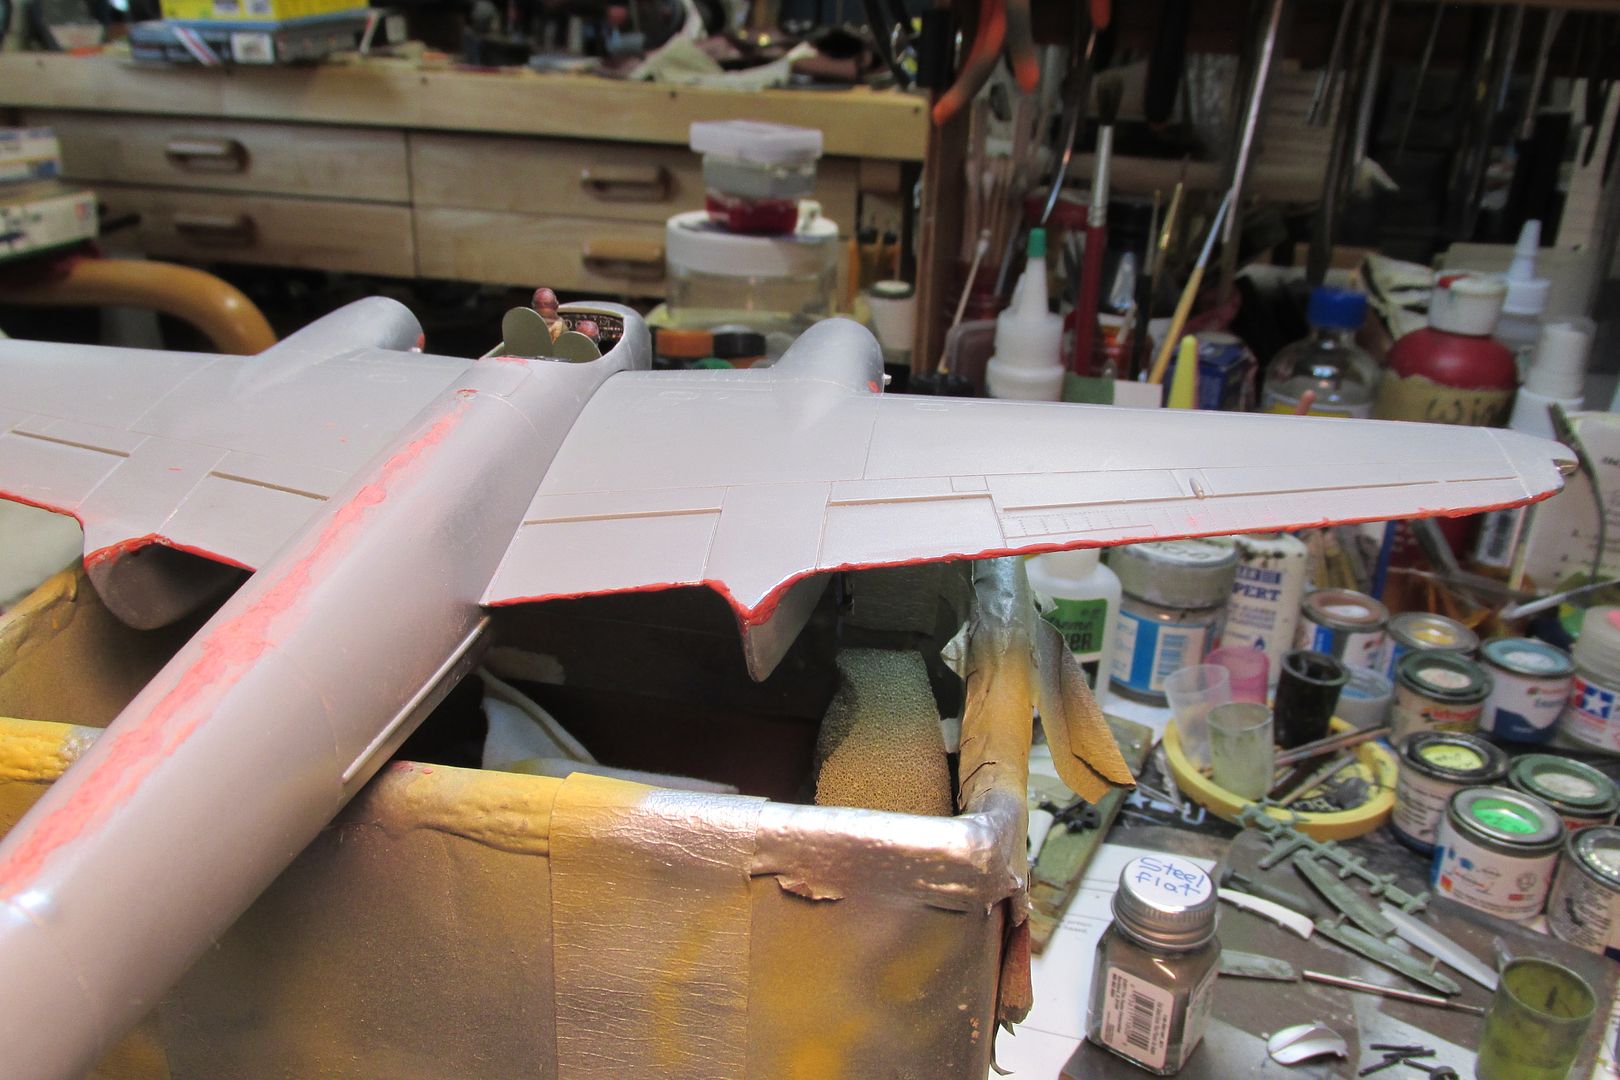
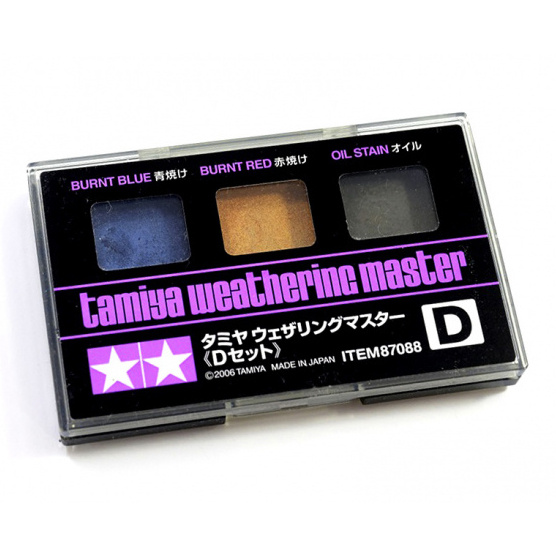
Great update Gary! The silver undersides look good. I wonder if some other method of discoloring the exhaust covers might work better? Perhaps some of the clear blue paint airbrushed on, or maybe the Tamiya Weathering Master set D
Happy Birthday to your wife, and enjoy your trip together!
Re: Monogram De Havilland Mosquito FB VI-Silver wings!
Posted: Thu Sep 28, 2023 6:06 pm
by Gary Brantley
Jackie said "Thanks", Carlos and I thank you for the reply and for the useful tip!
I did once have some clear blue acrylic and sprayed it over aluminum for aotake color on Japanese planes, but it eventually went bad. I'm in Temple, Texas, where there is a Hobby Lobby and may look into what they have available there tomorrow. That's an easy sell for my wife too!
Re: Monogram De Havilland Mosquito FB VI-Silver wings!
Posted: Mon Oct 02, 2023 9:52 am
by Gary Brantley
Re: Monogram De Havilland Mosquito FB VI-Silver wings!
Posted: Tue Oct 03, 2023 7:23 am
by LyleW
mighty fine looking Mossie. Those are such iconic aircraft and you are certainly doing it justice. Someday, when I grow up....(never mind).
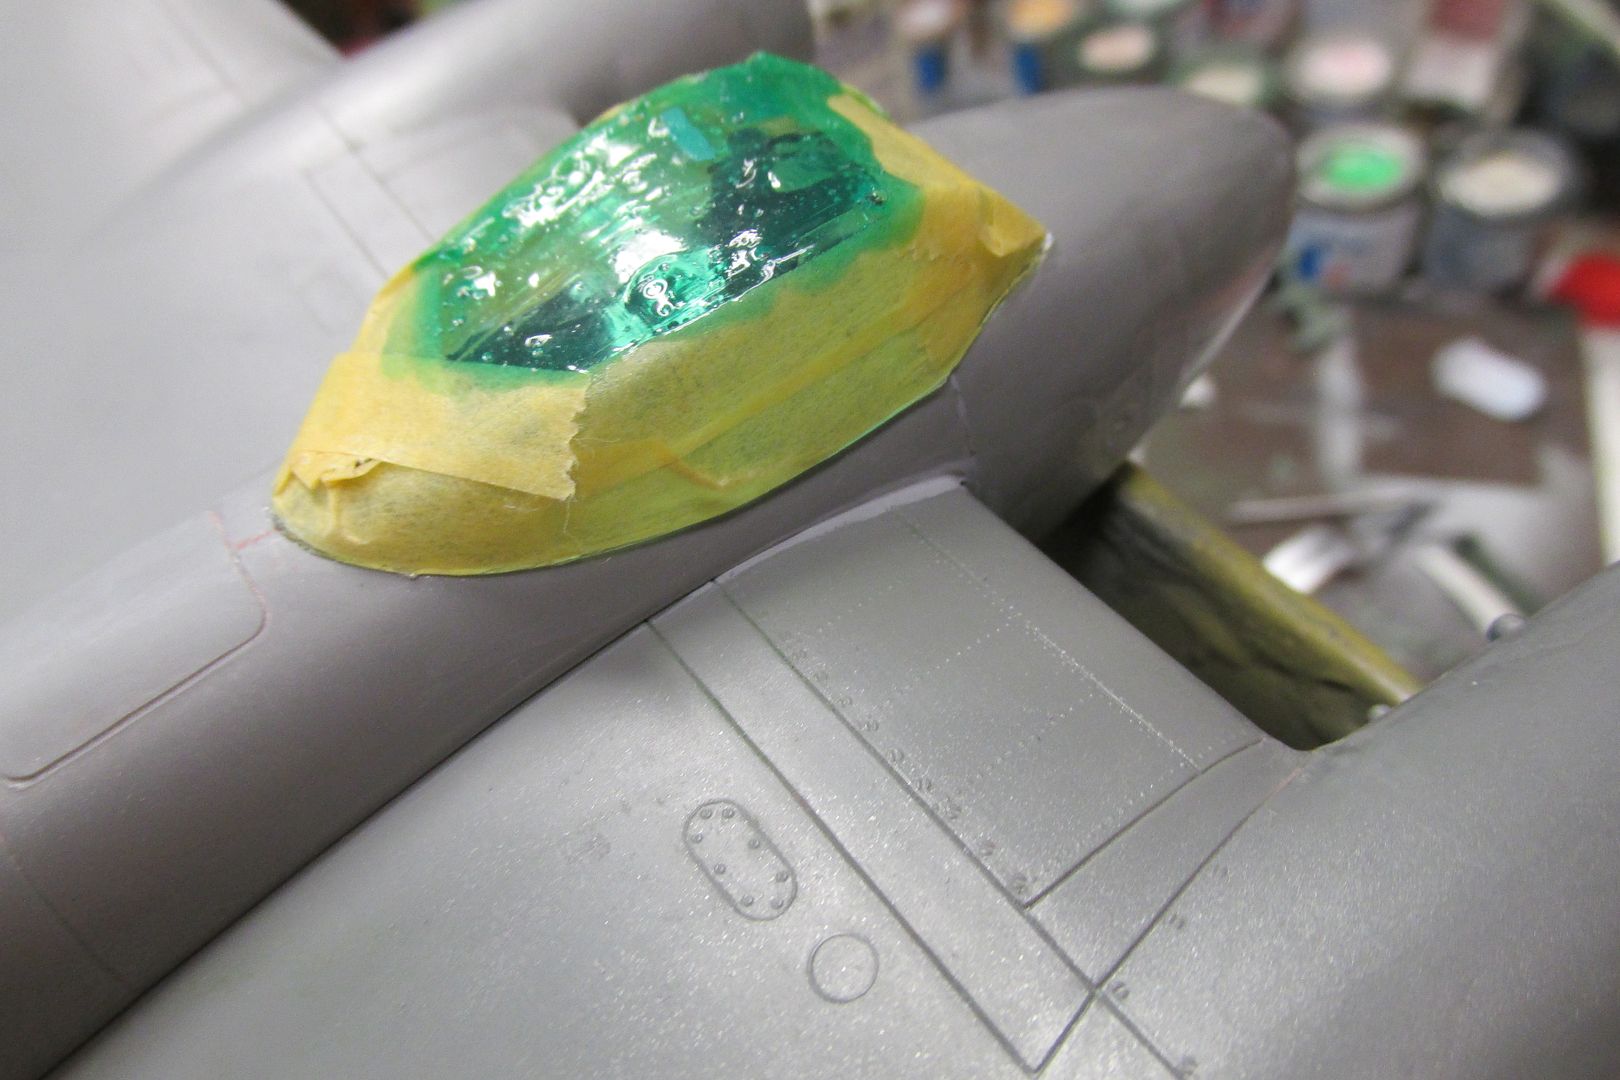
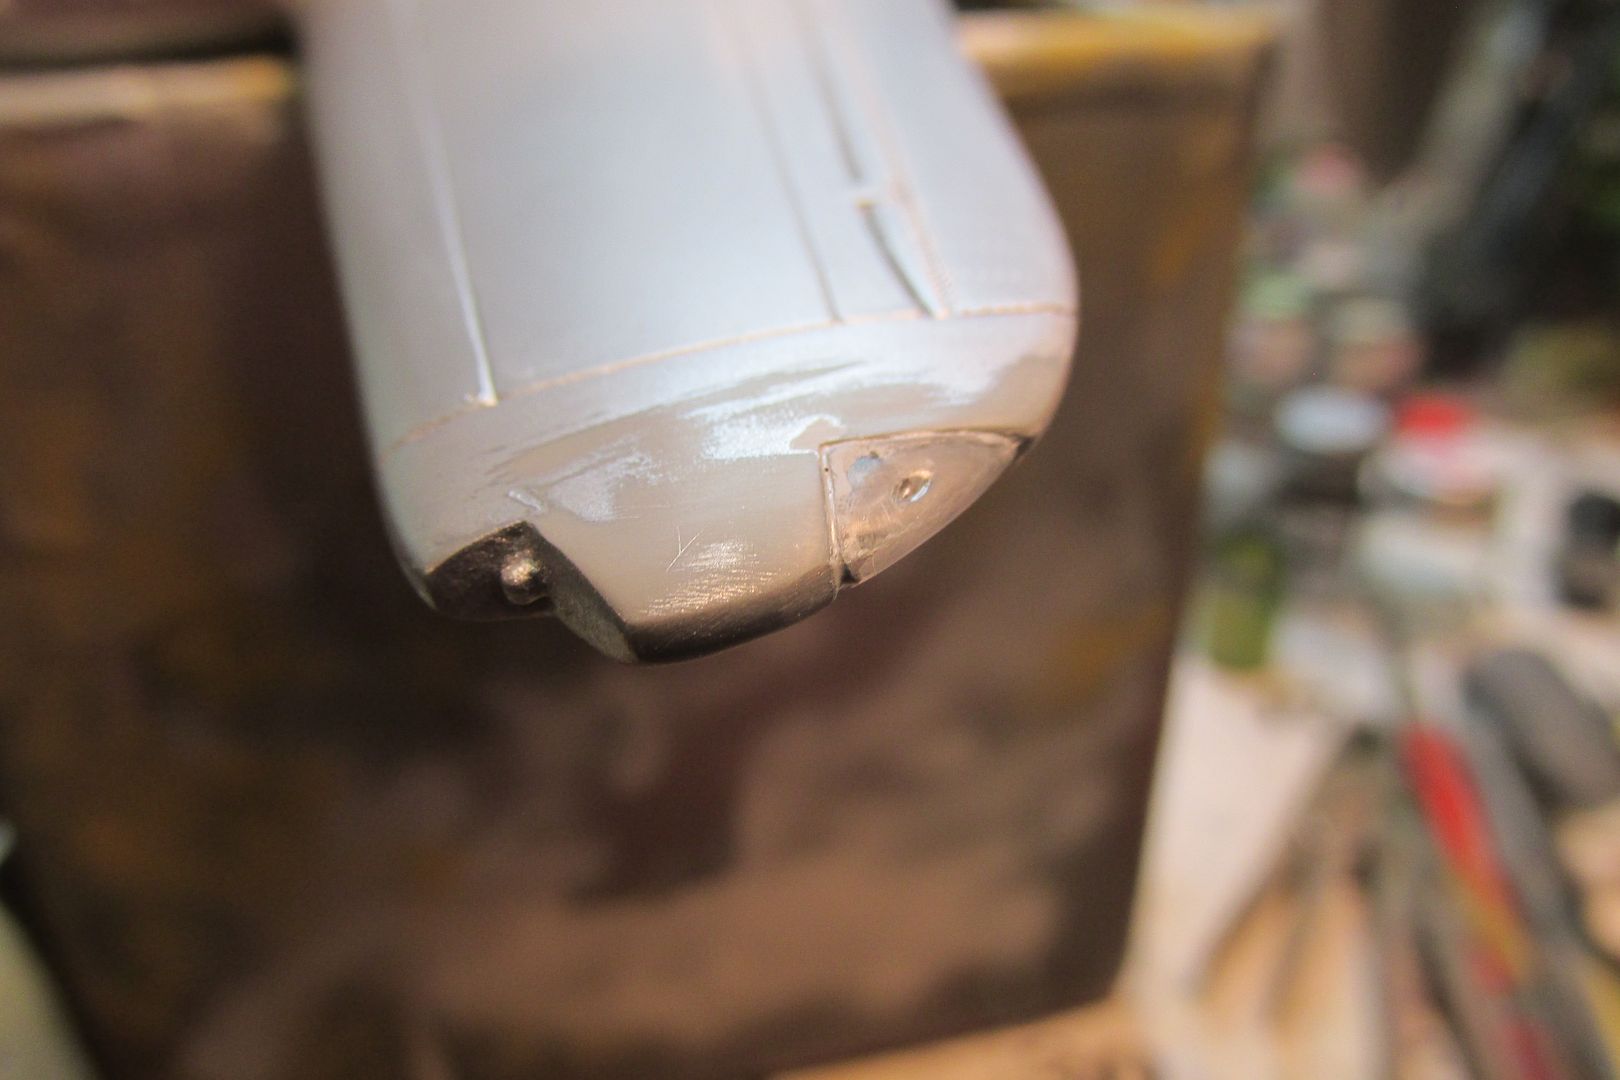
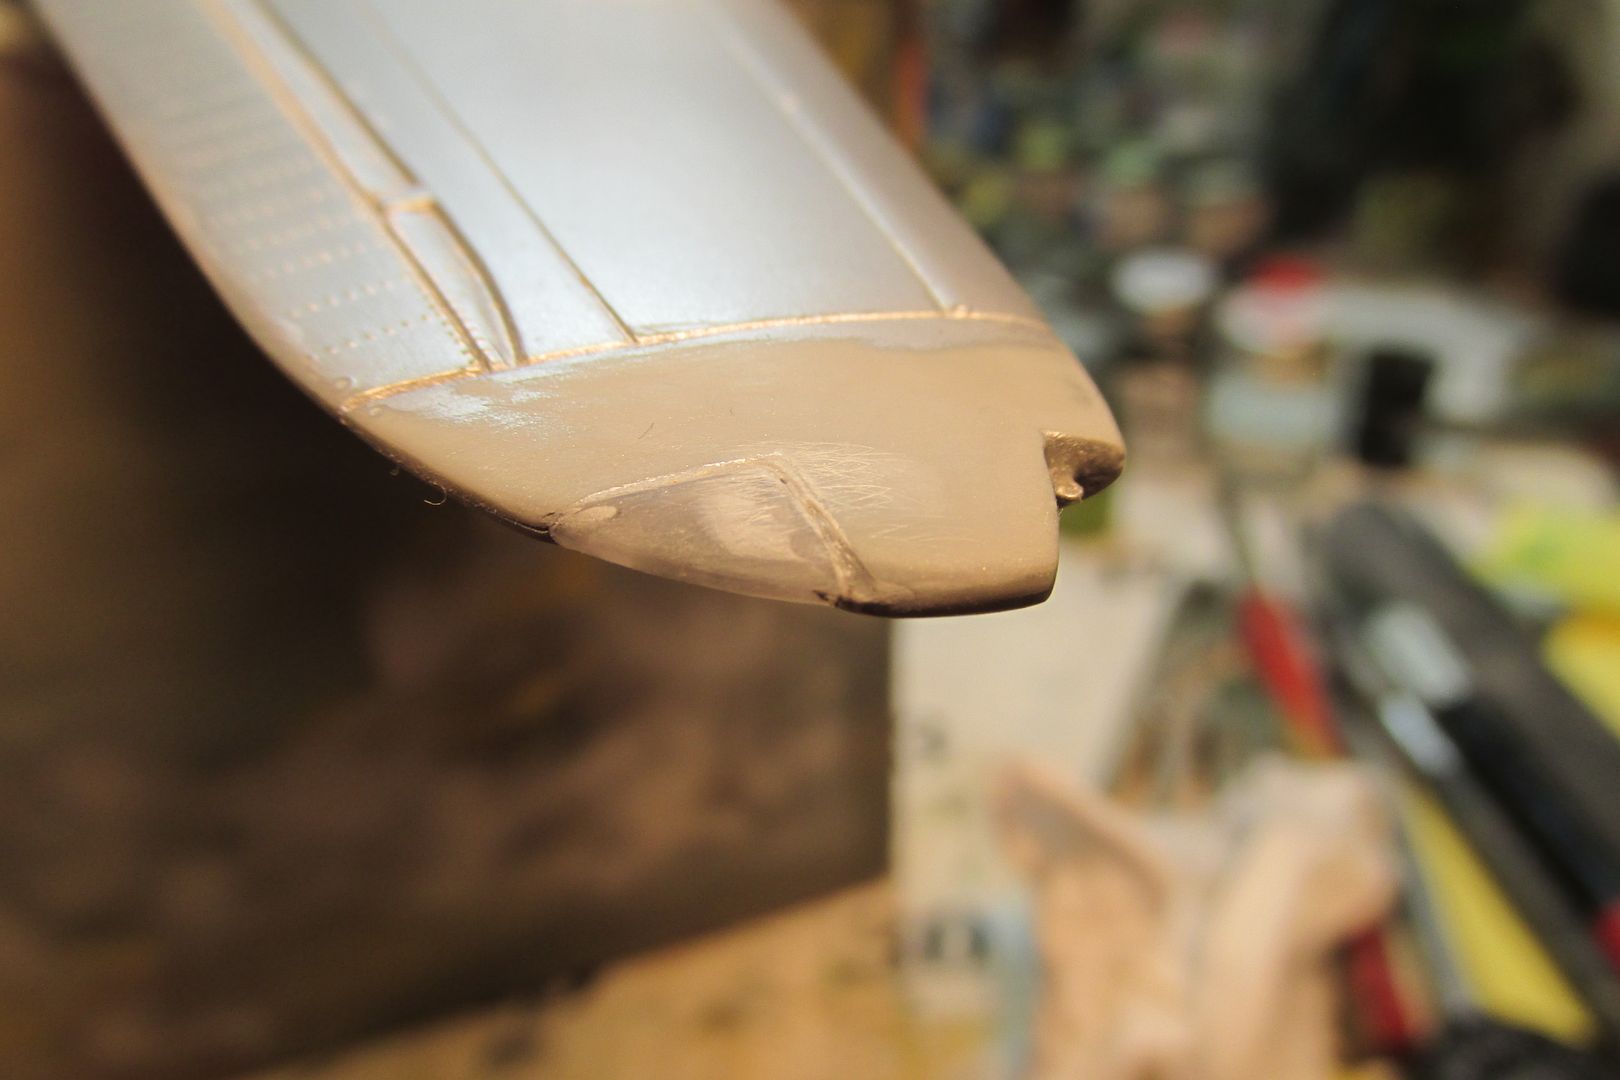
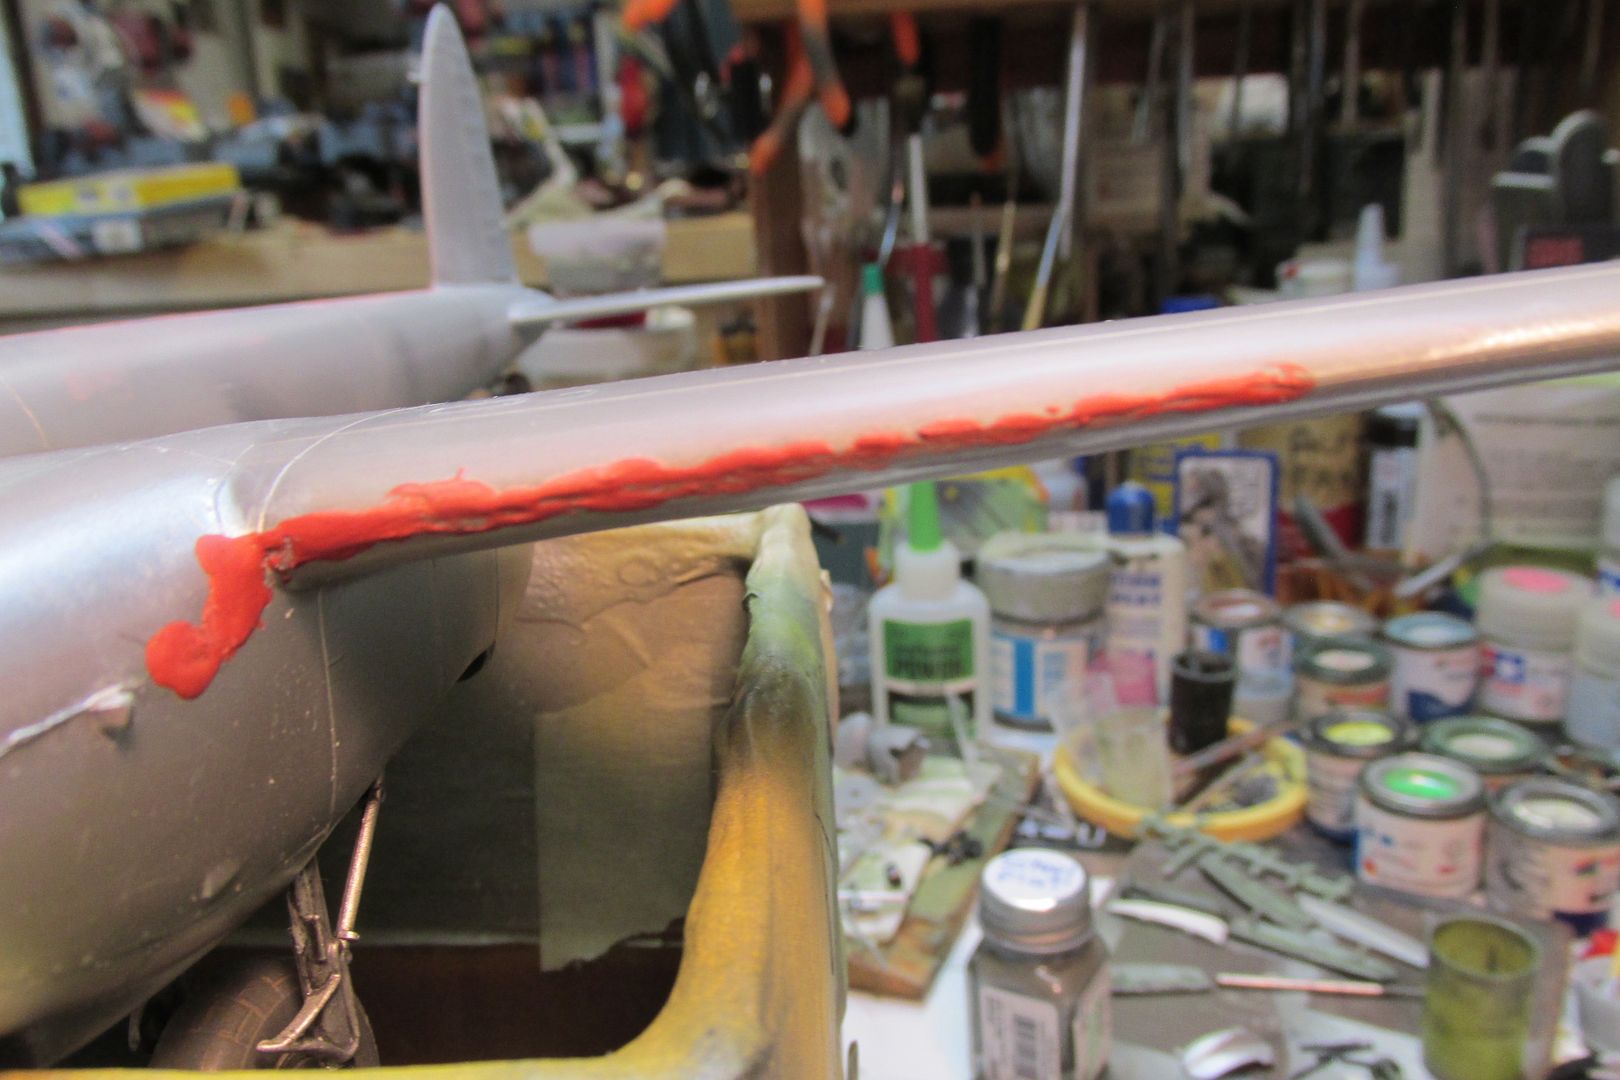
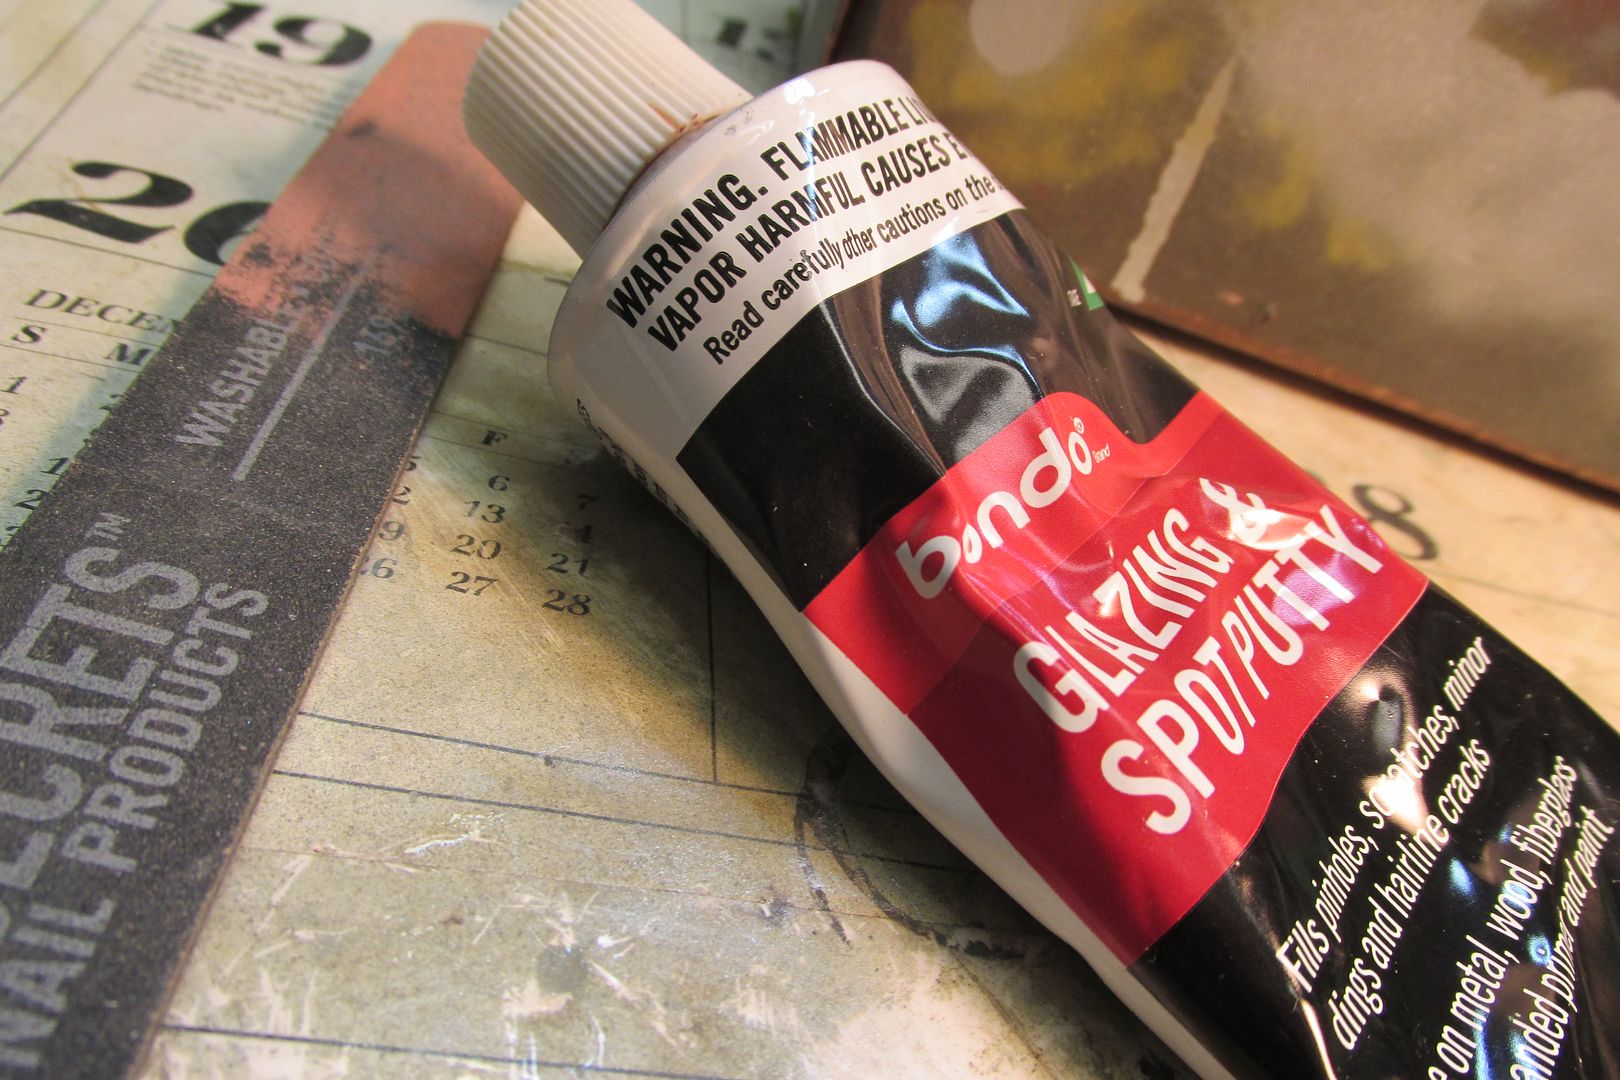
I really like the Bondo. Doesn't seem to shrink, dries fairly fast and sands esily.
Re: Monogram De Havilland Mosquito FB VI-Silver wings!
Posted: Tue Oct 03, 2023 7:55 am
by Gary Brantley
Thanks so much, Lyle! I'm getting
kinda ready to finish this one up and move one to another project. And I get a little closer each day, I guess. Yeah, I agree with you regarding Bondo; gotta like that stuff-can a million body-shop guys be wrong?!?

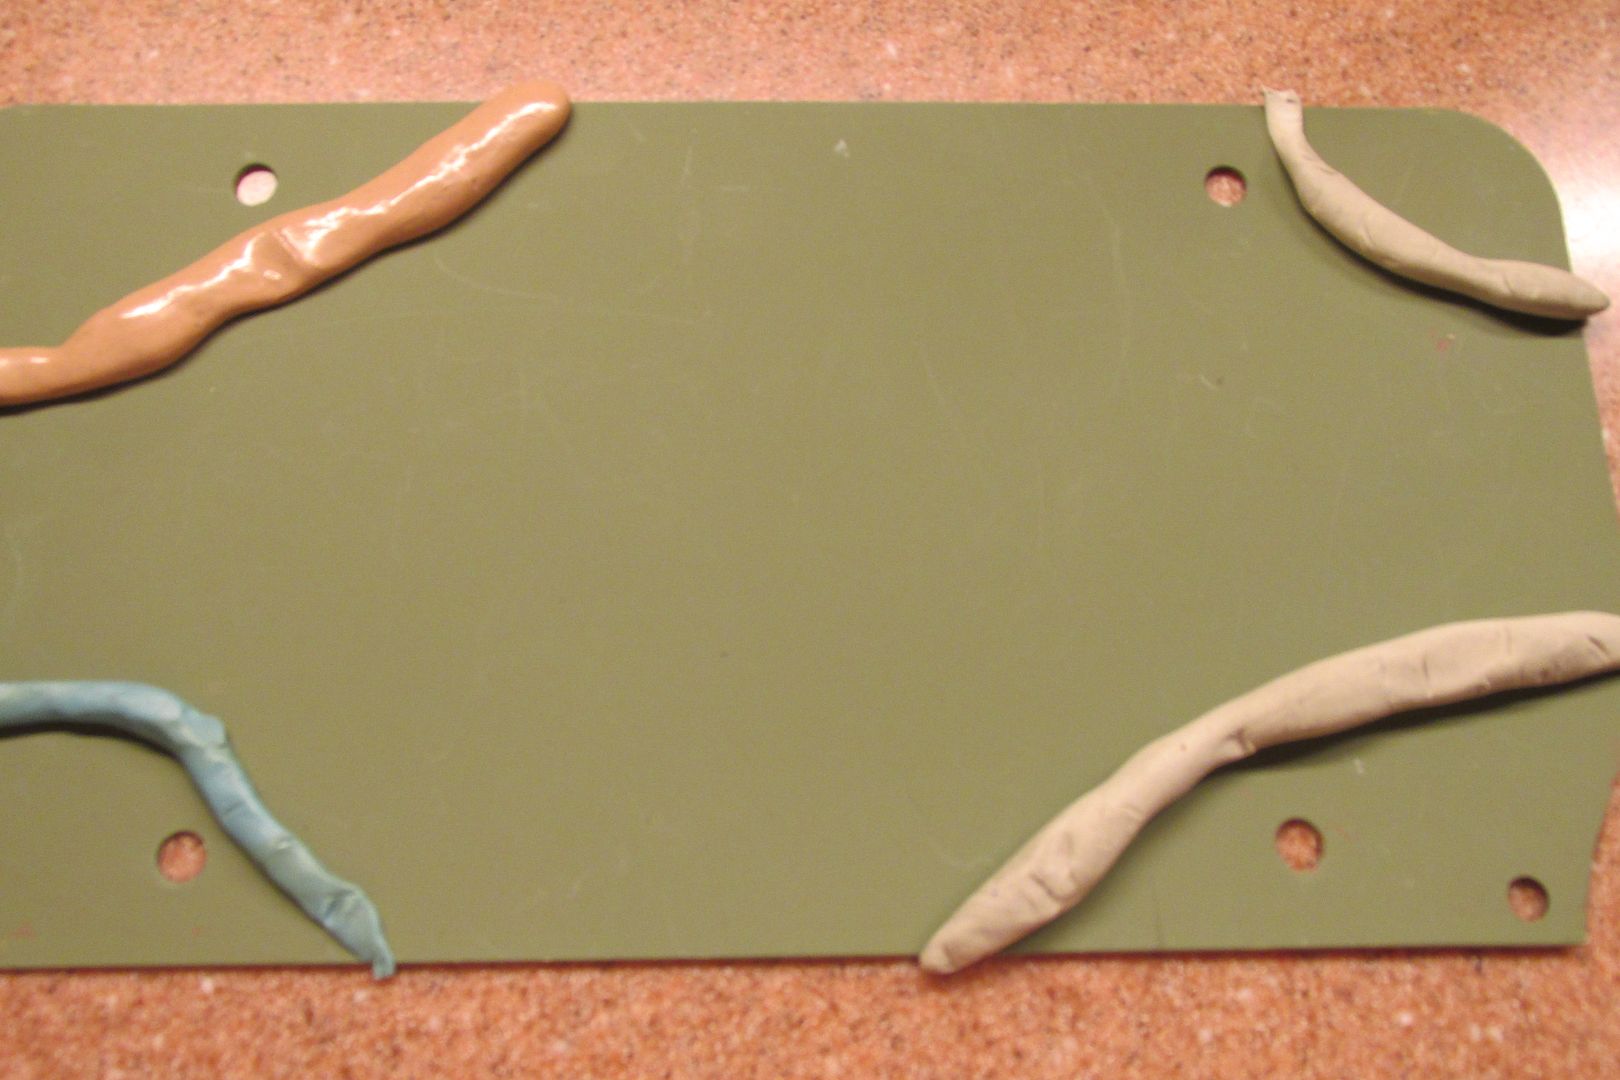
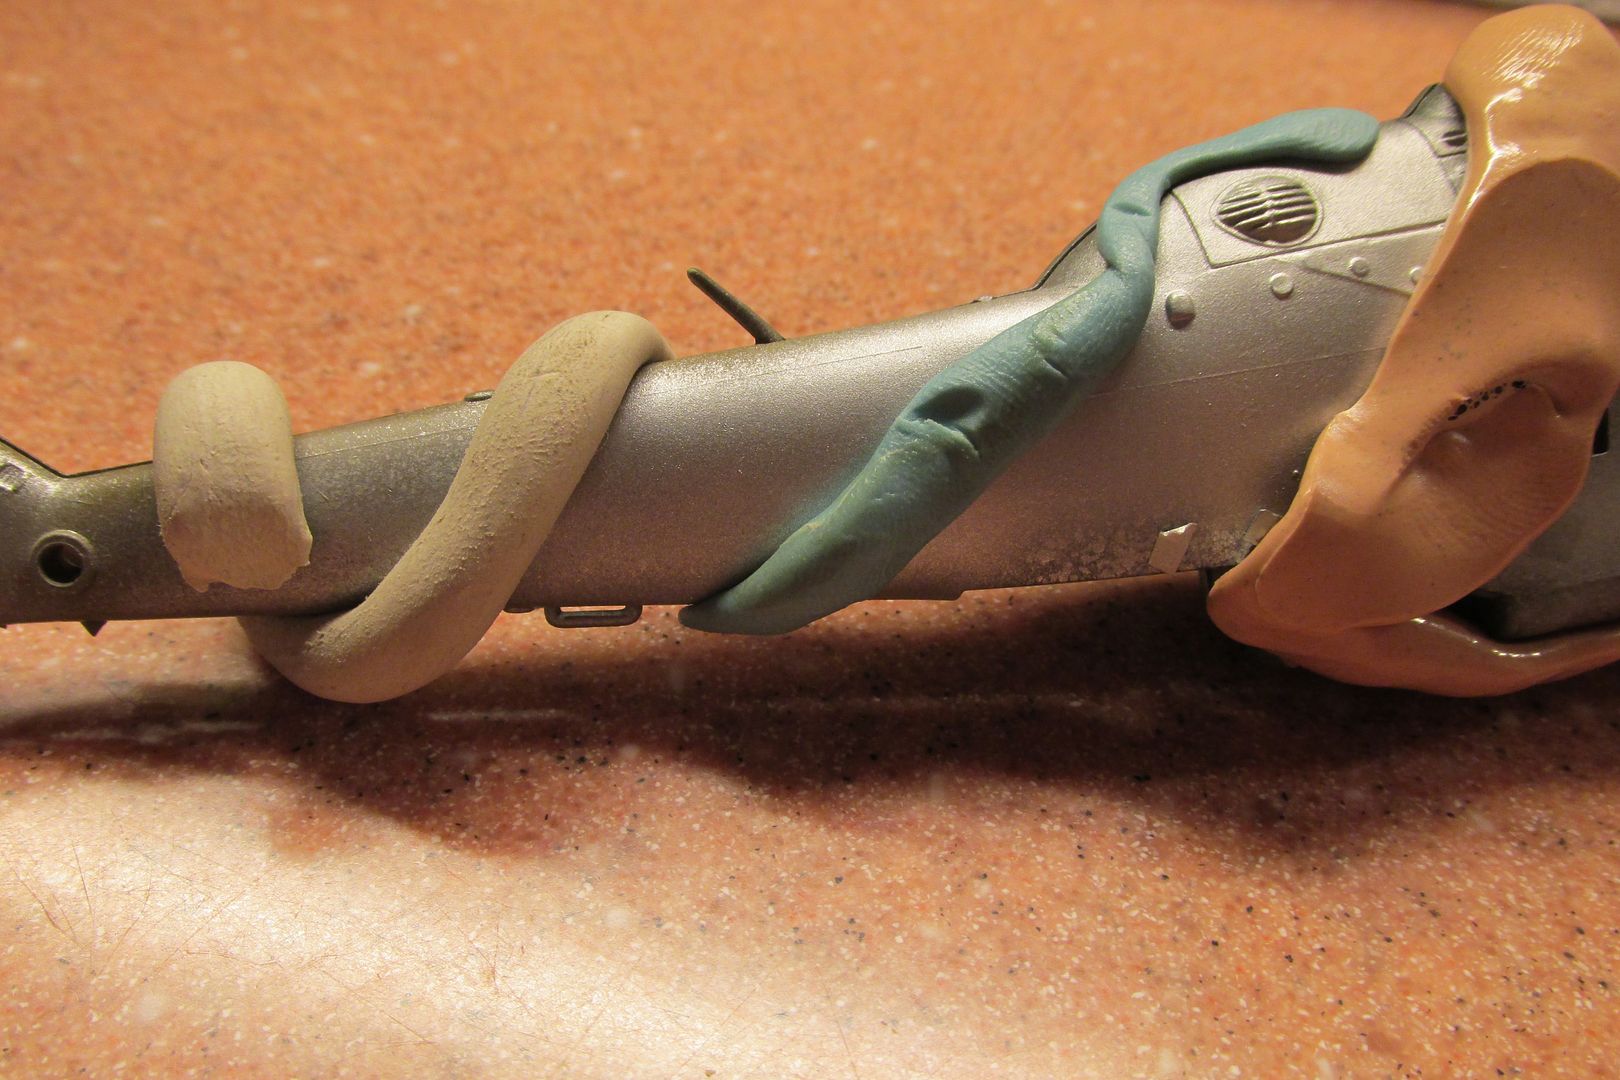
I'm conducting a test of flexible masking materials. I'd like to
not have to use masking tape of any sort for the topside colors and am going to try using "worms" of either Silly Putty or poster tac. I have both
genuine blue poster tac as well as some white
generic stuff. In the past one or the other of these did leave a somewhat oily residue behind on the paint when used to mask a pattern. I'd rather avoid that problem here, hence this test.
I rolled a long worm of all three materials; they had not been used for years and of course, were quite stiff. After a lot of kneading though, I rolled my own!
I place sections of each across the corners of a painted, plastic car dealer's license plate. And I also wrapped worms of each around the silver-painted body of my paint mule, an old 1/72 Hind that my son once had. I applied those on Sunday afternoon and will remove them later today. That should be long enough to see any results that might occur and probably longer than they would normally be left in place on a model.
I'll give a report on the findings when I'm finished!