Thank you Stuart! The Eagle is a Hobby Boss kit.
Thanksgiving Day is tomorrow so I'll start one last tour for this month since I'll be away from the bench for a few days after this. It's time to show the progress I've made to date since the last tour. All aboard the trams, we shall be starting very shortly.
Our first stop in the tour is the Hangar. A lot has been happening here.
In the first by here we have two B-2 Stealth Bombers started up. I had three kits altogether, but one I gifted to a young lady who wanted it. The other two were sold to me in one box, and one had been slightly started. So, I'm building the two remaining ones now and will use the kit decals on one and the other will get the special IPMS Nationals markings from a past convention.
Naturally, I started with the cockpit. Here is the one as the other had already been built:
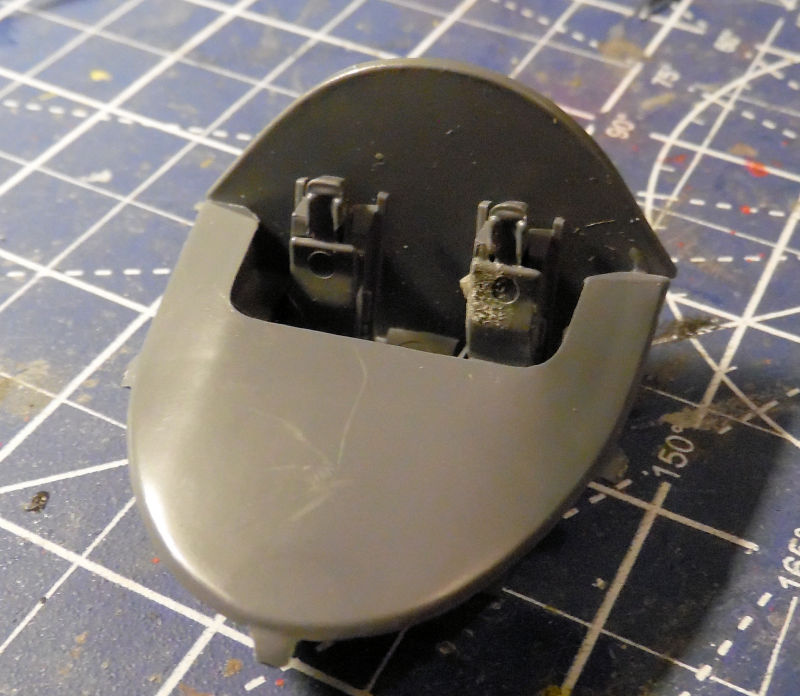
This is the center part that had been started to a small degree. Weights had been added and the cockpit installed; I just closed it all up after making sure nothing had been forgotten:
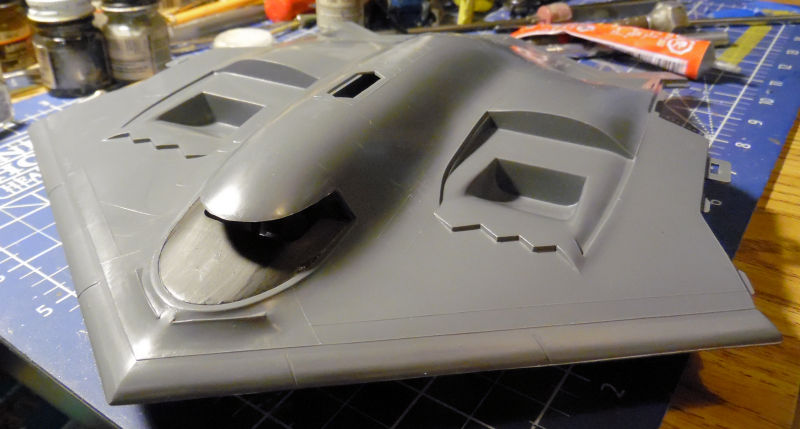
This one got the wing assemblies next which had already been assembled. This was hard to do to get these lined up properly:
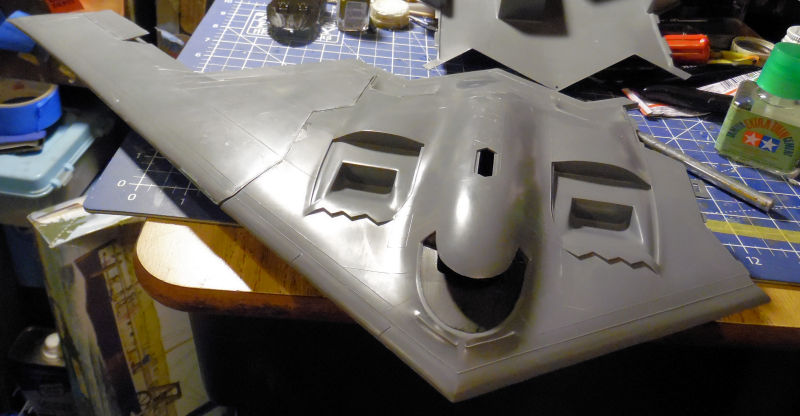
With a bit of persuasion, these glued together... not all well, so a lot of putty and filler will be used to smooth this puppy out:
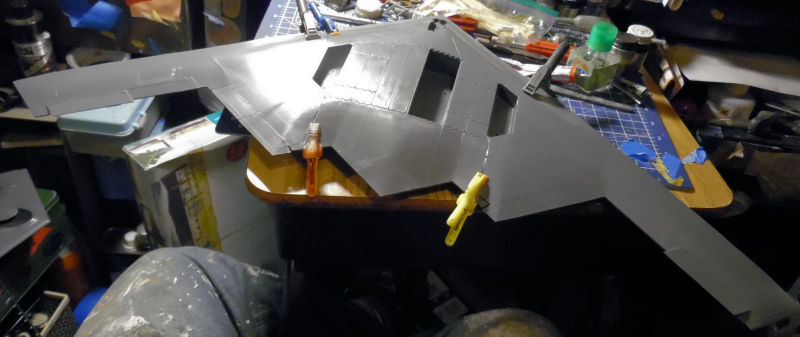
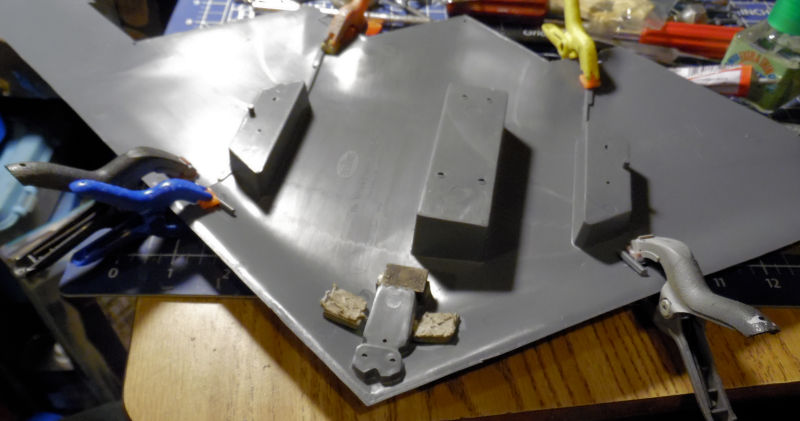
The instructions for this offered an alternative way to assemble this plane, cementing the top wings to the top fuselage center and the bottom to the bottom center and then gluing them together when dry. Since I had already done the first method, I decided to try the second method on the second one. First the lower hull and wings, including some weights. They are tire balancing weights I got from my mechanic after he used them:
After cementing the upper wings to the upper center; I started gluing these together. I started in the front center, working my way toward the wings first, clamping where needed:
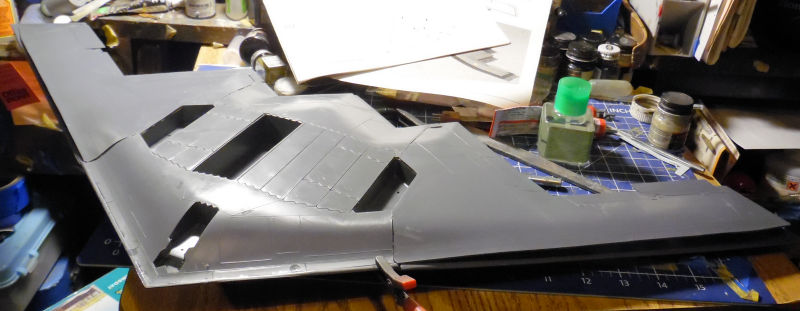
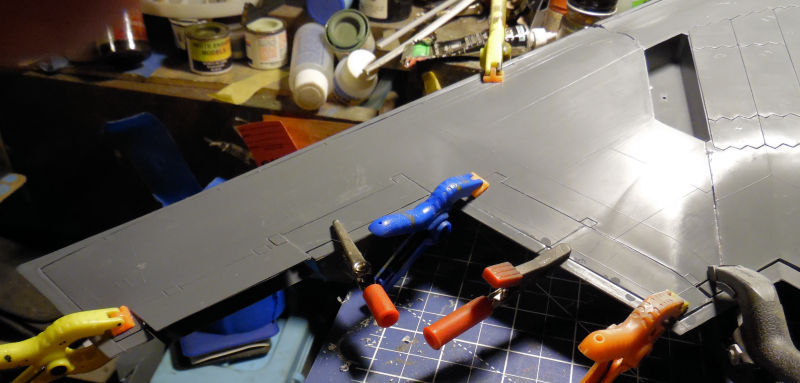
After the center had dried, I started around each wing, going down the front first and making sure the parts lined up properly, clamping as needed, and then working my way around the back edge of the wings; again clamping as needed:
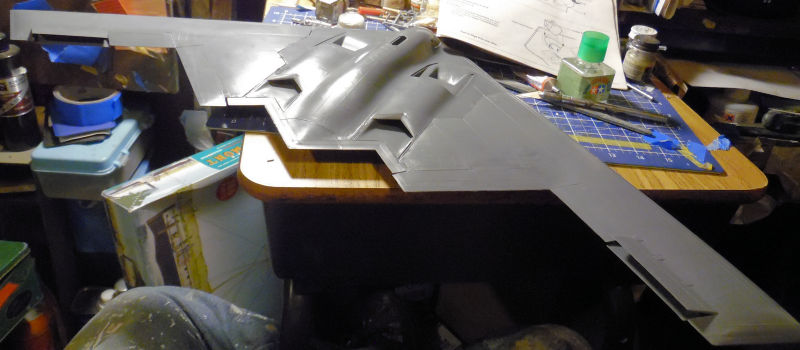
The end result on that ended up being a better join overall. Still I will need a truckload of putty for this as well, but it's together along with the other one:
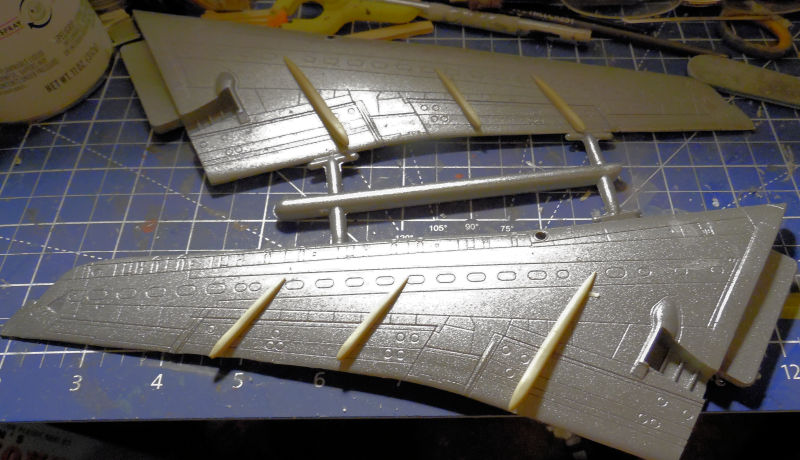
The next bay we got more done on the Boeing 727, starting with the resin parts on the wings:
I then tried to get the landing gear done for this. These gear parts are all resin which make this kit twice as hard. What's worse is that after getting this much done; I found that two-thirds of the parts of the second main landing gear went missing:
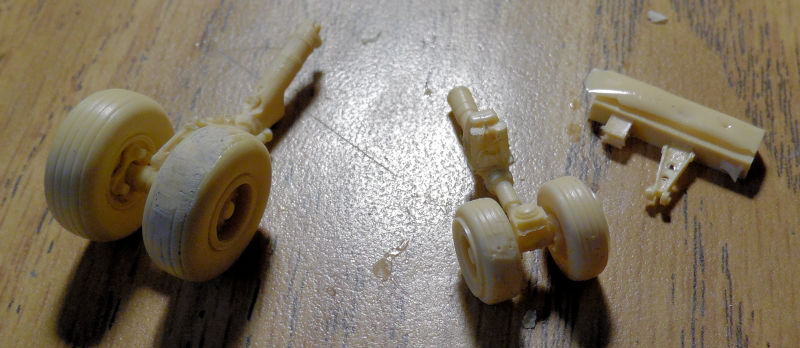
I don't know what more I can do except to try and improve the metal finish on this model while still watching out for the missing parts.
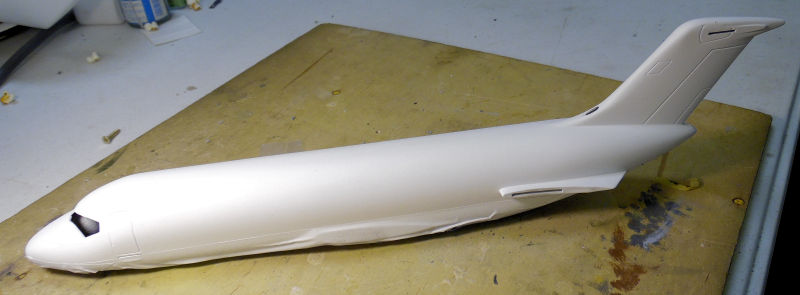
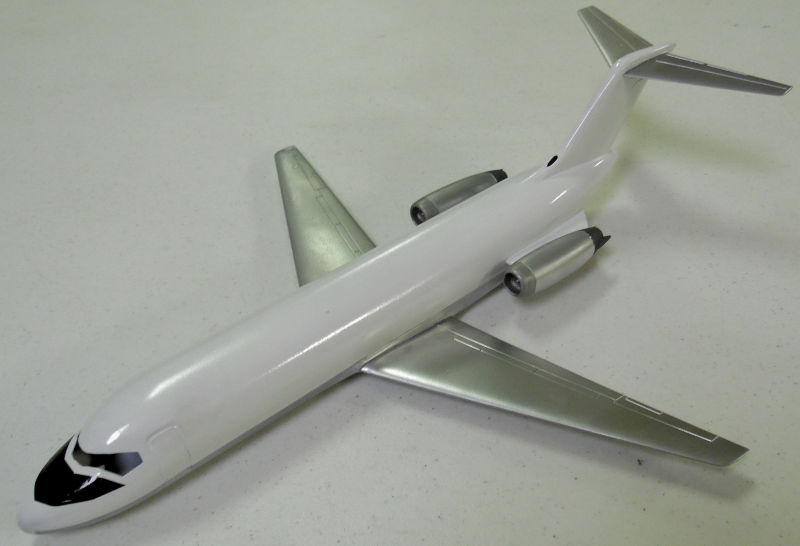
Moving on to the next bay, we got considerable progress done on the DC-9. The top was shot with gloss white over the flat white which gave a nice smooth and consistent coat....... for once. This was done with a spray can:
Later I added all the wings, tail and engines to the DC-9:
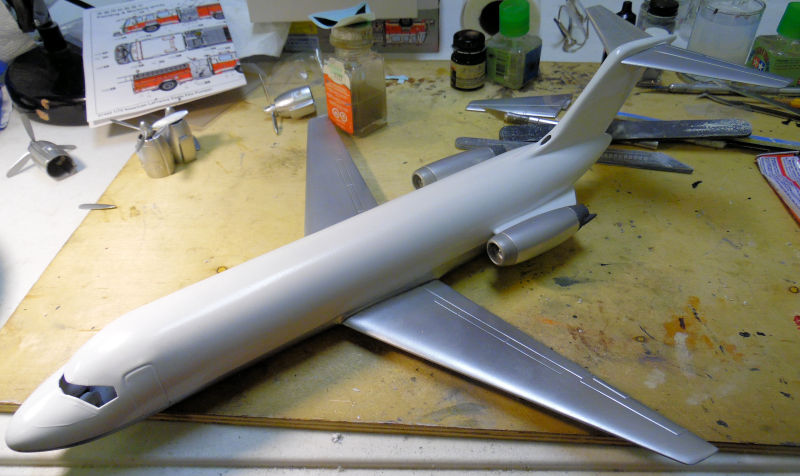
Then I started the decals on this, but realized I didn't have the instructions showing where the TWA decals go, so I stopped here:
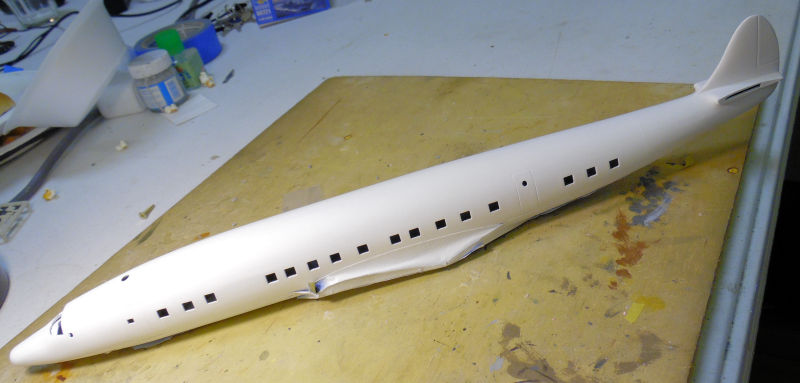
In this last bay, I got the Constellation painted with the white as well:
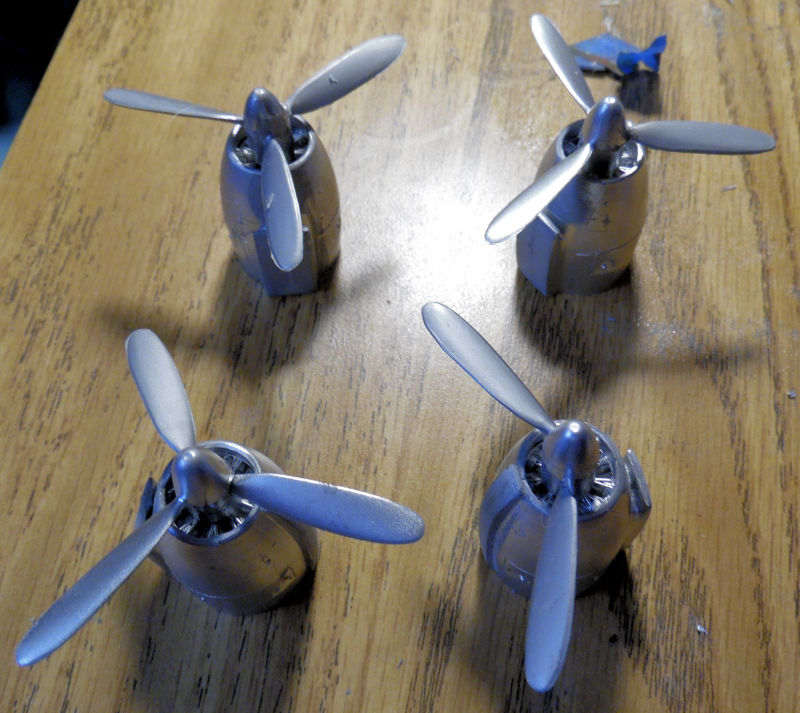
Next I added the propellers to the engine nacelles, of course several blades had broken off. One blade disappeared, so I had to find a replacement blade which I hadn't added yet when this pic was taken:
Decals then went on the wings:

...followed by the decals on the fuselage and the tail:
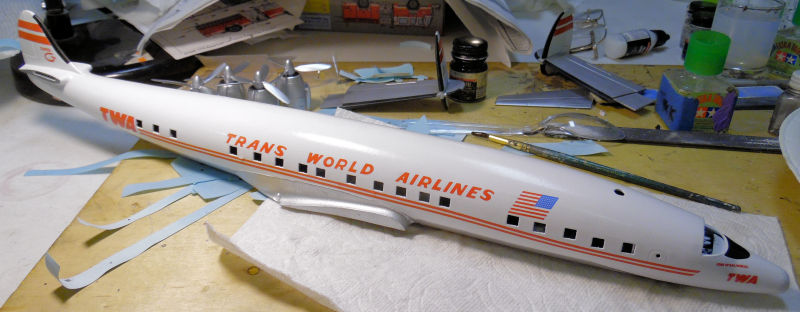
These were sealed in a gloss coat later.
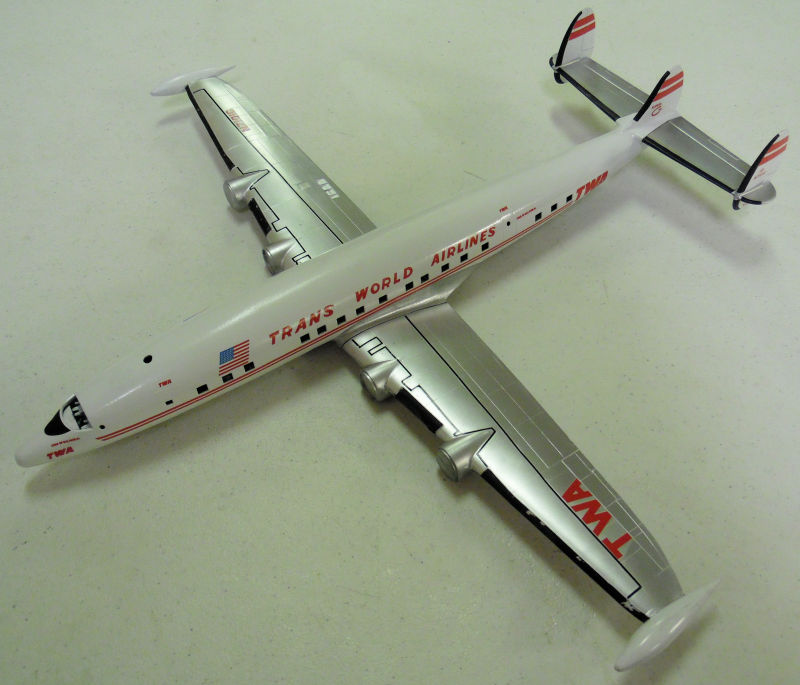
Here it is all mocked up after all that:
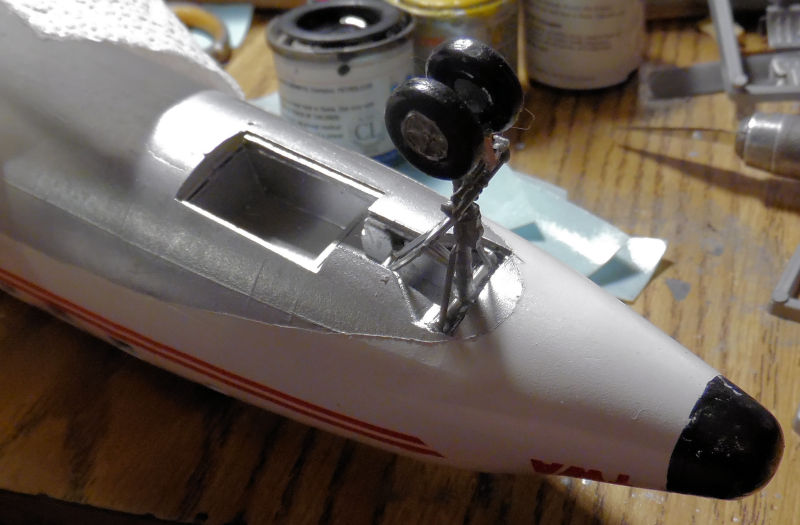
Afterward, the nose gear was installed i the fuselage:
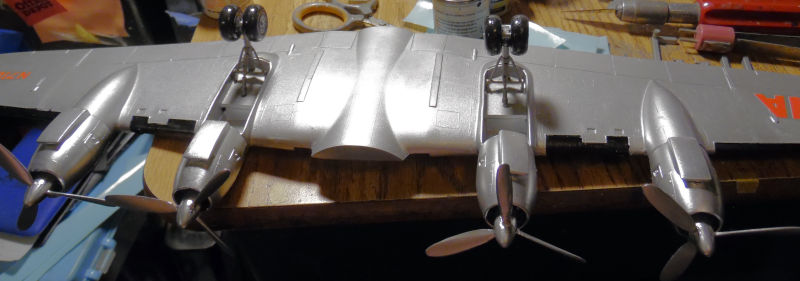
And then the main landing gear and the nacelles were added to the wings:
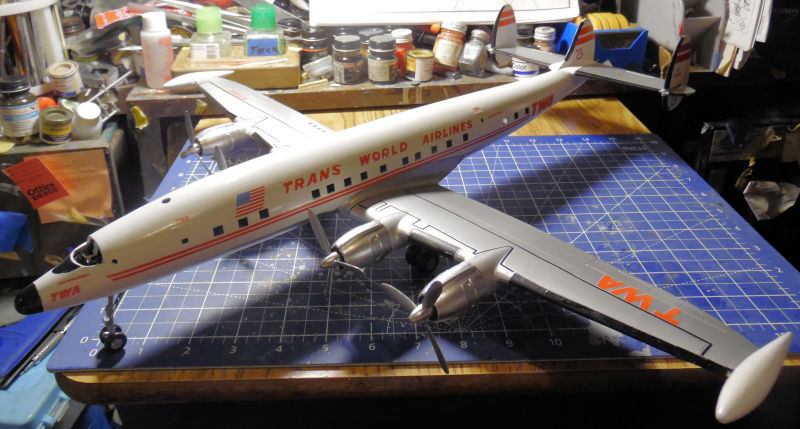
One final mock up to see how it all sits. I think it's looking great:
That concludes the tour of the Hangar, now on to the Shipyards......
Here in the first slip, we got paint added to the HMS Westminster Frigate, and then built up the superstructure onto the hull:
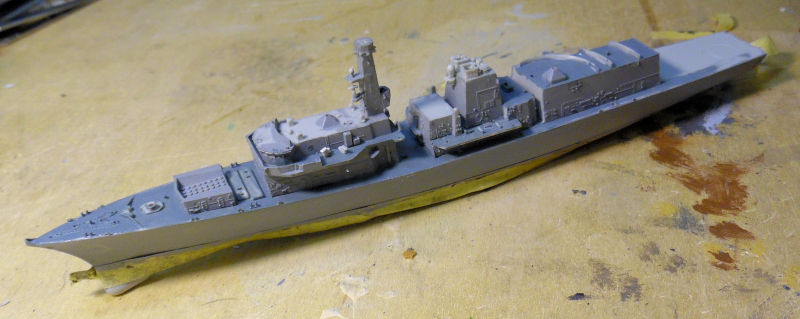
There's a lot of photo etch to go on this which will be done later.
In the next slip is the Nautilus; one side of the main bay windows got their masks:
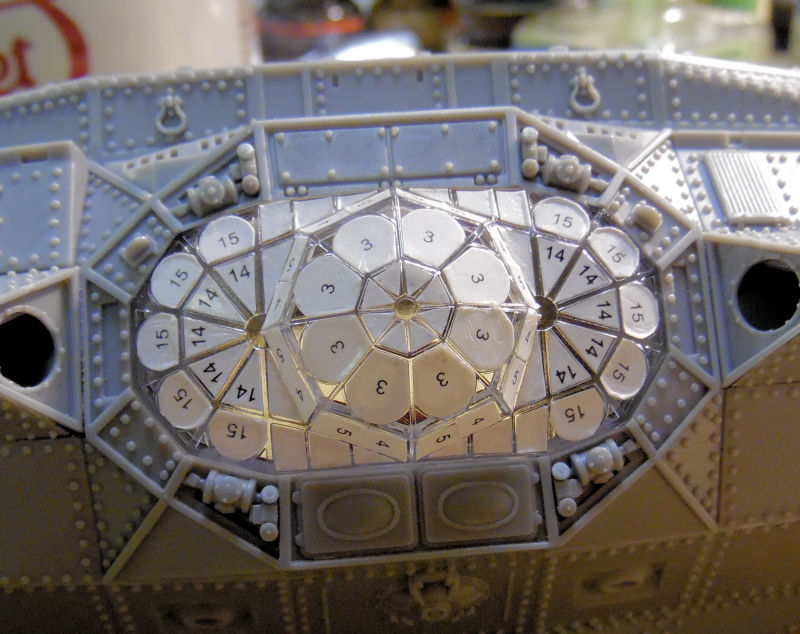
Finally in this last bay, we have two Fletcher-class destroyers in one kit from Pit Road. We laid the keel for the first one:
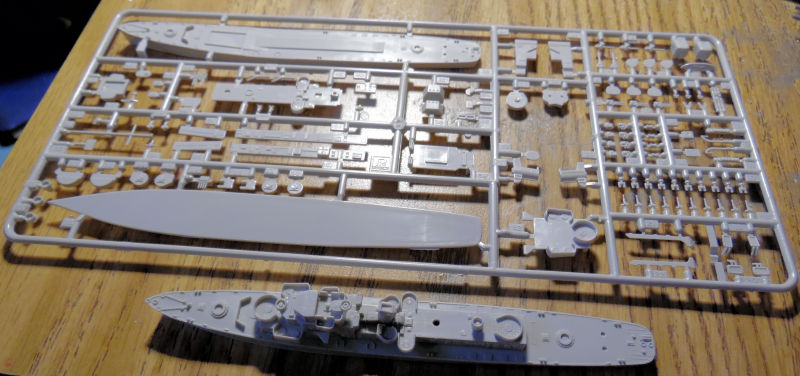
As mentioned, not too much done in the Shipyards, so on to the Motor Pool.
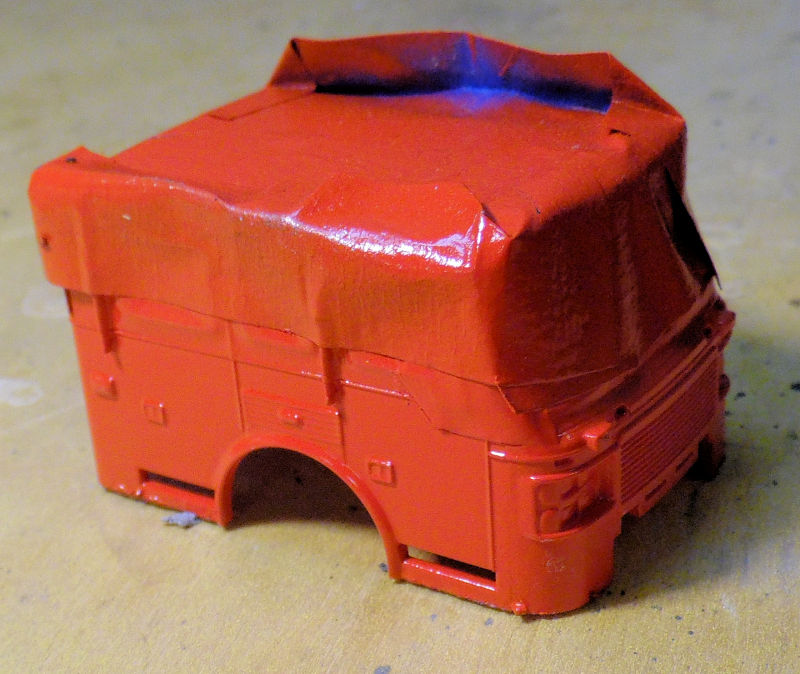
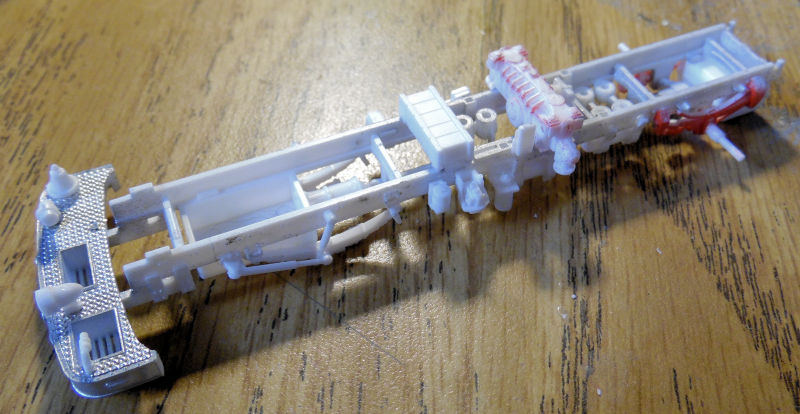
Here in the Motor Pool, w have a ton of models waiting for paint. Since the window to my room has no screen, airbrushing has had to wait. So the only thing we worked on here in the Motor Pool is this Trumpeter American La France Fire pumper in 1/72 scale.
First, the white top of the cab was masked off and the whole thing sprayed red:
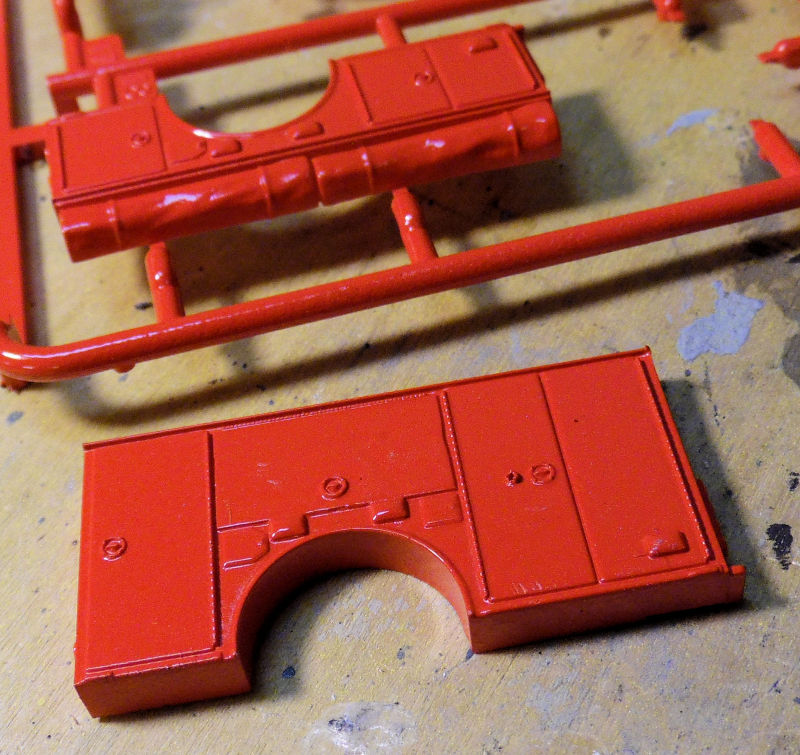
Then the rear body parts were sprayed red as well:
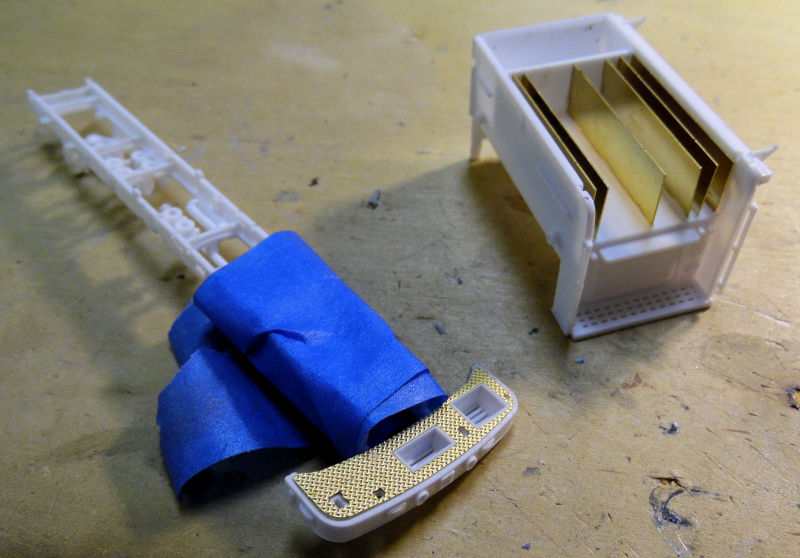
Next the front bumper and the body received the photo etch parts. These were the only photo etch parts in the kit:
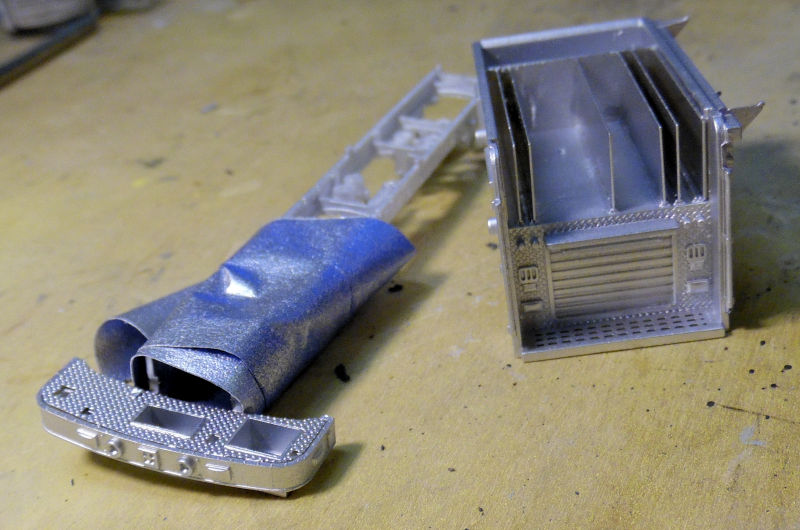
Following that, all the parts that were supposed to be silver were sprayed:
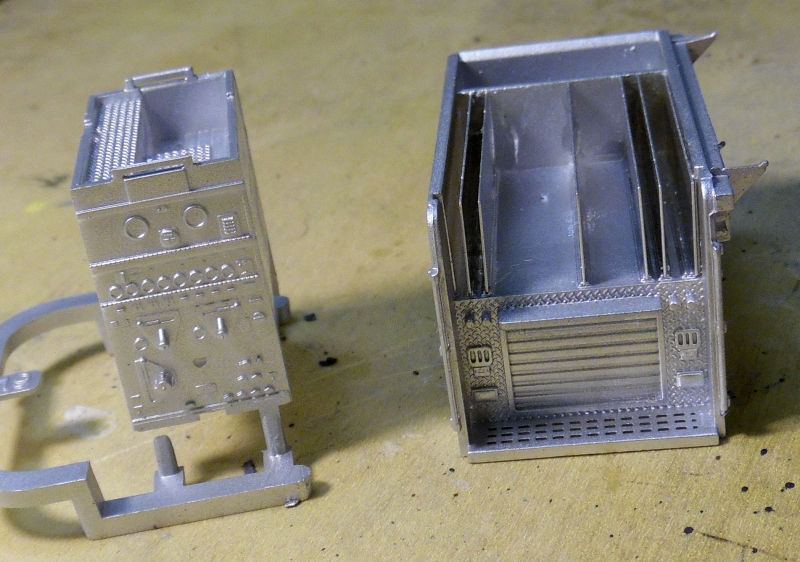
After that, assembly was started on the chassis:
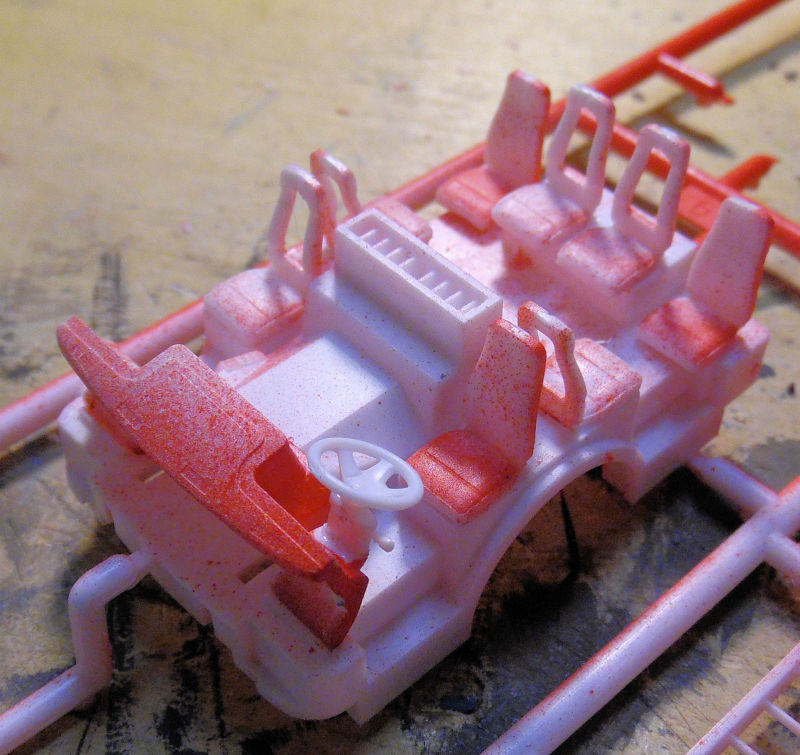
The interior of the cab was assembled and then painted afterward:
Time for a mock up of the whole thing:
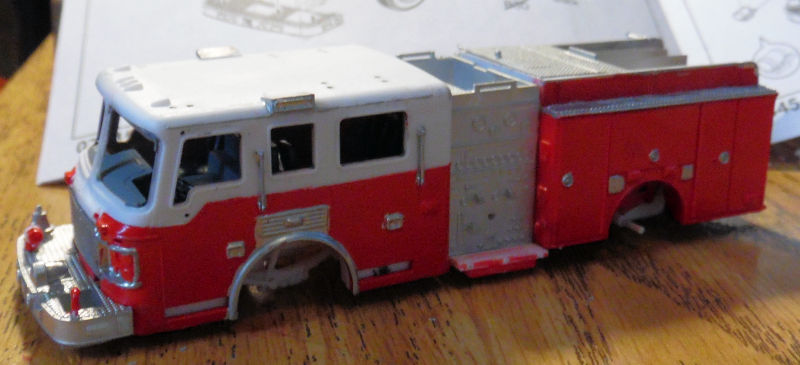
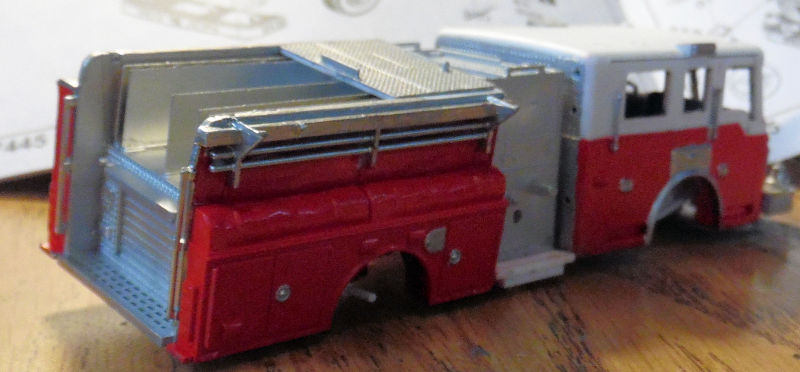
Later on the wheels were assembled and some of the decals on thew back of the truck were added:
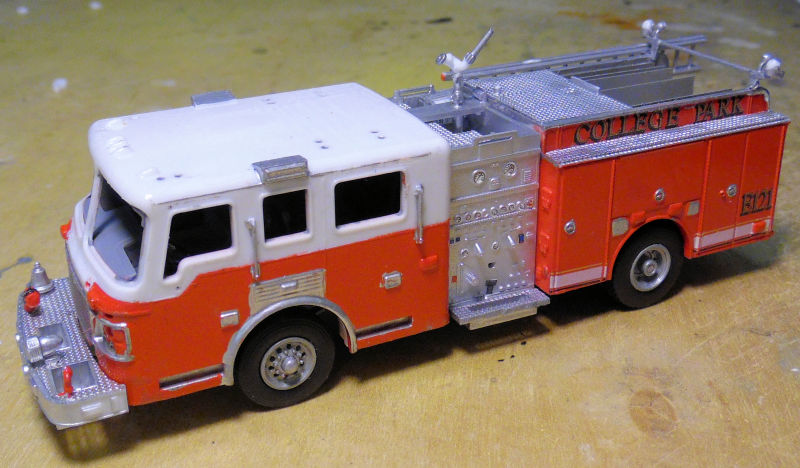
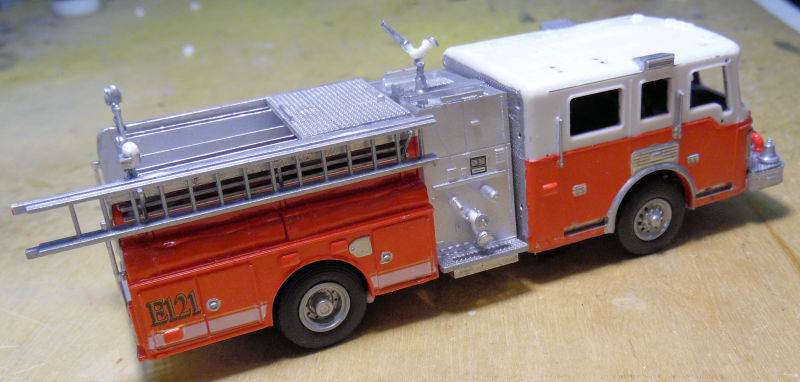
I was having issues with the cab, so once they are resolved, more decals and the final parts will be added.
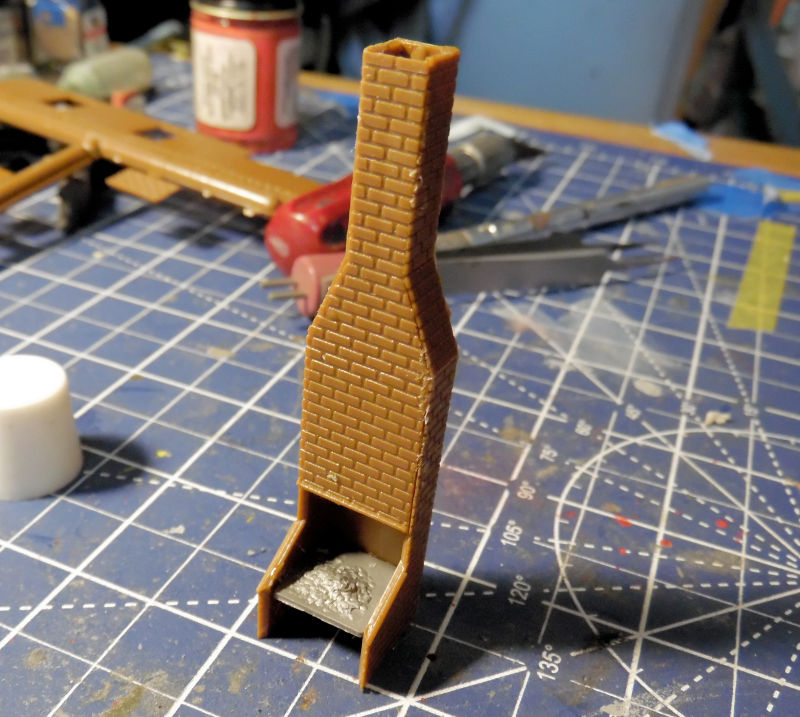
Finally, on this back lot next to the Lumber Mill, ground was broken for the Blacksmith shop that is going in next door. First, the chimney and furnace were built:
The main building was assembled and lined up using the base so it would glue straight. I also added the windows and doors:
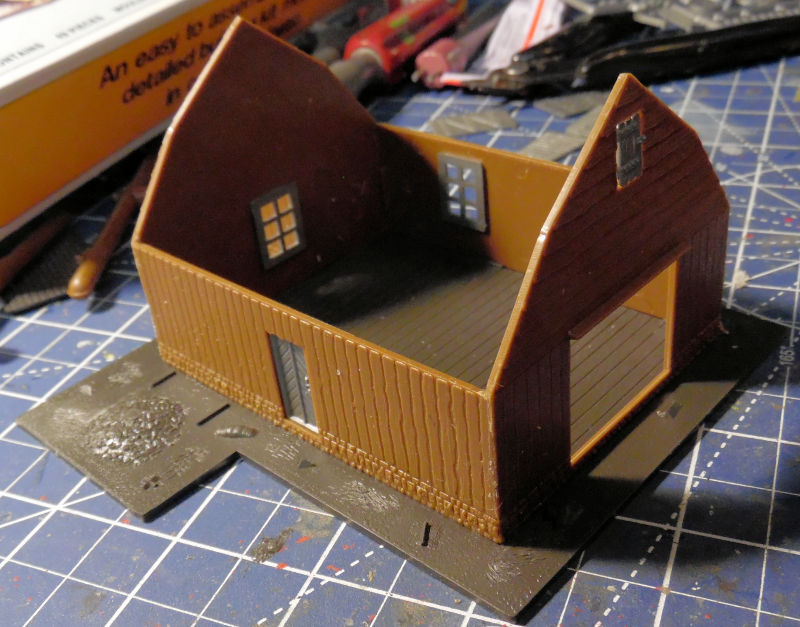
Afterward, the office was added to the side and the roof put on it. The interior was also painted:
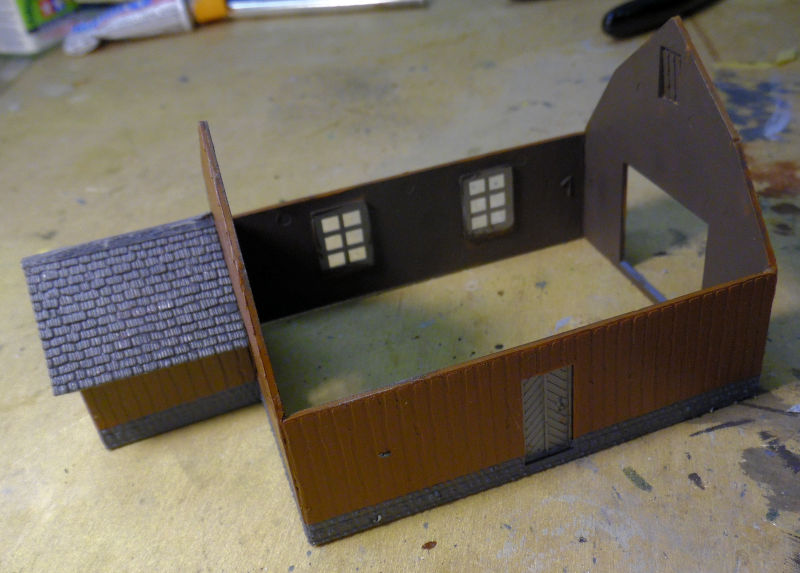
There's more to come on that later, It's gonna be a fun one to finish!
That concludes this latest tour of Maddog Manufacturing! Thank you for joining me on this tour, comments are always welcome!

 So many other great projects to mention as well


