Page 1 of 3
1:32 Hasegawa P47D "Slick Chick"
Posted: Sat Apr 12, 2014 4:48 am
by Rick
Hasegawa's 1:32 P47D "Slick Chick" 368FG/395FS. Slick Chick will get plenty of love with AM belts/wheels/blast tubes/bombs and some scratch build action on IP/gunsight/ignition wires and M10 bazookas.
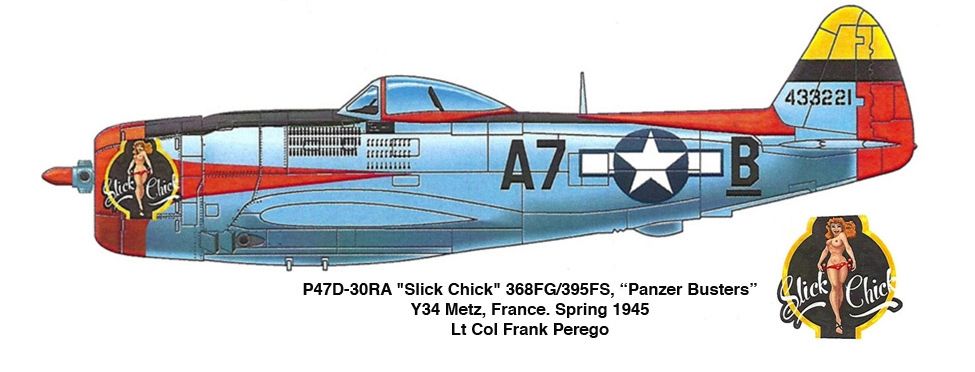
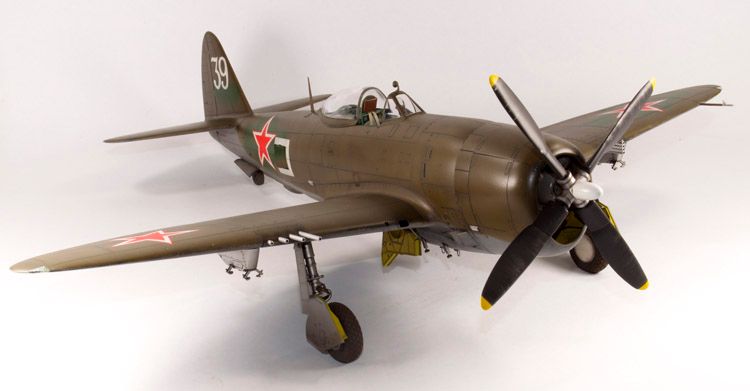
I started this as a "Jug Double Build" last March. Just was not happy with the M10 bazookas I raided from my Trumpy P47N. While I was scratching my little head for a solution with the M10 Bazookas "Slick Chick" stalled then she got binned. Russian Jug progress leaped ahead got wrapped up late summer '13.
I have found a build solution for the M10's so "Slick Chick" is back on the bench.
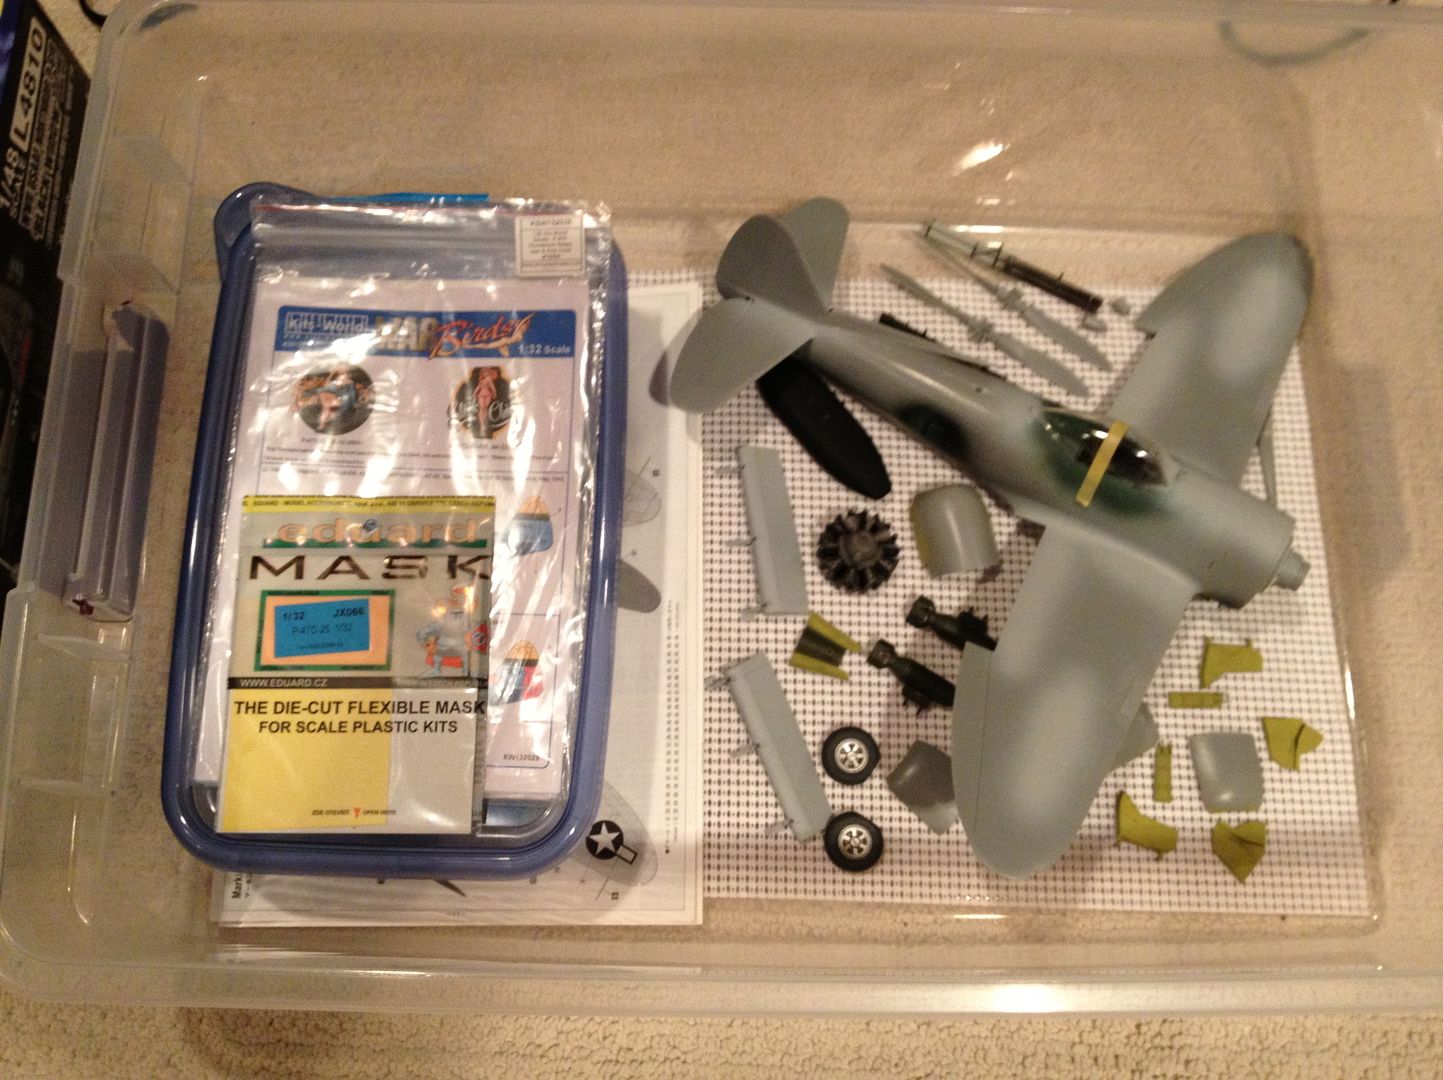
After being binned for about 6 months she's out and ready for some quality bench time.
Aftermarket items include:
Eduard Belts
Barracuda Wheel set
Hasegawa brass Blast Tubes
Kits World decals
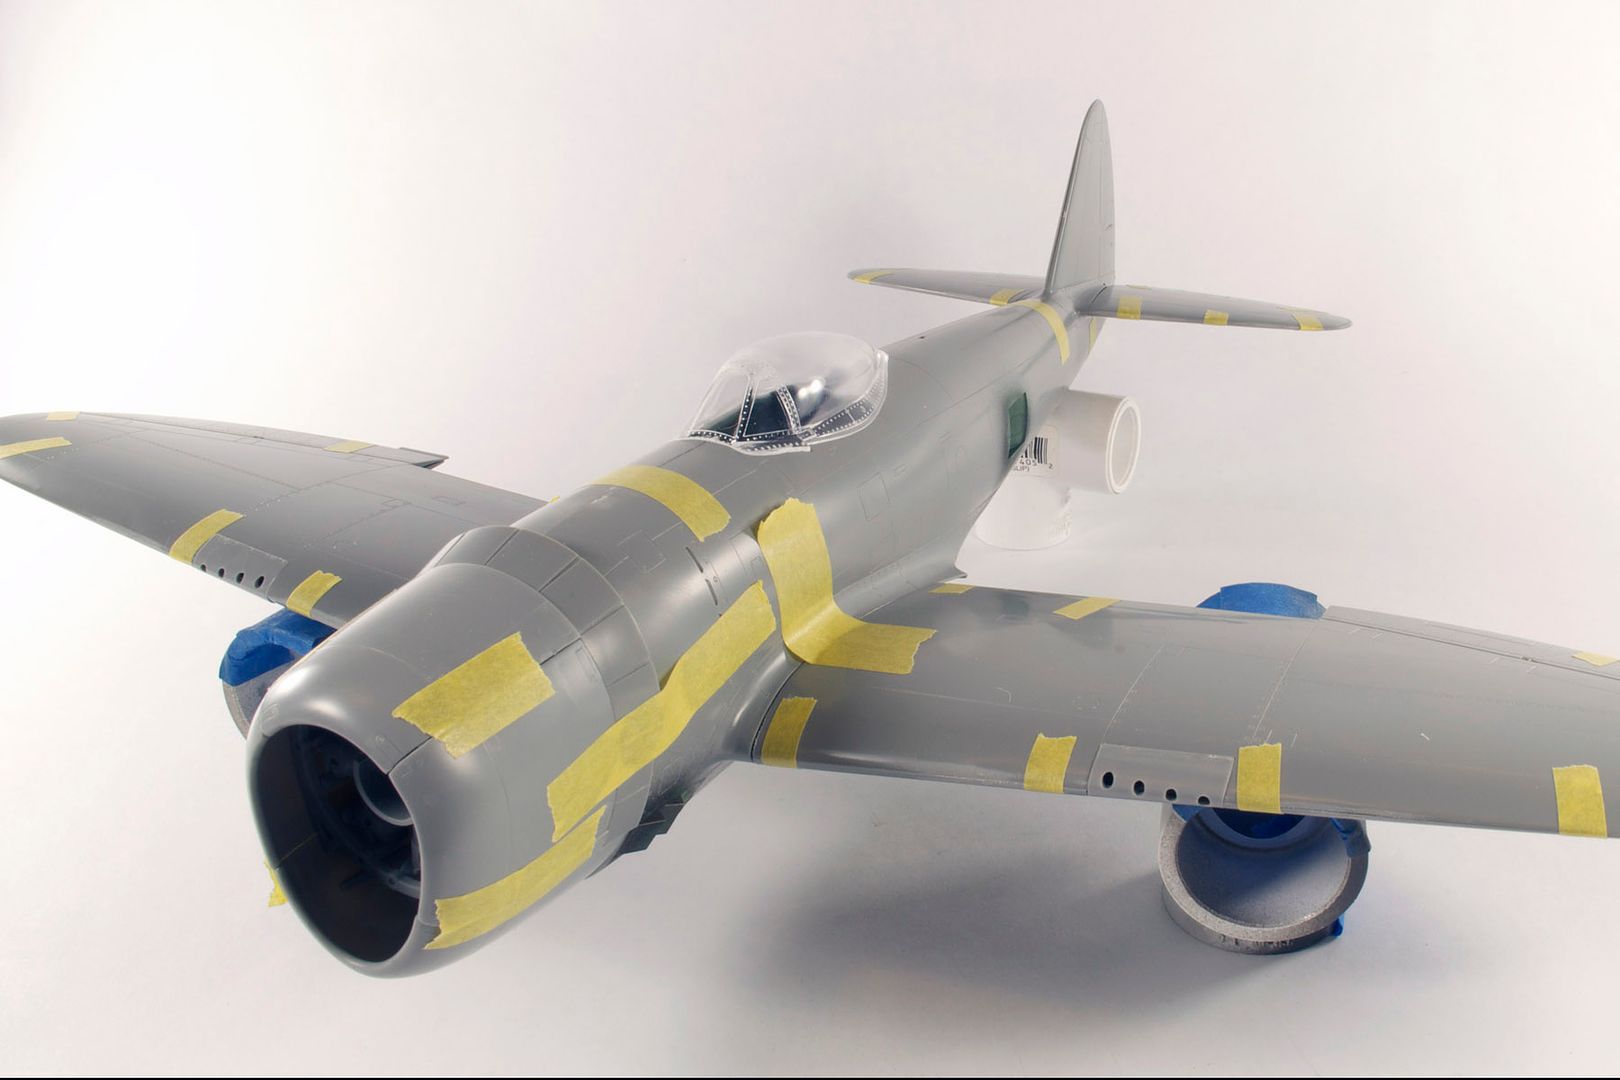
General fit seems pretty good with no issues projected on seams, wing roots...however
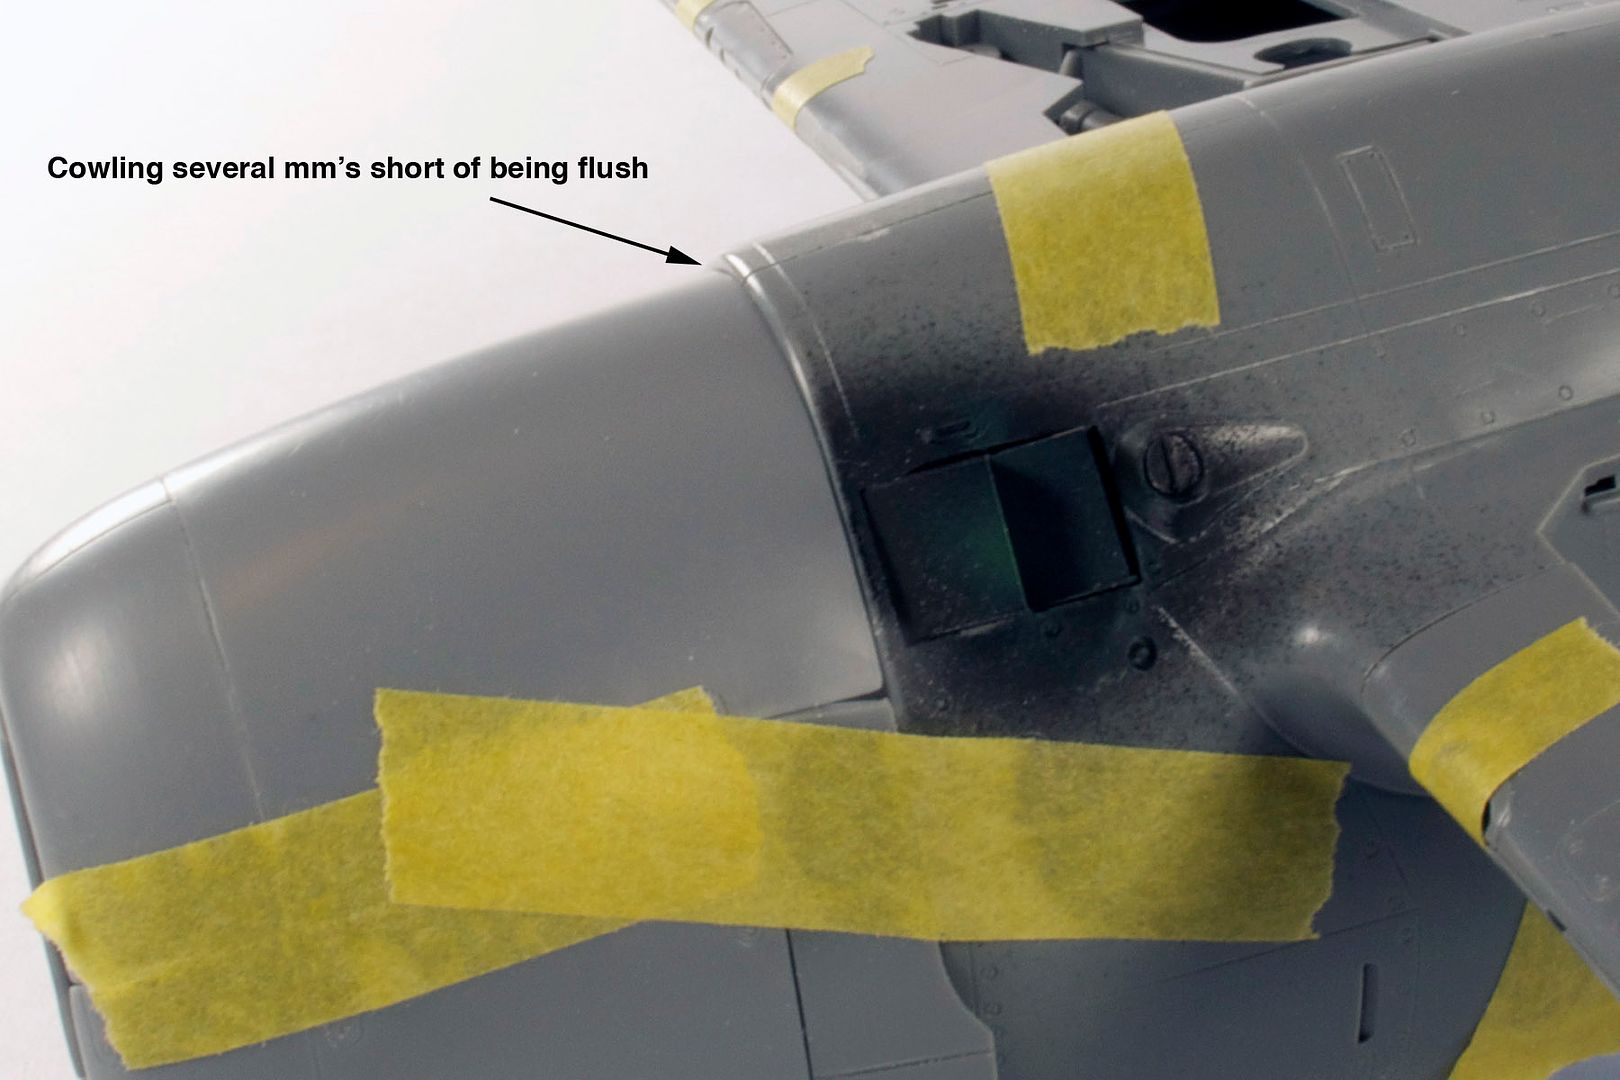 ENGINE MOUNTS
During test fit a glaring issue was the poor fit of the cowling. Basically it is the complete engine/cowling fitting on the fuselage mount.
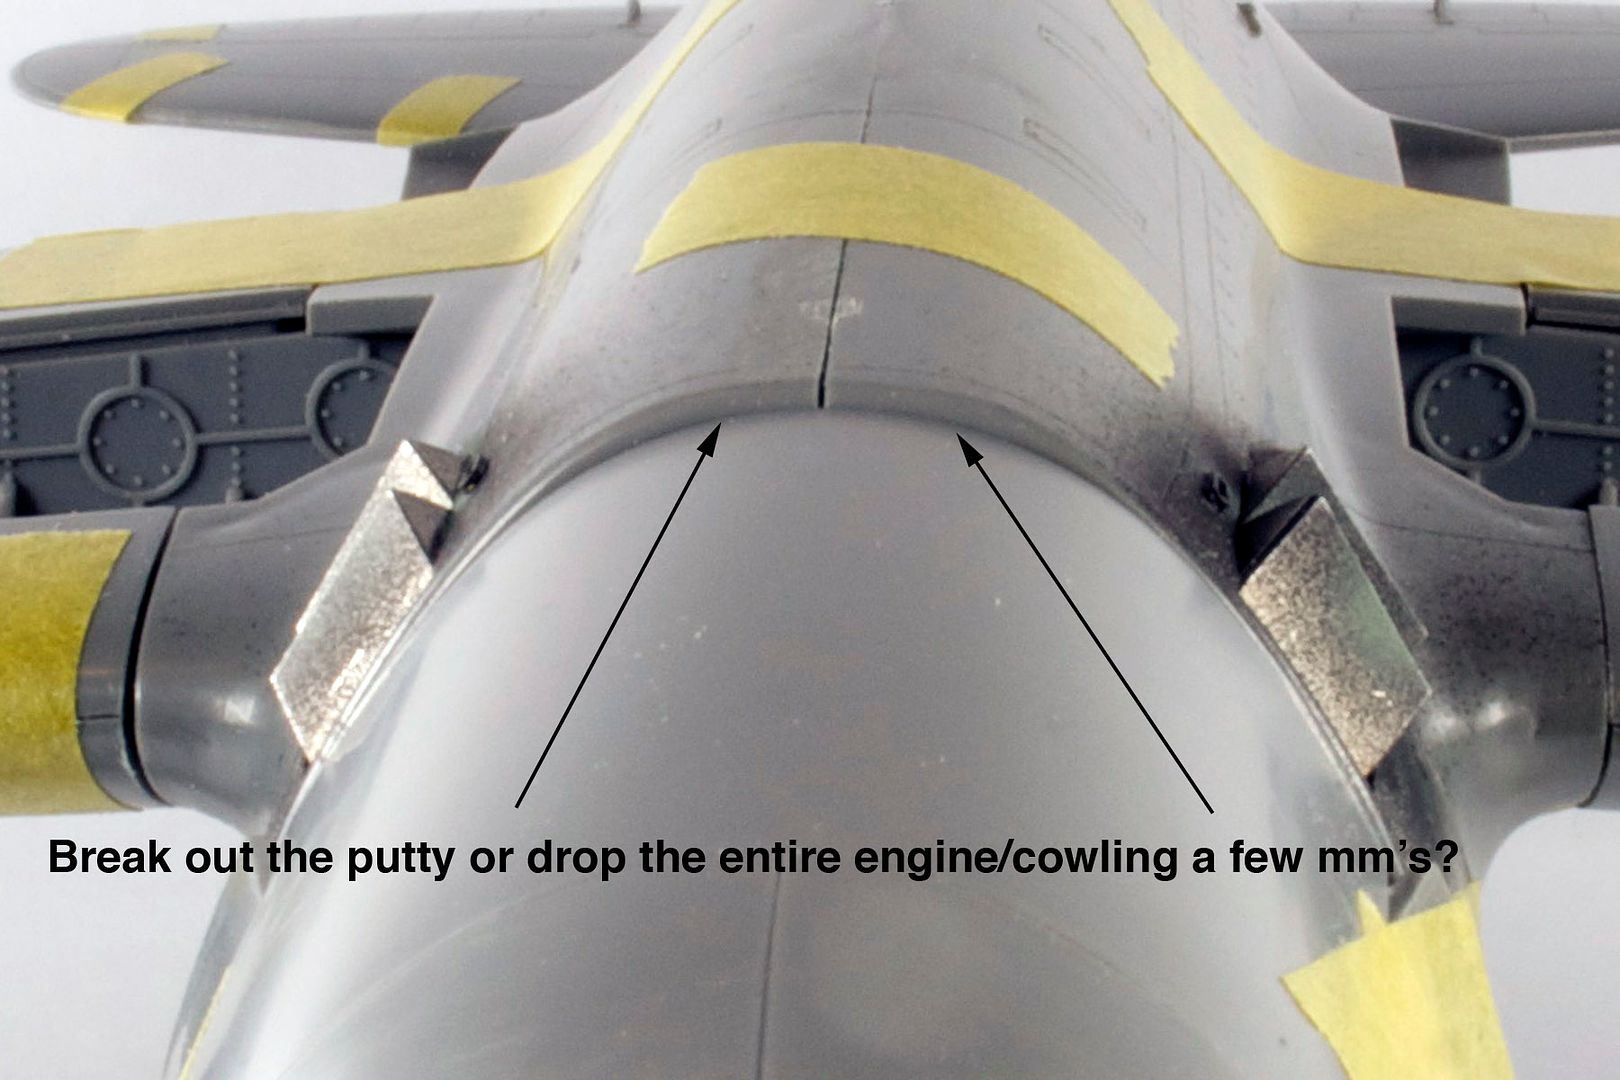
off by about 1mm
THE PIT
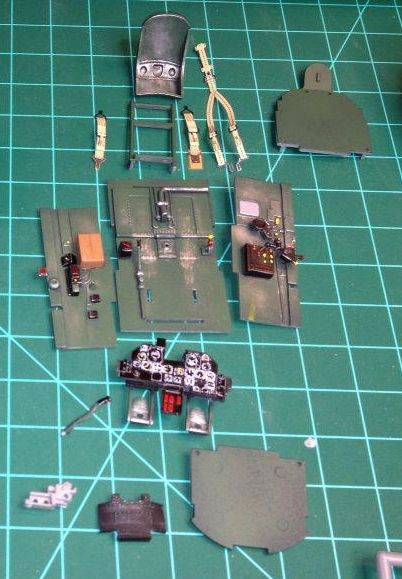
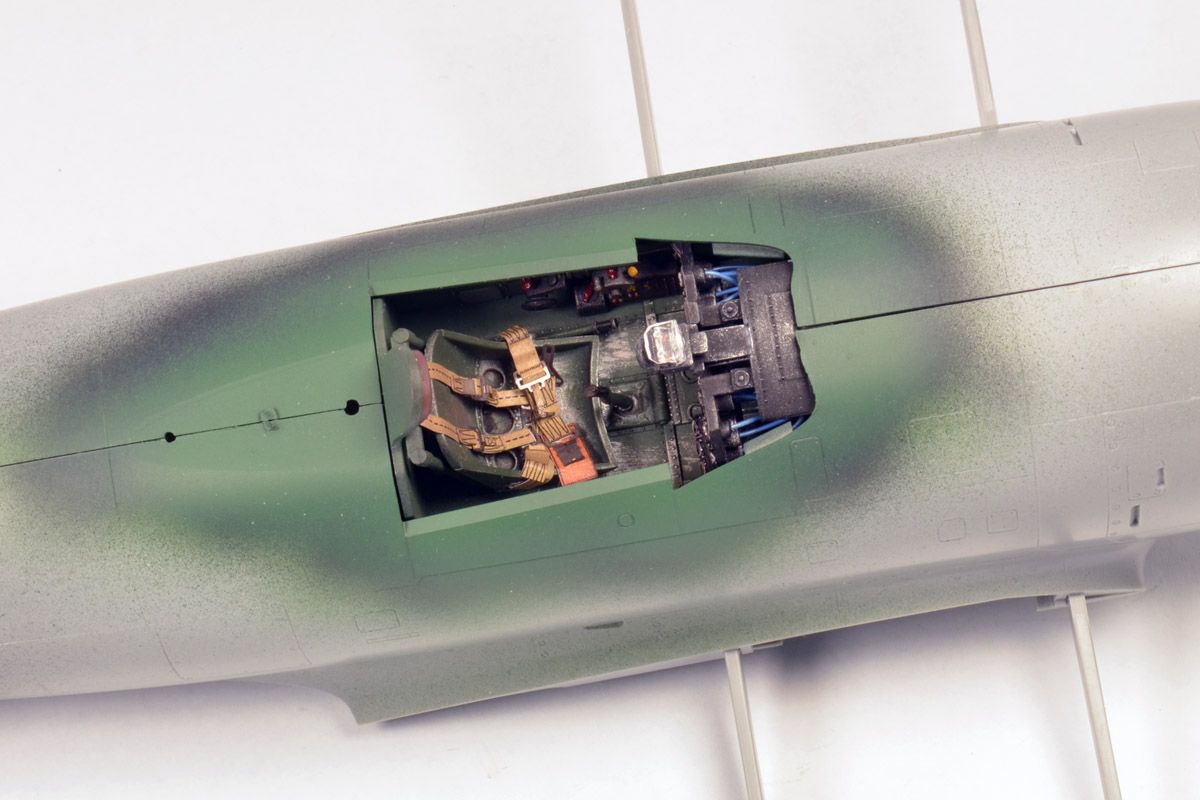
Pit is OOB with exception of Eduard PE Belts. Multiple passes of setting solution needed to get the IP decal to settle.
 FIXING HIDEOUS
Replacing the really thick hideous gunsight..
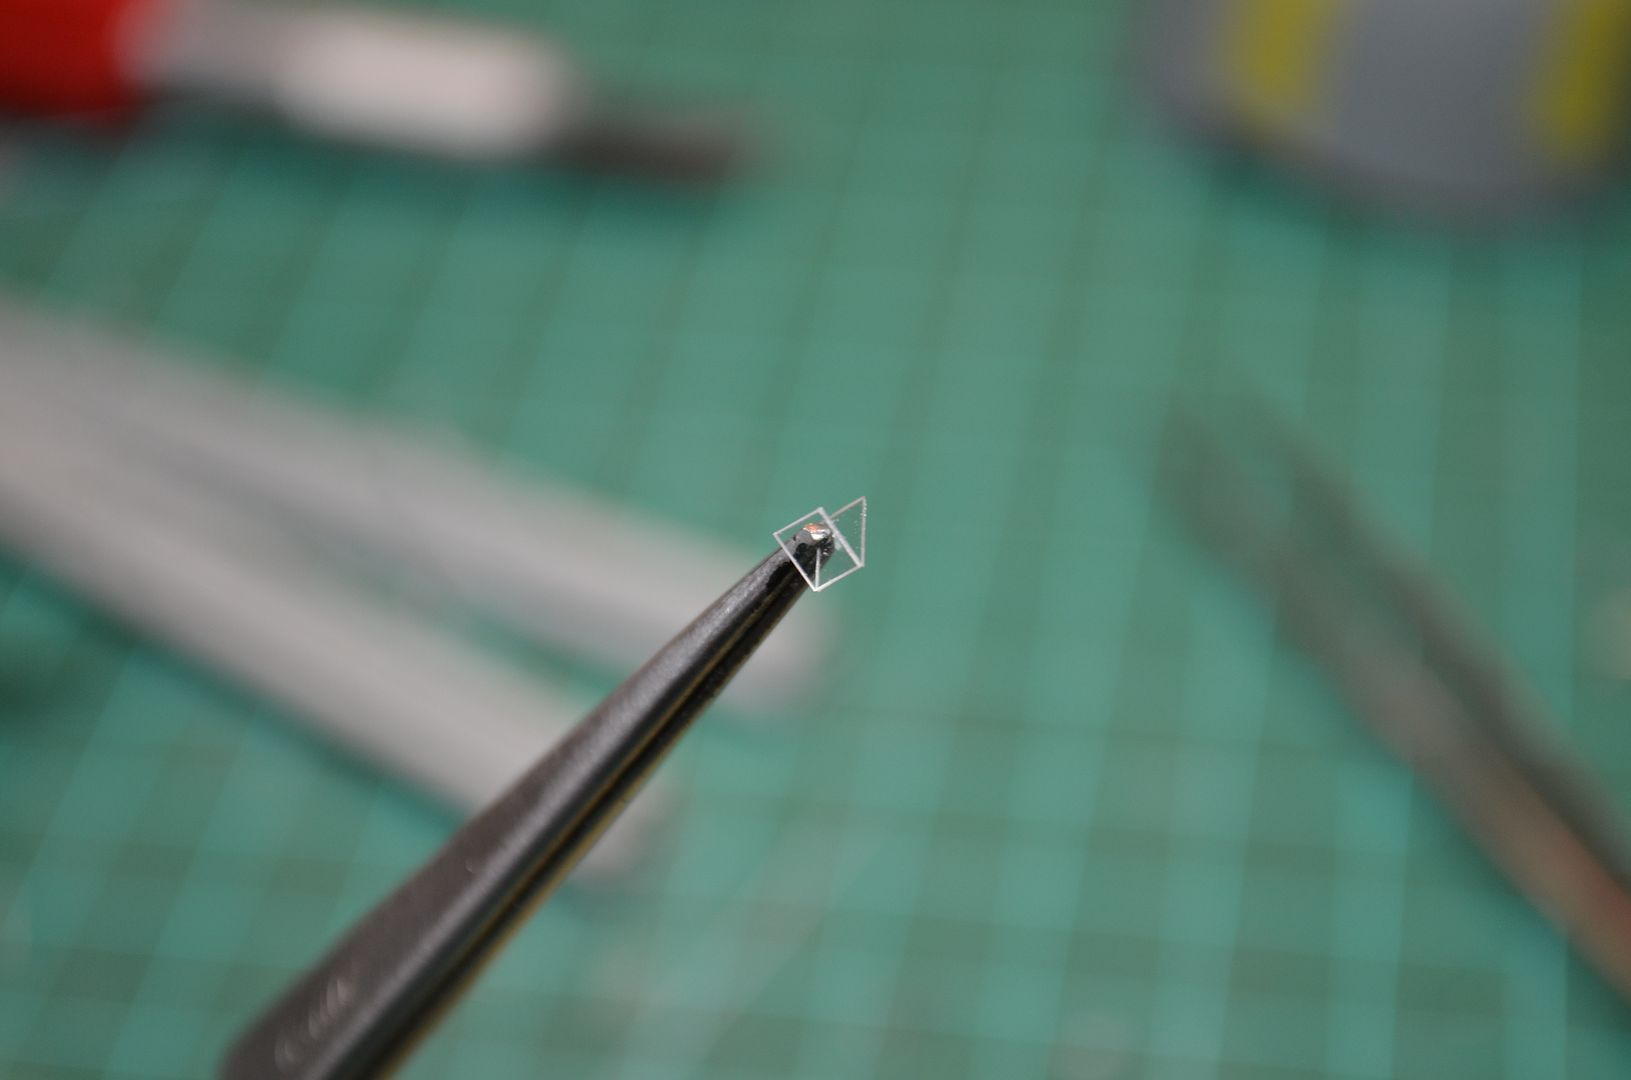
Cut from 0.13mm clear styrene, scored then folded.
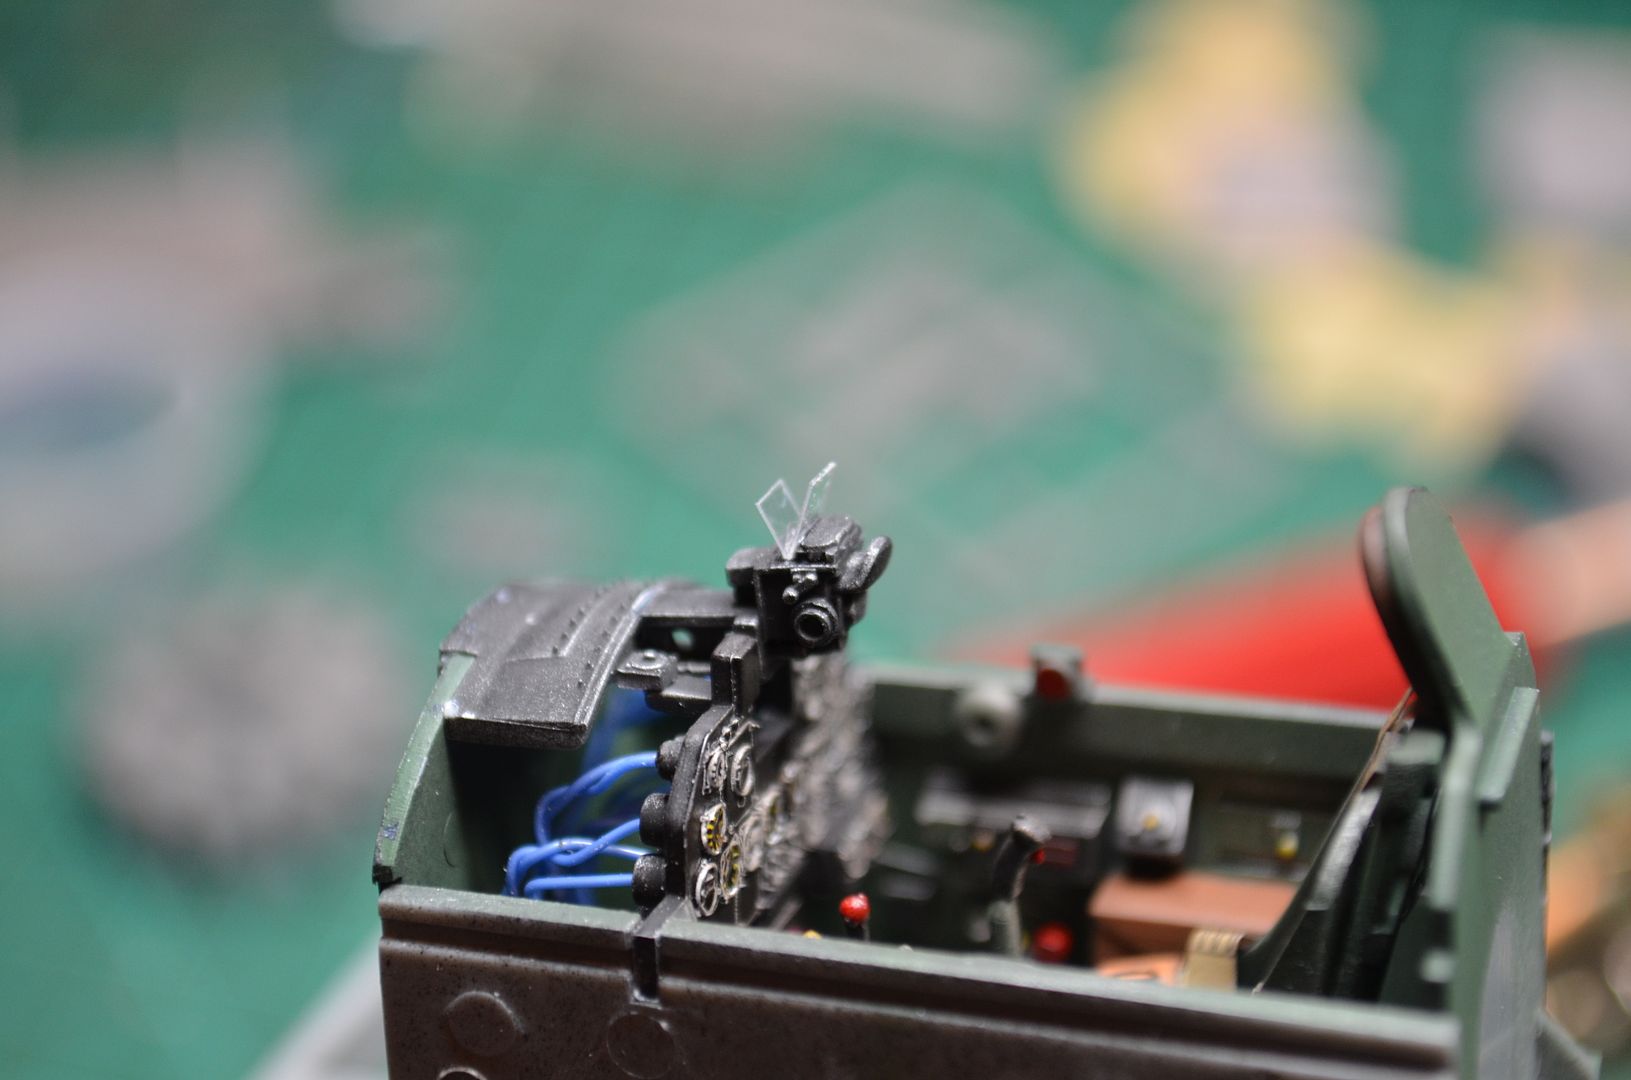
Color me happy. Paint crash pad and all done.
Re: 1:32 Hasegawa P47D "Slick Chick"
Posted: Sat Apr 12, 2014 7:15 am
by LyleW
she looks very nice so far. I am sure you will get it done.
Re: 1:32 Hasegawa P47D "Slick Chick"
Posted: Sat Apr 12, 2014 7:20 am
by AIRFIXER
Very promising build so far.
Sensing some big show here.
Erik
Re: 1:32 Hasegawa P47D "Slick Chick"
Posted: Sat Apr 12, 2014 7:30 am
by Paul
ain't you done with this yet Rick?
Re: 1:32 Hasegawa P47D "Slick Chick"
Posted: Sat Apr 12, 2014 1:56 pm
by Rick
Paul wrote:ain't you done with this yet Rick?
Geeze Paul! I hope to finish her before the apocalypse. When I modified the M10 bazooka tubes, I just was not happy with the results. So that got me stuck and I binned her to finish a Russian Jug then Revell's Bf109G6.
Recently I found a great solution for the bazooka tubes and out she came.
Now my bench is a CF with 4 builds going on at once.
Had some delays with bench time due to a TKR procedure. What I see happening is I will have 3 or 4 builds finishing up within a month of each other.
Re: 1:32 Hasegawa P47D "Slick Chick"
Posted: Sat Apr 12, 2014 2:07 pm
by Rick
THE DOCTOR IS IN
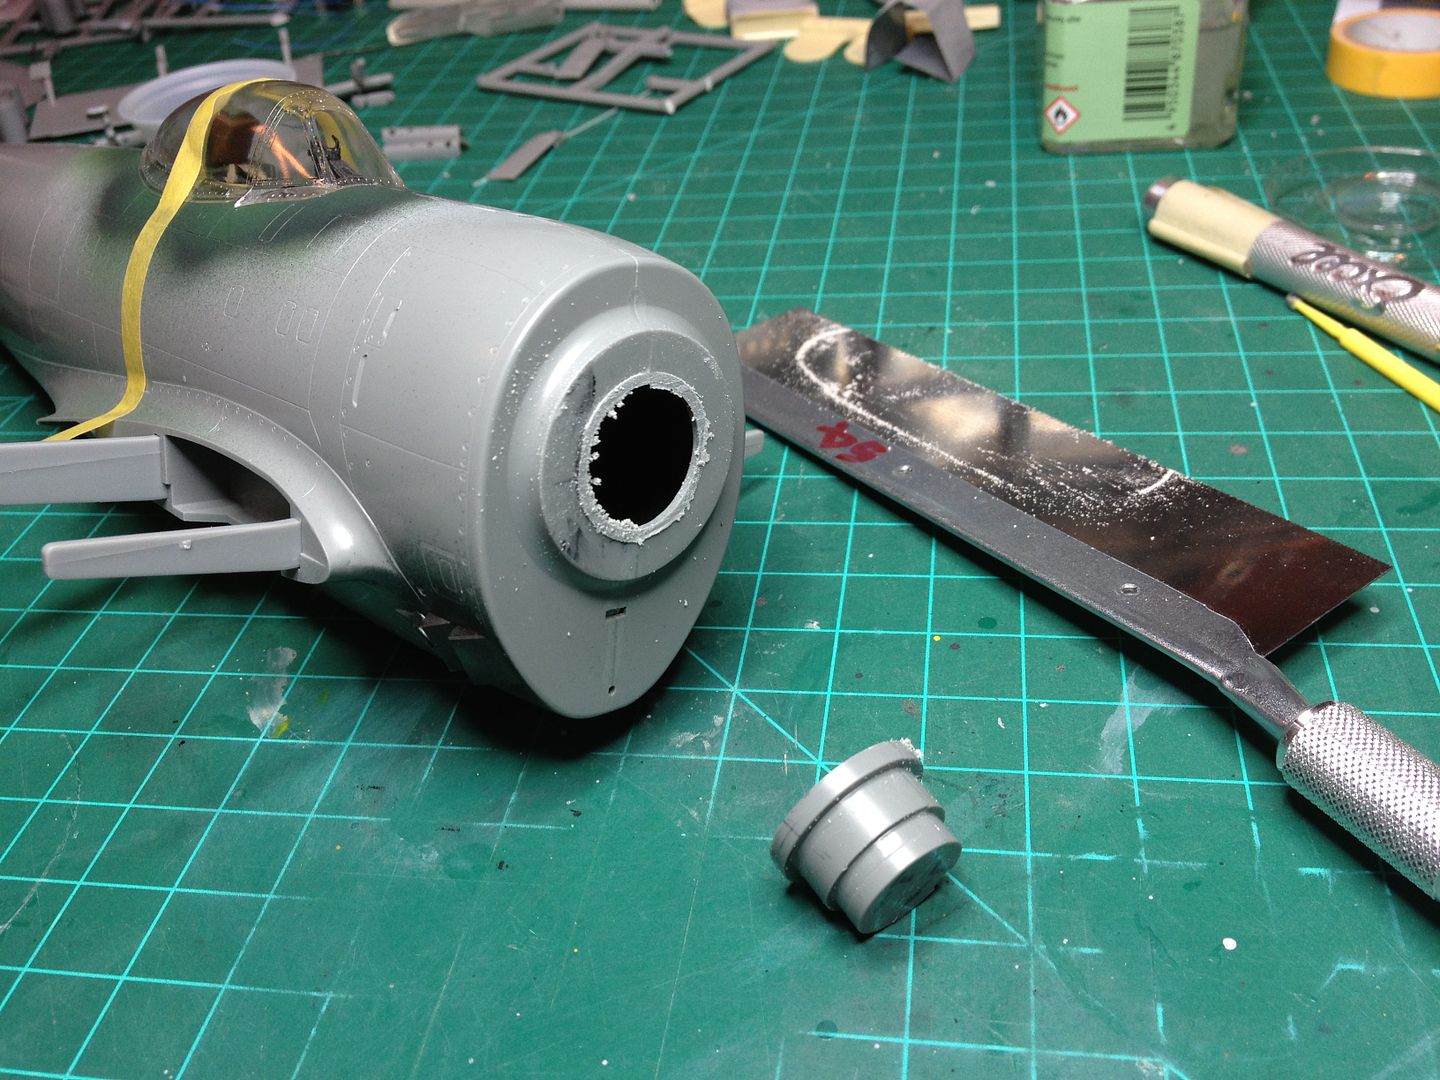
Carefully removing the engine mount after fuselage is glued and cured. The one piece canopy is very handy to protect the pit during surgery.
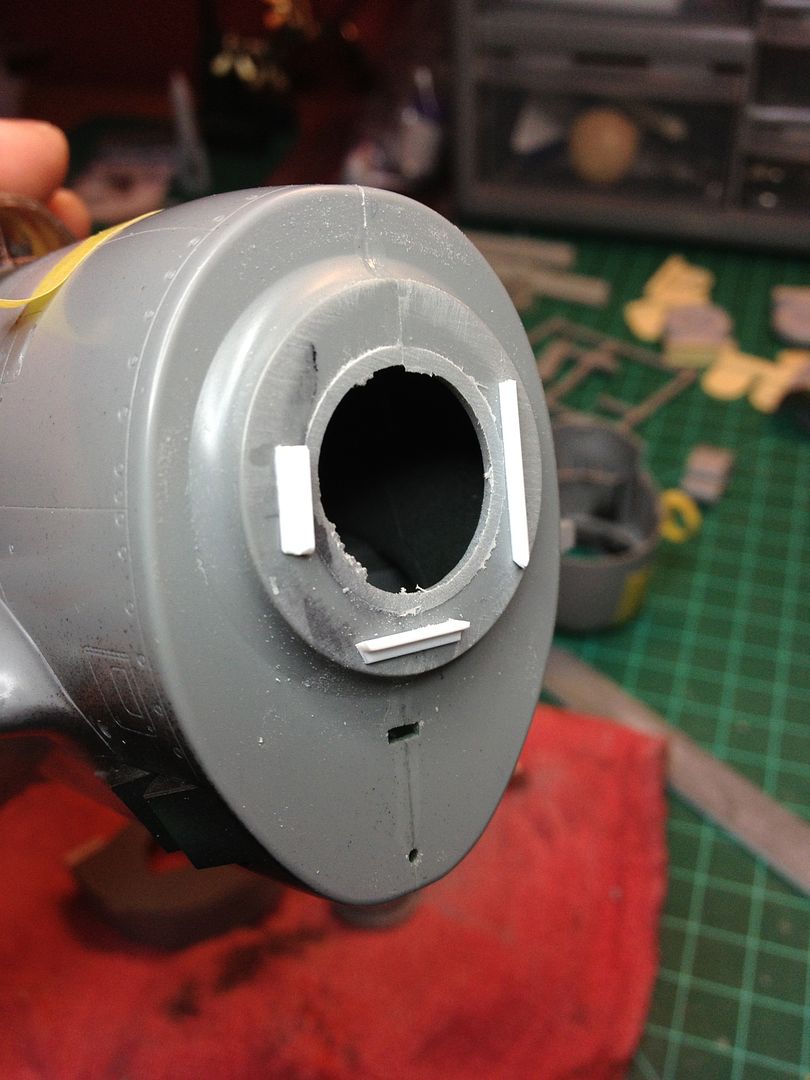
Using 1.6mm styrene angle 3 pieces are cut and glued, port and starboard sides are easy to position however, the critical bottom piece is dropped 1mm.
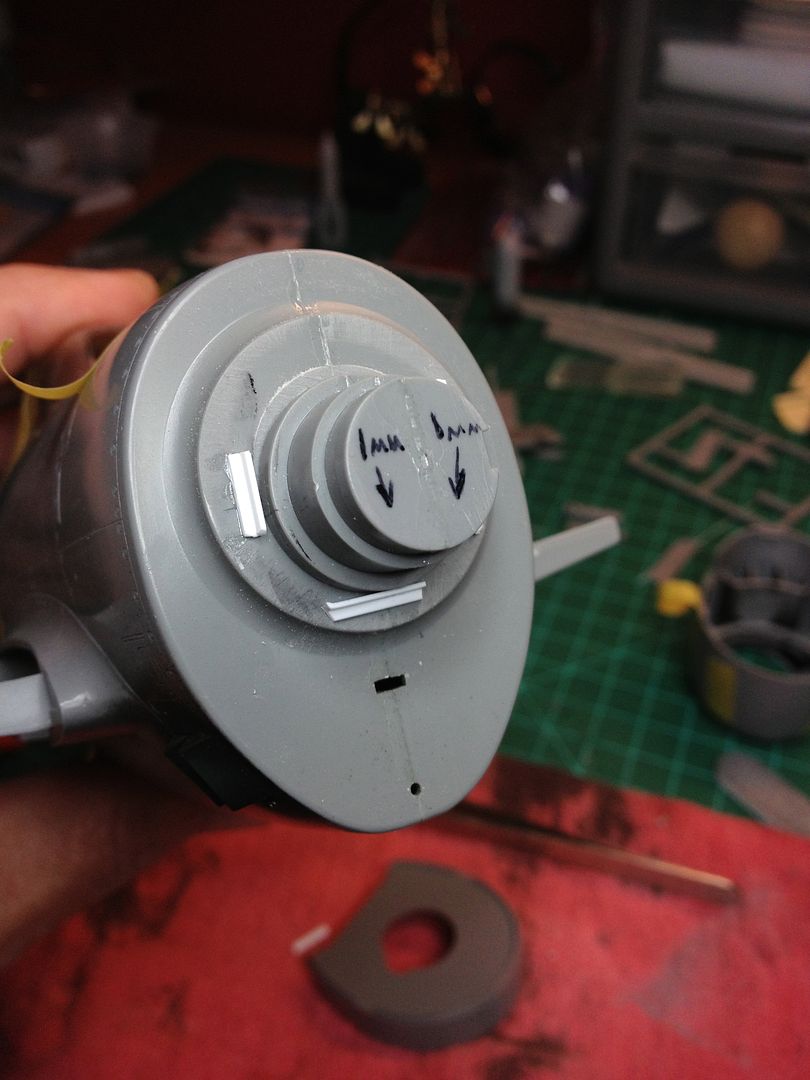
Test fit of engine mount.
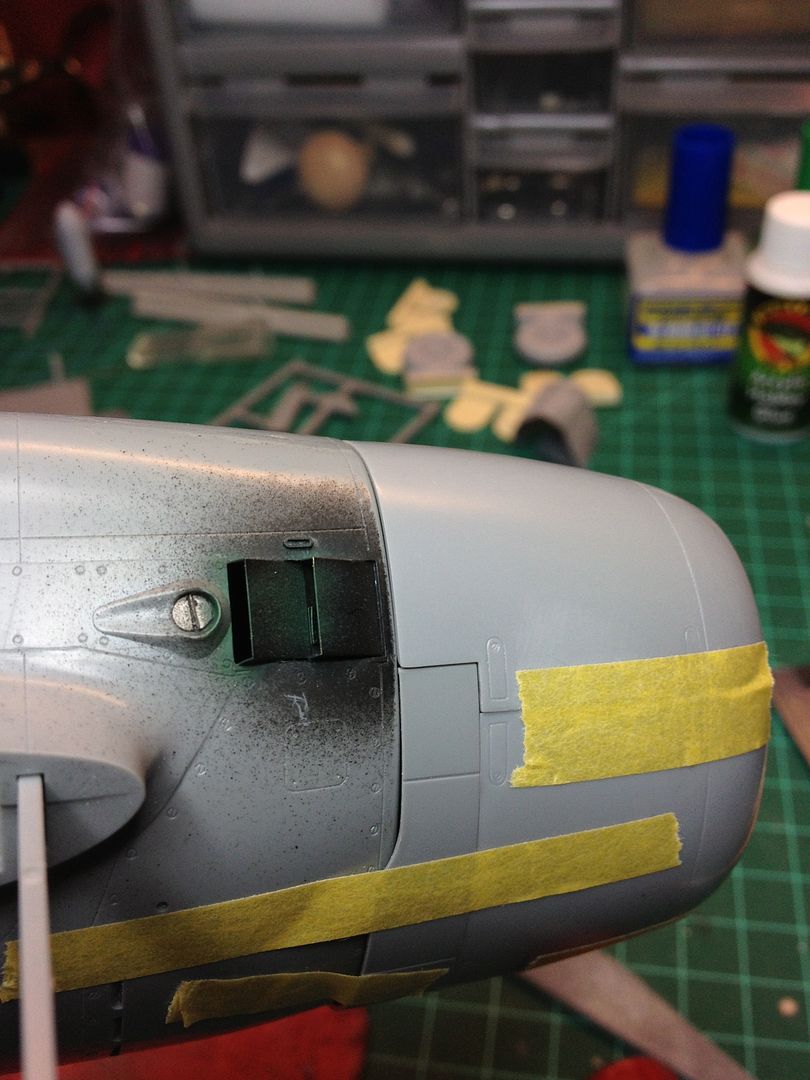
Test fit (with complete engine parts) shows an acceptable fit. The lower cowling looks much beter.
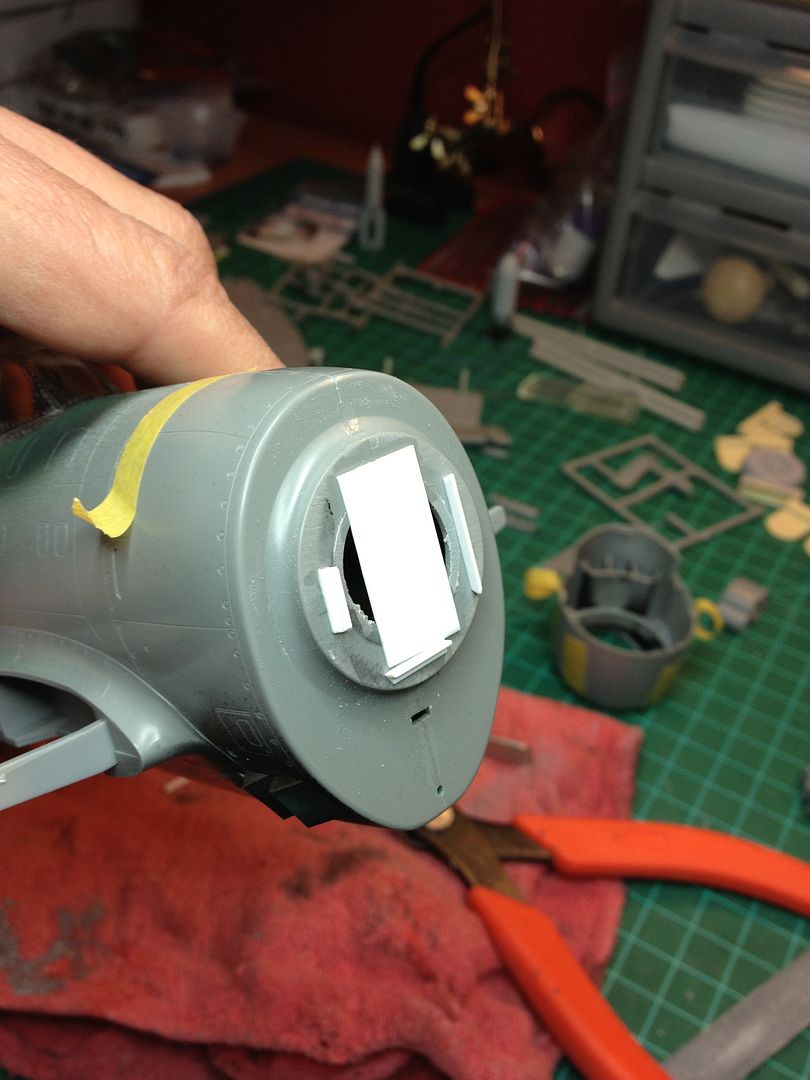
A .05mm styrene card is positioned to recapture space lost from the "saw off". This will also give the repositioned engine mount some glue area...
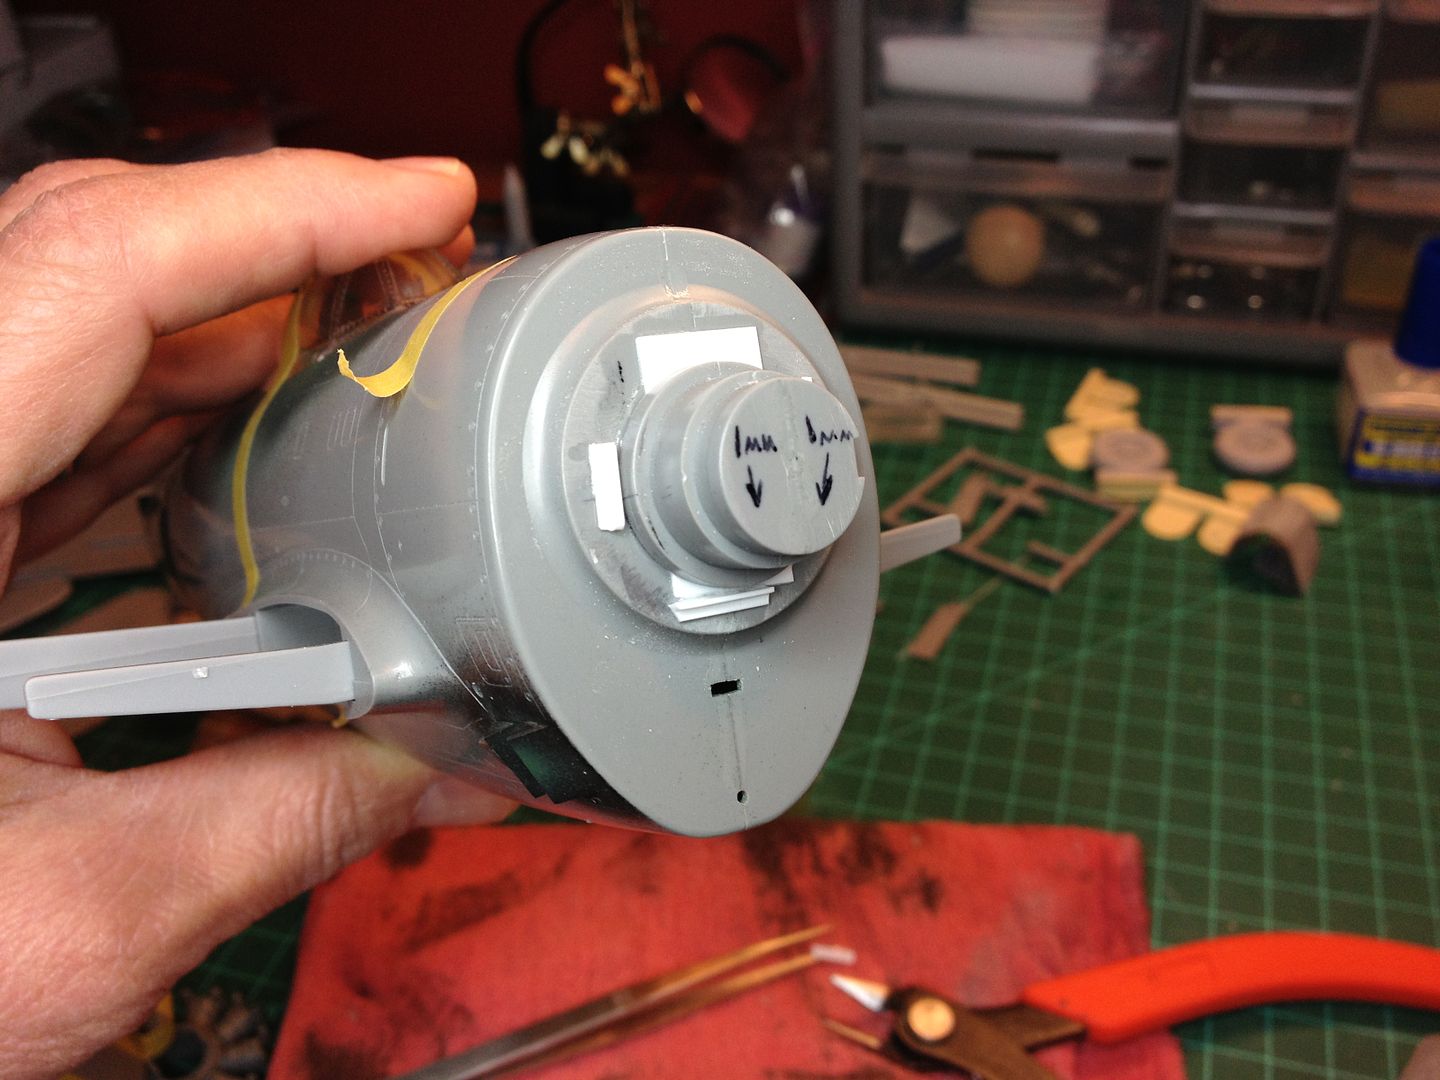
The engine mount is positioned and glued.
Re: 1:32 Hasegawa P47D "Slick Chick"
Posted: Sat Apr 12, 2014 2:16 pm
by Rick
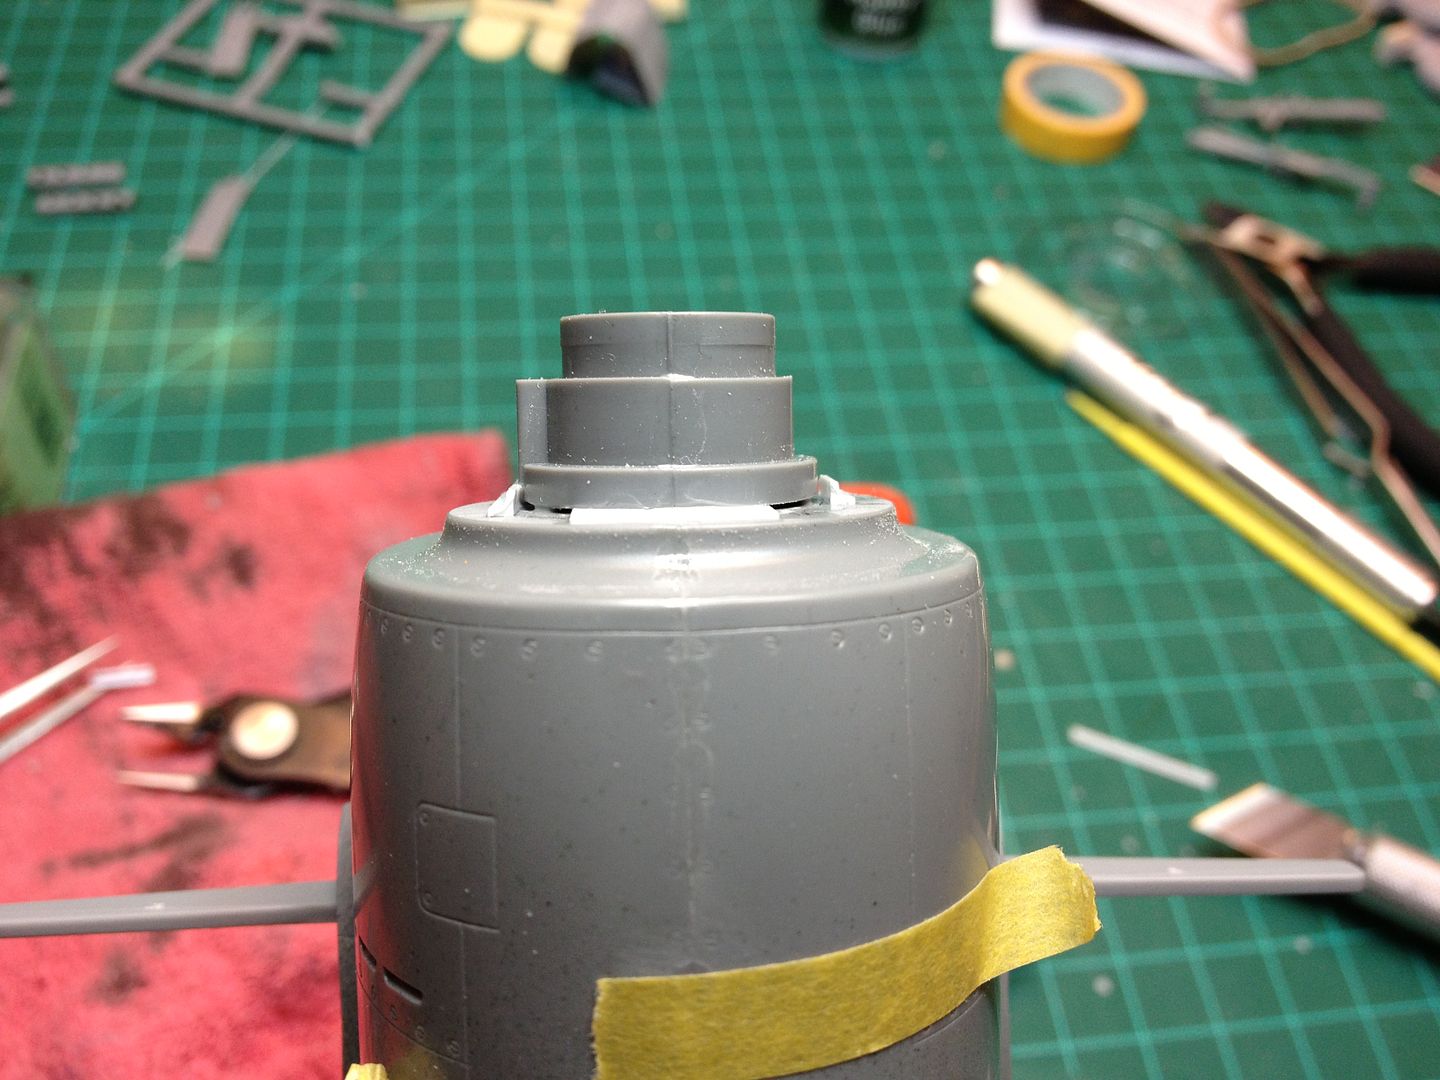
Styrene card shows "saw off" recovery.
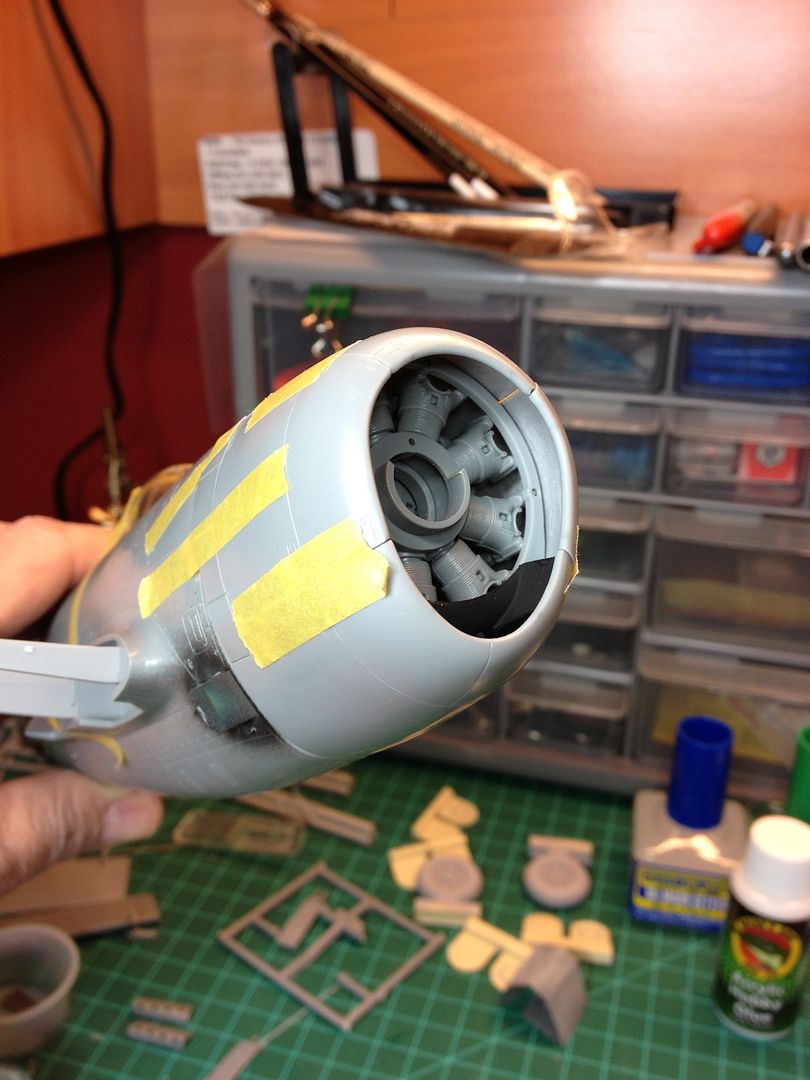
Final fit is good.
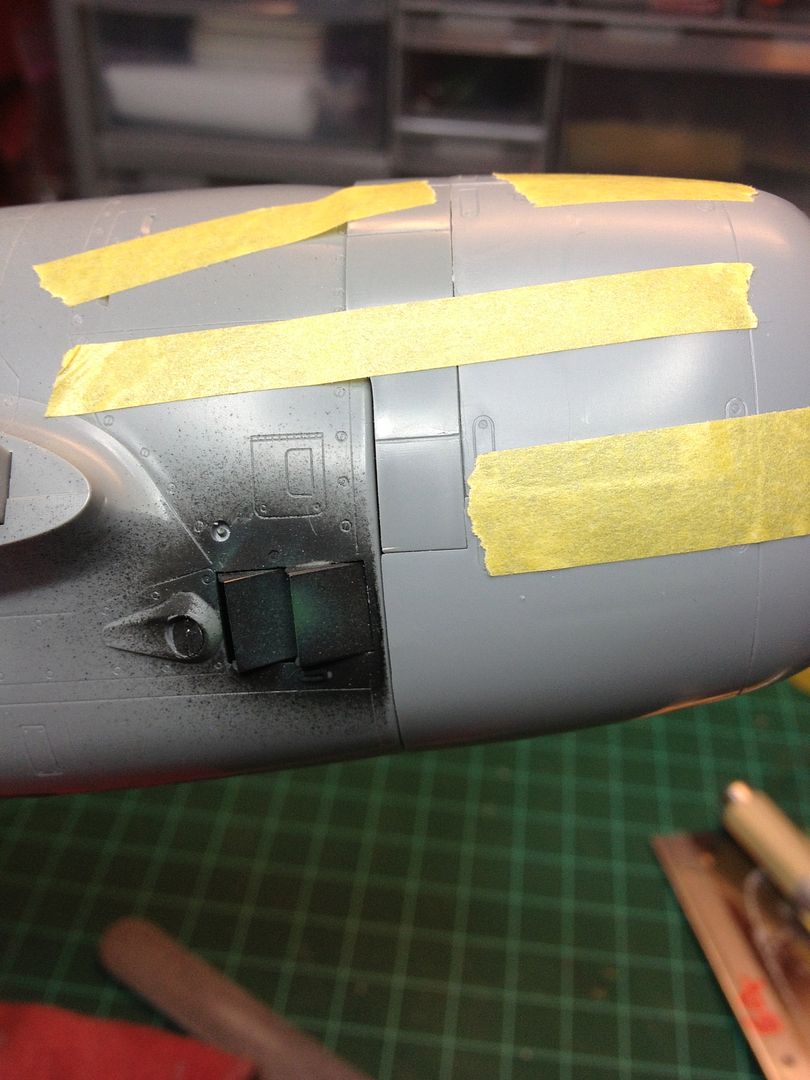
Happy, happy.
Re: 1:32 Hasegawa P47D "Slick Chick"
Posted: Sat Apr 12, 2014 2:38 pm
by Thomas_M
I remember this impressive build and the genius solution to get the engine cowling to fit. Beautifully illustrated WIP so far!
Re: 1:32 Hasegawa P47D "Slick Chick"
Posted: Sat Apr 12, 2014 3:43 pm
by Rick
Thomas_M wrote:I remember this impressive build and the genius solution to get the engine cowling to fit. Beautifully illustrated WIP so far!
Thanks Thomas. I am sure plenty of folks out there has the Hasegawa P47 in their stash. It's a great kit with plenty of AM options out there. My only angst was the engine mount/cowling fit and the 4 piece cowling.
If someone can benefit from this "how I did it" regarding the engine mount/cowling fit...me happy.
Re: 1:32 Hasegawa P47D "Slick Chick"
Posted: Sun Apr 13, 2014 11:28 am
by Rick
ORDINANCE PLEASE
Taking the kit supplied bombs and giving them the Eduard PE Treatment.
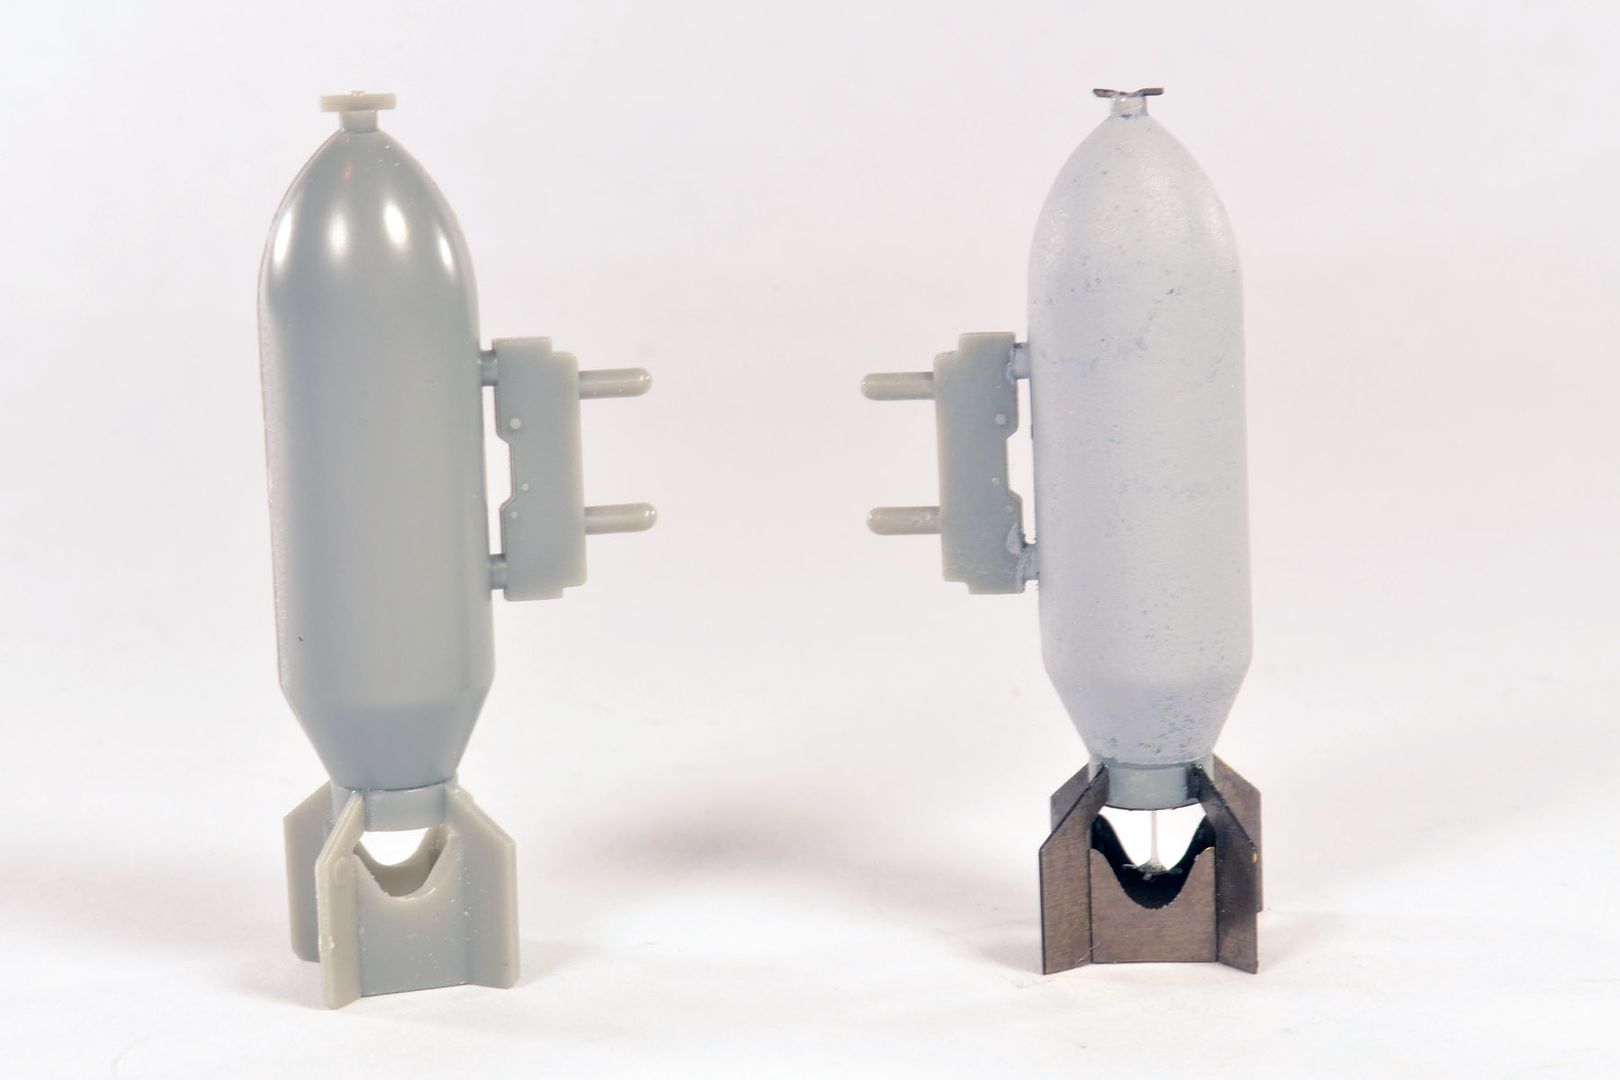
500lb GP bomb. Left - out of box kit bomb. Right - PE (brass) fins and front/rear fuse added, also painted with Mr Surfacer 500 then stippled with short brush for texture.
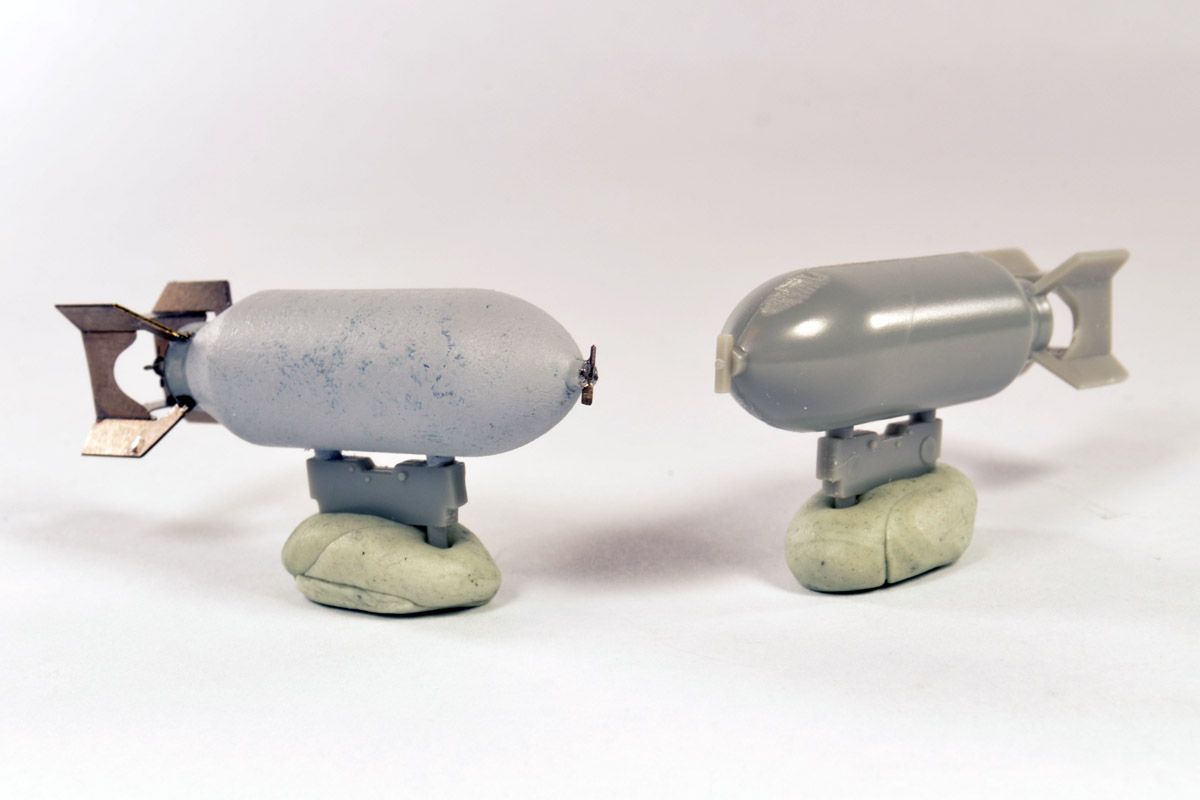
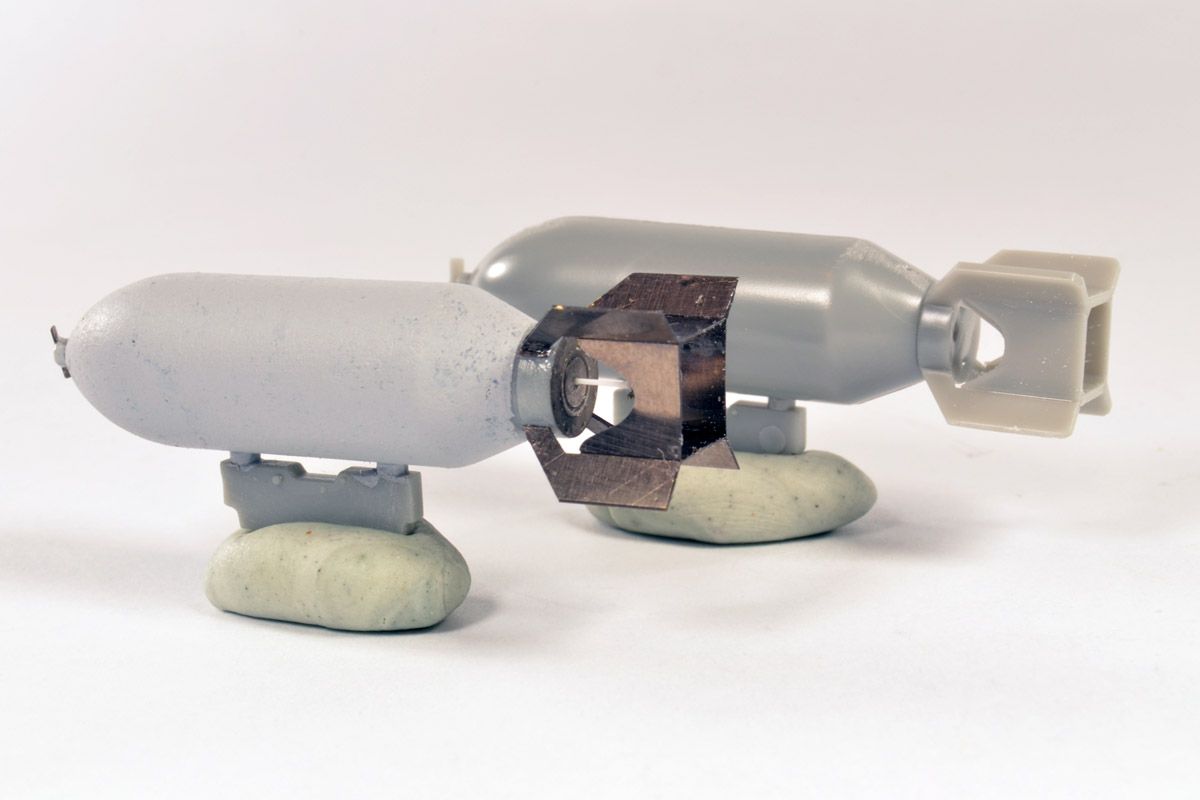
Detail is much improved. Textured surface (left bomb) will show up better when painted.
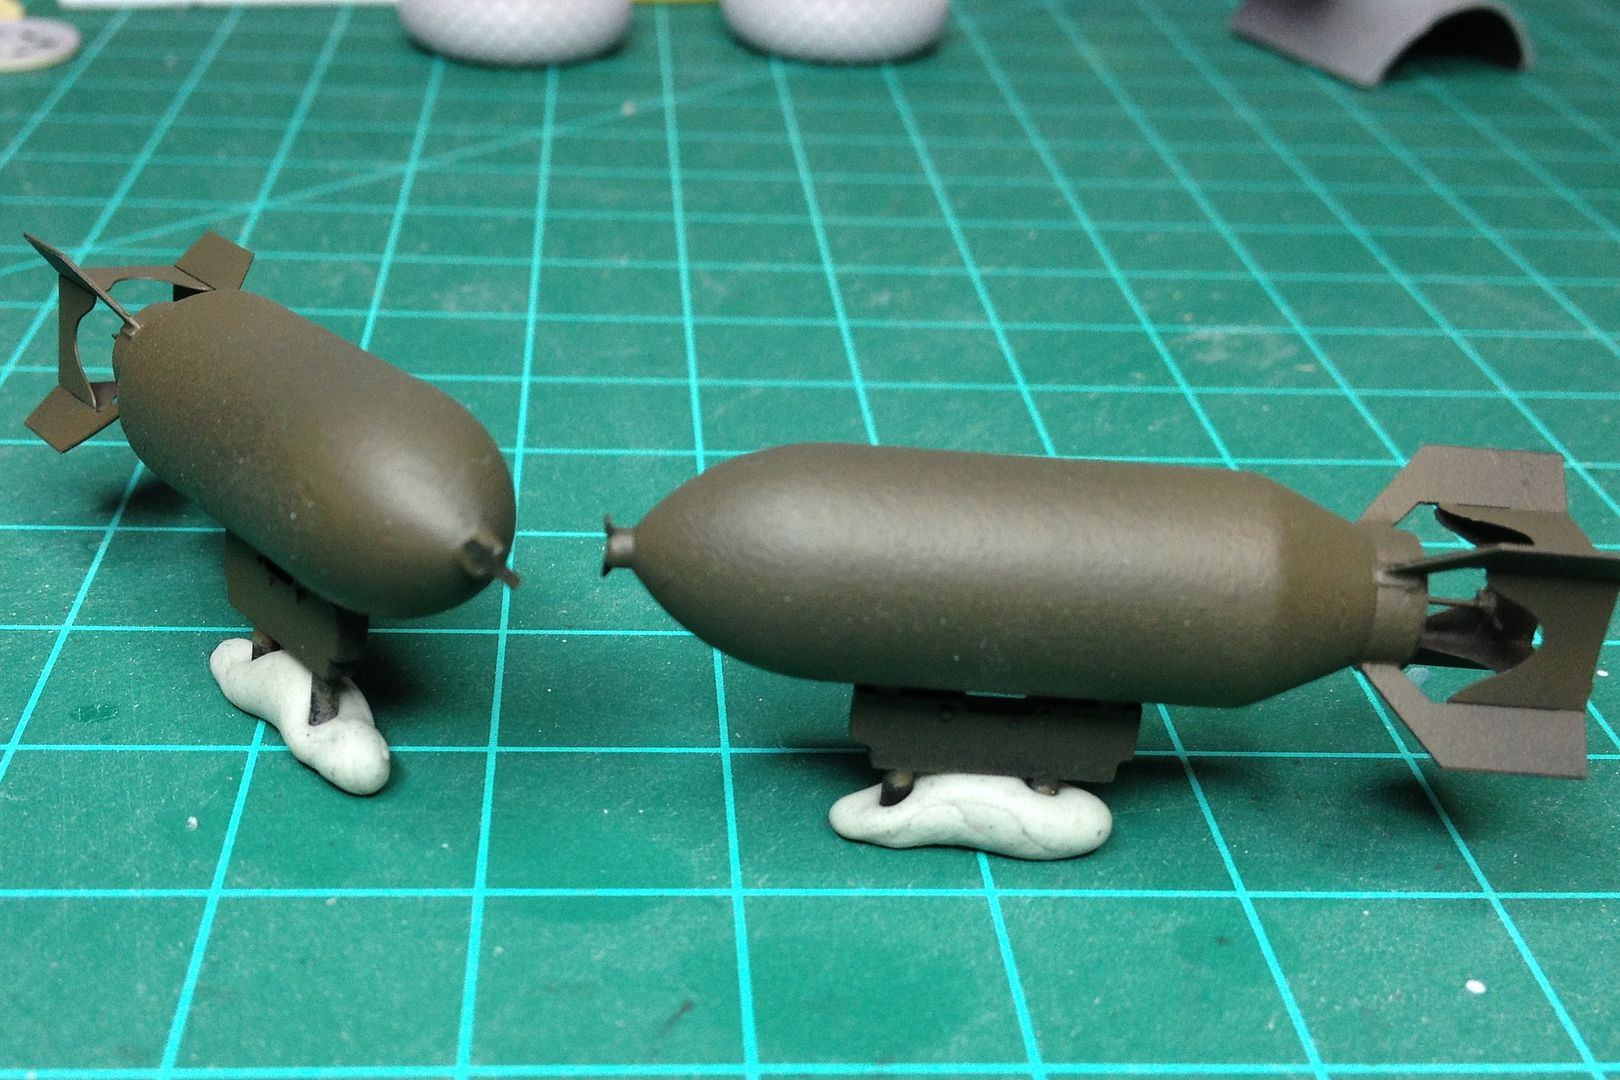
Bombs painted OD. Texture is hard to see in this pic, but I am happy with results. Yeah, more dust! Not sure if yellow ID stripes will be added.
Next are the bazookas from a Trumpy P47N.
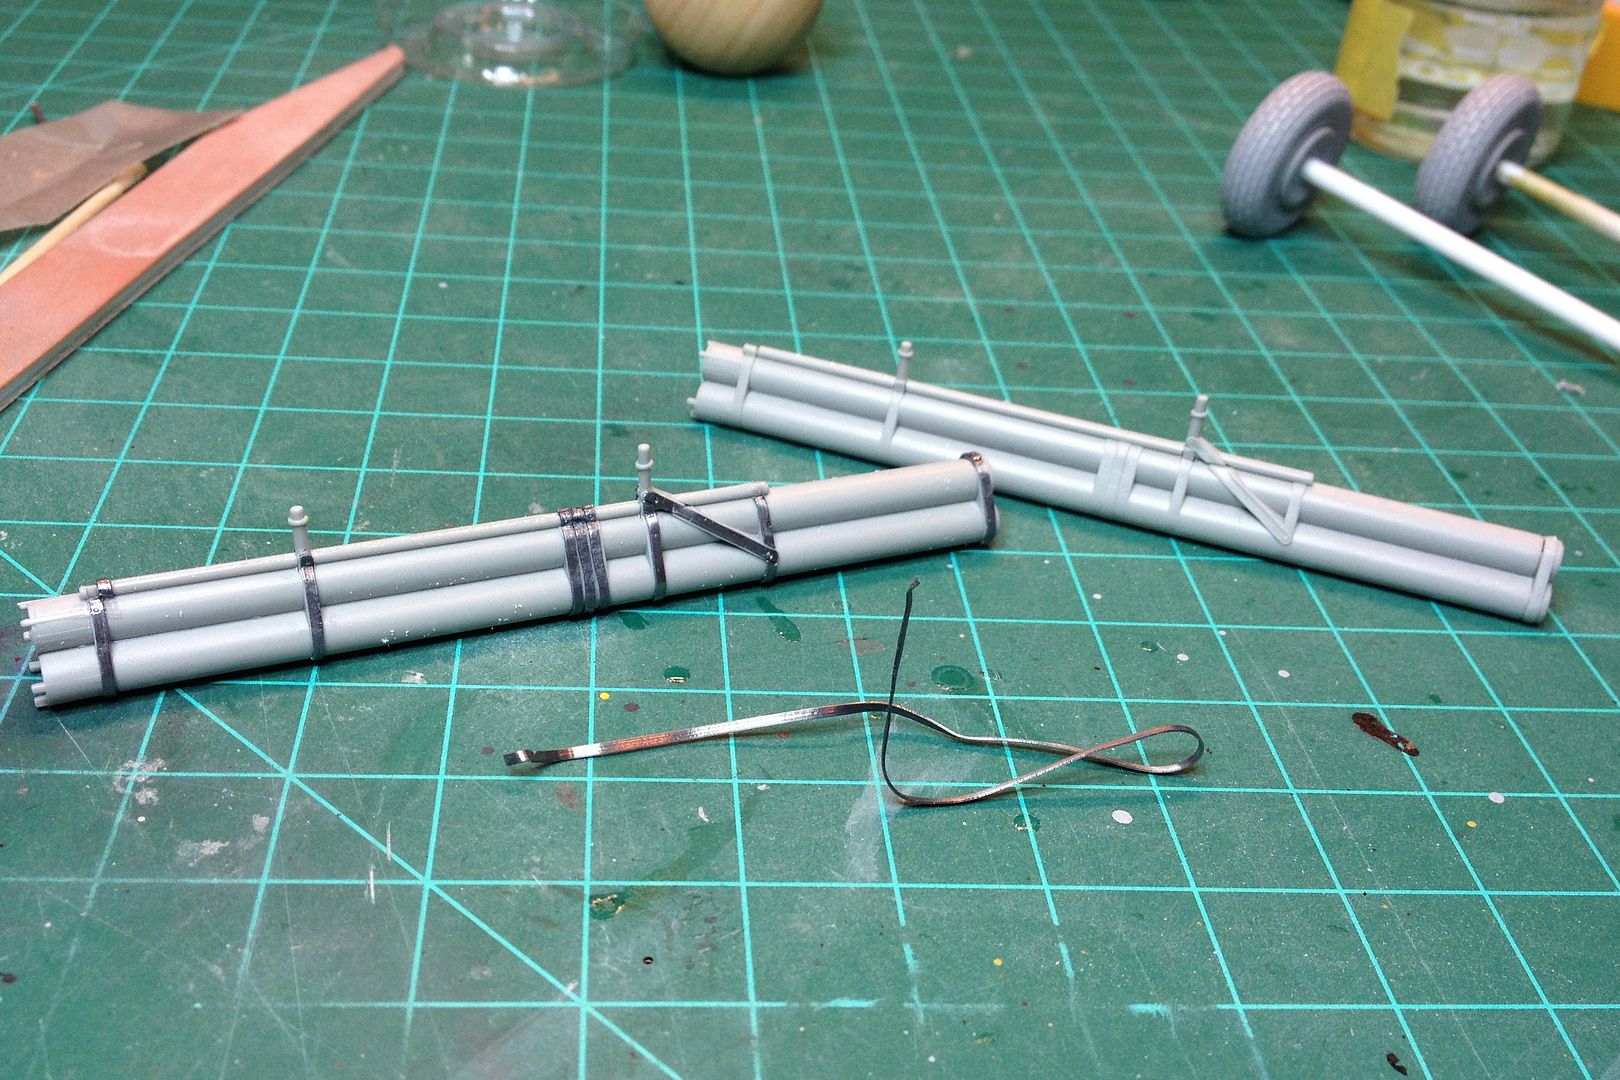
Using flat lead wire (UMM-USA FLW103 Flat Lead Wires 1.0 X 0.3mm) and rivet tool I enhanced the detail on the tubes. The difference is markable.
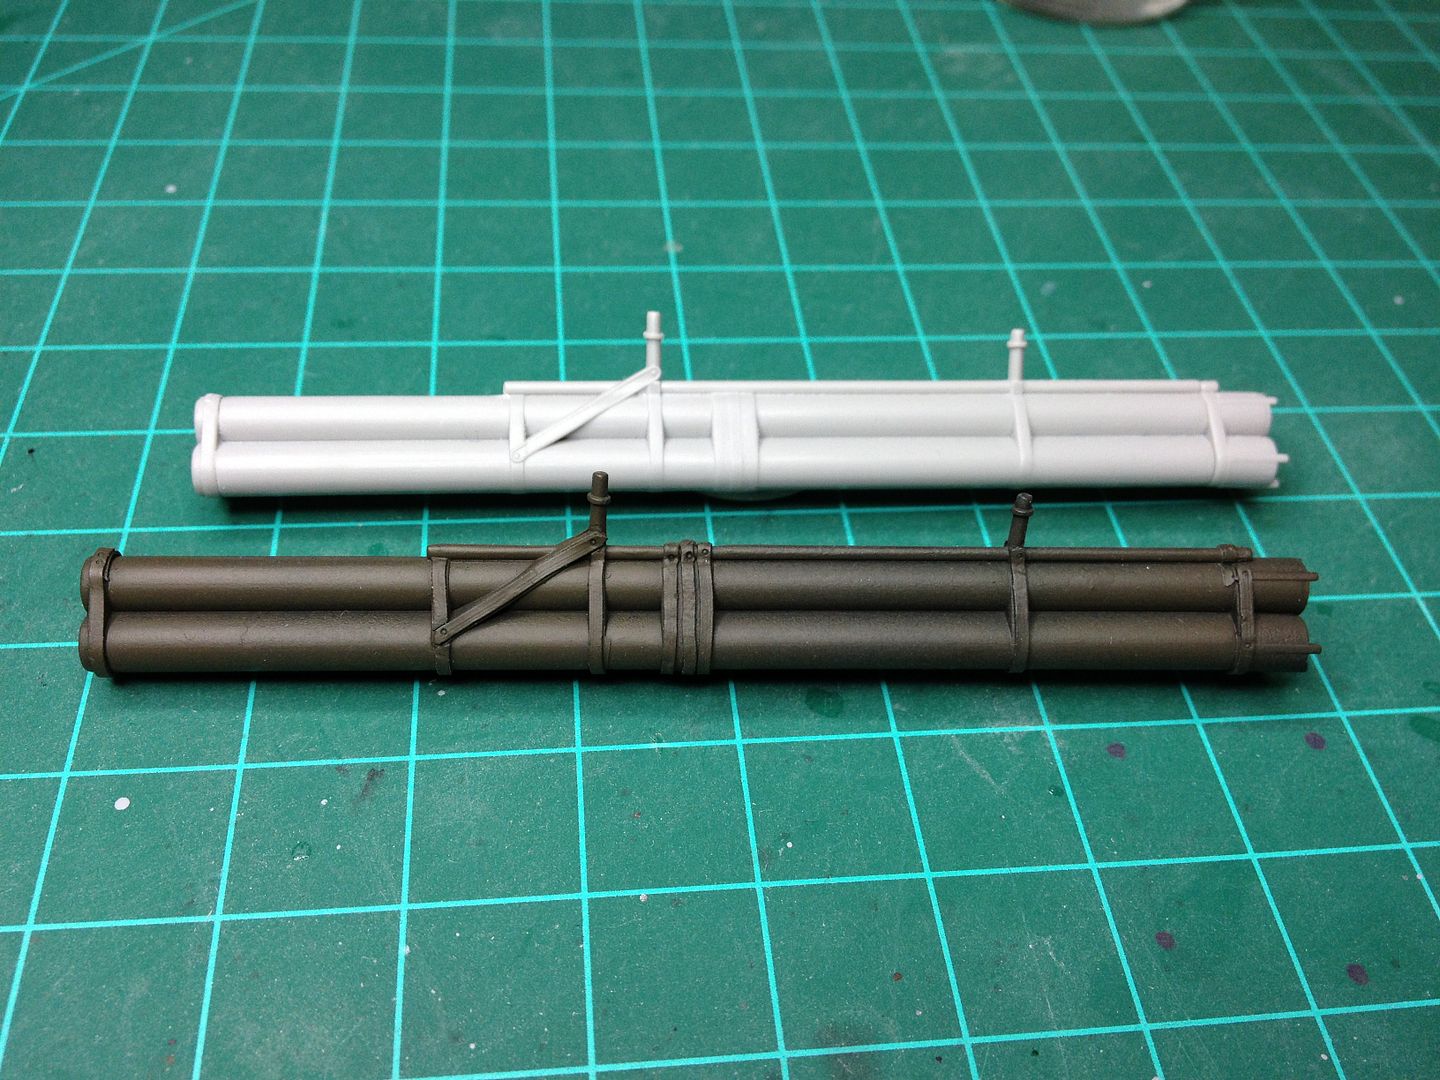
After a primer of black I shot OD, detail shows up well.
After taking a long look at these I just was not happy. The lead wire certainly enhanced the M10 Bazookas. However, a closer look these were just a solid piece of plastic in the shape of tubes.
That said, I'm going to scratch build the M10 bazookas.
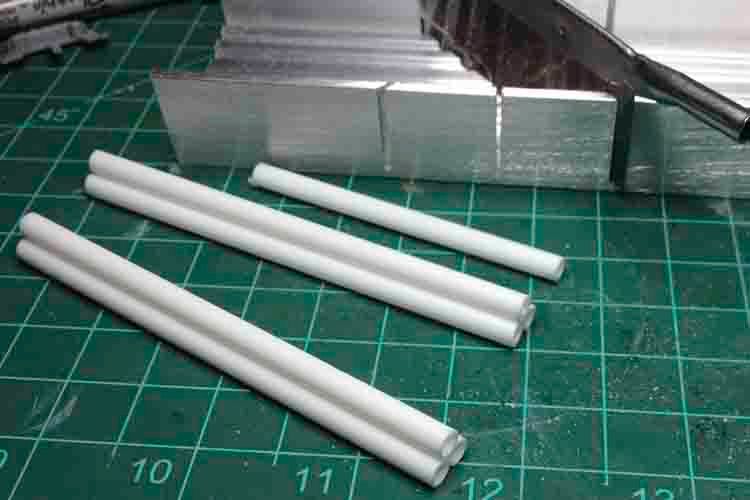
Using styrene tube 4.8mm dia I cut 6 tubes to size and glued with Tamiya Thin Cement.
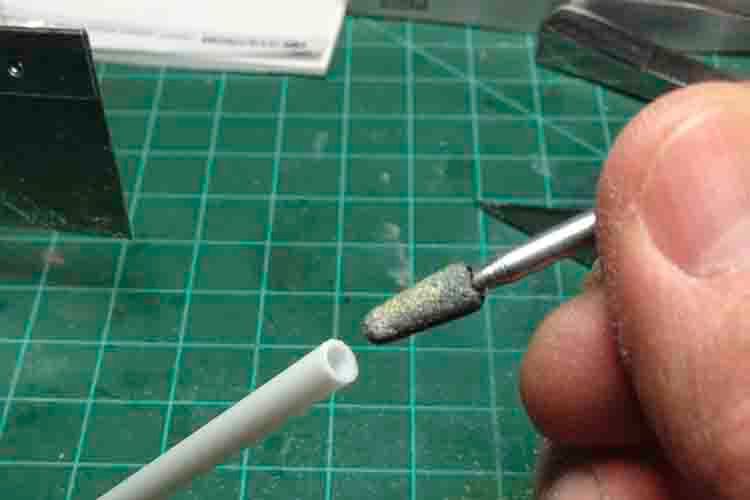
With a Dremel shaping bit I carefully thinned the walls of each tube.
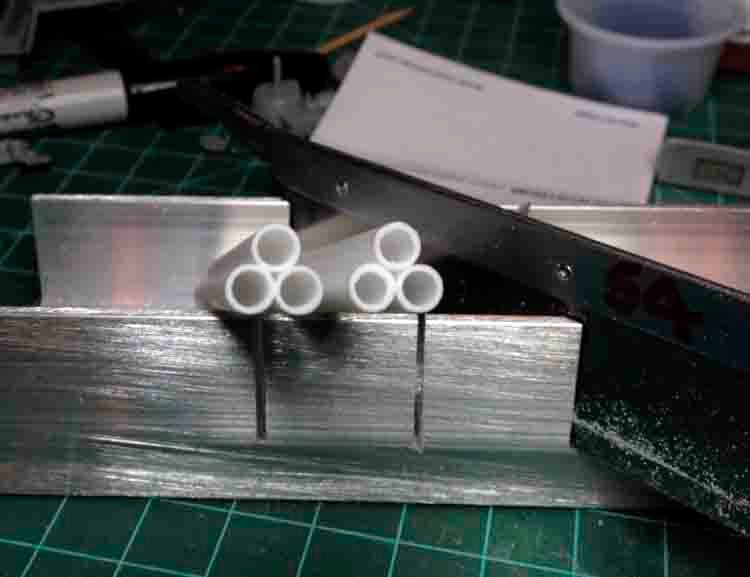
The set on the left had the walls thinned while the set on the right is on deck for some thin wall treatment.
Props to
alaninaustria at LSP for the inspiration to scratch a set of M10's


