Glencoe Oeffag Albatross D.III (WIP)
Posted: Sat Nov 07, 2015 2:19 pm
Well a month or two ago my modeling mojo went real low. So I decided to get back in the game I would go do something that I had not done in a LONG time... a biplane. I have a lot in my stash, from nice Eduards & Rodens, to original Auroras and their clones/re-pops. After looking at all the ones in my stash I decided to start here, as I have not built a biplane kit since I was in Jr. High School way back when. My basic rule to self here was to use just what is in the box, although I would modify kit parts as needed along the way...
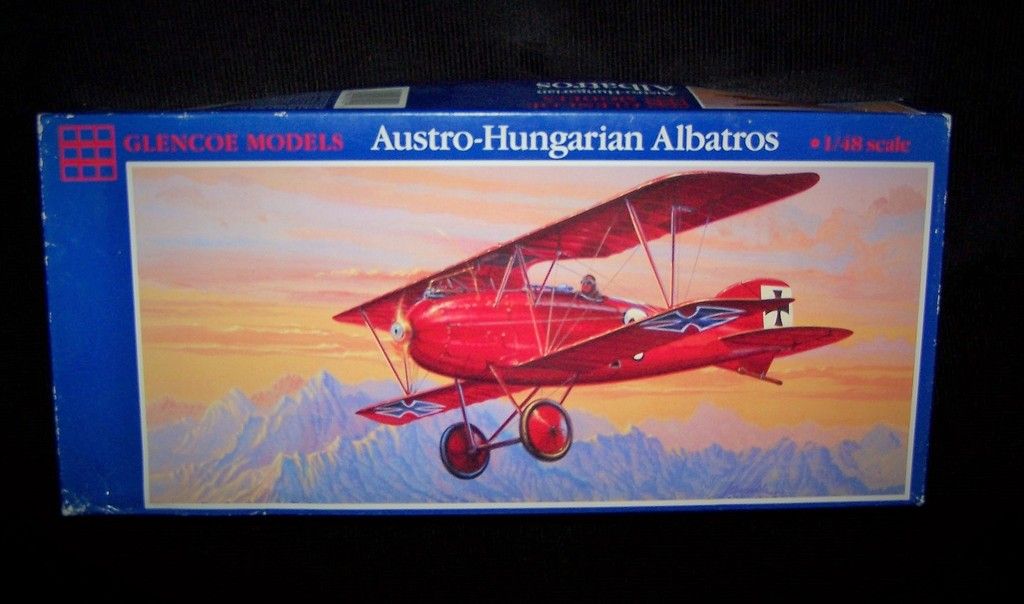
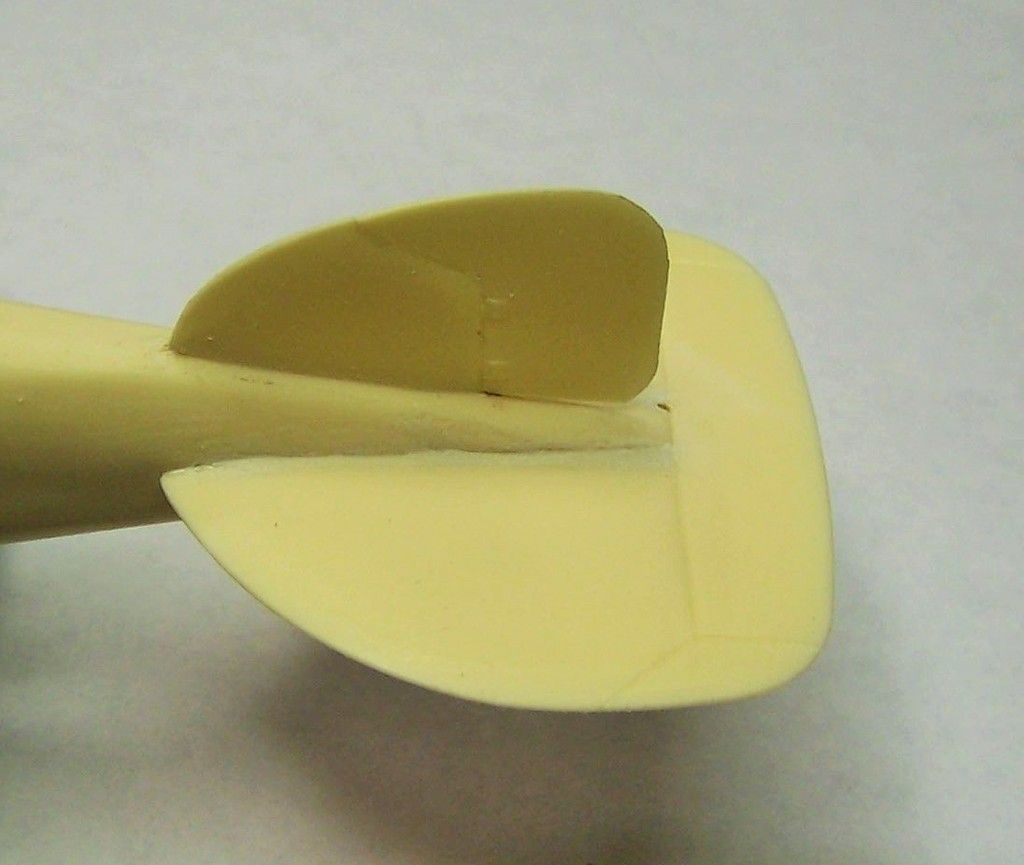
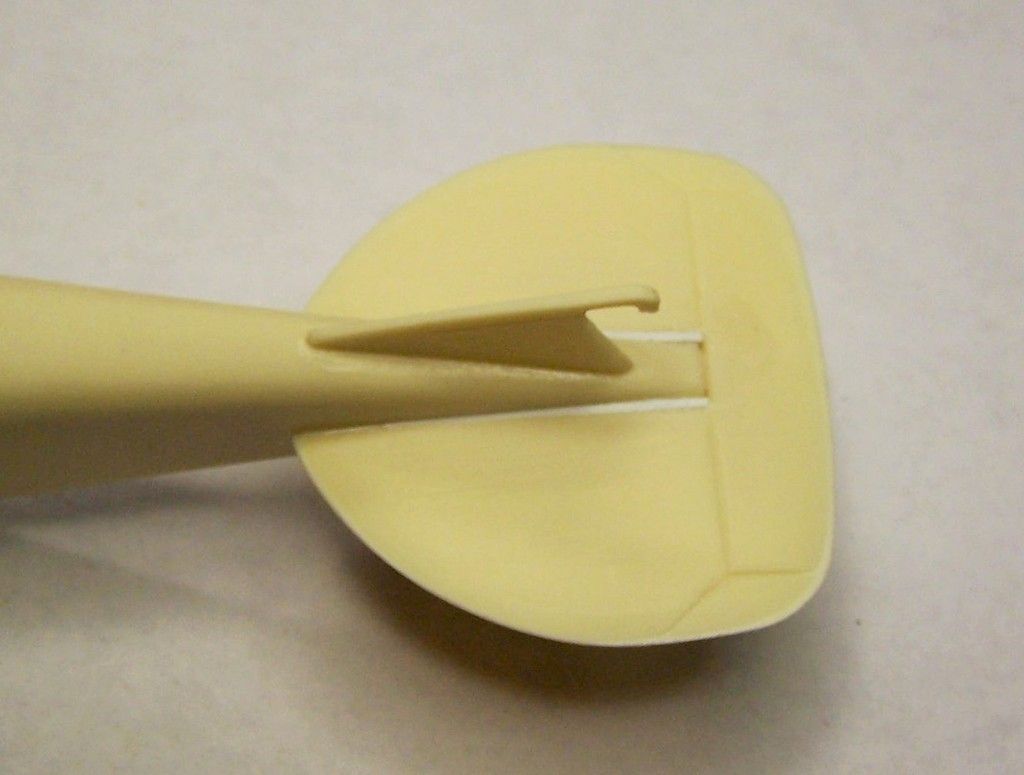
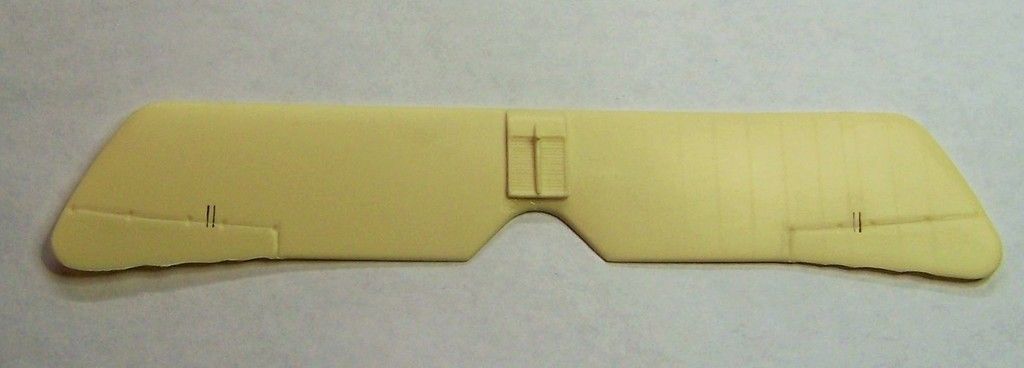
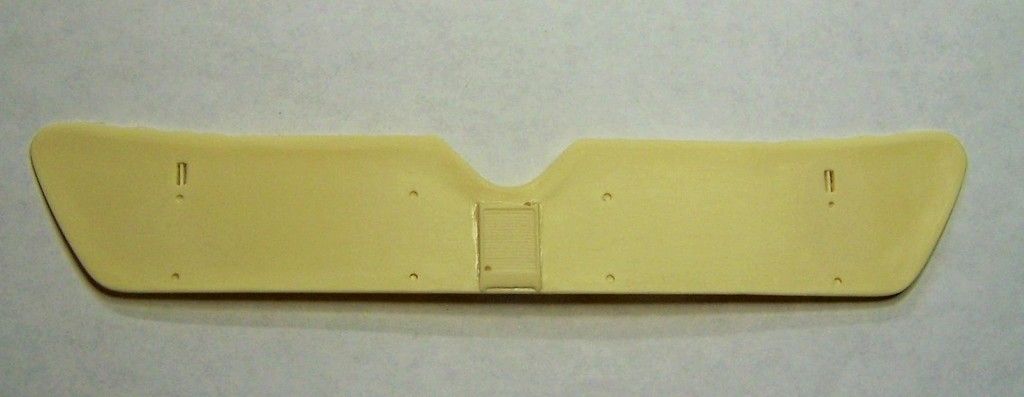
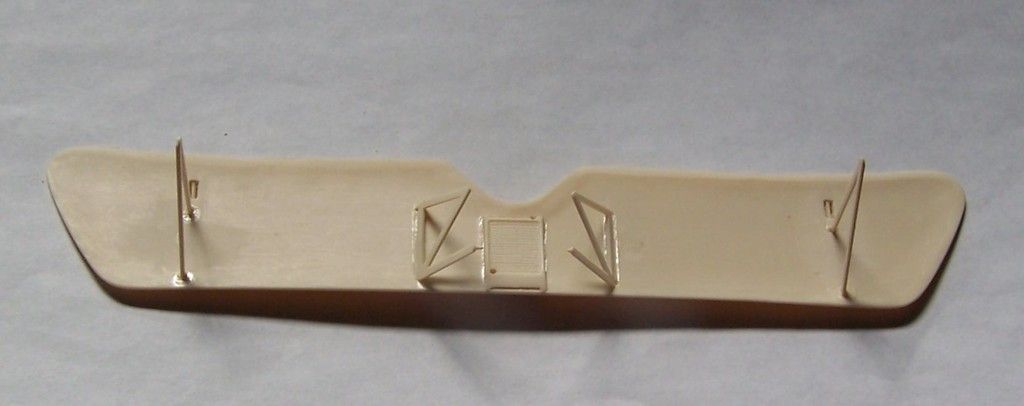
So here is the boxtop. For those of you who have never seen or handled a Glencoe kit, they are usually reboxings of very old kits from other companies, sometimes cleaned up or modified, with basic instructions, a very nice Scale Master decal sheet, and sold for a very inexpensive price. They are not for the fainthearted. As far as I can find, Aurora never issued an Oeffag Albatross D.III (Austrian built for those who are wondering), and they only issued the German built Albatross D.III. So I am presuming that Glencoe took the orginal Aurora molds here and added the parts needed to make the Oeffag version, as well as having the standard D.III part. To call this kit basic is an understatement. Although in all fairness, the original molds probably date from the late '50s or early 60s. Most parts beyond the fuselage halves needed filing, sanding, or shims to fit properly. Not to mention a good amount of flash on many parts. On the plus side the kit does come with a beautiful Scalemaster decal sheet with three marking options, which is probably worth the $5 or so that I paid for this challenging kit.
Of course, as usual for a build the first step once that I decided to build this crate was research. I did happen upon a walk around of a beautiful exact flying reproduction Oeffag D.III, so armed with this source I went to work.
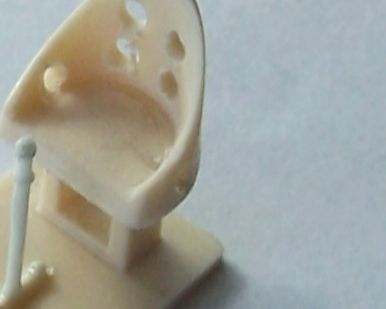
Now in the cockpit I did deviate slightly from my no additions/kit parts only self imposed guidance. I did add a control stick, and I was not going to use the pilot figure, and teh kit did not include one. So from my spares bin I found something suitable. And I also drilled out some lightening holes in the seat based upon what I could find in online photos.
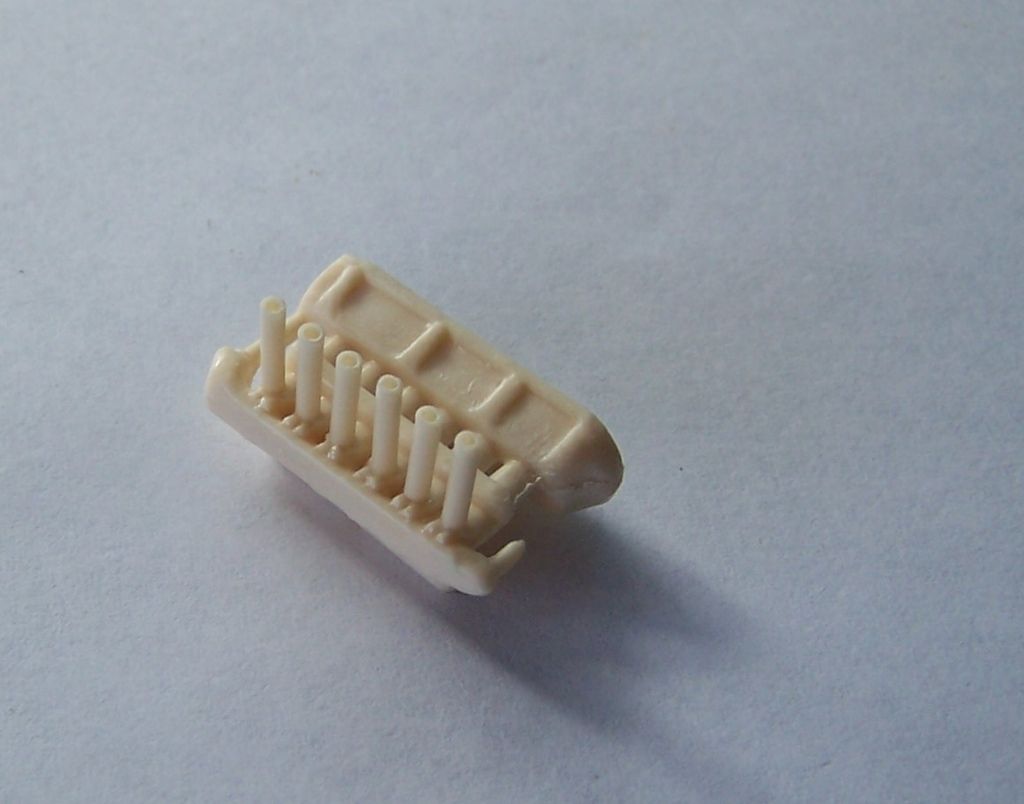
and I built the motor, probably the best molded and detailed part of the kit. I did drill out each of the exhaust stacks and filed the intake manifold to rounded profile rather than the as molded squared off edges.
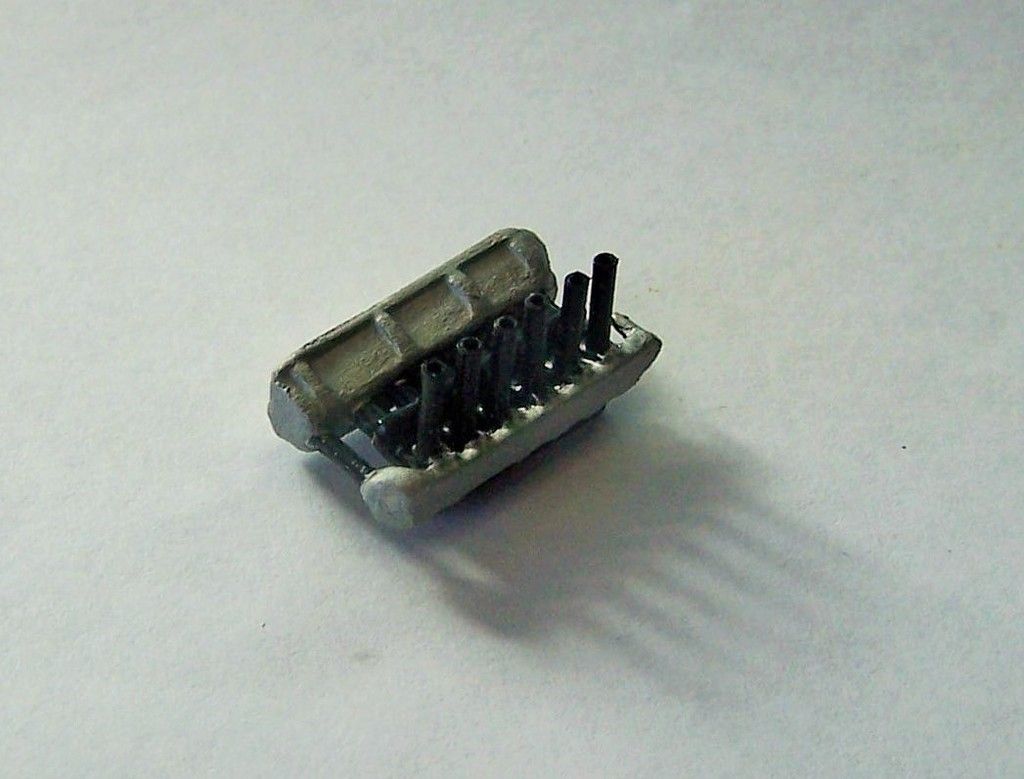
Then these items and areas were painted
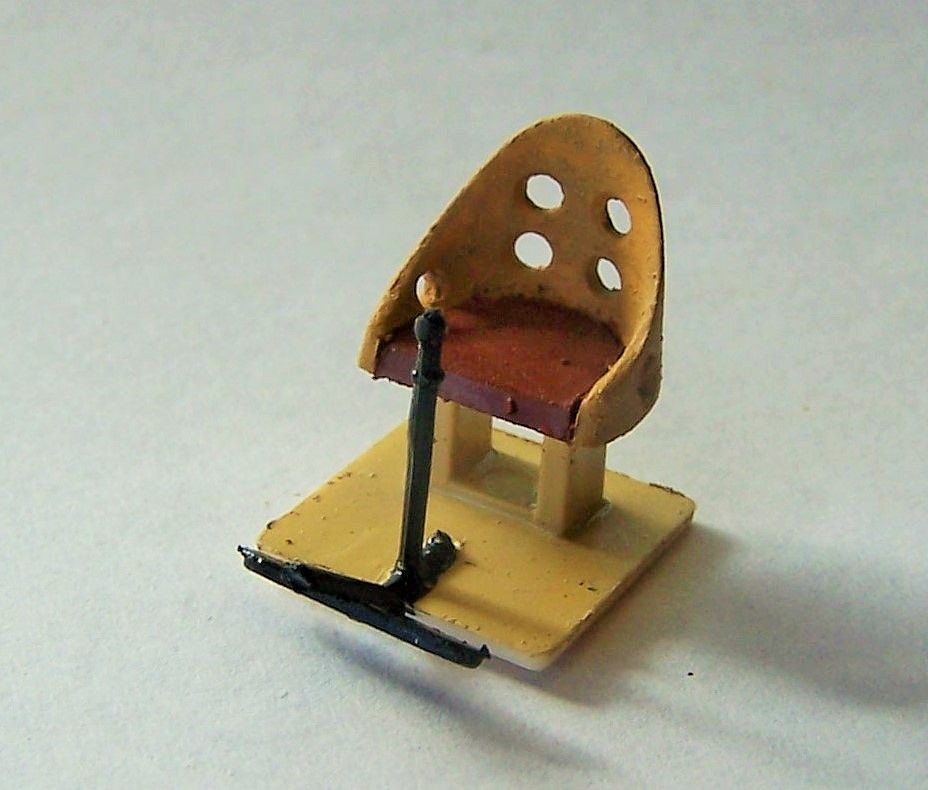
Next up was the cockpit & fuselage interior painting- varnished plywood, as well as some instrument decals (minimal) for the panel.
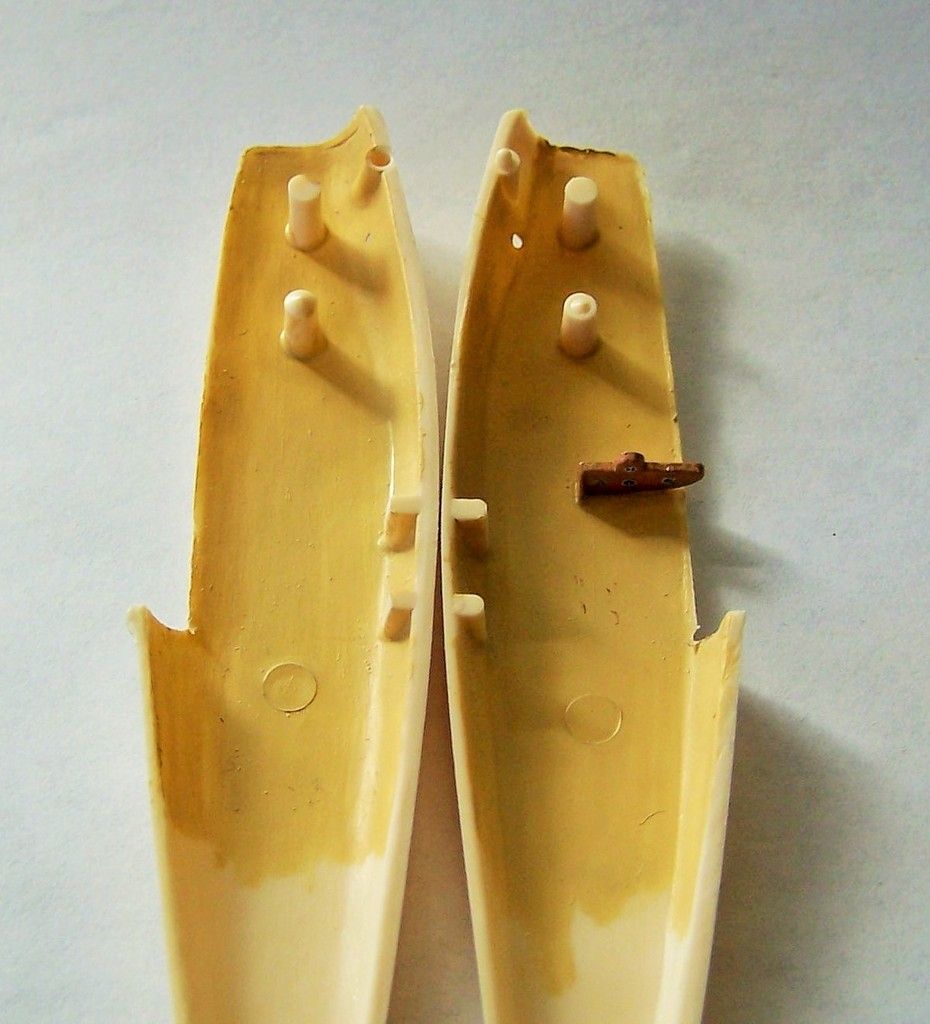
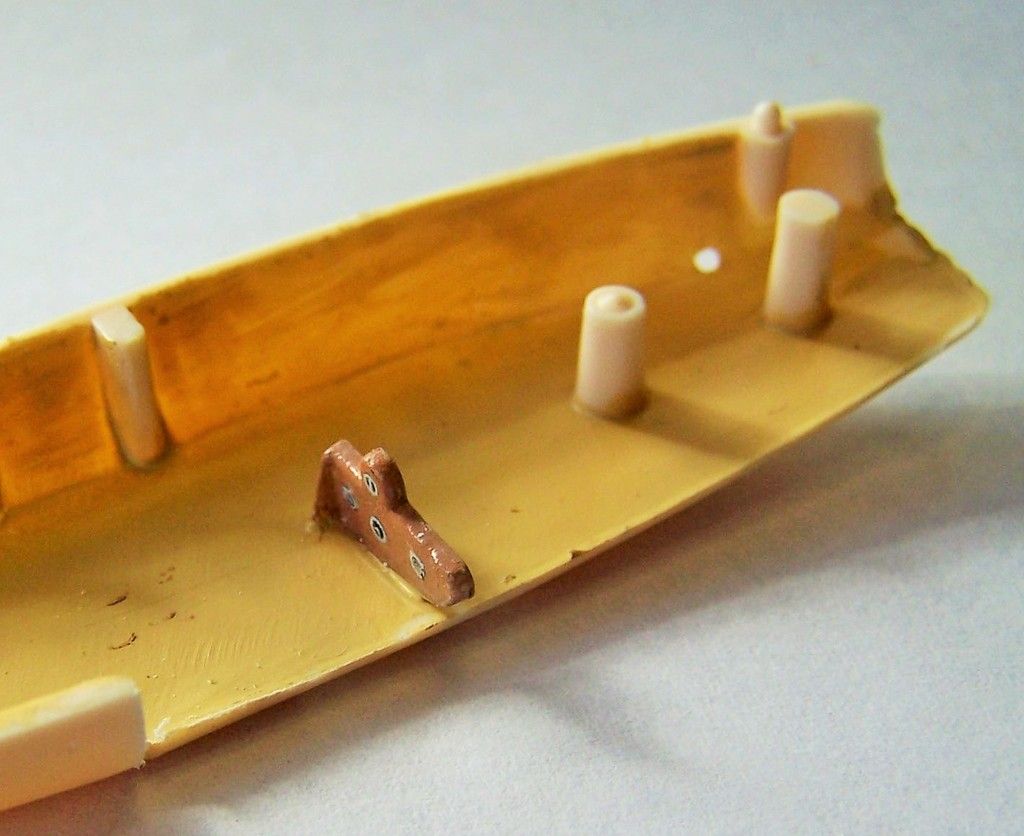
then painting of the interior and exterior engine areas that I knew would be best done before assembly, as well as the guns.
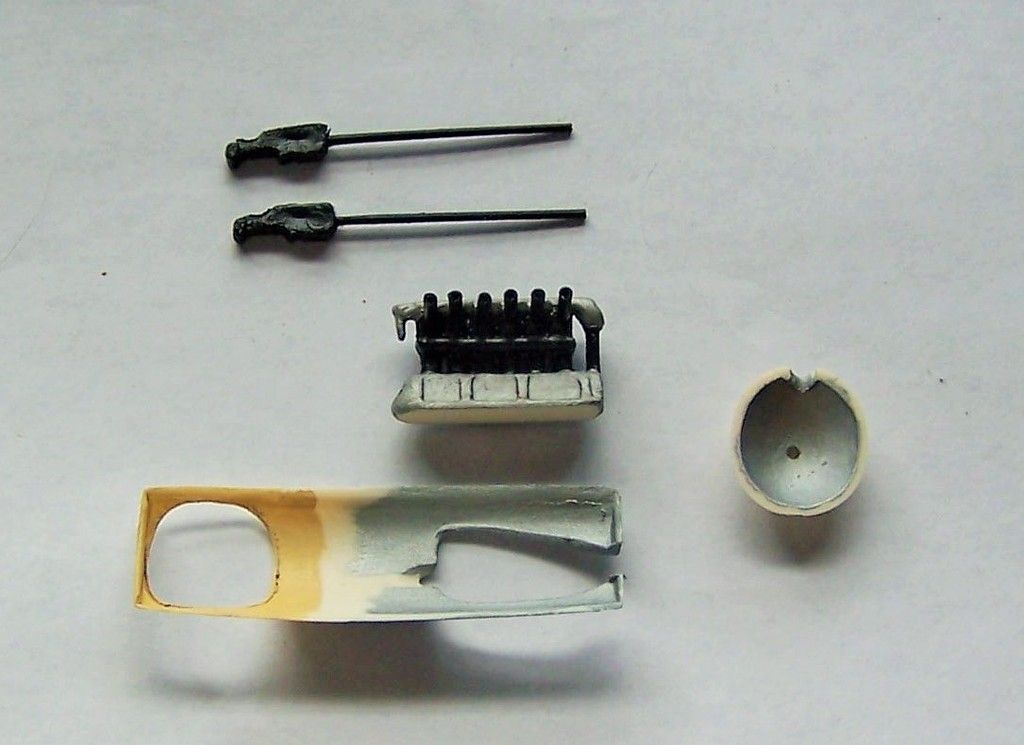
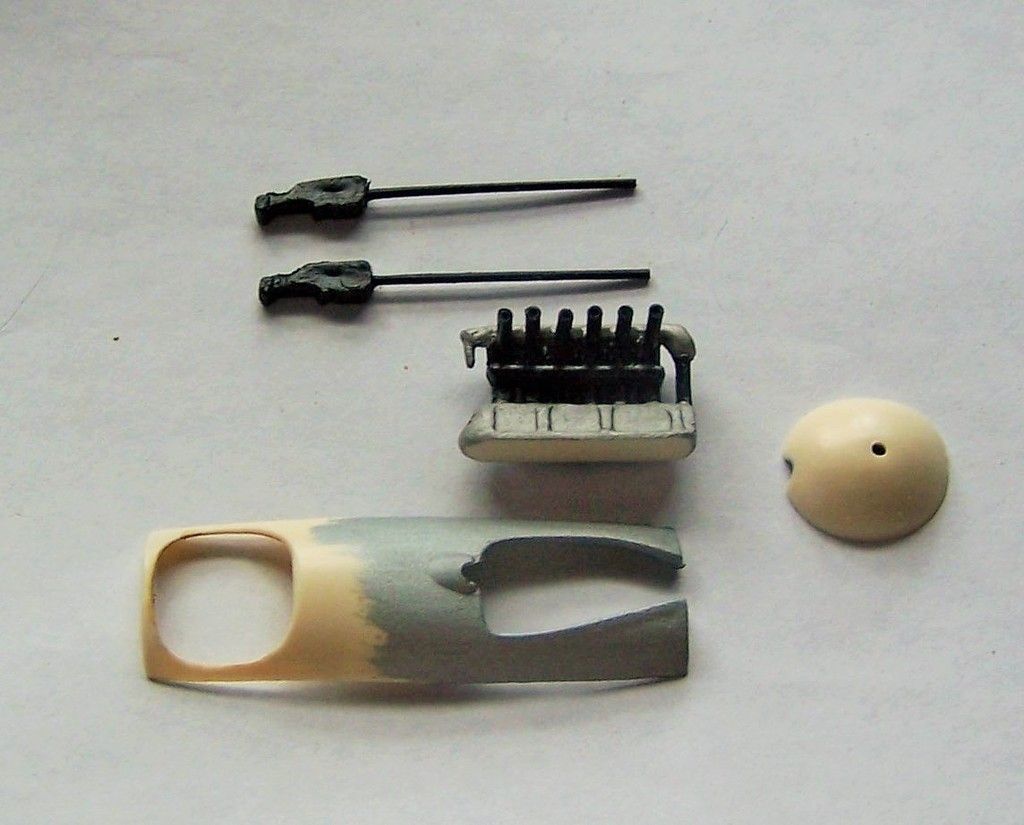
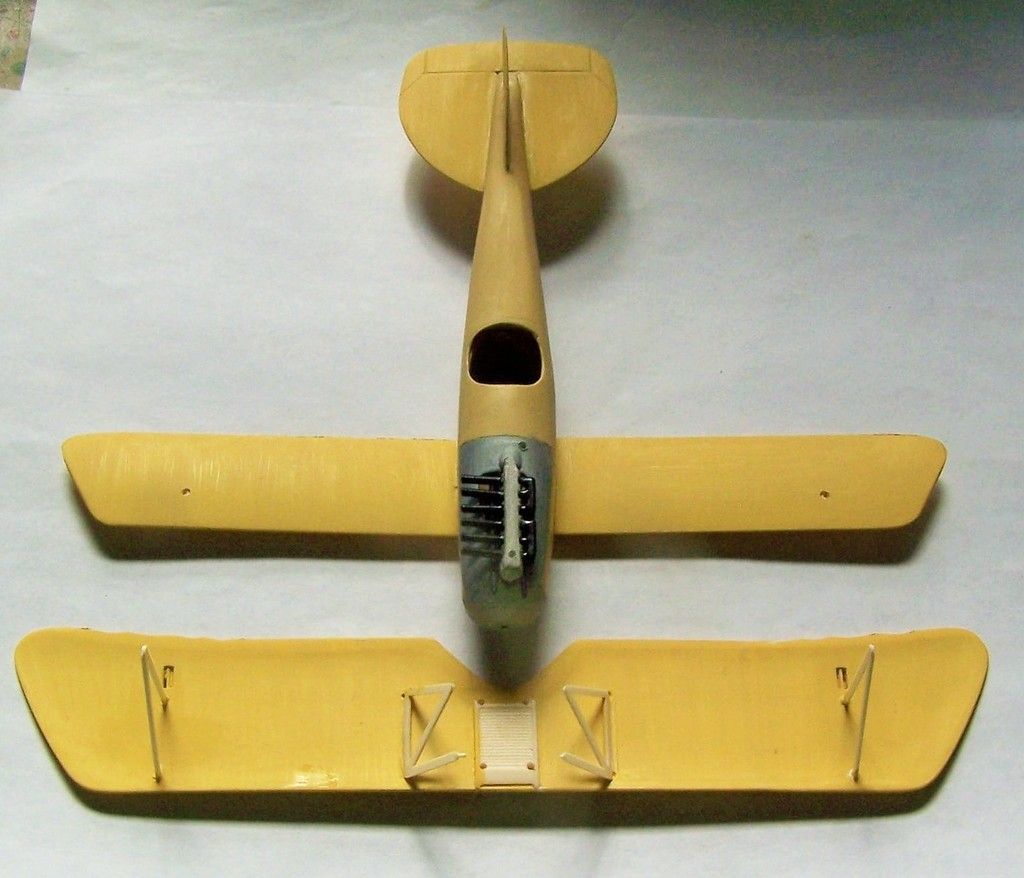
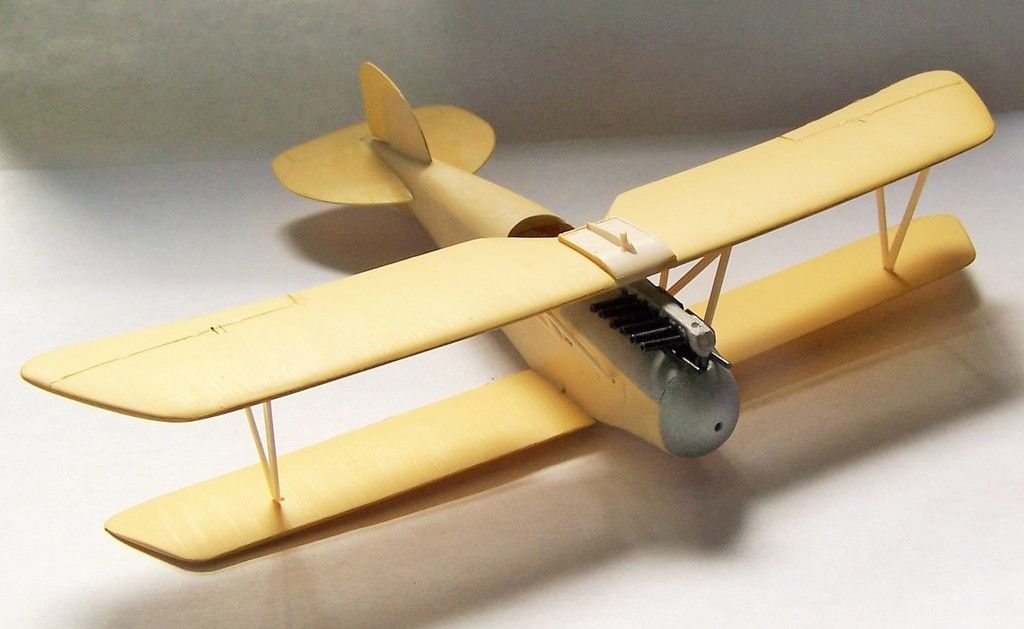
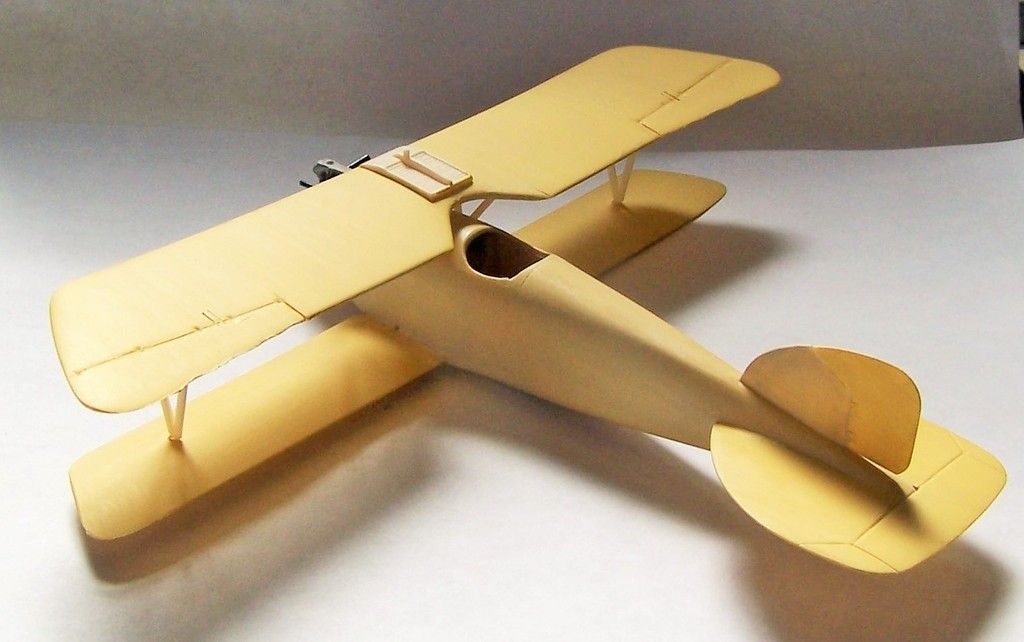
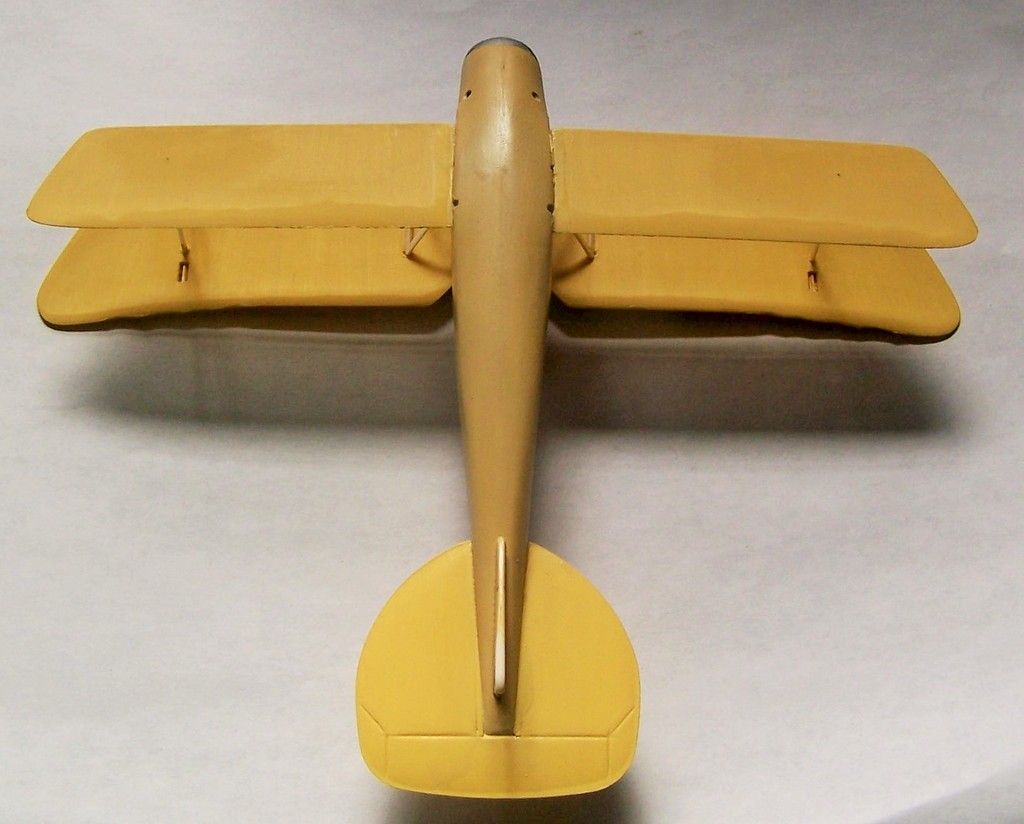
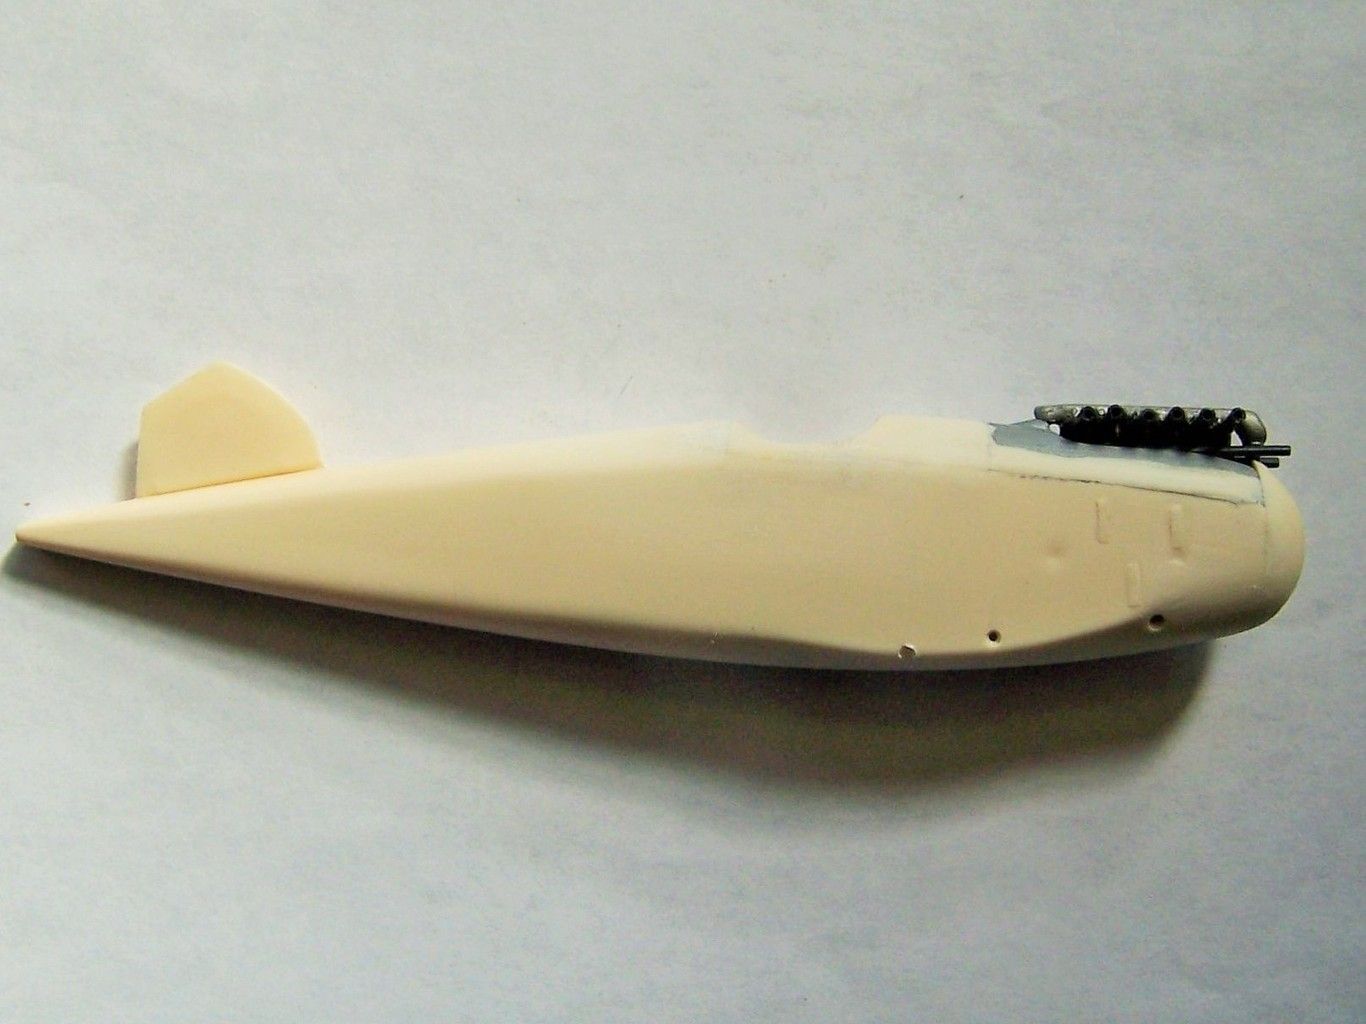
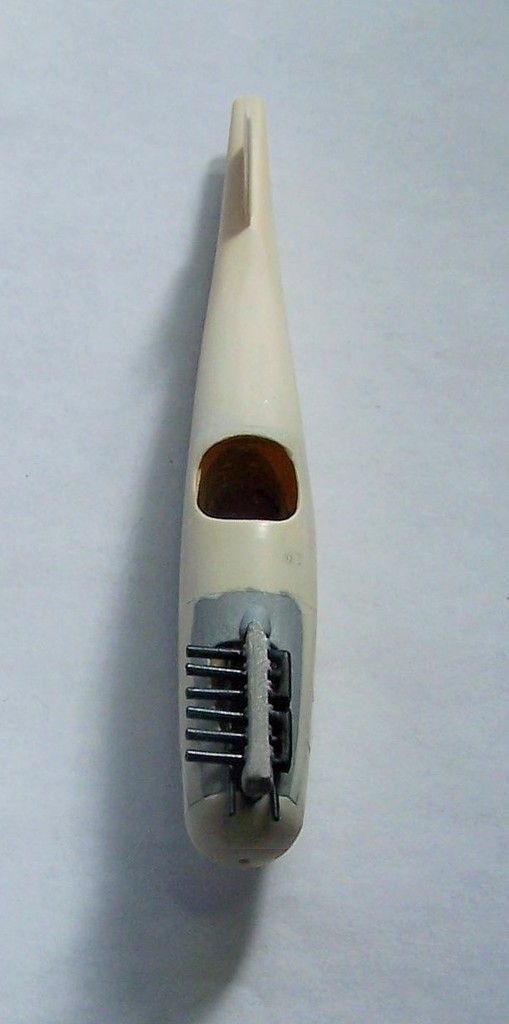
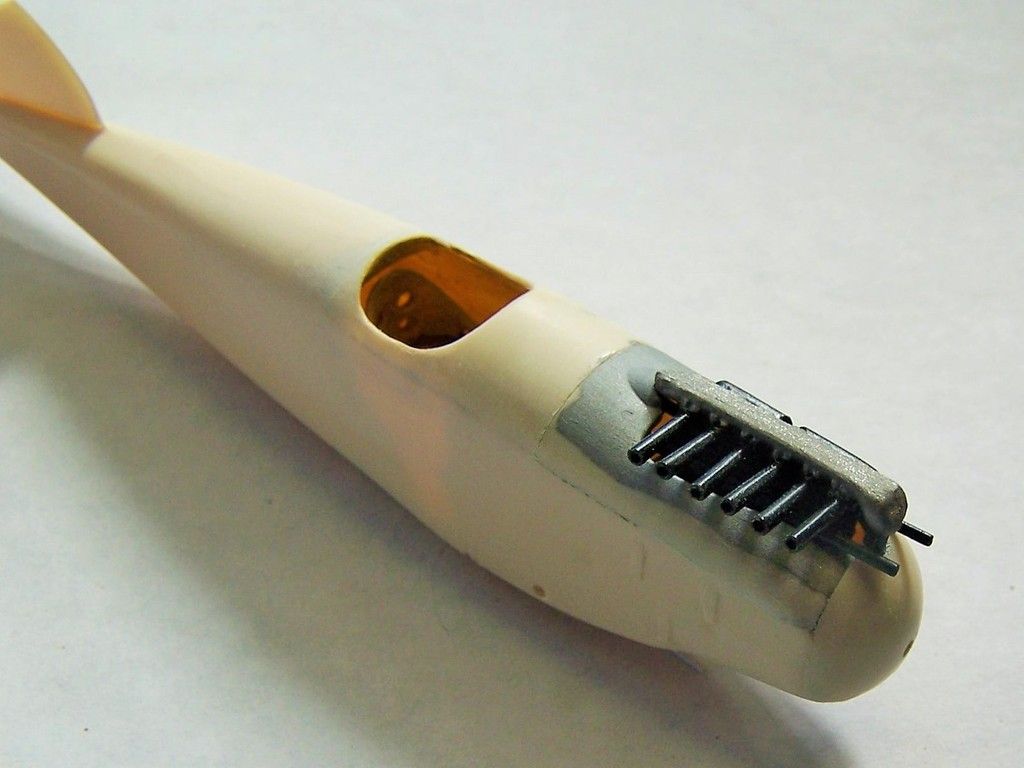
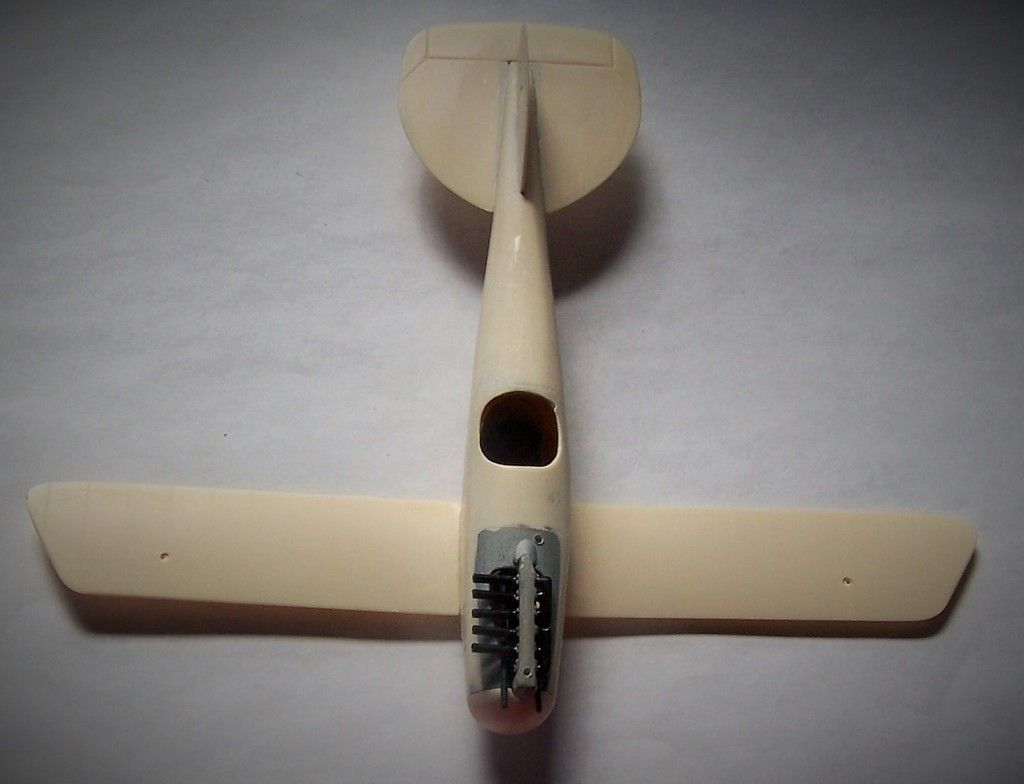
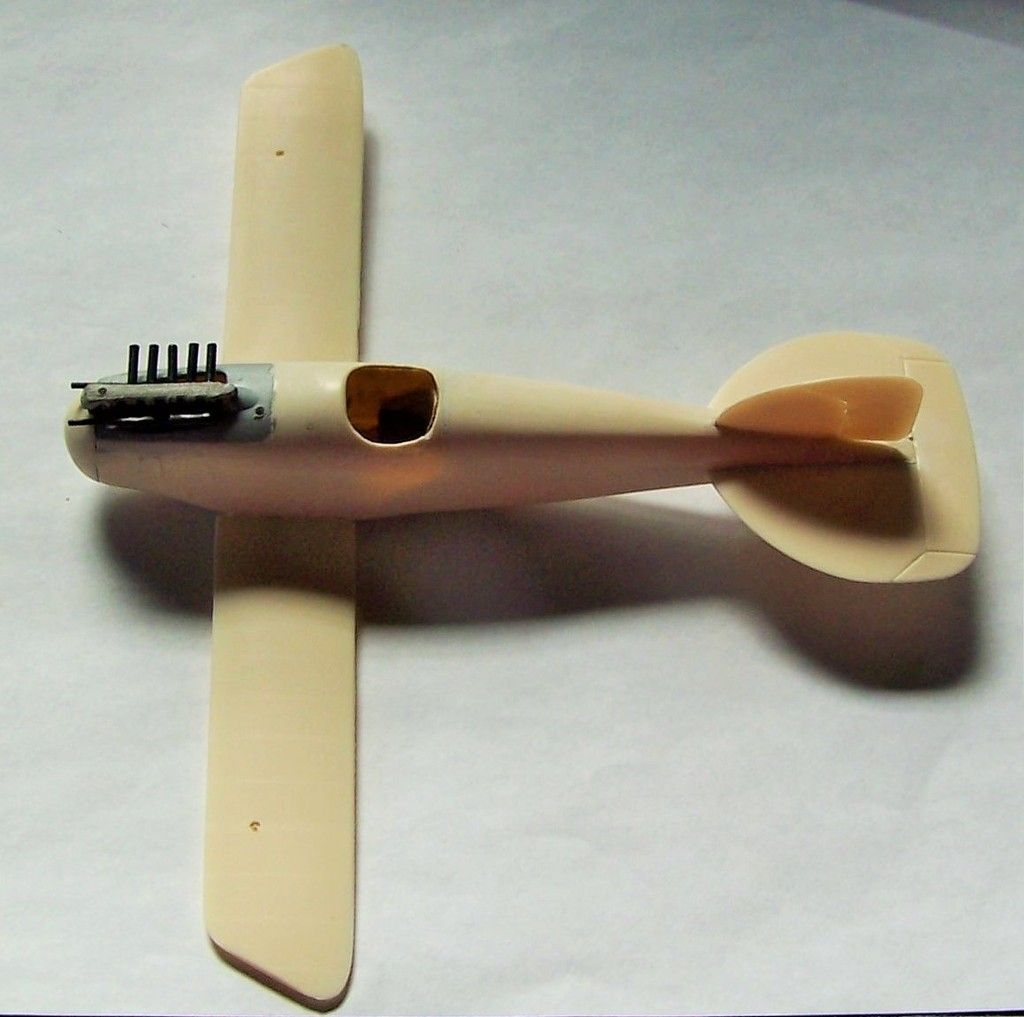
afterwards I glued the fuselage halves together with the cockpit in place, then added the engine, guns, and cowl/decking. The fit was very rough and required quite a bit of sanding before it finally began to look right. I almost felt like I was shaping a wooden model during this point.
more to come shortly...
So here is the boxtop. For those of you who have never seen or handled a Glencoe kit, they are usually reboxings of very old kits from other companies, sometimes cleaned up or modified, with basic instructions, a very nice Scale Master decal sheet, and sold for a very inexpensive price. They are not for the fainthearted. As far as I can find, Aurora never issued an Oeffag Albatross D.III (Austrian built for those who are wondering), and they only issued the German built Albatross D.III. So I am presuming that Glencoe took the orginal Aurora molds here and added the parts needed to make the Oeffag version, as well as having the standard D.III part. To call this kit basic is an understatement. Although in all fairness, the original molds probably date from the late '50s or early 60s. Most parts beyond the fuselage halves needed filing, sanding, or shims to fit properly. Not to mention a good amount of flash on many parts. On the plus side the kit does come with a beautiful Scalemaster decal sheet with three marking options, which is probably worth the $5 or so that I paid for this challenging kit.
Of course, as usual for a build the first step once that I decided to build this crate was research. I did happen upon a walk around of a beautiful exact flying reproduction Oeffag D.III, so armed with this source I went to work.
Now in the cockpit I did deviate slightly from my no additions/kit parts only self imposed guidance. I did add a control stick, and I was not going to use the pilot figure, and teh kit did not include one. So from my spares bin I found something suitable. And I also drilled out some lightening holes in the seat based upon what I could find in online photos.
and I built the motor, probably the best molded and detailed part of the kit. I did drill out each of the exhaust stacks and filed the intake manifold to rounded profile rather than the as molded squared off edges.
Then these items and areas were painted
Next up was the cockpit & fuselage interior painting- varnished plywood, as well as some instrument decals (minimal) for the panel.
then painting of the interior and exterior engine areas that I knew would be best done before assembly, as well as the guns.
afterwards I glued the fuselage halves together with the cockpit in place, then added the engine, guns, and cowl/decking. The fit was very rough and required quite a bit of sanding before it finally began to look right. I almost felt like I was shaping a wooden model during this point.
more to come shortly...
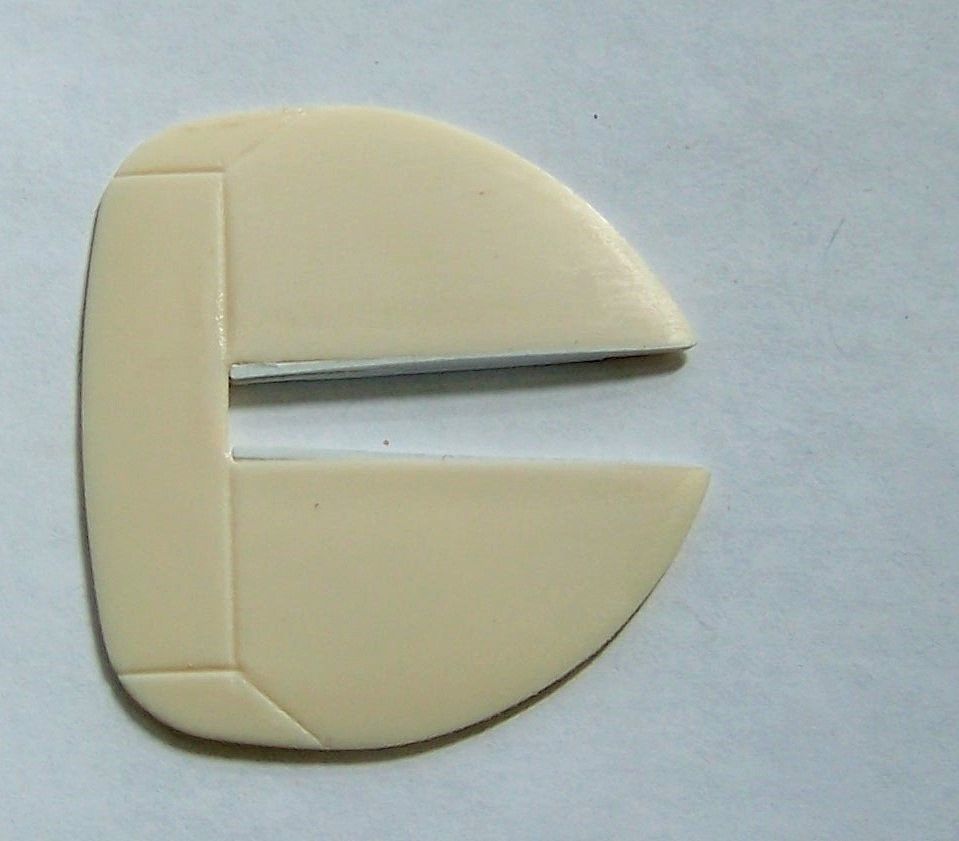
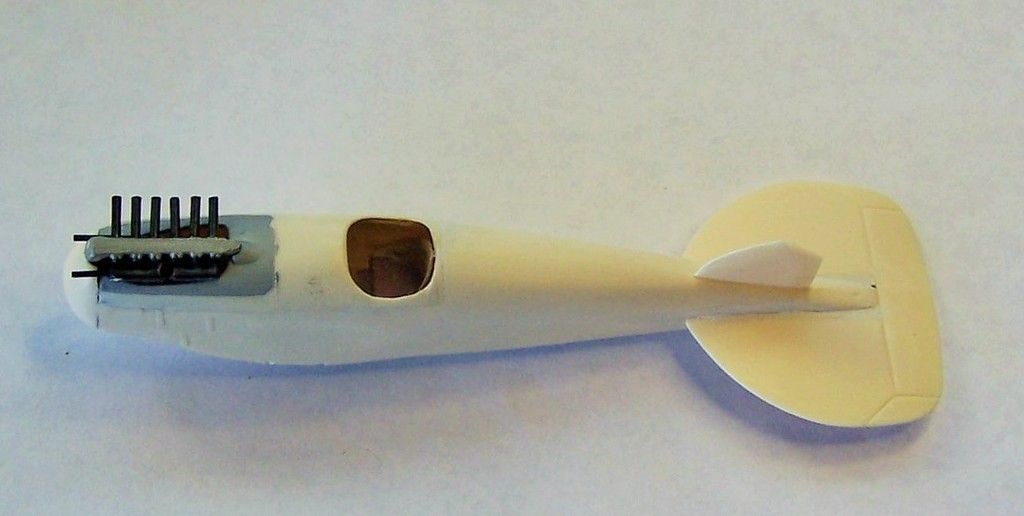
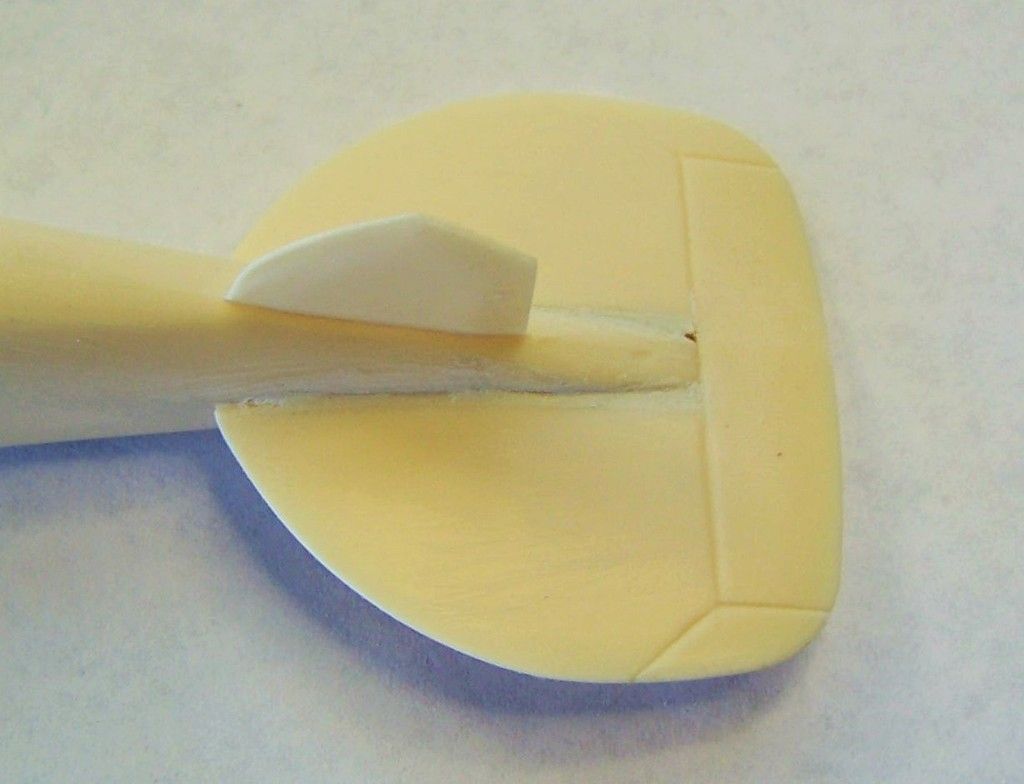
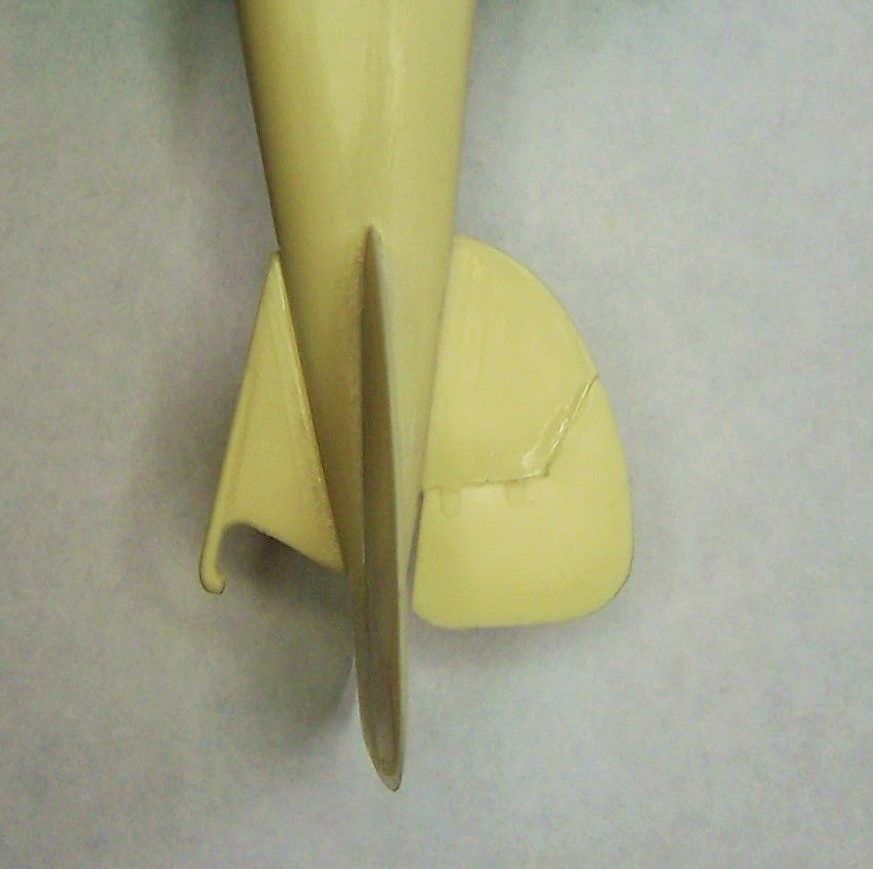
 But it is kinda fun to tackle such a beast...