Page 1 of 2

1/32 Academy F-18C

Posted: Sat Jan 07, 2017 10:50 am
by Paul
With six kits still sitting in the closet awaiting finishing I figured why not start another one?
The 1/32 Academy F-18C may be the kit that will get me to finish a jet of some sort, I haven't finished one since I did that HK Gloster Meteor. That was a couple of years back.

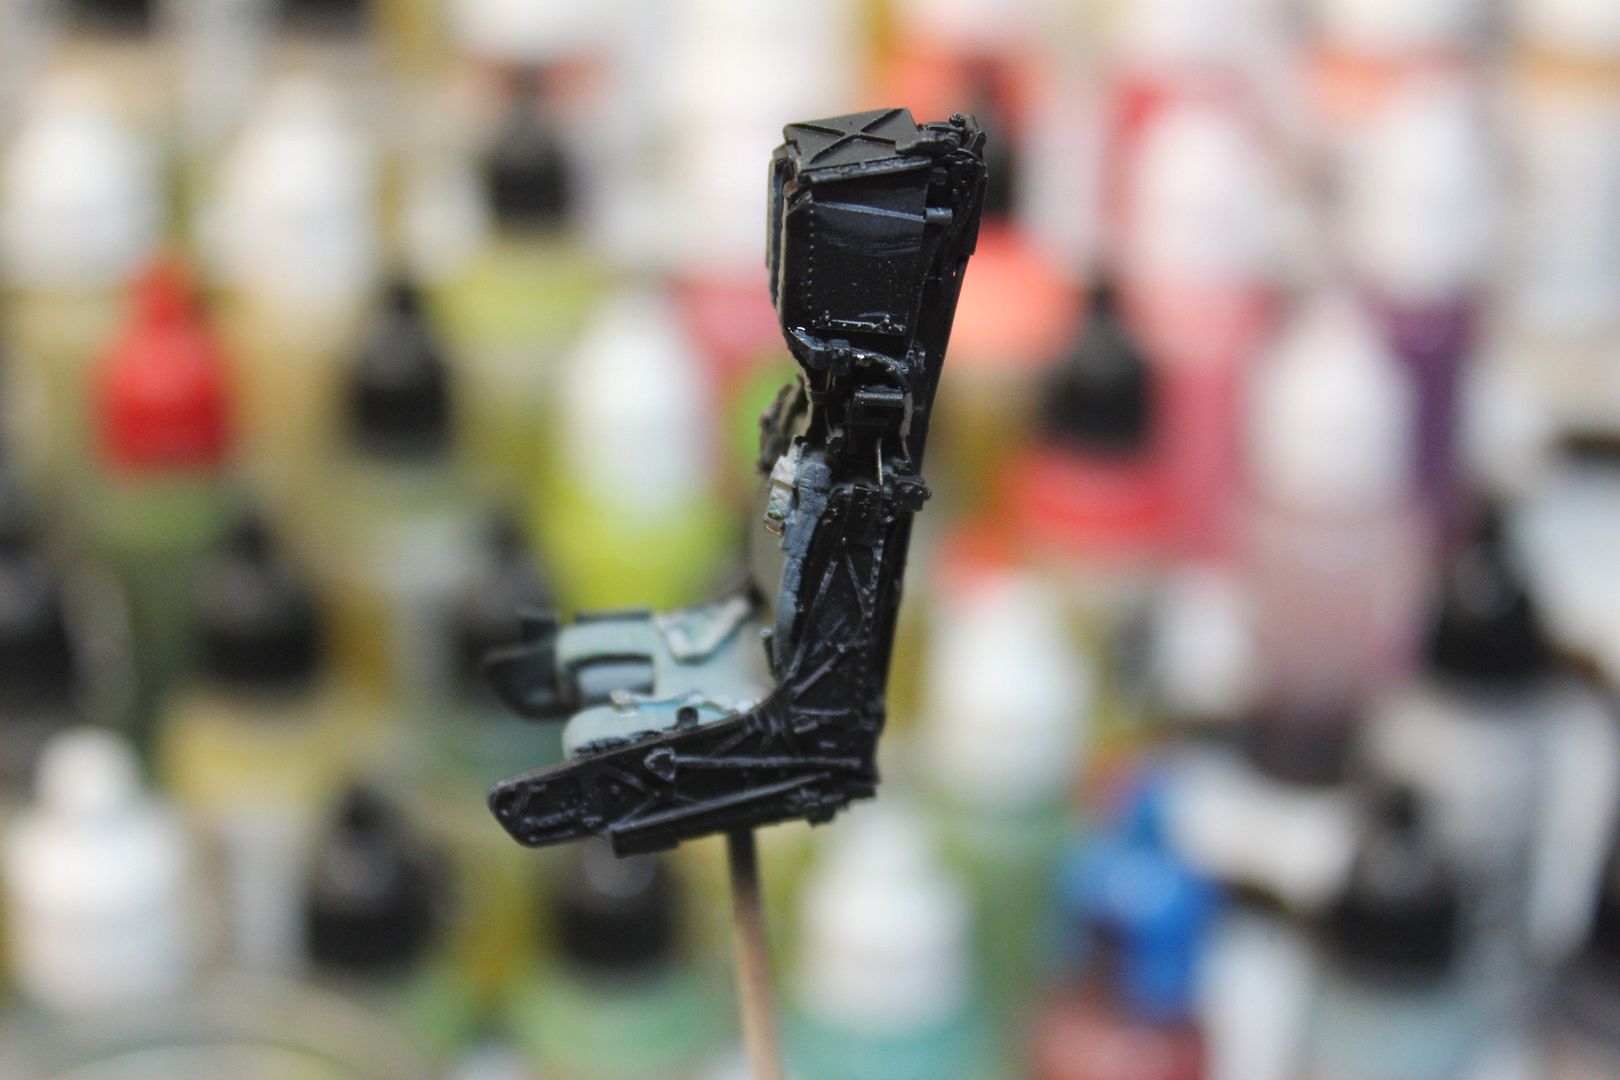
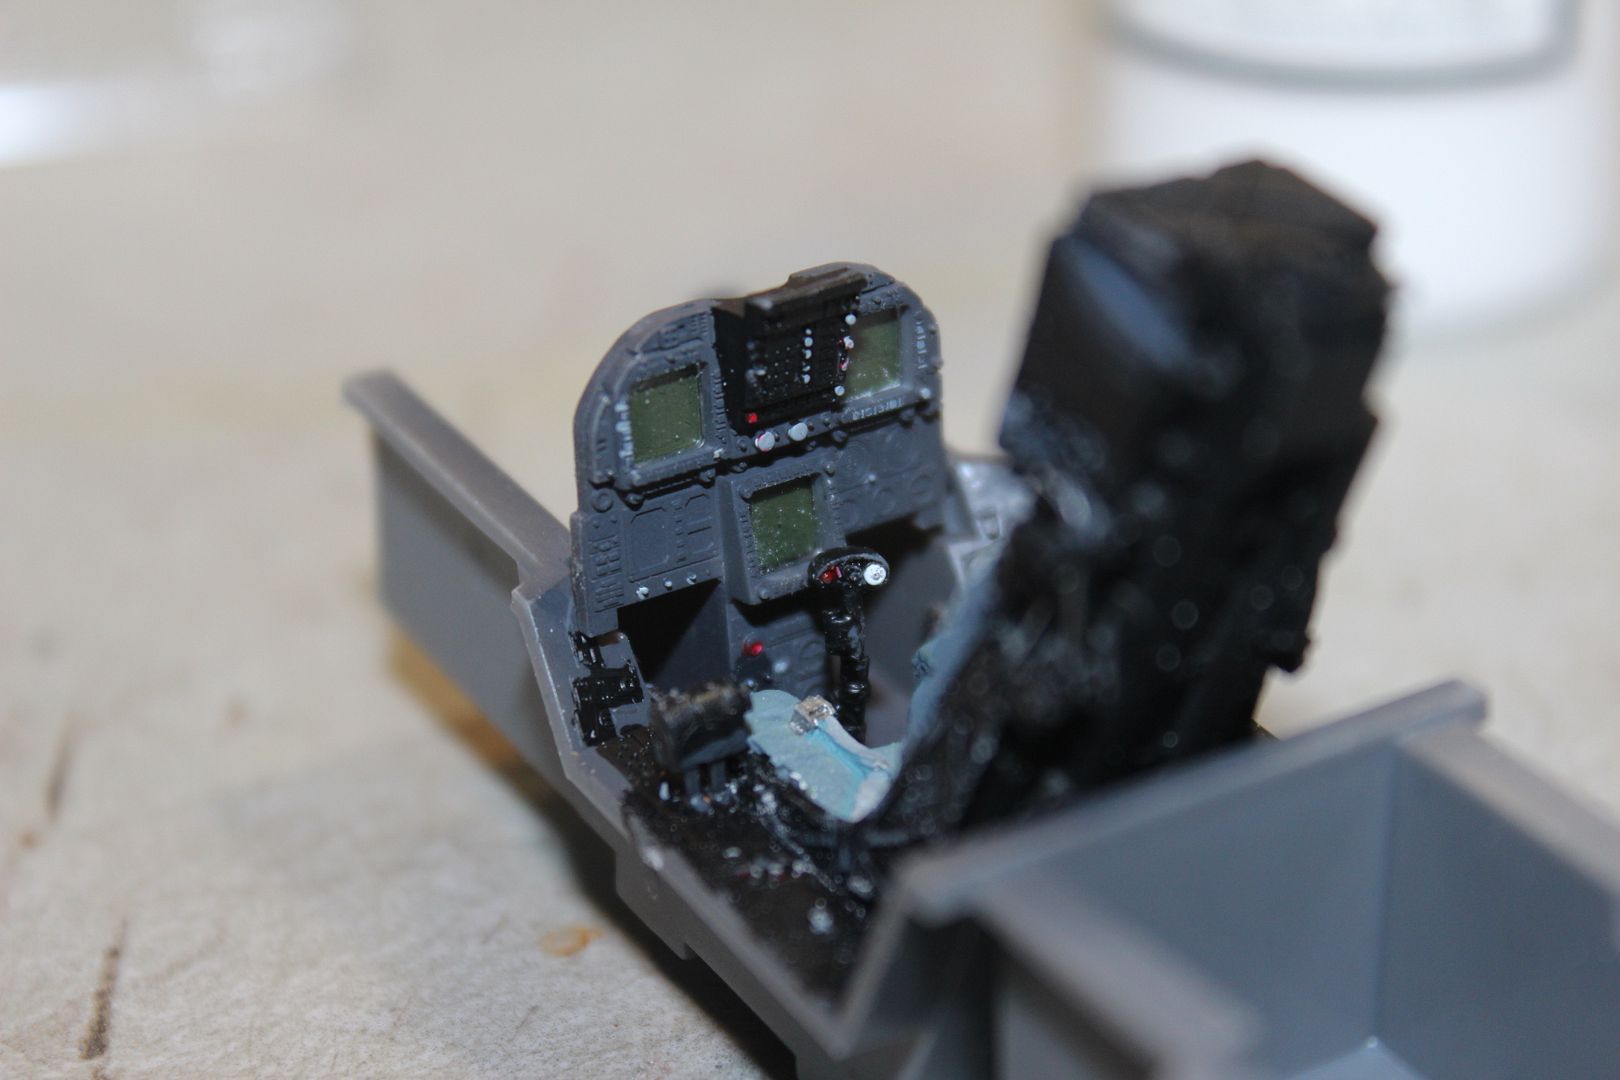
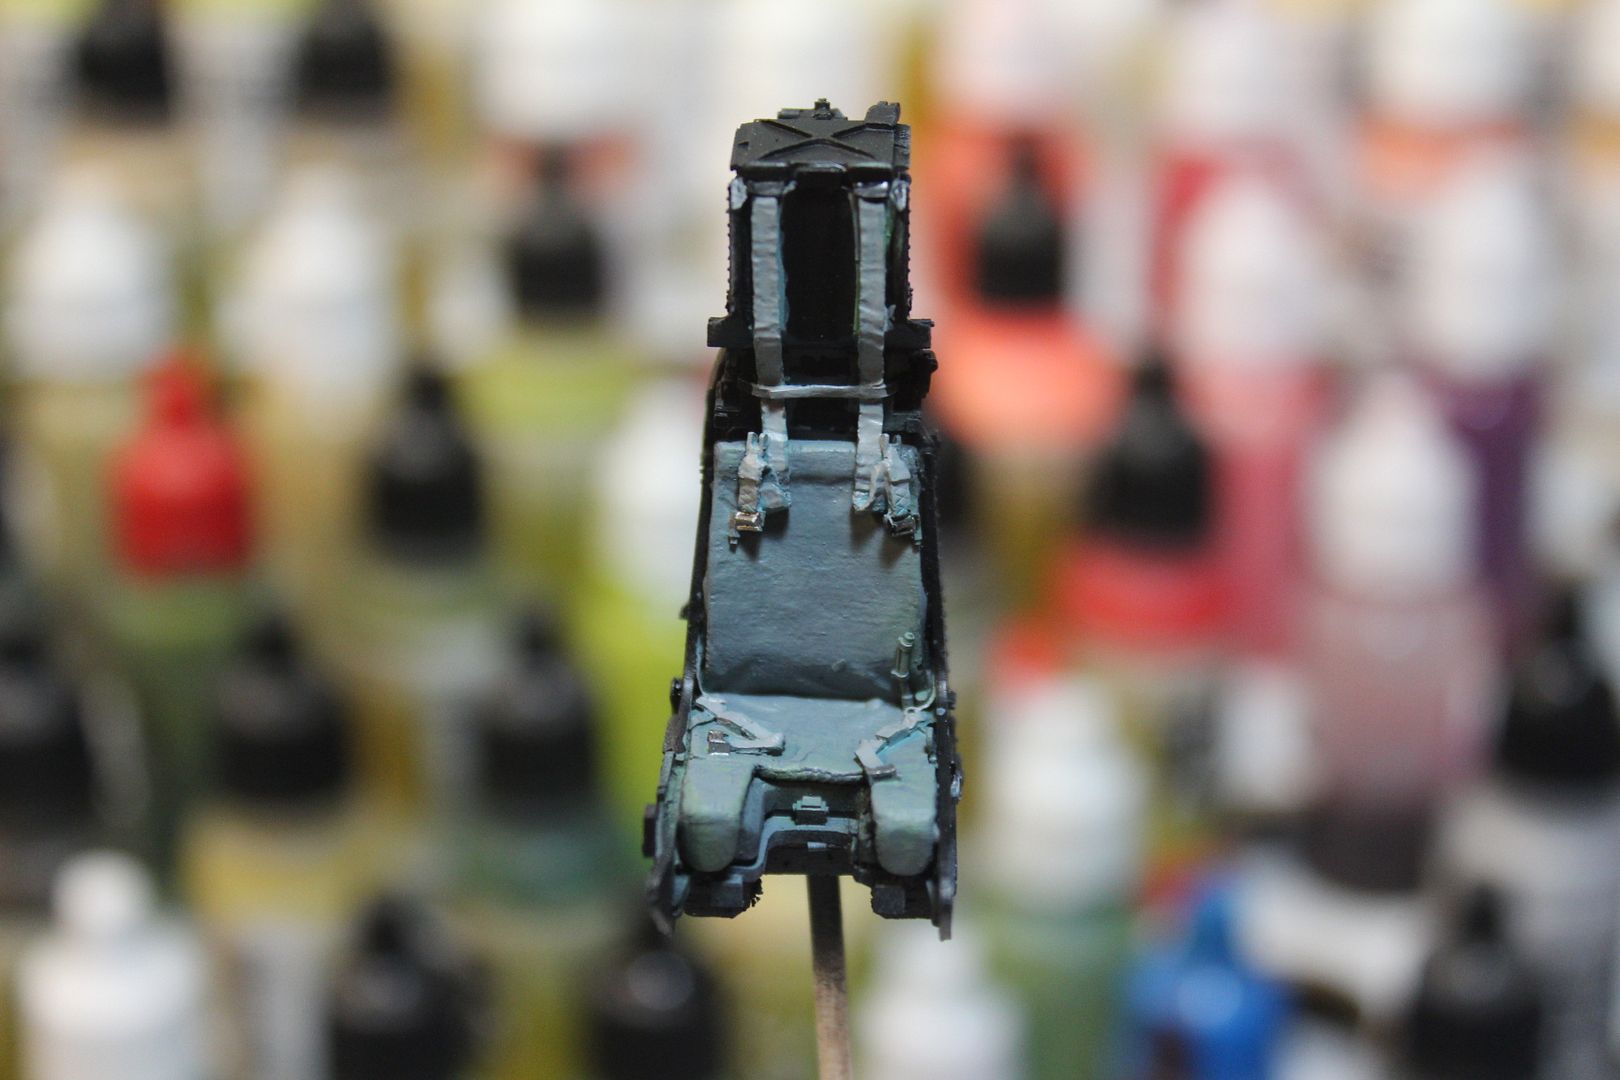
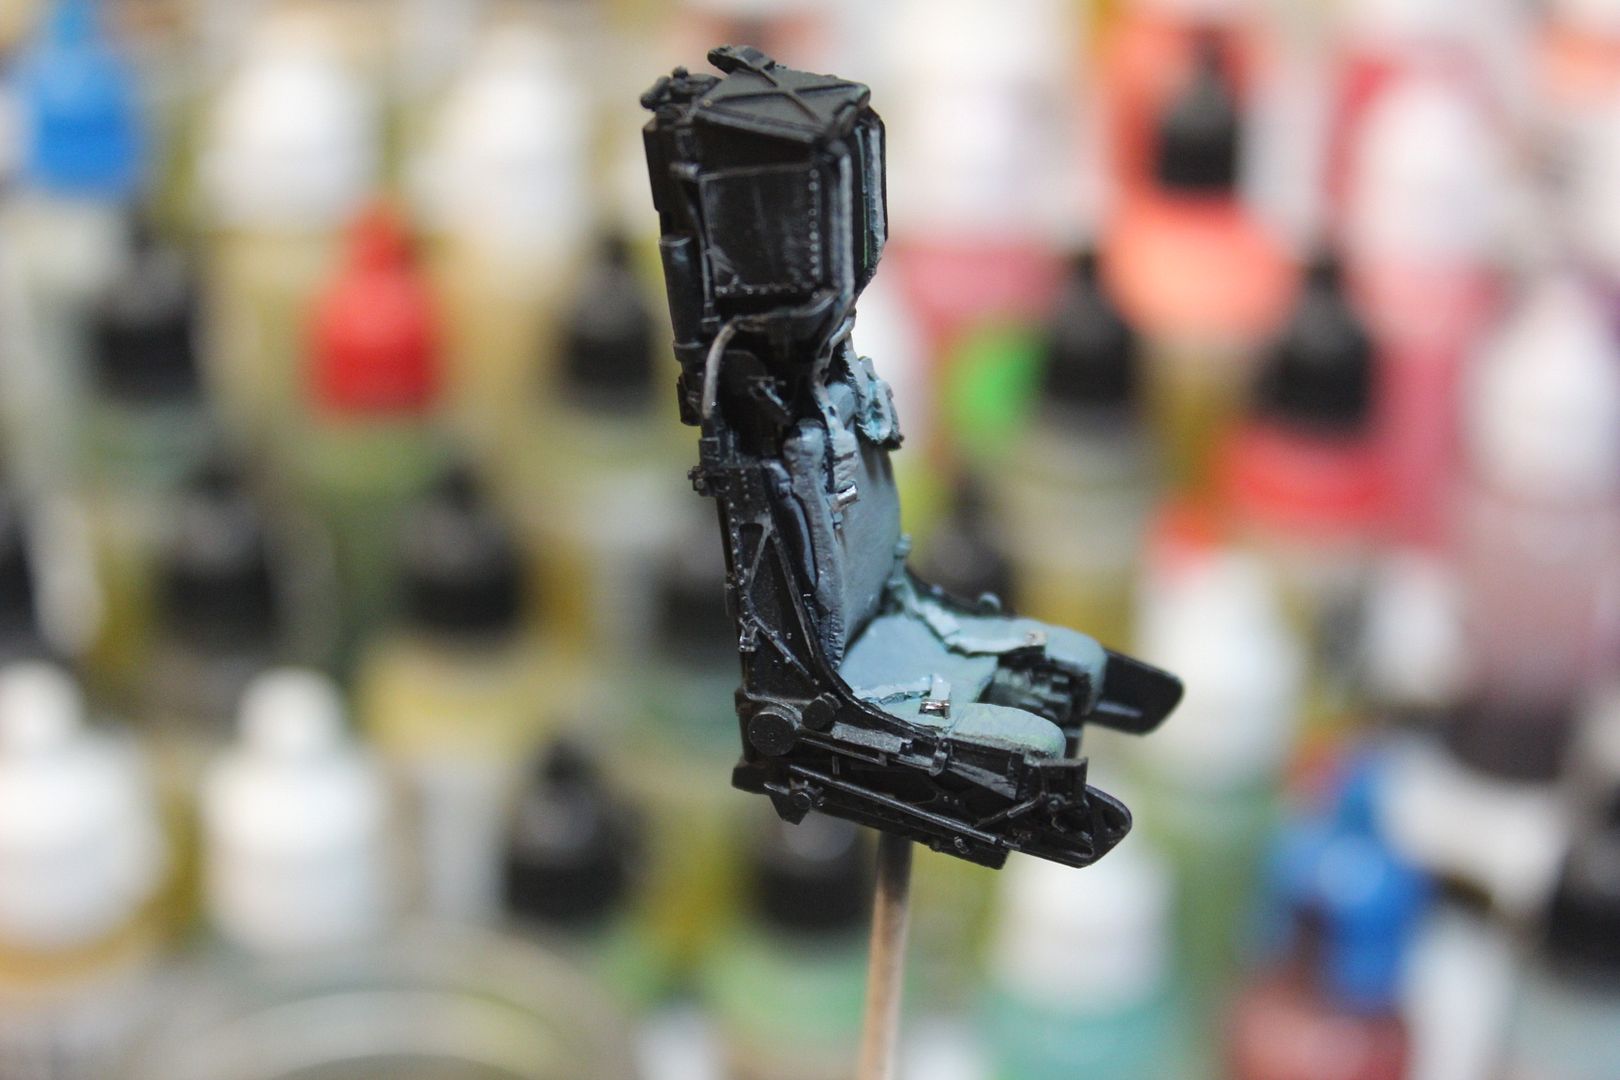
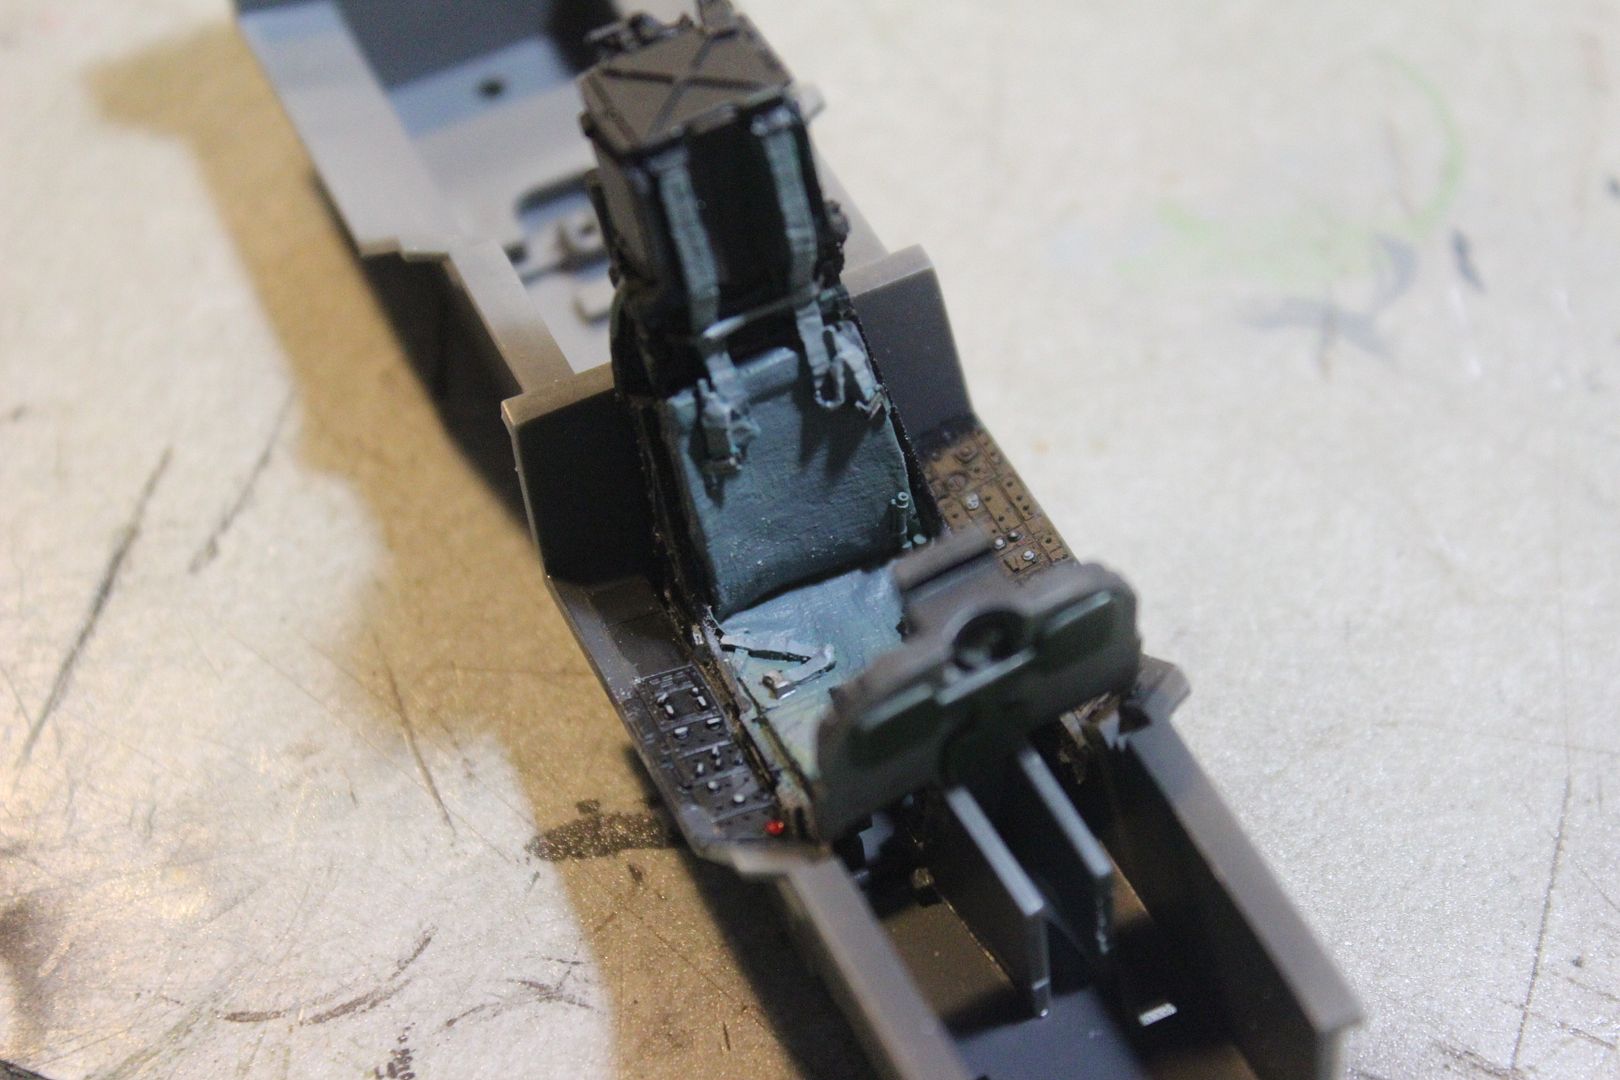
Any way, I started it out by doing the pit. It is a pretty simple affair with some faint details on the IP and side panels. The seat is the Wolfpack NACES.
Image

I think I should do some different color on the belts for a bit of contrast.
Image

Image

I did have to sand down the lower sides so it would fit better in the tub.
Image

Image

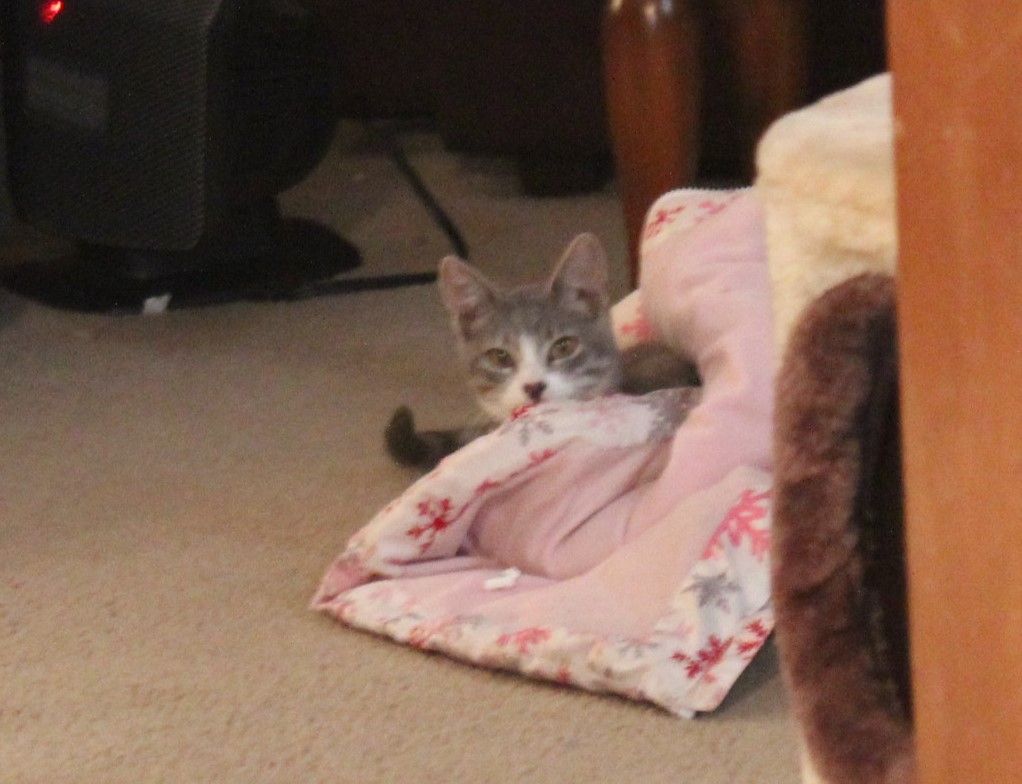
With all of this going on, I did have some help. My little dude, Gibson. Here he is in attack mode.
Image

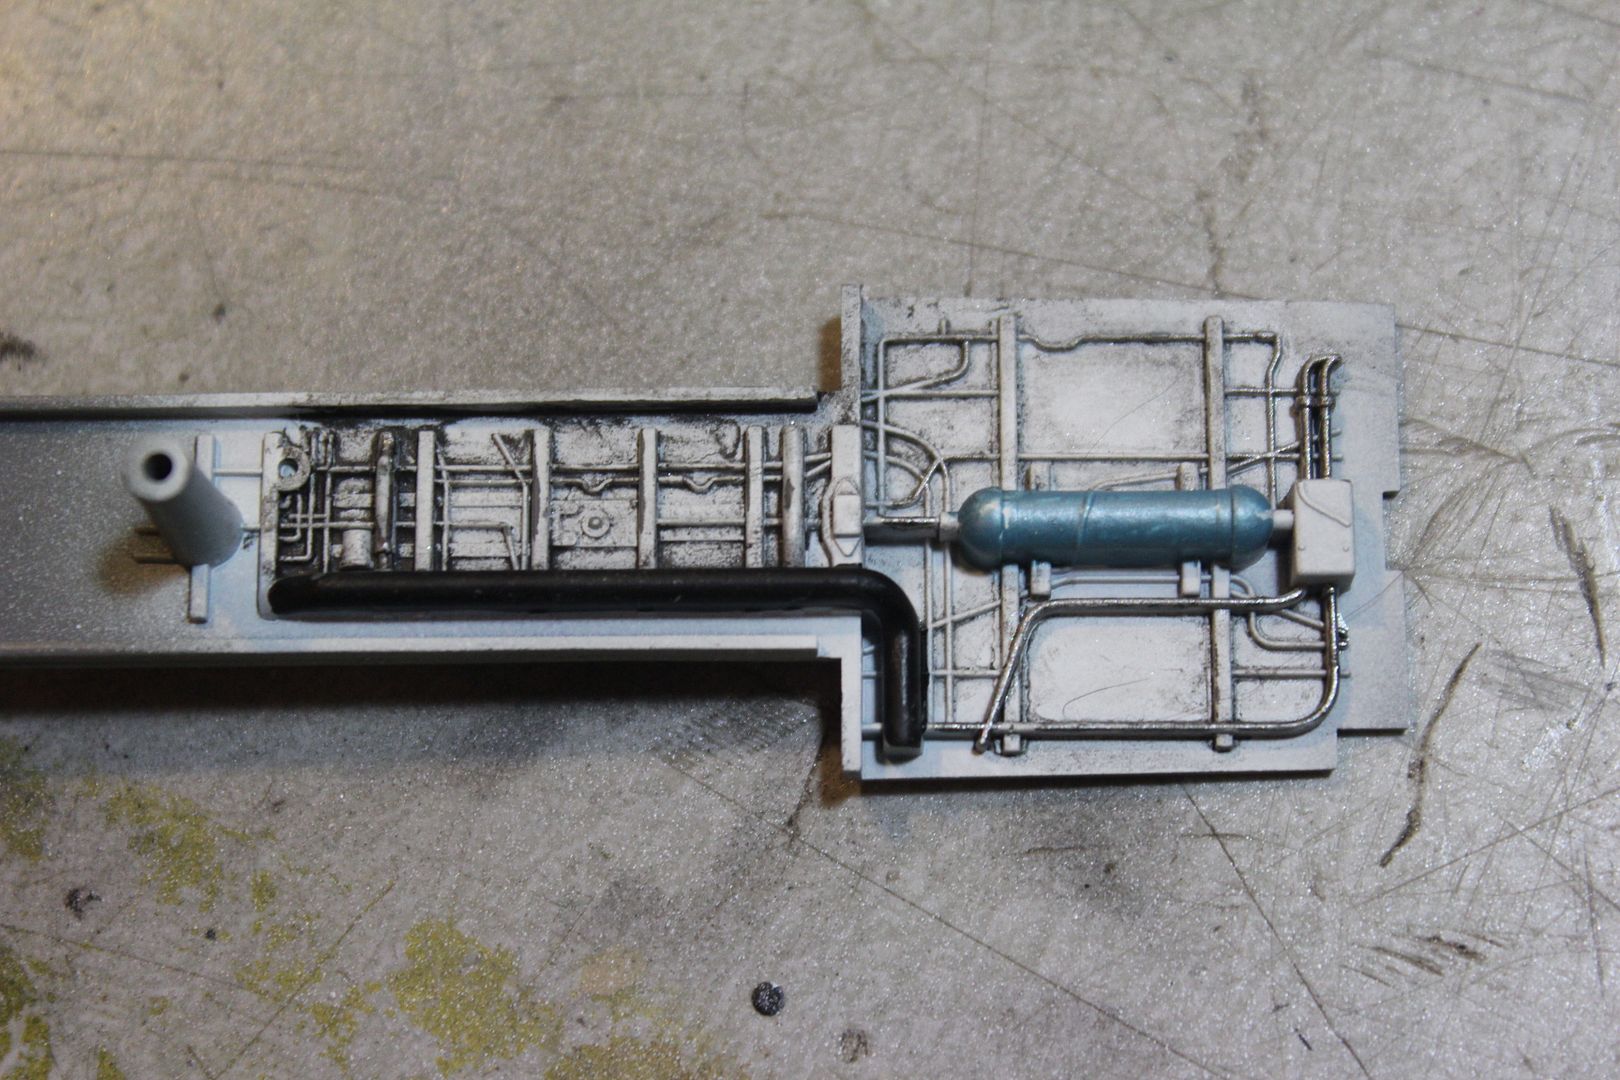
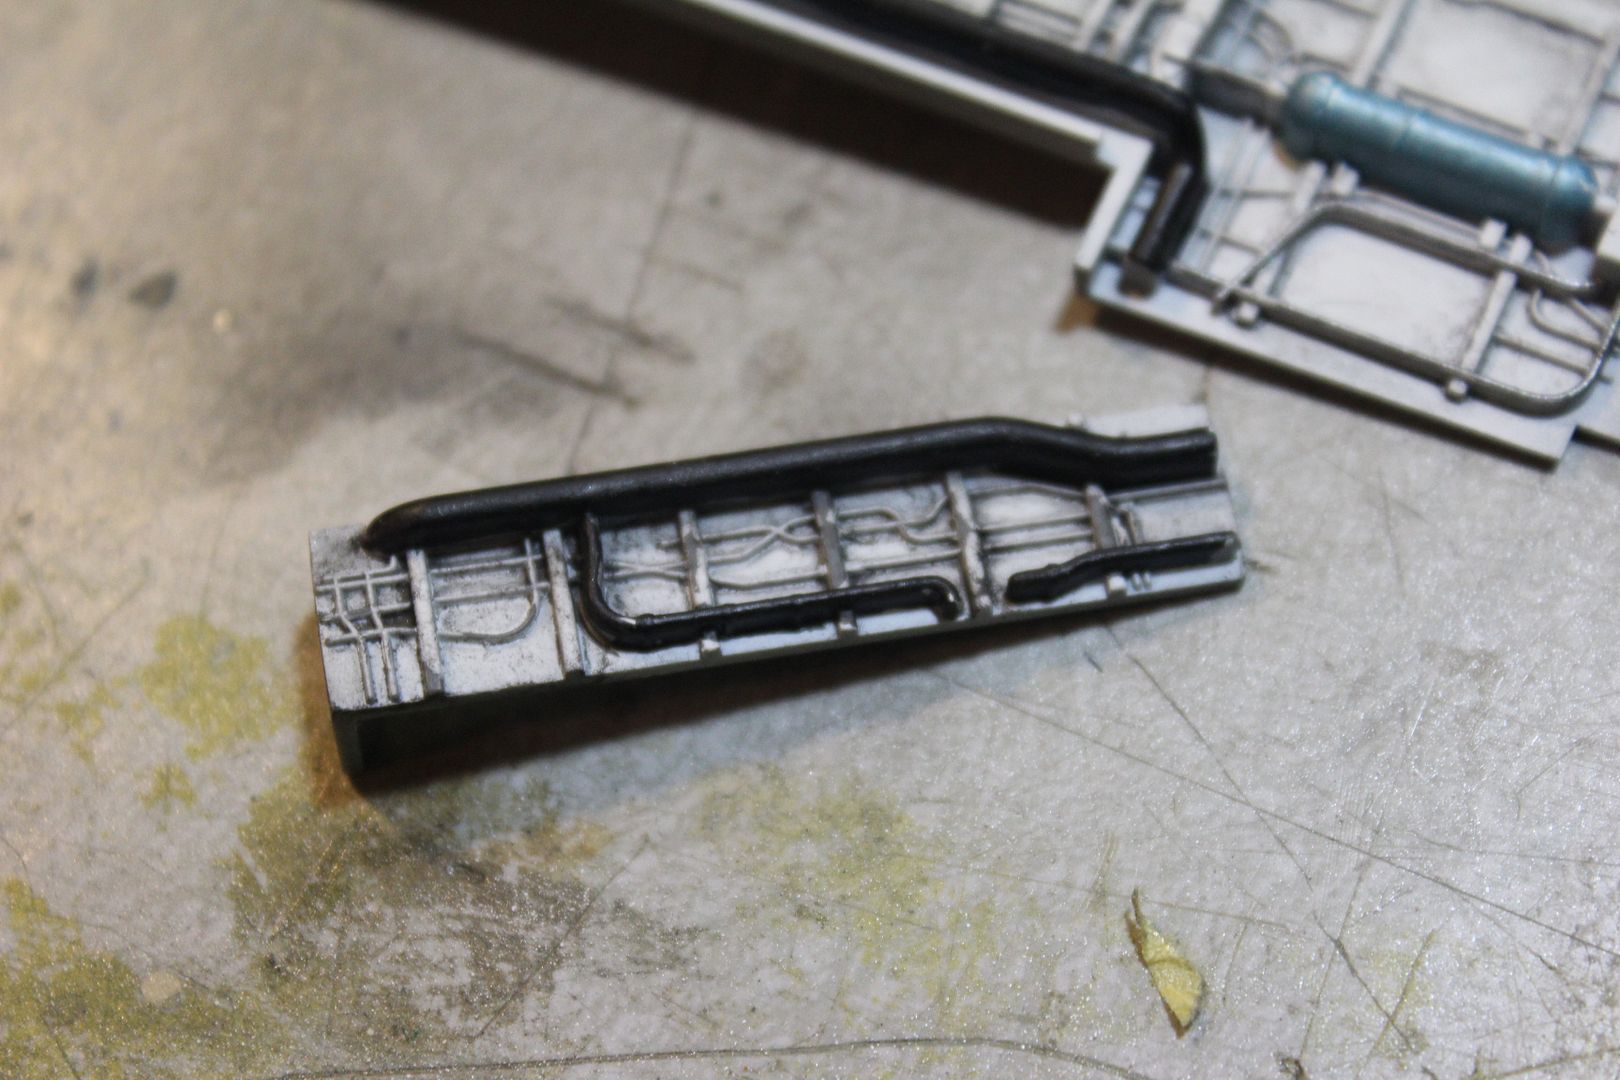
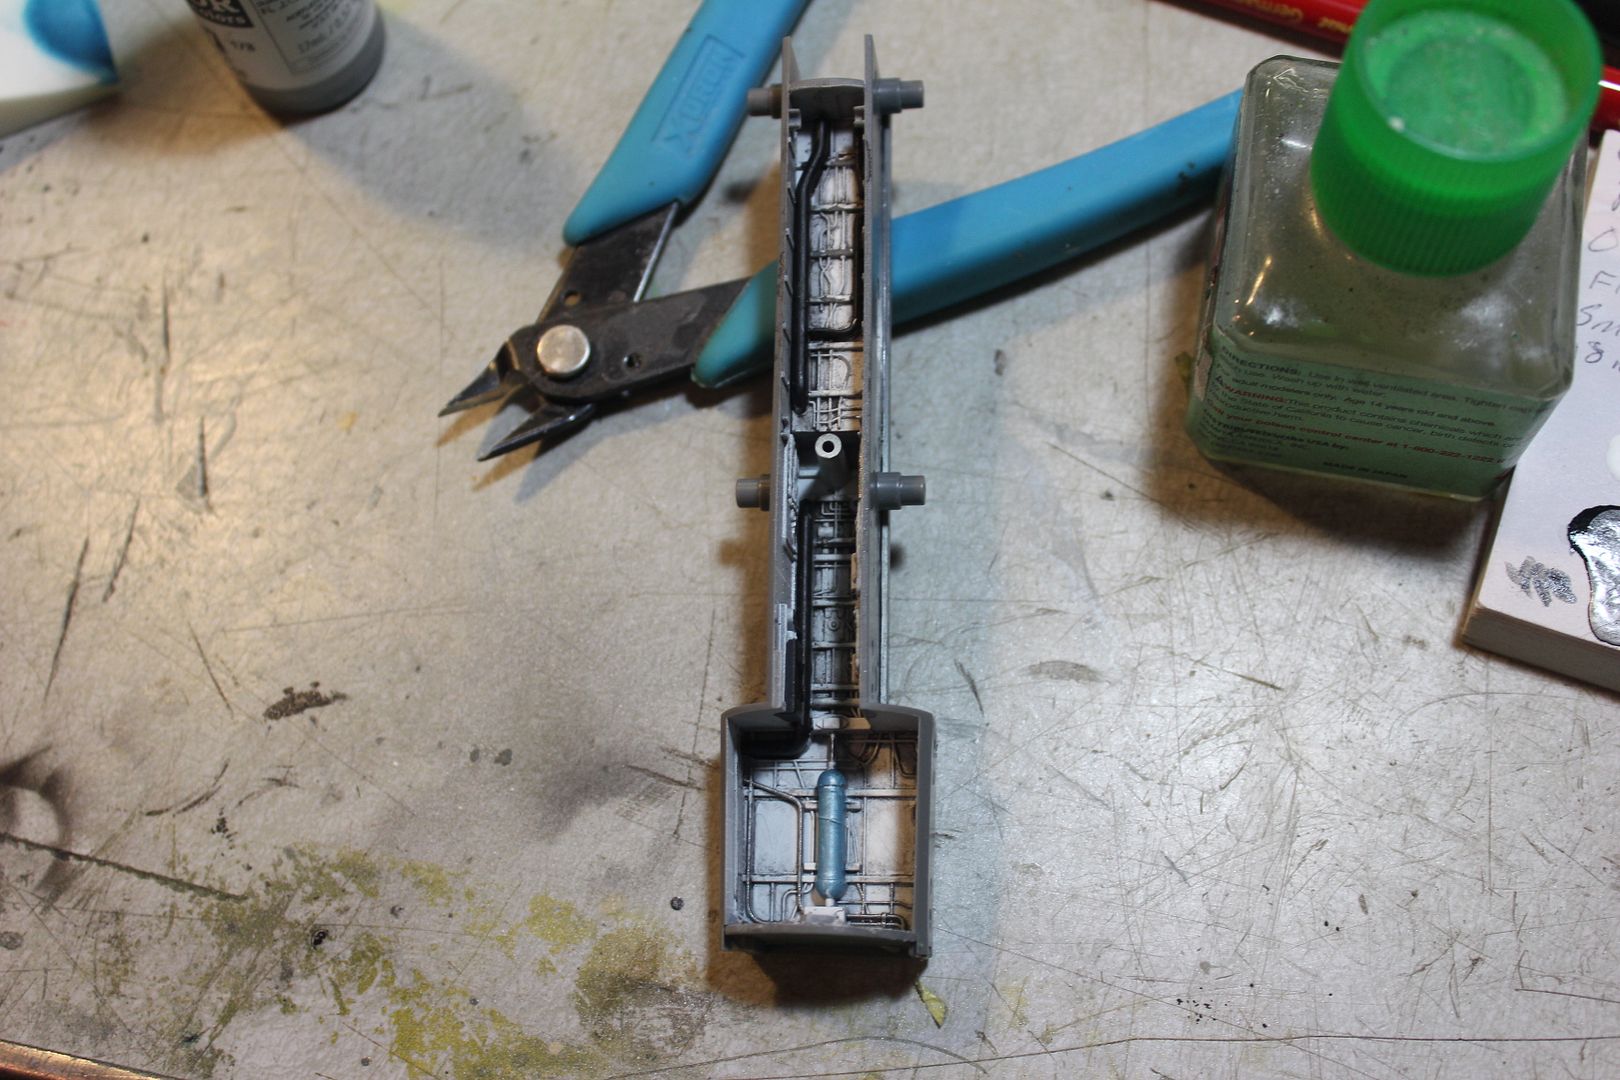
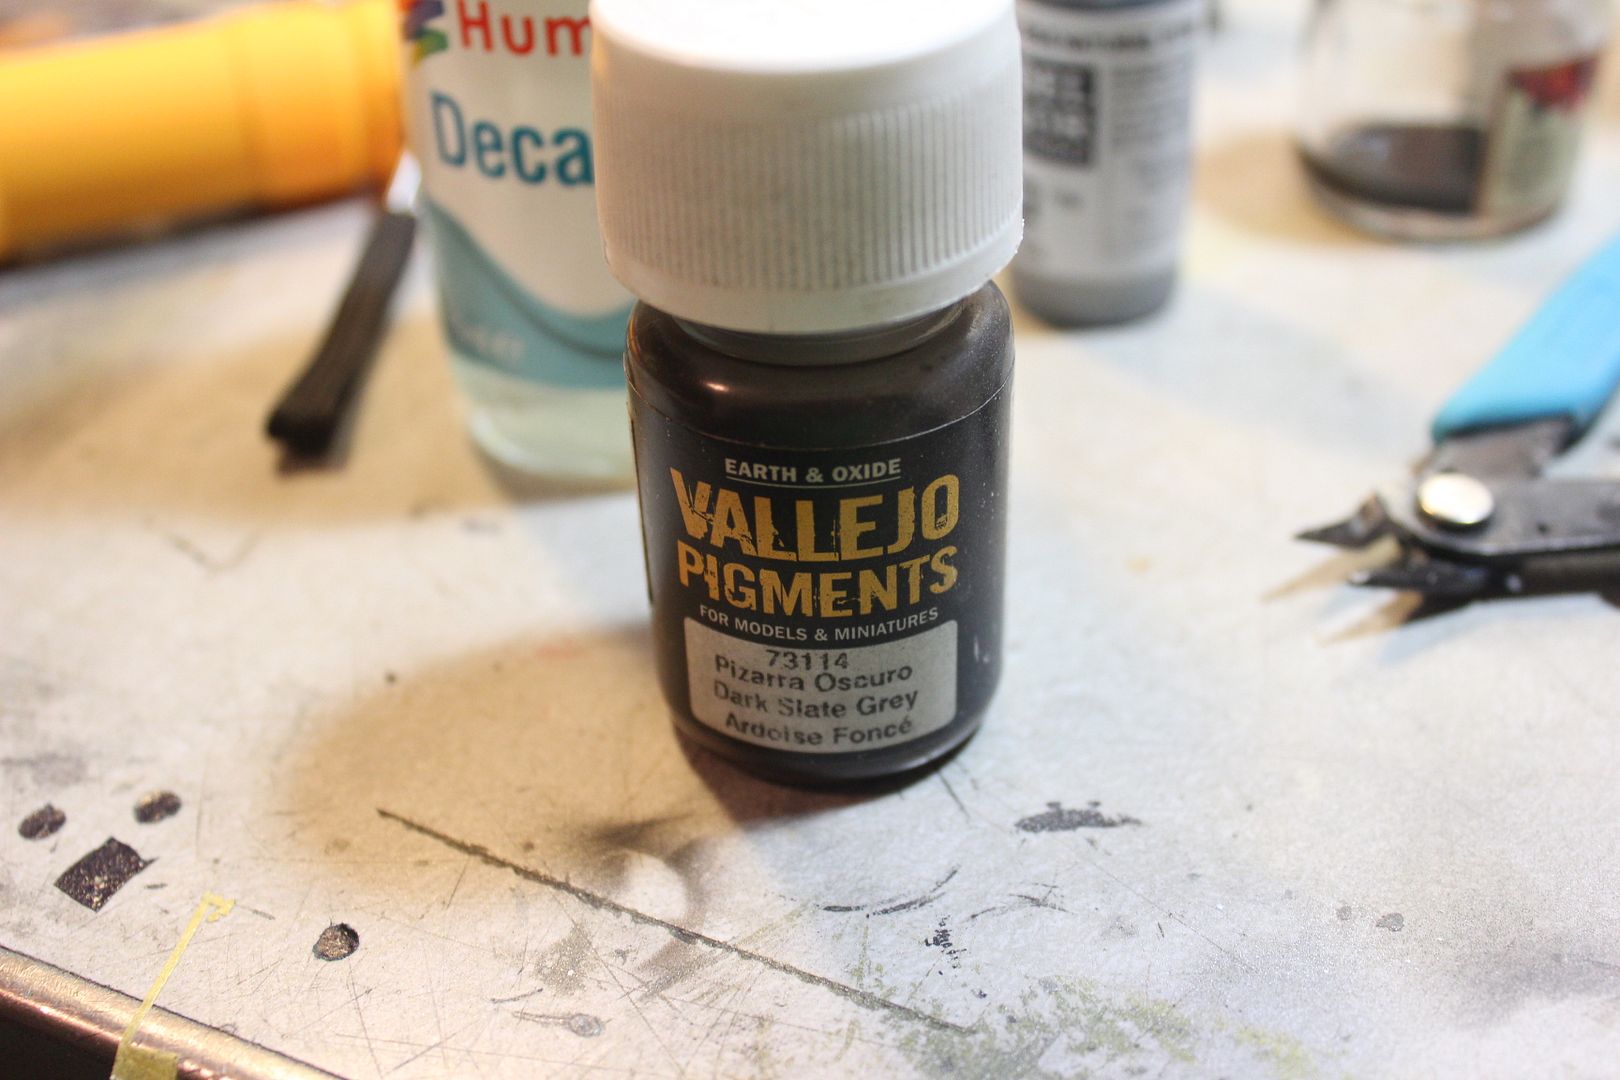
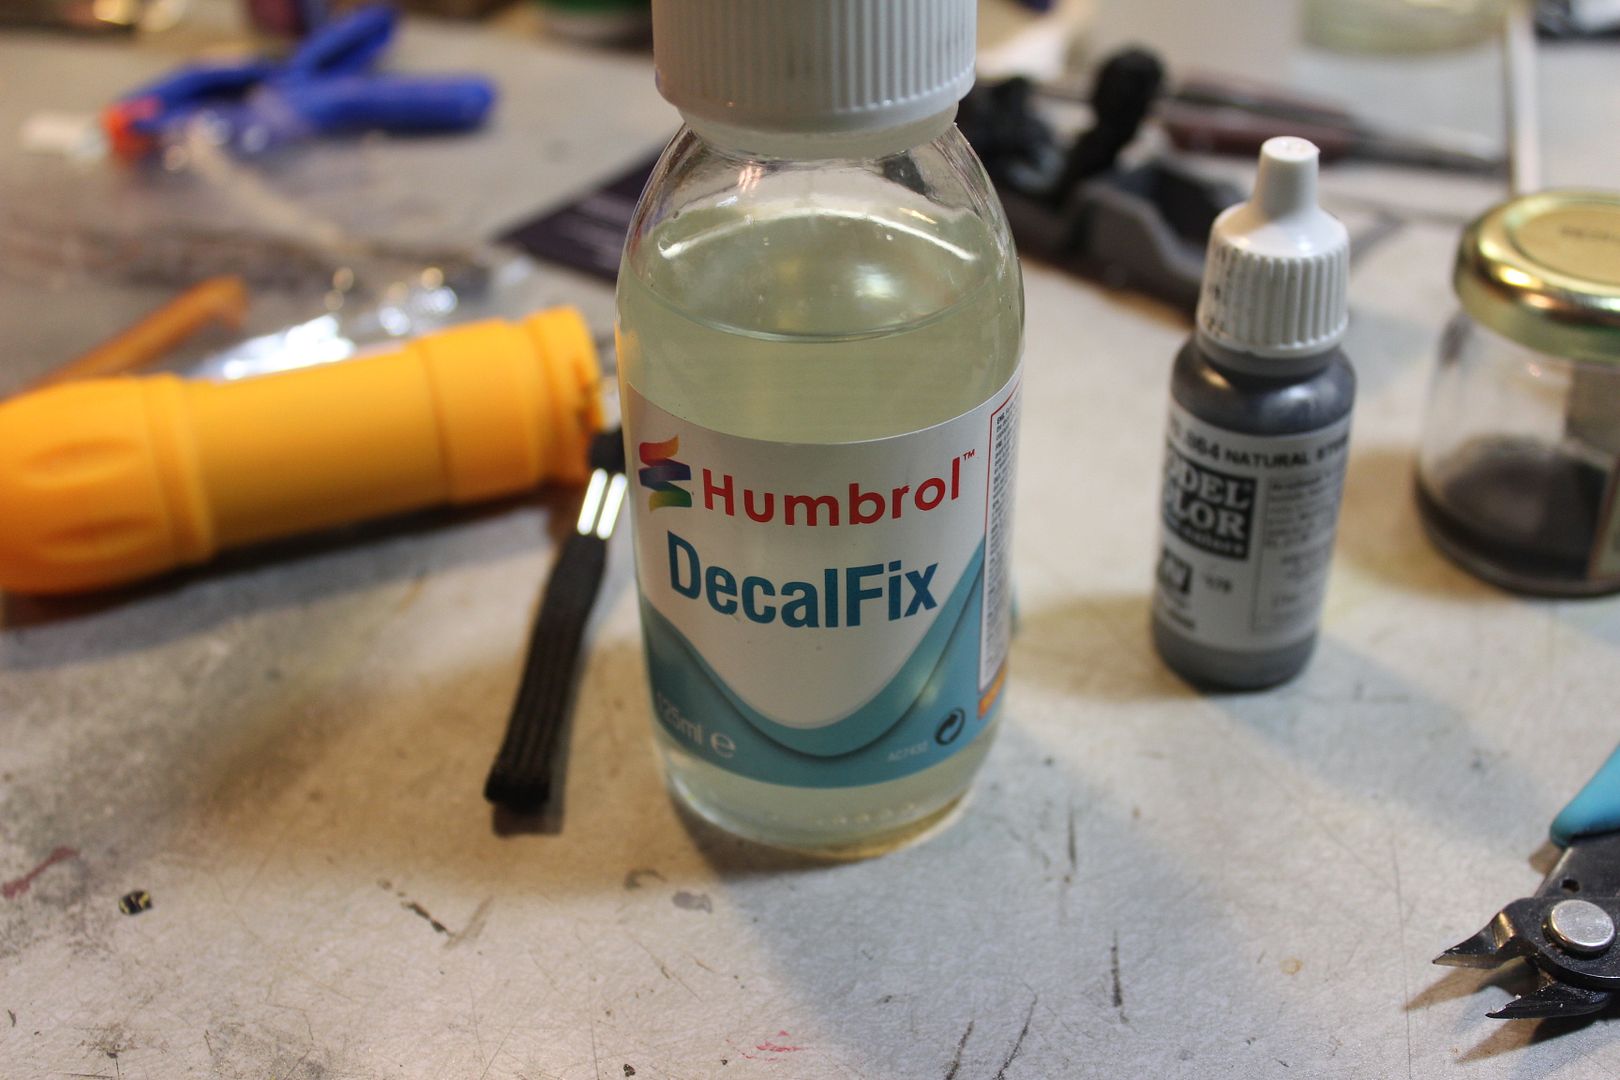
I also got to the nose gear well. I mad a wash of Vallejo dark gray pigment and Hombrol decal fix. I learned this technique from an armor builder in the club. If you use the decal fix as a carrier for the pigment you can use a clear coat and not lose the effect.
Image

Image

Image

Image

Image

Re: 1/32 Academy F-18C

Posted: Sat Jan 07, 2017 1:27 pm
by Stikpusher
:popcorn: This should be good...

:hmm: But I would keep one eye peeled on that pointy eared fellow in the shadows at all times. He looks a little unpredictable. :kitty:

Re: 1/32 Academy F-18C

Posted: Sat Jan 07, 2017 3:25 pm
by KSaarni
Indeed, :popcorn: !

Gibson looks smart!

- Kari

Re: 1/32 Academy F-18C

Posted: Mon Jan 09, 2017 9:16 pm
by Fermis
Good start! :popcorn:

If ya need any detail shots (if ya can't find on the web)...I have a bunch of photo's plus a couple books...just holler(or shoot me a text).

Also, I'd recommend fiddling with the main gears as early as possible...they do not want to sit right. When I did this kit, I figured they'd just go right in...I ended up breaking other stuff, trying to mess with getting em to fit/sit right...failed. When I did the "D" kit, landing gears were the first thing I did. As soon as I had the basic fuselage together, I did all the test fitting and trimming needed to get em sit right.

Re: 1/32 Academy F-18C

Posted: Tue Jan 10, 2017 7:18 am
by BorgR3mc0
Interesting technique with the decal thinner and pigments. I never heard of that one.

Re: 1/32 Academy F-18C

Posted: Tue Jan 10, 2017 7:25 pm
by Paul
Thanks for the info Bro. Fermy. Until I get my new kit in this wont be going anywhere. Trying to get some warp out of the wings I managed to really melt one purdy good. So I bought another C and will cast aset of wings out of resin or have some one I know to do it.

Borg, If you use the Decal fix then it wont affect the paint, no mater what type of paint you use. If you want a darker wash just use more pigment. If you have too much wash just dampen a brush with the decal fix and clean it up some. Just do it before you clear coat it.

Re: 1/32 Academy F-18C

Posted: Tue Jan 10, 2017 9:54 pm
by Stikpusher
I'll have to grab some of that Humbrol decal fix at the LHS this weekend and try it out... I have an idea... :hmm: :yikes:

Re: 1/32 Academy F-18C

Posted: Wed Jan 11, 2017 12:24 pm
by Paul
Stikpusher wrote:I'll have to grab some of that Humbrol decal fix at the LHS this weekend and try it out... I have an idea... :hmm: :yikes:
Go for it Carlos, it works nicely on decals too, just follow the video on YT

Re: 1/32 Academy F-18C

Posted: Wed Jan 11, 2017 6:28 pm
by Stikpusher
Roger that... :writing:

Re: 1/32 Academy F-18C

Posted: Sun Jan 22, 2017 8:27 pm
by Paul
I started this a couple of weeks ago and while I was going strong I goofed up a wing panel with a hair dryer... :facepalm Yeah, I know. So I searched on how to get another wing panel but MPC didn't have any replacement and I couldn't come up with anything other than getting another kit. After the new kit arrived I found that guy on Ebay that sells kits by the sprue and he just so happened to have the correct sprue that I required.

Ok so now I wait for the sprue to arrive this week but I went head on and grabbed the part from one kit to finish the other. Here is the result.

I did manage to get the pit and fuselage together but I think I need to have the Eduard interior for it. The other kit already had that started when I got it.

Image

Image

Image

I think that this is one of my worst pits ever, Oh well, what's done is done.

This is a pretty big bug and it does assemble well. I cant wait to finish it except all the odd stencils.

Image

Image__