Page 1 of 18
JKim's Completed Builds (Restored..Again!)
Posted: Fri Apr 14, 2017 10:28 pm
by jkim
Re: JKim's Completed Builds
Posted: Sat Apr 15, 2017 12:45 am
by Thomas_M

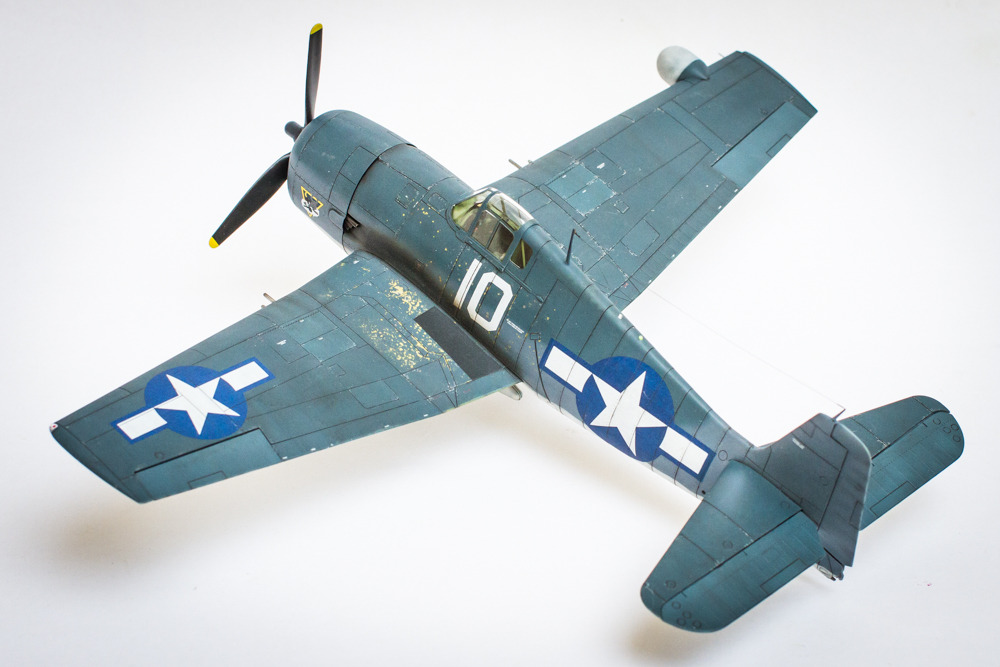
Top! What a build, and WHAT an airbrush job! You must be an illustrator by profession! Please remember me to ask you to do the night fighter camo on one of my future builds!
Re: JKim's Completed Builds
Posted: Sat Apr 15, 2017 10:15 am
by Stikpusher
Beautiful paint work indeed!
On top of an excellent build. Simply marvelous work!
Re: JKim's Completed Builds
Posted: Sat Apr 15, 2017 10:19 am
by Cherrylock
interessting aircraft, fighter with torpedo, excellent build and wow what a camo
Re: JKim's Completed Builds
Posted: Sun Apr 16, 2017 9:11 am
by jkim
Re: JKim's Completed Builds
Posted: Sun Apr 16, 2017 9:26 am
by jkim
Some in-progress shots of the Hellcat...
The photoetched instrument panel that comes with the Profipack editions are always a nice upgrade.

The completed Pratt & Whitney Double Wasp engine. The delicate wiring harness was included on the photoetch fret.

Eduard's representation of the tail wheel and well left something to be desired so I performed some mods here.


All of the clear landing light pieces had tiny holes drilled out from the bottom and colored to represent light bulbs. The little lights on top of the fuselage were so small that I couldn't hold them in my fingers and used a pin vise to hold them for drilling.

Re: JKim's Completed Builds
Posted: Sun Apr 16, 2017 11:15 am
by Stikpusher
Jkim, you are indeed one very talented and skilled modeler.
That Hellcat is a beauty!
Re: JKim's Completed Builds
Posted: Mon Apr 17, 2017 3:08 am
by Thomas_M
My jaw dropped to the desk! Superb, simply superb! Love the tiny P&W logo on the engine!
Re: JKim's Completed Builds
Posted: Tue Apr 18, 2017 2:54 am
by Stuart
Thomas_M wrote:My jaw dropped to the desk! Superb, simply superb! Love the tiny P&W logo on the engine!

Wow is all I can say - Beautiful build on that Hellcat
Re: JKim's Completed Builds
Posted: Tue Apr 18, 2017 9:28 am
by BlackSheep214
I am at loss for words to describe the gorgeous work on those kits. Well done! Were the clear lights part of the kit? How did you get the green light to look so realistic?