Scruffy's GAABSA Builds
Posted: Sun May 07, 2017 10:25 pm
Ok, so finally have some time to build and pull stuff together for this. First up the new kit.....
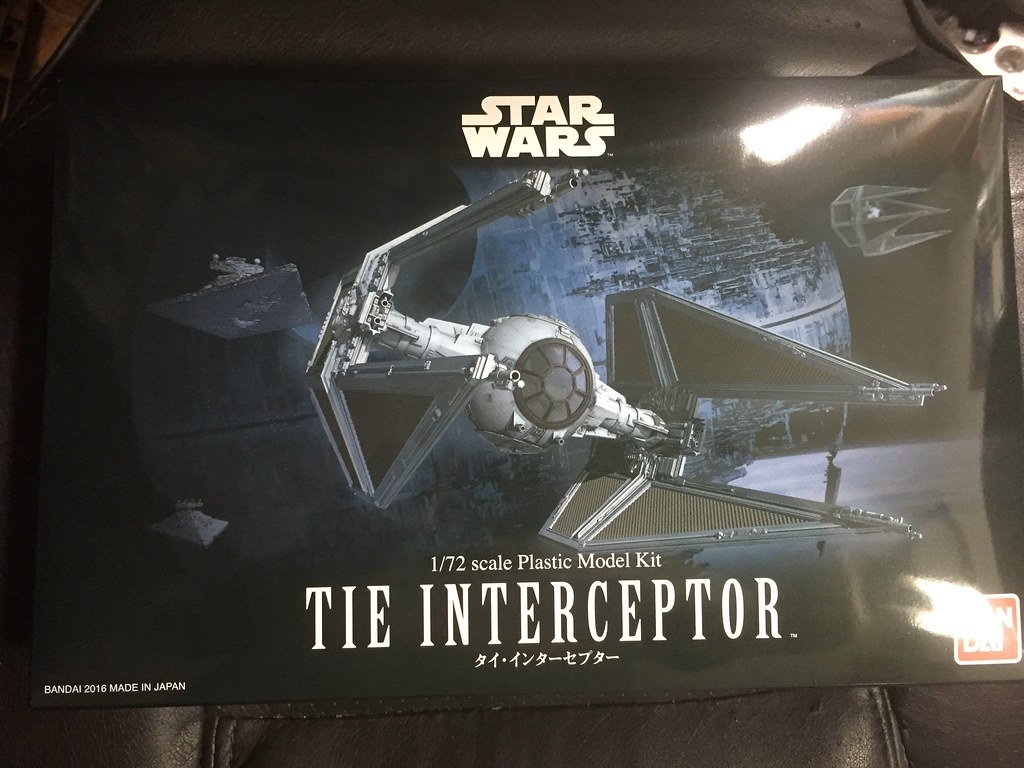
Grabbed this kit while I was out running errands on Friday. I thought this would be a fun quick build while I had some time to myself this week. I haven't built one of the Bandai Star Wars kits, but heard they go together really nicely, so figured I could get through fairly quickly, and get something finished
This will be one of my SOD projects.......
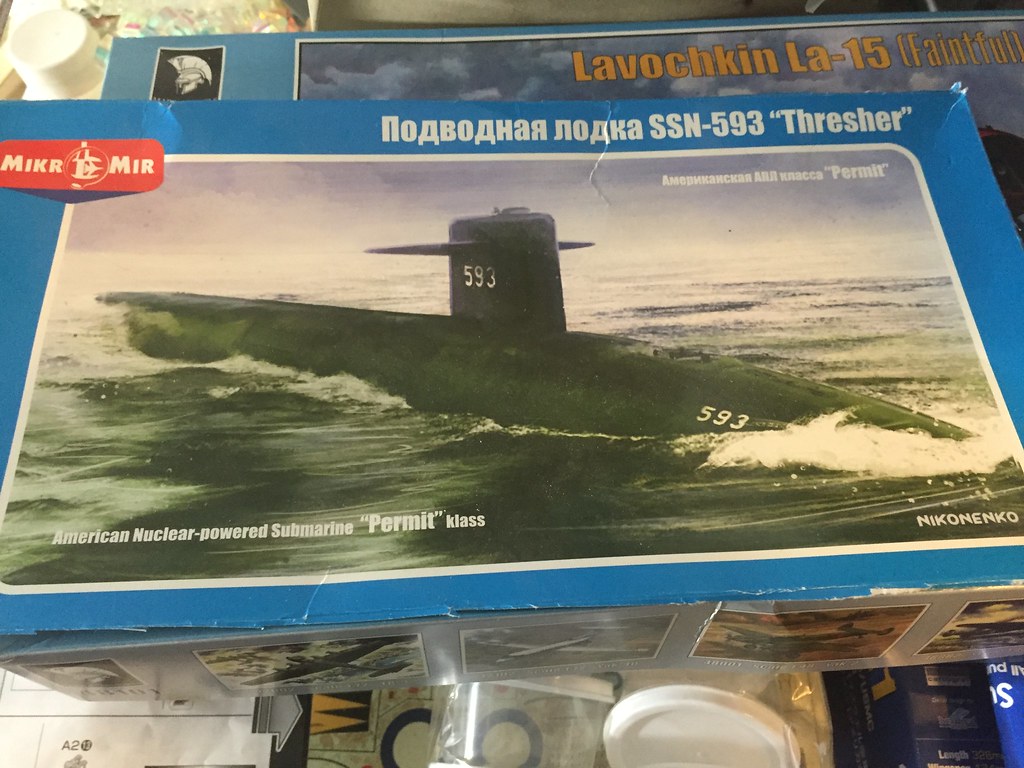
This one has been laying around for almost two years waiting to be finished! I got it to the paint stage and didn't like how the paint came out, plus I knocked off one of the photo etched bollards, so I put it up. I tried to find some pics of it before, but if I took any they are lost to the cesspool that is Photobucket
So, anyway, last night (Saturday) I started the Tie Interceptor, and spent most of the time painting, getting ready to assemble it. So far, that is where most of the time has gone. I preshaded everything with Mr. Surfacer Black primer and then sprayed the inside of the crew capsule with Neutral Grey. A wash and drybrush later it was ready for the decals. The kit comes with typical waterslide decals, or vinyl stickers, which is cool, as we shall see!
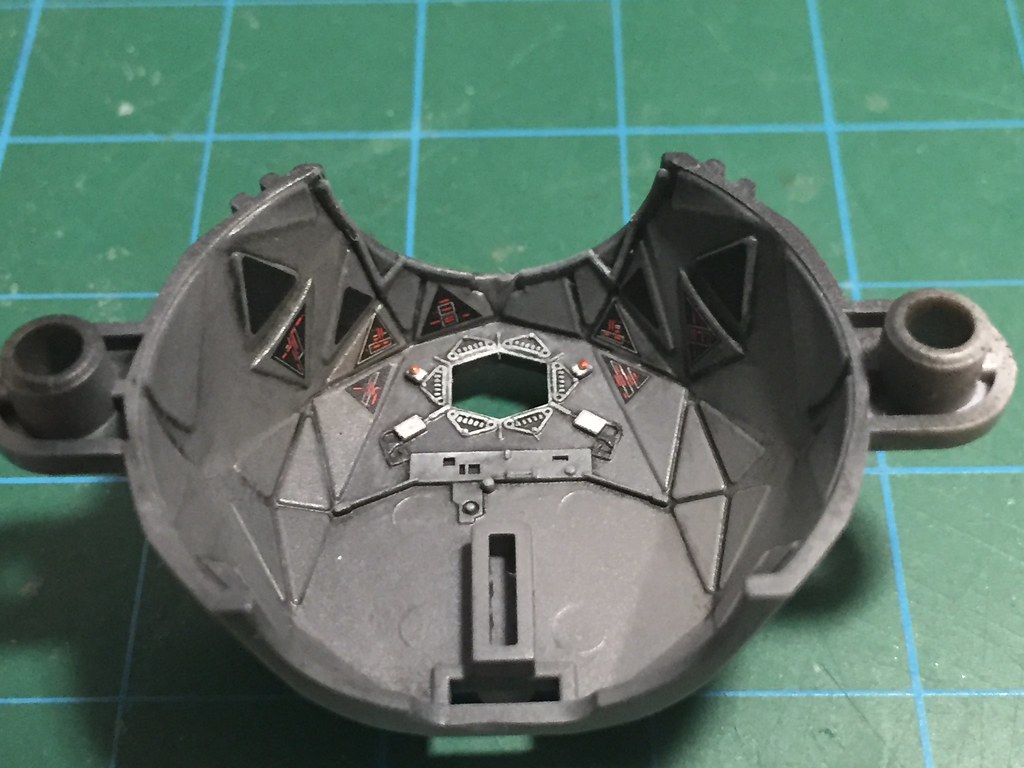
Rear section of crew capsule.
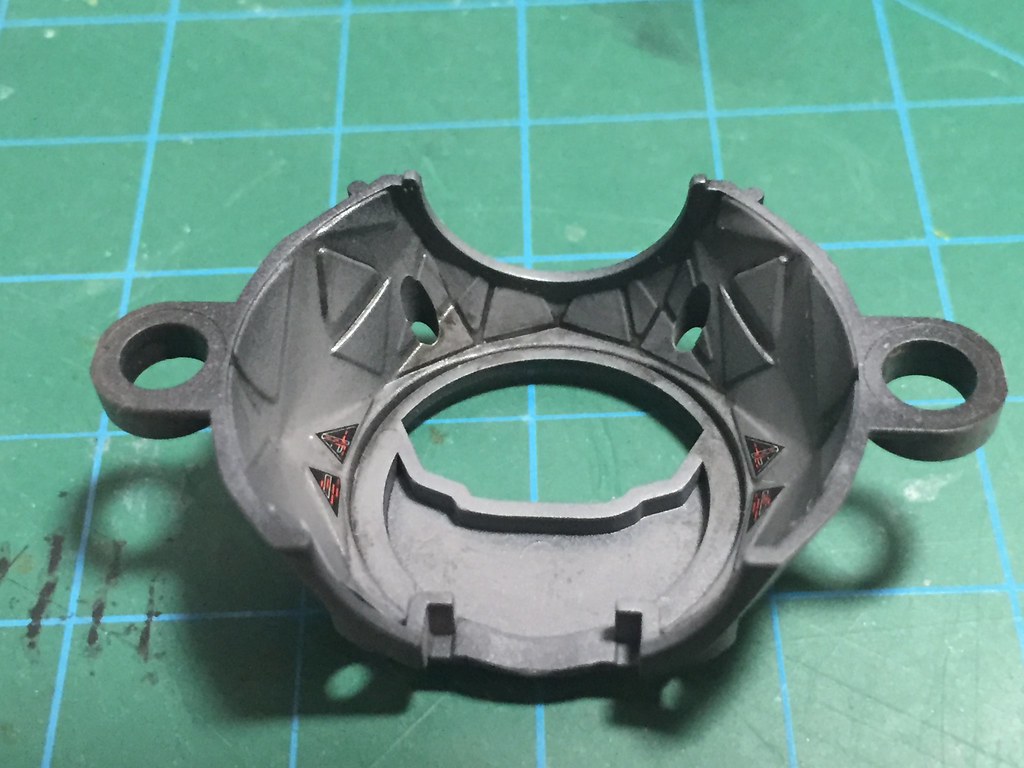
Front halve of crew capsule.
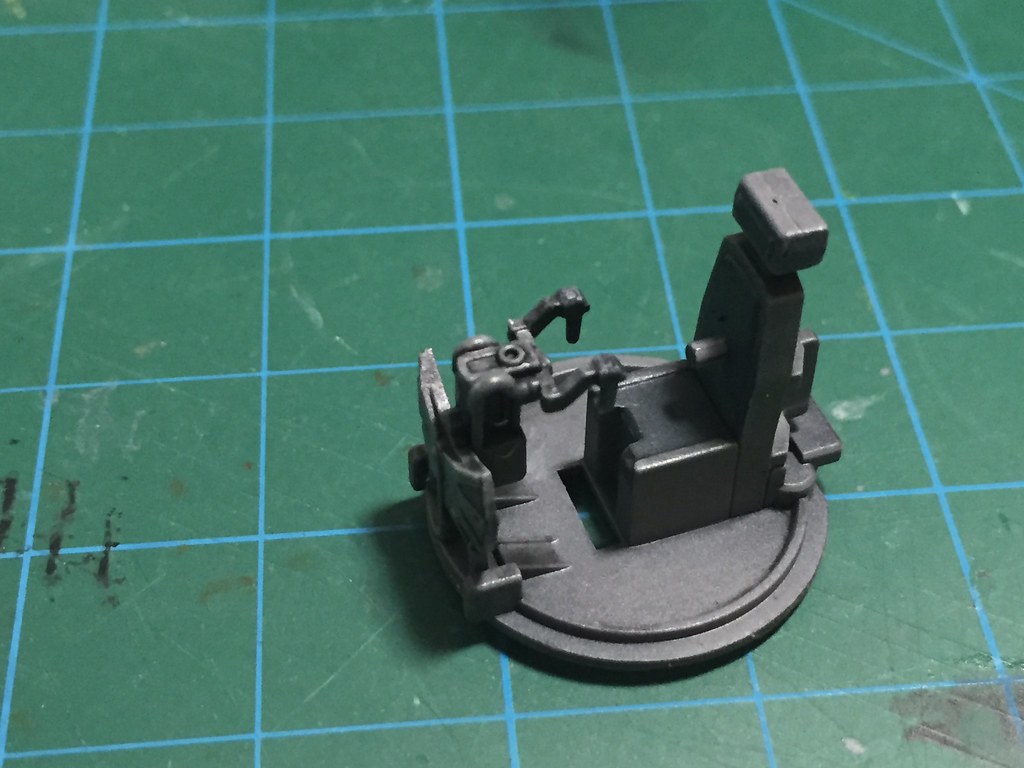
Cockpit seat and control column assembly.
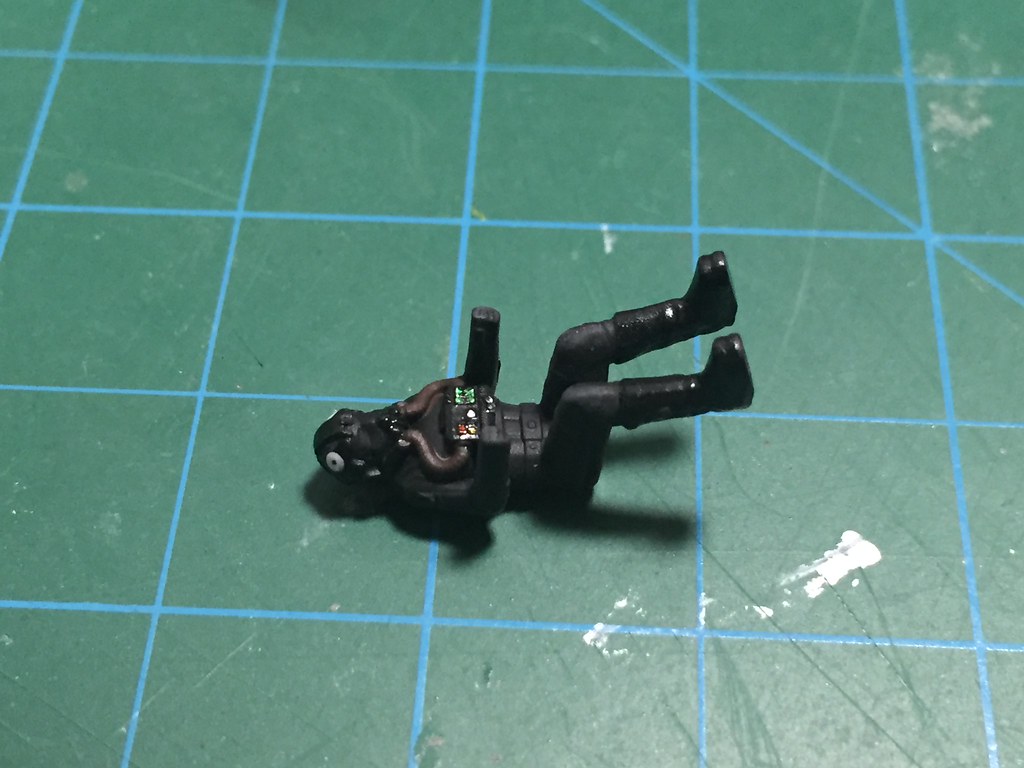
Froggy the pilot, the kit supplies decals for his helmet, makes him look like he has frog eyes He was painted with the black Mr. Surfacer and his chest pack, helmet and boots brushed with Tamyia gloss. his uniform was drybrushed with a very dark grey. The hoses were done with Testors Rubber and the details on his chest pack picked out first with Aluminum Metalizer then Tamyia clear red, yellow and green.
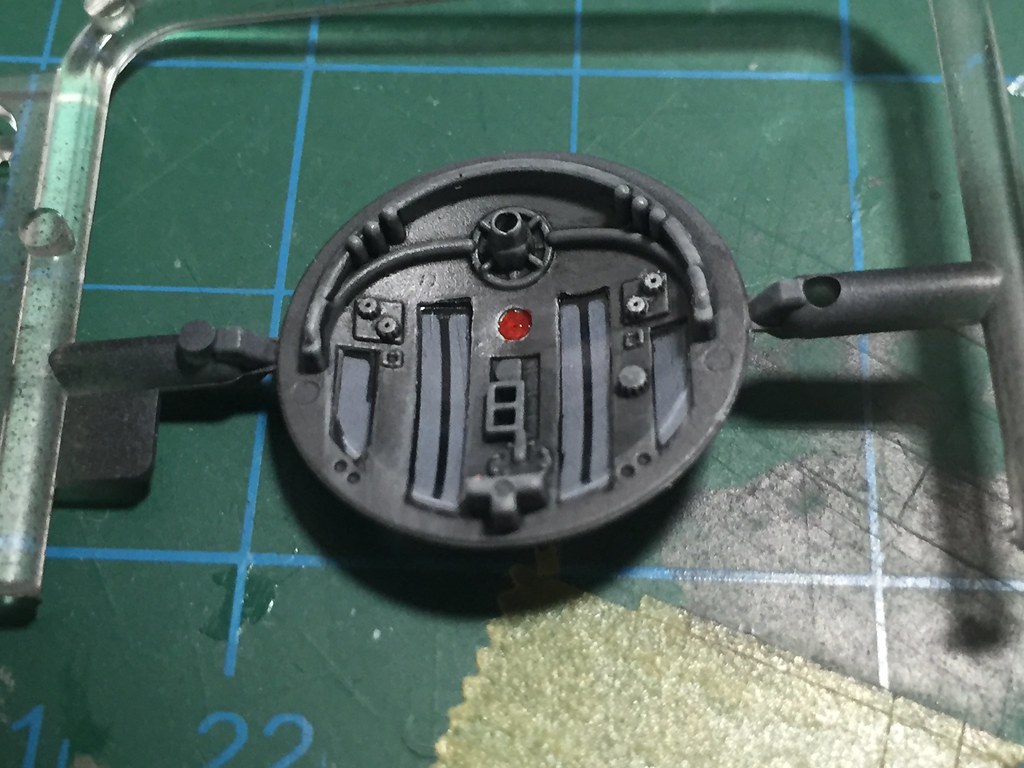
The crew capsule hatch, the four lighter stripes are the clear areas of the hatch....I used the vinyl stickers in the kits as a mask, cutting off the sections I needed to mask the inside and out side of the clear areas.....way quicker and easier that using tape or BMF to mask them.
Once all these pieces were painted, decaled, and dry, assembling the pod took literally like 20 minutes
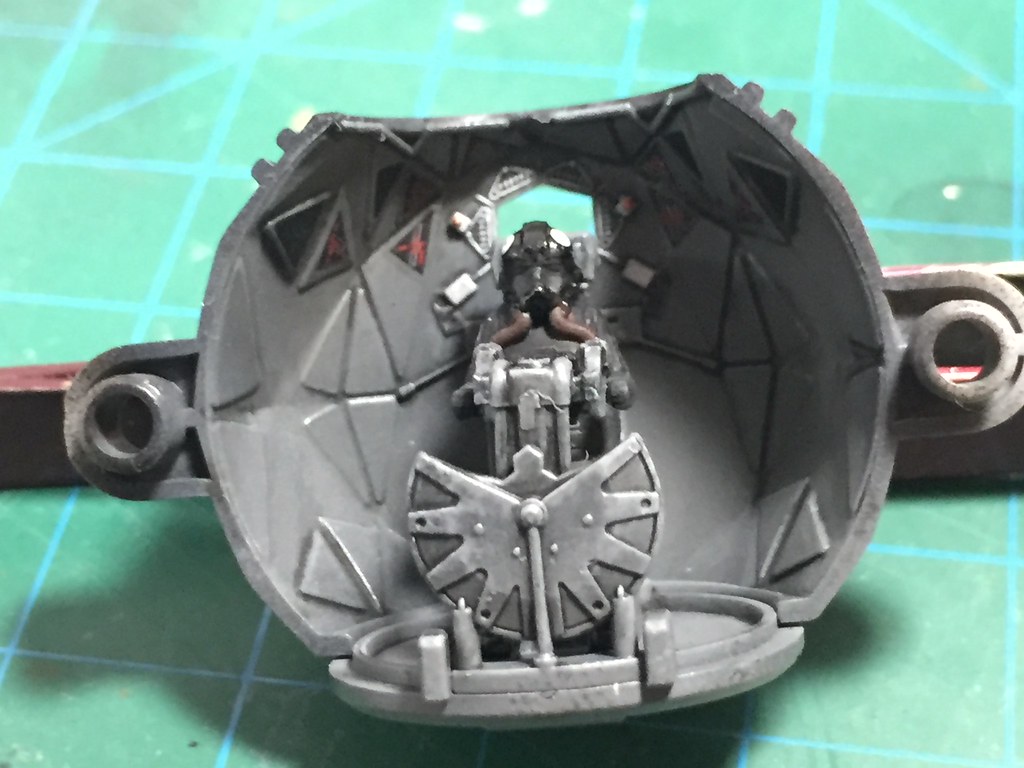
Cockpit in place, most of this detail will never be seen again
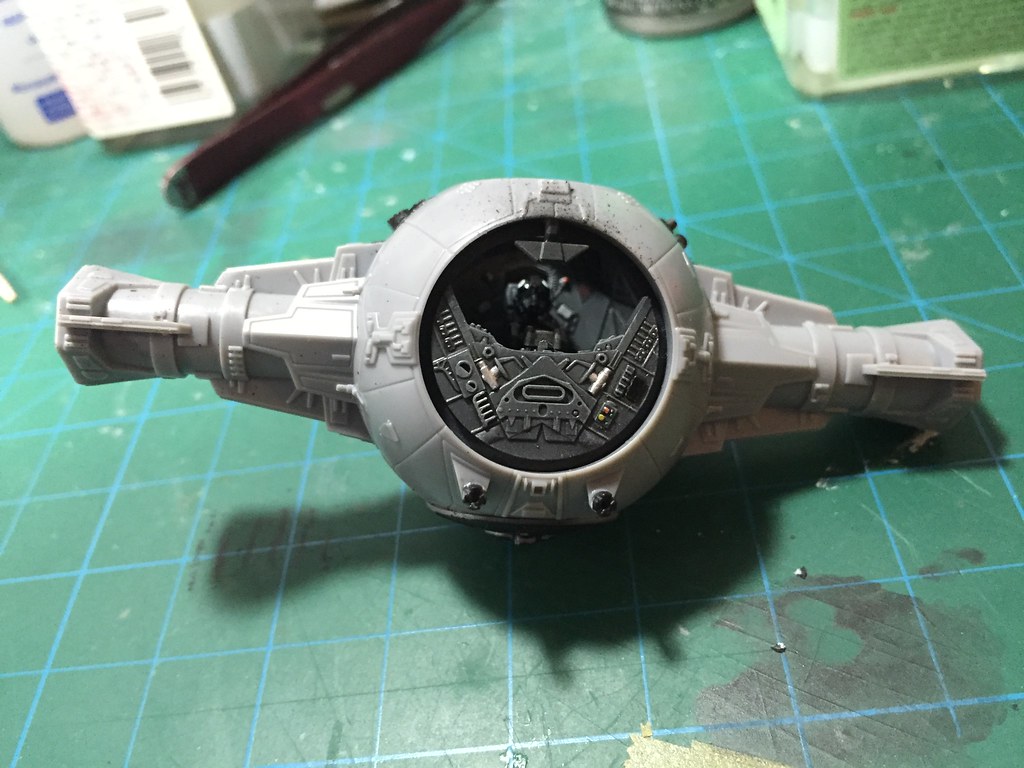
Only a couple of areas need putty, so this should be cleaned up and ready for paint tomorrow! Hope to have more soon..
Grabbed this kit while I was out running errands on Friday. I thought this would be a fun quick build while I had some time to myself this week. I haven't built one of the Bandai Star Wars kits, but heard they go together really nicely, so figured I could get through fairly quickly, and get something finished
This will be one of my SOD projects.......
This one has been laying around for almost two years waiting to be finished! I got it to the paint stage and didn't like how the paint came out, plus I knocked off one of the photo etched bollards, so I put it up. I tried to find some pics of it before, but if I took any they are lost to the cesspool that is Photobucket
So, anyway, last night (Saturday) I started the Tie Interceptor, and spent most of the time painting, getting ready to assemble it. So far, that is where most of the time has gone. I preshaded everything with Mr. Surfacer Black primer and then sprayed the inside of the crew capsule with Neutral Grey. A wash and drybrush later it was ready for the decals. The kit comes with typical waterslide decals, or vinyl stickers, which is cool, as we shall see!
Rear section of crew capsule.
Front halve of crew capsule.
Cockpit seat and control column assembly.
Froggy the pilot, the kit supplies decals for his helmet, makes him look like he has frog eyes
He was painted with the black Mr. Surfacer and his chest pack, helmet and boots brushed with Tamyia gloss. his uniform was drybrushed with a very dark grey. The hoses were done with Testors Rubber and the details on his chest pack picked out first with Aluminum Metalizer then Tamyia clear red, yellow and green.The crew capsule hatch, the four lighter stripes are the clear areas of the hatch....I used the vinyl stickers in the kits as a mask, cutting off the sections I needed to mask the inside and out side of the clear areas.....way quicker and easier that using tape or BMF to mask them.
Once all these pieces were painted, decaled, and dry, assembling the pod took literally like 20 minutes
Cockpit in place, most of this detail will never be seen again
Only a couple of areas need putty, so this should be cleaned up and ready for paint tomorrow! Hope to have more soon..