Bandai 1/144 Millennium Falcon
Posted: Mon Jun 12, 2017 11:44 am
The Millennium Falcon needs no introduction. Yes, that lovable piece of junk that did the Kessel run in less than 12 parsecs and saves Luke Skywalker from the clutches of the evil Darth Vader. I'm going to TRY and build a 1/144 scale model of the iconic Falcon as she appeared in the newest Star Wars flick, The Force Awakens. I consider myself a fan but not quite a fan-atic and this will be my first Star Wars model kit since childhood. I remember building both the MPC X-Wing and Tie Fighter model kits n the 70's so this will bring back some memories.
The kit is made by Bandai. If you have not heard of Bandai, it's not because the company is small or doesn't produce many kits. It has a huge catalog of plastic models but the majority are sci-fi (Gundam, being the most well known franchise) and sold primarily to the Japanese market. Bandai's agreement with Disney to produce Star Wars models limits their sales so you may not see these kits sold in the US. Not a problem for the internet savvy and this kit is easy to obtain via Ebay or Amazon.
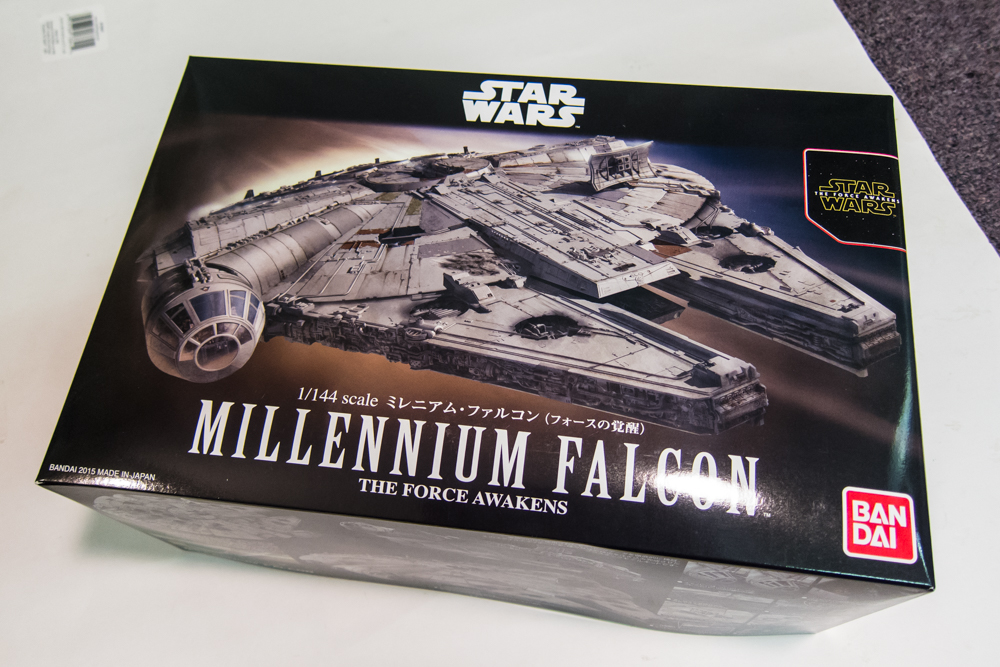
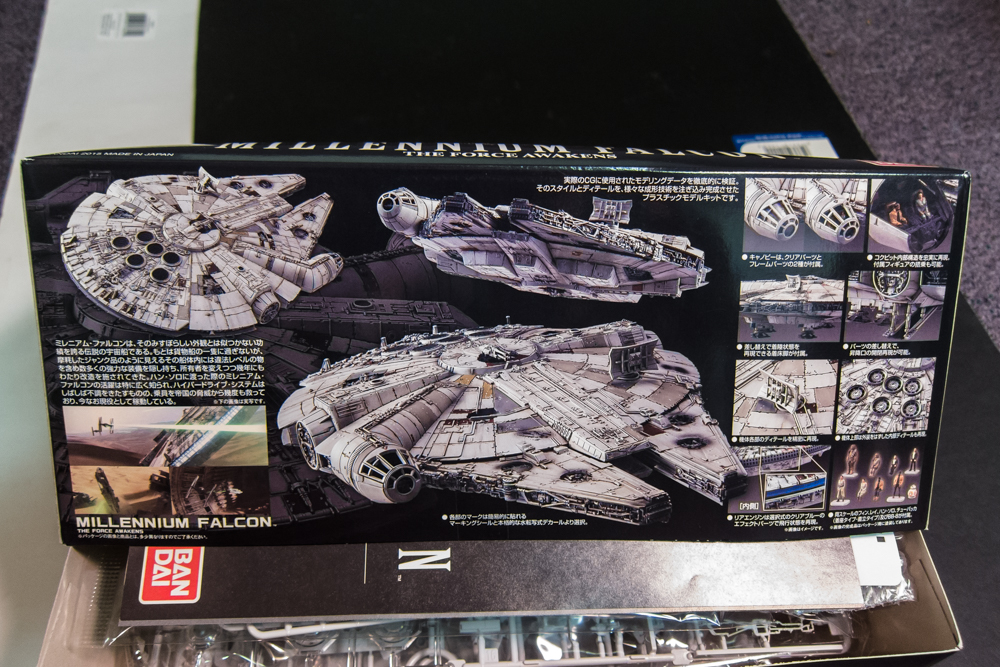
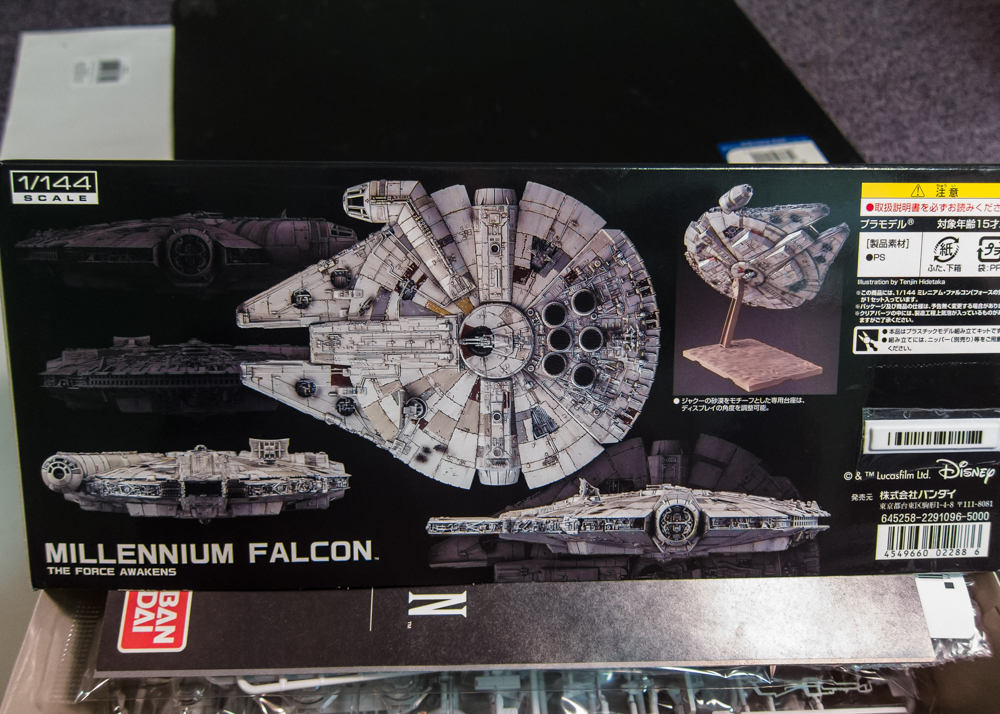
This is not a large model (at 1/144 scale, the Falcon is about seven inches across) and is packed into a relatively small 10"x6"x4" box. The side of the box is nicely decorated with photos from the film as well as of the built model.
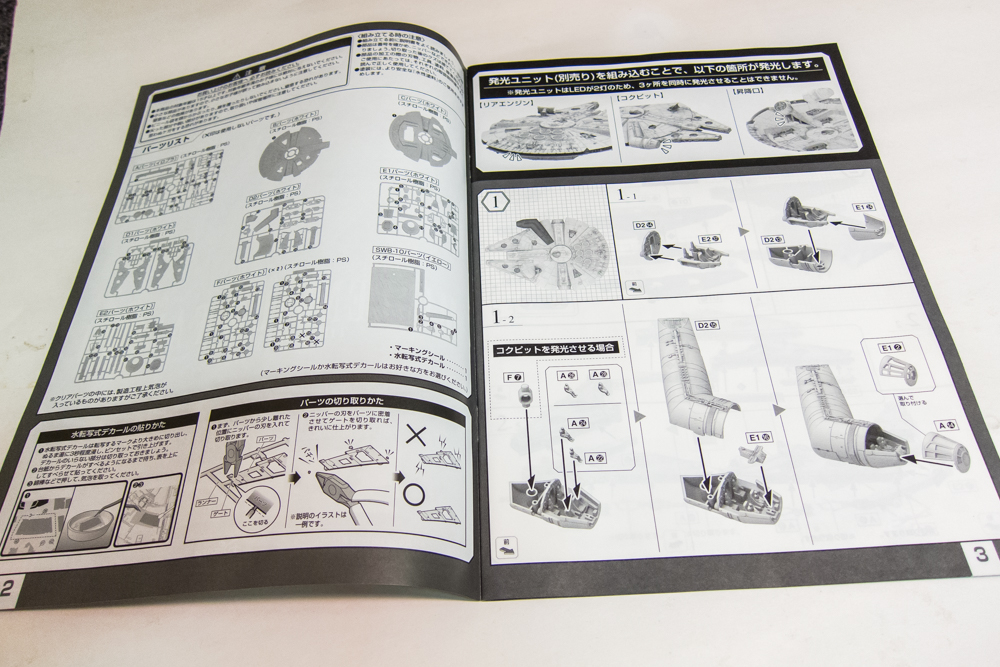
The model instructions are printed on high quality, glossy paper and come as a stapled booklet.
The instructions are typical schematic type drawings to guide the builder through the various steps of construction. But... being a Japanese domestic market product, the instructions are totally in Japanese... no English.
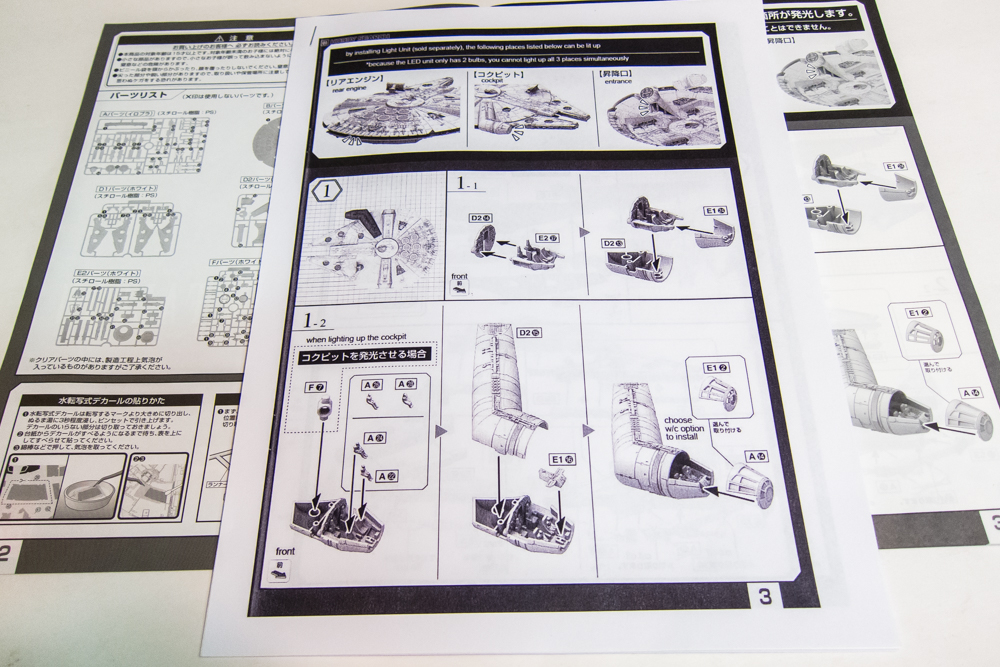
Not to worry. Star Wars is a huge franchise (arguably the BIGGEST) and there are countless fans of which many happen to be modelers as well. An internet search of BANDAI MILLENNIUM FALCON INSTRUCTIONS yielded a set of instructions translated into English.
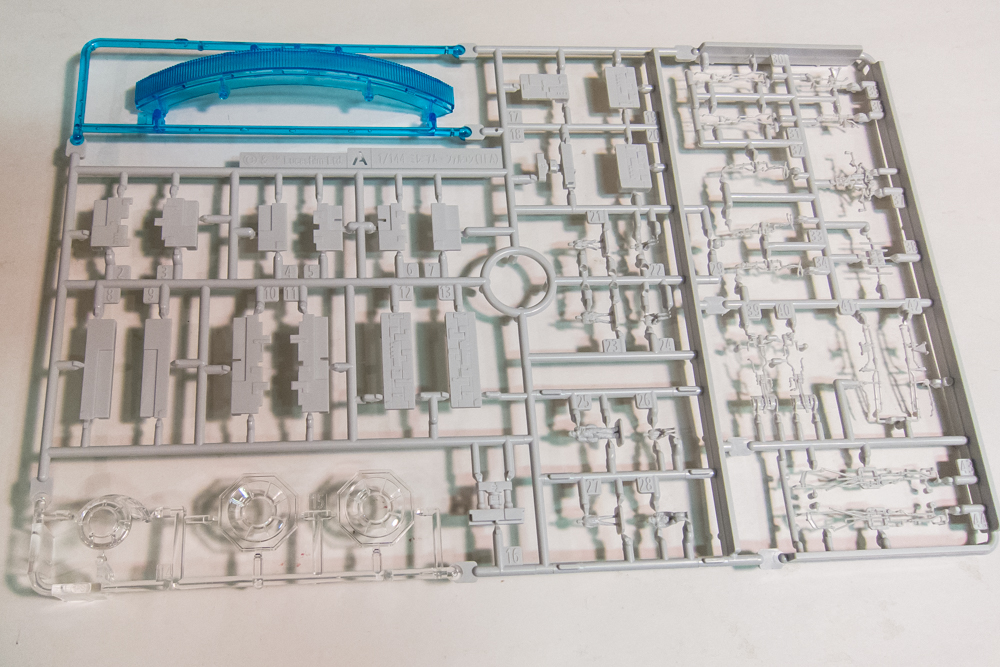
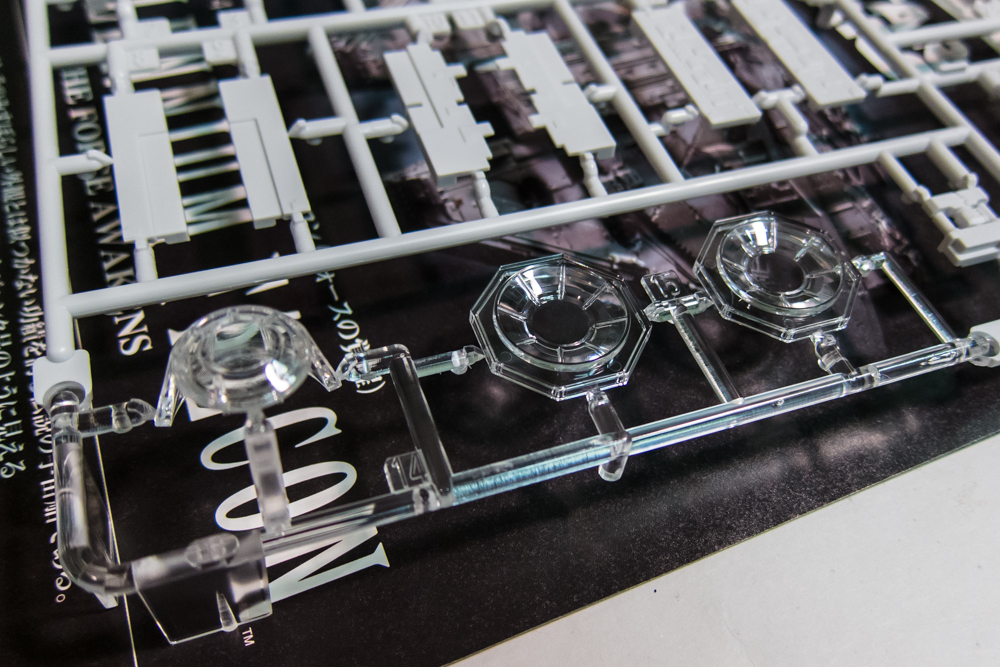
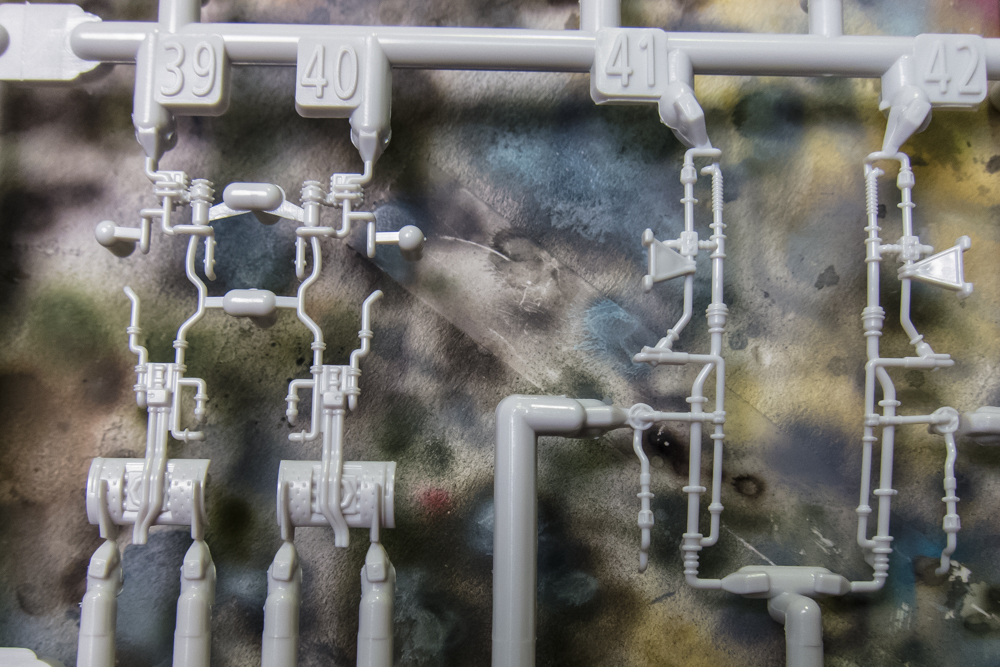
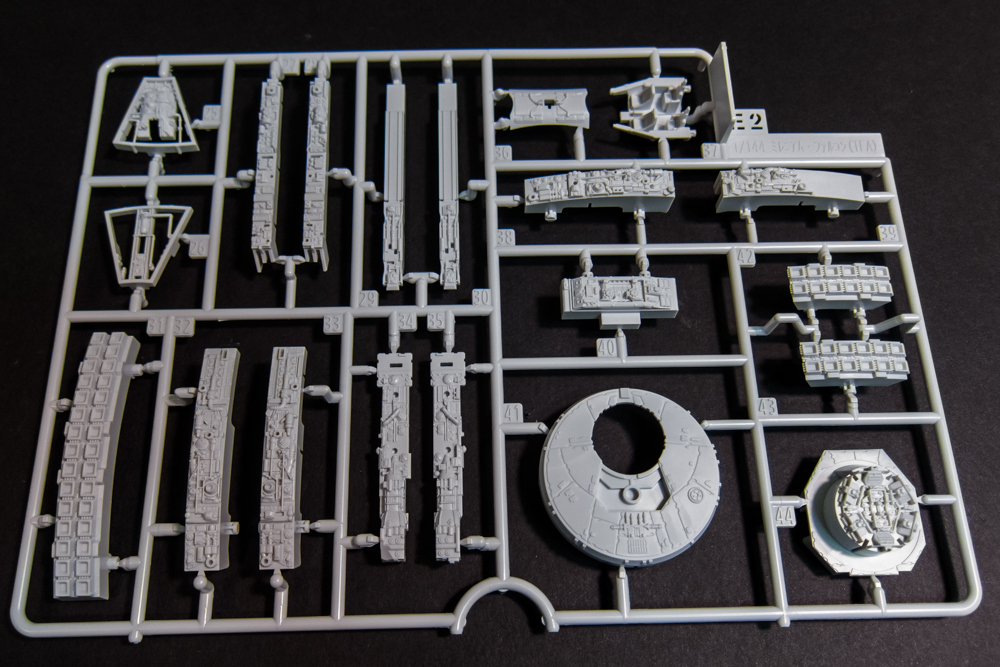
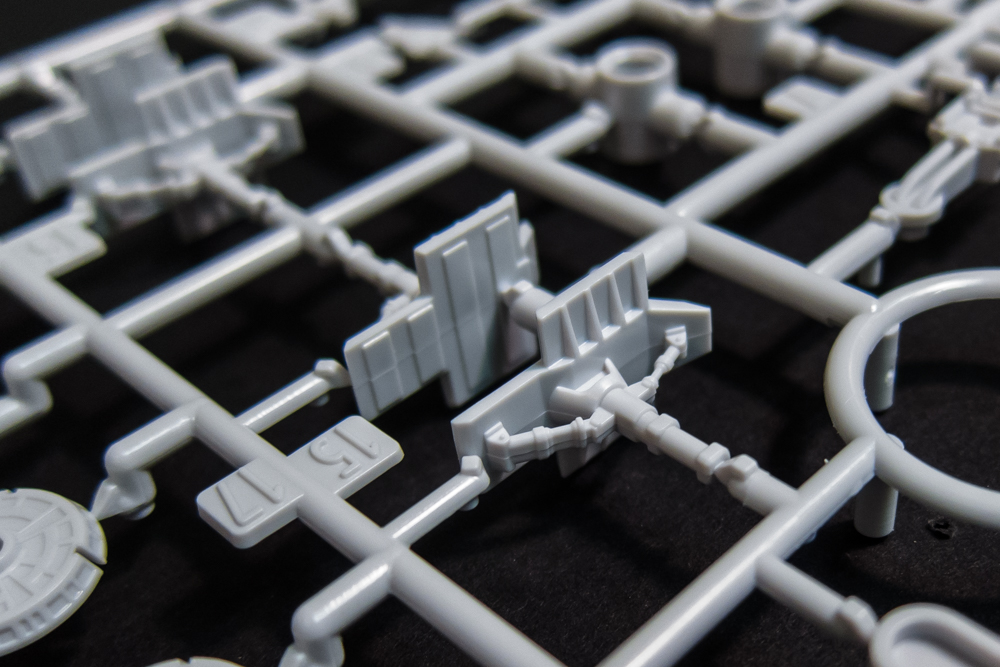
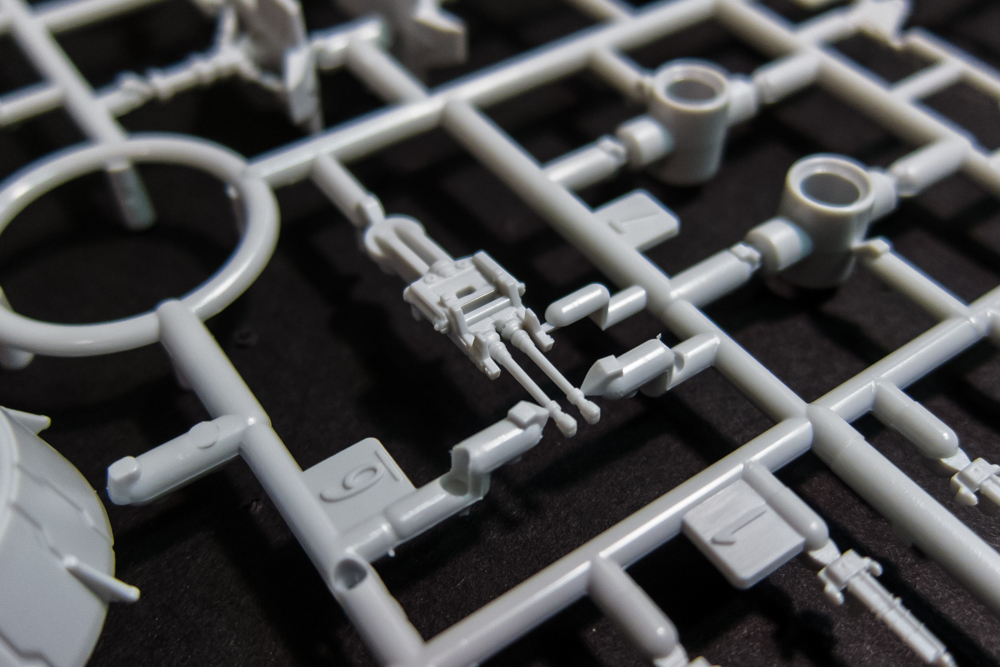
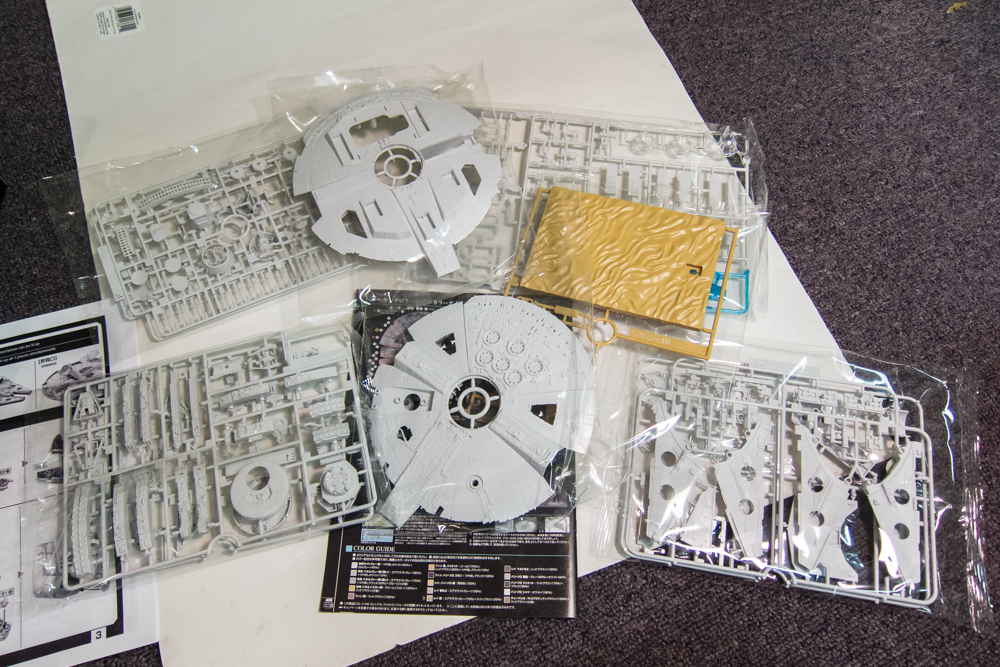
The parts are packed into the small box on compact sprues. Most of the sprues are individually protected in plastic bags but a few come two per bag.
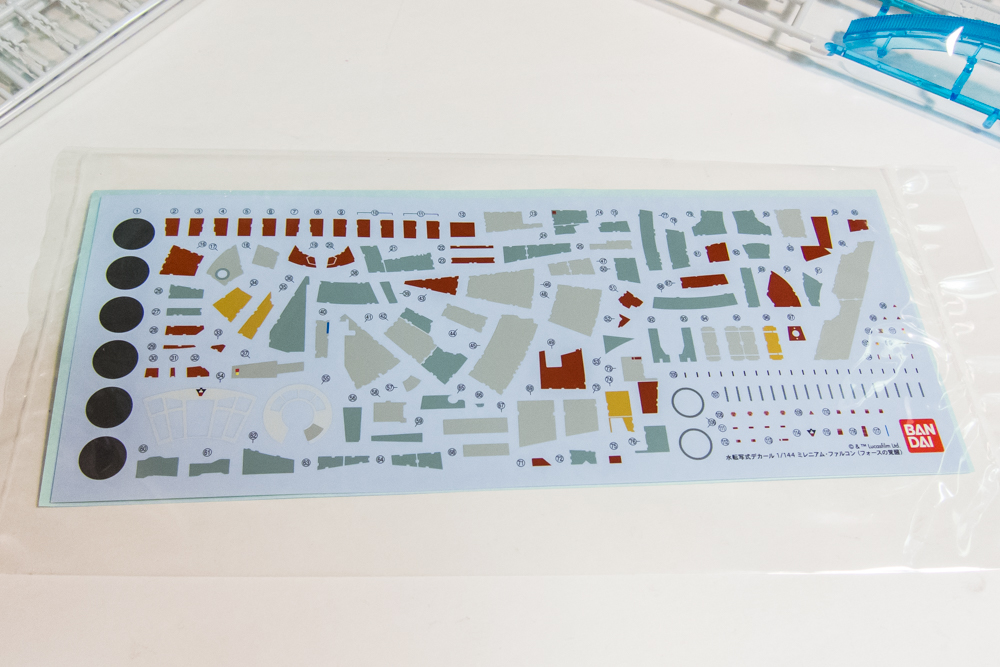
I didn't realize the Millennium Falcon had ANY markings on its structure but apparently it does and a ton of them to boot. Bandai gives the builder a choice of either adhesive stickers or traditional waterslide decals for these small markings.
The last page of the instruction booklet shows the placement of these stickers/decals. The booklet itself is small so it's very difficult to make out decal placement with these 50 year old eyes. I'll probably have to scan and enlarge this when the time comes.

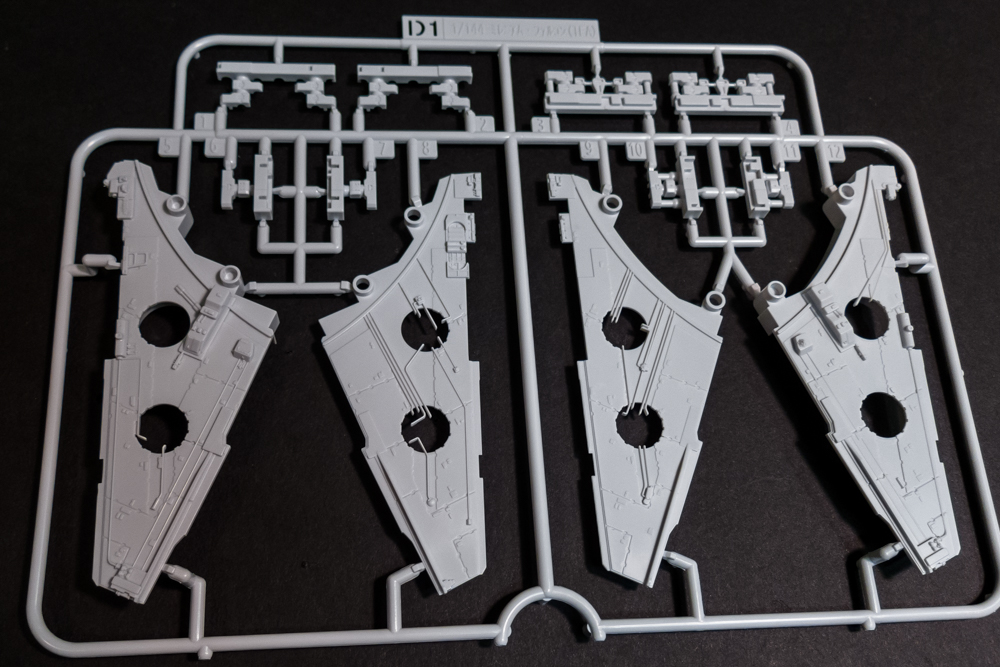
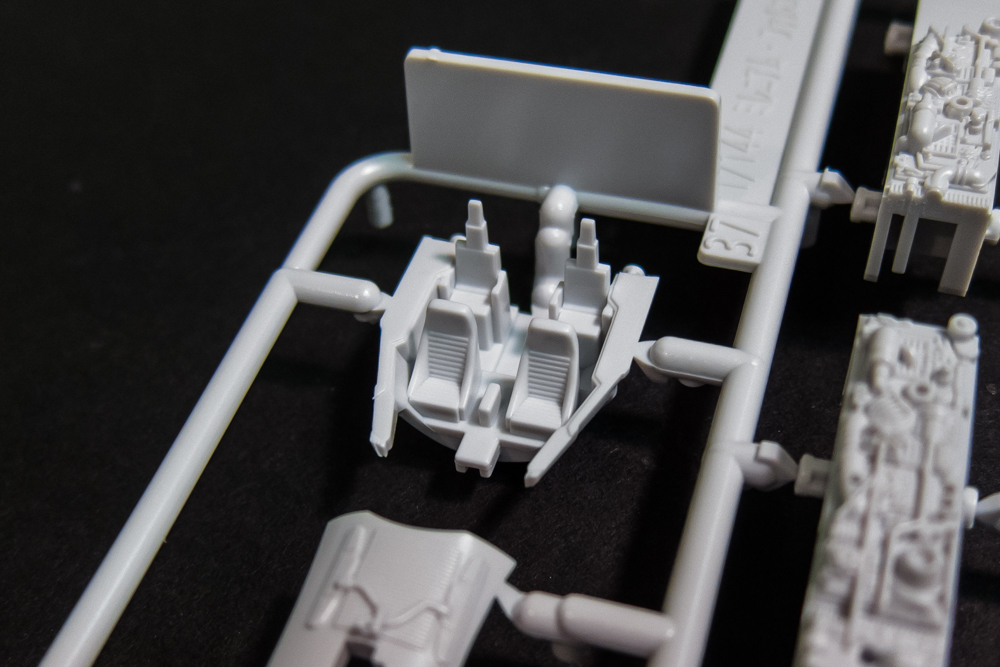
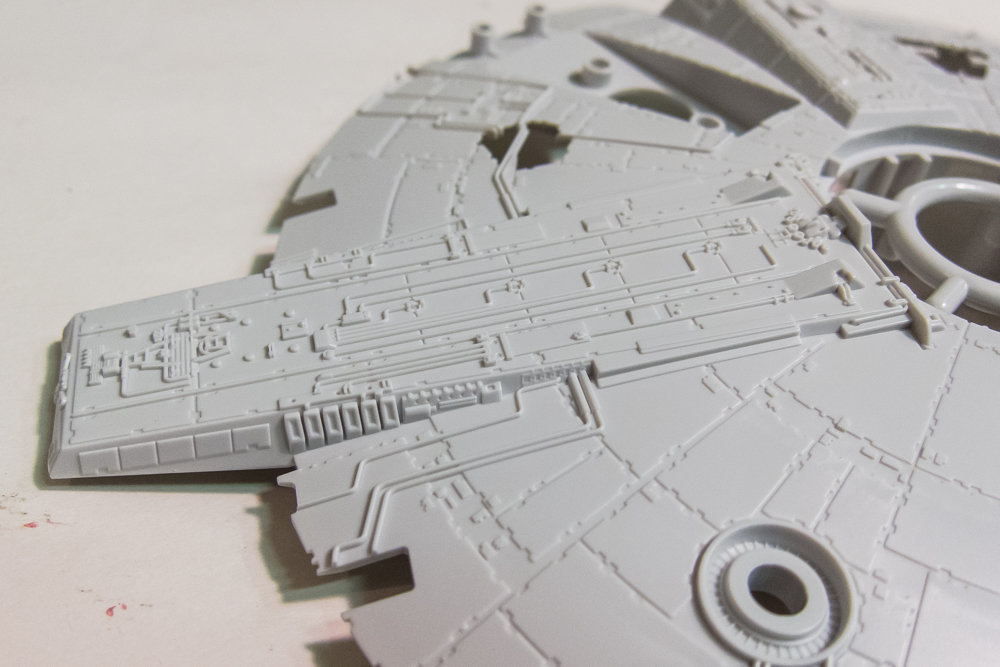
Let's take a closer look at the parts. The first major piece is the upper hull of the Millenium Falcon, which is molded in one piece.
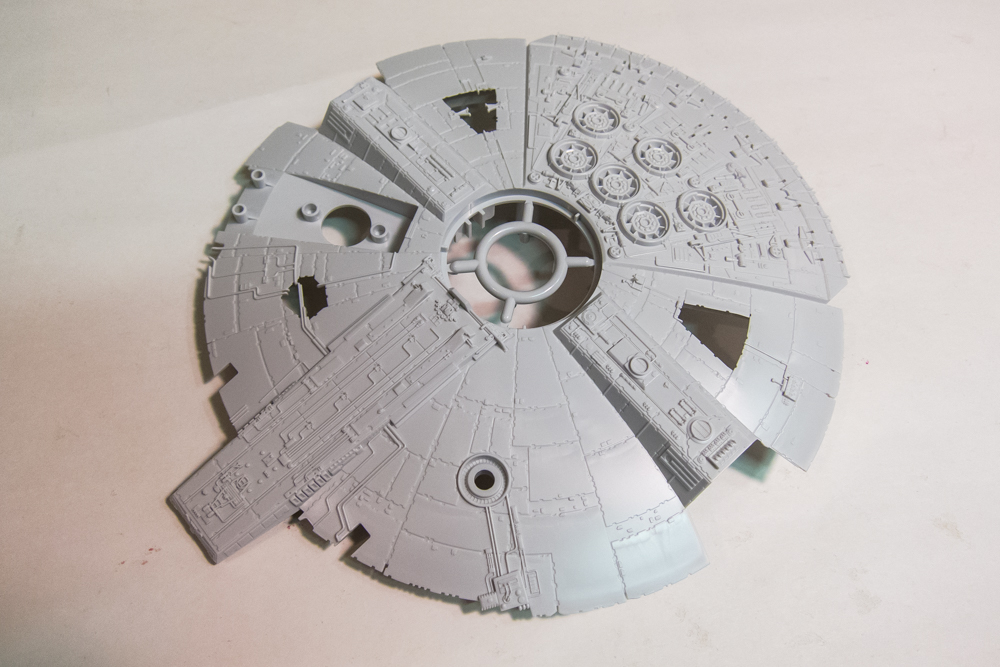
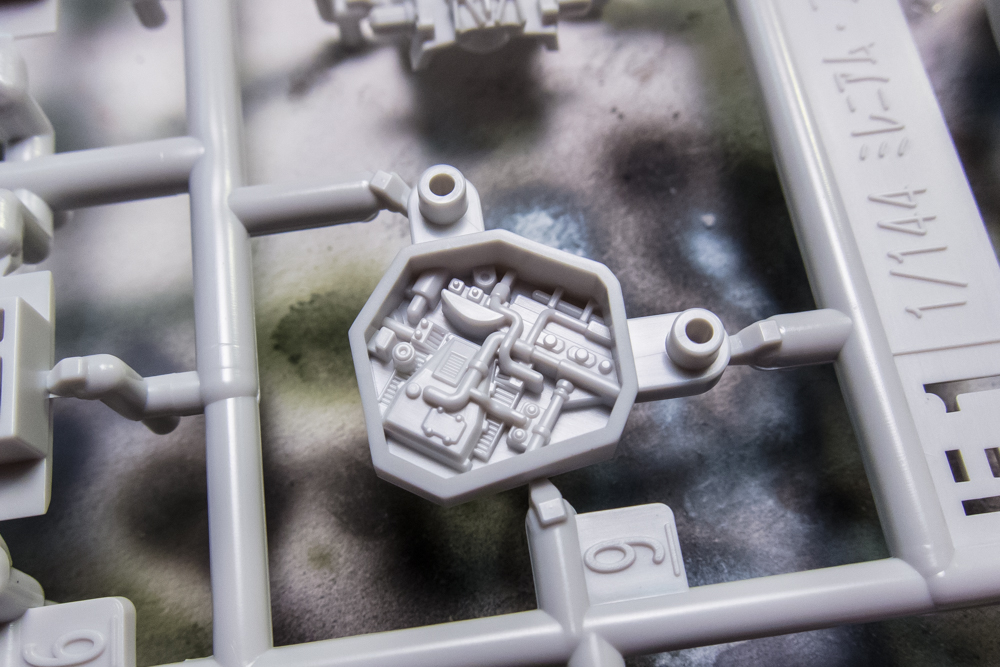
Hats off to Bandai as the molding on this kit is incredible. Painting this little beast is going to be the biggest challenge by far. But then again, I could see one getting a fairly acceptable result if you simply spray-canned the completed model in grey paint and giving it a panel wash.
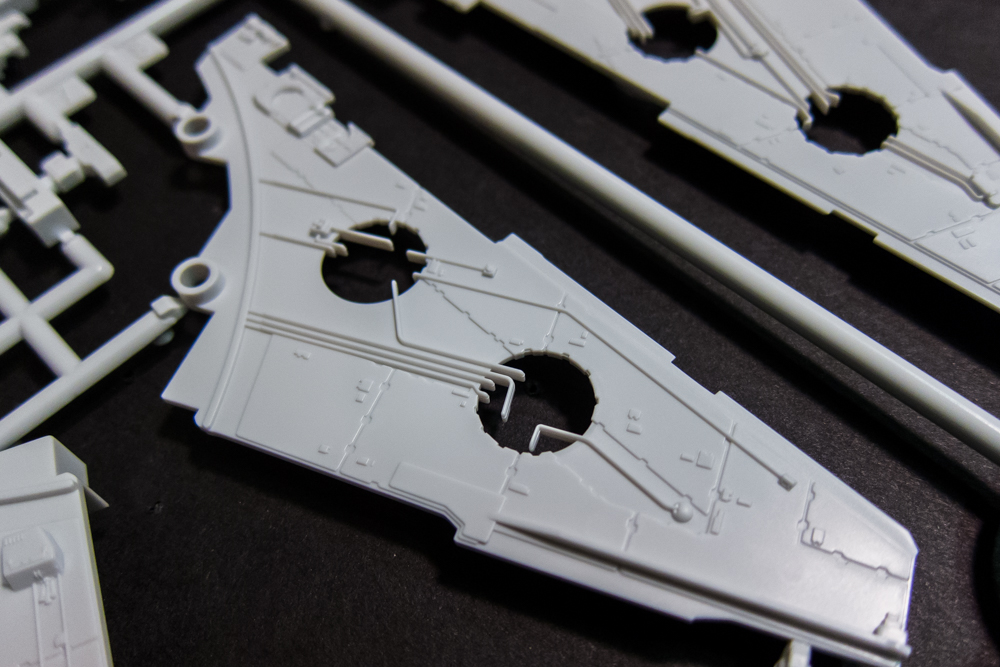
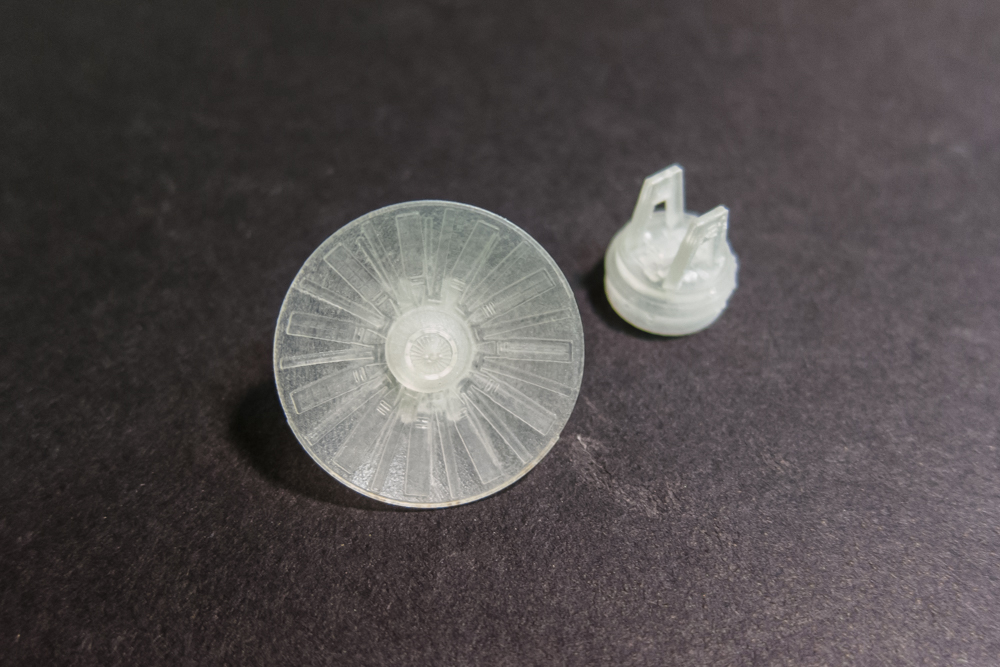
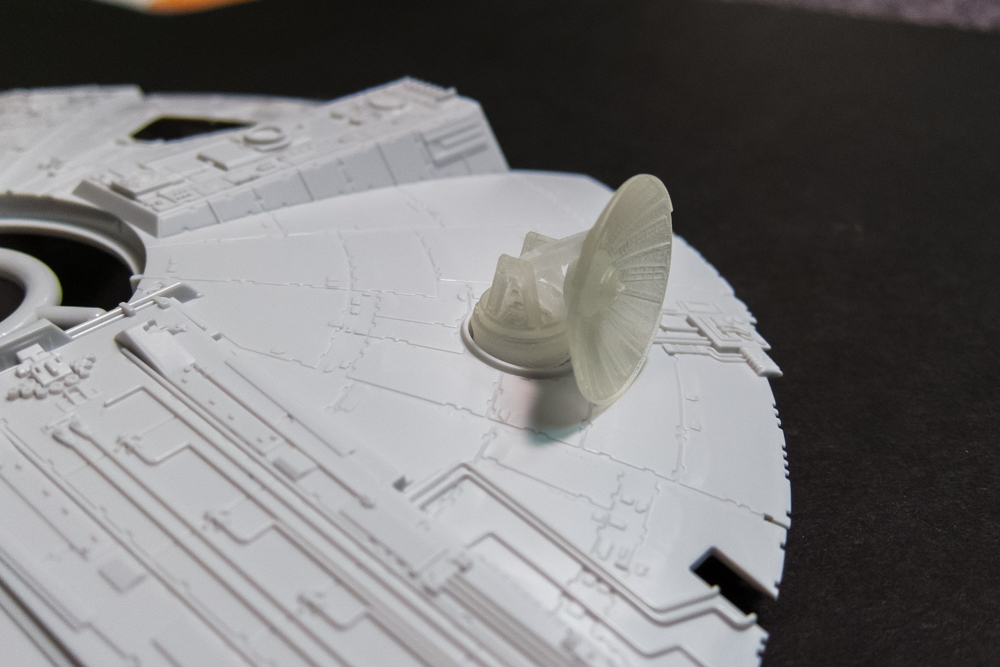
That circular opening in the lower right of the photo is where the radar dish is mounted. In the new movie, the radar dish is square whereas the original Falcon had a round dish. More on that later...
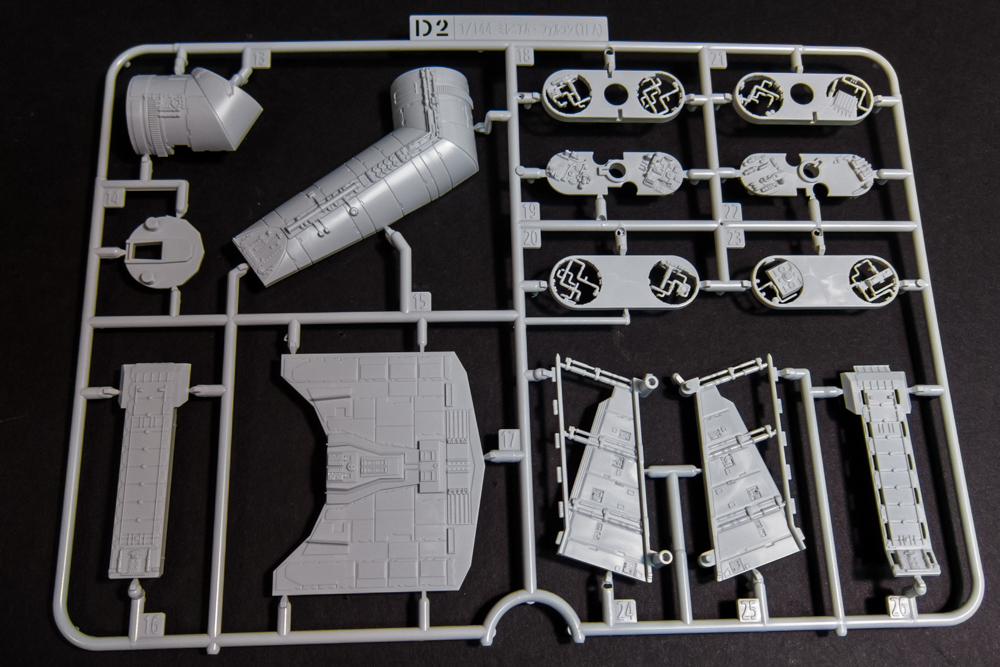
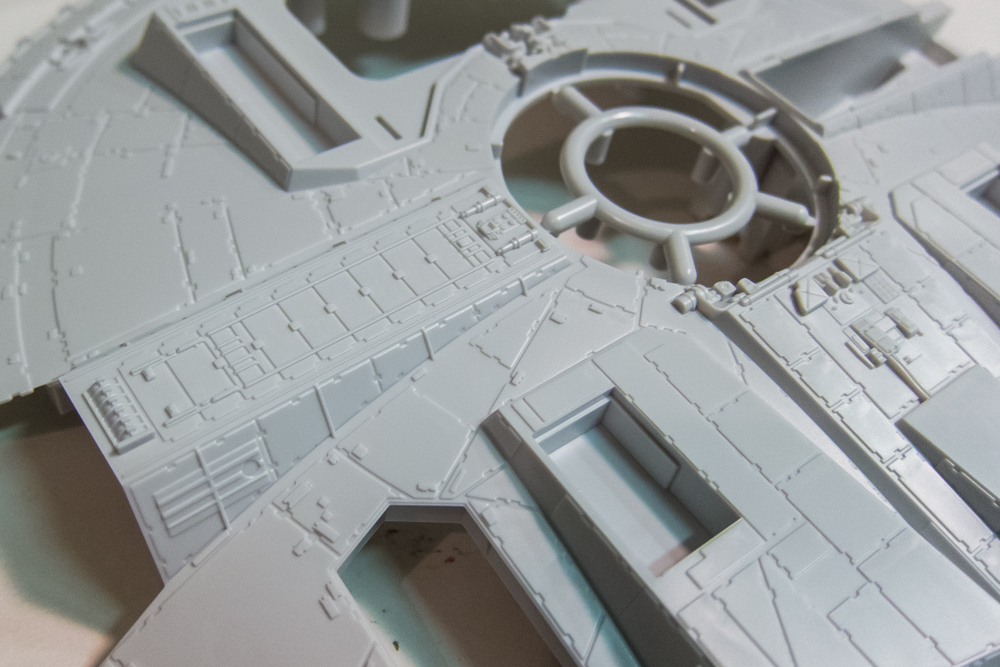
The bottom hull piece is similarly shaped but with additional openings for the landing gear and landing ramp. The biggest opening toward the rear is for a battery pack! You may guess what this is leading to!
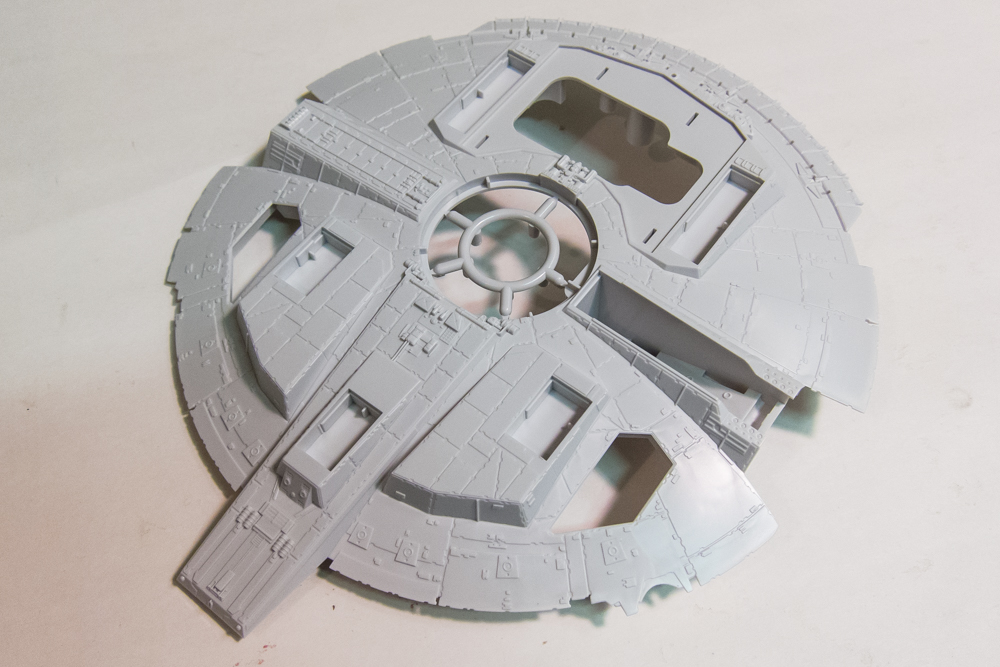
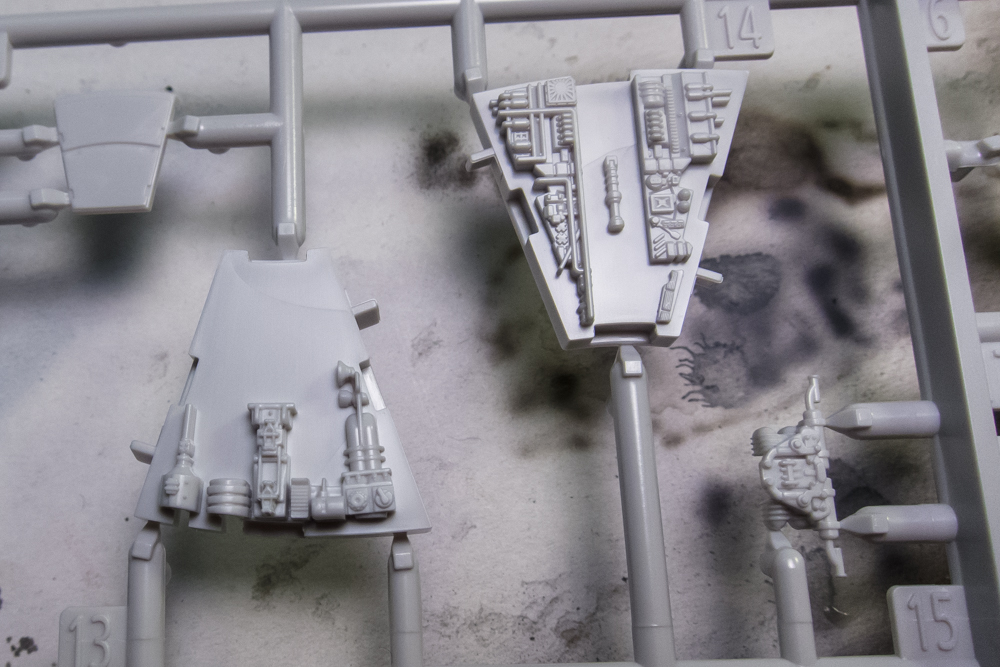
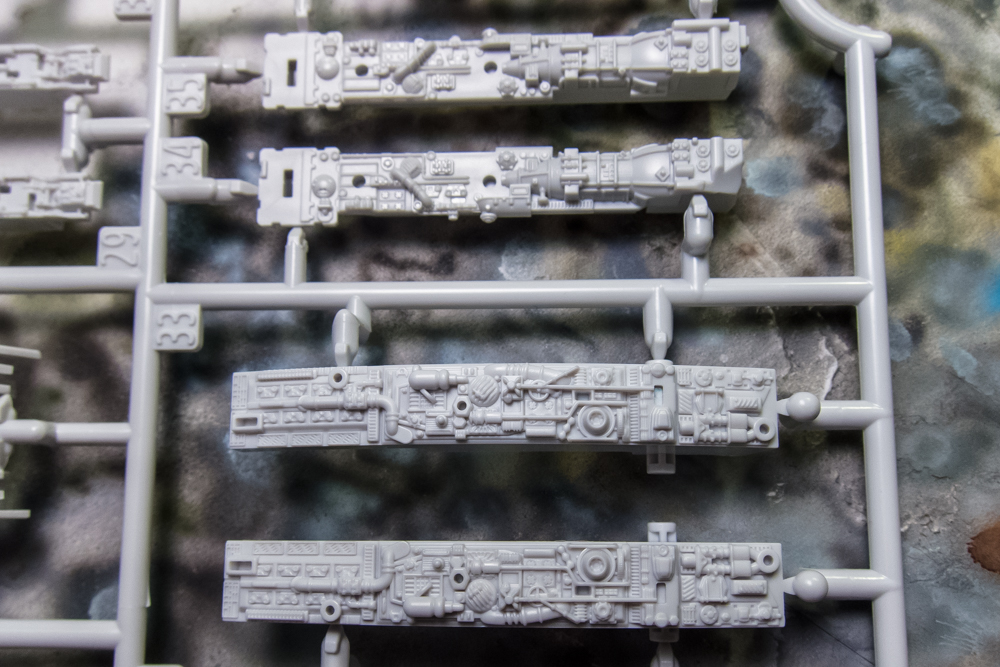
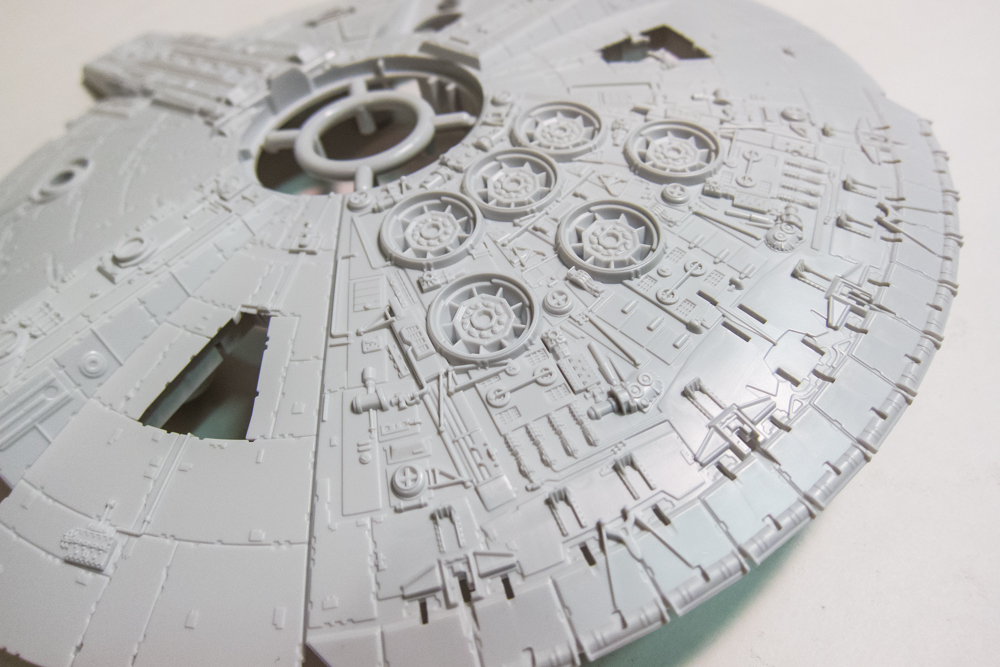
Lots of surface detail has been molded integrally into the upper and lower hull, simplifying the construction process.
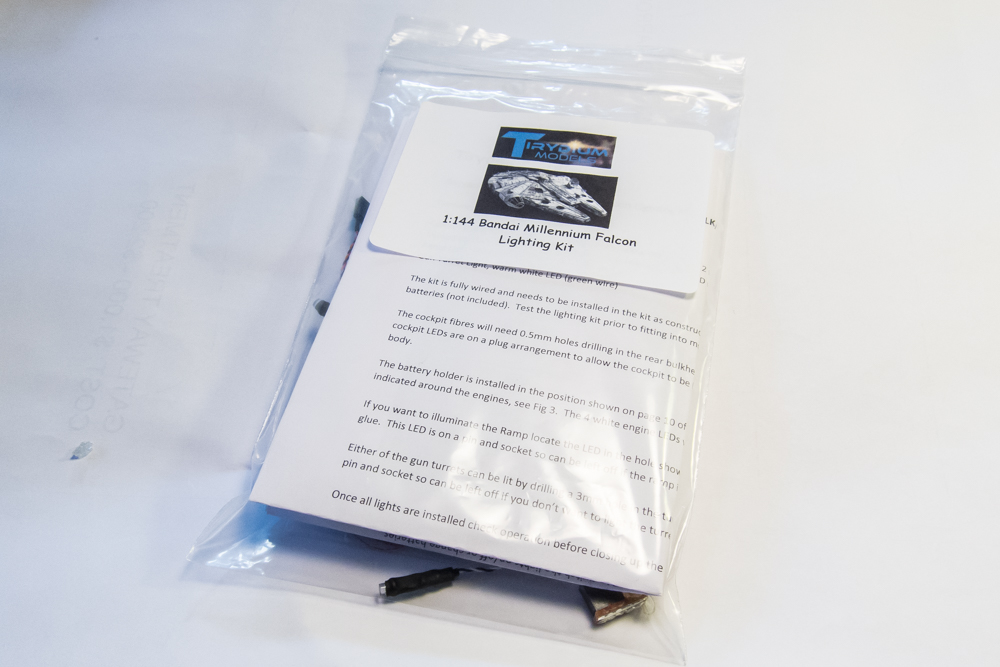
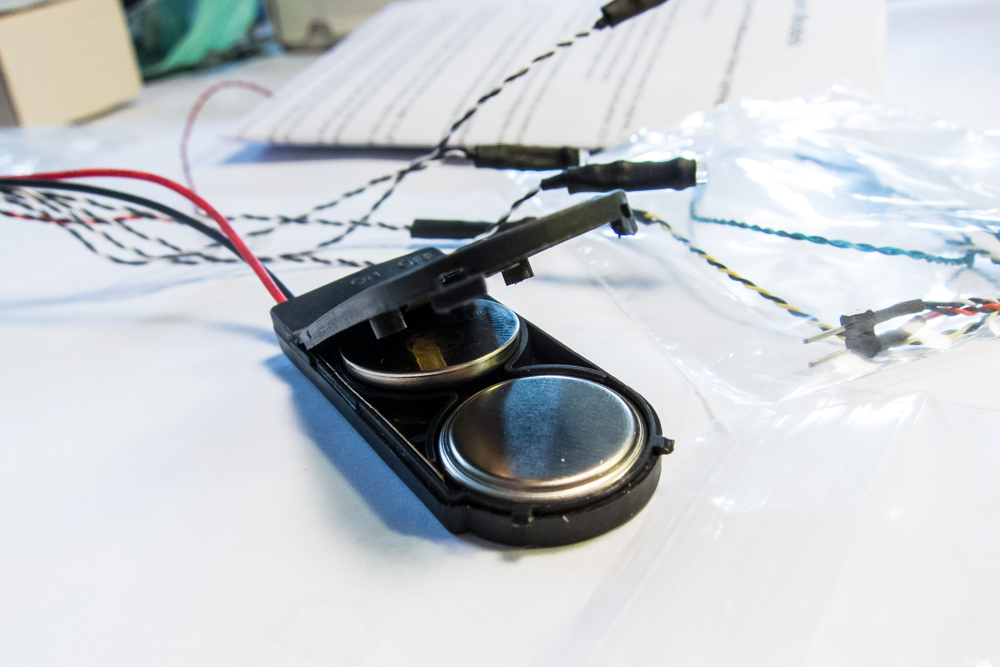
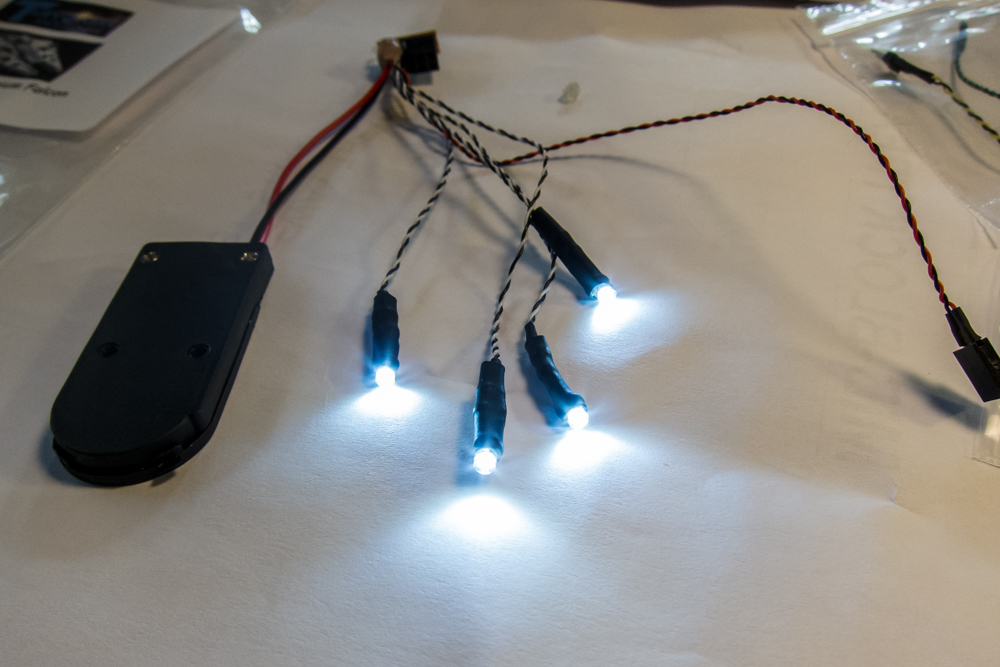
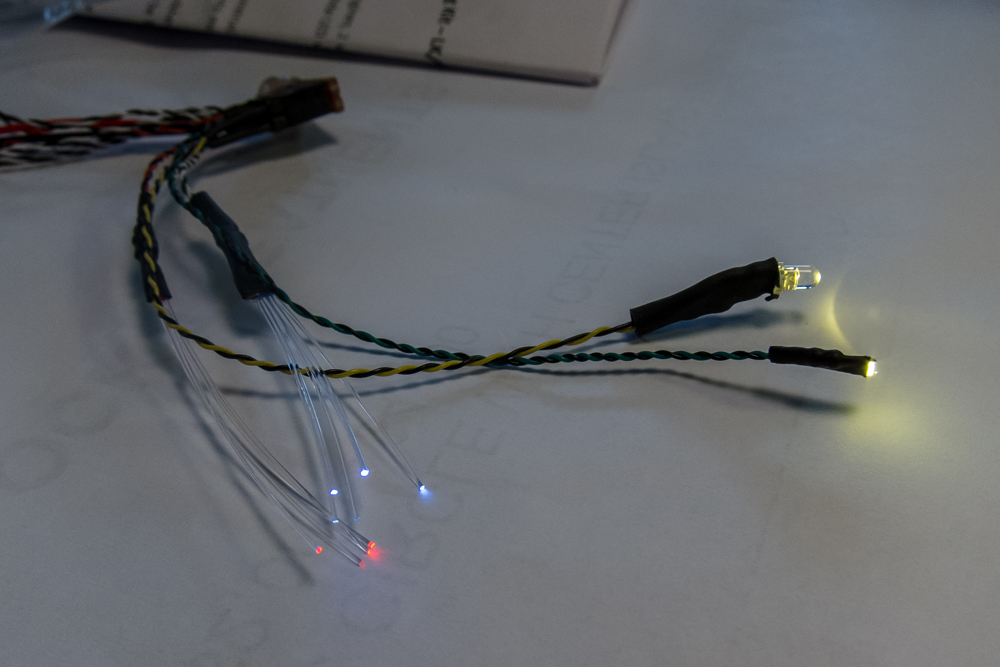
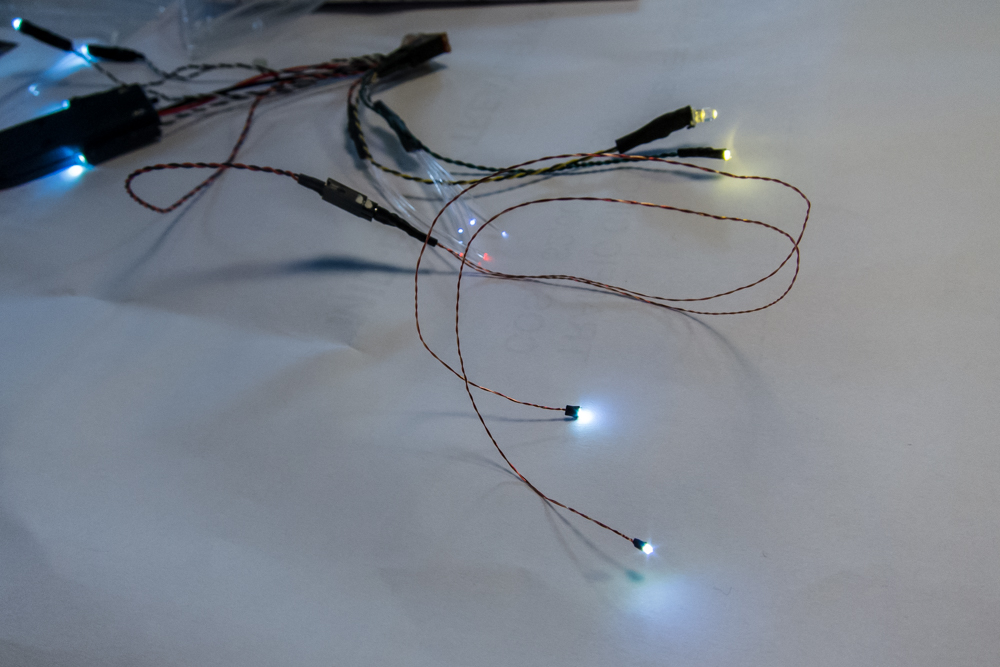
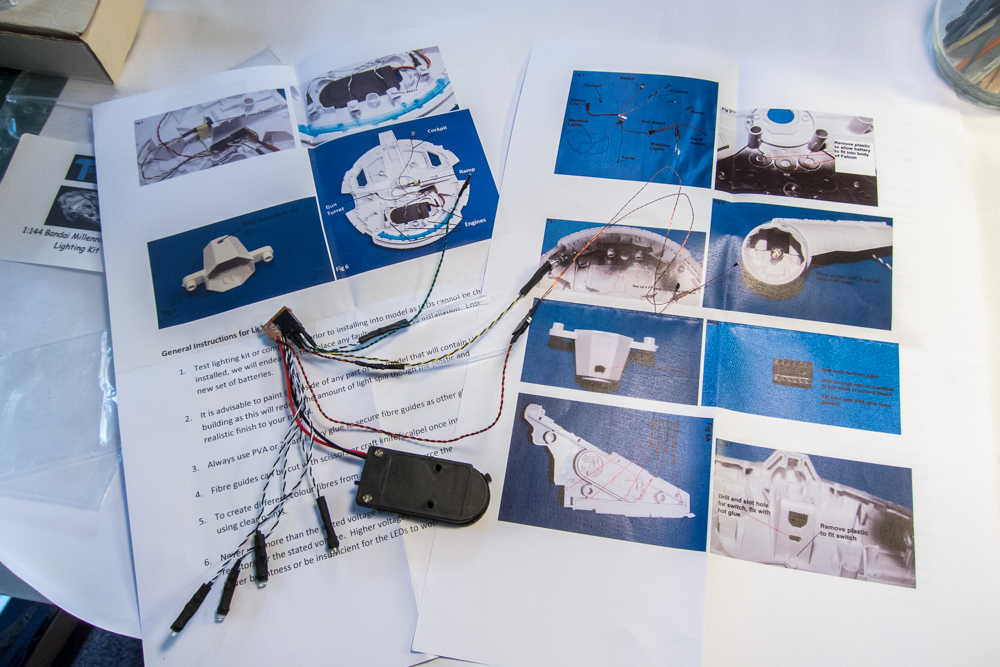
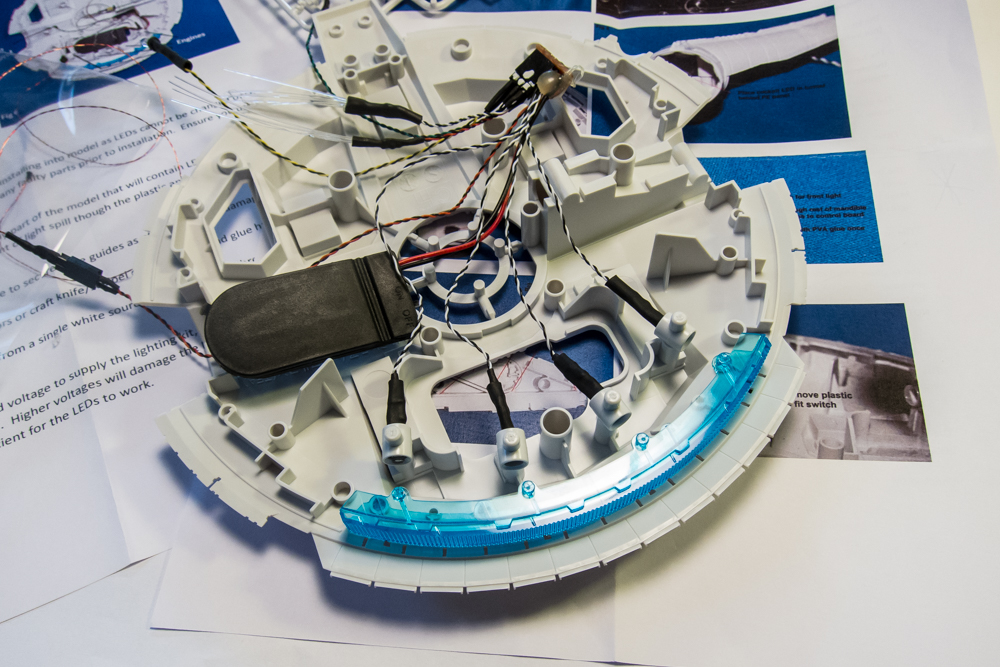
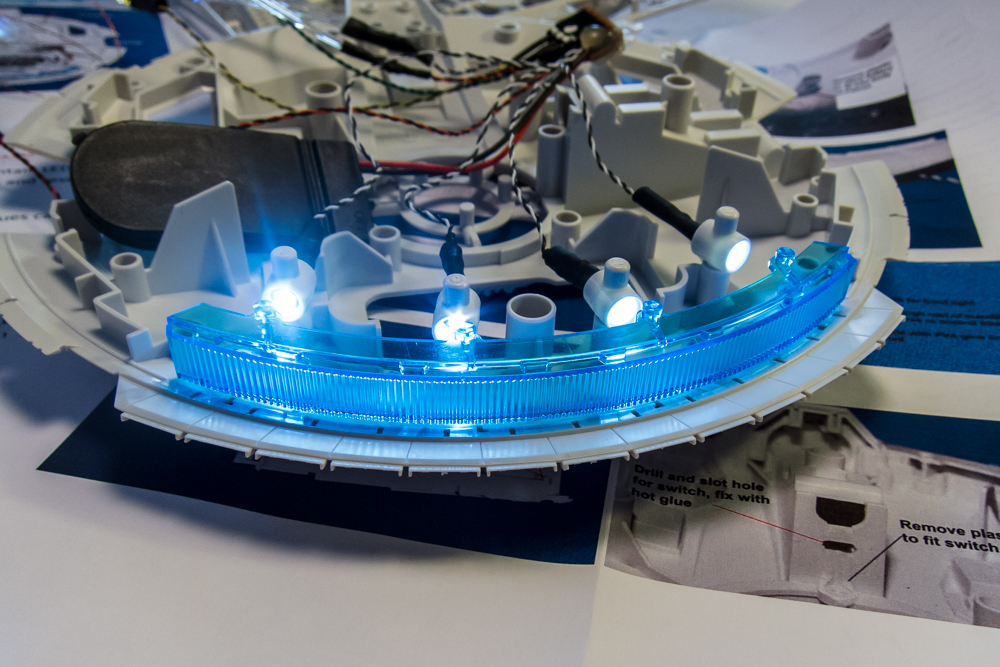
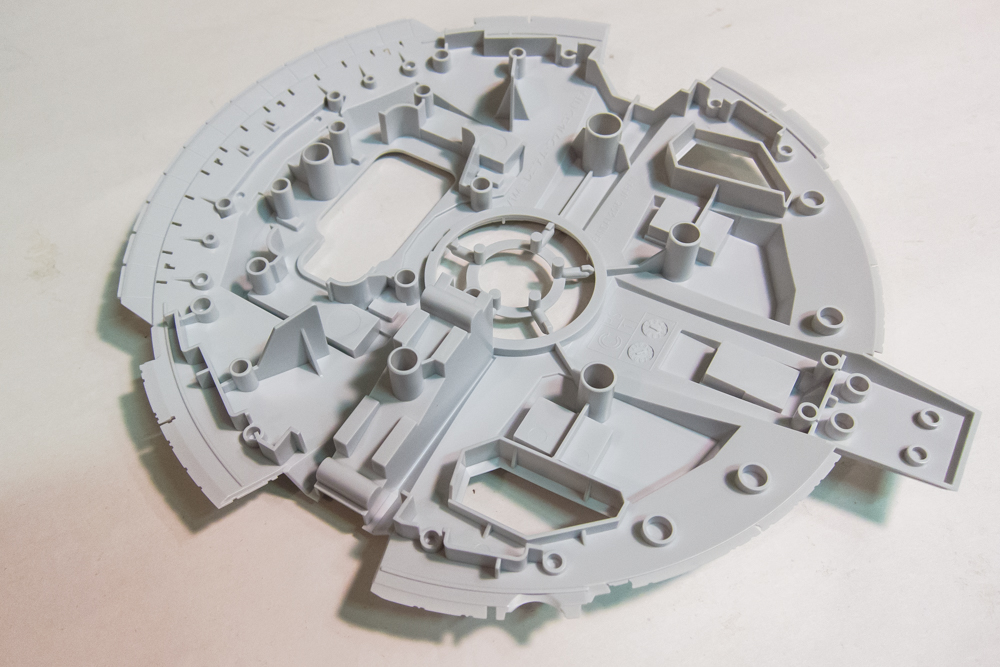
Here is the interior of the bottom hull. A little bit more going on here than the typical locating pins you'd find on an aircraft model. The Bandai Falcon is designed to accommodate a separate lighting kit. I've done a bit of research and have found that the Bandai kit is expensive (about the same price as the kit itself) and limited (only two bulbs and you only have two choices: light the engine output only OR light the landing ramp and cockpit). I'm in the process of getting a more elaborate lighting system that would give me the option of lighting the engine AND other parts of the Falcon.
I'm running up against the photo limit of this post so I'll stop here. Just to let everyone know, I'm not jumping into this build right away. It was started at the beginning of the year and I ran out of steam when I realized how little I knew about the Falcon. I jumped onto the Dora build and put this one on the shelf but with your help and encouragement, I hope to brush the dust off and start her up again.
I'll continue on with the sprue tour shortly...
The kit is made by Bandai. If you have not heard of Bandai, it's not because the company is small or doesn't produce many kits. It has a huge catalog of plastic models but the majority are sci-fi (Gundam, being the most well known franchise) and sold primarily to the Japanese market. Bandai's agreement with Disney to produce Star Wars models limits their sales so you may not see these kits sold in the US. Not a problem for the internet savvy and this kit is easy to obtain via Ebay or Amazon.
This is not a large model (at 1/144 scale, the Falcon is about seven inches across) and is packed into a relatively small 10"x6"x4" box. The side of the box is nicely decorated with photos from the film as well as of the built model.
The model instructions are printed on high quality, glossy paper and come as a stapled booklet.
The instructions are typical schematic type drawings to guide the builder through the various steps of construction. But... being a Japanese domestic market product, the instructions are totally in Japanese... no English.
Not to worry. Star Wars is a huge franchise (arguably the BIGGEST) and there are countless fans of which many happen to be modelers as well. An internet search of BANDAI MILLENNIUM FALCON INSTRUCTIONS yielded a set of instructions translated into English.
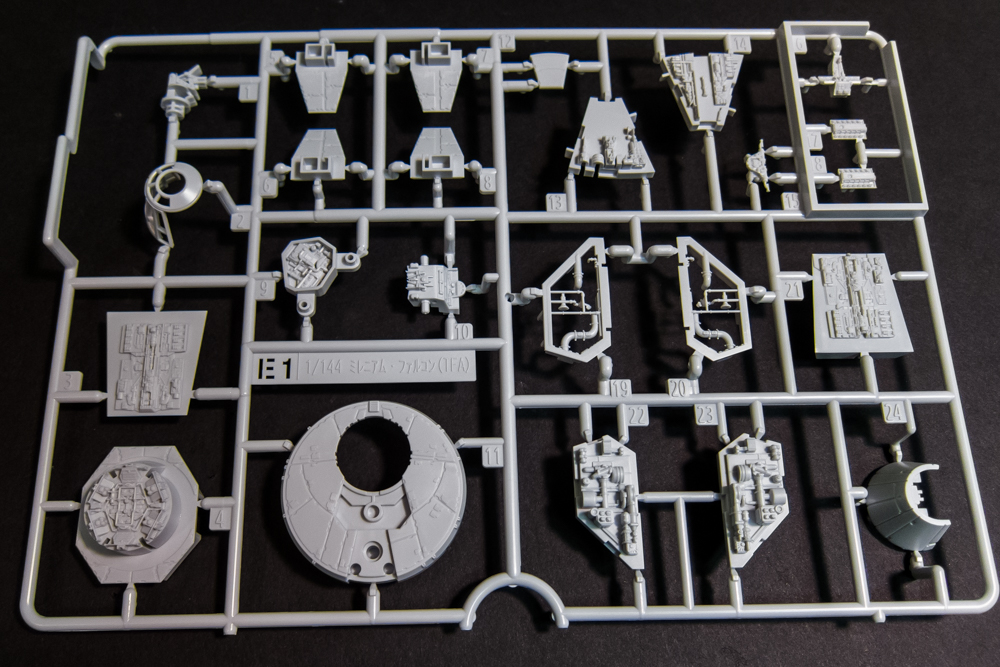
The parts are packed into the small box on compact sprues. Most of the sprues are individually protected in plastic bags but a few come two per bag.
I didn't realize the Millennium Falcon had ANY markings on its structure but apparently it does and a ton of them to boot. Bandai gives the builder a choice of either adhesive stickers or traditional waterslide decals for these small markings.
The last page of the instruction booklet shows the placement of these stickers/decals. The booklet itself is small so it's very difficult to make out decal placement with these 50 year old eyes. I'll probably have to scan and enlarge this when the time comes.
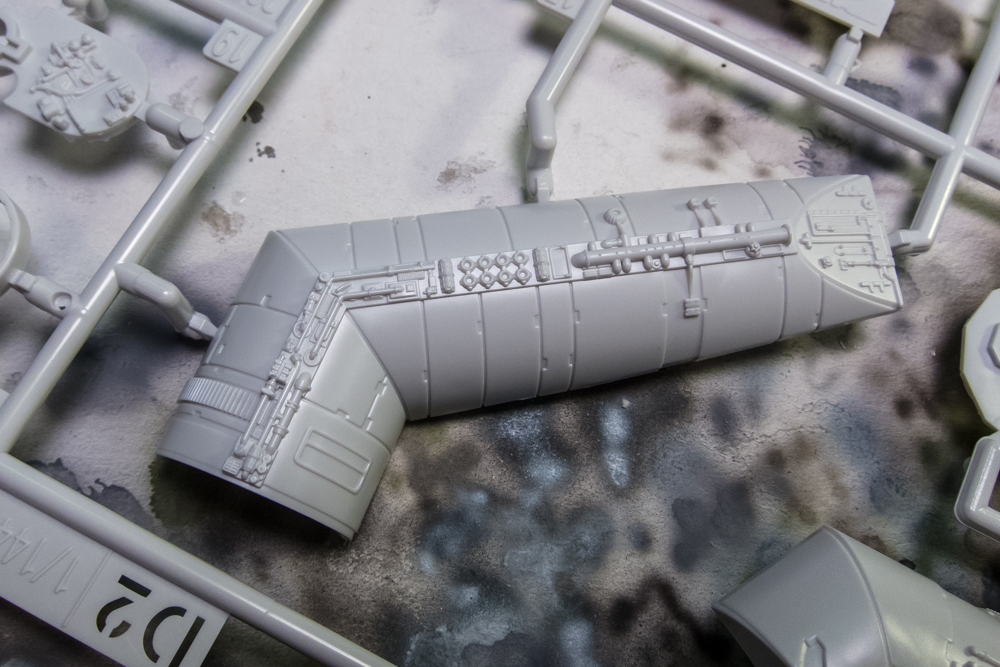
Let's take a closer look at the parts. The first major piece is the upper hull of the Millenium Falcon, which is molded in one piece.
Hats off to Bandai as the molding on this kit is incredible. Painting this little beast is going to be the biggest challenge by far. But then again, I could see one getting a fairly acceptable result if you simply spray-canned the completed model in grey paint and giving it a panel wash.
That circular opening in the lower right of the photo is where the radar dish is mounted. In the new movie, the radar dish is square whereas the original Falcon had a round dish. More on that later...
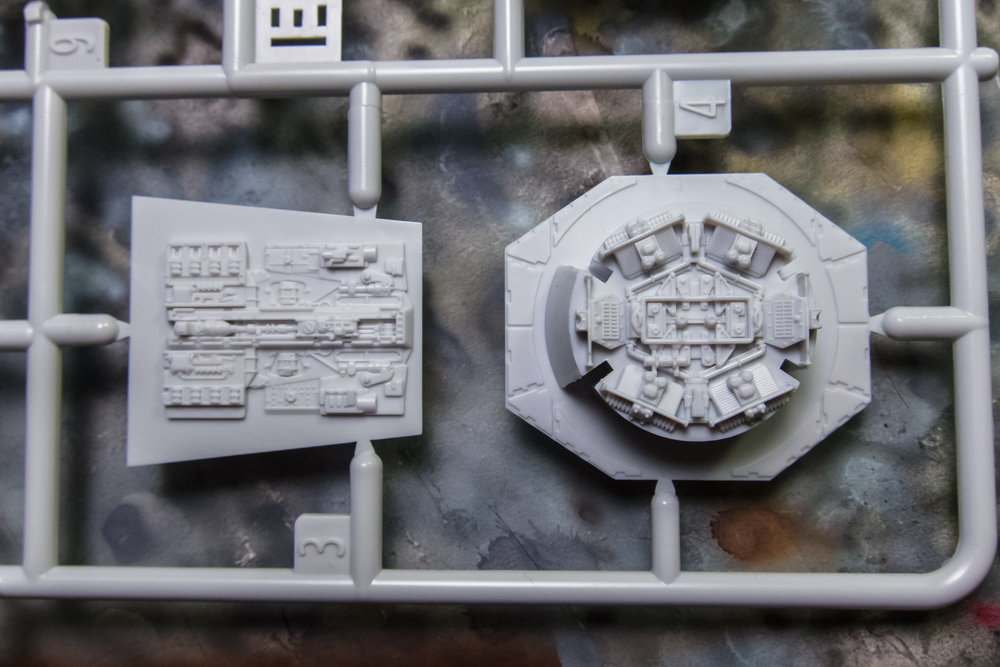
The bottom hull piece is similarly shaped but with additional openings for the landing gear and landing ramp. The biggest opening toward the rear is for a battery pack! You may guess what this is leading to!
Lots of surface detail has been molded integrally into the upper and lower hull, simplifying the construction process.
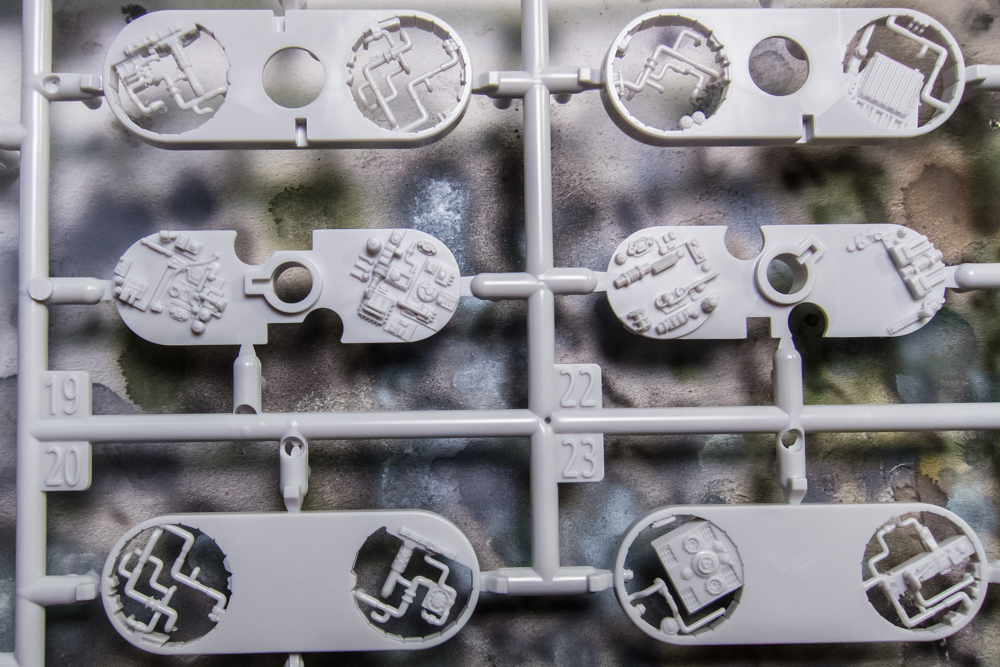
Here is the interior of the bottom hull. A little bit more going on here than the typical locating pins you'd find on an aircraft model. The Bandai Falcon is designed to accommodate a separate lighting kit. I've done a bit of research and have found that the Bandai kit is expensive (about the same price as the kit itself) and limited (only two bulbs and you only have two choices: light the engine output only OR light the landing ramp and cockpit). I'm in the process of getting a more elaborate lighting system that would give me the option of lighting the engine AND other parts of the Falcon.
I'm running up against the photo limit of this post so I'll stop here. Just to let everyone know, I'm not jumping into this build right away. It was started at the beginning of the year and I ran out of steam when I realized how little I knew about the Falcon. I jumped onto the Dora build and put this one on the shelf but with your help and encouragement, I hope to brush the dust off and start her up again.
I'll continue on with the sprue tour shortly...